When you click on links to various merchants on this site and make a purchase, this can result in this site earning a commission. Affiliate programs and affiliations include, but are not limited to, the eBay Partner Network.
Hi all,
having a bad time trying to track down the following issue.
I own a 997.1 C2 convertible MY 2005 Tiptronic.
Last week I noticed a pink/reddish stain on the garage floor. Coolant quantity was below MIN. So I topped up closed to MAX.
Used the car and noticed that the if I turn the A/C on then there is a visible leakage (several drops) coming down from below the engine (close to the driver back wheel).
If A/C is off there is no apparent leakage.
So, why if I turn the A/C on there is a visible leakage and if I turn it off there isn't.
Could it be that one of the heater hoses has a valve that gets open or closed when A/C is on?
Coolant flow doesn't change when ac is on/off. I think that what you saw was coincidental. Coolant leaks are easy to track down with a flashlight as there is typically a white crusty residue left behind. I'd check the coolant tank, cap, and water pump for the most and common leak locations.
Just guessing but It might be caused by the condensers sitting together with the radiators. All the heat generated by the condensers makes also the coolant temp rise.
First check the blue coolant cap. If the part number ends in -01 or 02 - replace it for the latest version ending with -04. Cheap and preventive as previous models are prone to leak.
I had this problem on mine even if there was no visible drips underneath.
Coolant leaks are easy to track down with a flashlight as there is typically a white crusty residue left behind. I'd check the coolant tank, cap, and water pump for the most and common leak locations.
Hi all,
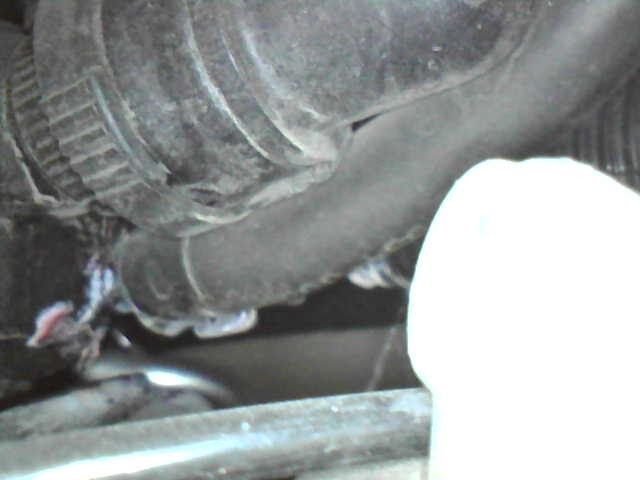
I tried to follow the track of the coolant, but it seems to come from the TOP/BACK of the engine. The major area where the leak occurs is close to the transmission (tiptronic) just above the driver's shaft axle and above the ATF heat exchanger.
The leakage starts when the temperature reaches 80�C (and JAGMAN1 was right: the A/C was a coincidence).
This is what I checked so far:
- TANK: there is absolutely no sign of crak nor any sign of coolant track near or close to the tank.
- CAP: tried to put the tank overflow hose in a bottle to see if there was any coolant coming from it, but I found none.
- Water PUMP: no sign of leakage. The leakage is far from the pump.
Could it be the water hoses going into the Air/Oil separator? The AOS of C2 MY2005 has the AOS just above the driver's shaft axle.
I think that I found the source of the leakage.
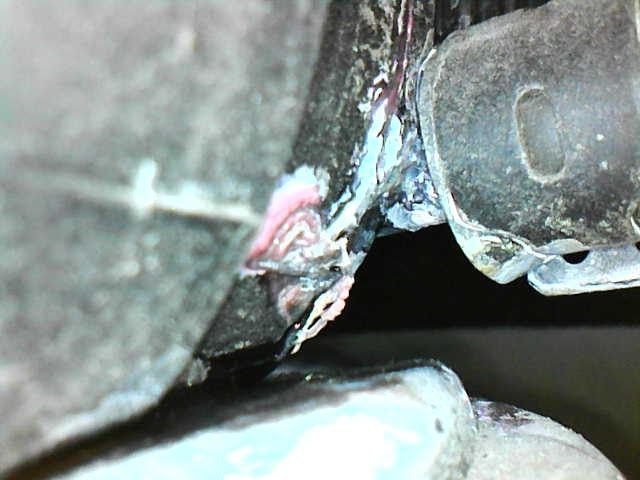
Using an endoscope I managed to get to the AOS and found a leakage.
See the PETS position of hose ...
and the actual photo with the leakage...
zoom in
Now, a bit of a background. One week ago, before the leakage started, the plastic item number 17 in the PETS picture above (IN GREEN) broke apart and I had to change it. Could it be that a debris of plastic was inside the hose and reached the AOS and choked the hose? Could this happen?
It's quite a coincidence that I worked on one side of a hose a week ago and soon after a leakage appeared on the other side...
Perhaps the AOS side nipple was damaged while moving the hose around during the previous repair? Think old plastic parts exposed to heat cycles then stressed mechanically when the normally stationary hose was moved around...just a guess. I've broken heat exchanger nipples causing coolant leaks when working on the other side of the hose on other cars.
Hi all,
the problem was the side of the AOS nipple (red in PET picture).
It had no apparent sign of wear but if put under pressure there was a leakage.
So I removed the alternator, lowered the engine, removed TB and intake manifold (following Workshop manual procedure), replaced the AOS [and several other things: reservoir tank, hose num. 12 in red in PET picture above, injector o-rings, intake gaskets, tank cap, read lid gas damper, etc.] and reassembled the engine.
Total material cost: 400�.
Labour: 0�
The most difficult part was to reattach hose num. 10 in PET picture as the space was very tiny.
What I did was to use a Cable-Type Flexible Hose Clamp Pliers to keep open the clamp before reinstalling the AOS. Then I released the plier and clamped the hose.
BTW, an endoscope is ABSOLUTELY necessary to identify the screws and the lost bits...
So far no more leaks.
Didn't make pictures as the procedure is straight forward using the Workshop manual.
It took a lot of time for me: a whole weekend to disassemble and 6 hours to reassemble.
For me it was difficulty 8/10.

 06-15-2017, 04:49 PM