When you click on links to various merchants on this site and make a purchase, this can result in this site earning a commission. Affiliate programs and affiliations include, but are not limited to, the eBay Partner Network.
Question: DIY... can I blow out the remaining coolant by disconnecting something else or using only the standard drain plug?
Issues:
1) Heater core... I have replaced the heater core on my Boxster and I noted these units have their in & out tubes on the top.... no way removing all hoses underneath with get this fluid.... best to blow it out with some pressure?
2) Removing lines.... some have said to get under the car, remove the pan, and start removing hoses as that is the only way to get the rest of the fluid out.... I get that... but I don't have a lift and, frankly, don't like laying on my back under any car.... so, can I get it out by blowing it out with some pressure?
I can't find the darn link, but found someone who did just this.... blew out the pesky fluid using air pressure... not sure if it was a .2 or not. After he drained from the main plug, he removed a hose to the water pump and then applied air pressure from... I think the tank above... and then blew out the rest as proved out by the volume of fluid he captured. This is a heck of alot easier than getting under that darn car.... or going to an indy... or just accepting that a percentage remains.
Ideas?
What is driving me to do this is a majority of the voices in my head are for replacing the fluid... one dominant voice says there is nothing "Lifetime" about anything including fluids and sealed bearings, and 110K miles is a nice time to do it. Also, another few voices are telling me I can then by and Airlift... oooooo.... new toools.......
Peace
Bruce in Philly
Last edited by Bruce In Philly; 08-22-2020 at 03:17 PM.
Tilting will not help. Use a leaf blower on the coolant line which is the big one and on the heater line which is the small one. When i did this my radiators were bone dry. Did not take out the heater core which was the only place coolant could have been left. BTW I did this many times and pulled a vacuum several times to drain the block. It takes time but I sent a sample to Evans and I had 3% water in the system so my system worked ok for me.
OK - got it - kids in bed (or so they say), wife in bed (c/o gall bladder attack)
This will be a brief summary because I have no idea how to copy and paste from a PDF
Tools: filling device (looks like the uview) part number 9696
Technical values: M14x1.5 - torque 25Nm - always replace sealing ring
1 - remove underbody panelling
2 - open cap on expansion tank and remove it
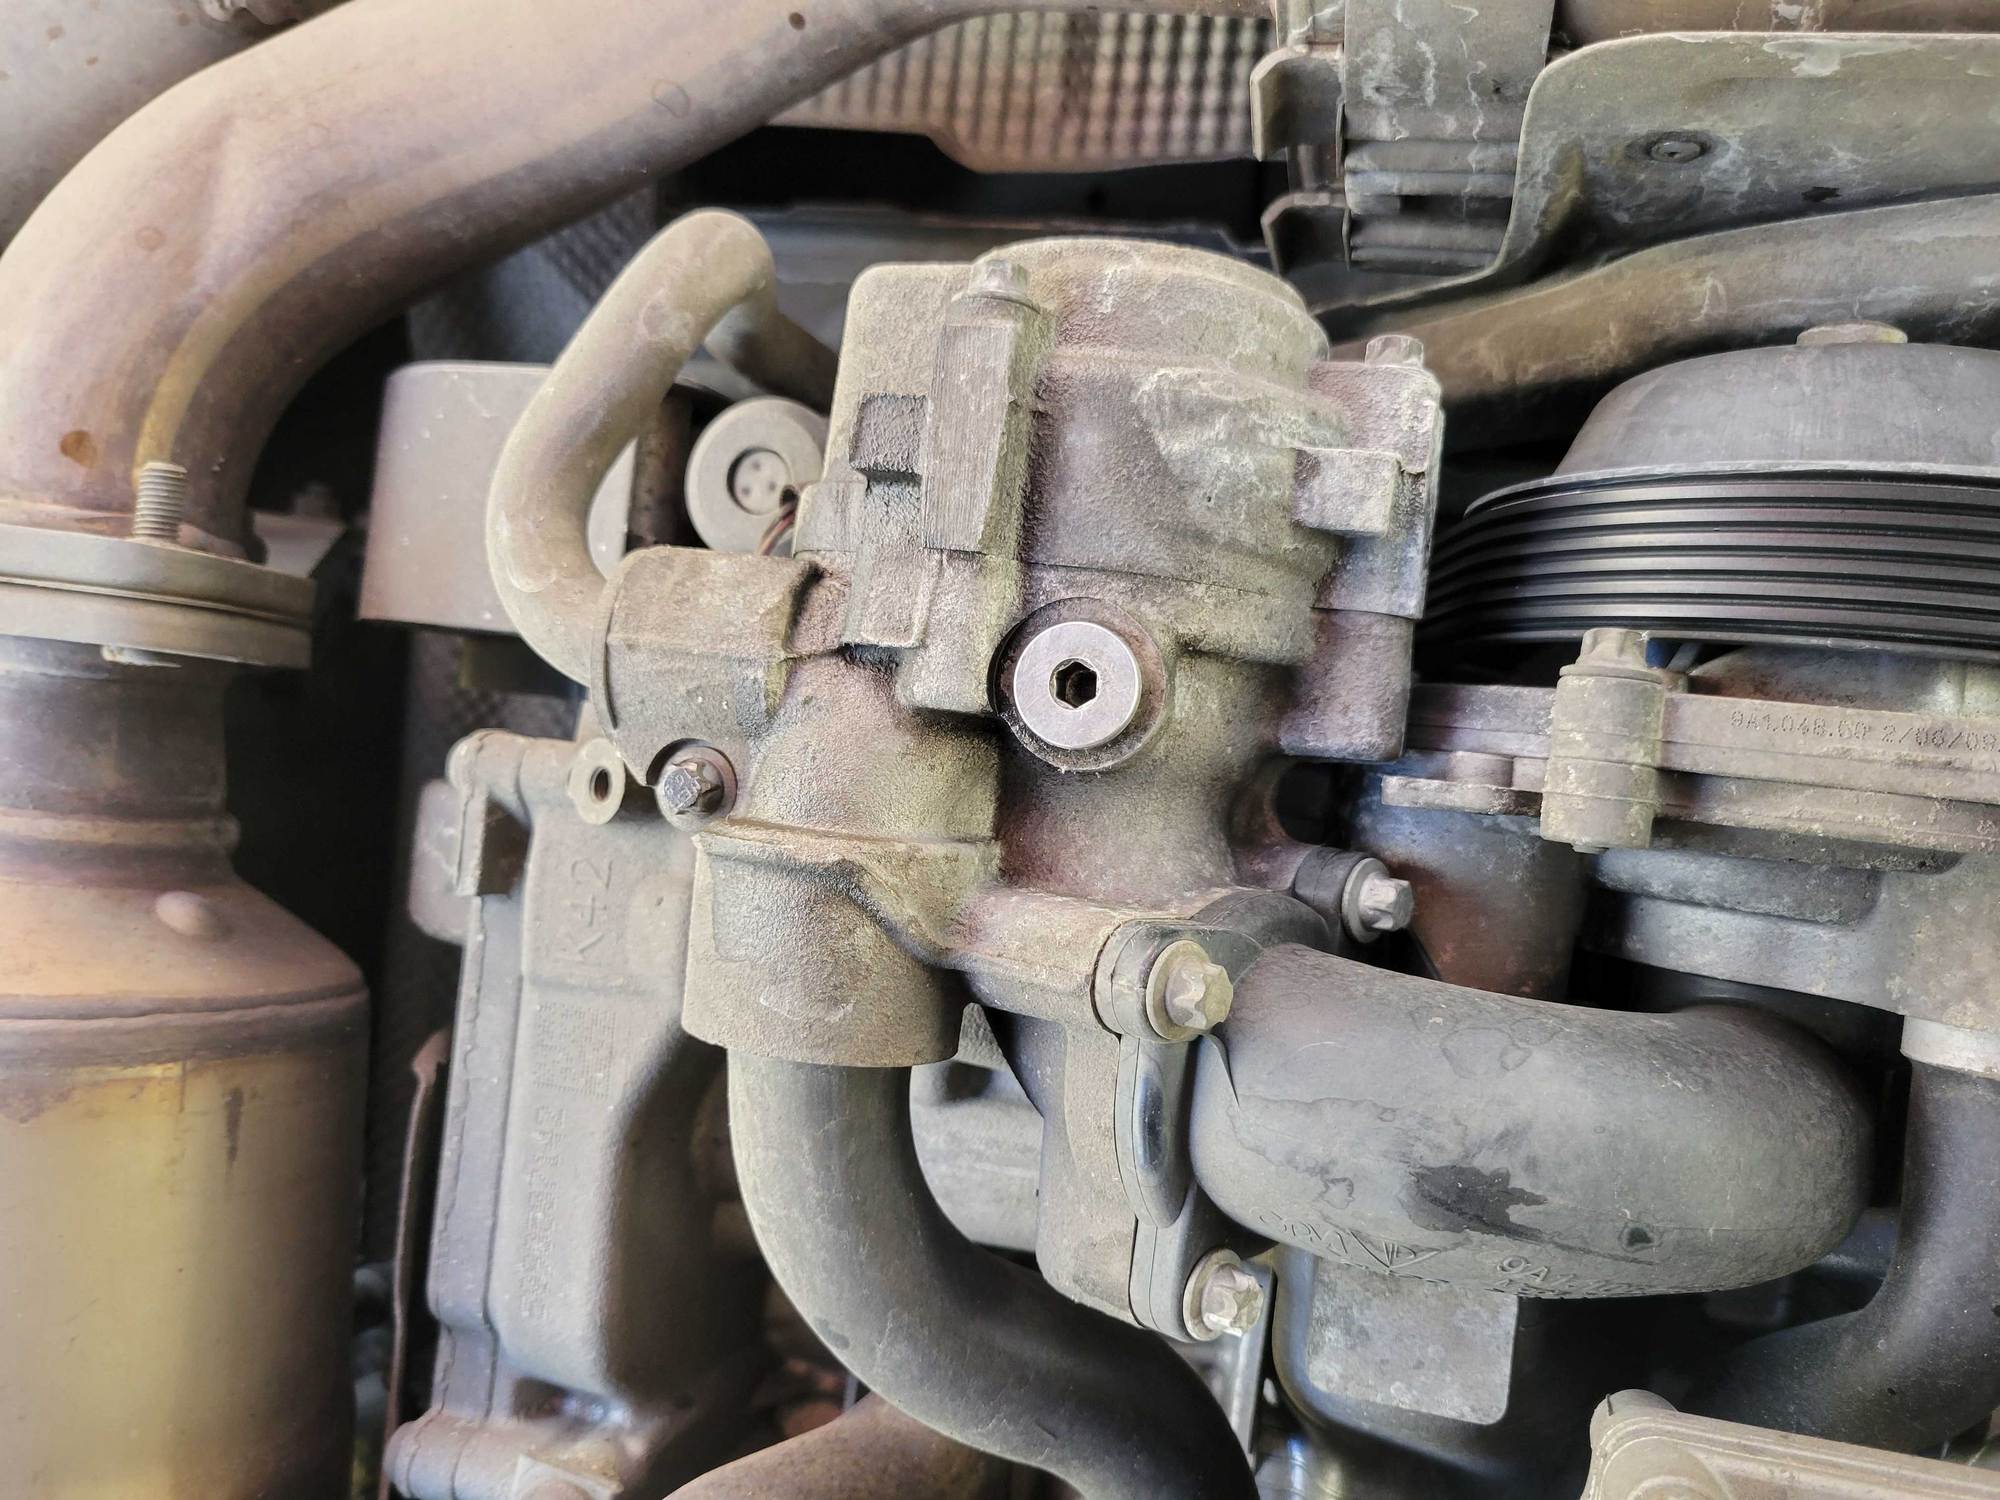
3 - unscrew coolant drain plugs (heaxgon socket) - There is a pick I wish I could copy
a - the hexagon socket on the coolant guide tube
b - unscrew the drain plug on the thermostat housing
4 - collect emerging coolant
5 - screw in plugs withnew sealing rings
Draining addition coolant
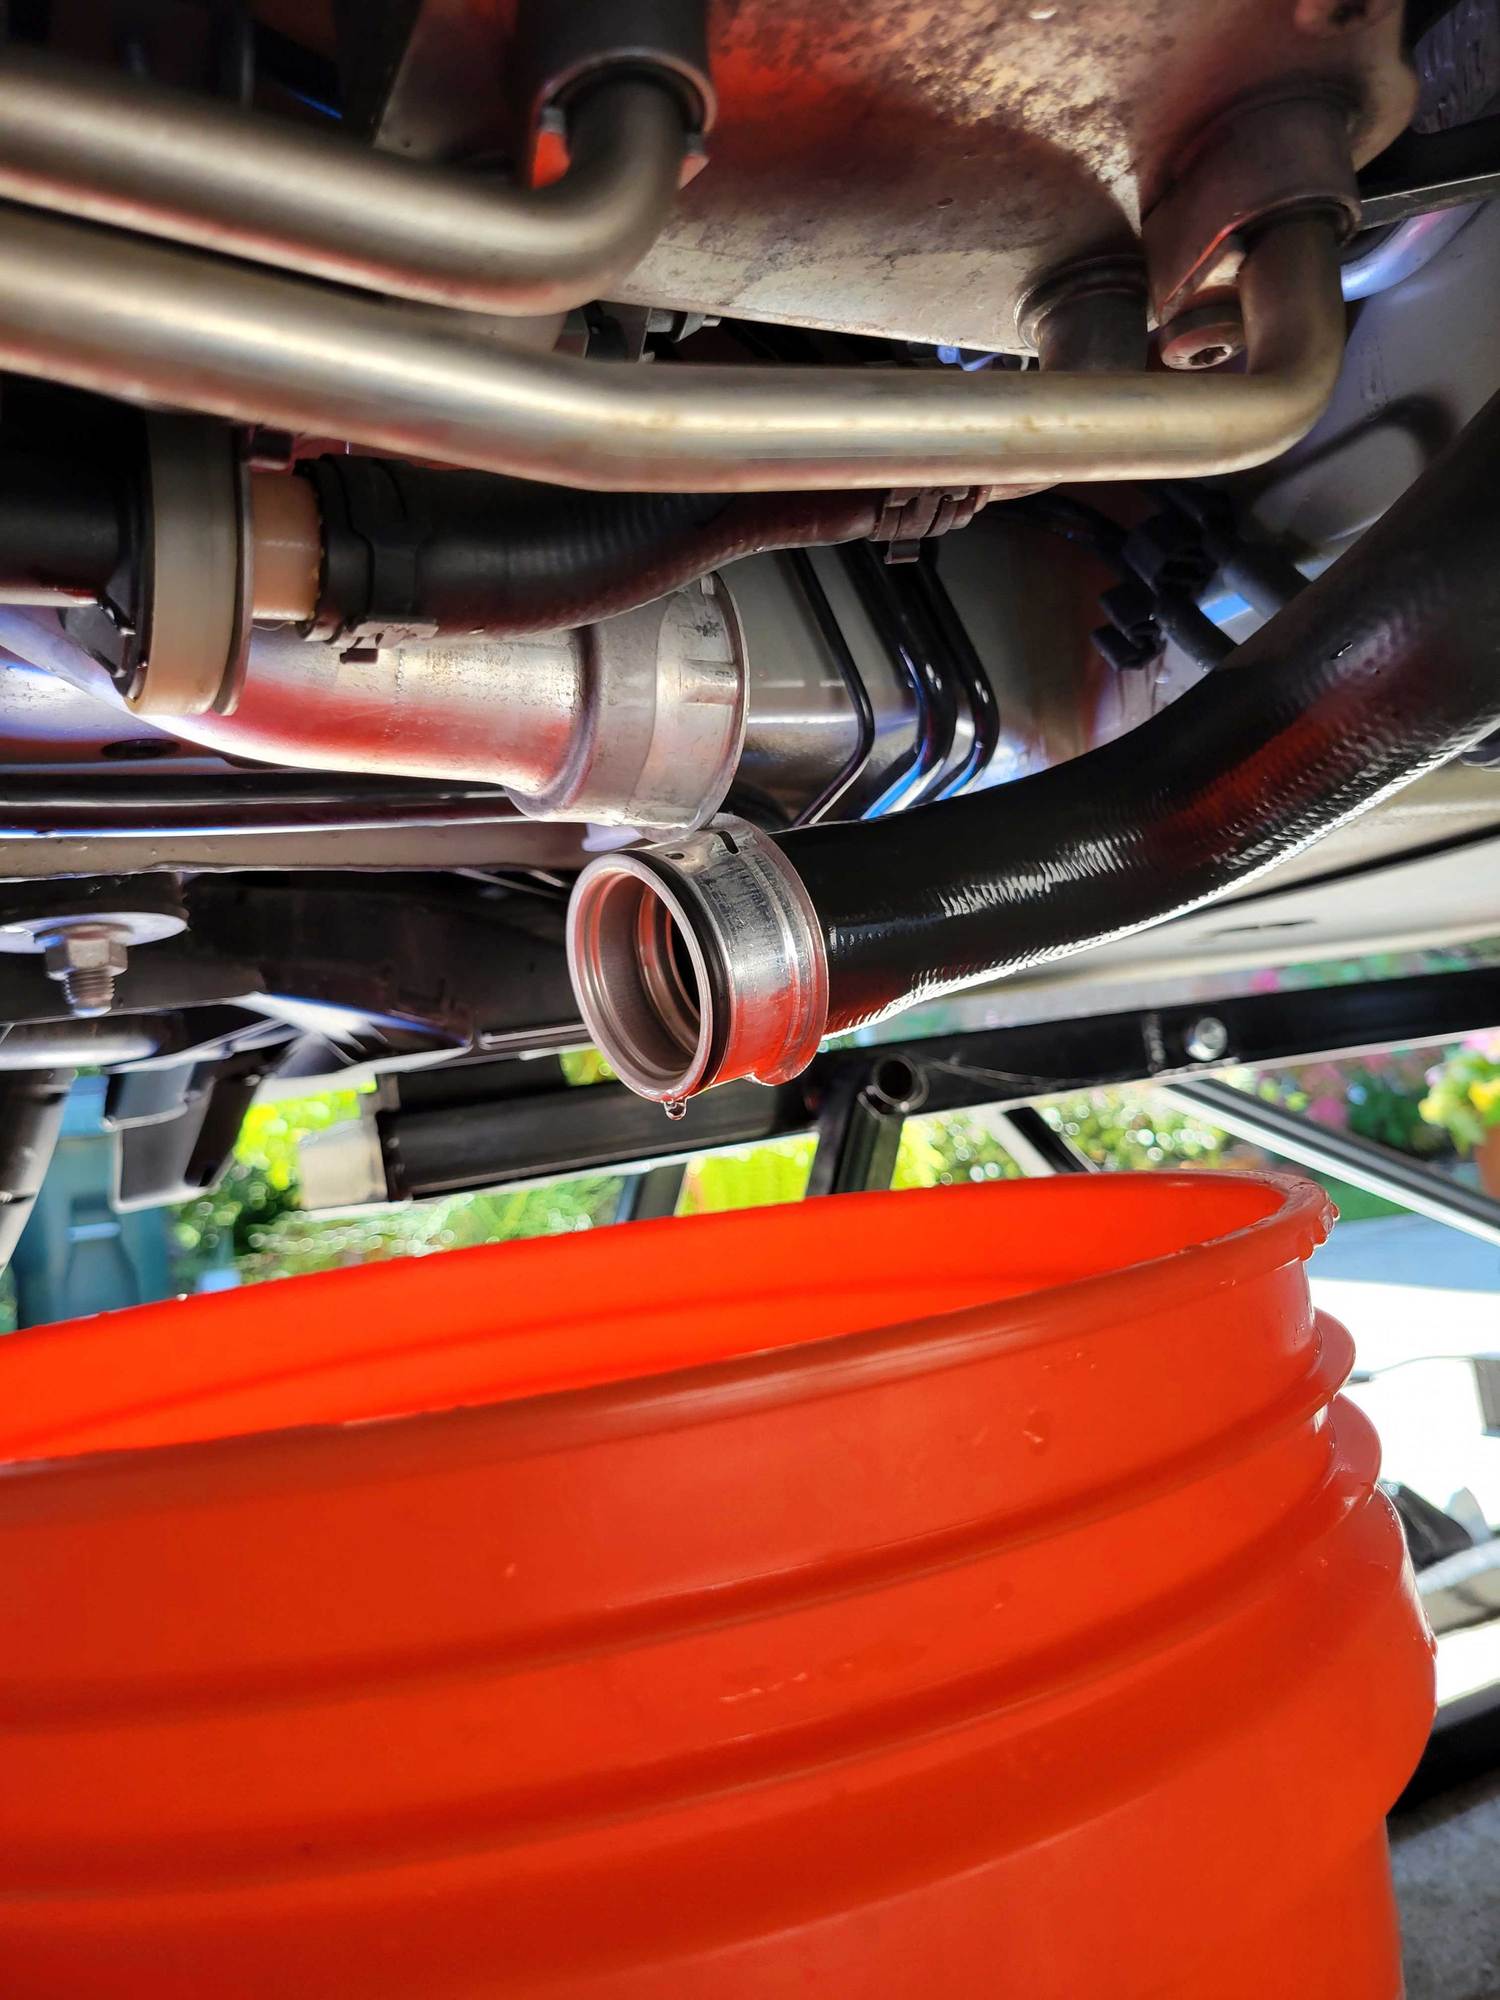
1 - loosen large coolant hoses
a - pull of safety clips on the Henn couplings (engine coolant supply hose)
b - open the spring band clamps on the heater hoses
2 - place pan under hoses and remove hoses
3 - refit hoses and check safety clips
Then it describes flling with the special tool (like the uview)
Tilting will not help. Use a leaf blower on the coolant line which is the big one and on the heater line which is the small one. When i did this my radiators were bone dry. Did not take out the heater core which was the only place coolant could have been left. BTW I did this many times and pulled a vacuum several times to drain the block. It takes time but I sent a sample to Evans and I had 3% water in the system so my system worked ok for me.
I did it similar; small drain plug in the rear, primary pump hose, feed/return hoses underneath the car (sorry Phil!), front rad connections were all disconnected and drained. Then buttoned it up and blew through the return/feed towards either end with an air compressor and got what I could through single openings. I tried the whole heater core a/c control adjustment, dunno if that helped. Went back and opened the return/feed lines and managed to grab a bit more that wasn't being forced out. Based on what I had, the new capacity (added 3rd rad) of fluid that went in it was around a calculated 90-95% as I forgot to pre-fill the third rad and some of the sticky stuff spilled on the floor when air blowing it out it made the math balance a bit seat of the pants. I also swapped the thermo and water pump and one of them kept some ounces that didn't want to come out via gravity or air.
Pre-mixed the coolant and distilled water and slowly manually hand pumped it into the overflow tank to keep the volume steady as it pulled through and avoid as many air bubbles as possible while my father put the engine through its paces in the garage for the better part of 15 minutes, then did the standard fill and burp as you drive technique. Put a few hundred miles and a track day on it since and it's running cooler than ever with no fluid loss *knock on wood* I gotta keep it above 5,000 in 2nd and 3rd to get it to touch 225 now, regular driving returns a freakishly low 195-205 depending on outside temps. Never saw above 230 at the track in 77 degree weather.
I looked through this article and noted that the Q & A at the end indicates that this article applies to the 997.1, and the 997.2 procedure is different.
Tilting will not help. Use a leaf blower on the coolant line which is the big one and on the heater line which is the small one. When i did this my radiators were bone dry. Did not take out the heater core which was the only place coolant could have been left. BTW I did this many times and pulled a vacuum several times to drain the block. It takes time but I sent a sample to Evans and I had 3% water in the system so my system worked ok for me.
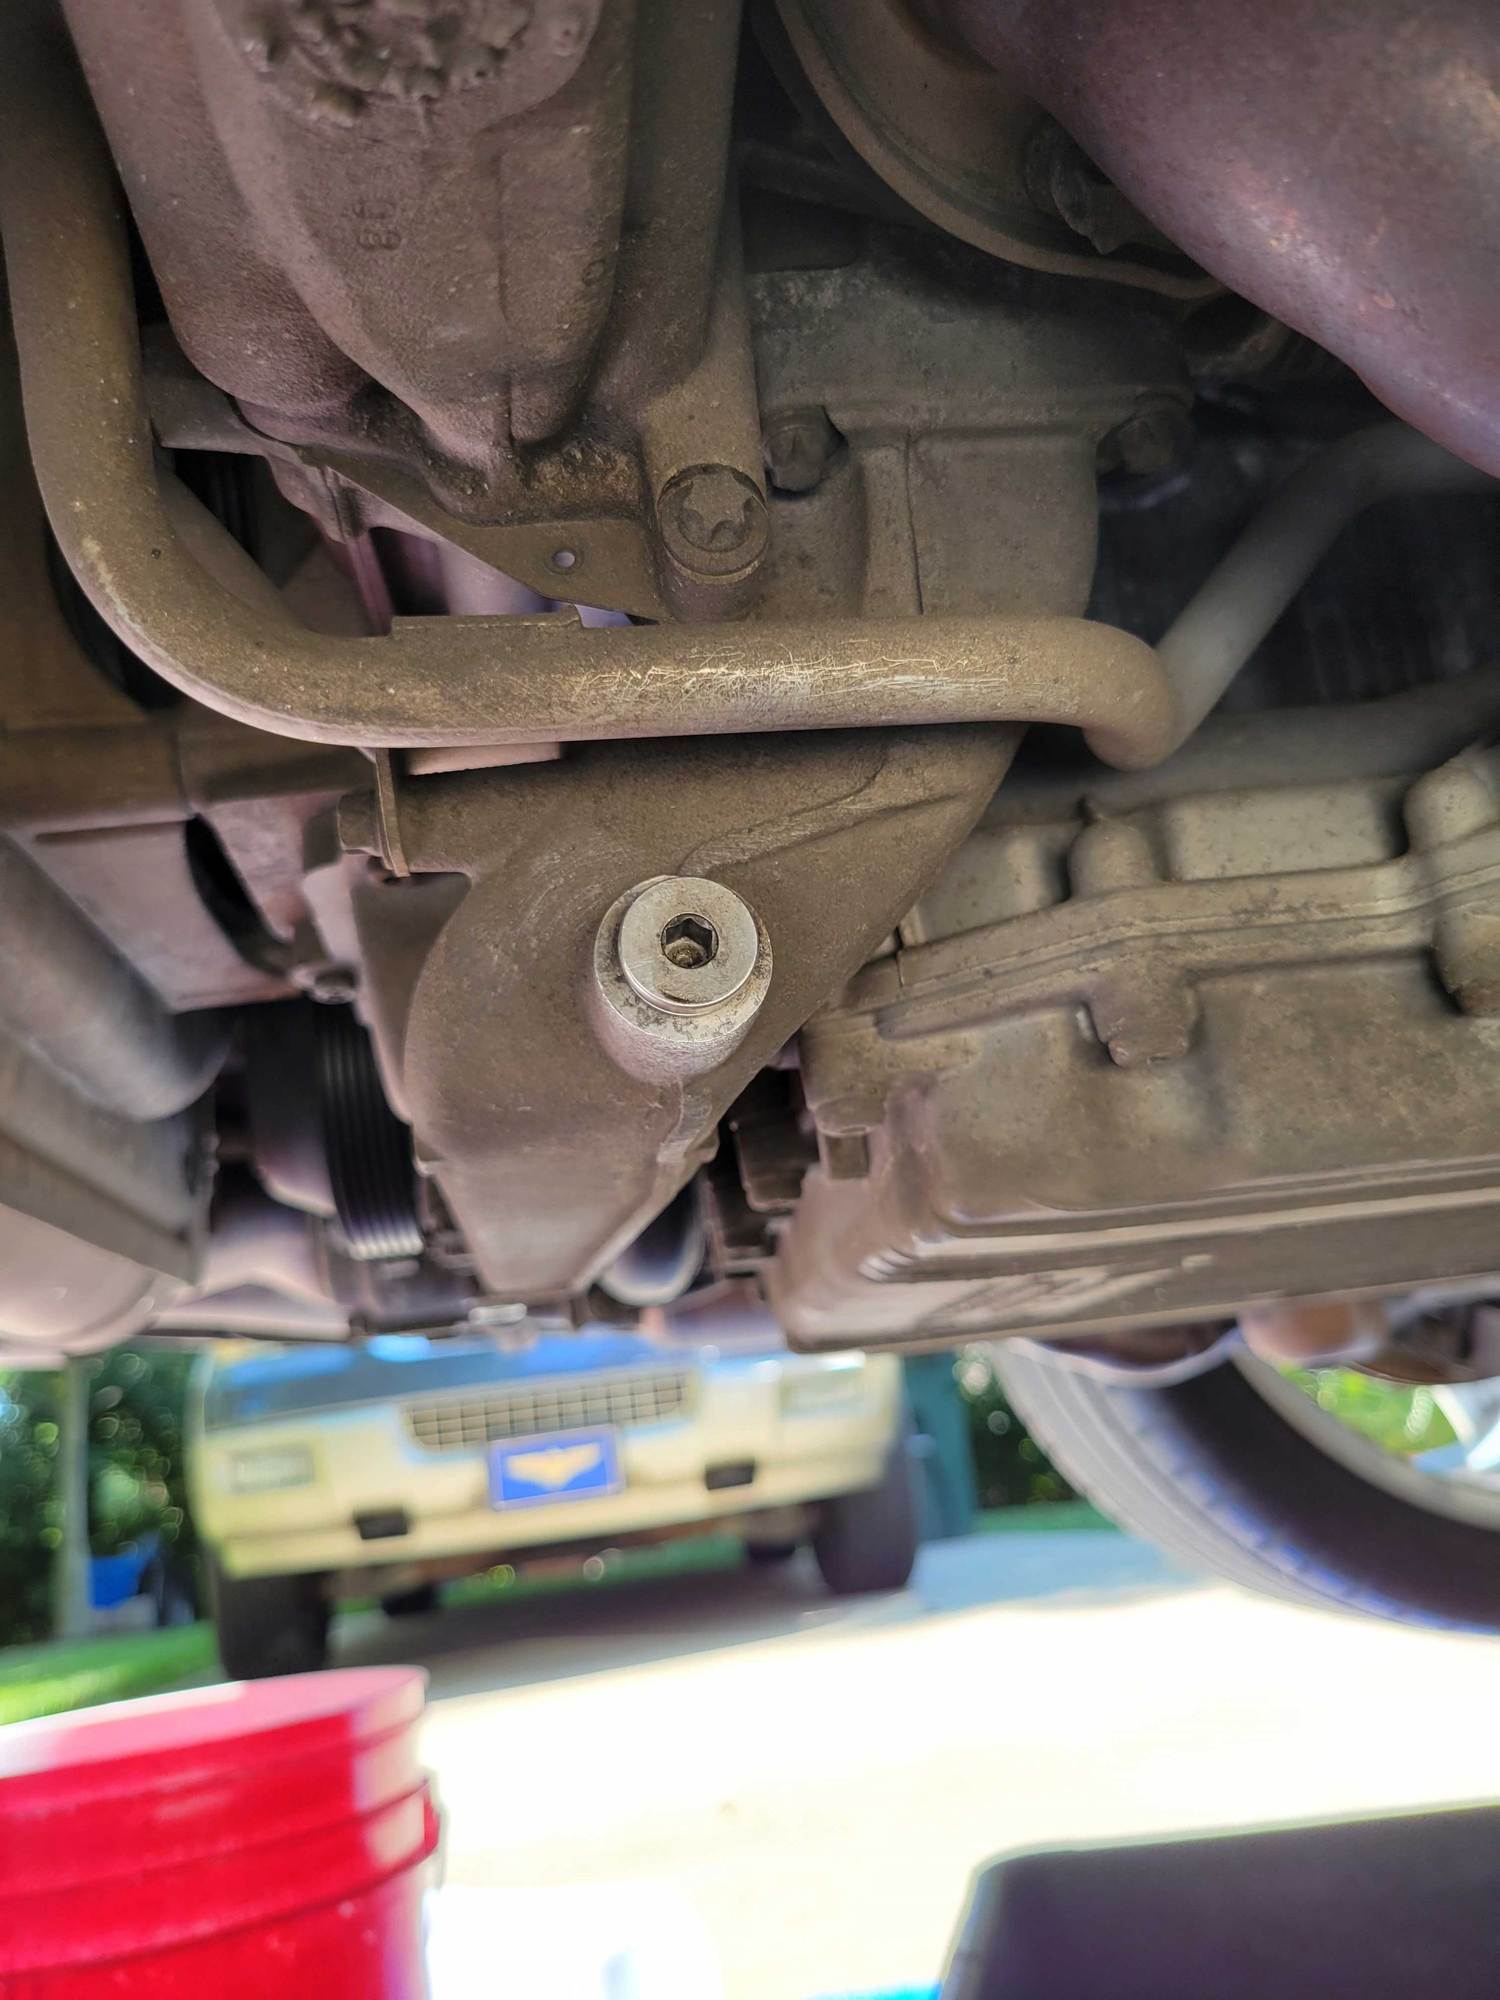
The blue arrow (next to the trans) is the supply and where I used the blower and the red arrow (next to the trans) was where I collected the evacuated coolant. The two yellow arrows are the heating supply and return. A lift will make this job much easier.
Unless you are flushing the system to remove contaminated coolant or are switching coolant types and are worried about some interaction just drain the system using the the block/engine drain (which at least was present on some older model engines) and removing a hose or two to drain the radiators. Oh, and remove the coolant tank cap.
While some coolant may remain it won't be much and won't measurably affect the fresh coolant.
If you want to go to the trouble, after you drain the system button it up and refill with tap water and run the engine long enough to get it hot enough to open the T-Stat then shut off the engine and let it cool then drain this fluid out.
But really doing the above is just overkill.
A vacuum lift system is recommended to refill the system with no airpockets and avoiding that run the engine and top off the coolant level procedure that causes me to cringe every time I think about it.
I just finished changing the coolant on my 09 C4S (9A1 engine) and with the help of the thread and the forum, it was very easy. I only took off the rearward most underbody cover and everything I needed was accessible. As most have done already - I started with the 2 screw plugs, one below the water pump and one on the water tube, passenger side of engine.
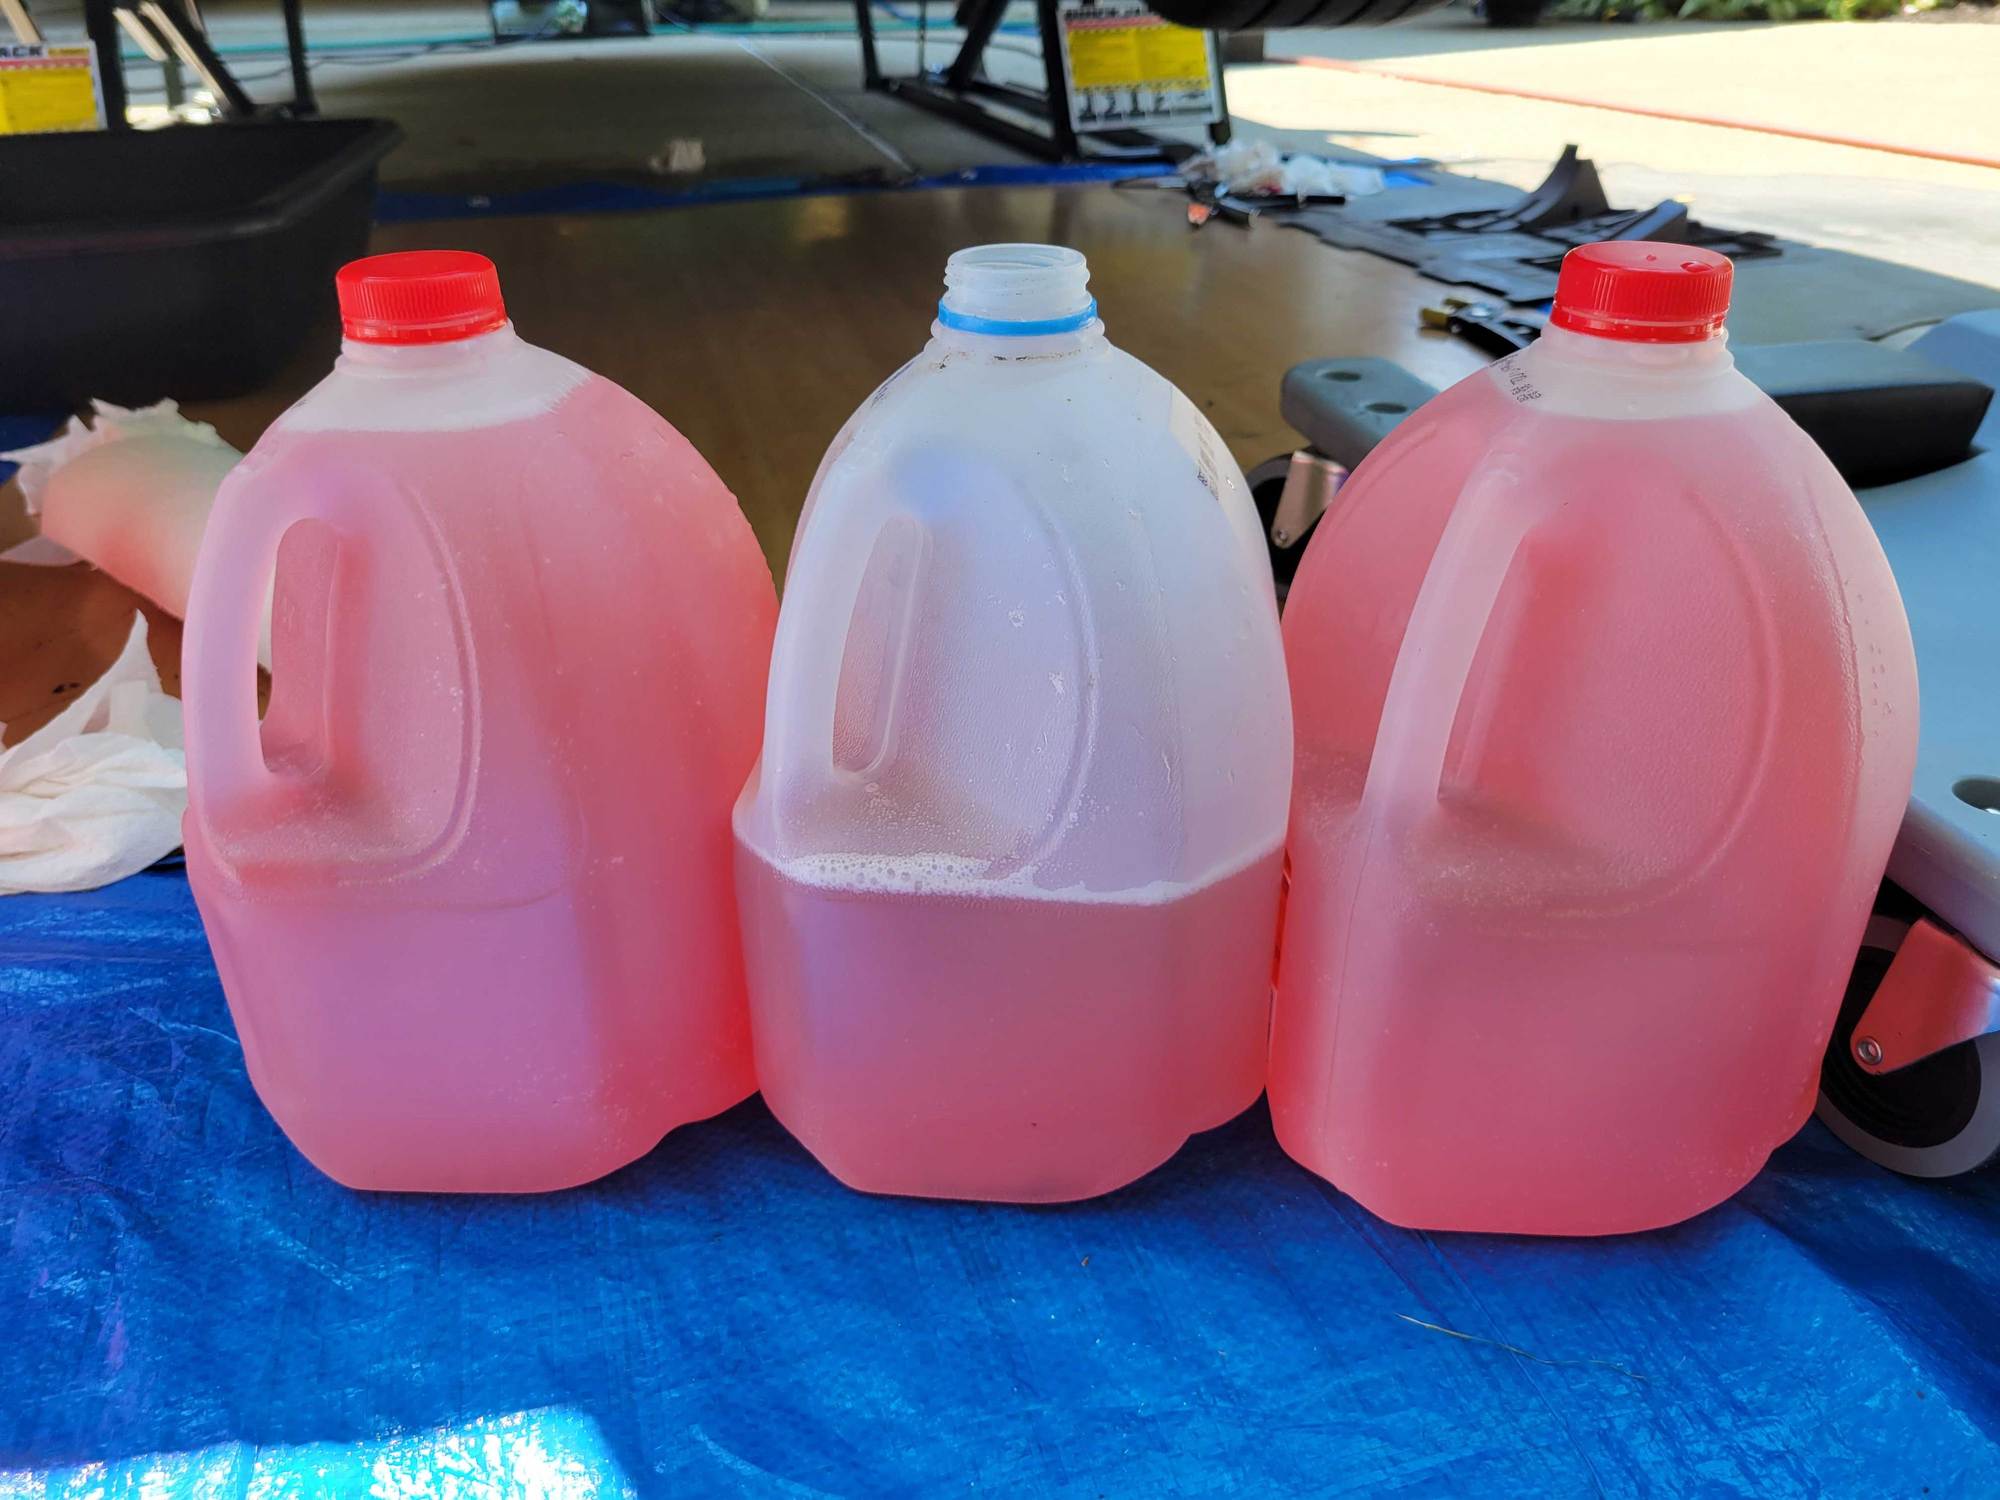
I got about 2.75 gallons of coolant from the 2 drains. I also used my compressor (set at 40psi) (the best air to use is something high volume low pressure like a leaf blower but I couldn't get it to seal correctly) and UView (
) to blow into the coolant reservoir, although only about another pint or so came out. Next I uncoupled the coolant tube on the passenger side of the car (easiest one to get to). I got about 1/2 a gallon on the initial drain but then after using the compressed air into the reservoir another 2 gals. came out and as mentioned before if too much air pressure is used it goes everywhere. So short bursts at first then as the system empties longer bursts are ok. The total was about 2.5 gallons.
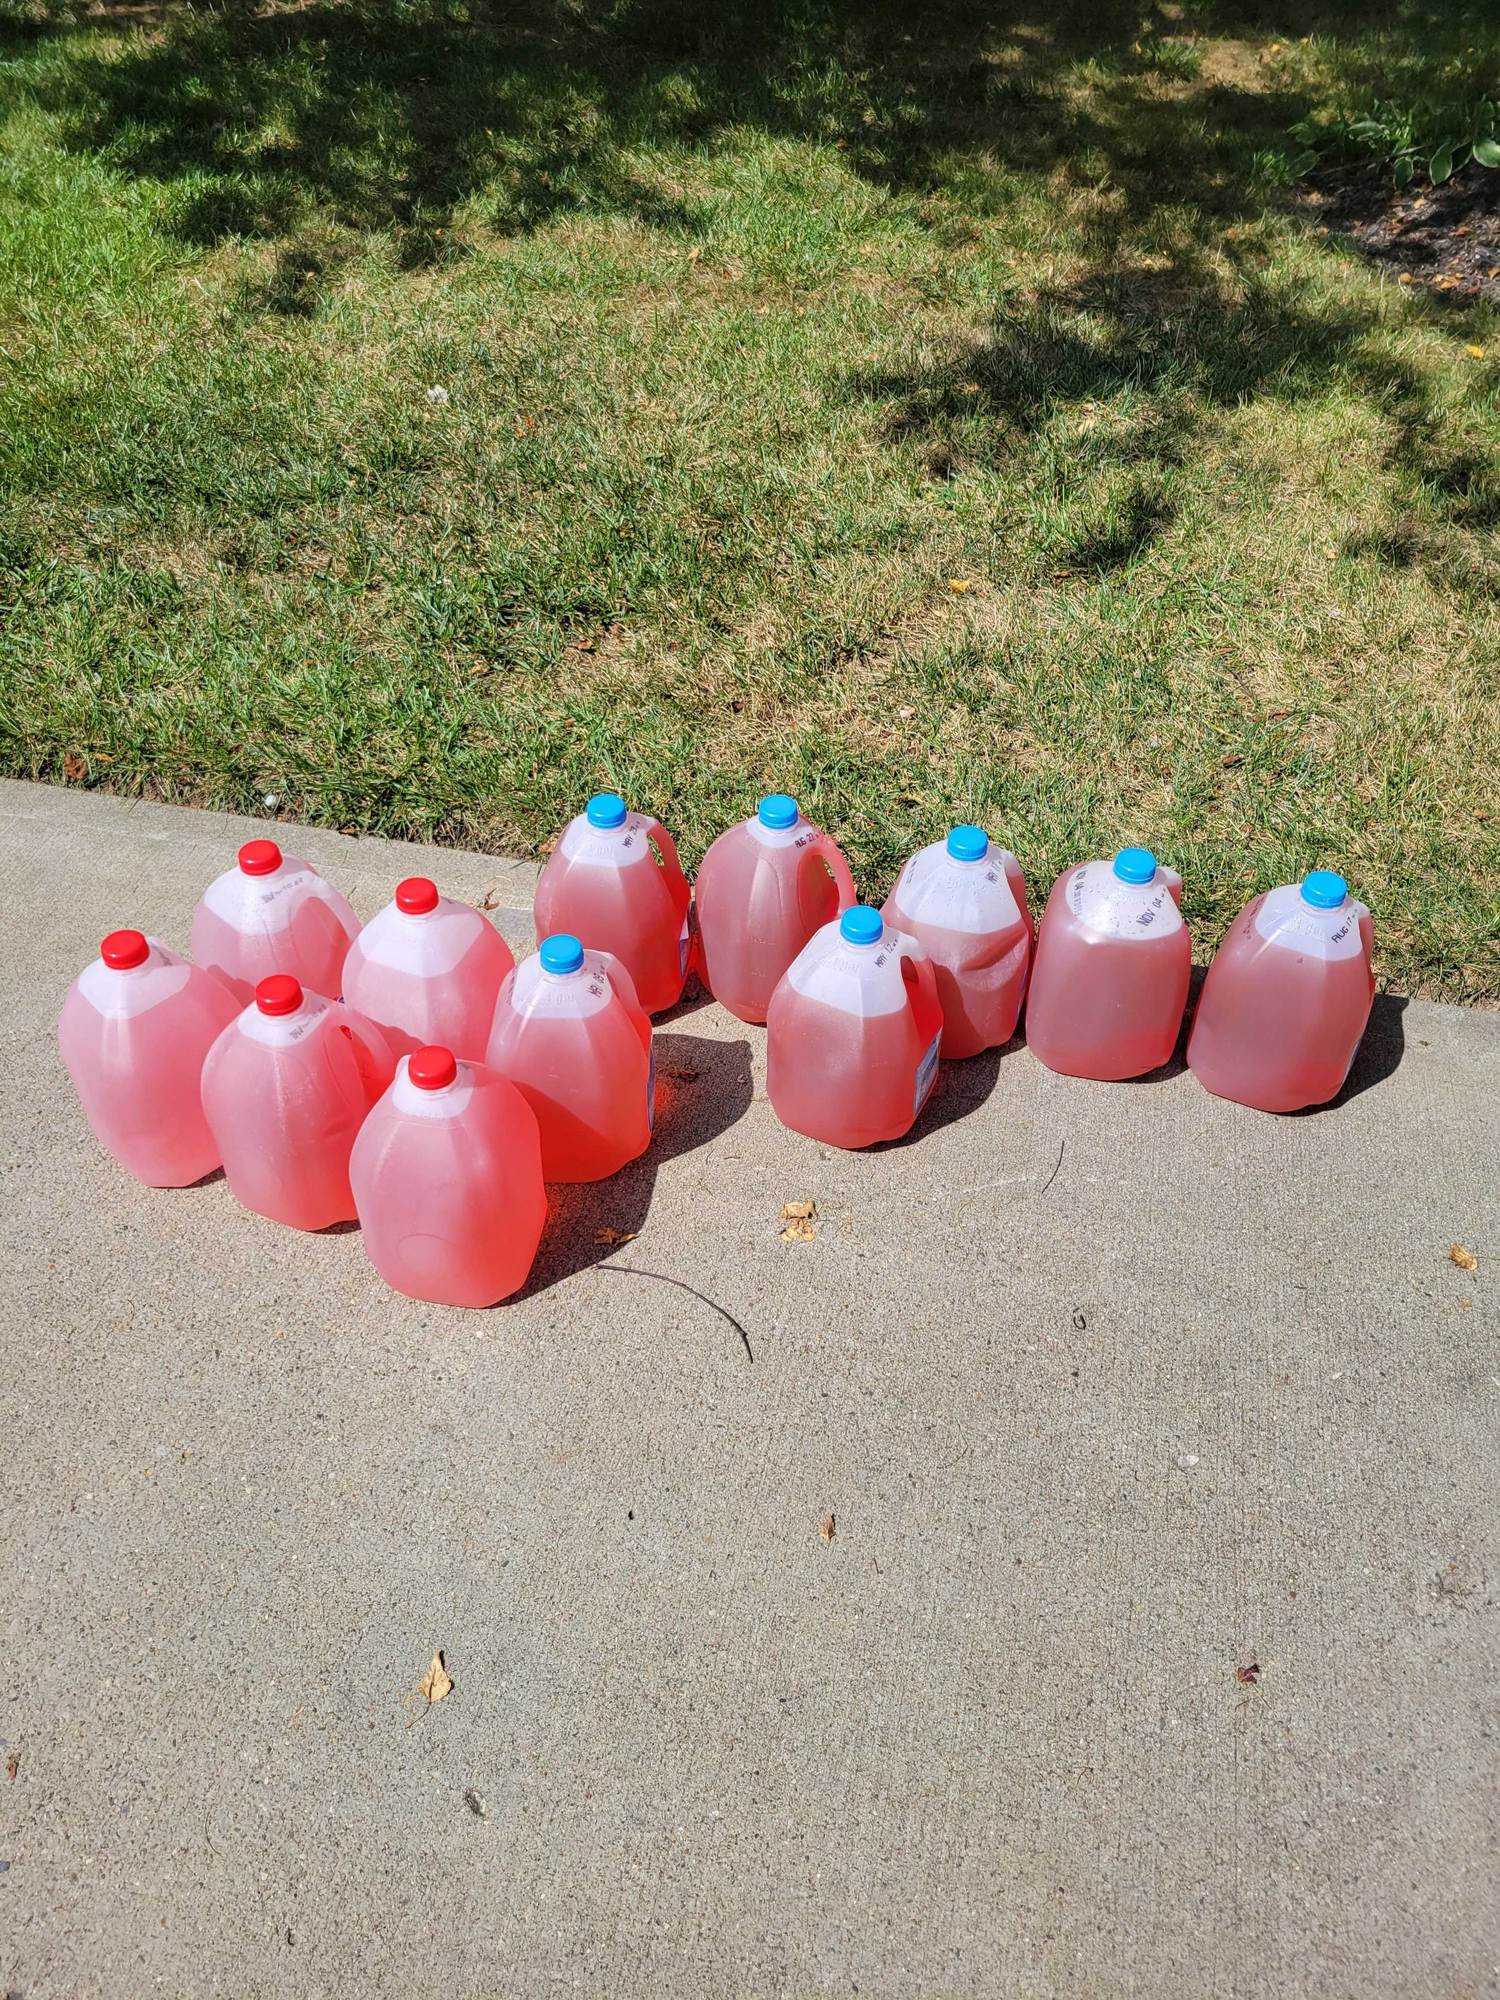
Next I undid the 2 heater lines on the driver side of the car - sorry no pictures - and I uncoupled the other coolant tube that is right above the heater lines. All told 2 heater lines and the coolant tube about 3/4 gal. for a total system drain of right at 6 gallons. The owners manual says 7.63-8.32 gal. I think the 8.32 must be with the 3rd radiator. So I was 1 1/2 gal short. Although, when I was running air thru the system there was not a lot of gurgling going on so it seemed fairly empty. Then I filled the system up using the Binford 5000, I mean my UView and drained everything again the same way. The second time the exact same amount - 6 gallons - was captured. Filling the system back with a 50/50 mix of cool refreshing coolant. the Uview or comparable device is the only way to go. It works great!! In the end, I took a record for me - 12 gallons of used coolant down to the local Valvoline shop for disposal.
Last edited by Phrog Phlyer; 08-21-2021 at 09:47 PM.

 04-04-2017, 06:58 PM