When you click on links to various merchants on this site and make a purchase, this can result in this site earning a commission. Affiliate programs and affiliations include, but are not limited to, the eBay Partner Network.
So I decided not to take the risk breaking anything.
I am putting the sport steering wheel design up for sale, for (what I believe is) a very reasonable price.
Updated: yesterday I felt courageous and decided to give it a try anyway
It actually worked out pretty well:
- I used the "flossing" method with a regular piece of thin rope, and was able to remove the silver trim
- As expected, a few of the tabs broke, but I was able to glue them back together easily
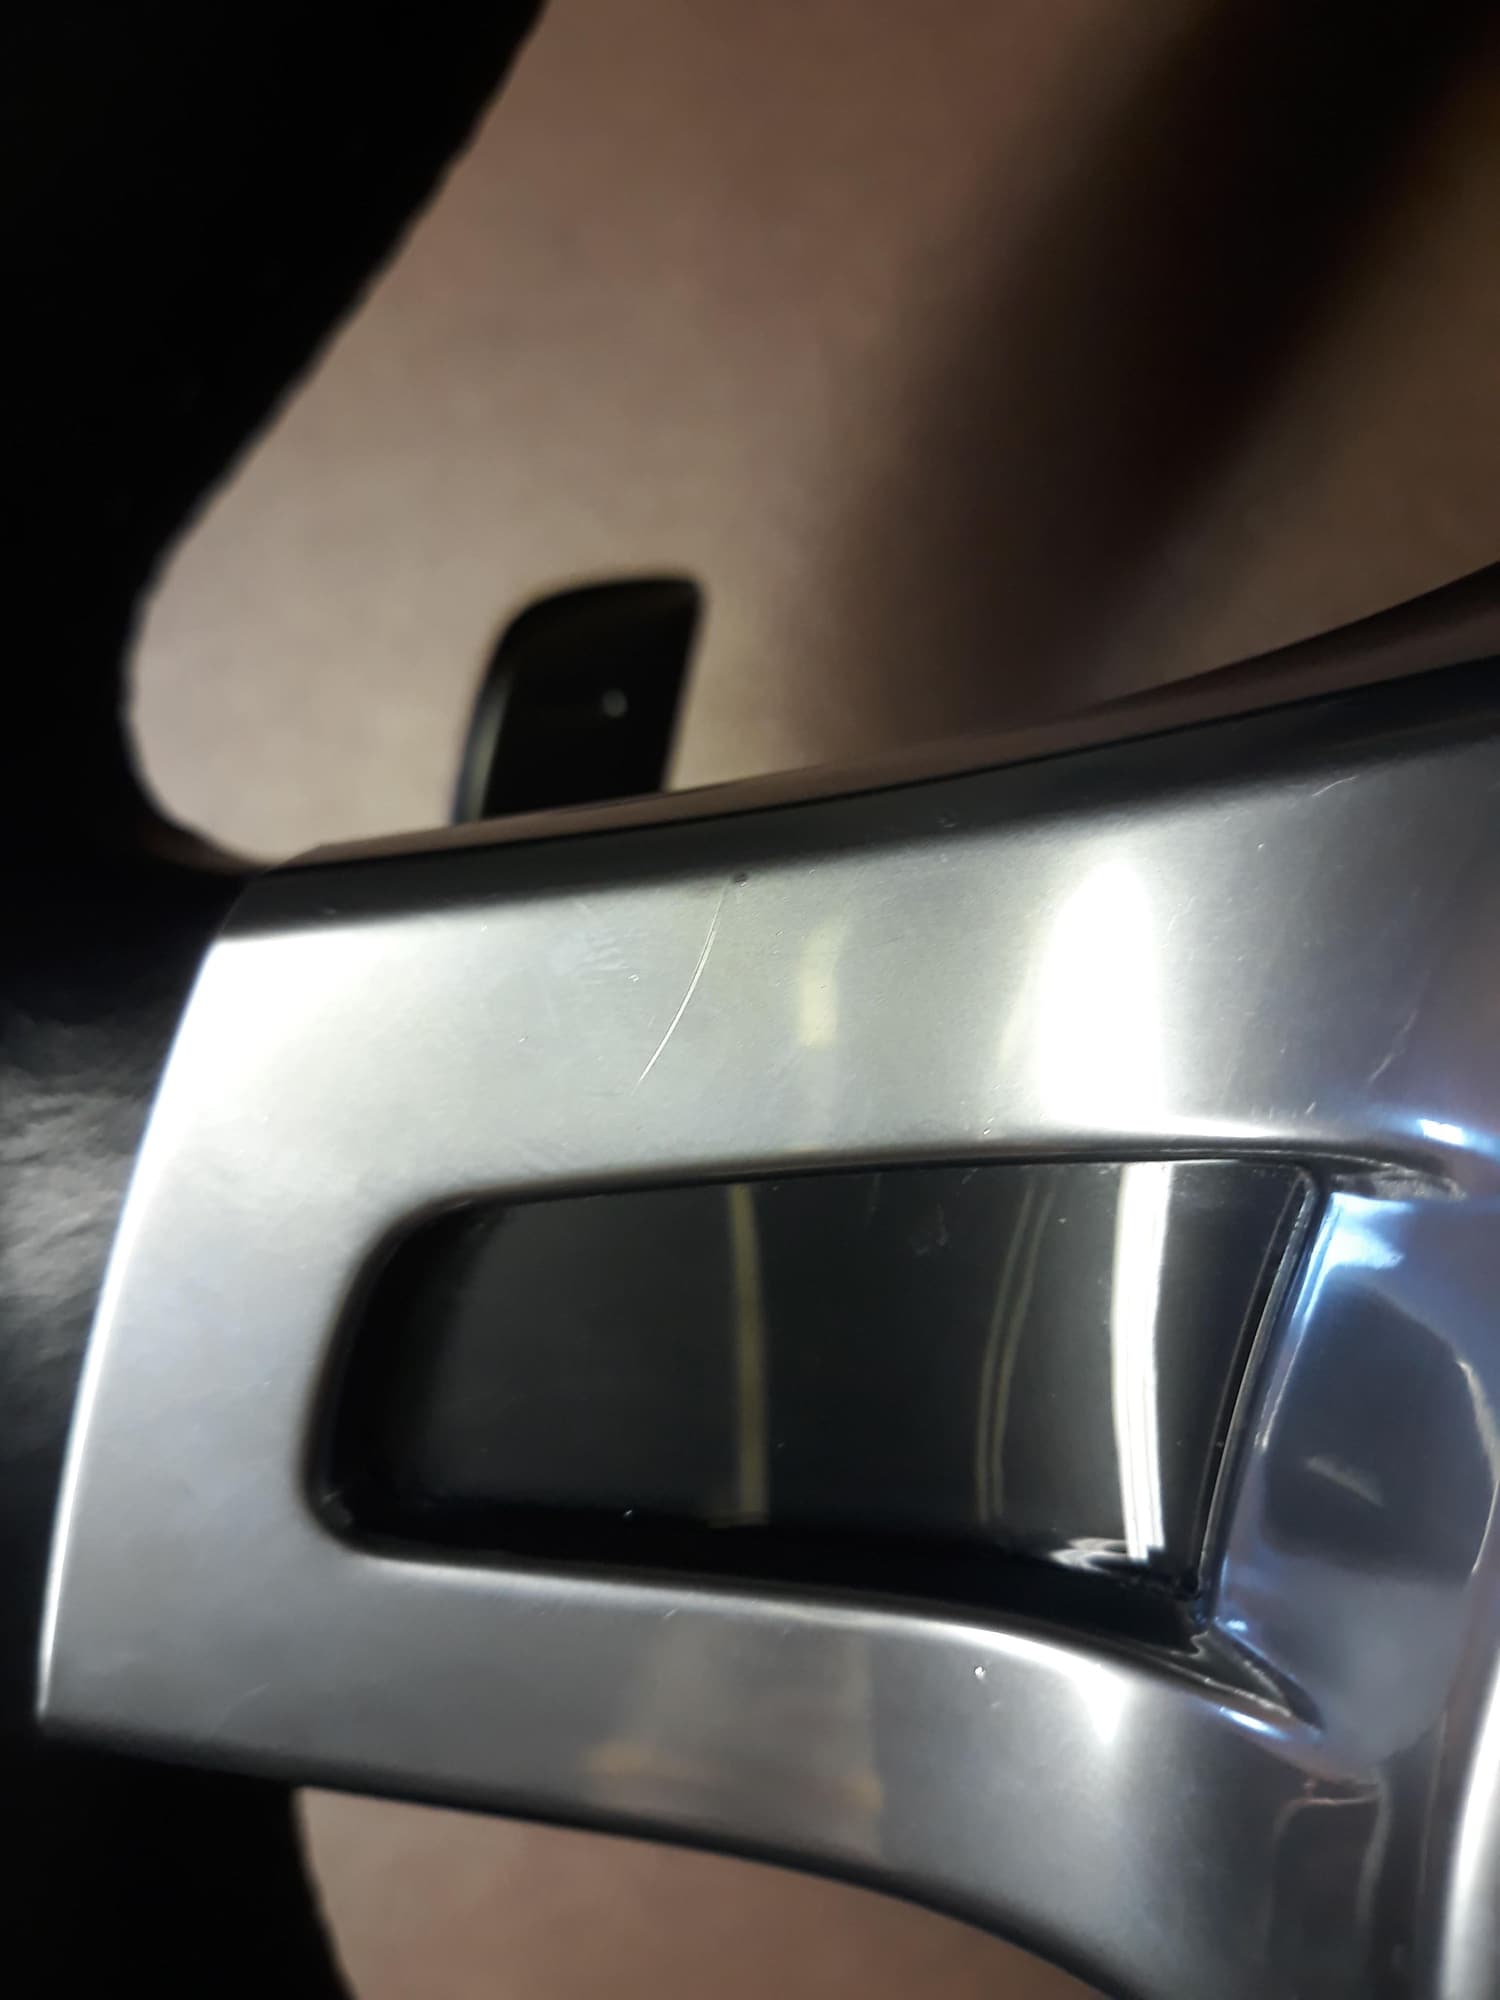
- Unfortunately I was unable to avoid 2 or three light scratches on the silver trim (don't exactly know how that happened), but these are very thin and barely visible from a bit of distance
- The PDK paddles come off easily as well, just 2 bolts.
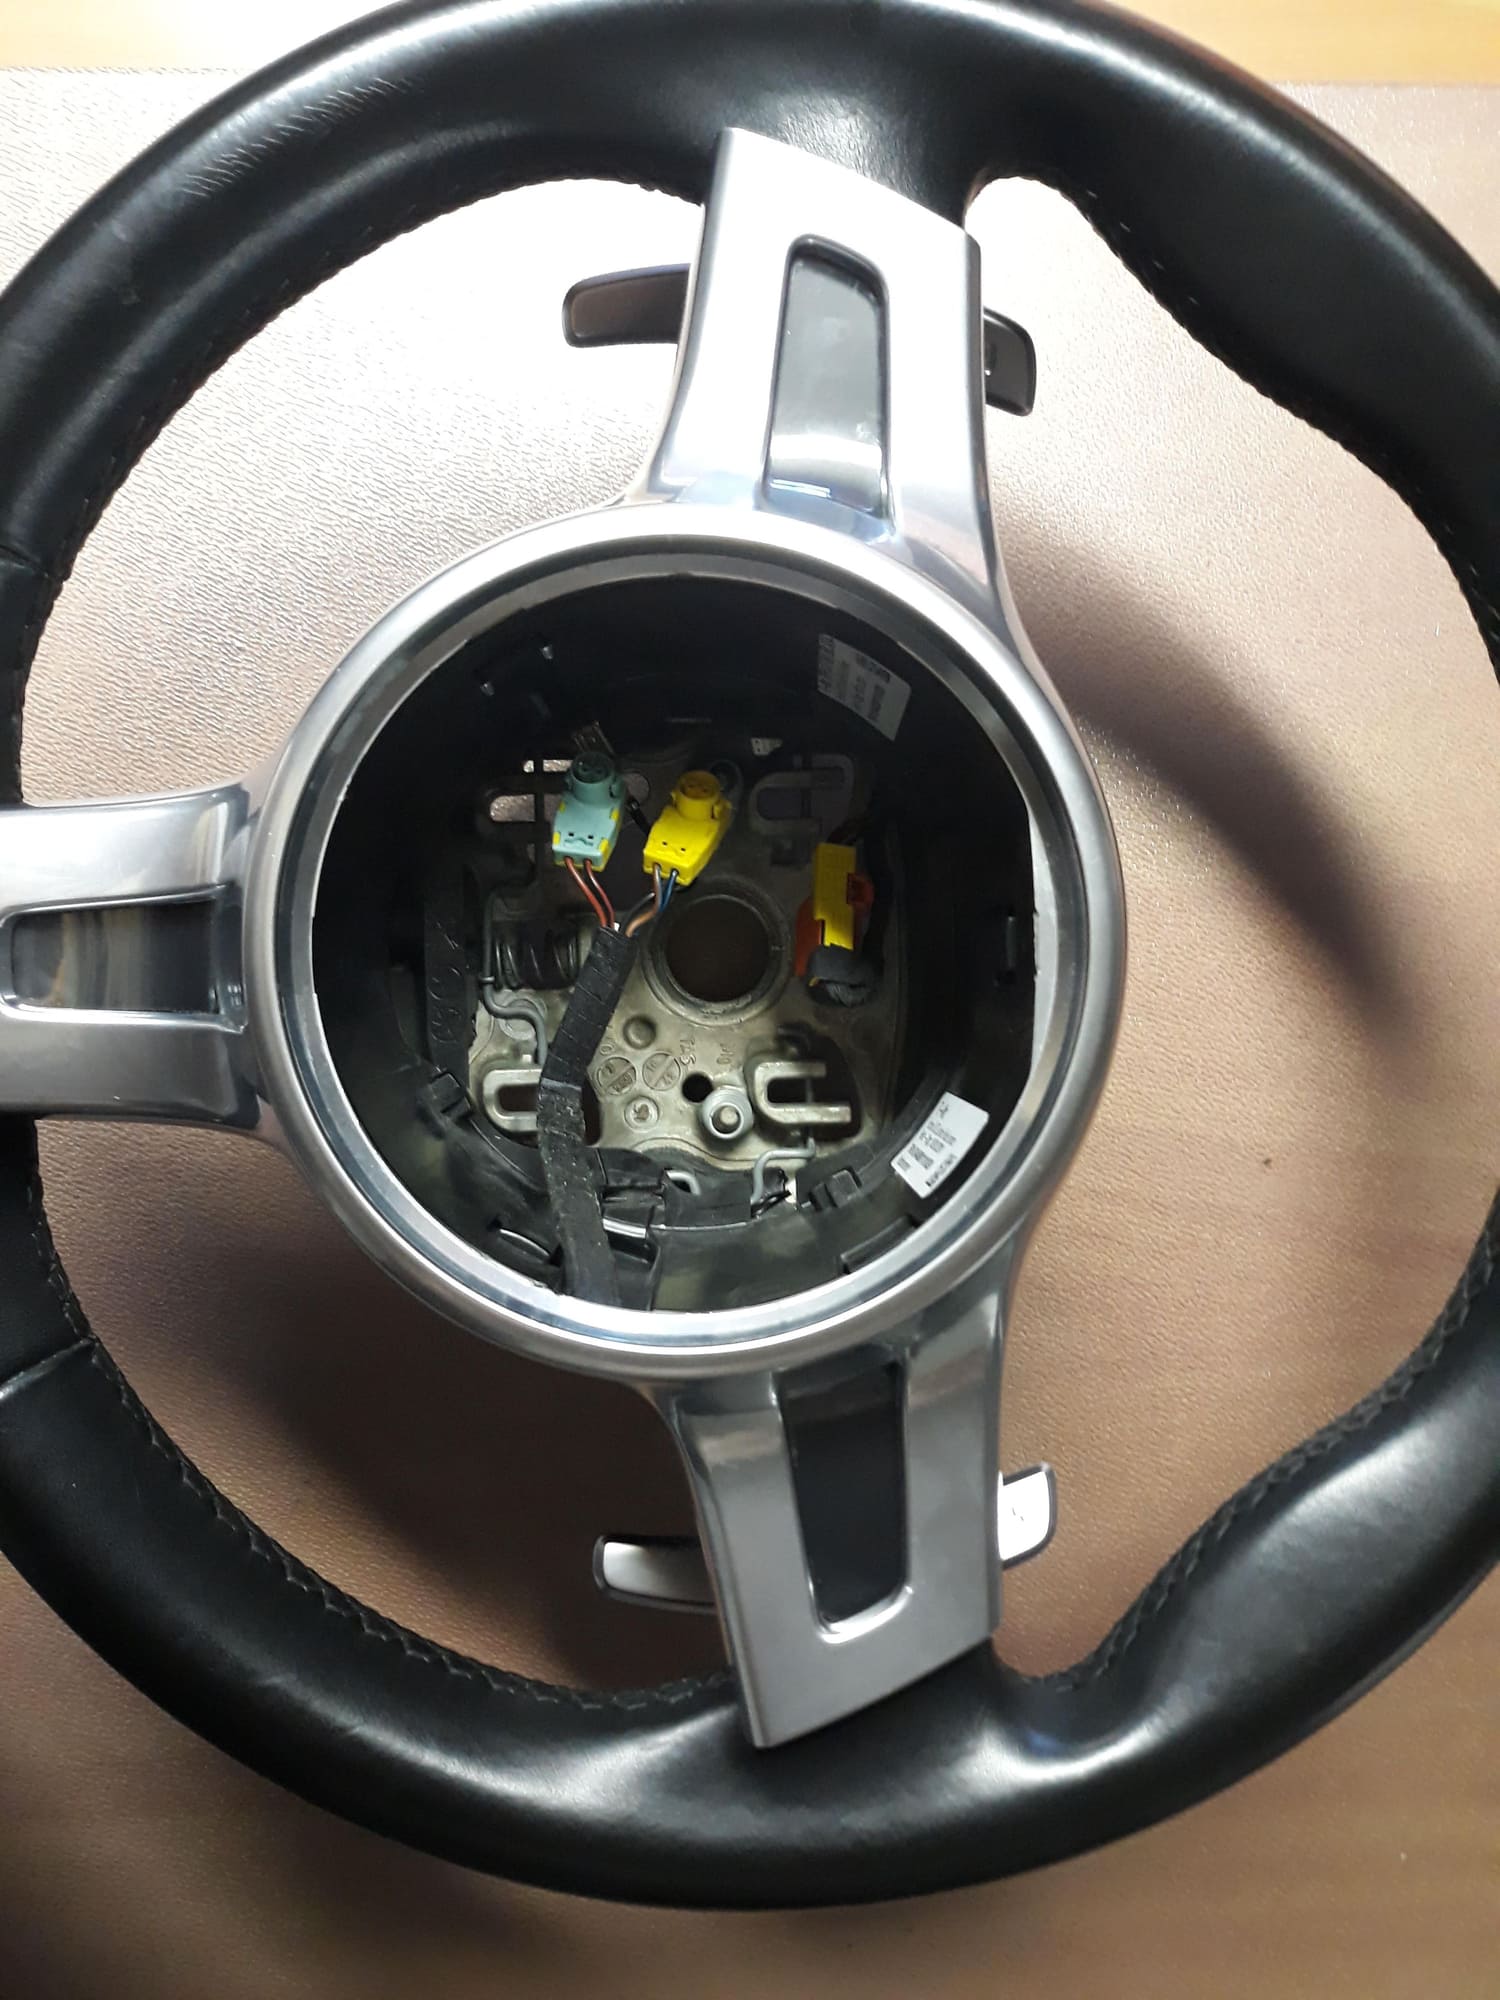
However, now that I have seen the wheel without the paddles, I am not sure I like the look from the sides.
The gaps/holes on either side due to the removal of the paddles are bigger than I thought they would be...
I will upload a few pics over the weekend.
That leaves with me with two choices: either my OCD accepts that there are holes in the sides of the steering wheel and other than that I have a great-looking wheel, or I still sell it at a discounted price given the light scratches.
Choices, choices...
There is a minor scratch on the left spoke, and 2 minor ones on the right spoke (above and below the little "screen"). From a bit more distance (3rd photo) you'd be hard pressed to notice.
Hiya, I wondered if you still had the pictures of the steering wheel with the holes where the PDK paddles were? I'm in the same position and can only seem to find PDK wheels at a reasonable price!
Hiya, I wondered if you still had the pictures of the steering wheel with the holes where the PDK paddles were? I'm in the same position and can only seem to find PDK wheels at a reasonable price!
I am afraid I don't have those pictures anymore, but believe me, the holes underneath the paddles are quite large.
Without the paddles the wheel looks... unfinished.
If you could have some aluminium cover plates made, that would do the trick though.
Or just wait until one of those very rare manual sport design wheels comes along
Thanks for the reply, looks like I'll hold out a little longer!
hi do you have any other link for the agency video?
Originally Posted by wjk_glynn
Thanks!
From the images you posted, I was able to find an original sources for others' reference. Here's a link to that video showing how to pull that trim (jump to the 5 min mark):
hi do you have any other link for the agency video?
It wasn't a video, it was a writeup on their (apparently now defunct) website.
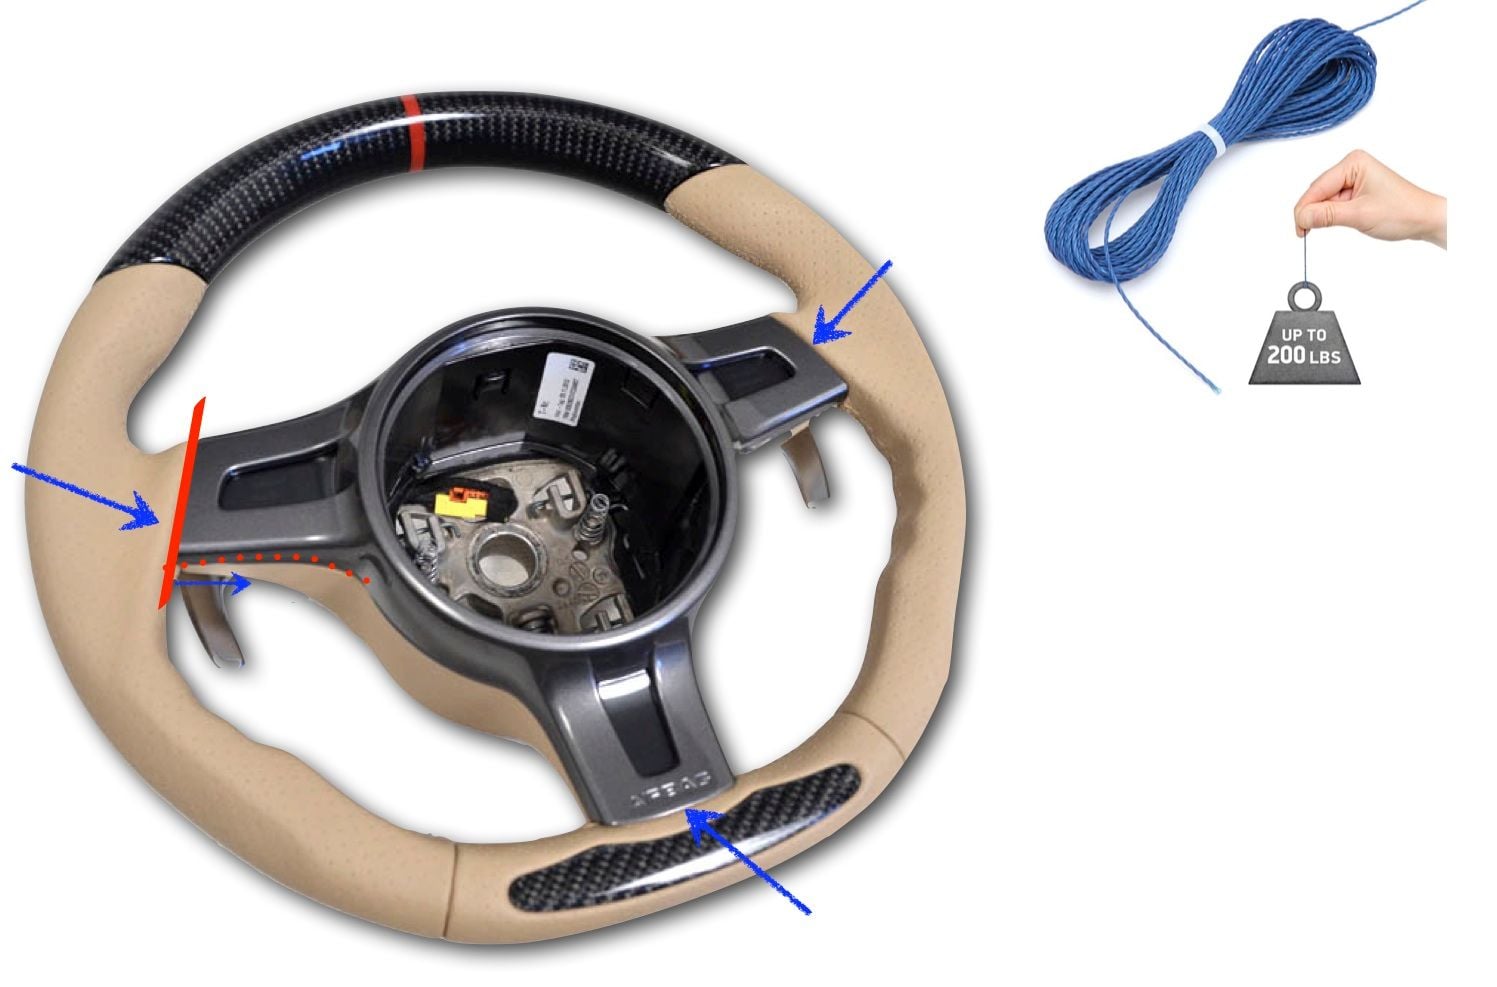
By chance I had saved one image from their site as follows.
It shows where to work in the 0.5 mm carbon-fiber-string in behind the trim (the red slash), and then work it back as far as you can (the red dots, though in practice you can't get it as far back as the dots imply), then pull out that wing of the trim a bit. Repeat the procedure with the other 2 wings (blue arrows), pulling each out a bit at a time, until the whole trim piece comes out. This requires significant force, so go easy a bit at a time or you could break a wing.


 05-23-2019, 04:42 AM