When you click on links to various merchants on this site and make a purchase, this can result in this site earning a commission. Affiliate programs and affiliations include, but are not limited to, the eBay Partner Network.
I broke the switch to open the trunk (the one in the door sill next to the driver's seat). I have the spare part, but now i am trying to figure out how to replace it.
Has anyone some pointers?
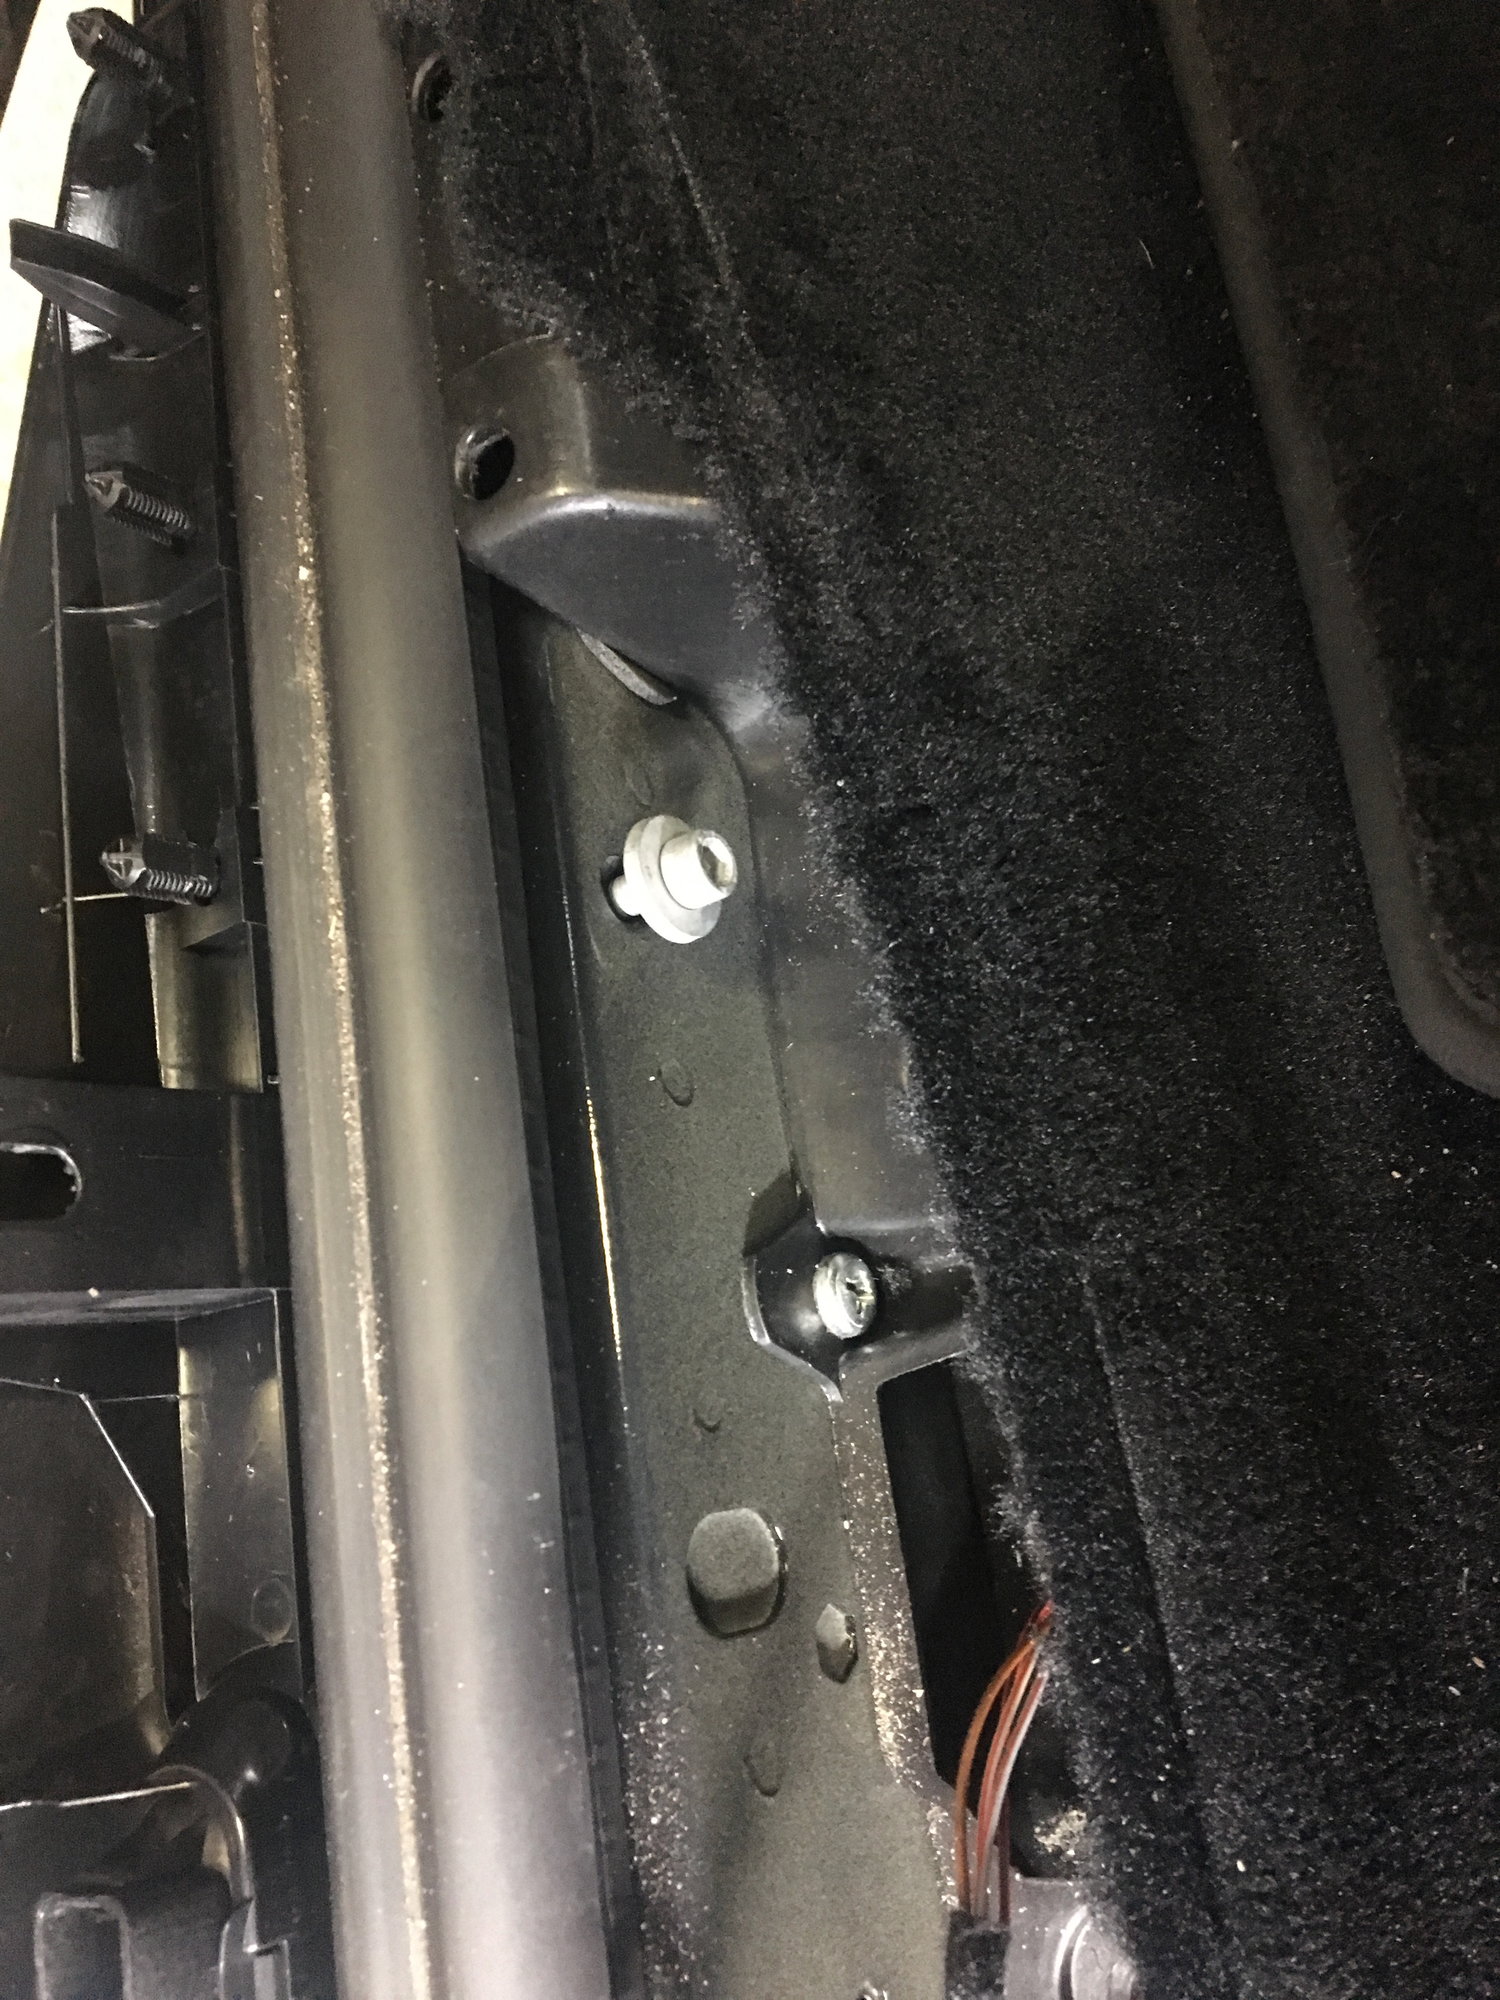
1. locate the two plastic trim plugs on the sills. You can feel them with your hand. They are a bit difficult to remove cleanly. I tend to just stab them with a pick and lever them out.
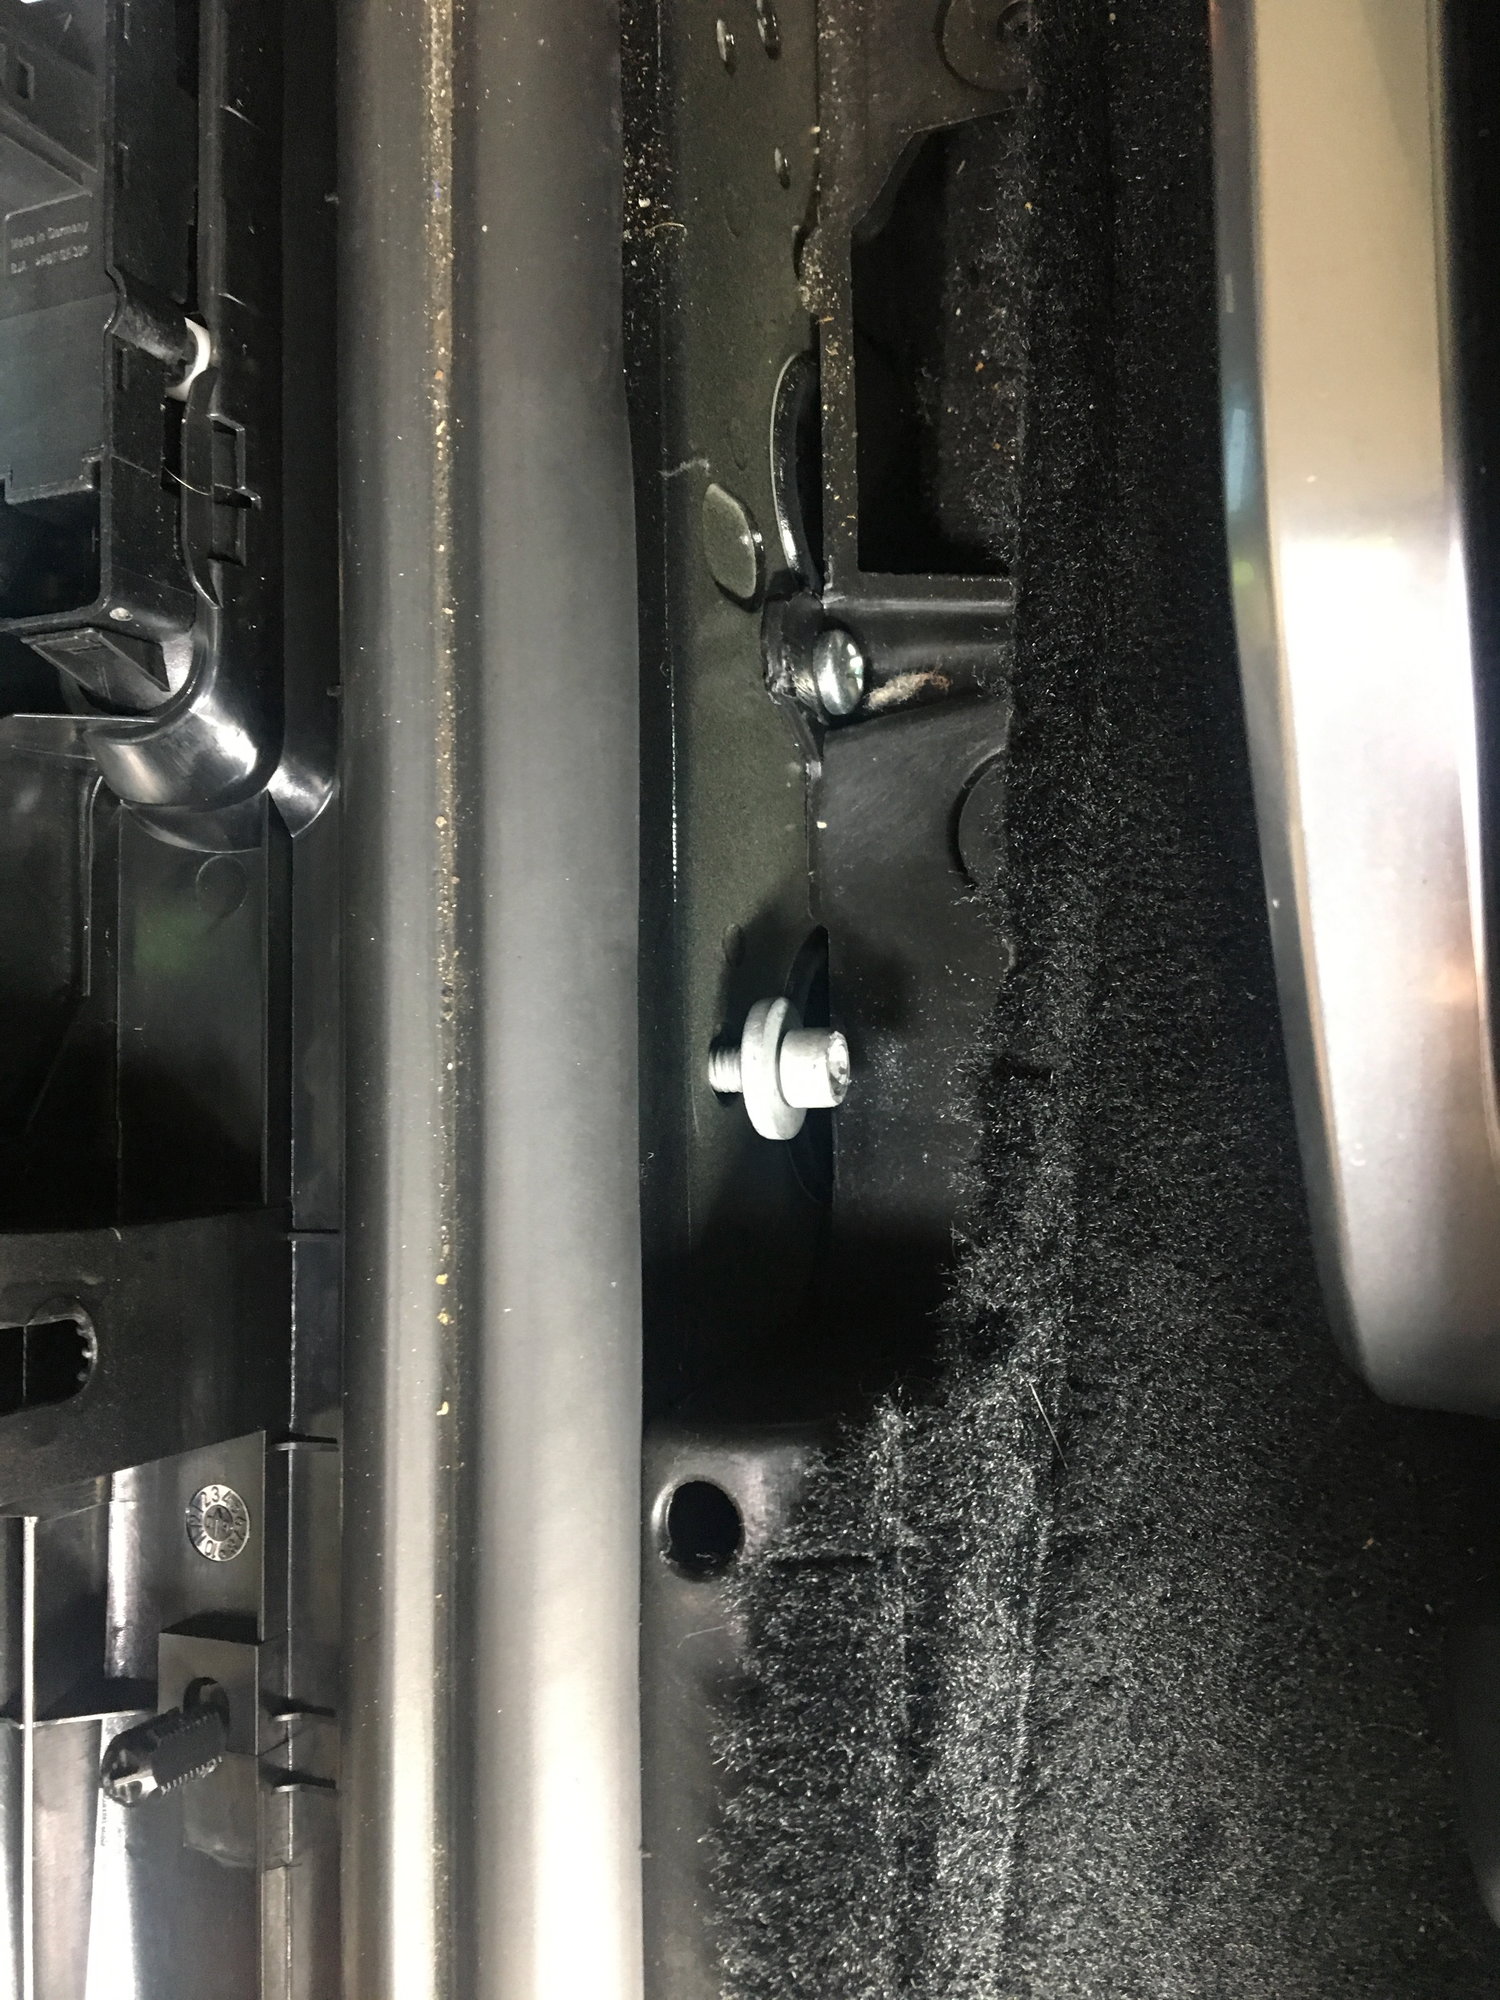
2. behind the plugs are allen bolts. I want to say they are 5mm but I can't recall. Front one is a piece of cake. Just loosen them, you don't need to remove. The rear one is very tight to the seat, so you'll need to adjust the seat to get the allen in there.
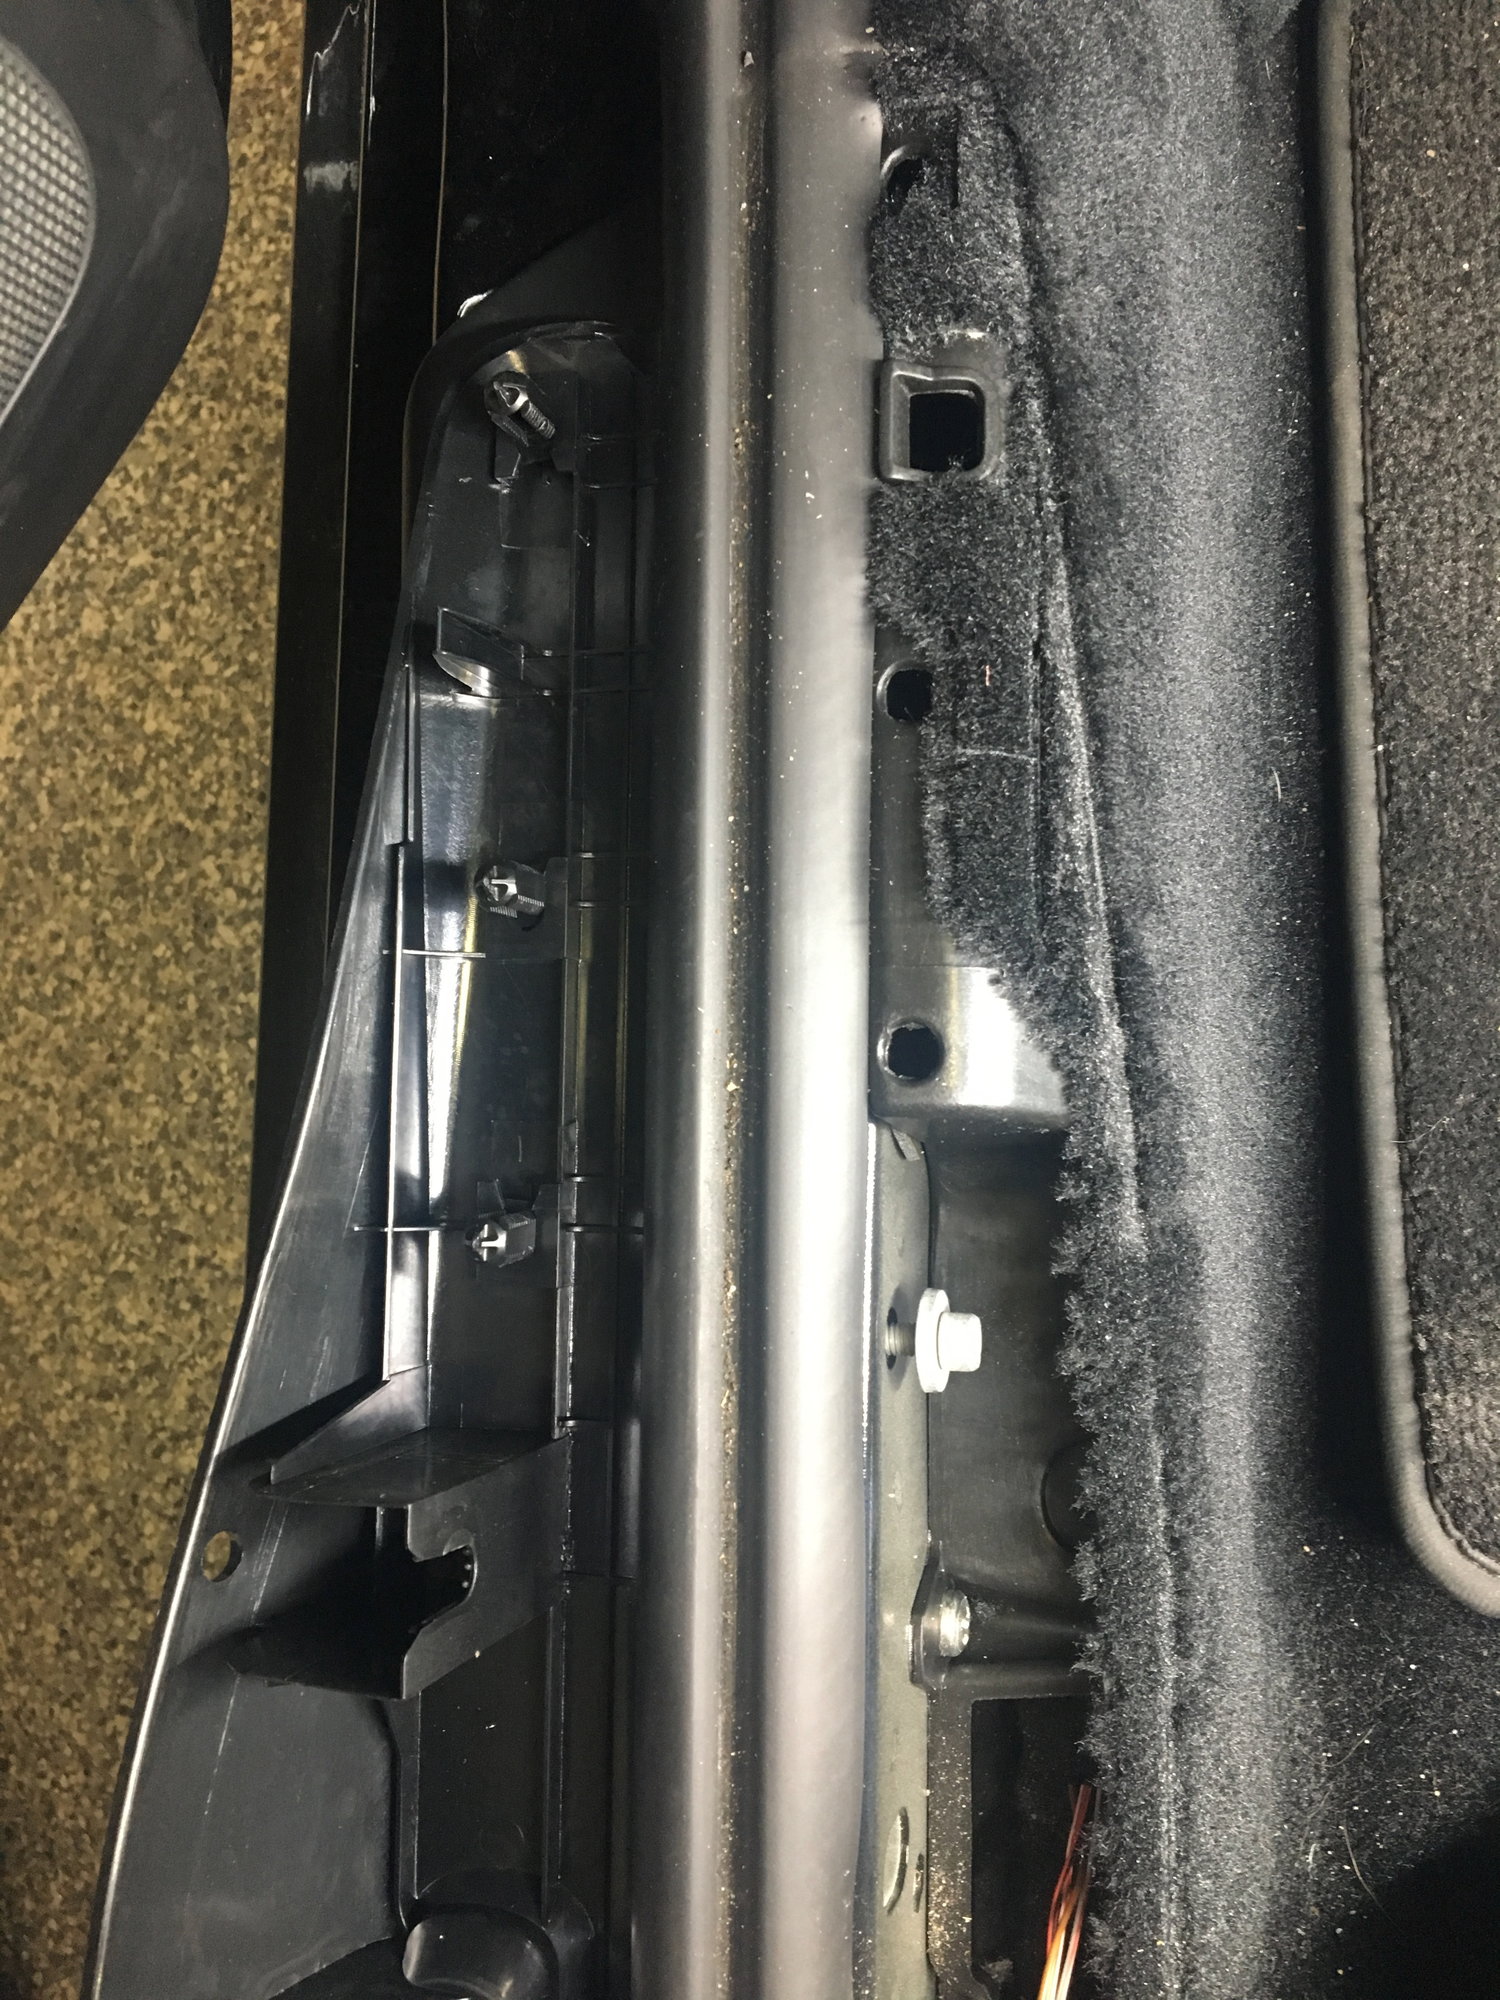
3. once the allens are loose. Just pull up on the sill firmly. Don't go gorilla on it but you do have to be firm with it.
4. Disconnect the harness plug.
5. Flip the sill over and look at the switch unit. There are 4 tabs that you need to pry on to slide the switch out. Really I just wedge a pick or very small flat head in there. Once you get the first side done, it goes easily.
6. New one just snaps in, plug it in, assembly is reverse of removal.
I confirm hex allen key is 5mm. It is necessary to be patient with the pulling up of door sill, takes some effort. Same with removing the switch unit: small flat head is indeed best method with care and more efforts.
Finally got the door sill away and switch unit disconnected. Then removing the unit takes some more patience and effort.
Front allen bolt is easy.
Not much room with rear allen bolt.
The front allen bolt with the tabs keeping the sill firmly in place after applying pressure from top. That's why it is an effort to pull up.
Pulling firmly and slowly upwards on the sill made somewhat terrifying rending noises, but it appears to be just the black friction connectors visible in mblueracer's photographs giving way.
Easy job with the above instructions and some patience removing the switch unit from the plastic sill assembly.
Is it possible to to repair a broken switch? My frunk switch is a little fiddley. Feels like something came loose in the switch and wondering if I can crack if open or need to buy a new module.
Do you guys know where I can purchase the trunk switch. I'm looking for a replacement. Mine broke off. I'd appreciated it if guys can direct me somewhere or know if someone is selling a used one.
While some people report being able to loosen the two 5mm Allen bolts required to remove the driver's side sill with a standard Allen key, I suspect different seat configurations make loosening the rear bolt much more difficult, if not impossible. It also may depend on the length of the short leg of your Allen key. In my case, I have a manually-adjusted driver's seat, and I found it impossible to loosen the back bolt with my particular 5mm key because the short leg could not reach the front of the bolt. The seat interfered with the key, making it impossible to use the long leg no matter the seat position. So I cut the long leg of the Allen key down (see photo) to a total of about 2", polished the end with sandpaper, and slightly eased the newly cut edges. It worked perfectly, but was just barely long enough. If I were to do it over again, I would have cut the long leg about 1/4" longer. These Allen keys are quite inexpensive, and cutting one down makes more sense than, say, removing the seat.
Last edited by JustinCase; 10-30-2018 at 11:15 AM.
Reason: Typo
While some people report being able to loosen the two 5mm Allen bolts required to remove the driver's side sill with a standard Allen key, I suspect different seat configurations make loosening the rear bolt much more difficult, if not impossible. It also may depend on the length of the short leg of your Allen key. In my case, I have a manually-adjusted driver's seat, and I found it impossible to loosen the back bolt with my particular 5mm key because the short leg could not reach the front of the bolt. The seat interfered with the key, making it impossible to use the long leg no matter the seat position. So I cut the long leg of the Allen key down (see photo) to a total of about 2", polished the end with sandpaper, and slightly eased the newly cut edges. It worked perfectly, but was just barely long enough. If I were to do it over again, I would have cut the long leg about 1/4" longer. These Allen keys are quite inexpensive, and cutting one down makes more sense than, say, removing the seat.
Good tip...but even better yet (at least for me) was to use a ball end 5mm wrench. Makes getting the wrench into the bolt very easy. Also, make sure you don't remove the bolt - just need to loosen. BTW - no photo.
Do you guys know where I can purchase the trunk switch. I'm looking for a replacement. Mine broke off. I'd appreciated it if guys can direct me somewhere or know if someone is selling a used one.
Thanks
Bruce B
Toronto, Canada
Look on ebay. I found mine listed for 69.00 or make offer. I ended up paying 65 with free shipping. (new OEM) The prices for these are all over depending on where you buy from.
5. Flip the sill over and look at the switch unit. There are 4 tabs that you need to pry on to slide the switch out. Really I just wedge a pick or very small flat head in there. Once you get the first side done, it goes easily.
Very helpful. I'm to this step right here. Can anyone provide additional guidance on this step? I'm having trouble locating these tabs as there appears to be several options. Thanks!
Edit - I finally figured it out. I had to pry it from the top side (where the levers face you) and order to get it out. Once pried, I put tooth pics in place to hold the areas open as I jimmied the piece out.
Last edited by Clinton Ave; 12-16-2018 at 05:42 PM.
I am getting ready to replace my switch too. Do you pull up on the sill or out? The pic makes it seem like you pull out (I am basing this on the black slotted tabs that are secured by the alan screws, seems like it should pull out).
Wow, that was easy. Keep in mind that the switch being replaced is pushed through (after releasing retaining devices) the piece holding it and not pulled through.

 09-13-2015, 03:02 AM