When you click on links to various merchants on this site and make a purchase, this can result in this site earning a commission. Affiliate programs and affiliations include, but are not limited to, the eBay Partner Network.
Replacing Ignition Trim and Headlight Switch Bezel on 997
Ok, and so it begins...
I mentioned that I received my Suncoast parts order the other day. Now it's time to start installing them!
I would say that I did the installs. But actually my wife did. Again, a not so subtle way of getting her involved, and to unwittingly maker her fall further in love with the 997 (she knows next to nothing about cars and often can confuse a Honda Civic with a Lotus, etc. - though she does appreciate the engineering in the Porsche). This should help maintain household calm at reasonable levels when next major service bill arrives.
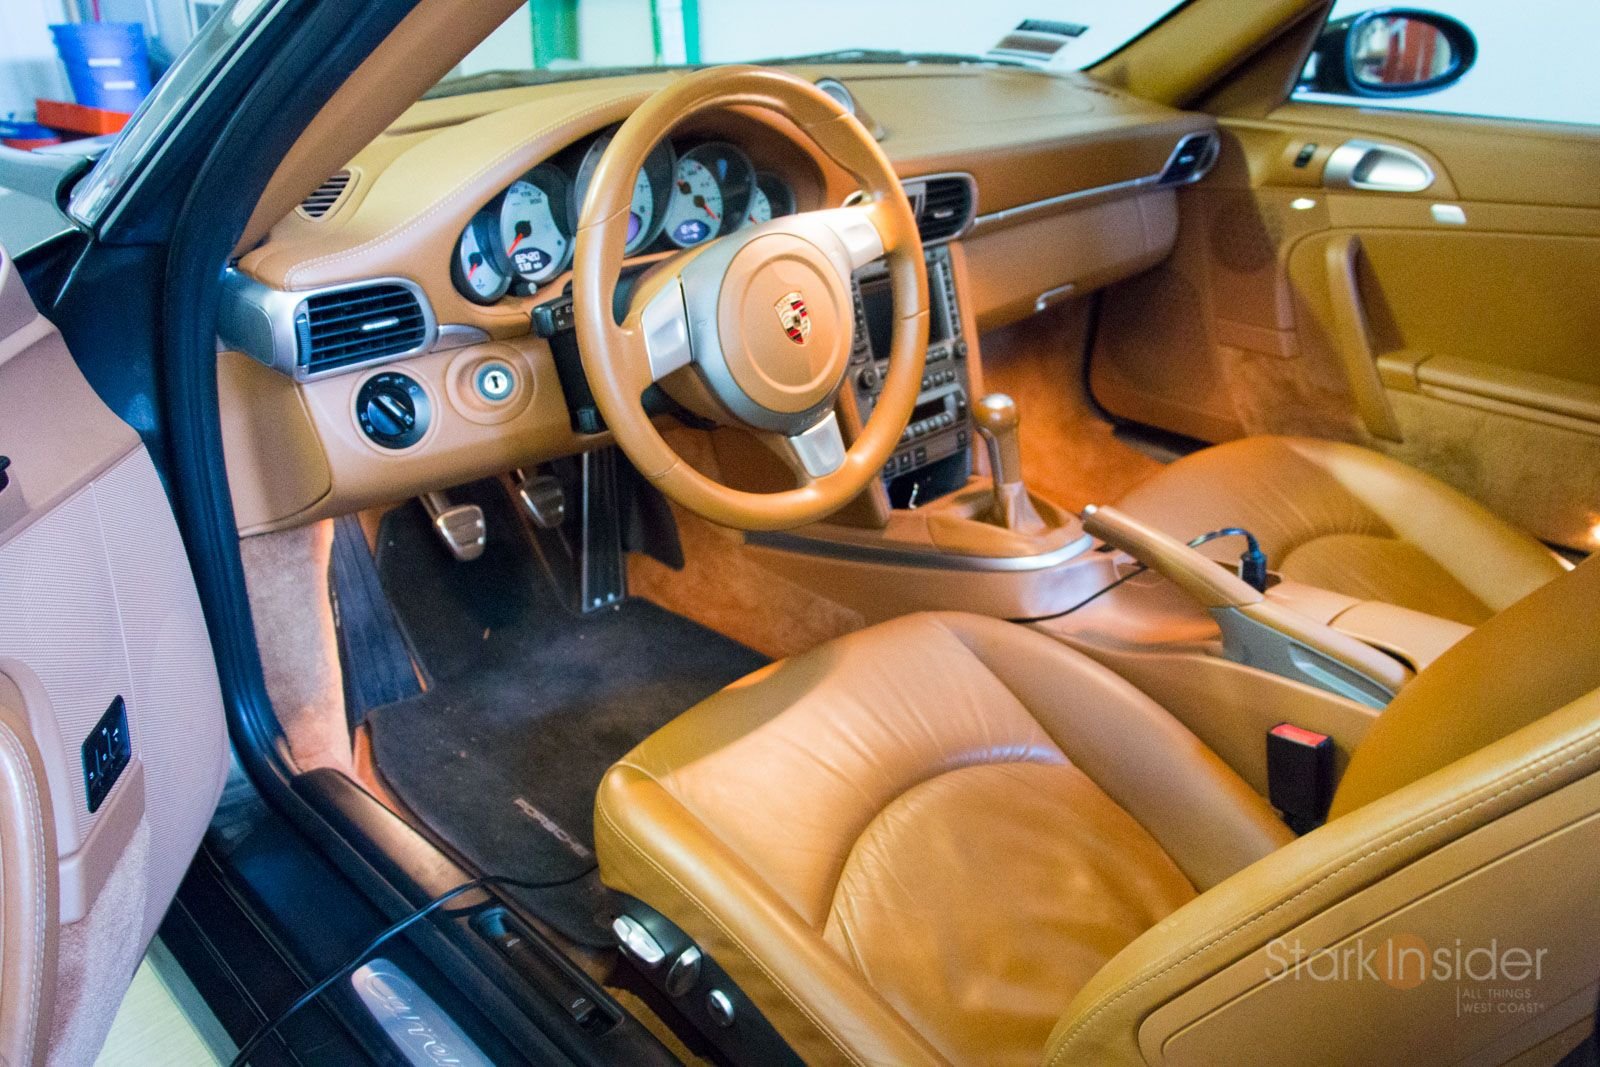
You can see below in the photos that "before" my trim on the Headlight Switch Bezel and Ignition Surround were in pretty shoddy condition. Oddly, the switches on the stereo are in perfect condition - usually I've seen these rub off (because of creams, chemicals?).
End result: excellent. Color match looks perfect, to my eyes at least. Install was fun with satisfying result.
We also did the cabin air filter. And hooked up the battery conditioner. I'll post later on those too. Yeah, advanced stuff for sure!
Anyways, good times.
Oh, last step: crack open a Stella (not in photos)
IGNITION SURROUND
- use some blue tape to protect console
- use a pry tool (we used MAcarbon) to remove existing piece
- then work it off carefully by hand
- new trim piece snaps in
- very easy!
HEADLIGHT SWITCH BEZEL
- turn to off position
- push in until you get resistance
- then turn to right, clockwise about quarter turn or less
- assembly slides out at that point
- disconnect wiring connector
- remove 3 Torx T-20 screws (we used allen key, but they were on very tightly)
- reverse to put back together
- also, very easy!
PS- I know there's another way to add photos so that I can add text in between to describe the steps, but I can't figure out how. Instead these come across as attachments. Oh well, sorry for any viewing hassle!
You can also get painted ones from bumperplugs.com.
Huge improvement over the worn ones.....for the price this was a no brainer.
Good write up too. Macarbon.com has videos of this but your write up had one key piece of info that they left out.....headlight switch must be in the off position!
Nice. these were the first two items I "fixed" in my 997 also. For the ignition switch I bought a leather surround from Exclusive Option. It was a nice, inexpensive upgrade and a chance to try that vendor out. In my opinion, its actually more robust than the original part, as leather doesn't peel and chip in the same way. The headlight surround I bought some Atlas gray spray paint and sanded and sprayed the original part and then hit it with some clear. 4 years on and not a scratch on it.
Thanks everyone for feedback, and sharing what you did on yours. Interesting all the different choices that can be made regarding 911 interior bits. Feels good to get a couple of simple projects done.
Now I've got to focus on center bumper trim that came completely out. Some good suggestions on another thread on that. Might do 3rd rad. Not sure yet.
Then have to get stone chips and minor curb rash fixed, before having 3M clearbra installed and complete detail. On and on...!
I've got the same interior. I repainted those items without removing them, using a small artist brush, and a little jar of paint I had made up at Home Depot from a scan of the ashtray lid which I brought inside. Plus I repainted the strips below the armrests and the trim pieces where the seatbelts retract into the B pillar. It blends in perfectly, you literally can't see where it's been touched up. Total cost $8 and I still have the brushes and 99% of the paint leftover for future touchups.


 10-20-2014, 10:16 PM