When you click on links to various merchants on this site and make a purchase, this can result in this site earning a commission. Affiliate programs and affiliations include, but are not limited to, the eBay Partner Network.
The Bruce's Guide to Replacing your 997 Headlight Lenses
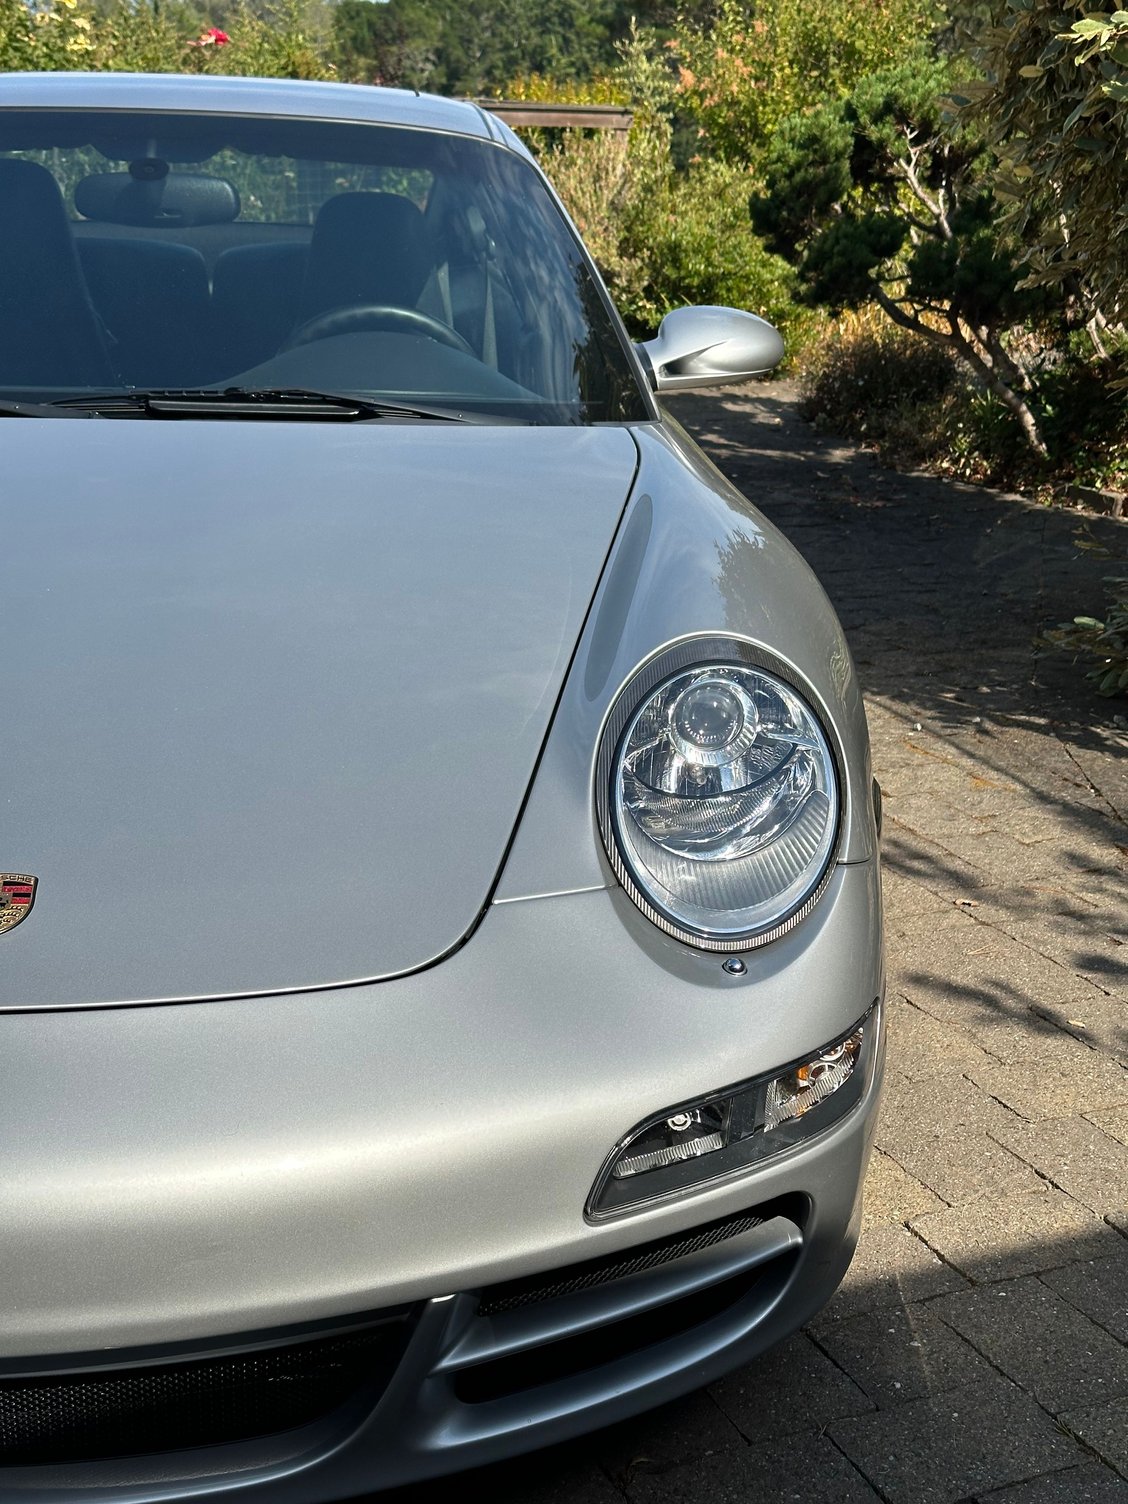
I finally tackled this project. My lenses were yellow'ish when I bought the car and I initially tried a 3M headlight polishing kit. It was fairly involved to sand, polish and re-coat them, but it improved them quite a bit. However while the clear lenses looked ok, the grey painted texture around the edges of the lens still had a yellowish tint. Nobody would notice unless there was another 997 next to it...but I noticed it. I lived with it for a while then read a post about cleaning the inside of the lenses with alcohol....and thats when things went downhill. You've all been there: something's not quite right, you gotta scratch that itch and end up making it 10x worse. The chrome finish inside the lens is EXTREMELY delicate and the alcohol took the finish off in two spots it touched. Ouch.
PSA: DO NOT EVER USE ALCOHOL ON THE INSIDE OF YOUR HEADLIGHT LENS...OR TOUCH THE CHROME TRIM INISDE THE LENS. ITS EXTREMELY DELICATE.
So at that point I knew I was committed to replacing the headlights, I was just looking for the most cost effective way to do it. I finally ran across a post about the aftermarket lenses being sold on eBay/AliExpress and figured I would give it a go. My main concern was the chrome trim. I knew if I started messing around in there it was likely going to get worse. But I had to scratch that itch...and of course it got worse. (Fast forward: I was able to replace the chrome trim from a broken headlight I found on eBay for $250).
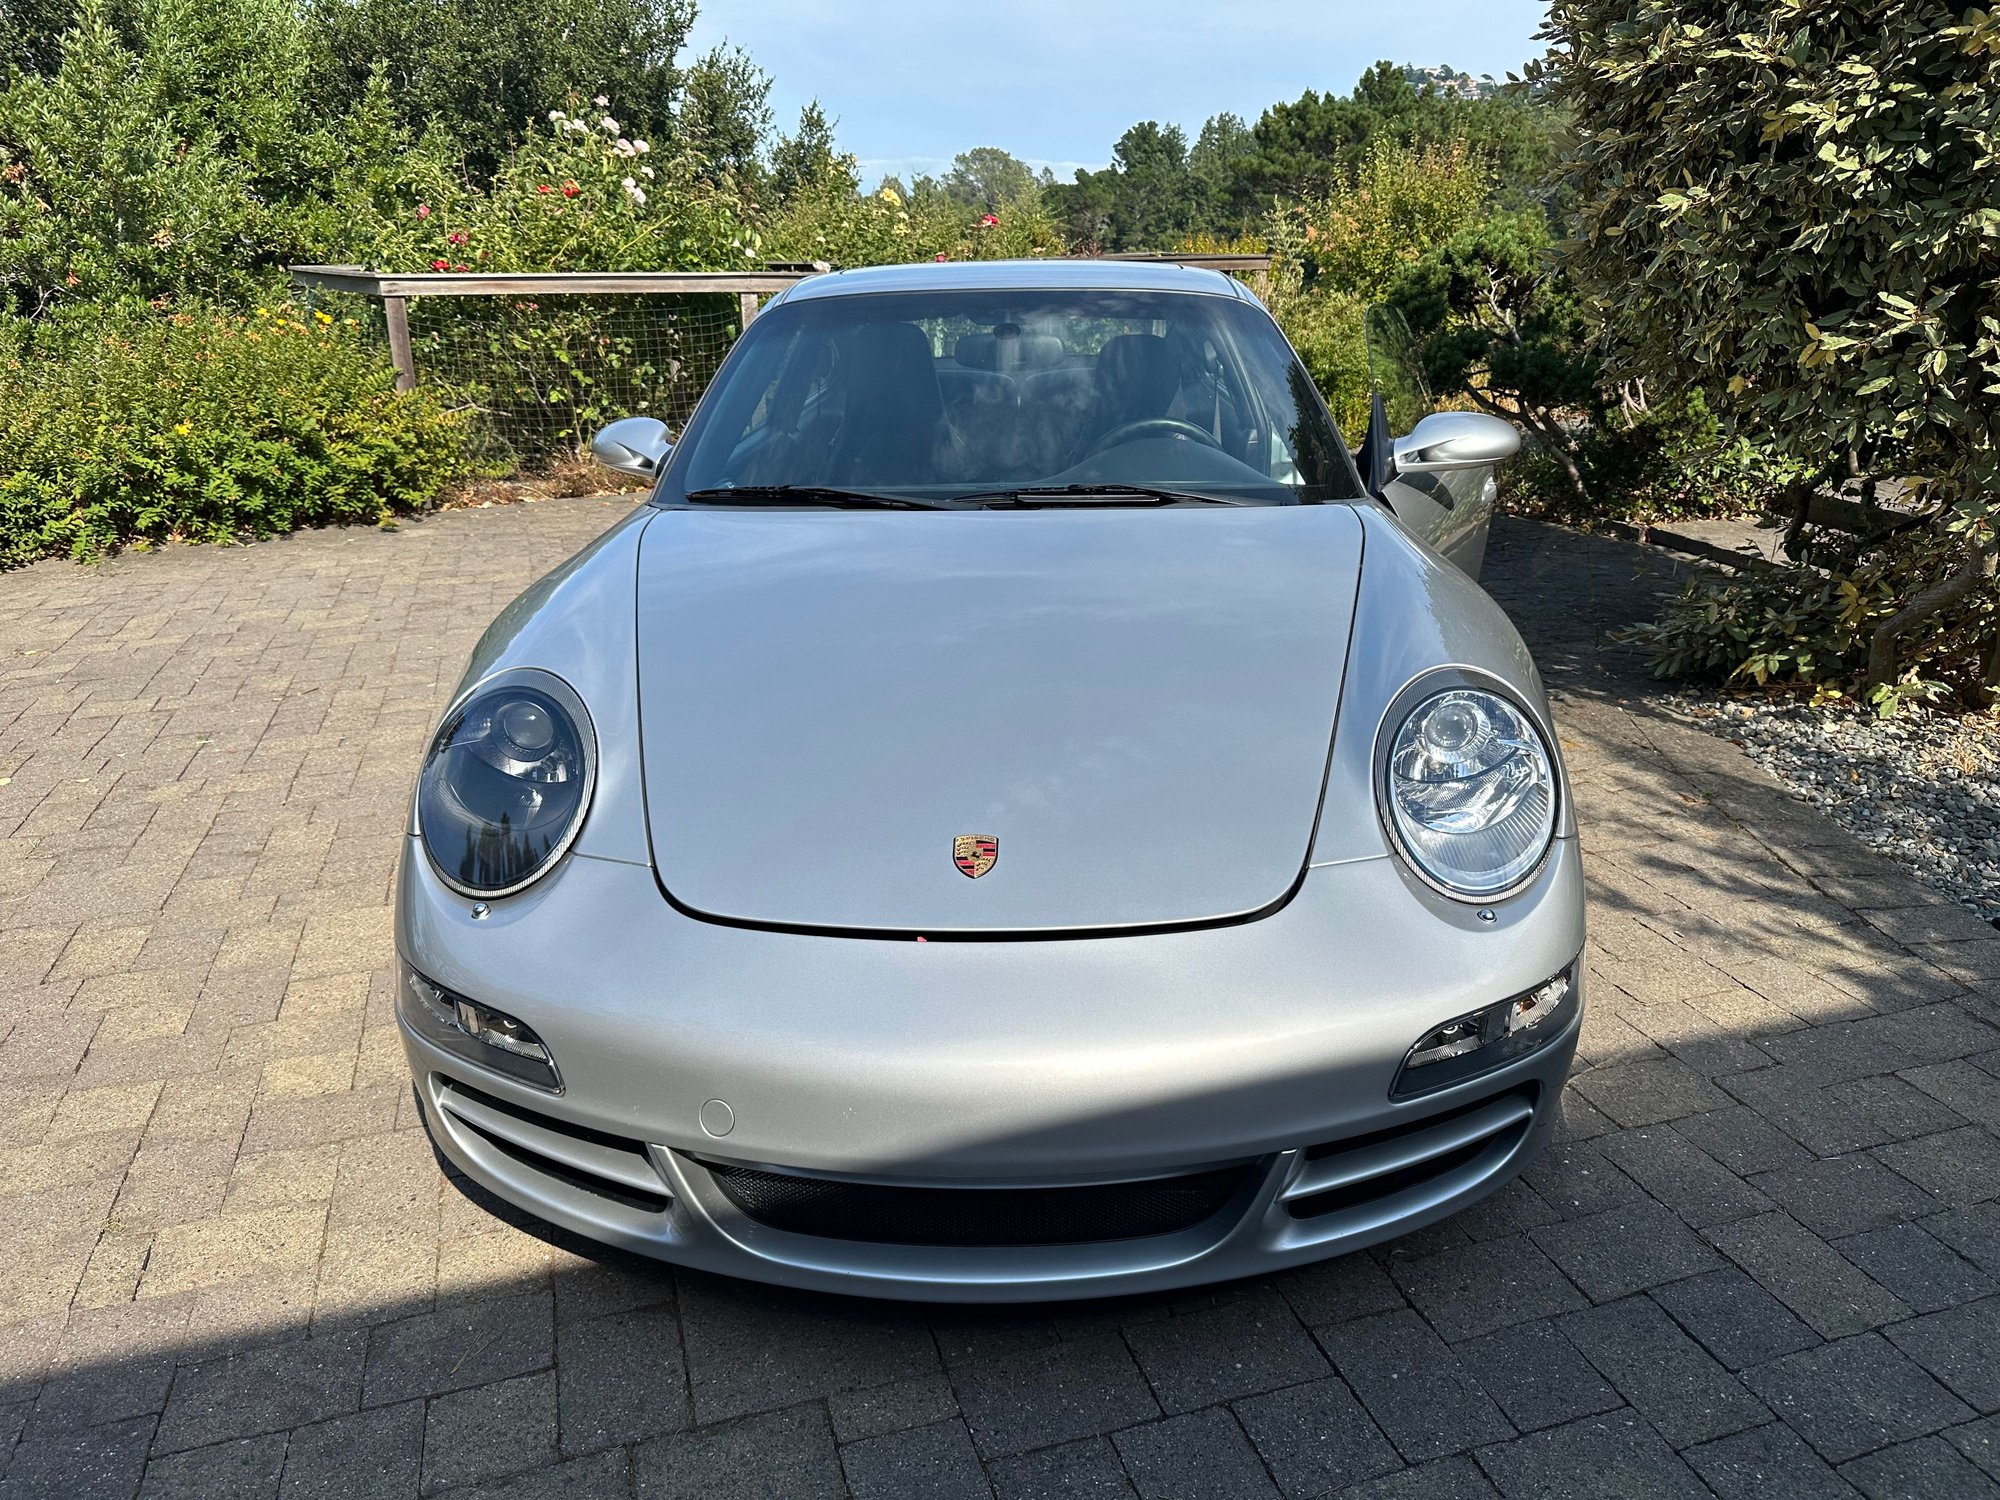
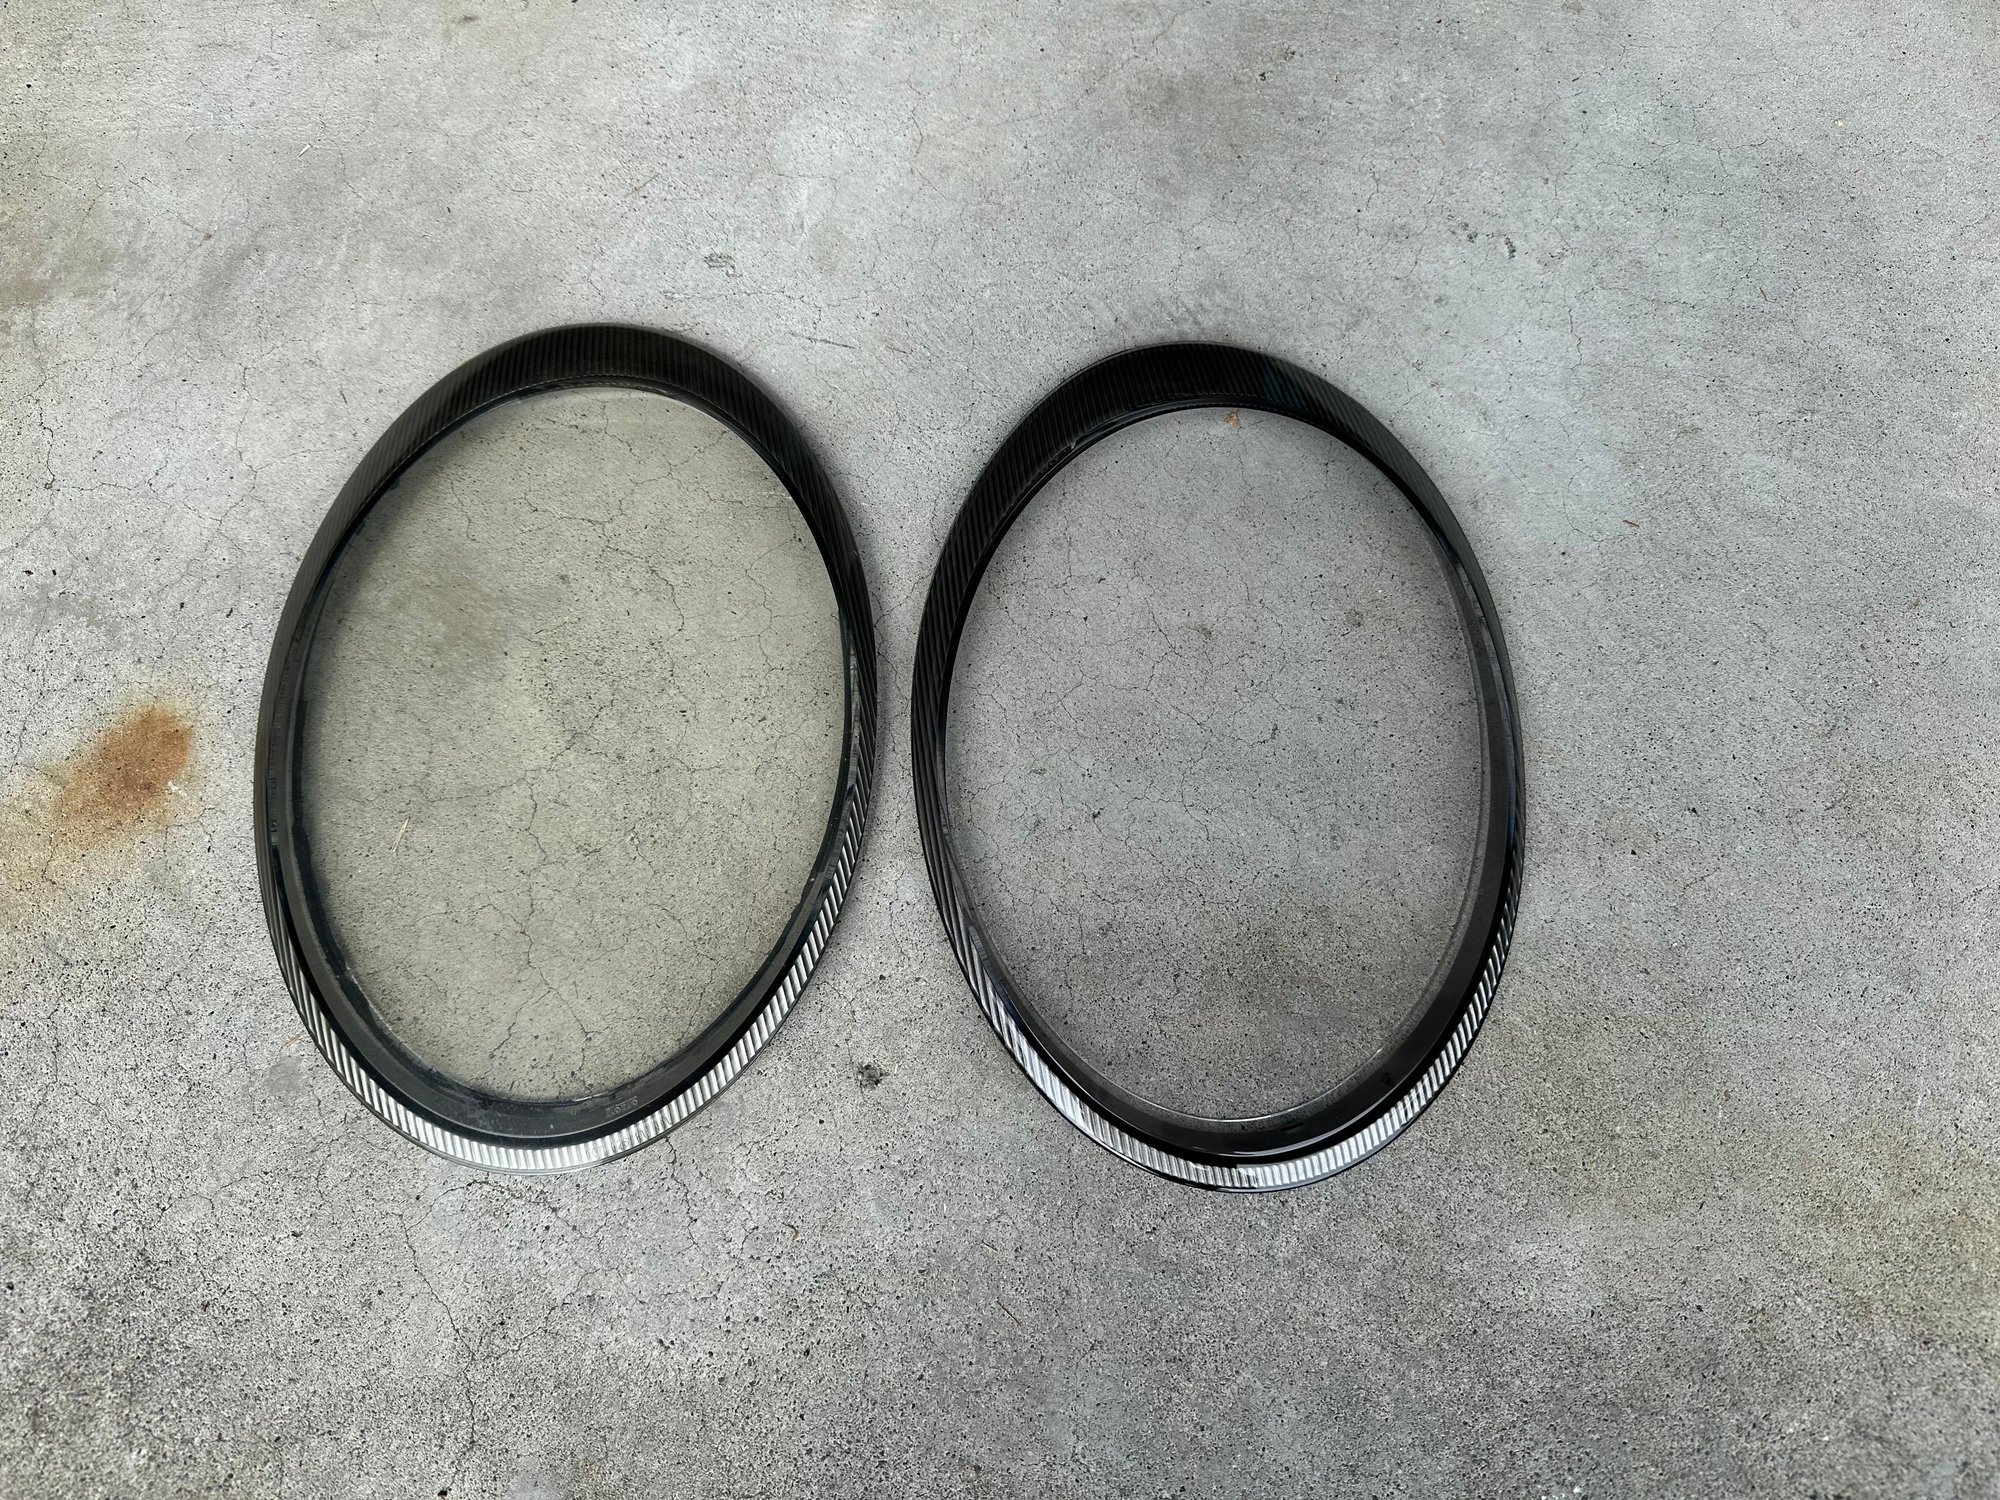
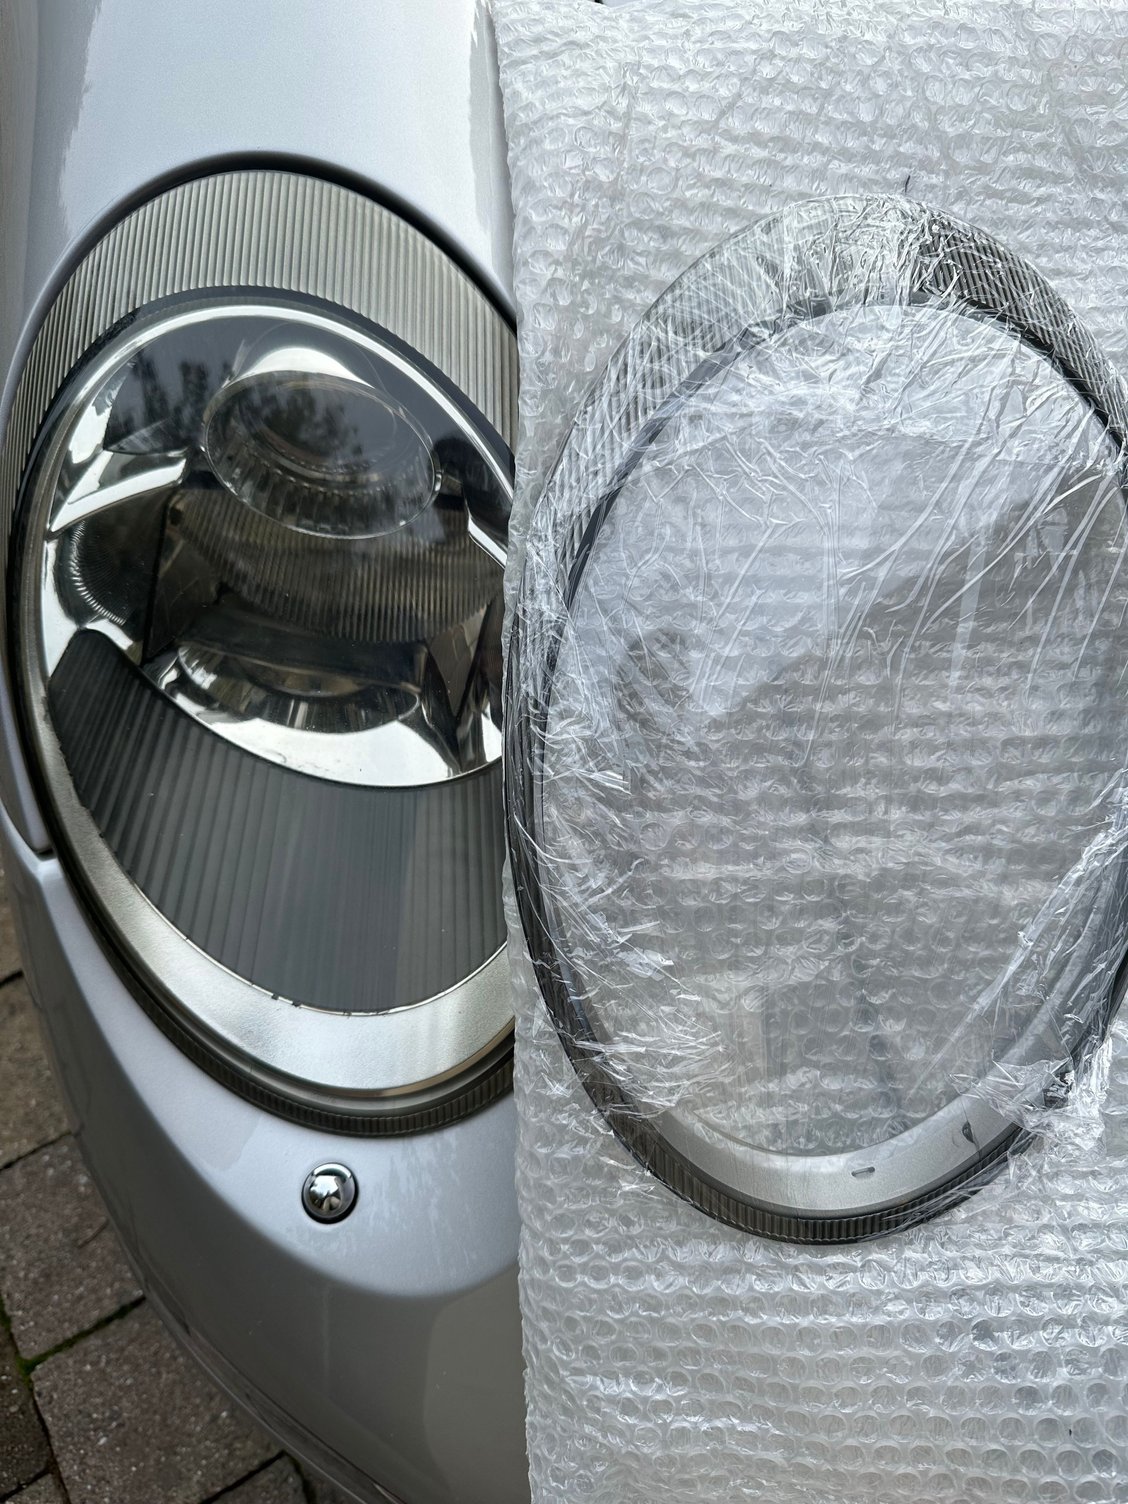
OLD VS NEW:
You can see how the painted area has a yellow tint. Note: on the replacement lens it looks like a defect on the bottom right. But thats just the mold mark - which you dont see when installed. The factory lens has one thats similar.
PARTS REQUIRED:
Replacement lenses from eBay/AliExpress (I think they are both the same supplier) $130x2
Removing the inner chrome trim: 5 mins (but be careful!)
Cleaning the old adhesive off the headlight: 30 mins
Installing the butyl tape: 5 mins
Re-installing the lens: 5 mins
STEPS:
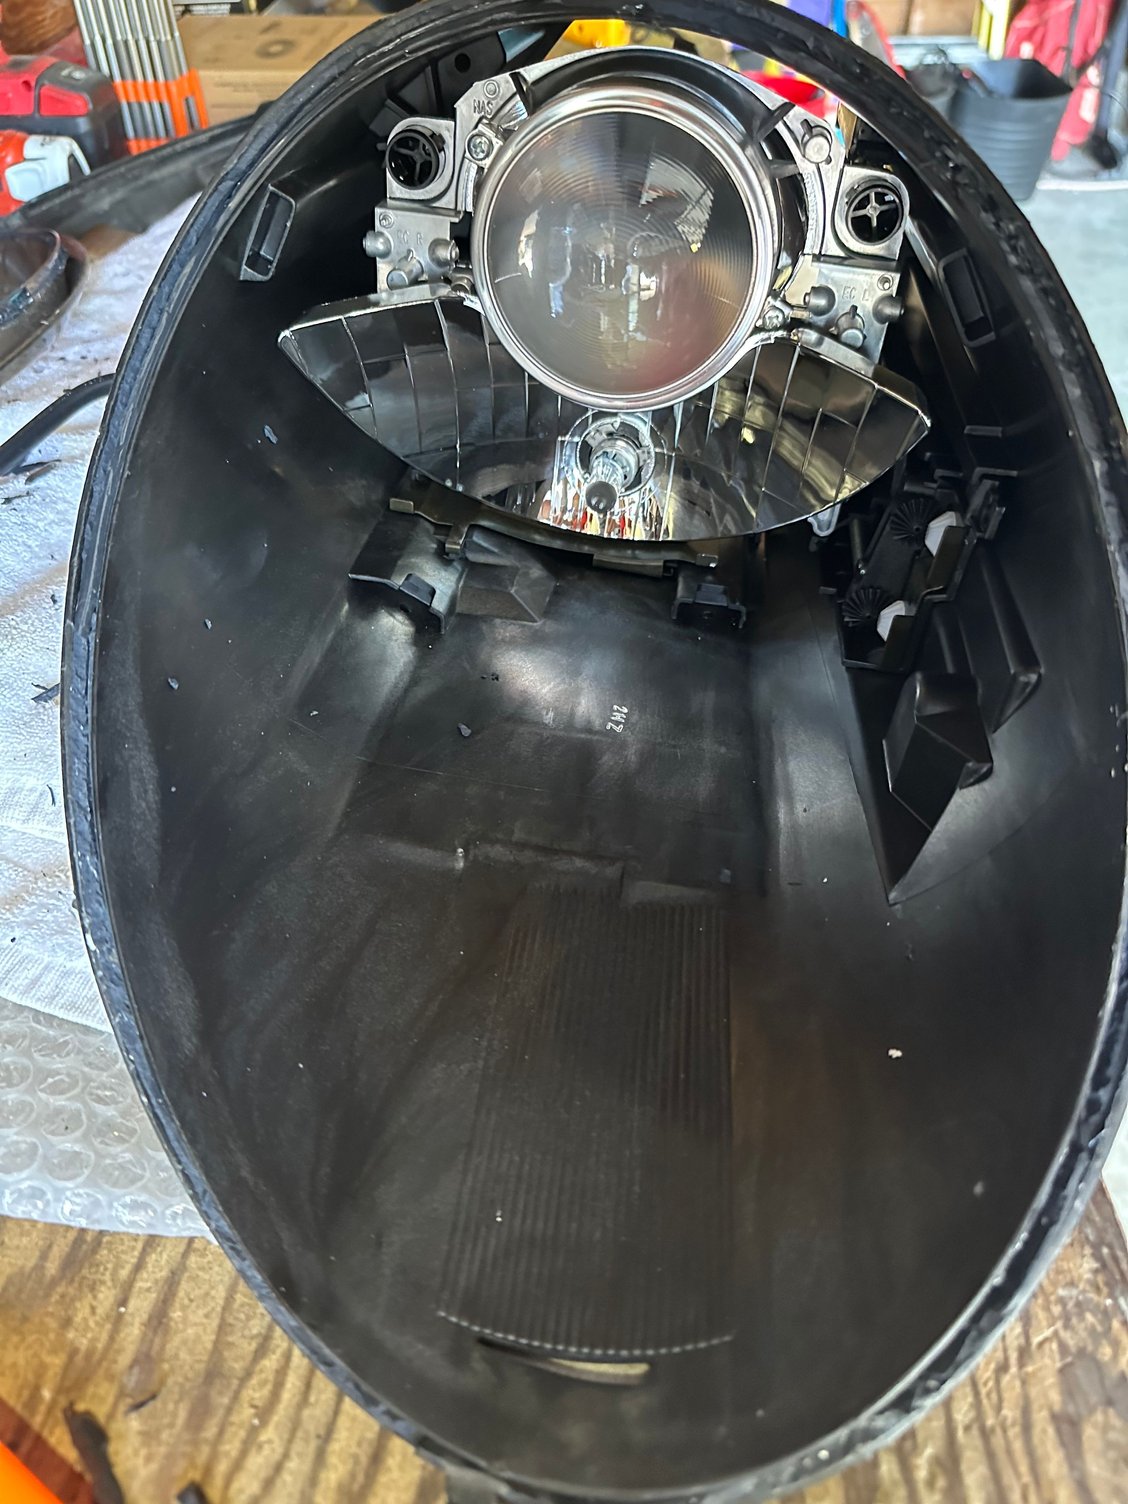
1. Remove Headlights: If you don't know how to do this, you might not want to tackle this project Its easy though. Remove the toolkit, get the headlight wrench, pull back the carpet, remove the little rubber grommet, insert the wrench in the hole, turn 90 degrees to release the headlight, then slowly slide it out.
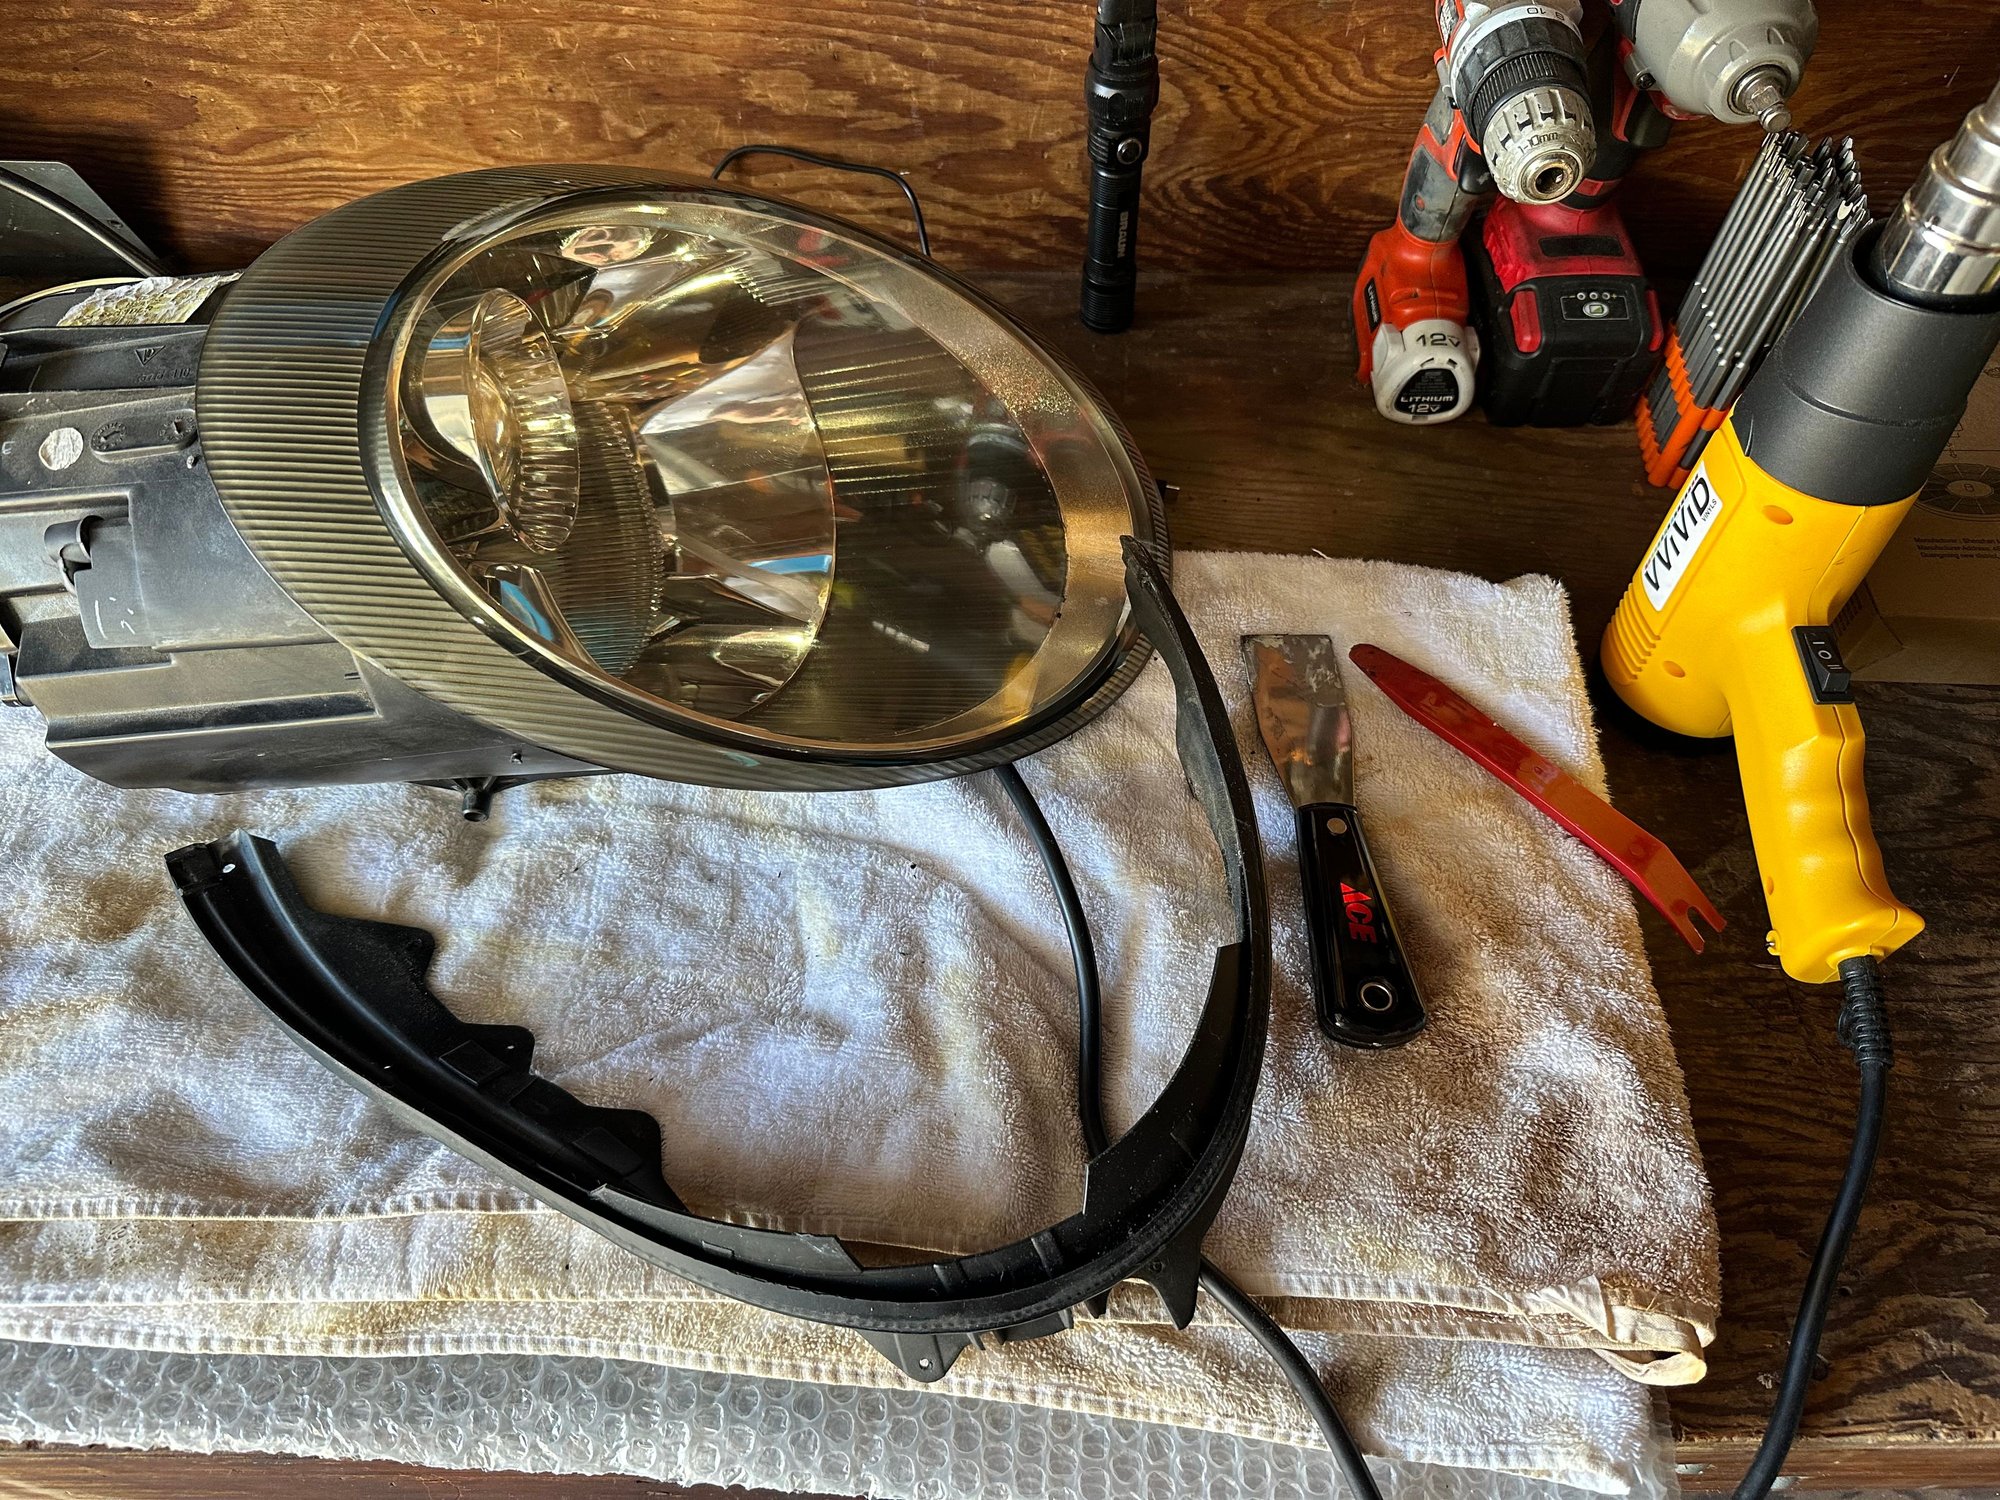
2. Put the headlight on a soft towel. It's going to get messy with little rubber adhesive bits everywhere.
3. Remove the rubber trim piece around the lens: there are 7-8 attachment points where there is a hole in the rubber that just slots into a plastic pin on the headlight. Gently pull up the trim piece to release from these holes. Be careful as a couple of the little plastic pins broke off when I was removing mine.
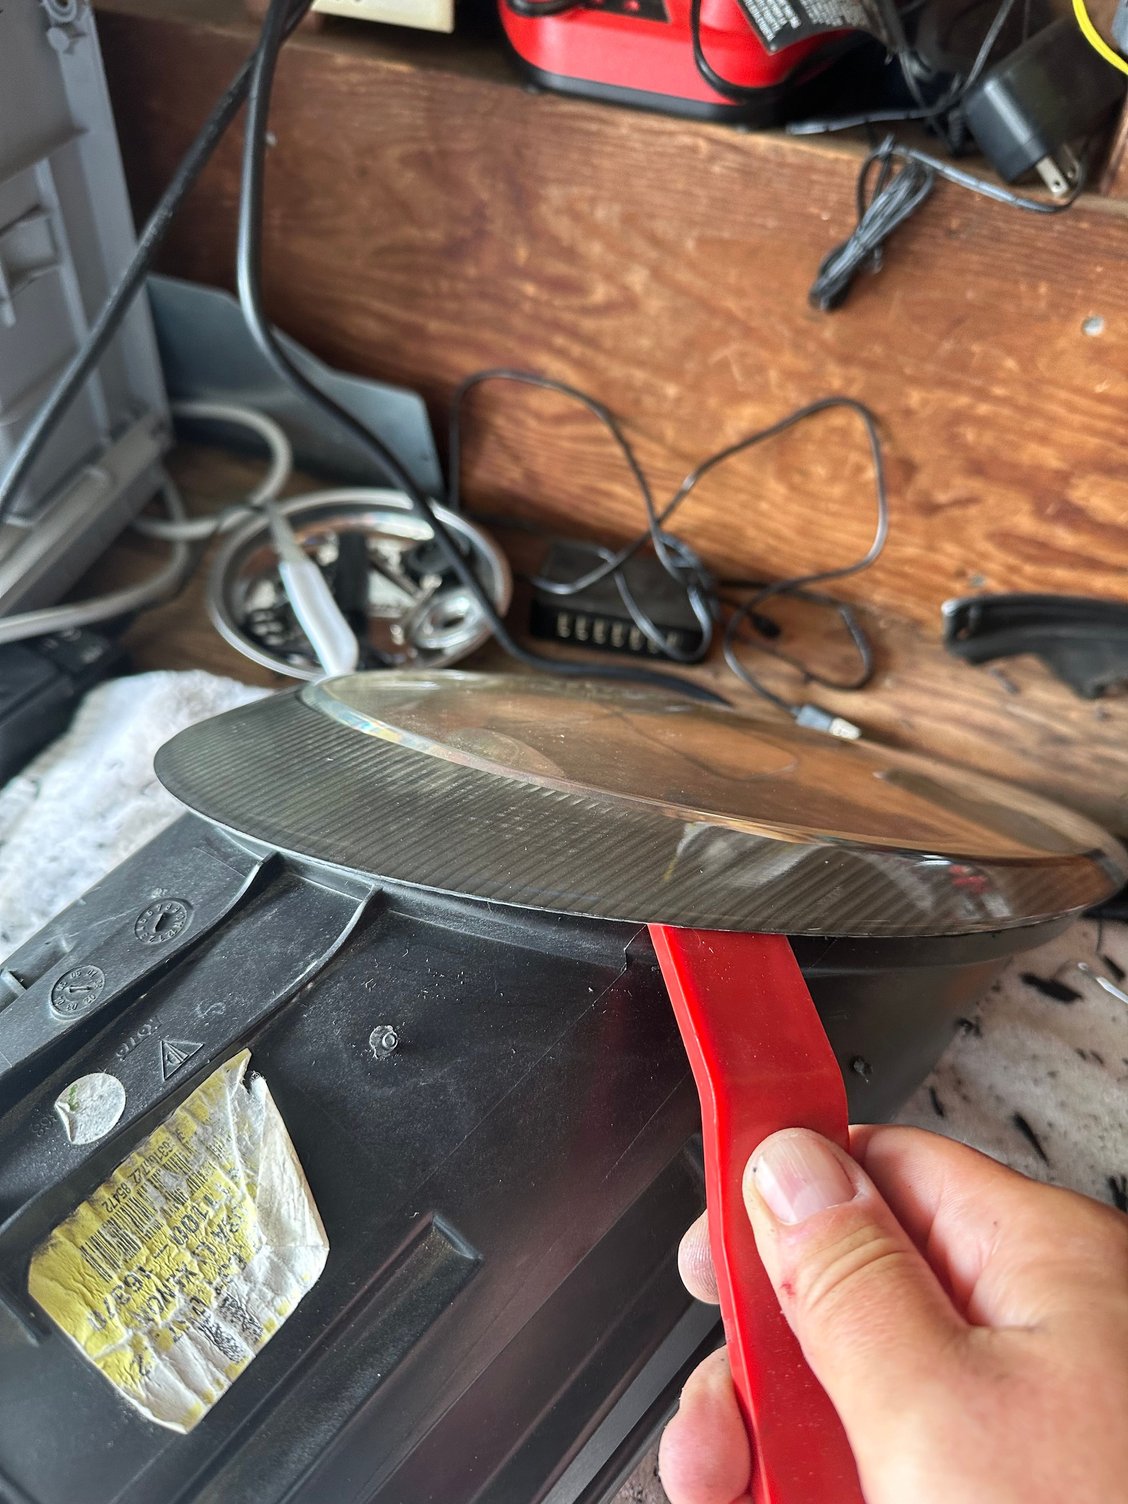
4. Remove the Lens: set your heatgun to a reasonable temp, like 250-300 and heat all around the edge where the adhesive is. I went around all edges for 2-3 mins, then placed the 90 degree pick in the seam and ran it around the lens a couple time to break the sealant. I found its easier to start working from the top of the lens (closer to the windshield) vs the bottom of the lens (closer to the bumper) where the little clip is. So go back and reheat the seat around the top of the lens again for another minute or so, then put your fingers under the lens and gently start pulling the top of the lens up a little bit. Just work it a little bit at a time until you feel the adhesive start to give. I also found using the plastic trim tool under the top of the lens and prying up (gently) but with consistent pressure worked well. If you yank on it, or try to pry it out with a screwdriver you will crack the lens (doesnt matter), and also could crack the track the lens fits in (does matter). Once you feel the top start to give, then hit the edges with some more heat. Then start pulling the top some more, slowly but consistently and it will start pealing away. Once you get down to the bottom of the lens not there is a little plastic clip it fits in so be careful with that so you dont break it. And you're done.
5. Remove the chrome trim piece: if you dont remove this, you're likely going to break it or destroy the finish when going to the next step. BE EXTREMELY CAREFUL WITH THIS PIECE. Only touch the chrome with a microfiber towel and dont grab it tightly...try to polish it...and DO NOT put any cleaning fluid on it. You will likely destroy the finish then you are screwed. There is no way to replace just this part. You cant buy mirror chrome paint like it uses. So your only options would be to replace the whole headlight, blackout the chrome piece with a matte black paint (which some people like and can look cool on some cars), or do what I did, find a donor headlight on eBay thats in bad shape but has the inner chrome piece intact.
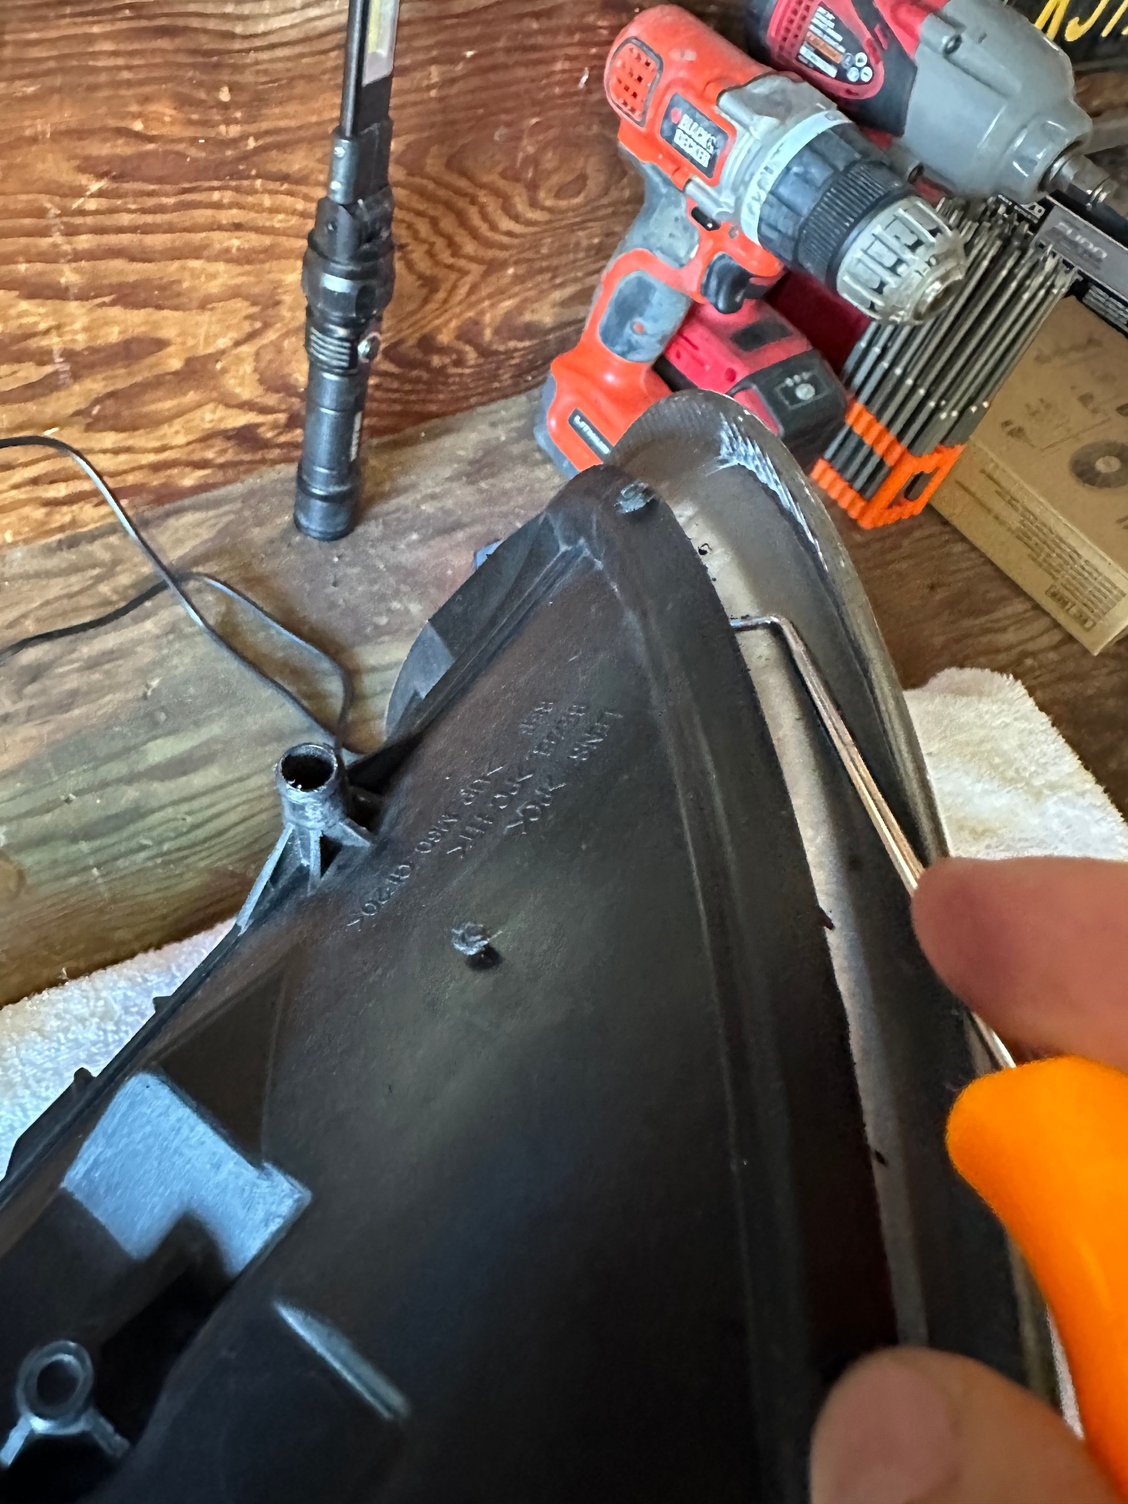
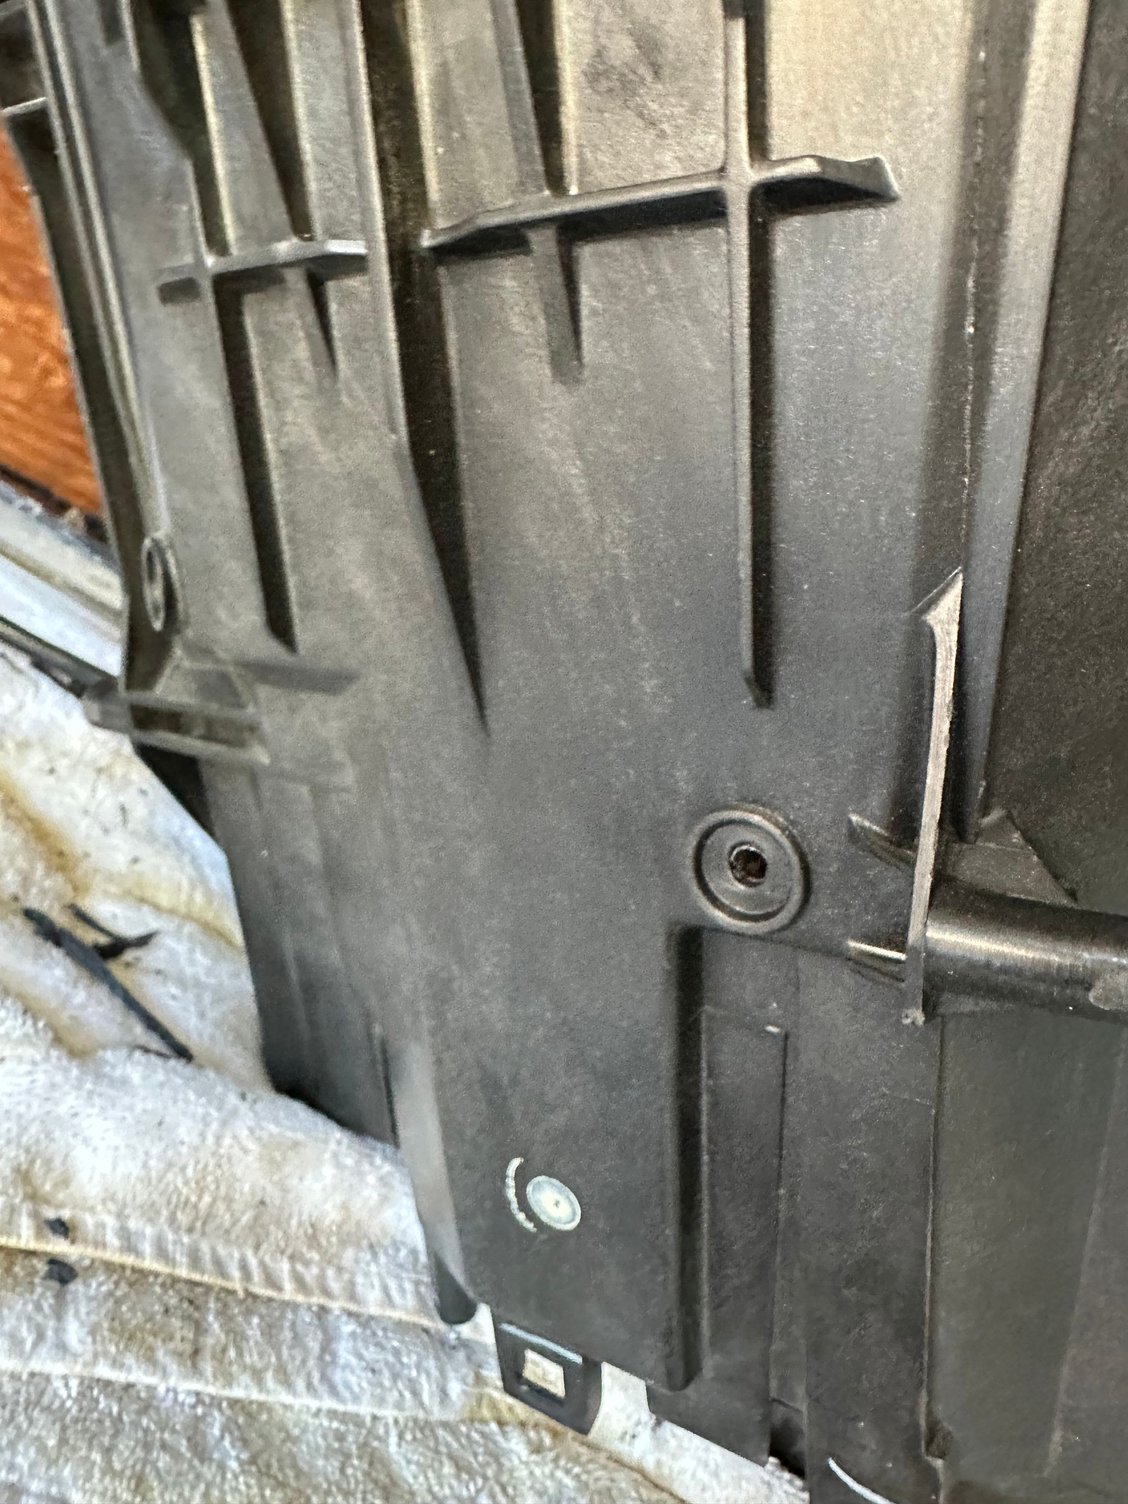
This piece is held on with 2 Torx screws on the bottom of the lens, then two friction clips it slots into on the left and right side of the lens. Once you remove the 2 screws, you will see a little plastic ridge where the inside clip is. You can fit your plastic trim remover on that ridge to push the piece straight out a bit. This is best because it's not touching anything visible. Once it slides out a bit, then you can grab onto it with a microfiber towel to pull if out the rest of the way. It just comes straight out the front. Put it aside and cover it because the next job is the messy one.
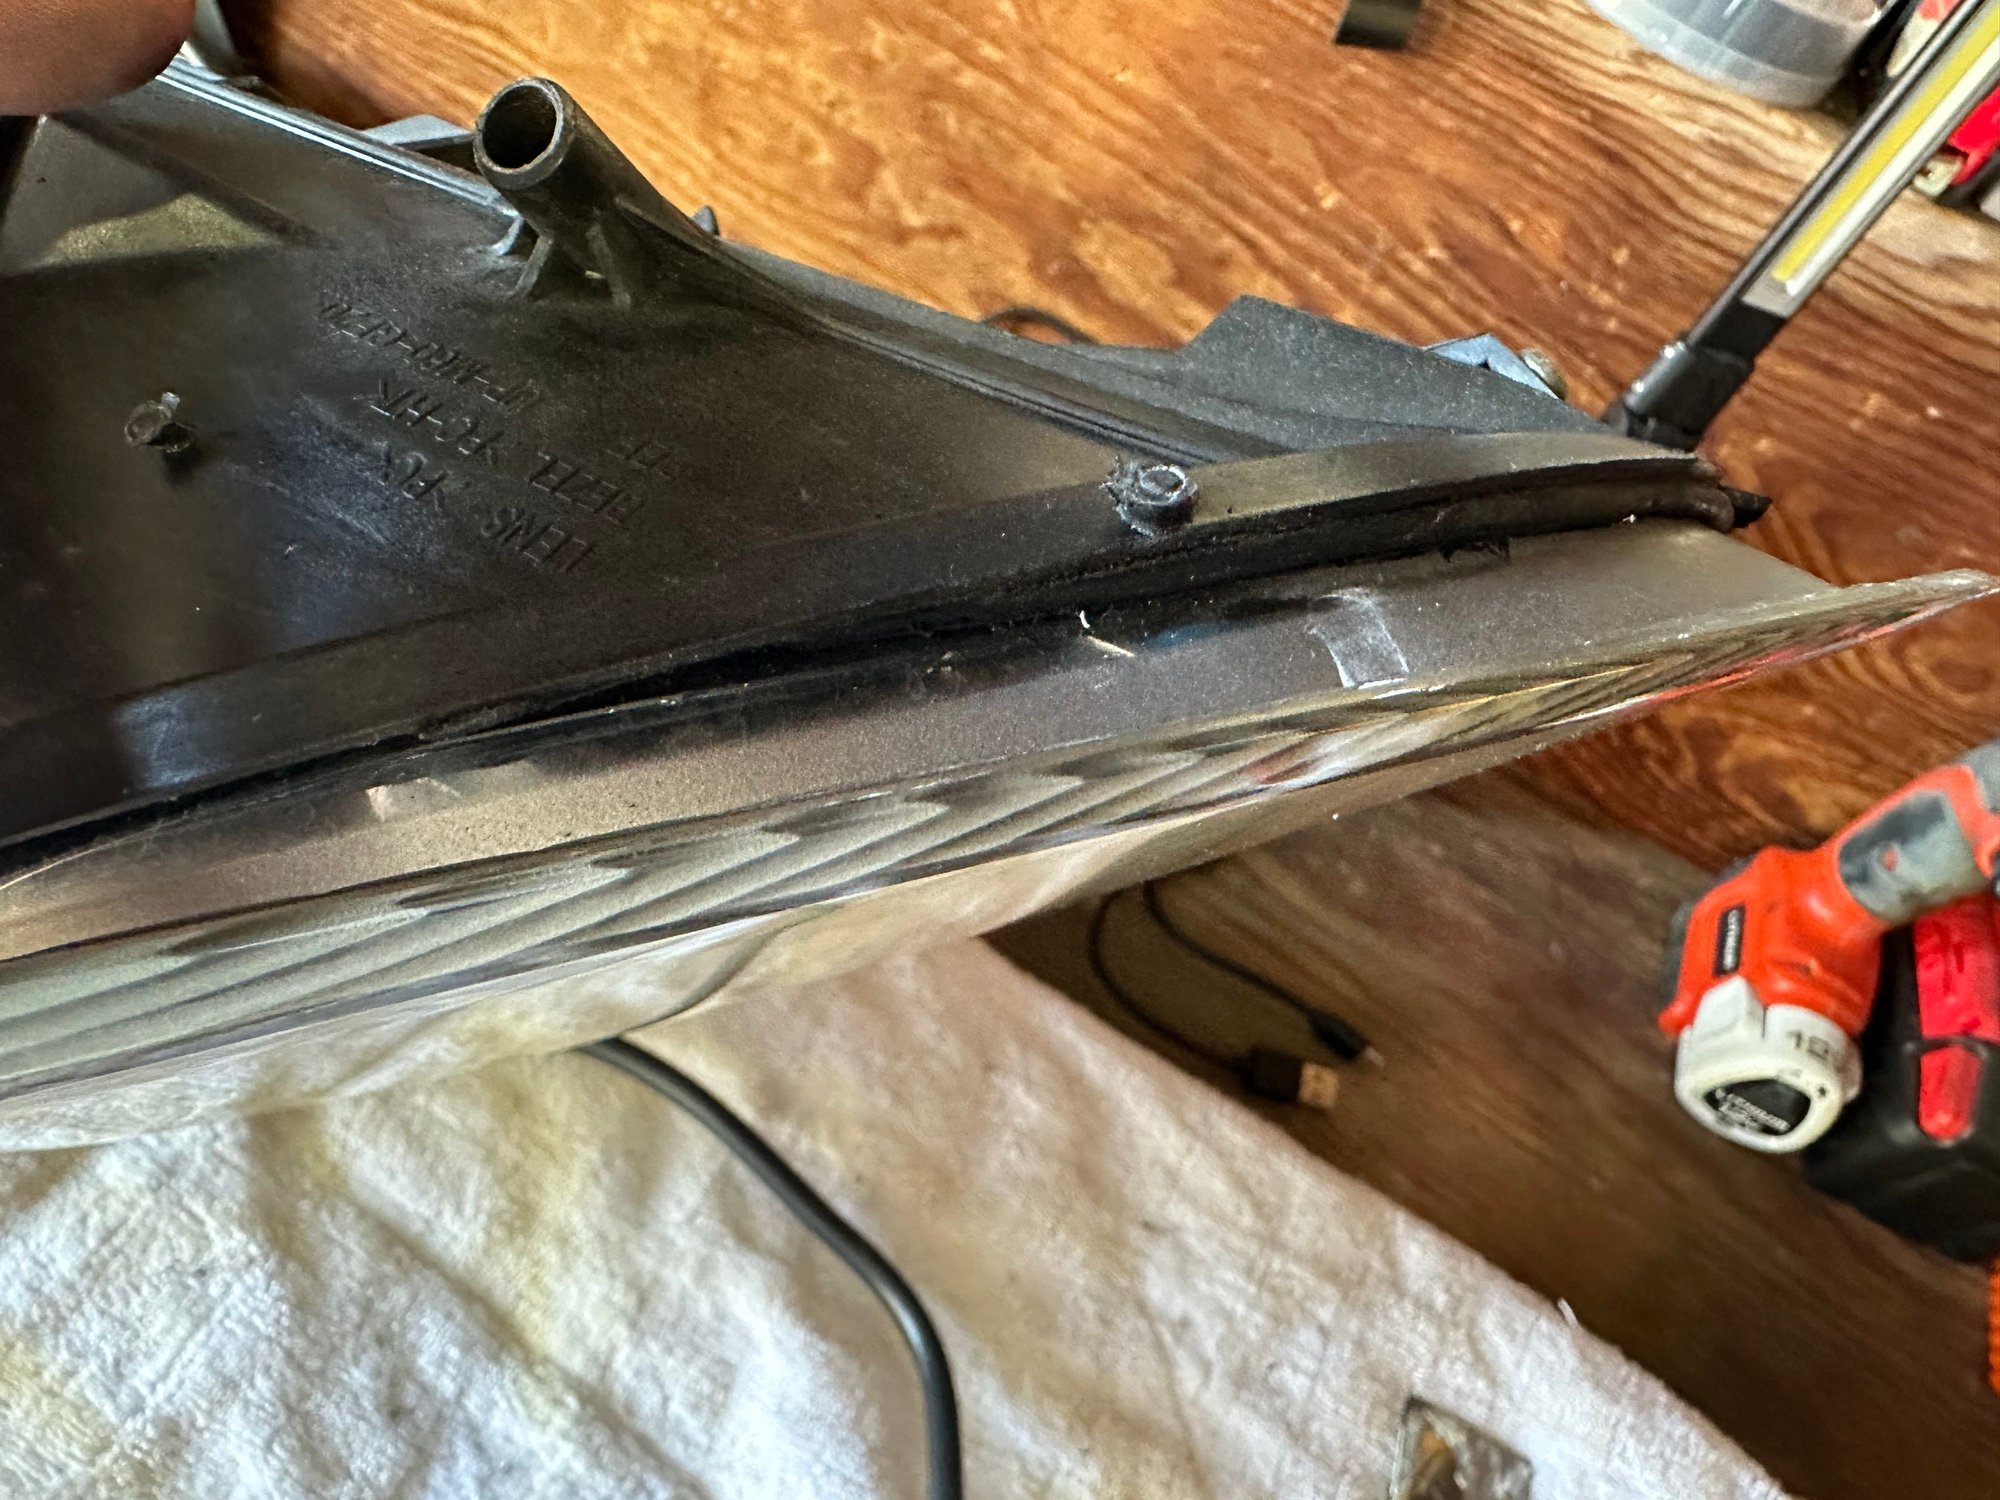
there are two Torx screws on the bottom that hold the chrome trim piece in
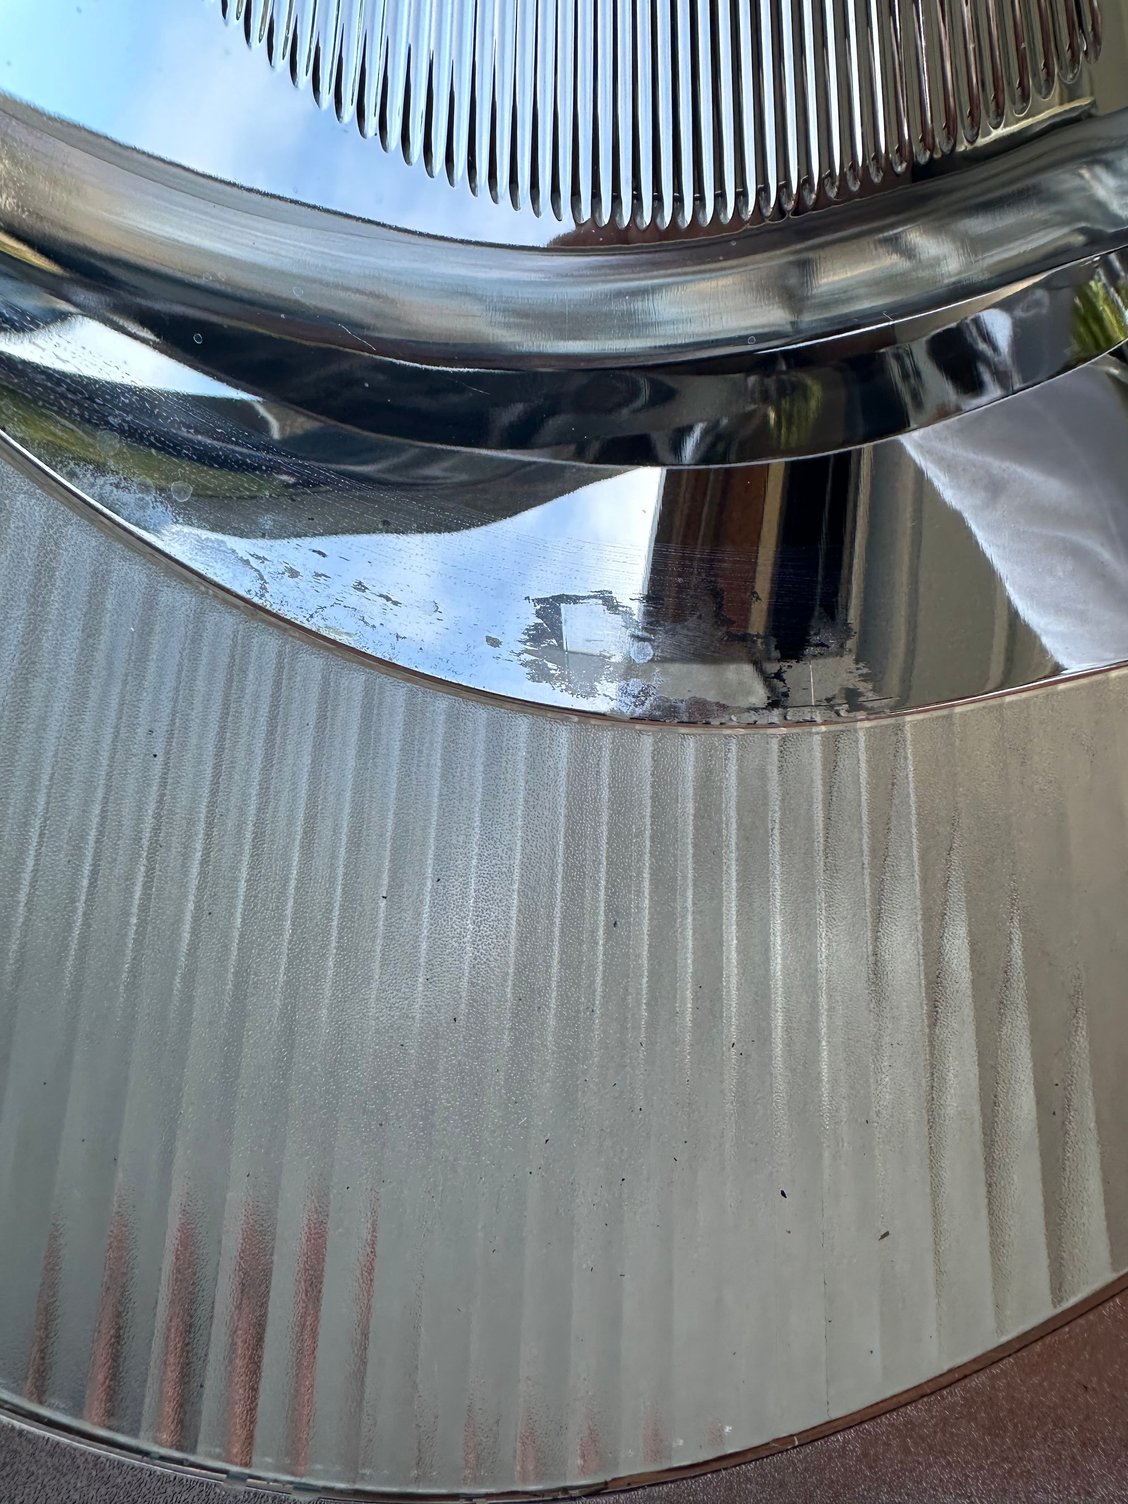
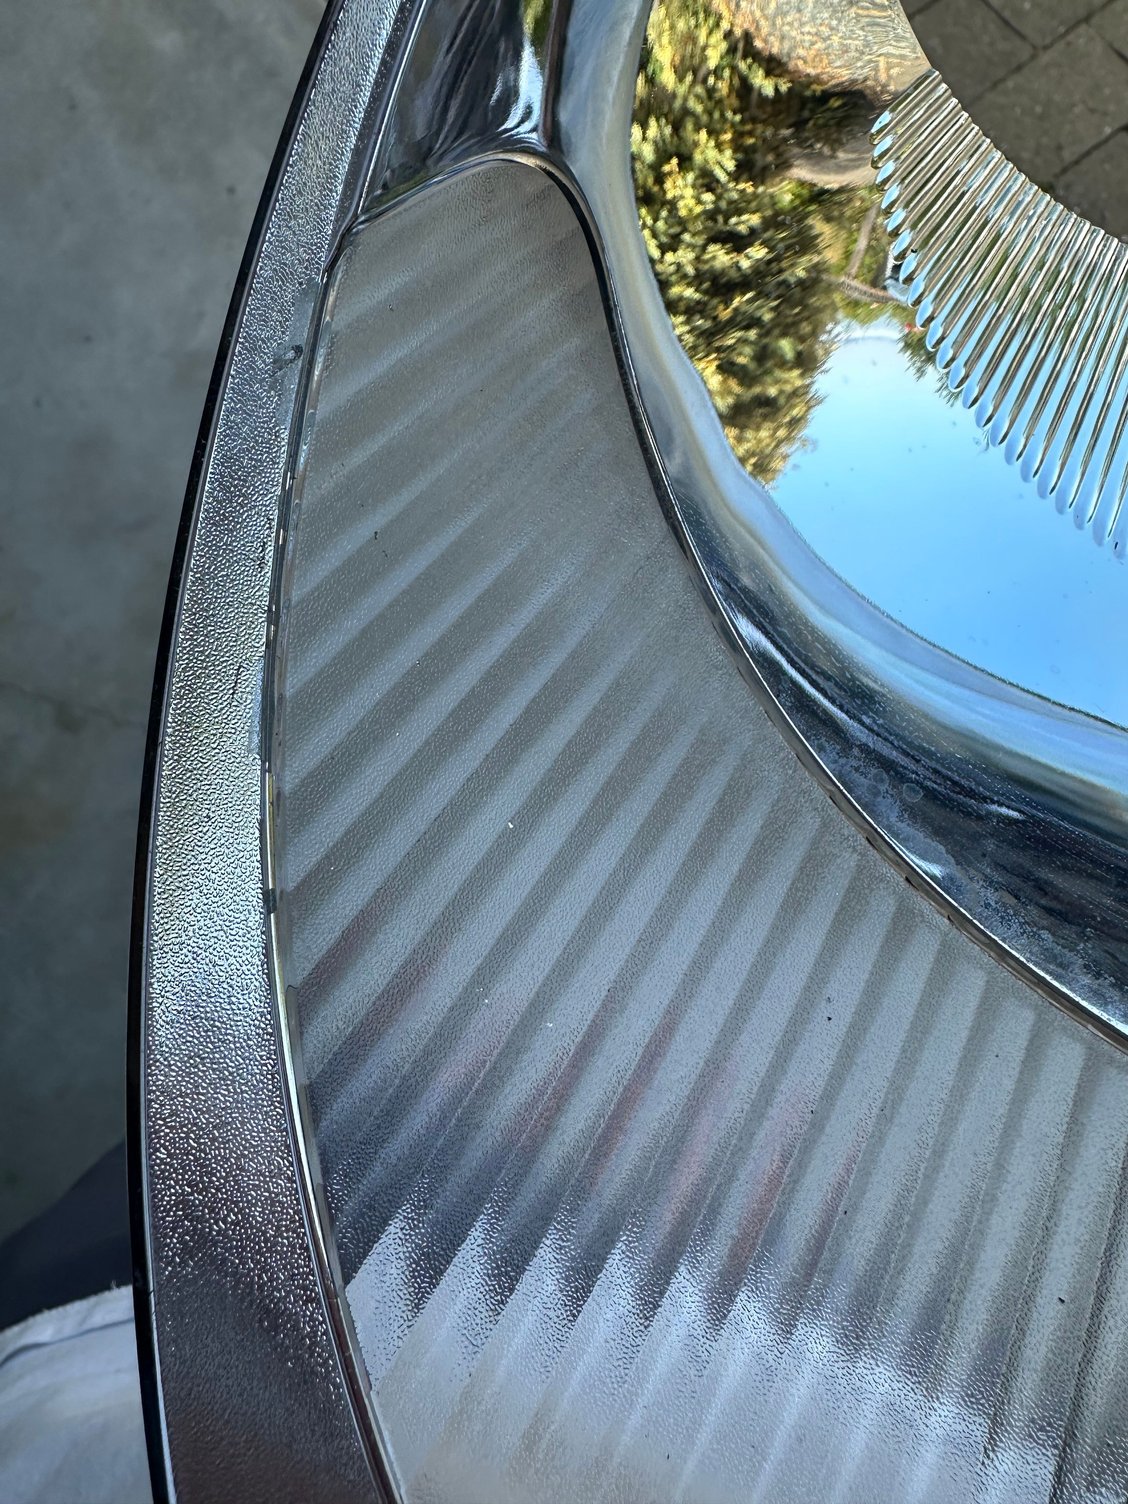
You can see the two clips on the left and right side. The chrome piece just slides in these. To remove slide slide straight out. You can see here where I ruined the finish trying to clean it. It wasnt that bad originally, but after I removed it I had the bright idea to try to polish it a bit. The finish came right off. The chrome started to fail on the edges when I tried cleaning with alcohol.
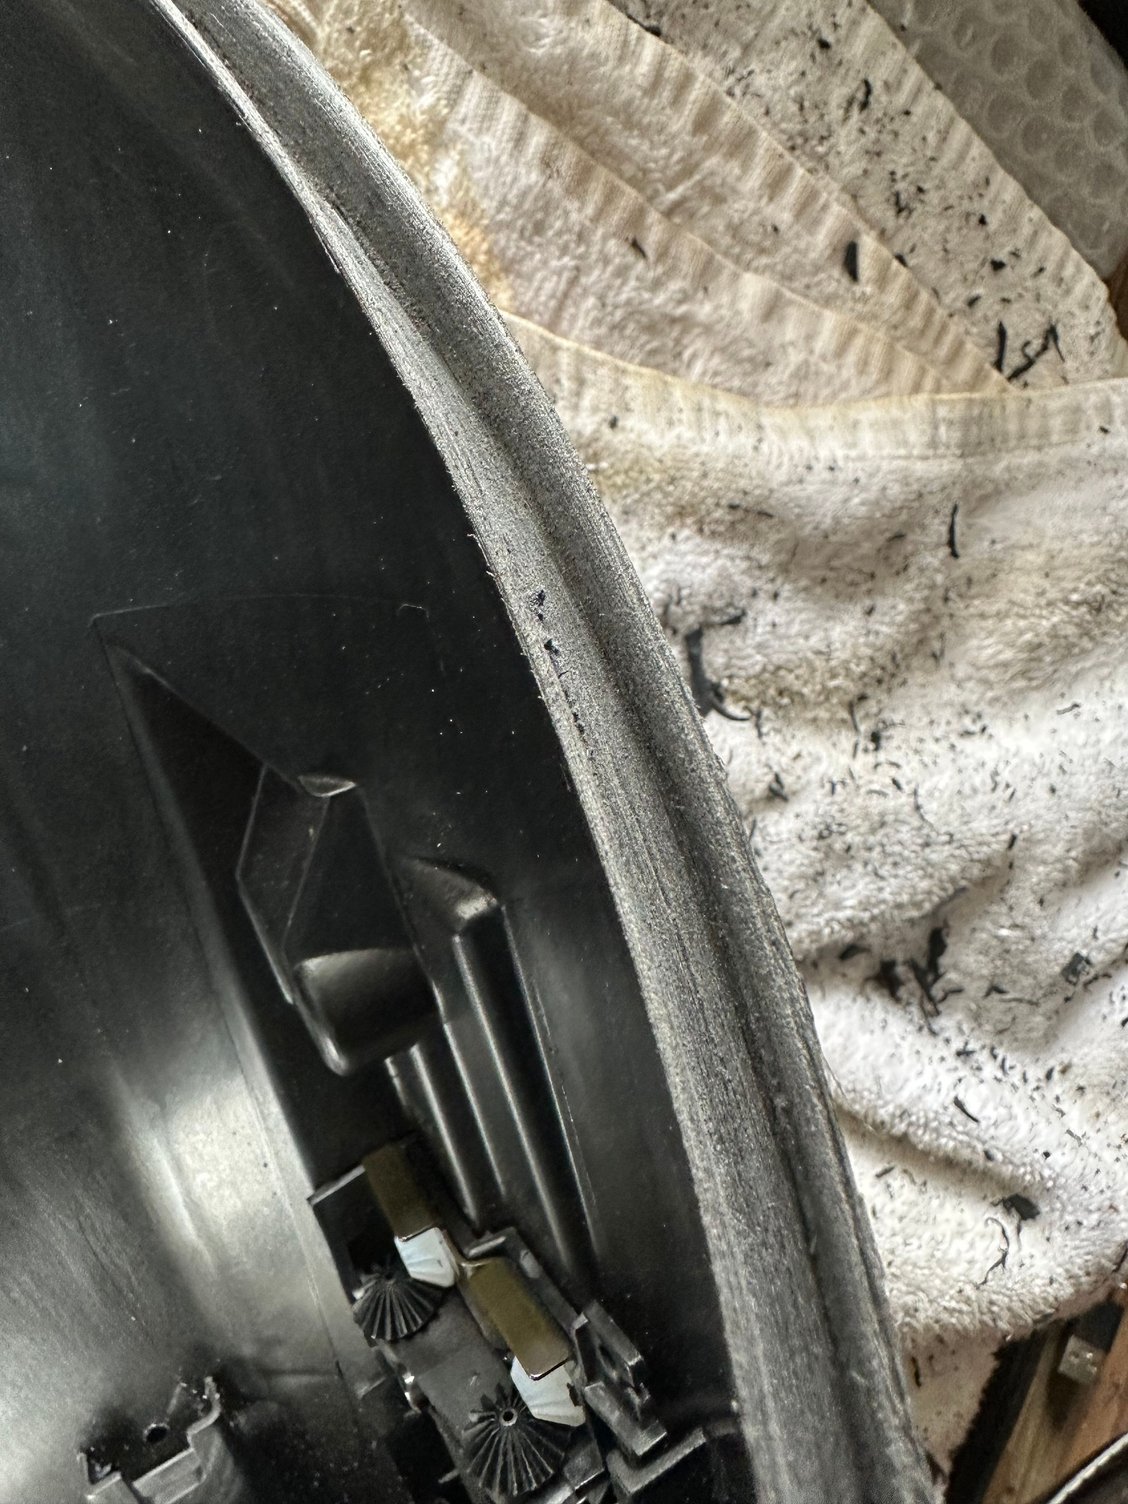
5. Clean the old adhesive off: I didn't find any trick here. If somebody has a better way, please share - because this is the worst part of the job. I heated the adhesive again, then went around with the pick to start breaking up the adhesive and pulling off the bigger chunks. Then I used a flathead screwdriver and ran it around the slot the adhesive goes in 5-6 times to break up more, then went back to the pick, then back the screwdriver, then found the edge of the plastic trim remover worked well too. Do this lots of times until you get most of it out. Then use 80 grit sandpaper and go around it a bunch of times. The sandpaper worked the best to get it smoothed out.
Note: when doing this try to hold the headlight down so the plastic bits dont go inside the headlight.
you gotta work at it to get that track clean. then use sandpaper to finish it off.
6. Blow out all dust and adhesive bits with compressed air: Do this twice, then stand the headlight on its end and tap it to knock any big stuff out, then blow it out again, then tap it again, repeat two more times. Being thorough here will save you a huge pain in the *** later. I didnt clean mine well enough and after I put the lens back on I noticed little black bits on the inside of the lens and chrome trim. Took me 30 mins to fix that. I had to remove the back of the headlight to blow compressed air in, then had to pry up the lens a bit so I could blow more compressed air from the top. It sucked...so preparation is key.
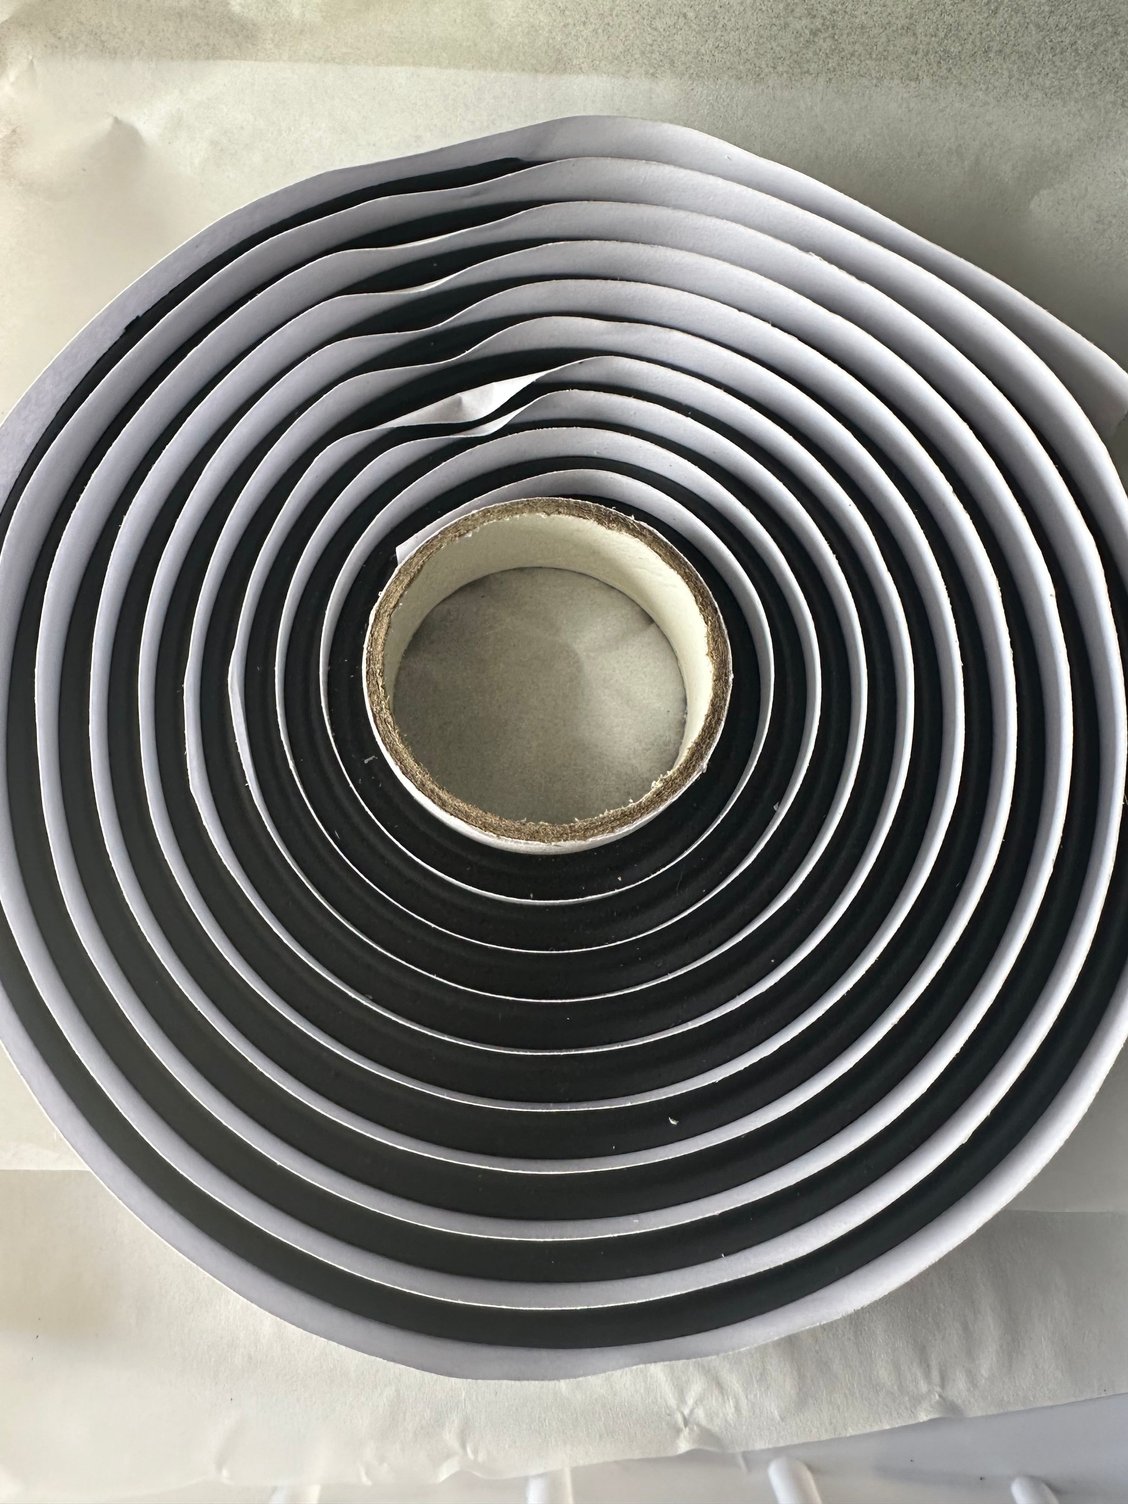
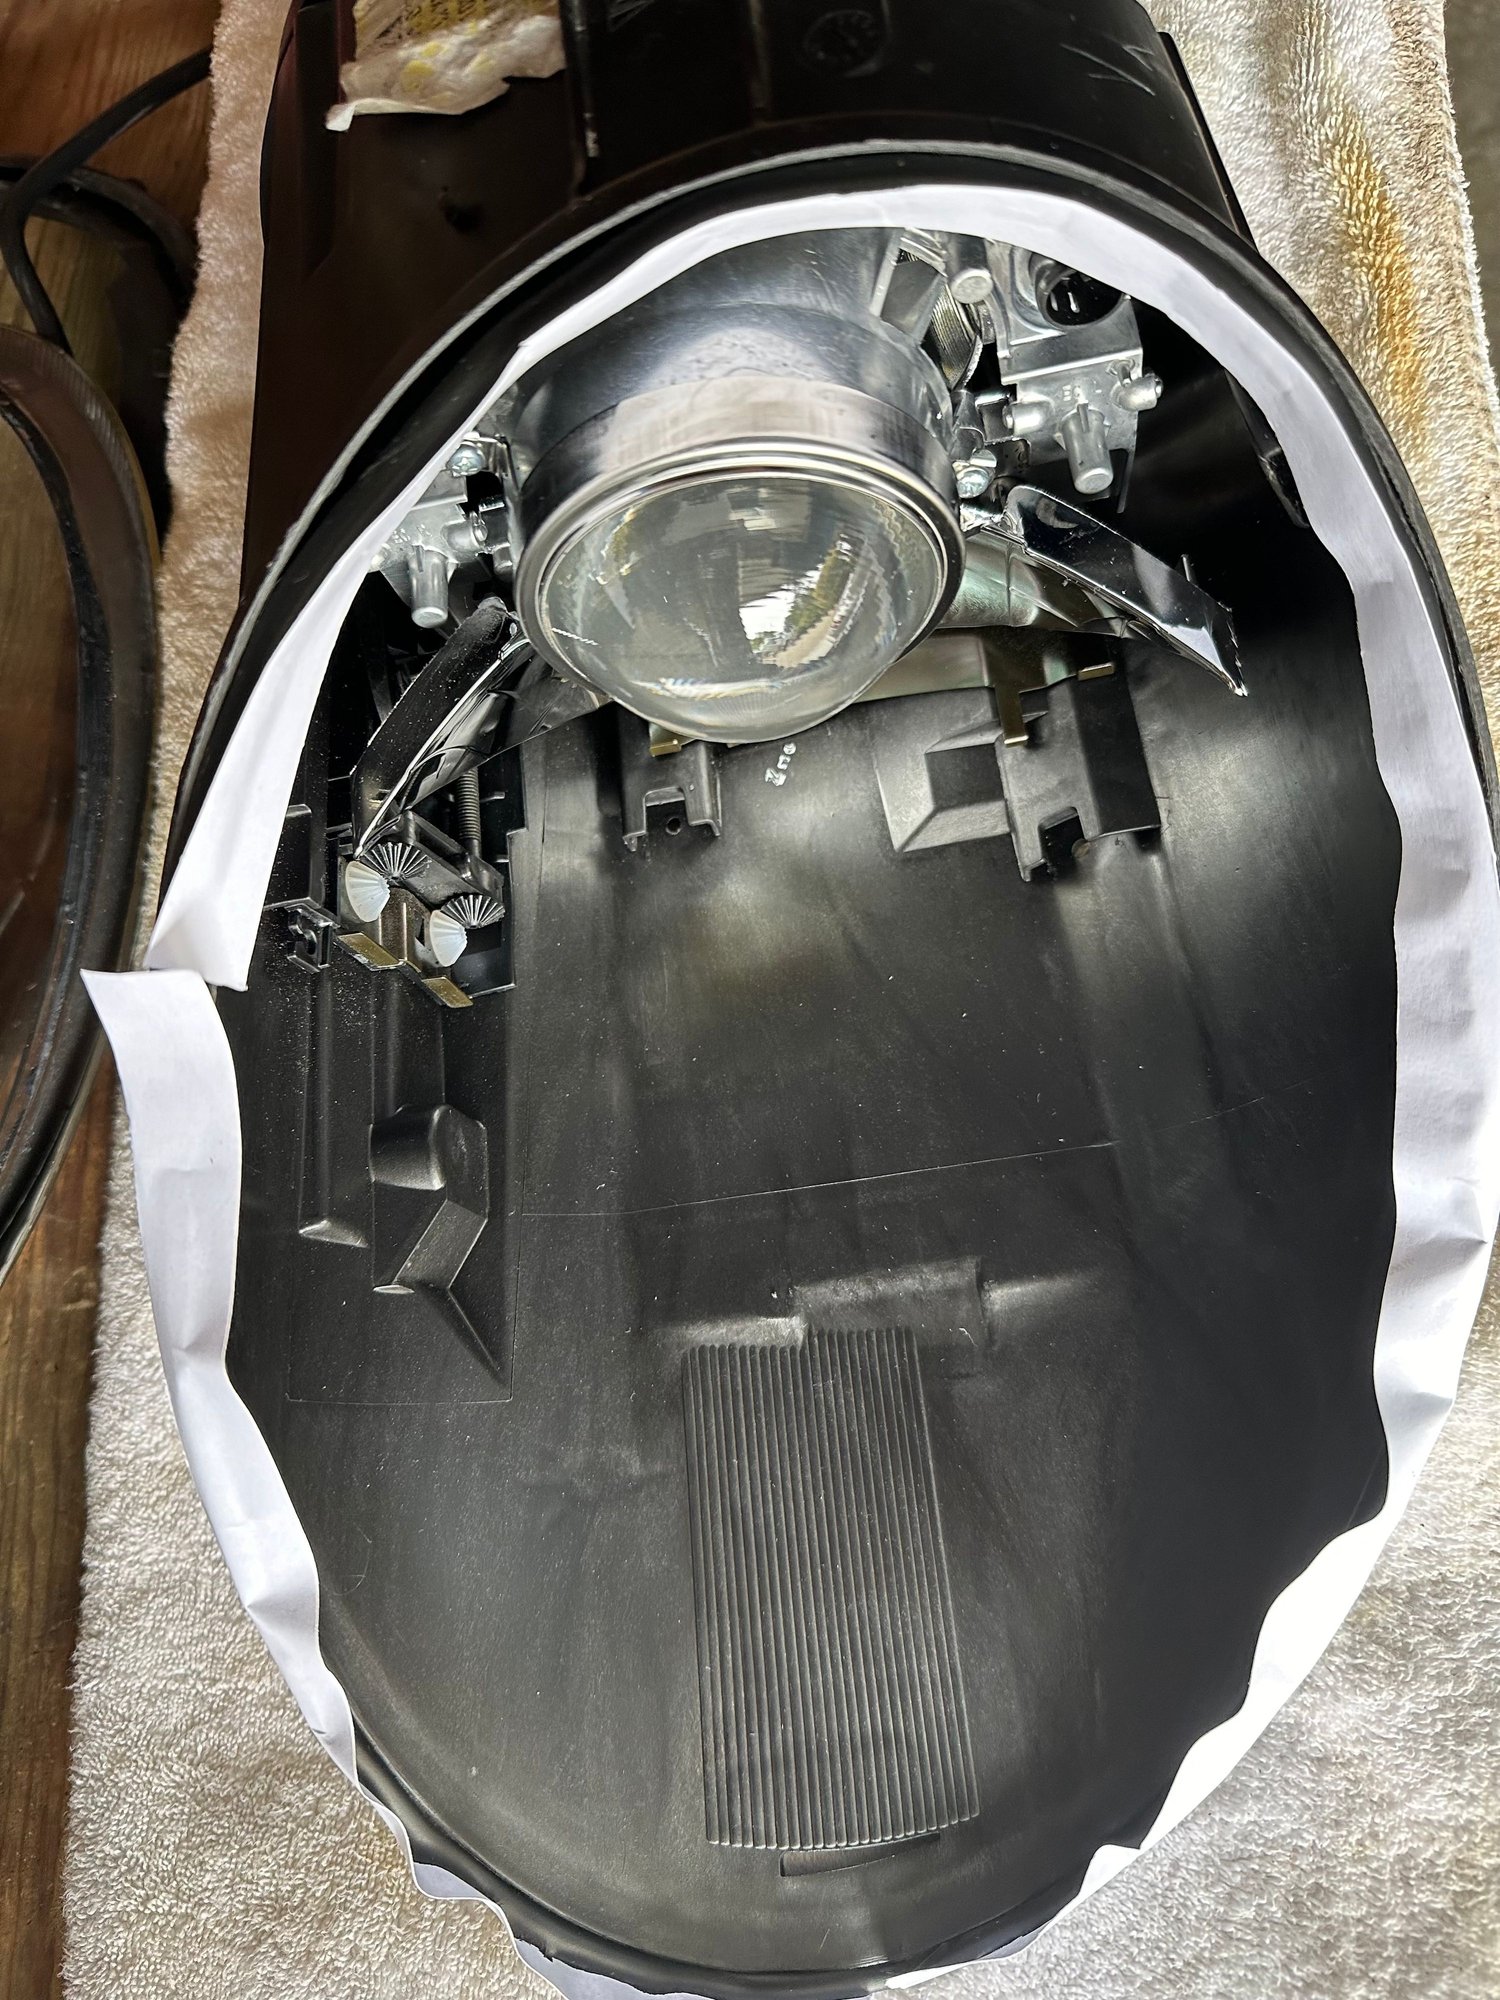
7. Install the butyl adhesive tape: this comes in a nice coil that fits perfectly in the little track. Keep the paper on it and just run it around the track on the headlight. Then once you have it sized, you can start smushing it deeper into the track so it's almost flush. Then remove the paper.
8. Reinstall the chrome trim piece. I did this after I put the adhesive on just to keep it safe.
9. Install the new lens: make sure you clean the inside of the lens and triple check there are no bits on the chrome trim. Then - gently - align the lens and start pushing it in from the bottom side (where the clip is) first. Then start pushing the sides in, then the top. I was kinda bear hugging it. But dont push too hard or the lens will hit the sides of the chrome trim piece. You dont want that. But just keep even pressure on it and go around the edges and you will feel it seat in.
10. Then reinstall your rubber trim piece: Take a minute to clean this. You will likely have some old car wax in there.
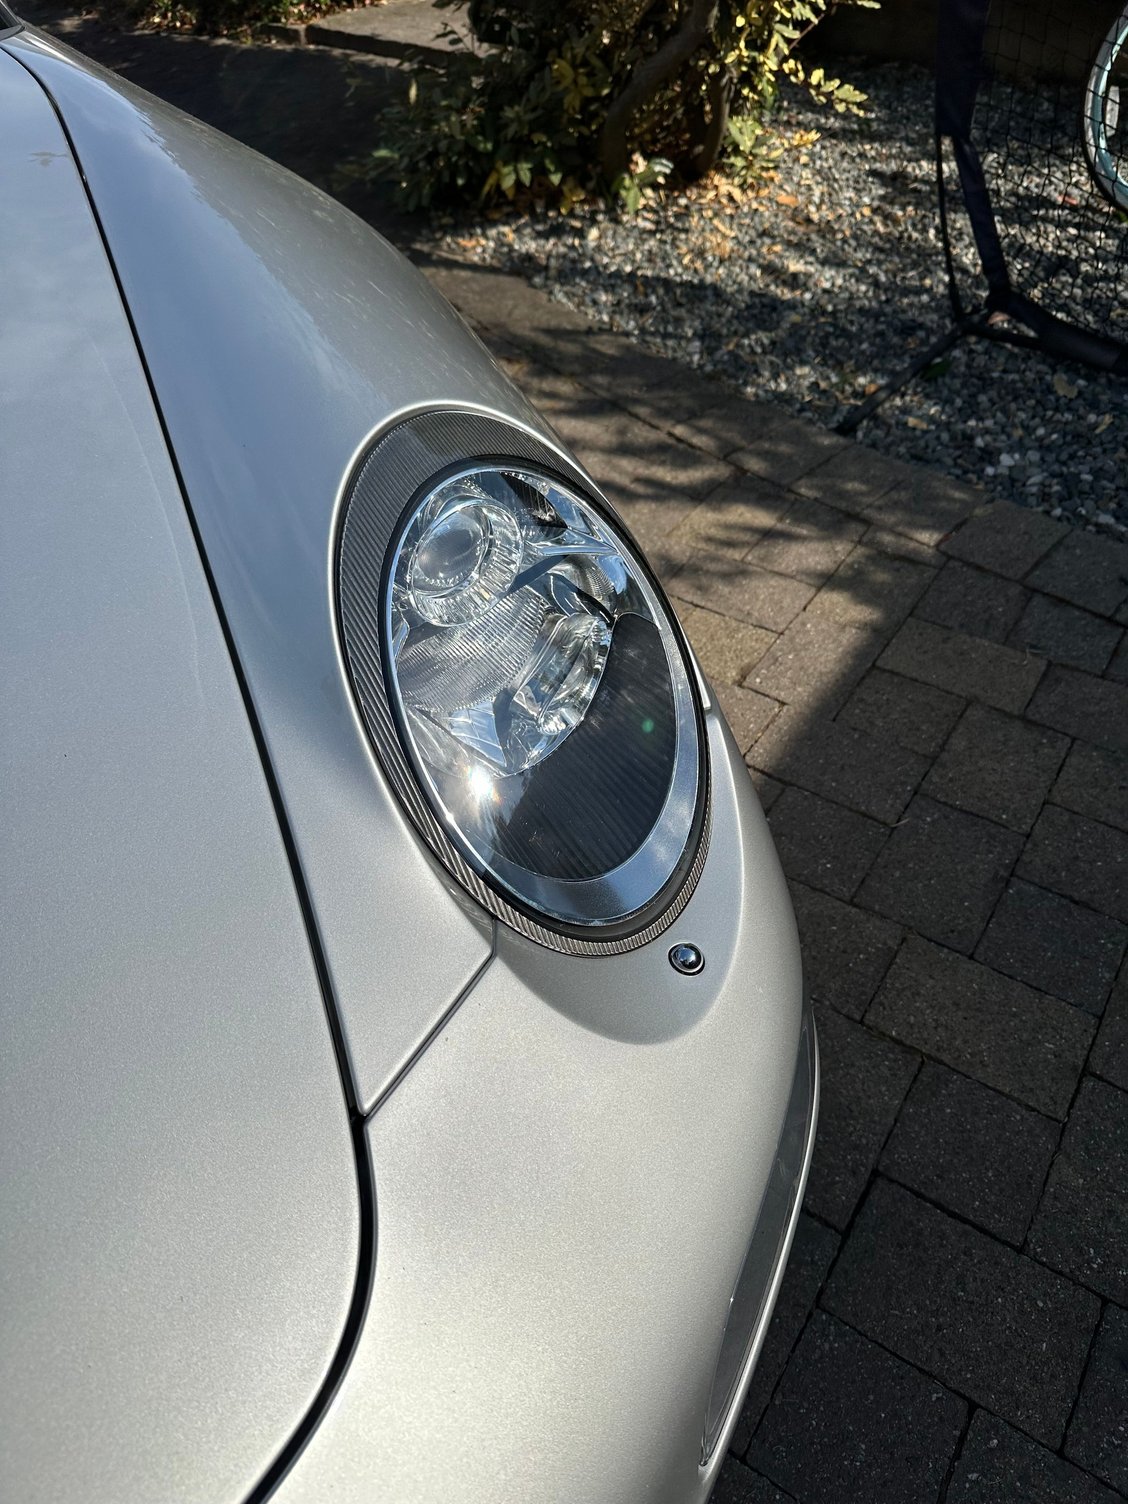
11. Re-install the headlight. The adhesive is tacky so I let it dry while on the car (I also wanted to make sure it was correctly aligned). I dont think there is a need to tape the lens while drying. I think it came out great. As always if I had a guide like this it would have saved me tons of hassle and time, so figure I would pass on the learnings.
Here is a before picture. You can see how the lens has yellow tint to it.
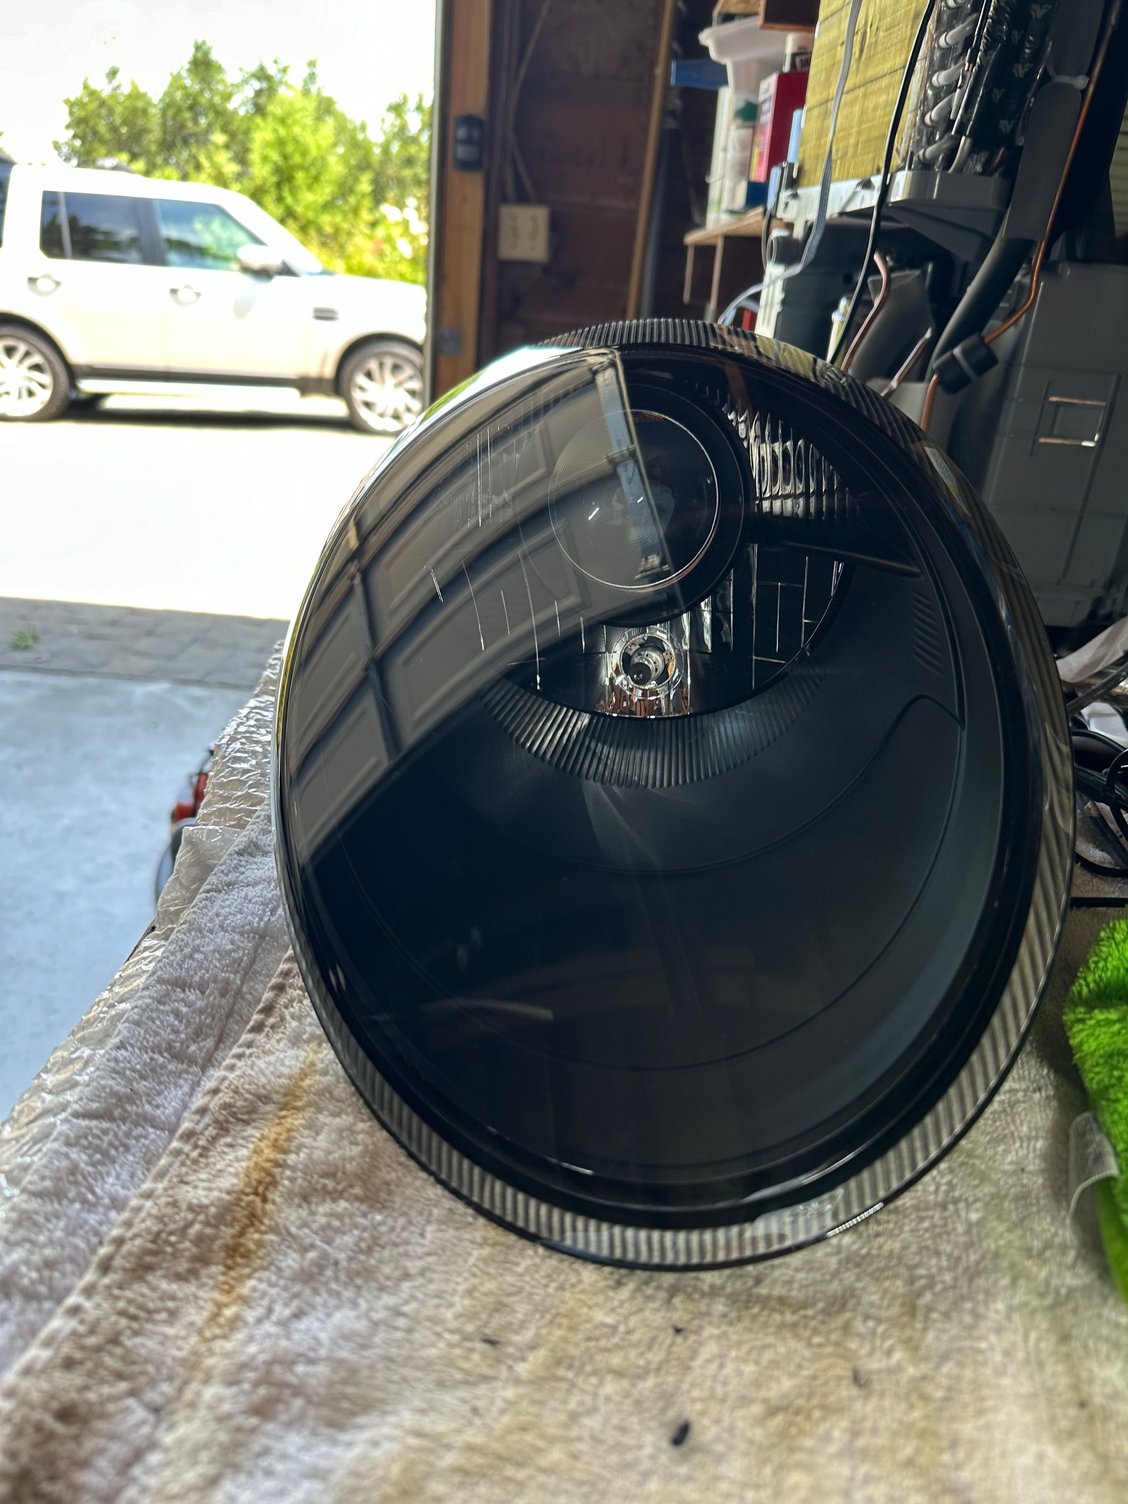
BONUS CONTENT: BLACKING OUT THE HEADLIGHT
I figured since the chrome trim piece was ruined I would try to see what it would look like with matte black paint. It was interesting. I think for dark paints it might look pretty cool. But on a silver car I didnt like it.
PS: If anyone wants my extra xenon headlight with the blacked-out chrome piece (and no lens), send me a note. I paid $250 for the donor headlight because it had a scratched up lens. That was the cheapest I found on eBay. Most that were broken were selling for $400-500, and once in good condition were selling for $800+.
Great job and write up. I recently noticed yellowing and spots on one lens and this seems like the perfect solution. Once you see it you can't unsee it! I'm familiar with doing this on expensive P car lenses- replaced the fog lenses on my 928 using same methodology with heat gun and butyl tape. I got my butyl from Morimito. I think you can get it in grey or black.
A couple updates on the method. After removing the lens on my third headlight, I have the technique down pretty good. It can be done in <5 mins. Here are the revised instructions:
- increase the heatgun temp to ~400 and go around all seams
- use the same 90 degree pick to break the seal around all edges
- then go back and heat the sides of the lens seal
- then use your thumbs to push the lens up from the side - not the top as I said before. you can get better leverage with your thumbs to push the lens straight up from the side. more importantly, the seams at the side of the lens are vertical so when pushing straight up its easier to release. at the top and bottom seams you need to push at more of a 45 degree angle since the seam is horizontally oriented.
I attempted this a couple years ago and just like you the chrome scratched on one side (was super careful on the passenger side) but the damage was done so I ended up sourcing another used headlight.
Sandpaper was a good idea, never thought of that ast the glue/adhesive removal was the worst part.
Then the Morimotos came out and I pulled the trigger on those and I have no regrets.
Just want to point out something from my experience. Done about a dozen of these so far. The OEM headlights are not sealed with Butyl like your typical headlights. They are sealed with RTV silicone sealant. Don’t need heat to take the lens off. Heat doesn’t affect the sealant, additionally, too much heat makes the edges of the housing brittle (know someone that found out the hard way). The lenses can be removed without heat in less than a minute. Just start at the bottom of the lens (without braking the fragile tab). When I did my first set, I pretty much fallowed this thread: https://www.6speedonline.com/forums/...lens-swap.html
To clean the old sealant, I used a small flat head to remove as much as possible then a brass wire brush.
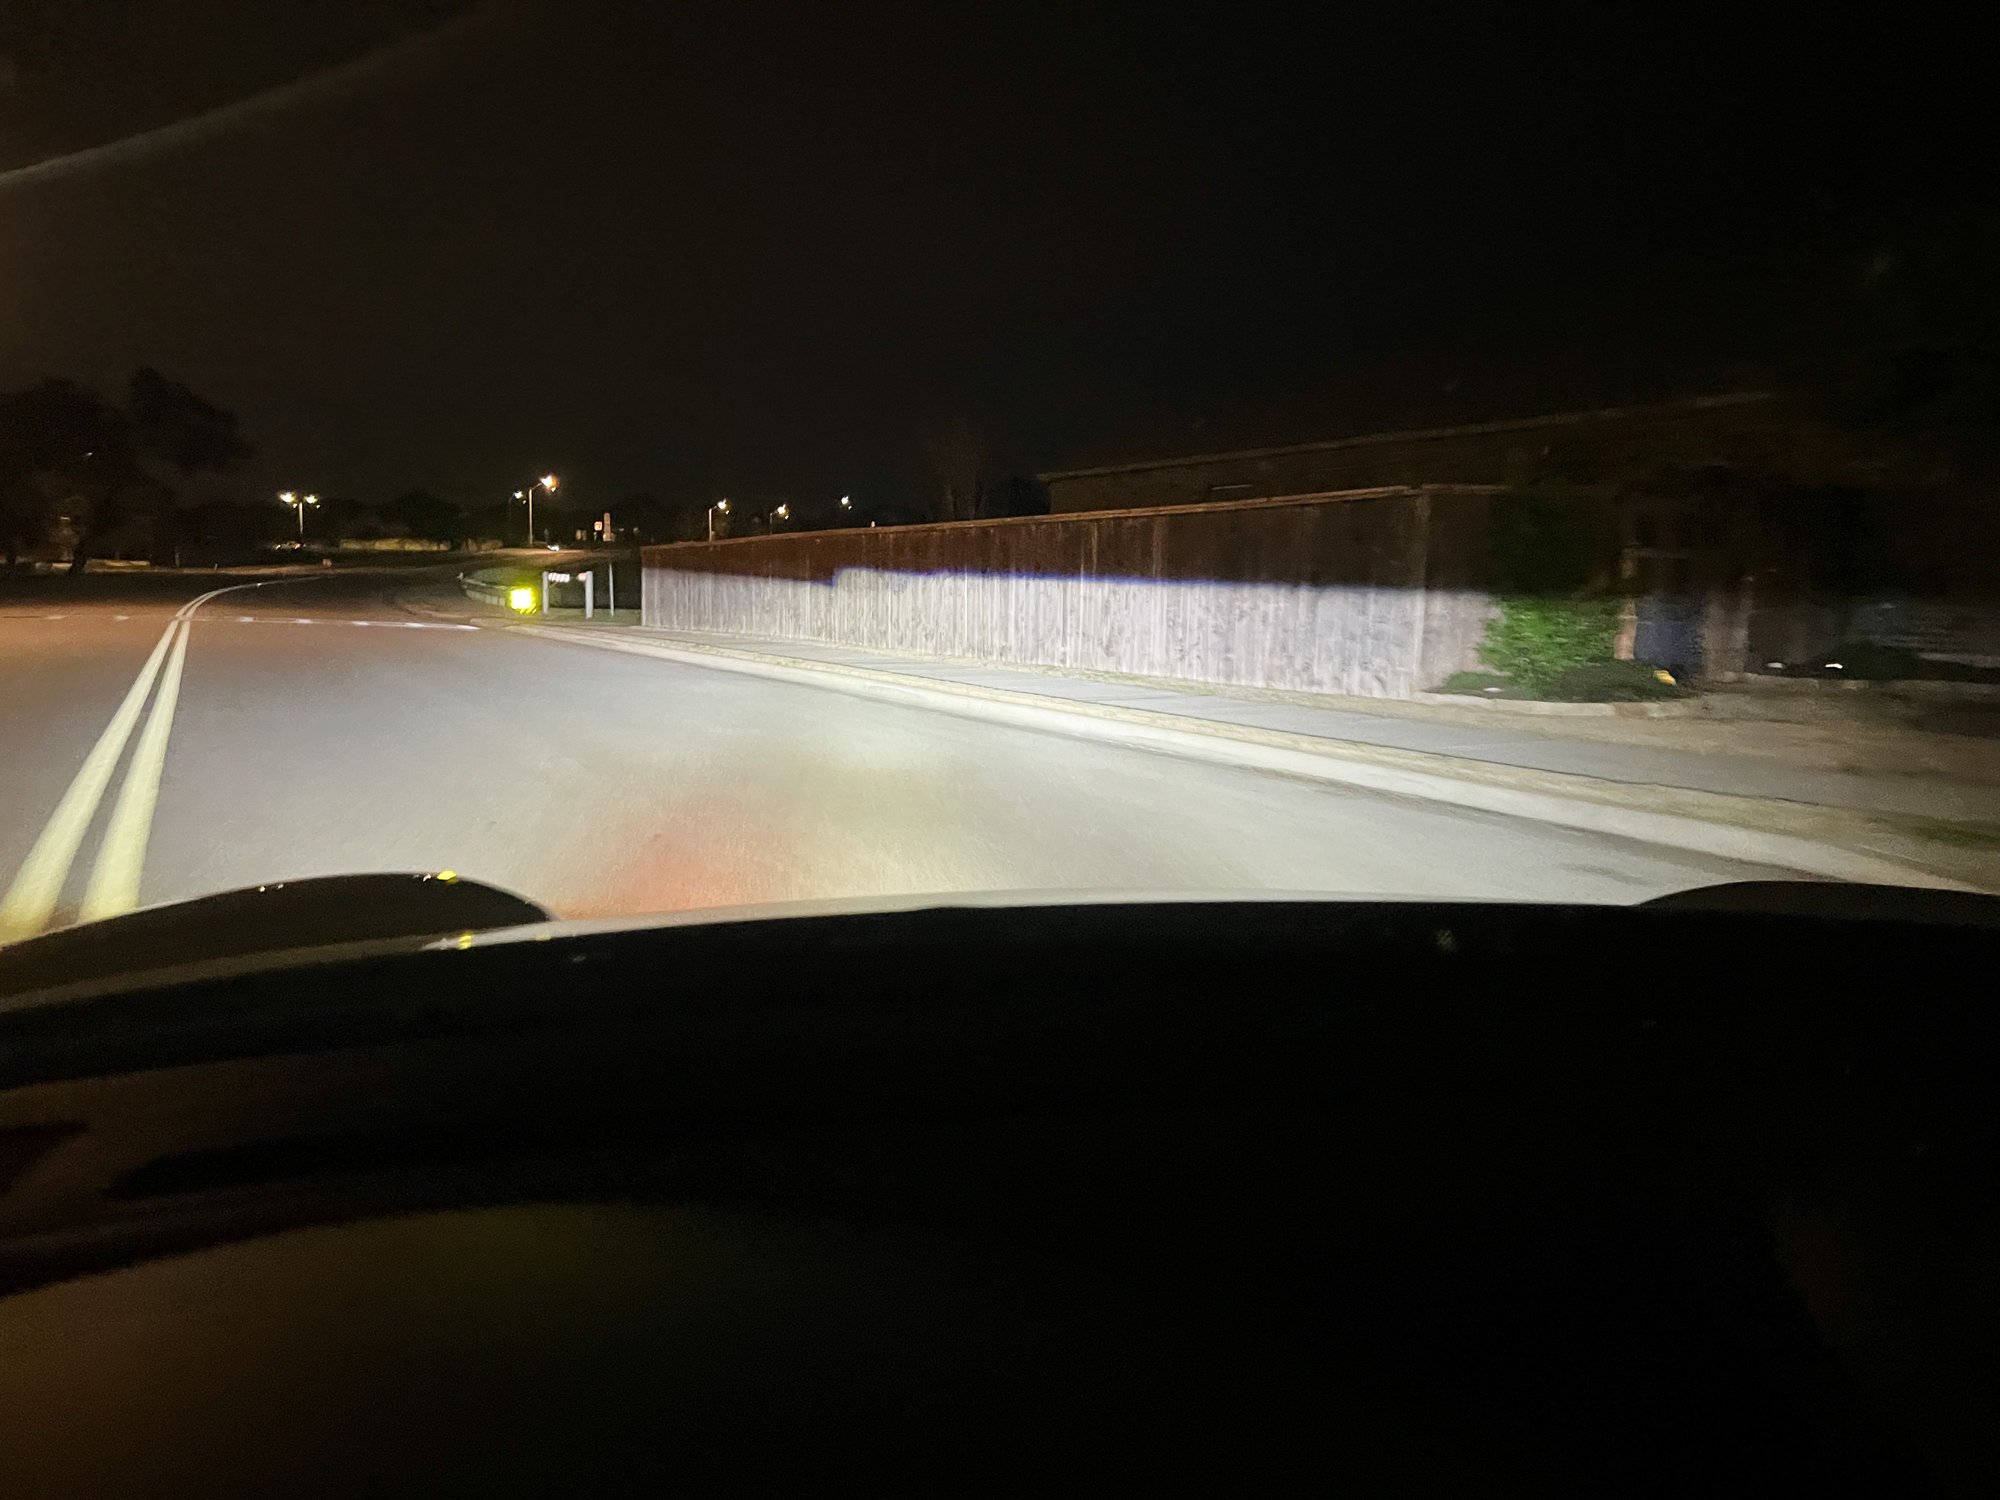
For anyone doing this, I highly recommend you spend the $50 and get replacement projector lenses. It made a huge difference in light output.
Just want to point out something from my experience. Done about a dozen of these so far. The OEM headlights are not sealed with Butyl like your typical headlights. They are sealed with RTV silicone sealant. Don�t need heat to take the lens off. Heat doesn�t affect the sealant, additionally, too much heat makes the edges of the housing brittle (know someone that found out the hard way). The lenses can be removed without heat in less than a minute. Just start at the bottom of the lens (without braking the fragile tab). When I did my first set, I pretty much fallowed this thread: https://www.6speedonline.com/forums/...lens-swap.html
To clean the old sealant, I used a small flat head to remove as much as possible then a brass wire brush.
For anyone doing this, I highly recommend you spend the $50 and get replacement projector lenses. It made a huge difference in light output.
Yep, and clear projector lenses work better than the diffused OEM ones.
The supplement of the 6speed article along with this post makes for a better mental picture of all this.
Anybody got good links for the outdated bulbs/lenses that the 6speed article had??? (I've already ordered the lenses....which...btw came in at $174 for the 2 lenses, not $130 x 2 ???)
Anyway.....would definitely love to do the new bulbs/lens while in there.
Also................is the butyl enough?? In my months of researching this I've noticed most folks using black RTV. (specifically like Dap's Dynaflex Ultra black --- Home Depot, etc.)
???
And thanks Bruce! If I lived any closer I'd drive over & beg you to help me!
this is the sealant I use. Make sure is the adhesive one.
ping me with any questions along the way. It�s not hard once you know how to do it.
interesting comment from @rsalicrup that heat has no impact on the adhesive. Seemed to make it easier but that 90 degree pick might be the main tool.
Originally Posted by RandyVW
The supplement of the 6speed article along with this post makes for a better mental picture of all this.
Anybody got good links for the outdated bulbs/lenses that the 6speed article had??? (I've already ordered the lenses....which...btw came in at $174 for the 2 lenses, not $130 x 2 ???)
Anyway.....would definitely love to do the new bulbs/lens while in there.
Also................is the butyl enough?? In my months of researching this I've noticed most folks using black RTV. (specifically like Dap's Dynaflex Ultra black --- Home Depot, etc.)
???
And thanks Bruce! If I lived any closer I'd drive over & beg you to help me!


 07-14-2024, 12:38 AM
 Its easy though. Remove the toolkit, get the headlight wrench, pull back the carpet, remove the little rubber grommet, insert the wrench in the hole, turn 90 degrees to release the headlight, then slowly slide it out.