When you click on links to various merchants on this site and make a purchase, this can result in this site earning a commission. Affiliate programs and affiliations include, but are not limited to, the eBay Partner Network.
I hammer drilled six 3/4" holes all the way through the 6" floor for each tower. Why all the way through? If I ever opt to remove the lift, I can pound the anchors through the holes (into the dirt) and fill the holes with cement.
That made the installation to specification per the manufacturer. Is that good enough? Do you build a house just to code?
So, to better secure the towers at a point with a lot more leverage, I added 2 by bracing lagged into the joists at the top of each tower. They shouldn't go anywhere now.
As you can see, I have a low ceiling. The towers had to be nested between the joists. They also had to favor one side of the joists since the cross piece (with hydraulic ram containing all of the cables ... no cross plate between towers on the floor) had to be raised above each tower before being set down within each tower. If the towers were centered between the joists, the cross piece could not have been fit between towers and joists to be lifted up over the towers and be installed. As it was, the cross piece was almost against the flat roof plyscore by the time it cleared the towers. Electrical wiring had to be temporarily removed as well as cross bracing.
That cross piece is about 400 pounds, and lifting that up between the joists and setting it into the towers on my own was a bit tricky. Fortunately, I have rigged a lot of heavy industrial machinery, and that experience gave me some insights. The cherry picker (engine hoist) in the left back of the garage was helpful but not complete. It wouldn't go high enough, let alone in between the joists. That being said, I'd probably look for some help if I ever take it apart.
Then there was the challenge of reaching between joists and down into the cross piece to install pulleys and cables. This wasn't an easy installation. But I did do it on my own.
The physical constraints of my garage created the challenge. This installation would have been much easier if the garage were larger.
As a note, I 3D modeled the lift as well as various Porsches and Pam's GLA45 including jack pad locations to make sure the lifting arms would rotate under each car and allow lifting ... without the car extending into tool chests while still allowing the garage door to close. Several lifts wouldn't work for my circumstances. For some, this was because the lift either wouldn't fit into the garage or couldn't have been installed once in. Some prevented various tool chest drawers from opening. Others captured saws, planers, or other equipment. Not needing a channel for cables to run across the floor was important. In some cases (larger lifts), the lifting arms could not align with the car jack pads. This wasn't a matter of simply ordering a lift. If you go this way, do your homework first.
I am now spoiled. Even with jack stands as high as I could get them, when crawling under these cars with my back directly on the floor, my chest would rub on the undercarriage. Removing and replacing panels was a bear. Changing transmission oil was no fun. While the 9 foot ceiling won't let me lift the cars high enough to walk under them, at least I can use a roller seat and be comfortable. And feel safe.
BTW, the switch on the tower above the hydraulic motor is a DPDT for the 240VAC disconnect. At the end of the day, it's the little things.
Forgot about this thing I also have. Kind of pricey for what it is, but if you've ever tried to get a 22x12 wheel with 315 tire onto the guide pins or lug studs of a car you'll appreciate it. Sure beats rwsti g it on your feet to lift it up and try and get it positioned.
Gives you a lever and roller to lift and roll the wheel/tire into position.
I'm going to pick this up with the roller assembly because....why not? I'm not sure if everyone does this but when I do my winter/summer swap, after I've broken the lugs free on the ground and the wheel is in the air, I take two lugs out and drive hanging pins in. Then the other three lugs come off. I find I can get the wheel off with more control and less of a chance of hitting the brake assembly with the two guide pins in during removal. I can just leave them there for the mount. The other thing I tend to do is jack the car a little higher so I can sit on my rump, put the wheel on my feet and use my feet as levers to get the wheel on the pins. When I sit, my eyes are on level with the pins and I can see them much easier than if I was on my knees.
With this thing, I won't have to lift the car as high and my feet are out of the equation.
I've always used a piece of cut 2x4 wood (5" by 5") on top of my jack to lift my cars. Benefits are its free, softer than metal, and gives me a little height to play with when jacking.
Maybe I'm just getting older, but recently when jacking my car up I was staring at the wood piece and the through of it cracking crossed my mind LOL. I don't mind spending a little $ for a quality item that will last.
What are you guys/gals using in between the jack and the jack points on our cars?
Best jacking thread EVER. @Petza914, you showed stuff I've never even heard of and will now order.
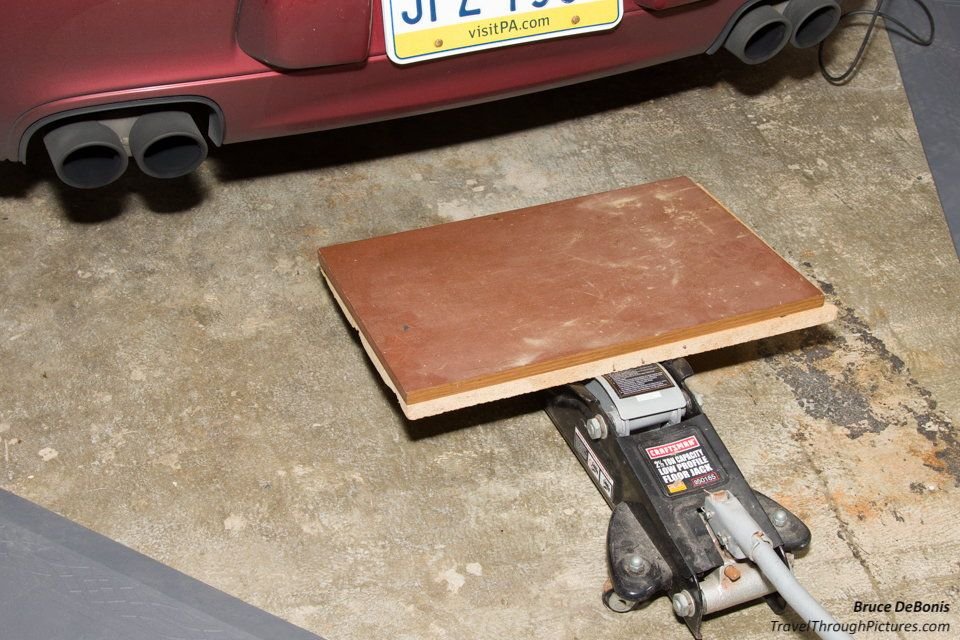
I have one question: When it comes to putting a lift under the engine, whether for installing engine mounts or some of the things Pete mentioned, where exactly do you put the floor jack on the engine? I've seen references in other threads but have never felt entirely comfortable that I know exactly where to put the pad. Some have suggested a piece of wood under there, too (and we all know what this thread thinks of that).
I have a QuickJack for the rest of the car...just unsure of how to safely use the engine as a lift point.
For the motor you can live with wood. In this case a 3/4 inch piece of plywood cut to about 18 by 18 ... enough to span to the edges of the oil pan. If you don't have something you can cut down in your scrap bin Home Depot can help you out.
Best jacking thread EVER. @Petza914, you showed stuff I've never even heard of and will now order.
I have one question: When it comes to putting a lift under the engine, whether for installing engine mounts or some of the things Pete mentioned, where exactly do you put the floor jack on the engine? I've seen references in other threads but have never felt entirely comfortable that I know exactly where to put the pad. Some have suggested a piece of wood under there, too (and we all know what this thread thinks of that).
I have a QuickJack for the rest of the car...just unsure of how to safely use the engine as a lift point.
Thanks, gentlemen.
Bob
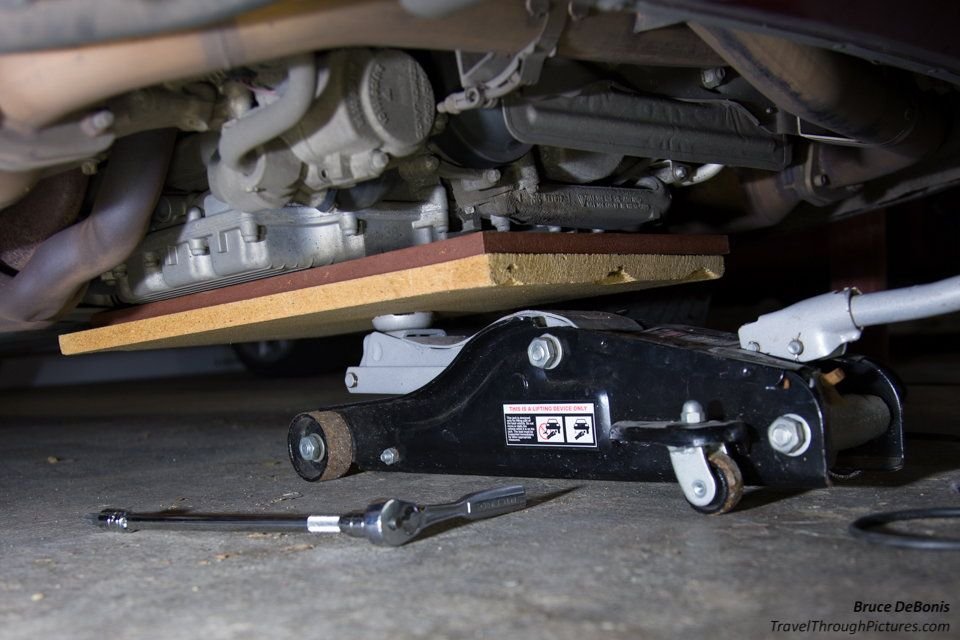
My floor jack saddle is round with 4 protrusions equally spaced around the circumference. I position it so one of those saddle protrusions is just under and inside the rear engine carrier cross brace. That keeps me from lifting under the engine at all, which I don't recommend, and the protrusion makes it impossible for the saddle to slide out. I'm not sure if this is possible with other exhaust setups, because the jack ends up right under (but not touching) the center of my Fabspeed x-pipe.
For the motor you can live with wood. In this case a 3/4 inch piece of plywood cut to about 18 by 18 ... enough to span to the edges of the oil pan. If you don't have something you can cut down in your scrap bin Home Depot can help you out.
Thanks, Wayne. You're an endless source of assistance. And I now covet your lift (have already bookmarked...I have a low ceiling in my garage).
So once I cut it, I center the jack under the oil pan and use that as the lift point?
Thanks, Wayne. You're an endless source of assistance. And I now covet your lift (have already bookmarked...I have a low ceiling in my garage).
So once I cut it, I center the jack under the oil pan and use that as the lift point?
Sorry for my remedial-ness...
Thx!
Bob
Place the jack so that it is centered on the oil pan. Raise the lift to near the pan. Slide the plywood between the jack and the pan so that the wood extends to the edges of the oil pan. Then jack up slowly to wedge the wood to the pan. You aren't lifting weight. You're just supporting the motor. Now you can loosen the motor mounts and then lower the motor. Since floor jacks can drop faster than you expect I have never fully removed the motor mount nuts. The nuts act as a safety limit. But on a .1 car that may not work to access the AOS or expansion tank.
Place the jack so that it is centered on the oil pan. Raise the lift to near the pan. Slide the plywood between the jack and the pan so that the wood extends to the edges of the oil pan. Then jack up slowly to wedge the wood to the pan. You aren't lifting weight. You're just supporting the motor. Now you can loosen the motor mounts and then lower the motor. Since floor jacks can drop faster than you expect I have never fully removed the motor mount nuts. The nuts act as a safety limit. But on a .1 car that may not work to access the AOS or expansion tank.
You rock, Wayne. That's precisely the direction I was looking for/need.
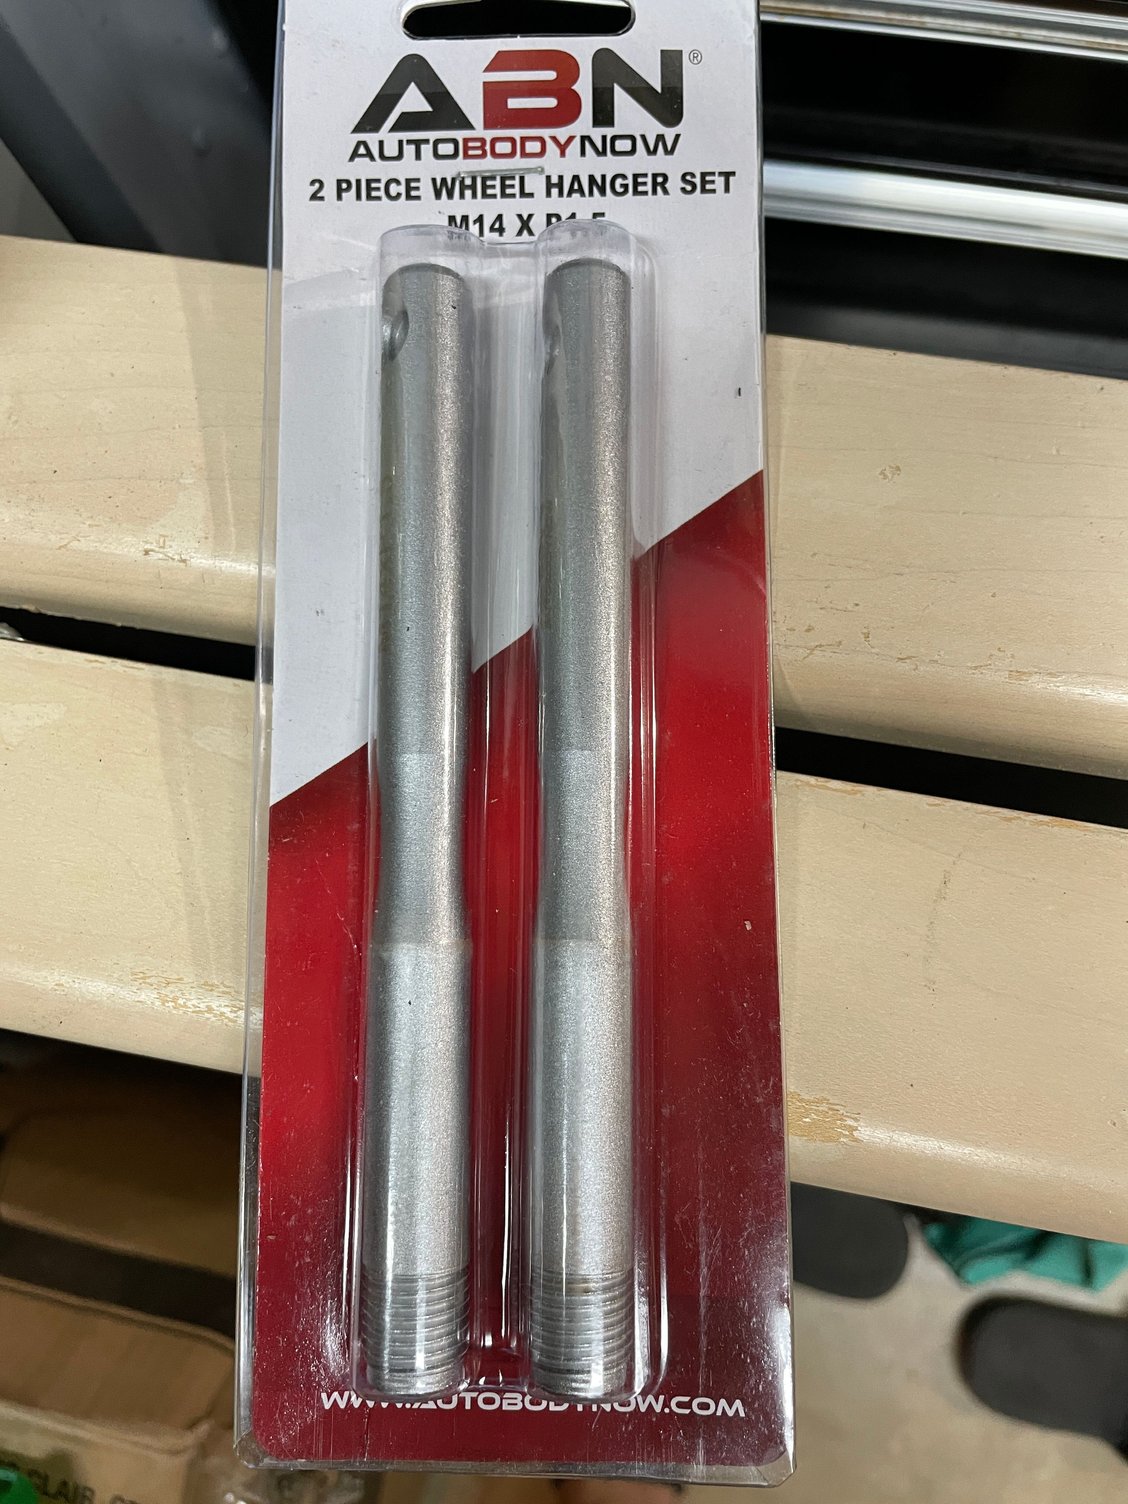
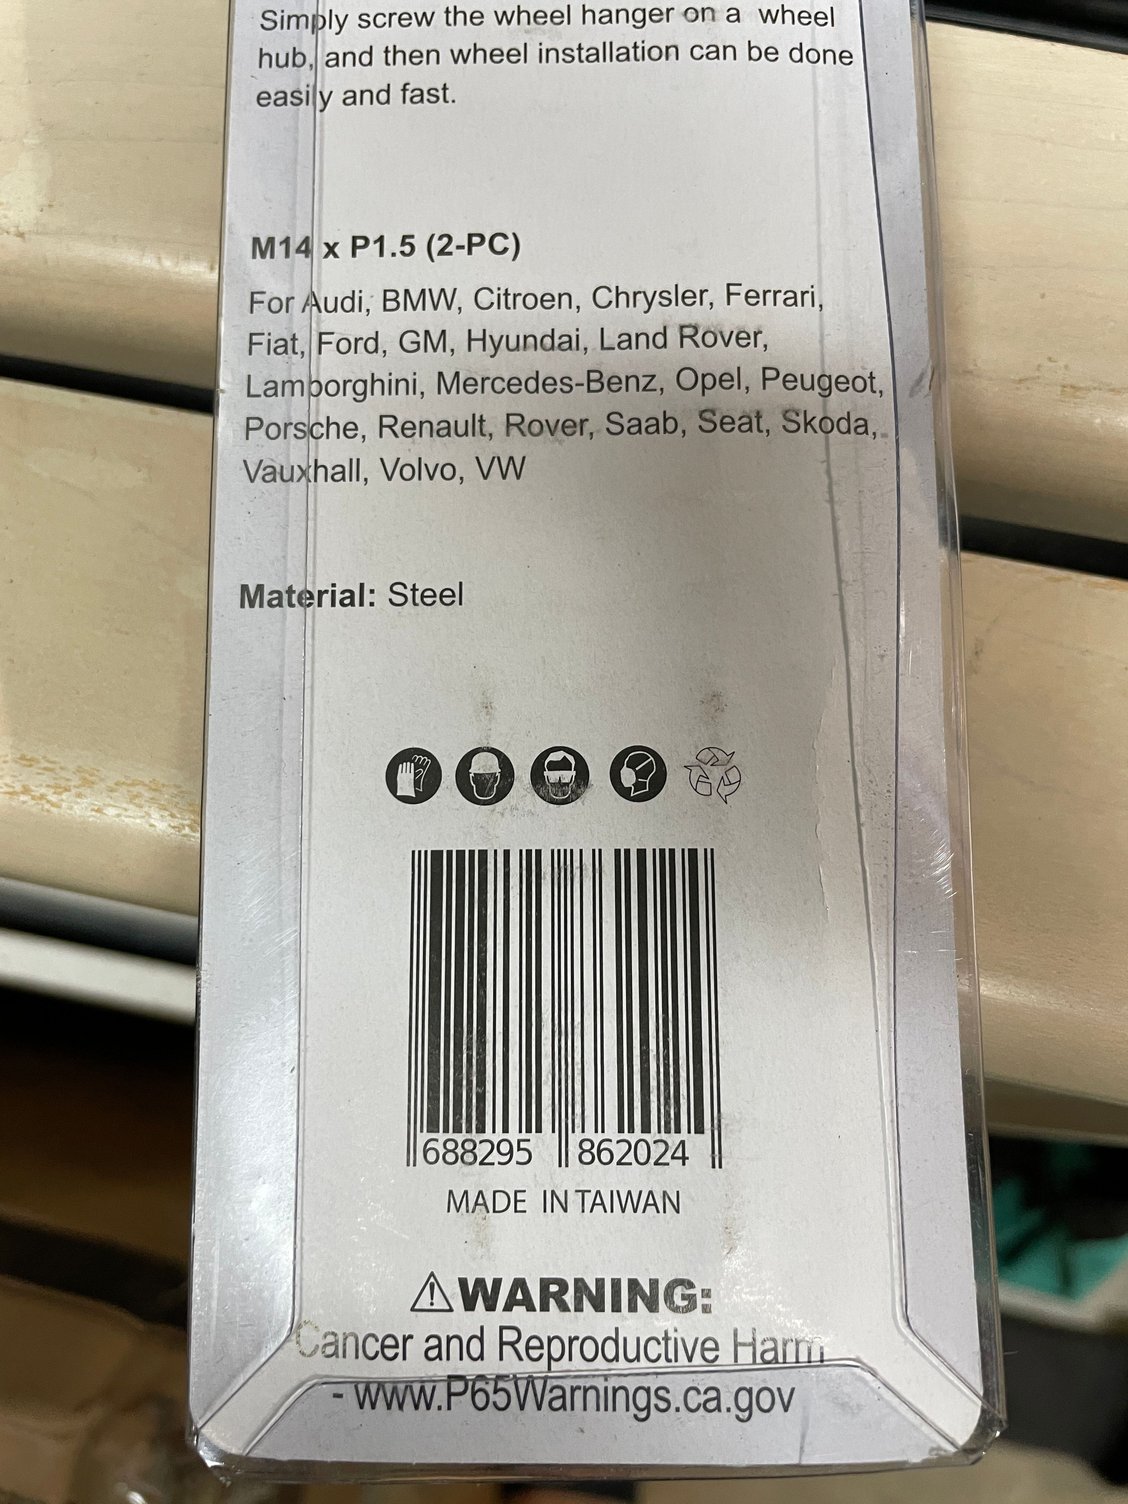
I picked these up at Amazon from a comment made above. Heavy and made in Taiwan vs. China. I always felt Taiwan stuff were better quality than China since the 80's - they made quality BMX bike and parts back then (when Japan stopped making bike parts) LOL.
If it doesn't snap while inserted in the hub/rotor, then money well spent!

 10-14-2023, 12:19 AM