
Headlight Plastic lens replacement: Aftermarket solution
 12-24-2021, 04:09 PM
#31
Rennlist Member
 12-24-2021, 04:35 PM
#32
RL Community Team
Rennlist Member
Rennlist Member
Correct. Crazing would likely be on the inside of the lens from someone introducting rubbing alcohol instead of denatured alcohol to try and remove the internal film. Crazing is little cracks in the plastic. Nothing will fix that except replacement.
12-24-2021, 04:37 PM
#33
Rennlist Member
 12-24-2021, 07:29 PM
#34
Instructor
The Sylvania kit is great. I've used it on 2 vehicles in the past and was amazed at the results. But it's pretty hard to find locally, so I tried the Griot's kit on my neice's VW a few weeks ago. I like the Griot's kit even better than the Sylvania. Applying the UV protection is much easier (didn't have to worry about dips), the included tool / applicator for the sand paper is very nice, and the headlights looked brand new when i was finished.
12-27-2021, 08:16 PM
#37
Rennlist Member

would be interested in this as well, been looking to replace my headlights but the price seems not worth it to me. i've dused the headlight lens restorer from chemical guys which seems to hold up decently, but seems like I need to reapply/rebuff my headlights every couple of months (which isn't too bad honestly).
12-28-2021, 03:19 AM
#38
Rennlist Member
Alright.... I bought them. I'll report back with photos.
12-29-2021, 12:17 AM
#39
Rennlist Member
Hey guys, sorry I've been off the grid for a while over the holidays.
Like I said in my previous post they arrived and look perfect.
I swapped out one headlight (I had one that was slightly cracked) and it went relatively smooth.
Heated up the entire headlight in the oven for about 20 minutes.
Made some attempts to pull the lens off the housing but realized it was still firmly attached so I went for another 15 minutes.
At that point I was able to get some pry tools (using gloves because it was so hot) in the right spots and lift the lens out of the housing (this did take some effort).
I then added the butyl seal to the channel in the housing. This was tricky as you have to roll the butyl until its thin enough to sit in the channel but not break (and not go overboard).
Take your time.
After I sandwiched the lens back in I squeezed it has much as I could and then used some spring clamps that I got on amazon and let it cool down.
The car is put away for the winter so I haven't installed it to make sure it doesn't leak but even if it does I'm sure I can address it with more sealant.
So I am extremely satisfied with the product and would recommend it to anyone that wants brand new headlight lenses.
The following 4 users liked this post by Recruiter_Bruno:
12-29-2021, 12:39 AM
#41
Rennlist Member
Yeah I've done my audi headlights with a heat gun but Porsche uses a much stronger adhesive.
Only way to do it is the oven.
And it's standard practice by many shops.
Check out youtube...
You never go hot enough to melt anything .
Only way to do it is the oven.
And it's standard practice by many shops.
Check out youtube...
You never go hot enough to melt anything .
12-29-2021, 02:19 AM
#42

I've done headlights in the oven before. It's less scary that it sounds. You put your oven to like 200F for a couple mins and pull it out with gloves. Make sure all the electronics and bulbs are out and you'll be fine. Xenon bulbs get much hotter than that so the plastics and glass inside can take it no problem.
12-30-2021, 10:56 PM
#44

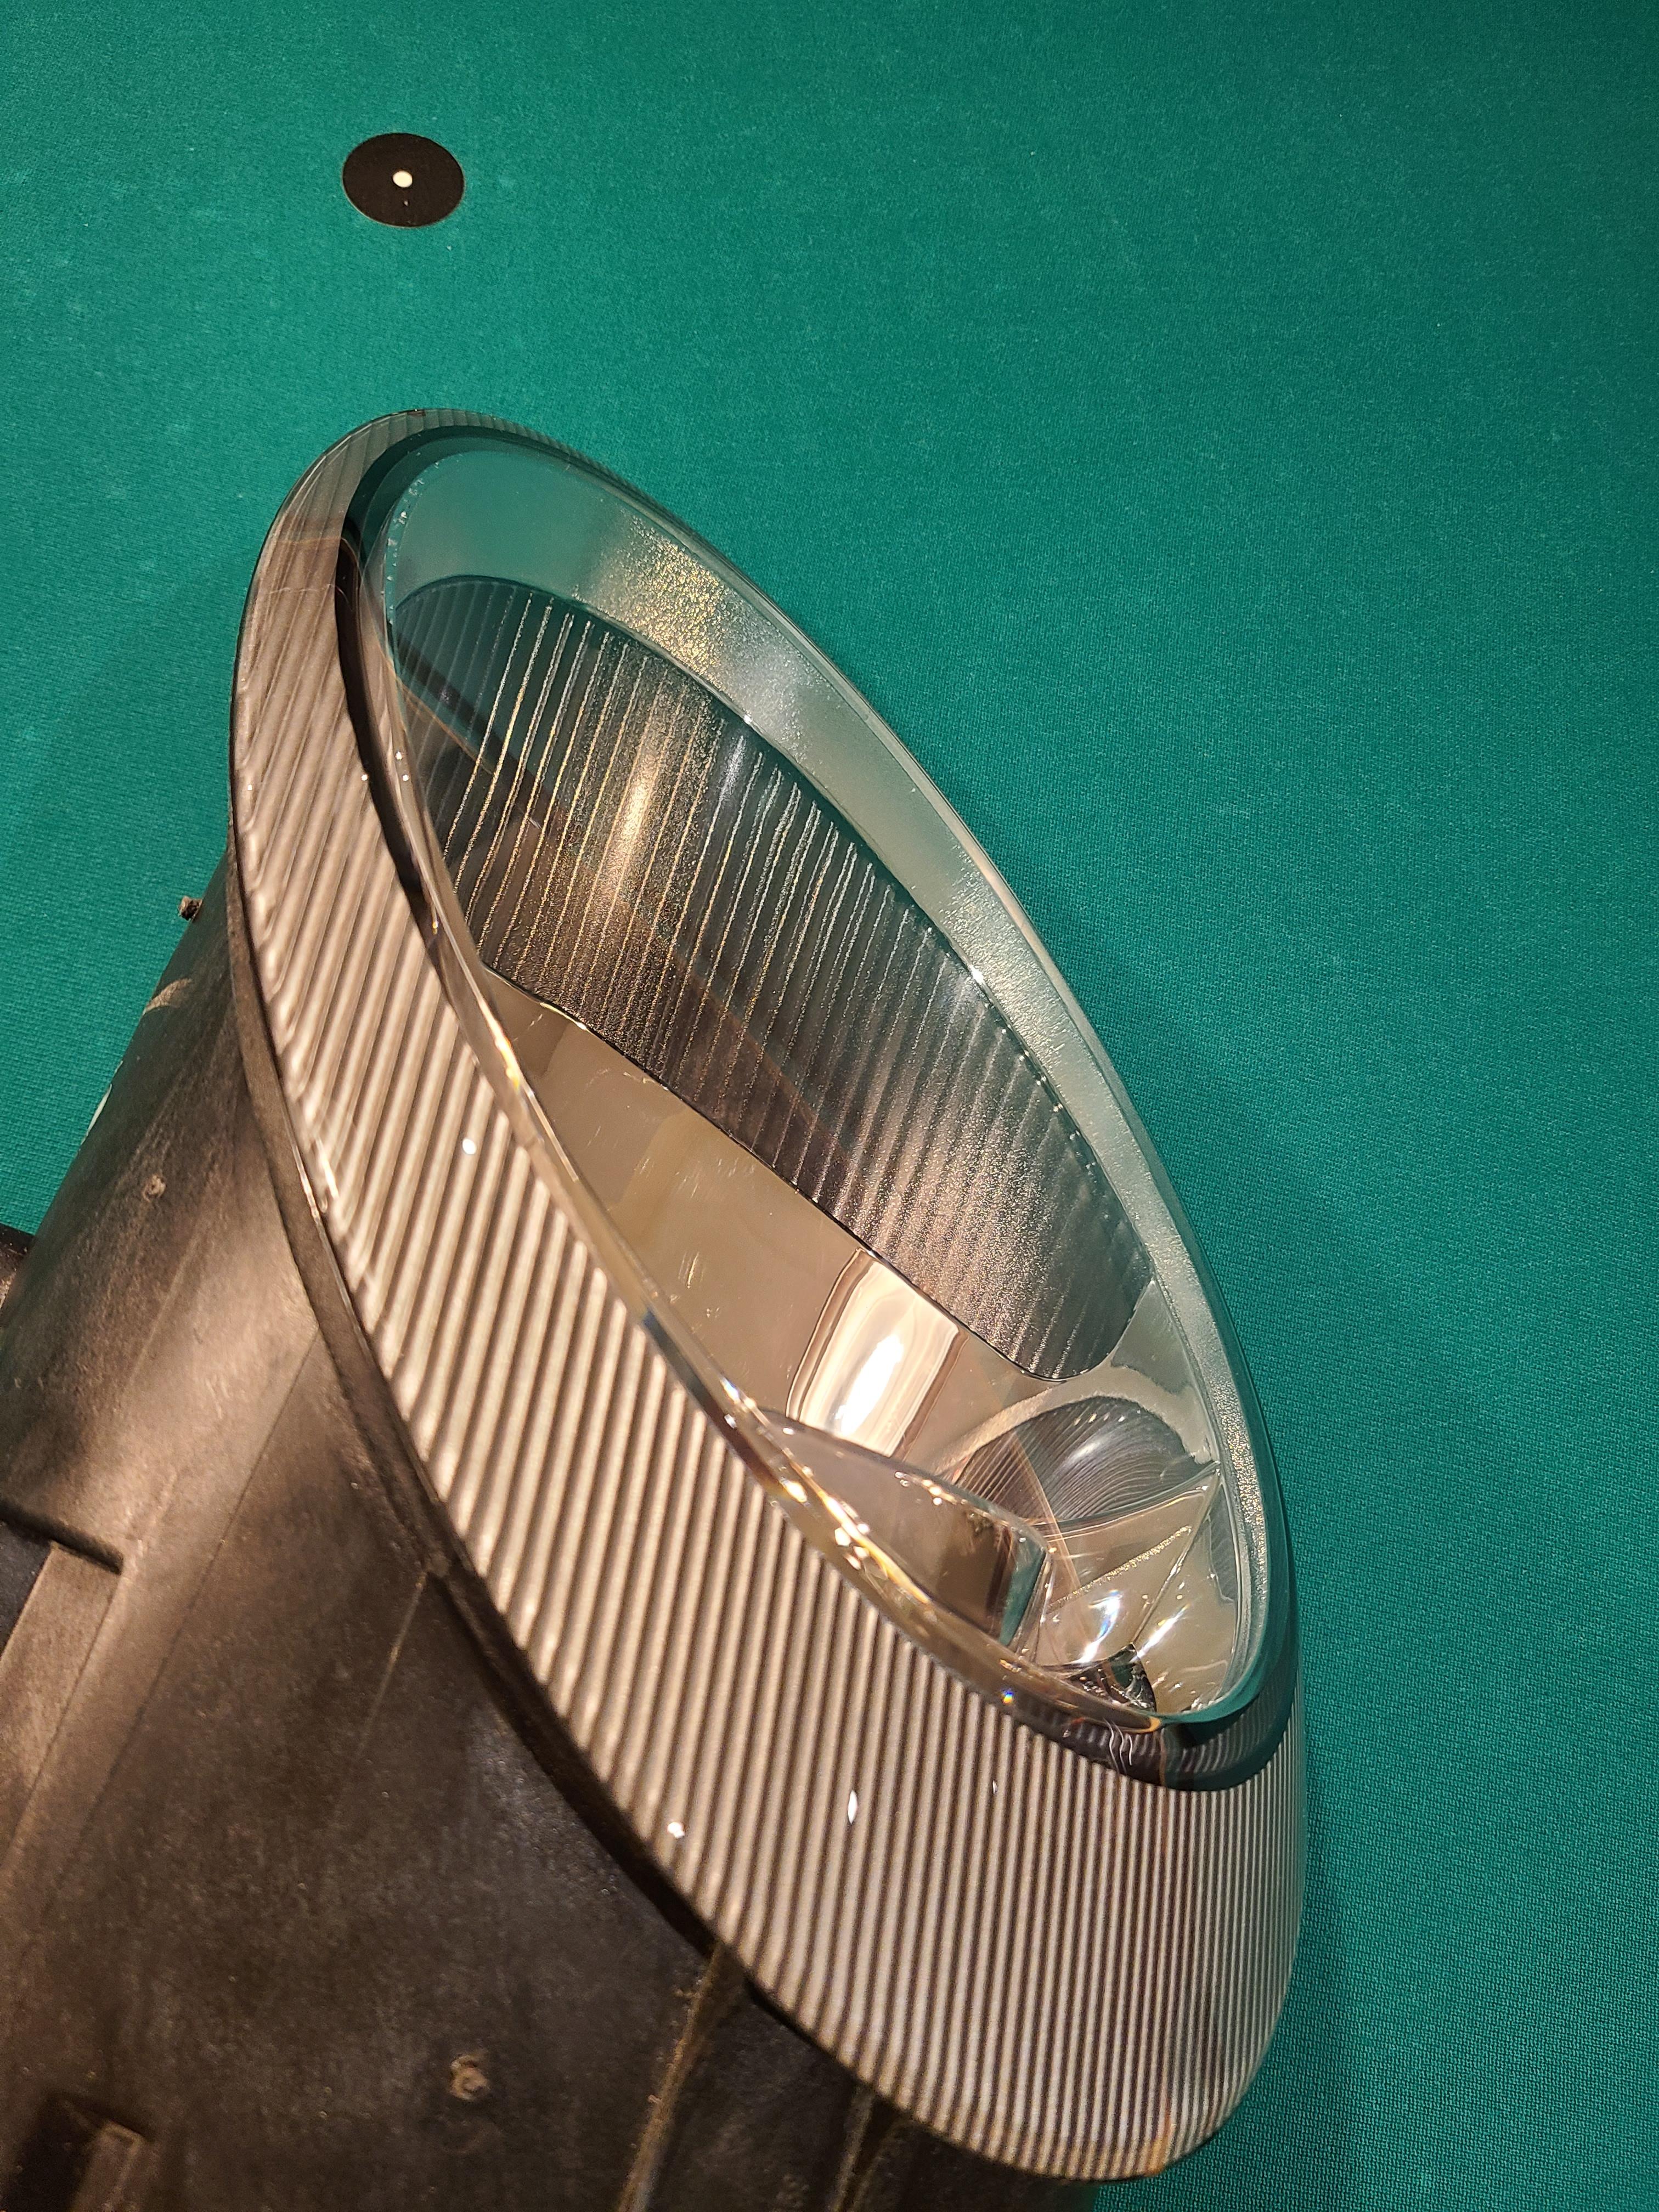
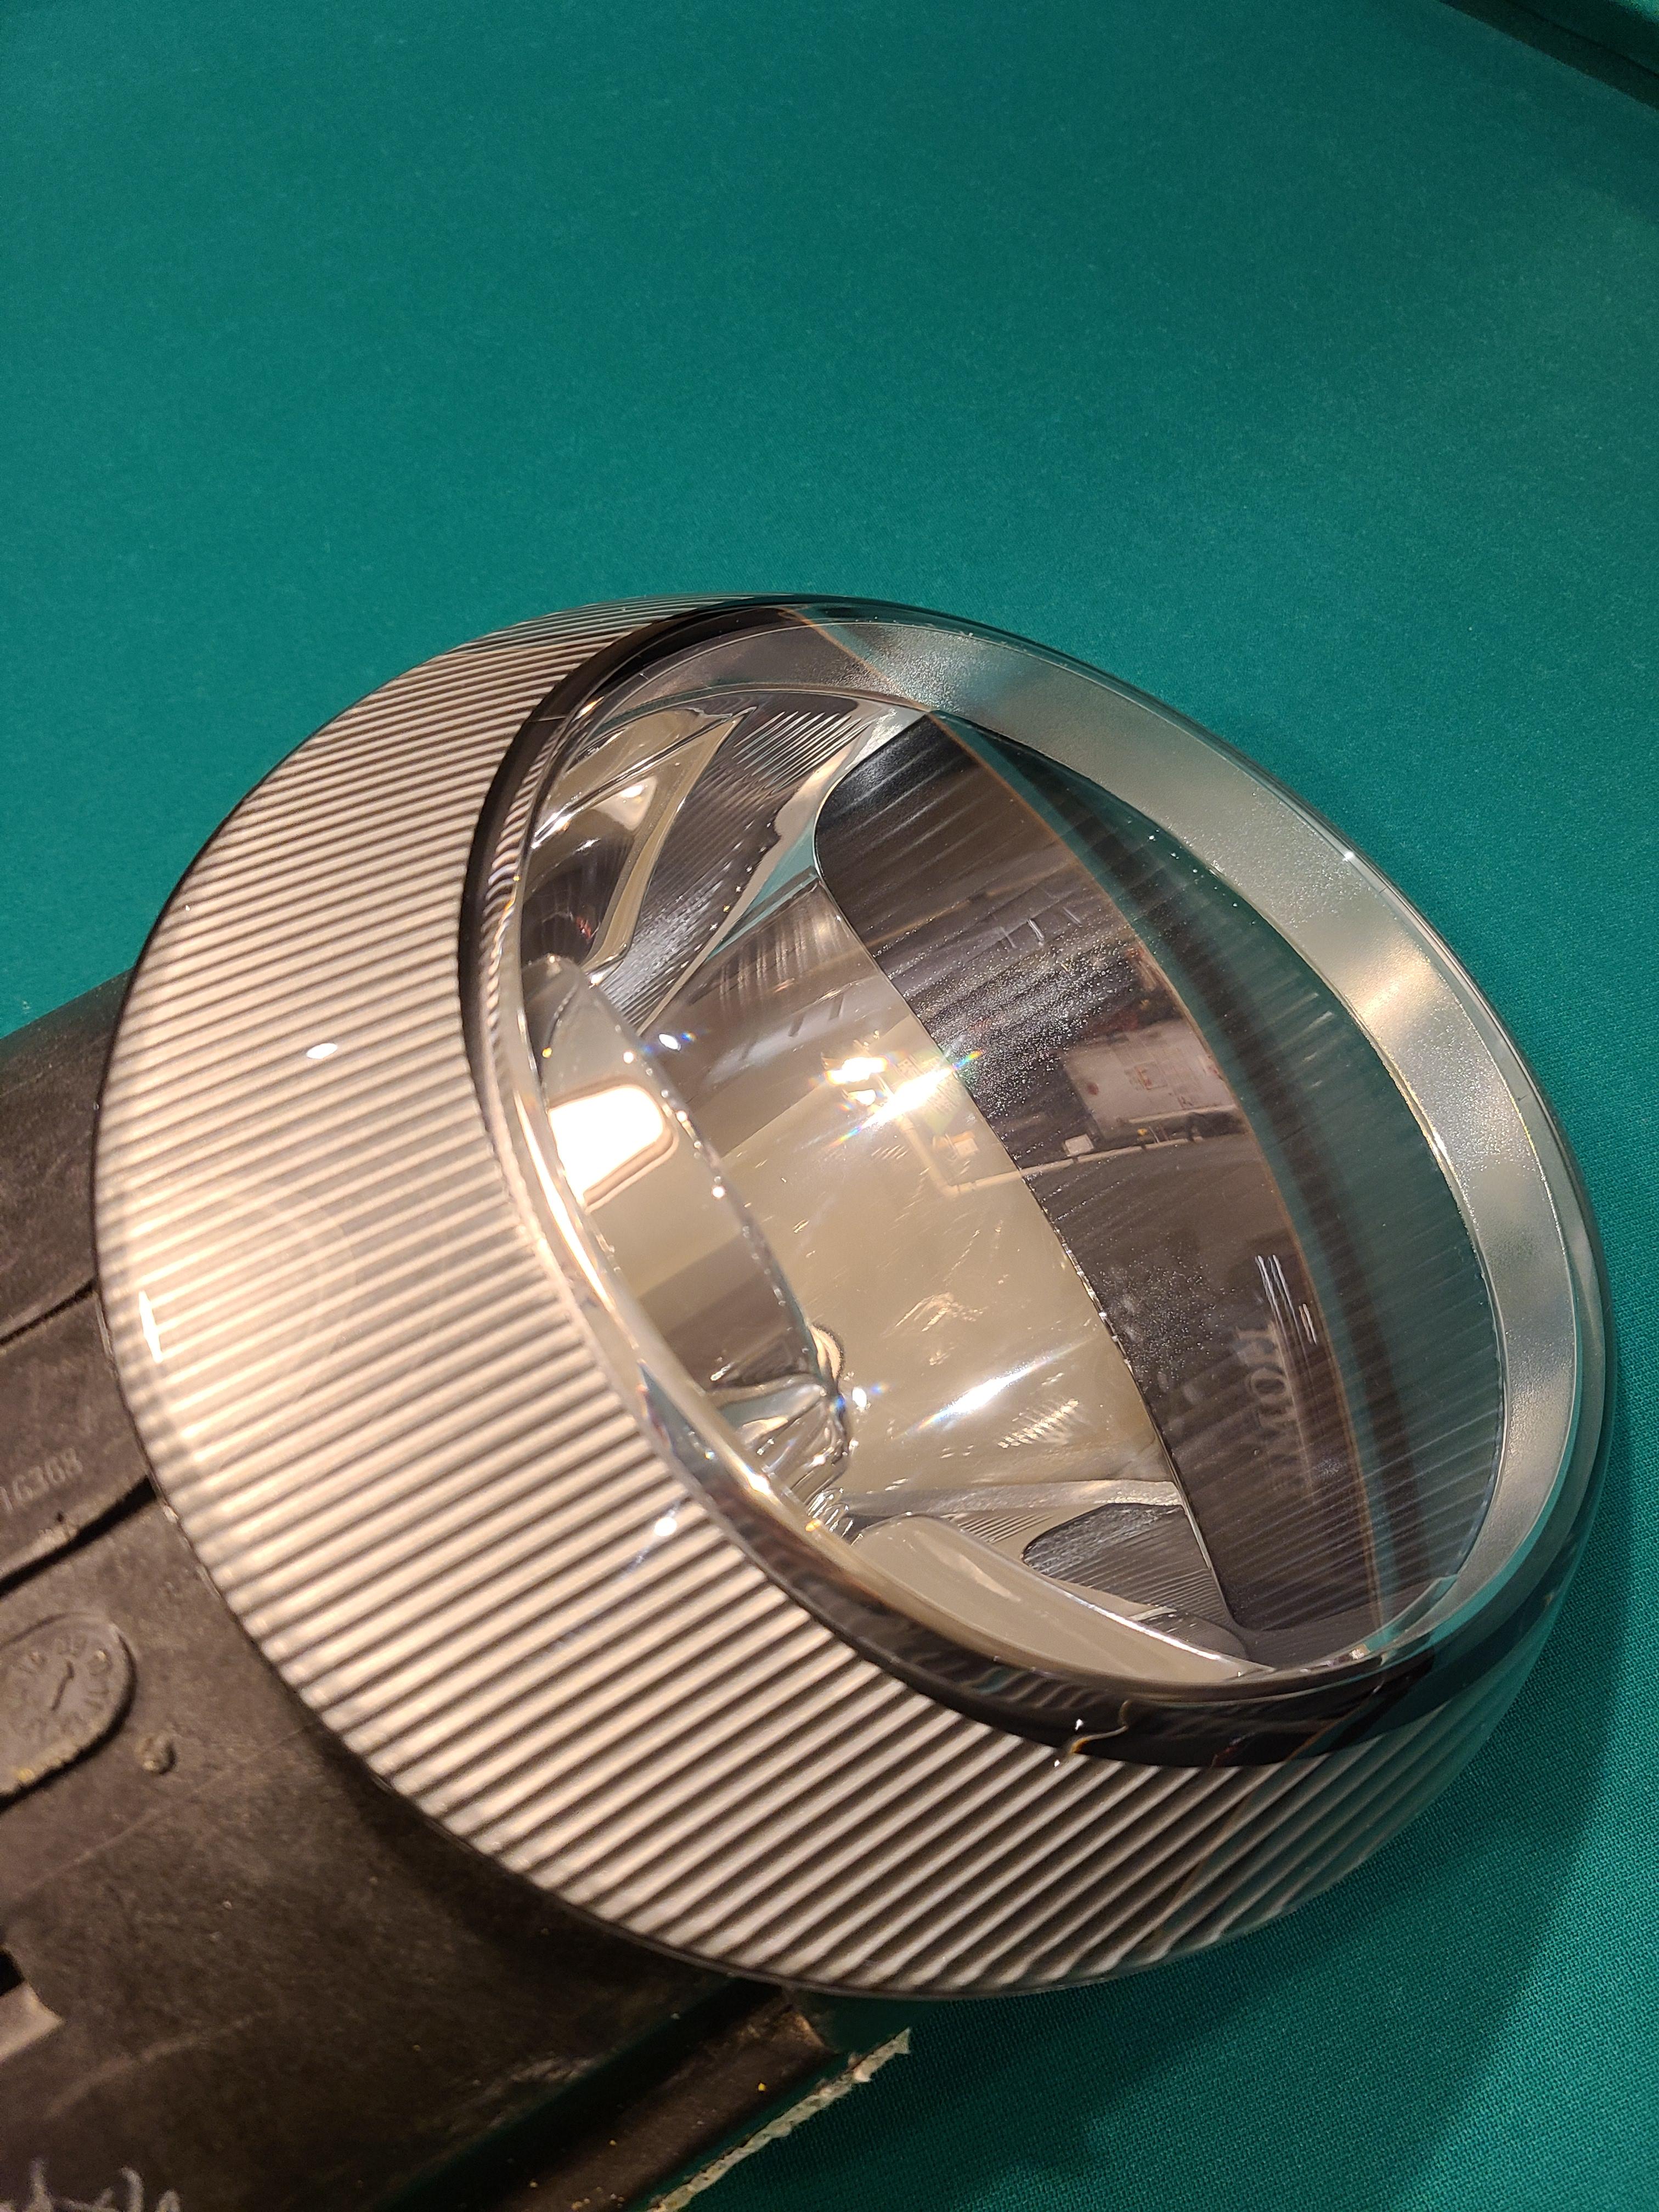
so the lens is a separate part of the headlight assembly that you heat and remove, then replace with this part? I am just not sure of the "after image" posted, the lower portion kinda looks like it has a residue or stippling, not sure if that is due to reflection?
12-31-2021, 01:12 AM
#45
Rennlist Member
Yes it's definitely reflection. In person it's as clear and glass from top to bottom. I'll definitely be getting them PPFd just in case.