When you click on links to various merchants on this site and make a purchase, this can result in this site earning a commission. Affiliate programs and affiliations include, but are not limited to, the eBay Partner Network.
I can see lots of threads about removing the door panel and they're all great.
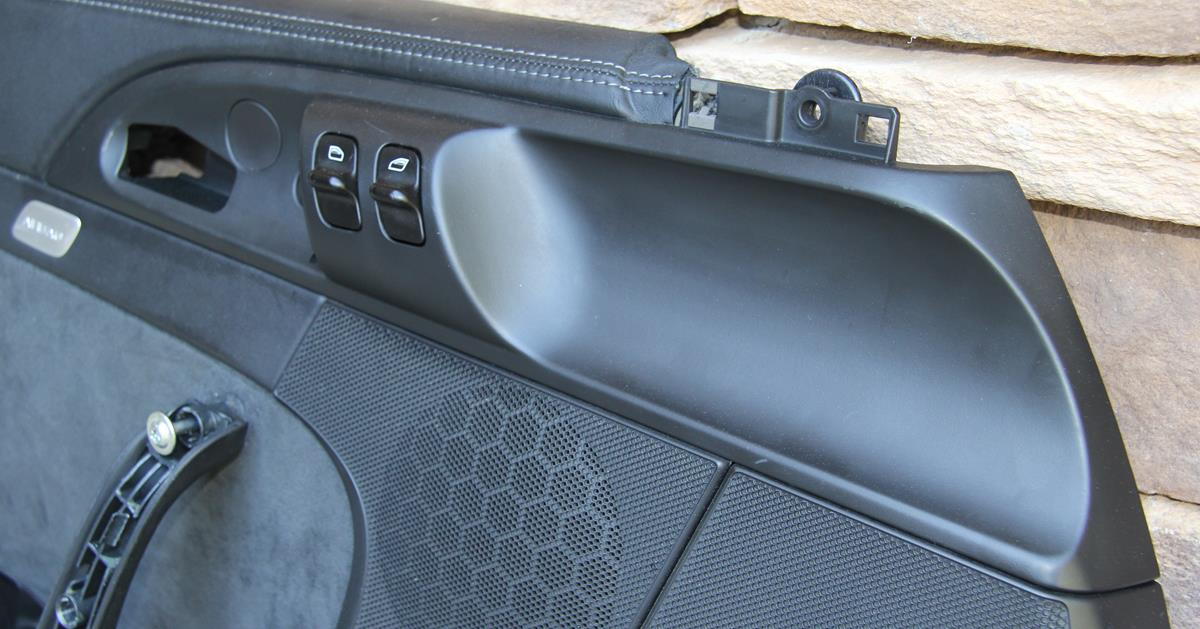
The door handles and the rubberised black piece immediately behind them look tatty in my car so I was thinking of removing and repainting them, along the lines of other threads here - mainly centre console.
Is there a way to get this trim off without removing the entire door card? I know I can get the handles off easily, but what about the plastic part beneath? Can it come out from the front at all?
I can see lots of threads about removing the door panel and they're all great.
The door handles and the rubberised black piece immediately behind them look tatty in my car so I was thinking of removing and repainting them, along the lines of other threads here - mainly centre console.
Is there a way to get this trim off without removing the entire door card? I know I can get the handles off easily, but what about the plastic part beneath? Can it come out from the front at all?
Cheers
Richard
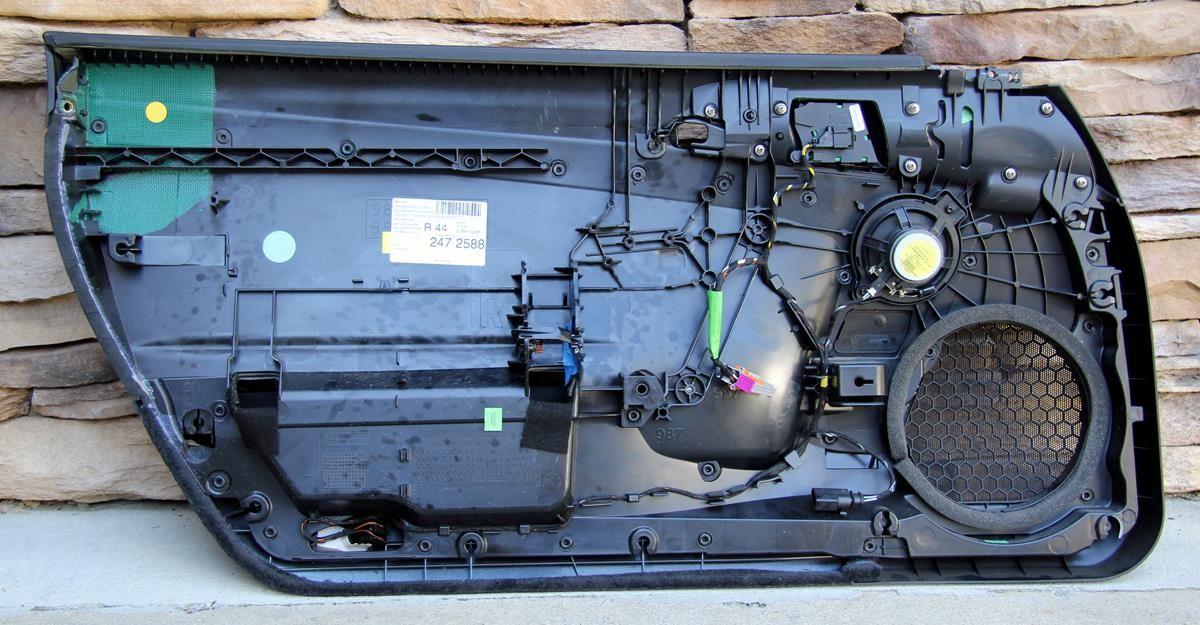
Unfortunately they are plastic welded on and require removal of the whole door. It isn't hard at all, 5-6 tort bolts and 3 connectors. 10 min your first door, 3 your second door. Make sure to buy 5-10 door fasteners as some will likely break.
You could just tape and paint. However the door spears are pretty cheap to replace, $30 or so if I recall per side. I redid mine and used a soldering iron to melt them off and then to reconnect.
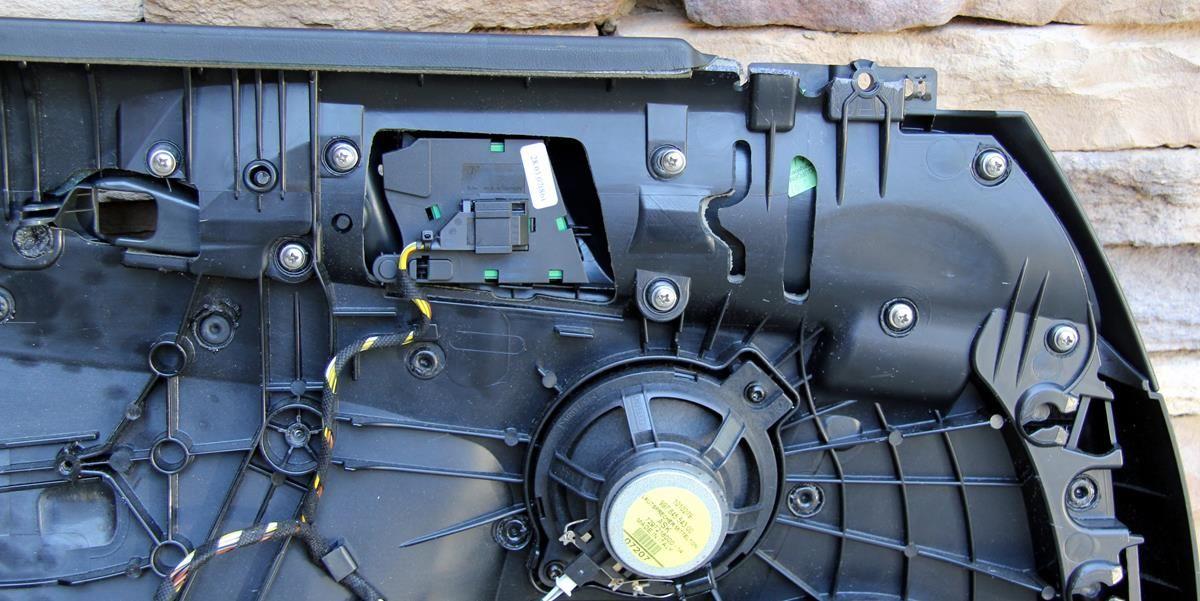
It's a pretty easy job once you get over the fear of pulling hard on your door panel, and just pay attention to the plastic welds. I used a hand drill to take the head off, and then used a mini torch lighter to melt the new spear studs in place. My back up plan was to use small screws. Great threads on this board about it, and I believe a you tube video or two.
Just a clarification, the whole door doesn't need to come off, just the whole door panel.
I've done it both ways and much prefer the screw installation method to the melting method, as the screws let you adjust the pressure and fit of the spear to the panel so the gaps are perfect. You still have to melt the rivets to remove the old ones though. Then I fit the new one mark where the new plastic attachment points come through the panel, cut them off cleanly just below the mark (shorter), so that when the screws are tightened they will have room to draw into the panel without bottoming on the screw head. When you put the door back together use some thin insulating foam tape on each scene head so it doesn't rattle and vibrate against the metal door skin.
Also, make sure to test fit the silver inner foot handle while the panel is connected but not yet installed do you can get the angle of the latch assembly correct before fully tightening the three screws that position and secure it.


 04-26-2020, 01:38 PM