When you click on links to various merchants on this site and make a purchase, this can result in this site earning a commission. Affiliate programs and affiliations include, but are not limited to, the eBay Partner Network.
Thanks myw.
I have not posted one. I'll photo-document the process on my next rock chip of any significance and post them with a step-by-step.
Ironman88---> Very impressed with the outcome of the deep scratch you touched up. These sorts of touchups are really difficult with metallic paints.
I've tried and somewhat succeeded on my silver 996 years ago but never looked excellent. Also tried on my charcoal metallic motorcycle gas tank and looked "ok" but not great. It would be great if you could post a photo-DIY. I am extremely patient and would be great to see just what steps are involved.
Thx
Posted below is another series of before / during / after chip repair photos that can help illustrate the stages of the repair process.
I used the following items / products to do the work:
1) OEM Touch up paint - the kit you can buy at the dealership (color and clear)
2) Artist paintbrushes - in different sizes
3) Automotive sandpapers - 1000g to 3000g (all but the 3000g applied to the eraser-end of a pencil). For me, using the pencil approach helped to focus on only the specific areas that needed to be sanded
4) Isopropyl Alcohol 71% (used to do the initial cleaning of the chip area to remove any old wax or polish; and also as a paint thinner to clean the brushes)
5) Bright LED Light
6) Magnifiying Glass - helped me, may help others
Key steps and points that I followed:
A) Clean the chip area with alcohol
B) Using the sandpaper (1000g) smooth the area right around the chip (it may be deformed somewhat if the chip (like the one in the photos) was in the urethane bumper material)
C) When applying the paint - try to place the paint into the chip (rather than painting it in the chip). Allow the fluidity of the paint to fill the chip area.
D) Avoid trying to get the job done fast with just one or two applications of paint (using too much paint at one time)
E) Don't attempt to sand the painted area until the paint is fully dry. Otherwise you'll make a mess of it and it will just cost you more time in correcting it.
F) When sanding between coats, focus on sanding any paint that ended up outside of the actual chip area. The goal is to raise the area of the chip up to the level of the surrounding paint.
G) Don't rush it. Keep repeating the paint / dry / sand cycle.
H) When the level inside of the chip is almost flush with the surrounding area, switch over to the clear touch up paint
I) When you are satisfied that the chip is completely filled, lightly sand the chip area and the surrounding area (1/2" around the perimeter of the chip) with the 3000g sand paper.
J) Don't worry if it looks dull after the 3000g sanding. The next steps will correct that.
K) Use a medium / lighter paint compound to lightly polish the chipped area and surrounding area. (I used Menzerna FG 400 which is fantastic stuff.)
L) Lastly - follow up with a high grade polish. (I used Menzerna SF - Super Finish. Another fantastic product.) Menzerna stuff is available on Amazon.
Photos below:
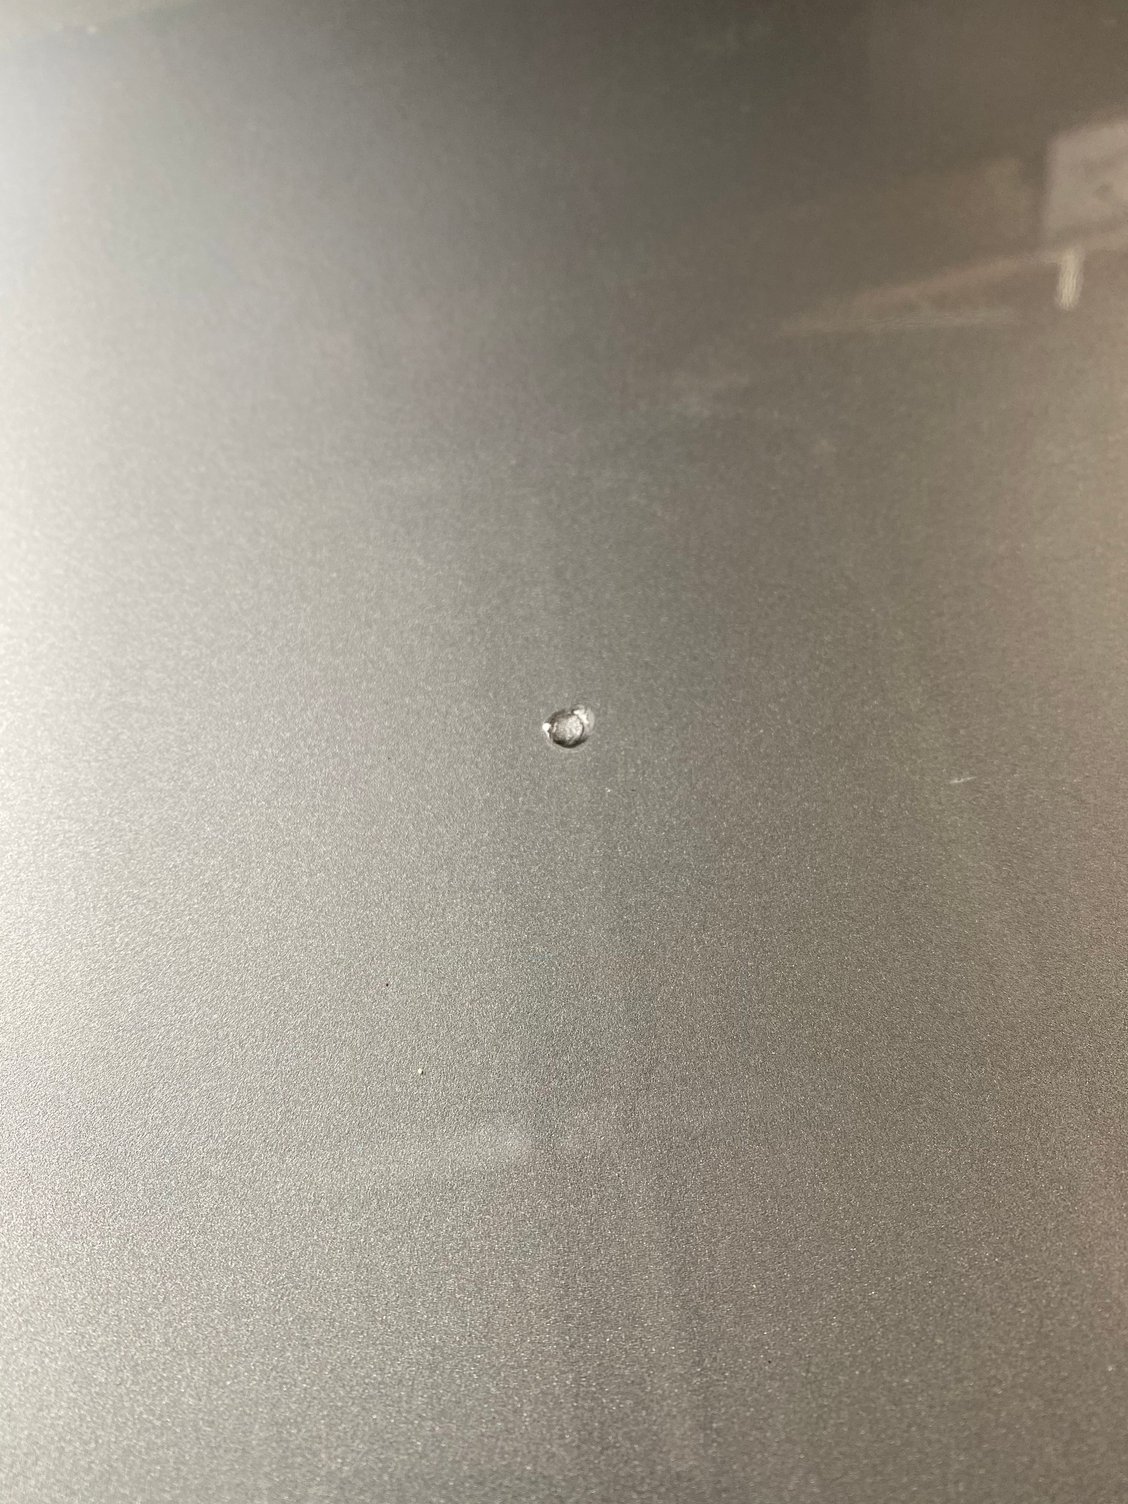
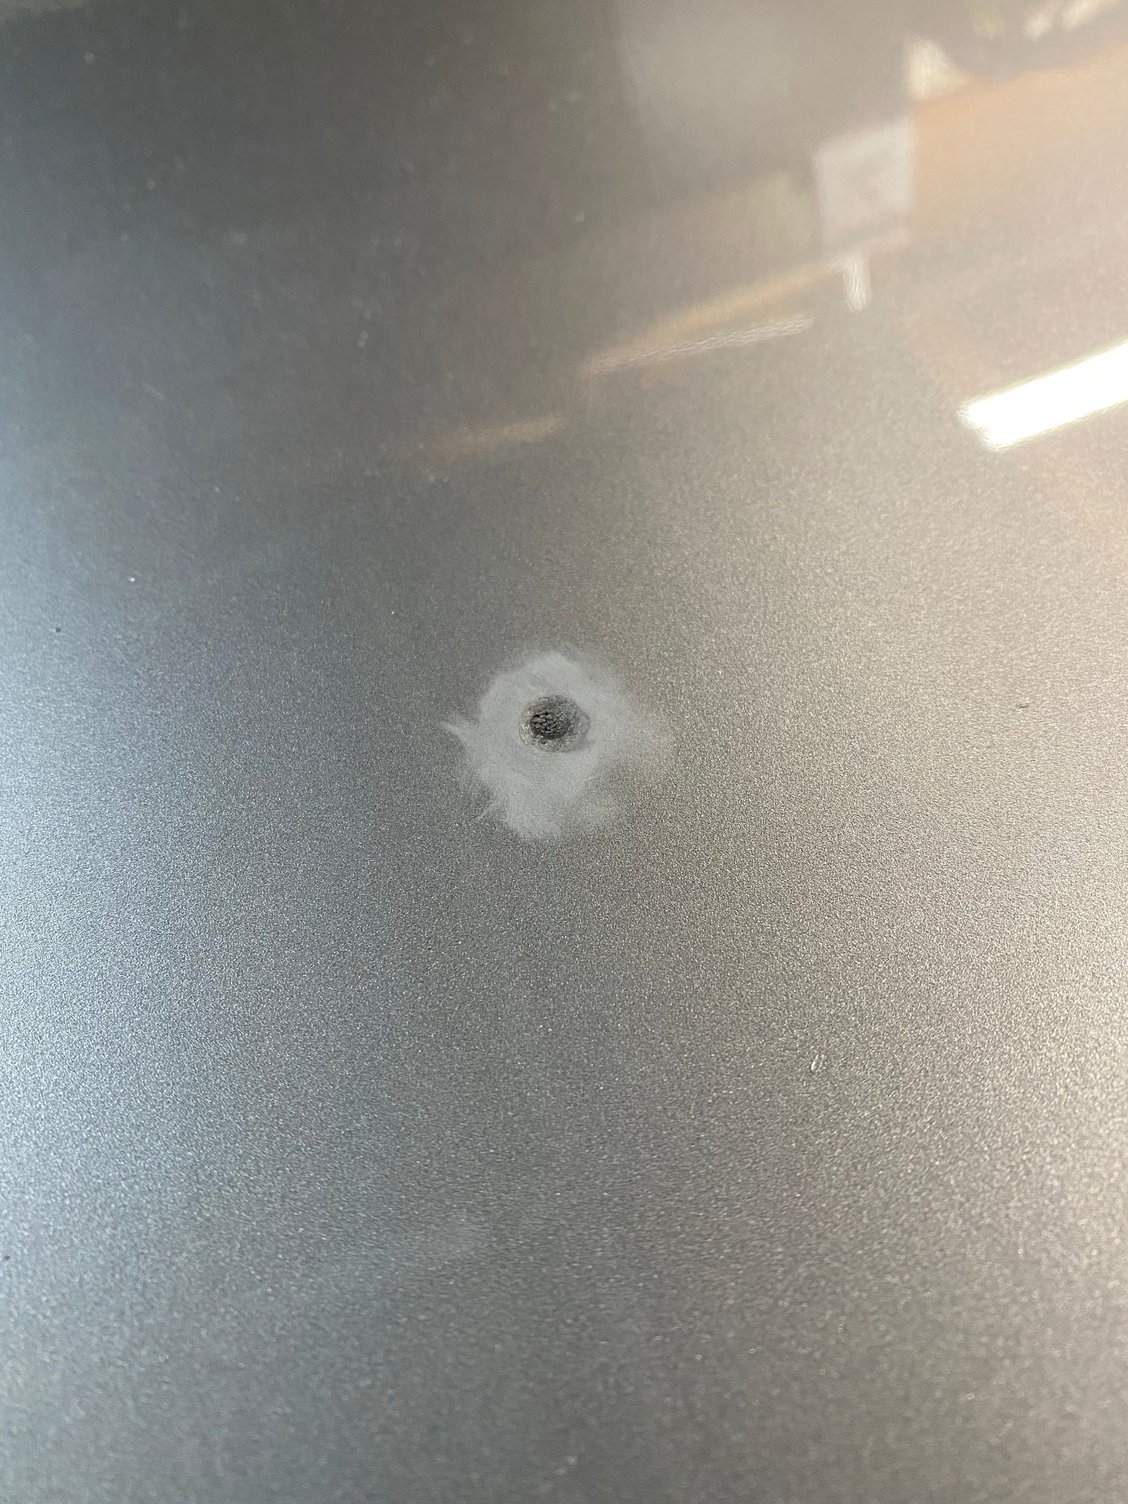
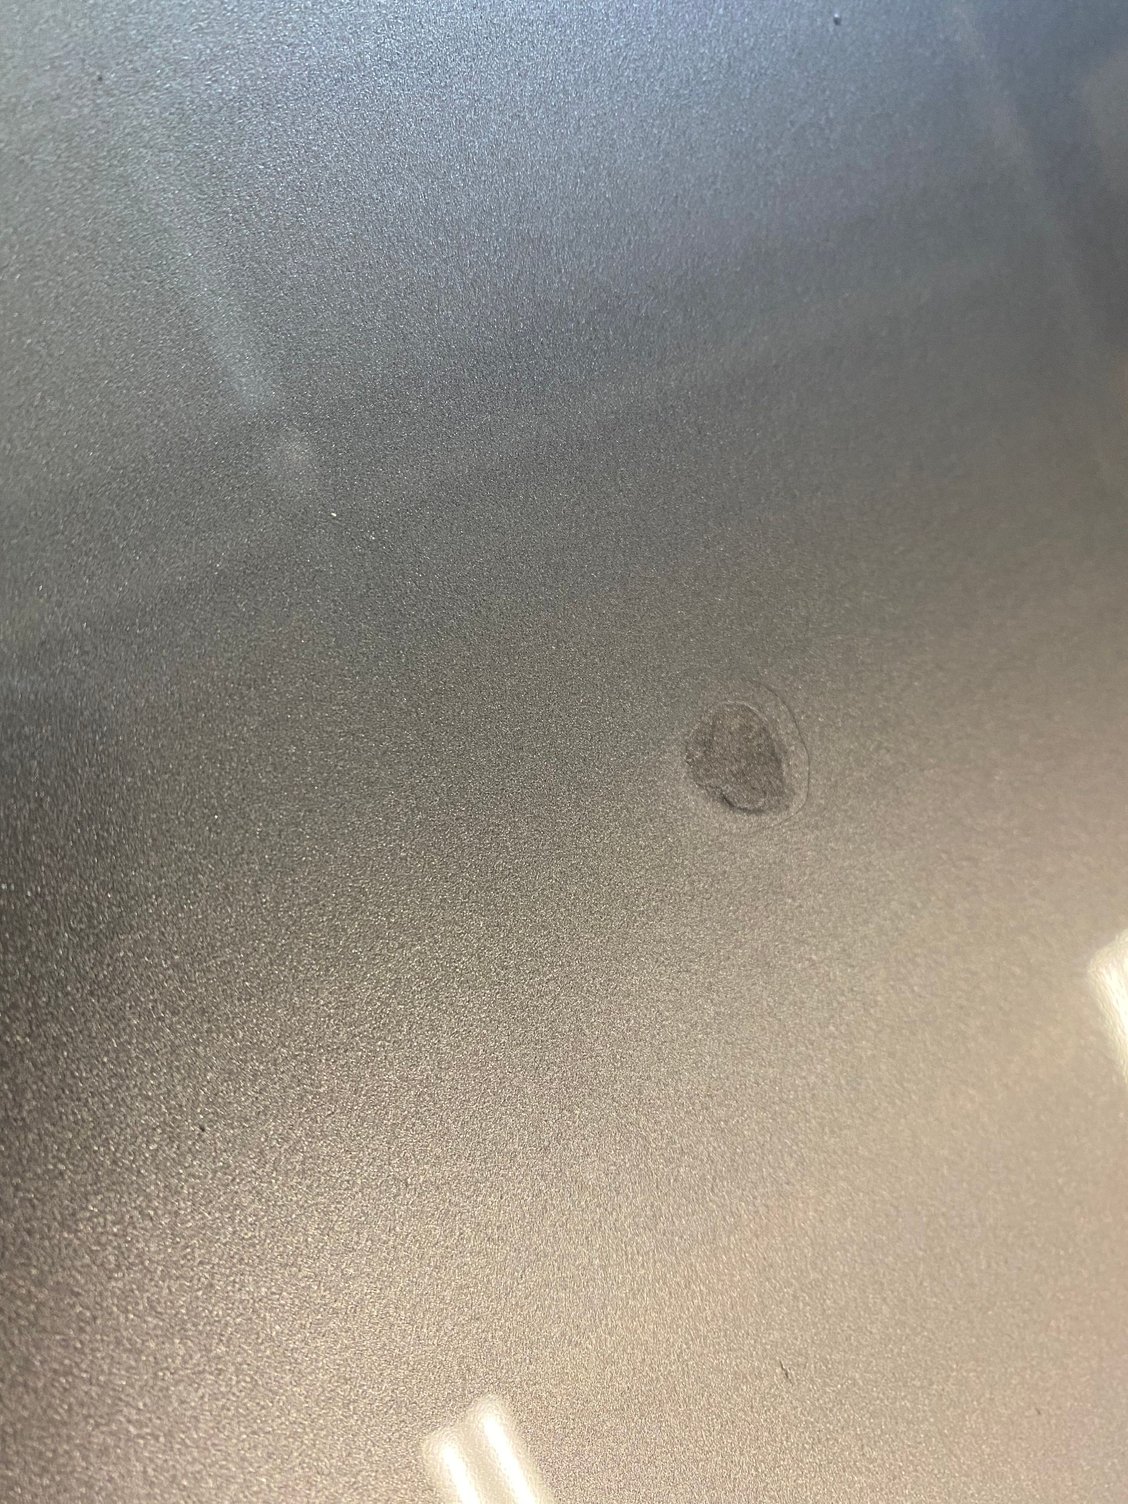
Nasty chip located on the lower lip of the center intake in the bumper. Cut well into the urethane material. Initial application of paint revealed that I had much more sanding to do to smooth the area Mid-way through the process. Paint / dry / sand and repeat... Finished look. Good enough to keep most people from being able to spot it without knowing it was there...
Photos of some of the materials used:
Artist brushes - cost about $4 OEM Touch up paint kit - Color and Clear Various sandpapers Best compound and polishes on the planet Trusty LED light -
Why even bother to dink with it and spend almost what you would pay to have it repaired at one of those professional dent / scratch repair places ..... The good ones can fix that easily with unnoticeable results . I have seen crazy good results with the one I have used in the past.
^^^It's been a while since I've personally had to have a scratch or chip repaired, but most all chips or scratches on Metallic paints can't be repaired properly with excellent color match by dent repair companies or even most quality shops as a "spot" repair/color match..
Some of the best paint shops won't repair spot areas and will only spray a panel width at minimum and usually want to over spray onto other panels to color blend.
I only knew of one painter in Ukiah California (Dink Farmer - Farmers Bros) who was an excellent body guy and could repair spot paint blemishes in Metallic paints - He was big in the collectible 356/early 911 circle and restored a couple of cars for me.
I saw 1st hand the spot paint repairs he did on hoods and fenders that nobody else could come close to repairing in a prefect fashion with absolutely no way you could ever tell a repair was done. He was a master and all the guys with expensive show cars used him.
I've had 2 paint repair guys here tell me they won't try to fix a metallic silver chip, especially one in a prominent place on light silver, like Arctic. They both said "Just leave it, I'm not touching that."
I've seen people here post good chip repair results -- some even doing their own repair. But I just left my chips alone.
So this is one of those �picking at a scab resulting in a giant blister� sort of a deal LOL.
i was confident, I thought I was prepared, a lot of forum support... and here�s where I�m at.
i kept doing it, then re-doing it, then re-doing it... now it�s a dime sized pimple of mismatched GT silver. The touch up paint has black in it and it was leaving streaks. Looks like a respray
Oh boy. If all of the photos are to equal scale - this is unfortunate. Not sure I understand how the specific area of damage grew like that.
Given how this has evolved, I think your best bet, short of finding a local pro that can address it without respraying, is to go with a complete respray.
Ironman... your DIY was inspiring. I�ve done DIY bodywork before. I think it was a combination of my impatience to my over confidence in my skills in this one case. It is what it is. I�ll get it resprayed and life will go on!
Ironman... your DIY was inspiring. I�ve done DIY bodywork before. I think it was a combination of my impatience to my over confidence in my skills in this one case. It is what it is. I�ll get it resprayed and life will go on!
I don't know if you should feel bad -- 2 paint guys I work with would not touch chips on silver that were a fraction of the size your chip. They said silver is the worst to try to repair and match. It's very hard to get the color just right. It also looks like the original strike damaged far more paint than it appeared at first. Still better for now to have some paint so it won't rust and get bigger. onward!
A good body shop can match the paint really well and the only place color is needed is the repair area where they will blend out the color. The hood should be removed from the car to do this and the clear wrapped around the edges so there will be no paint line. Most shops use water based color now which is easier to get a really close match. I would pick a shop that uses a high end paint line like Glasurit, PPG or Spies Hecker.
I don't know if you should feel bad -- 2 paint guys I work with would not touch chips on silver that were a fraction of the size your chip. They said silver is the worst to try to repair and match. It's very hard to get the color just right. It also looks like the original strike damaged far more paint than it appeared at first. Still better for now to have some paint so it won't rust and get bigger. onward!
Originally Posted by Feld
A good body shop can match the paint really well and the only place color is needed is the repair area where they will blend out the color. The hood should be removed from the car to do this and the clear wrapped around the edges so there will be no paint line. Most shops use water based color now which is easier to get a really close match. I would pick a shop that uses a high end paint line like Glasurit, PPG or Spies Hecker.
Feld,
Do you think I should remove and take to a shop? Could they match well without the rest of the car?
I am always leery of leaving the car.... especially being a manual. If it were auto or PDK, I know there�s electronic controls in place to keep from over rev if abused.
Yes you could do that, the hood comes off very easily just have someone give you a hand with lifting the hood off and make sure it doesn't touch the fenders with loose hinge bolts. Also put a little tape on torx head so you don't scar up the paint on the bolts themselves, if careful you won't be able to see it was removed. Have the shop refinish the hood keeping the color as local as possible and tell them to spend the time to match as close as possible by doing spray out panels, tell the painter himself if he gets the paint match so you can't detect any color difference there is a $100 tip in it for him. Also tell the painter you want the clear coat wrapped all the way to the bottom of the edge of the hood. See pic. They will have to clear the whole hood.
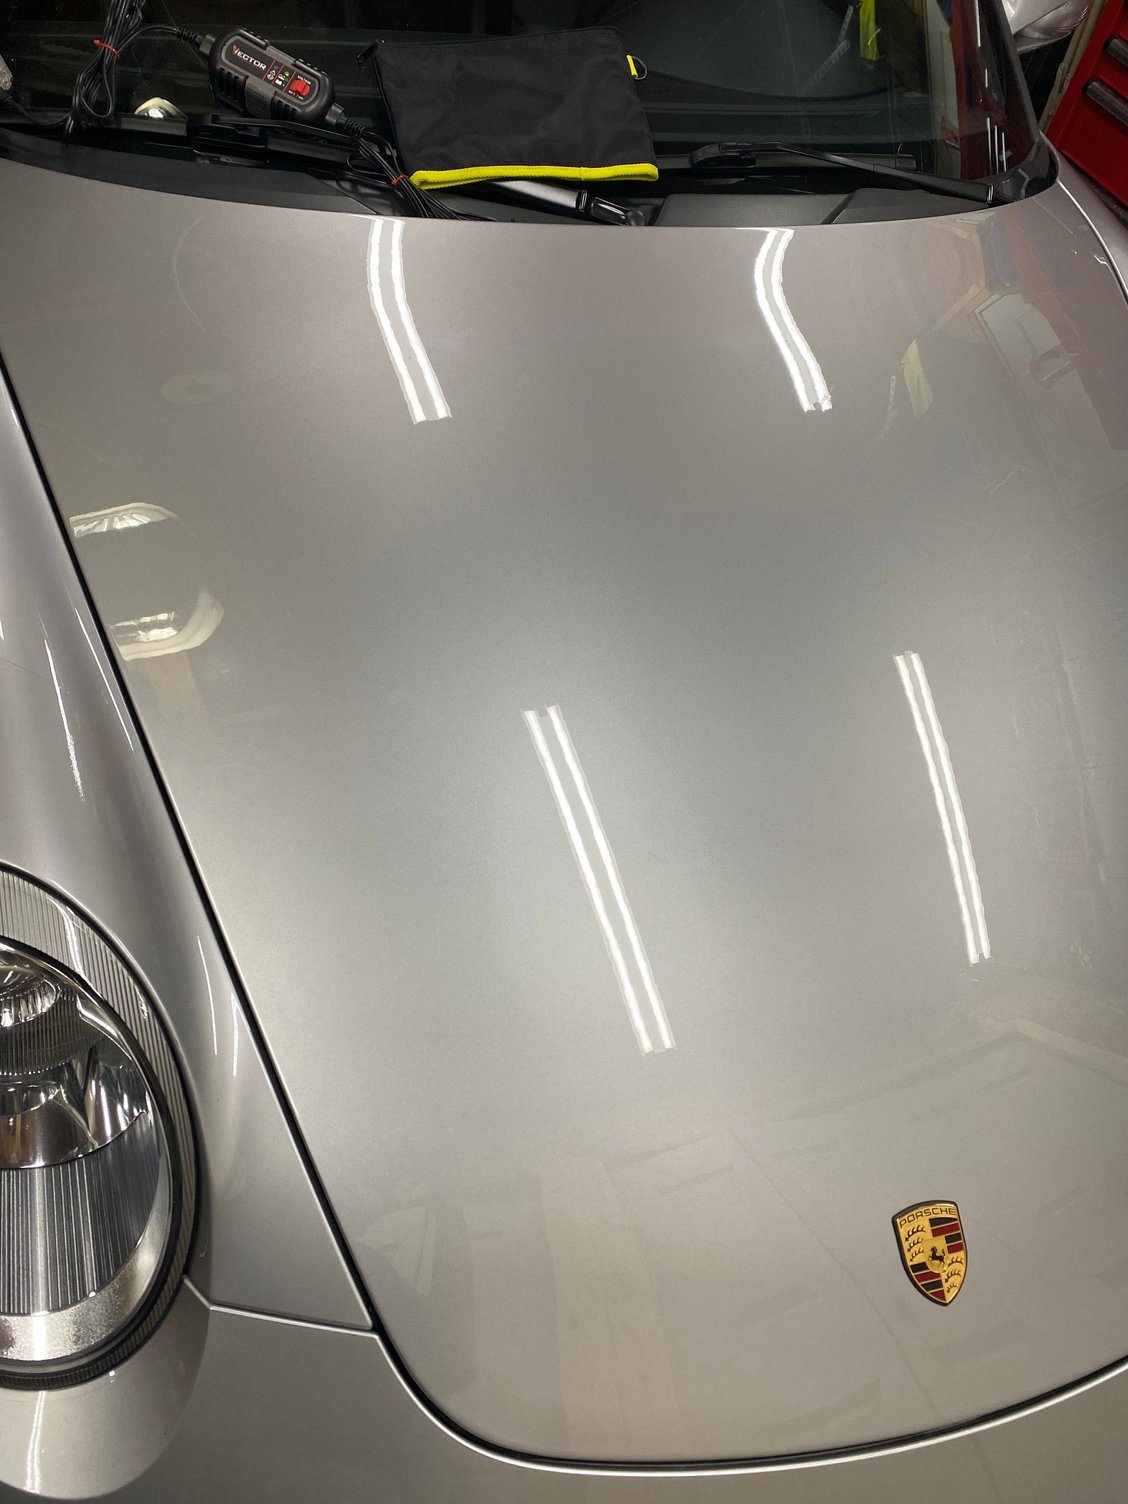
So net net... $700 later and it�s back as good as new. I took the hood off, took it to the shop. Worked with the painter and they localized the color, blended it to edge and cleared to the under seam as you recommended.
I thought I had a �virgin� but seems like the hood was sprayed previously as there was a small run of the clear I never noticed before when I took the hood off.
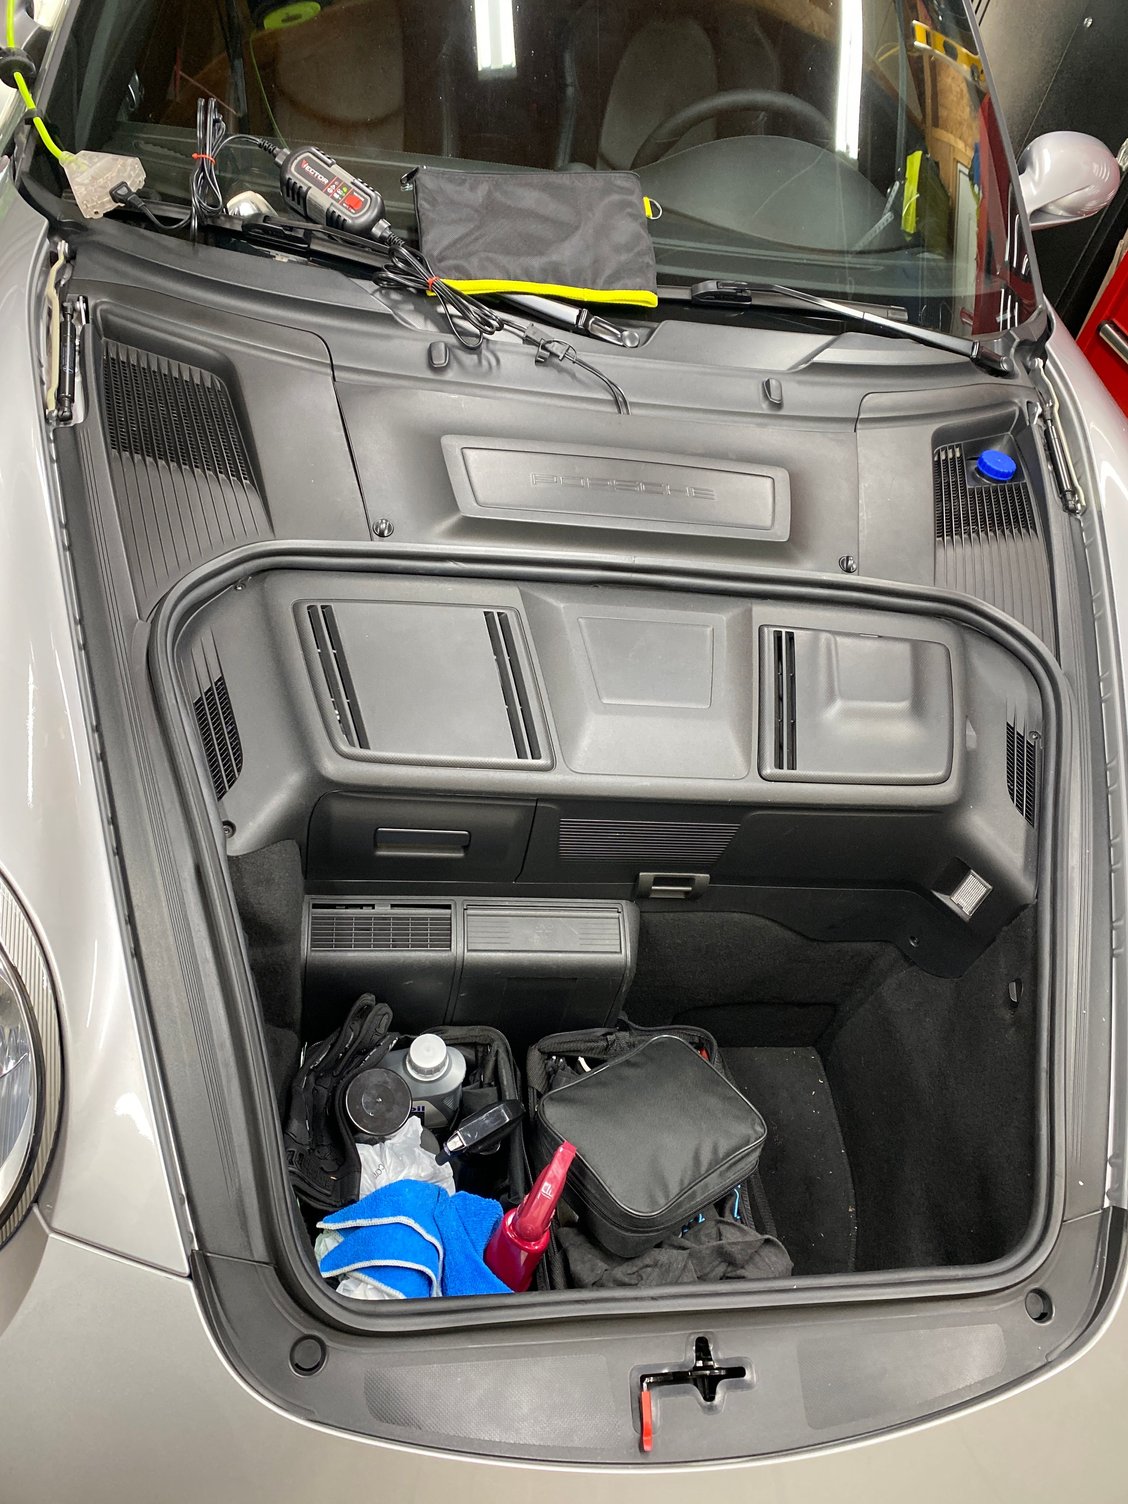
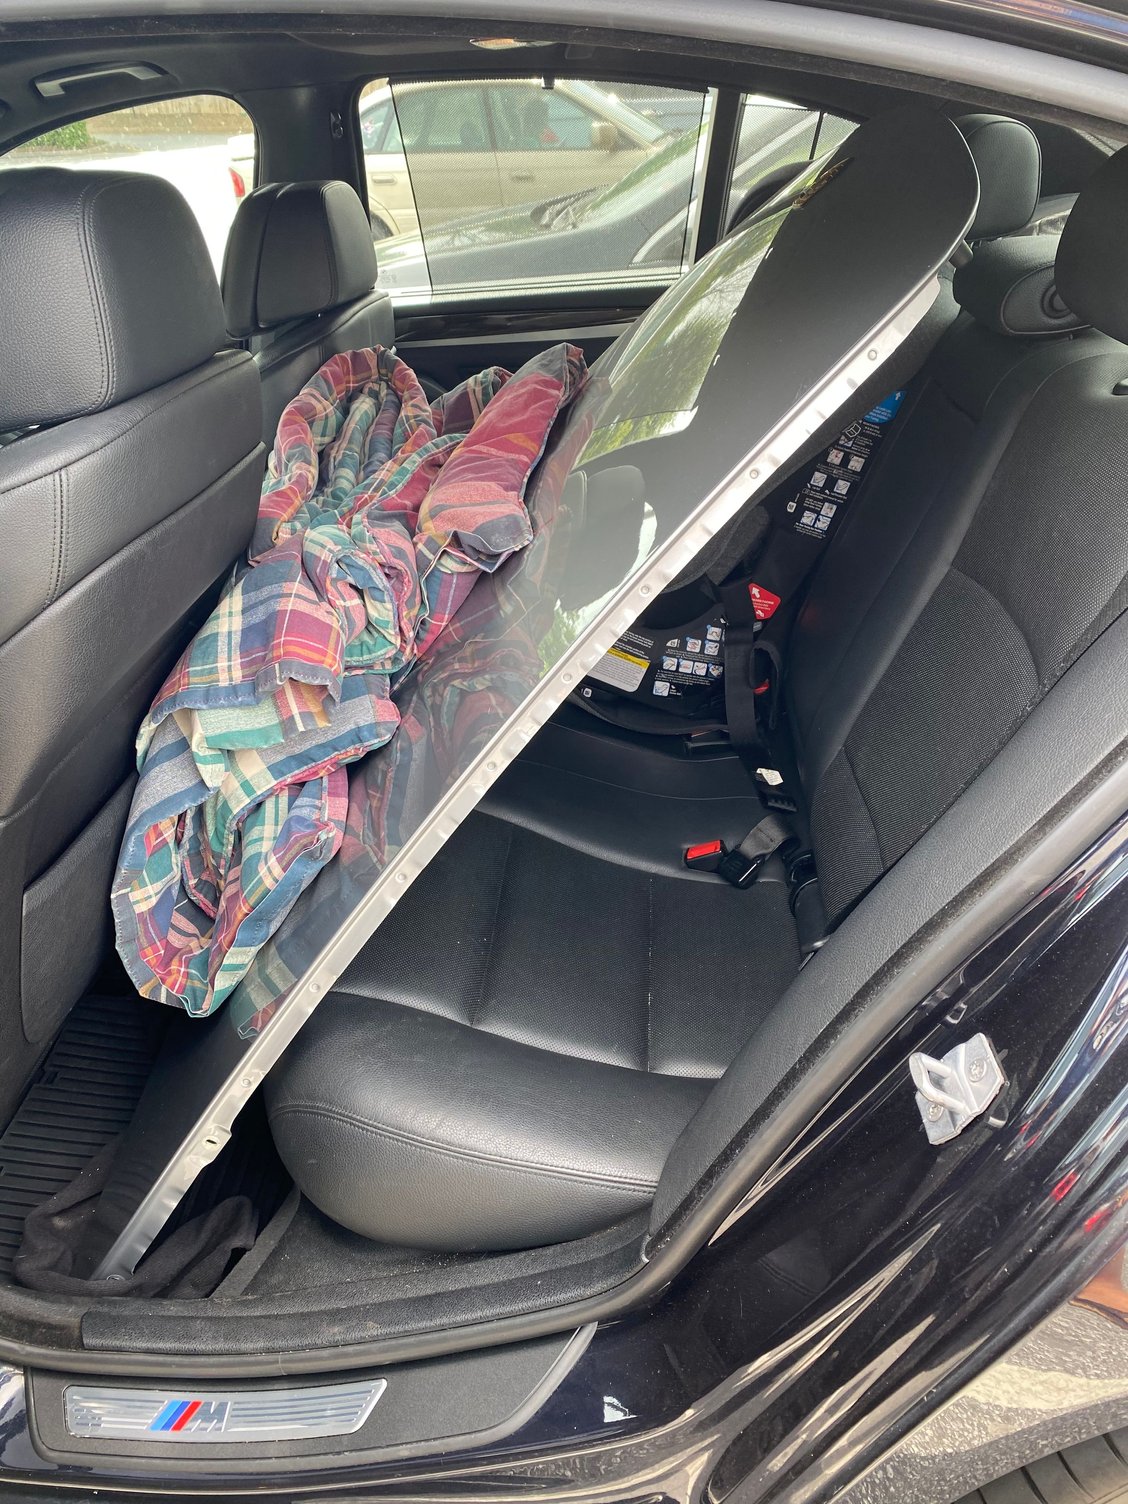
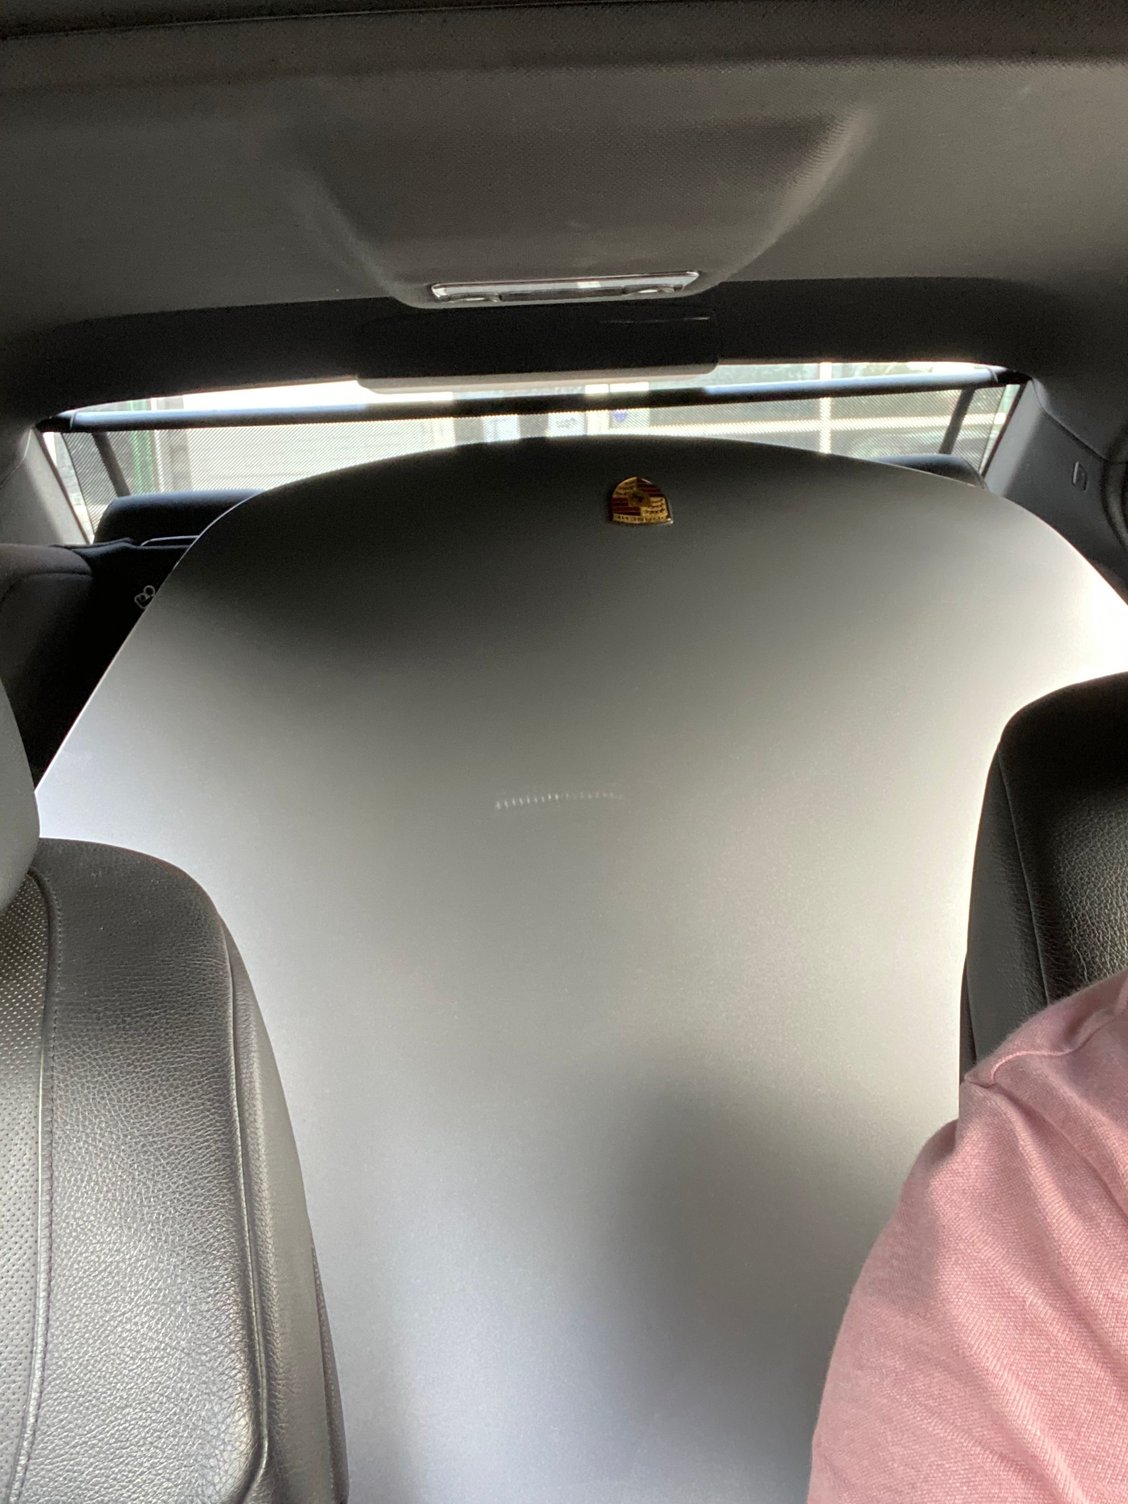
Felt empty for a week! Perfect fit in my BMW!! Sans blemish Perfect again!


 03-08-2020, 07:06 PM