When you click on links to various merchants on this site and make a purchase, this can result in this site earning a commission. Affiliate programs and affiliations include, but are not limited to, the eBay Partner Network.
I installed the 991 splitter and adaptor kit a few months ago and have been very happy with it.
Occasionally, it scrapes on steep drives etc without too much grief.
However, recently, I drove into a carpark which had a high gutter at the front. When reversing out of the carpark, it almost ripped off the entire splitter.
However, interestingly, I managed to re-install the splitter using the same adaptor pieces which had no significant damage e.g. to the ears which fit into the mounting slots on the car.
It's available from $154 online (shipping depends on location - but seems to average around $30). If you have a PCA membership, most Porsche dealers will usually match online prices without any hassle.
Originally Posted by systech
I installed the 991 splitter and adaptor kit a few months ago and have been very happy with it.
Occasionally, it scrapes on steep drives etc without too much grief.
However, recently, I drove into a carpark which had a high gutter at the front. When reversing out of the carpark, it almost ripped off the entire splitter.
However, interestingly, I managed to re-install the splitter using the same adaptor pieces which had no significant damage e.g. to the ears which fit into the mounting slots on the car.
All in all a surprising and good result
Thanks for the feedback Systech. I tested a lot of materials before finding something that had the right balance of flexibility and strength
Hi! I've just been pointed in the direction of this thread from some friends in the UK. I would like to buy a 997.1 kit when there are some available, although I have no idea how to do it!!
It's a Carrera with the sports chassis pack, so no PASM, although it is -20mm lower than a standard car.
Please can you contact me via PM, as this is my 1st post and I doubt I'll have the rights to send you a PM yet.
Looking forward to hearing from you!
Thanks
Matt
Hi Matt
Could you please send me an email and I'll reply tonight: emc2porsche@att.net
Excuse the rubbish images but they give an idea of the lip..... very easy to fit and looks fantastic! Top product......
Hi Richtw
Posting your visitor message here along with my reply for 2 reasons:
1) Even though the visitor message section is public, it is more likely to be seen here in the relevant thread, and I think it will help anyone else reading/researching this thread
2) The visitor message section has a 1000 character limit, and my reply is approx 1900+ characters.
Just a bit of feedback on the kit i purchased over on eBay. fitted ok as you know, I clipped a stone on the motorway in cold weather and the clips themselves broke apart I lost about 3 of the 6 clips between the spoiler and the car, luckily the spoiler stayed on! Are you able to 3D print in another material that may well be a little stronger in cold weather?
Also the wing fittings do not stick down very well though I have seen you have caught that with the drill kit version.
Many Thanks
__________________________________________________________
My Reply
Hi Richtw,
Thanks for the note.
Could you please email me some more details and any pics to emc2porsche@att.net on exactly which clips were damaged in the impact (i.e. is it 3 of the 6 main adapter clips or 3 of the 6 locking clips).
Also if you could let me know approximately how big the stone was and what speed was involved in the impact, so I can understand the approximate forces involved?
As you'll see earlier in this thread, several members have testified about the strength of the clips and their ability to withstand pretty significant scraping of the spoiler.
I chose the material to get the right degree of flexibility and strength to deal with the most common issues (particularly scraping) and also to ensure that if any part had to be sacrificed in a strong impact, it's better to lose a clip than damage the bumper or spoiler.
When you use a material that is an adapter between two very different materials that are meant to connect directly together, the connecting material has to contain a mix of properties of the two original materials.
Selecting a more flexible material will reduce rigidity of the installation, whilst selecting a more rigid material would reduce the ability of the adapters to flex under scraping conditions.
I'm definitely not suggesting there is no other solution as materials are evolving all time. Just mentioning that a large number of materials were tested before finalizing, and at the moment it could be that the nature of the impact you experienced would be tough to engineer for, without impacting the kits resilience against scraping.
Irrespective, the most important thing is to get your 911 back to looking great with the spoiler attached properly
Please email me the details as mentioned and I'd be more than happy to send you some replacement clips for a very nominal fee.
Thanks again for your valuable inputs and of course I'll keep tracking the situation.
Regards
EMC2
_________________________________________
UPDATE 25 Jan:
Richtw was kind enough to come back with more details, and confirmed the impact was at approx. 60mph.
He also mentioned that the object could have been either a stone or piece of a tire on the motorway.
As mentioned previously, an impact at this speed, could be difficult to engineer for, without an adverse effect on the products ability to withstand more typical issues such as scraping or low speed curb impacts.
I'm glad to hear the remaining clips (not directly affected by the impact) helped to keep the spoiler attached.
Richtw's replacement clips are on the way to him, and I'm sure he'll update further here if needed.
Well thought out, parts were numbered and made the install easy
I like how the adapter clips allow the front spoiler to flex and slide/locks into place with the OEM bumper cutouts.
Detailed and easy to follow instructions
Wing supports added another layer of strength and helps keep it flush to the bumper
The drill bit depth control was a great idea, preventing you front accidentally drilling through washer fluid lines
Installation:
Took me about an hour - it was under 25 degrees out and I tried to install it without jacking up the car. Next time around I'm sure I could do this in under 30 minutes.
In order to install the wing supports in Kit B, I had to jack up the car to drill 2 holes. I didn't have enough clearance to fit my drill underneath. I should've just done that from the beginning.
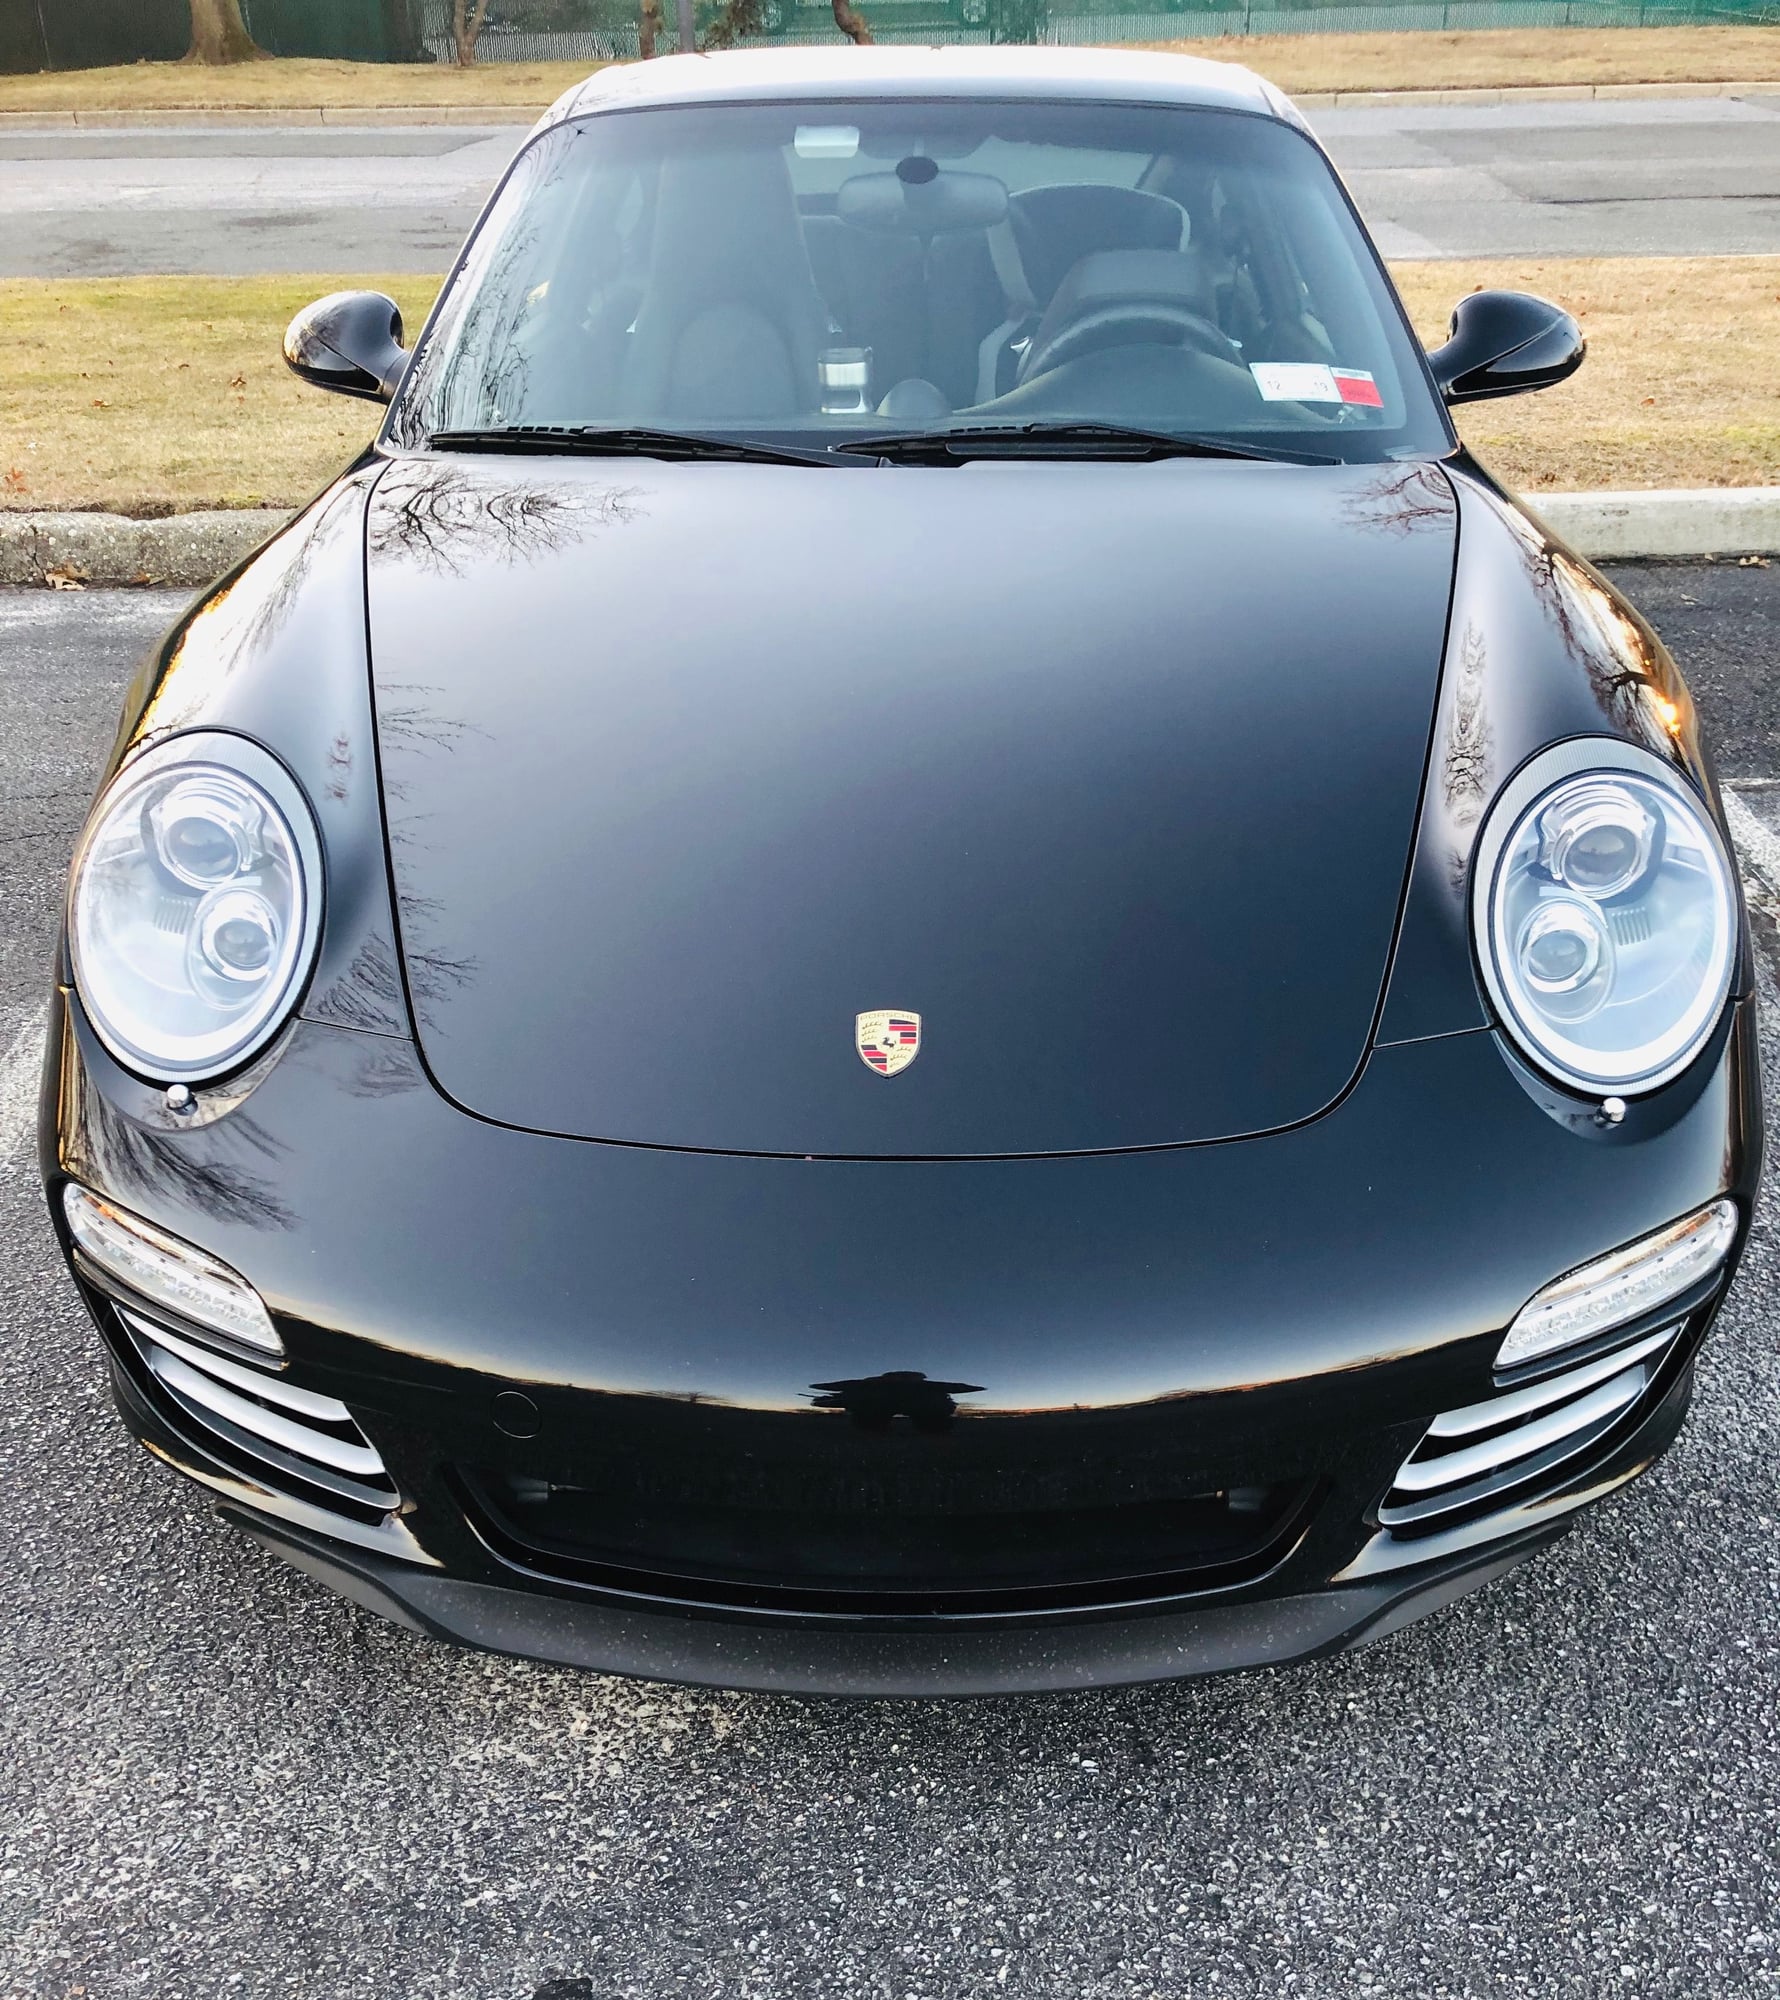
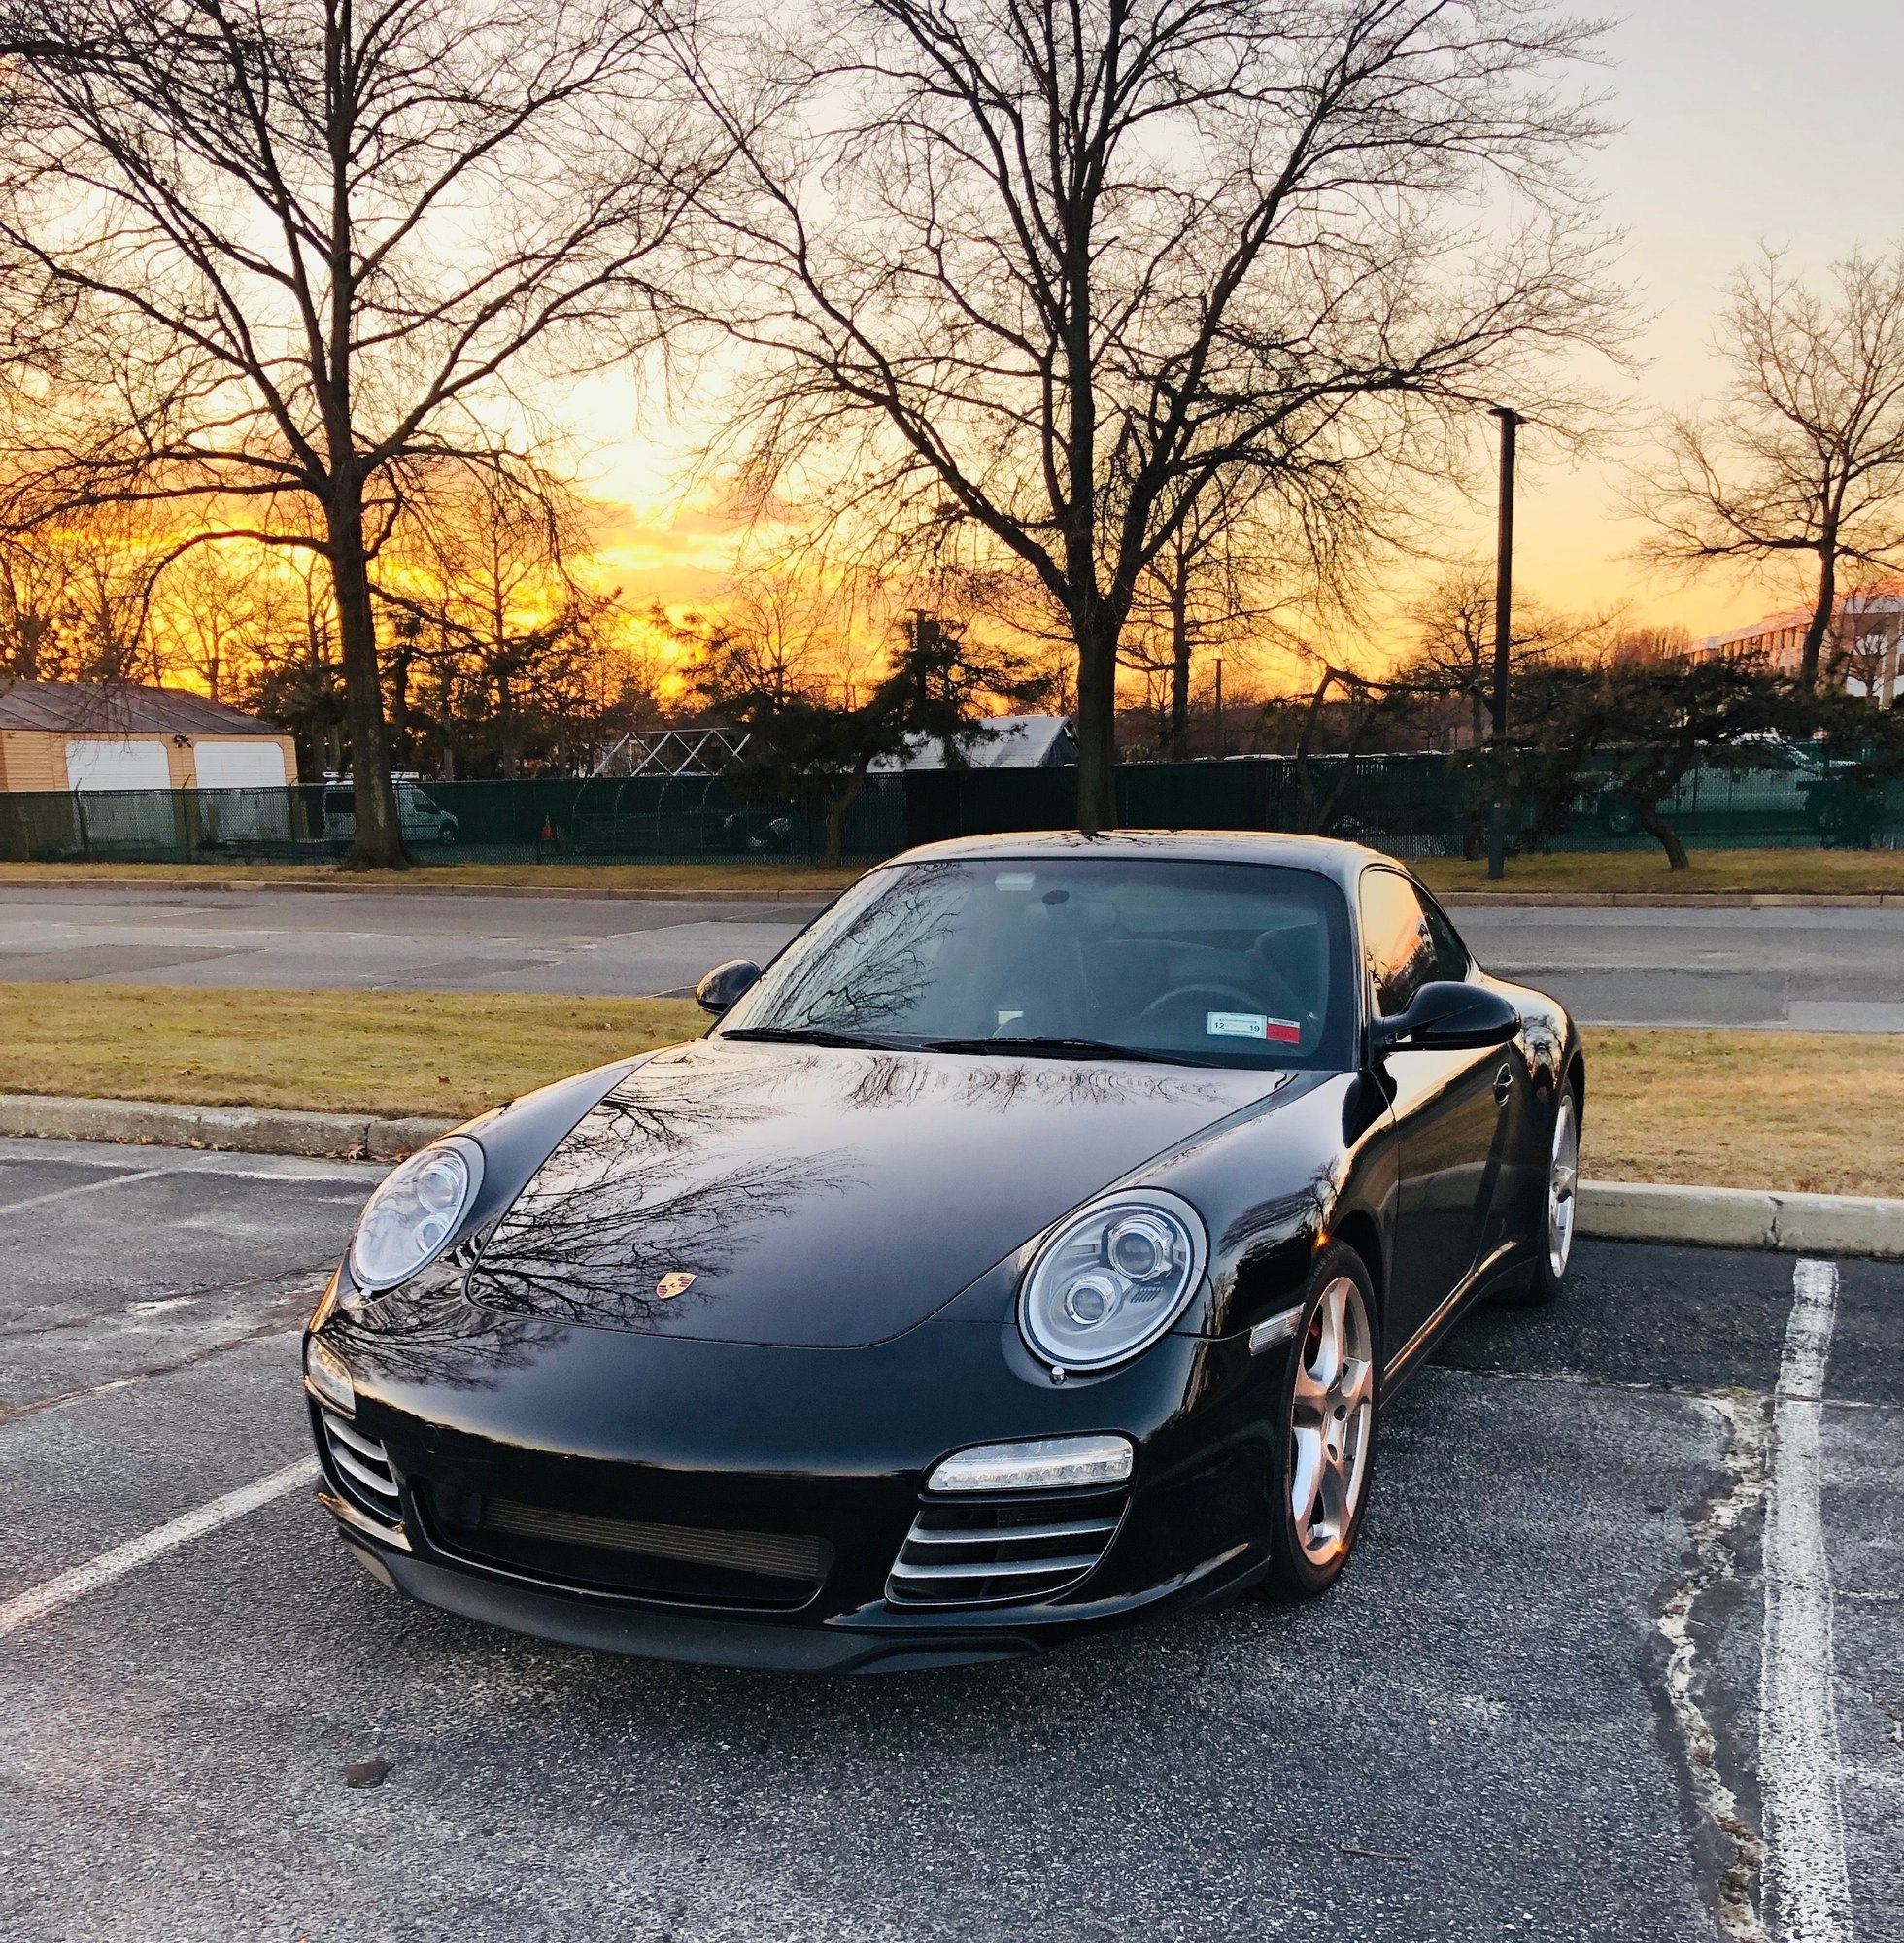
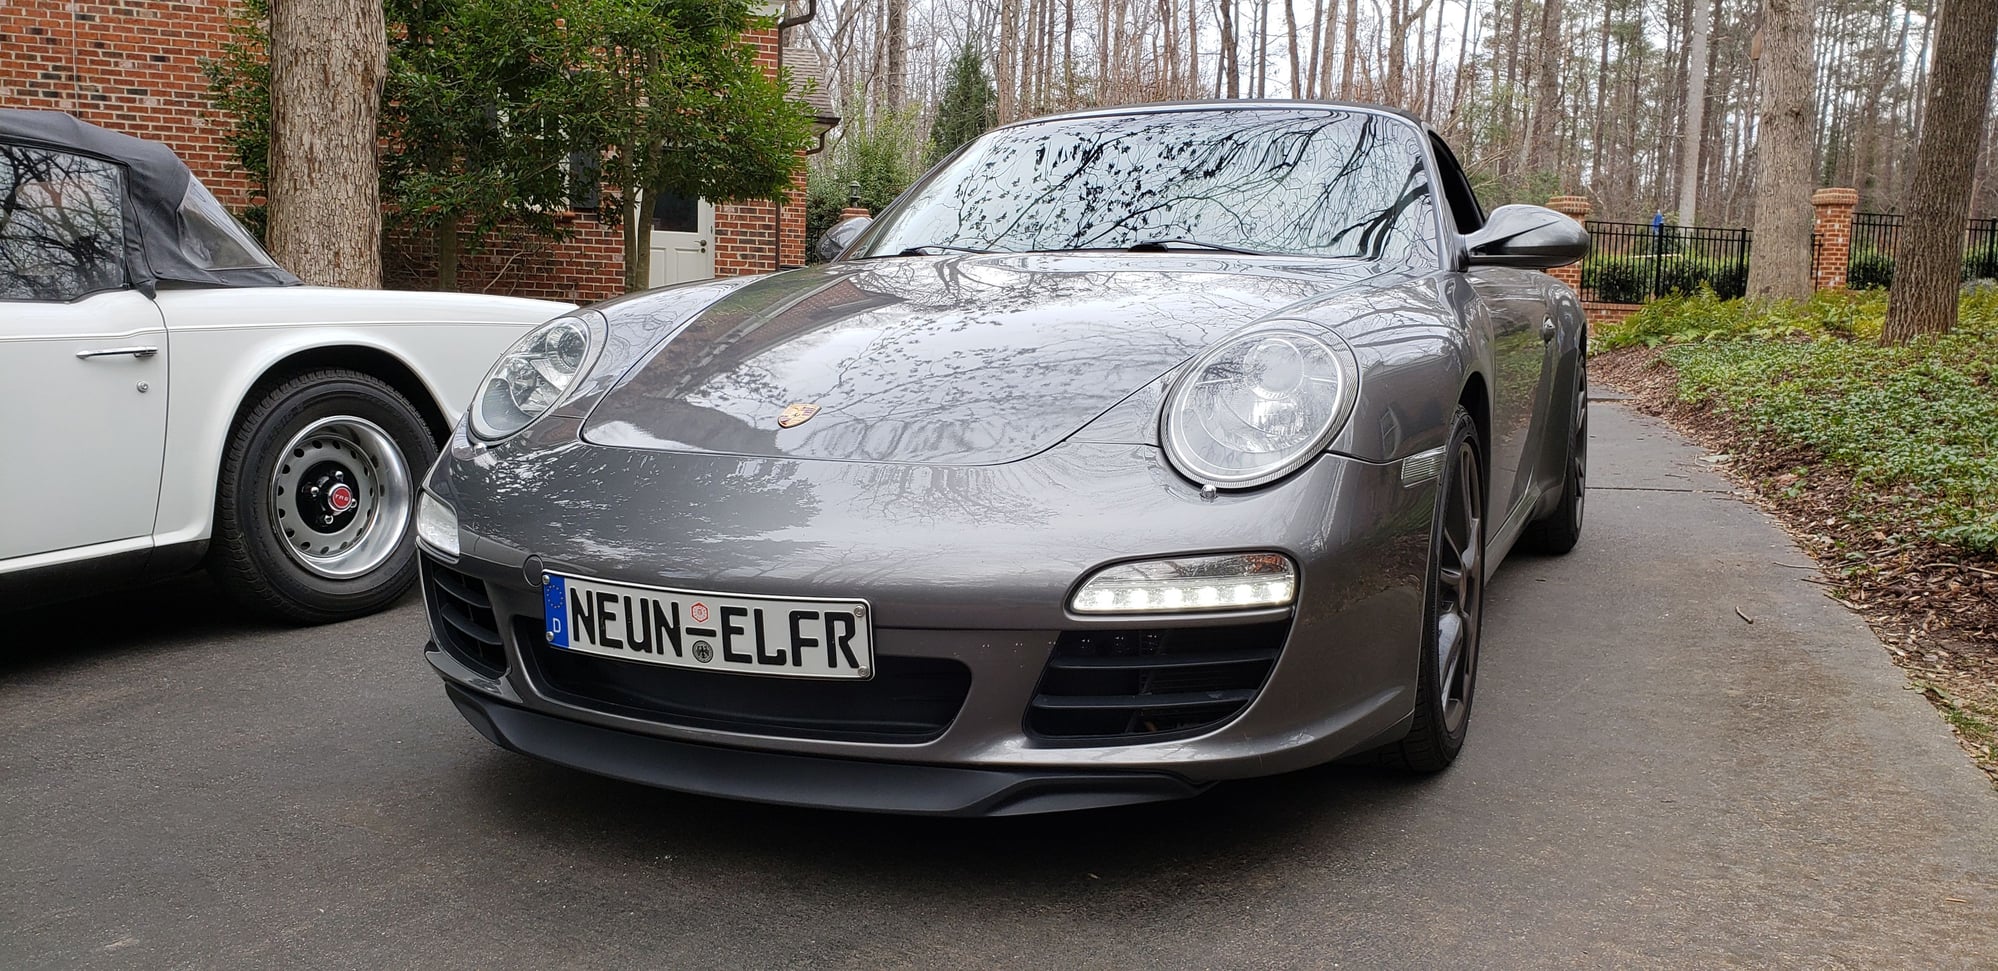
Overall, I love how it completes the look front end of the car. I always felt like it was missing something and it helps add a little more aggressiveness to it. Since the weather in NY is cold, I didn't get a chance to wash my car but I wanted to share some quick pictures. I will add more by next week. I highly recommend this mod, especially with EMC2's kit.
I took the plunge over the weekend. I used EMC2's "B" kit, which has end-caps that screw to the car. My car is a daily driver so I wanted the extra security that option offers when I scrape a speed bump or curb.
First, let me say, the kit is remarkable. 3D printing fascinates me and the pieces are crisply molded, numbered for your convenience and fit like a glove. The instructions are, if anything, overly detailed. This won't be a problem for most people, but I rarely read instructions so I'll mention it anyway. The kit came quickly and was packed well. EMC2 thoughtfully includes an extra retaining clip, More 3M Trim-Lok tape than you need, an allen wrench and drill bit with spacer for the end caps.
Installation was a breeze, and even taking my time, it took less than an hour to do. I took a few breaks to sip some beer and admire the underside of my car. Anyone can do this job, but you'll want lift the front of the car, so you'll need at least a jack and jack-stands. Or, you could use this as a reason to convince the wife that you need a lift.
991 spoilers have dropped in price from about $190 to the low $150's. When you order, be wary of the shipping cost. This is a long piece but weighs nothing. The first dealer I shopped wanted $56 to ship. I found one (Harper in Knoxville) that shipped immediately and for less than $11.
When you look at the pictures below, please take into account that my car is a DD and my front bumper has kissed the ground a few times and is far from laser-straight. It's also cold as a MF'er here and I didn't have a chance to wash my car before I took pics. Here you go:
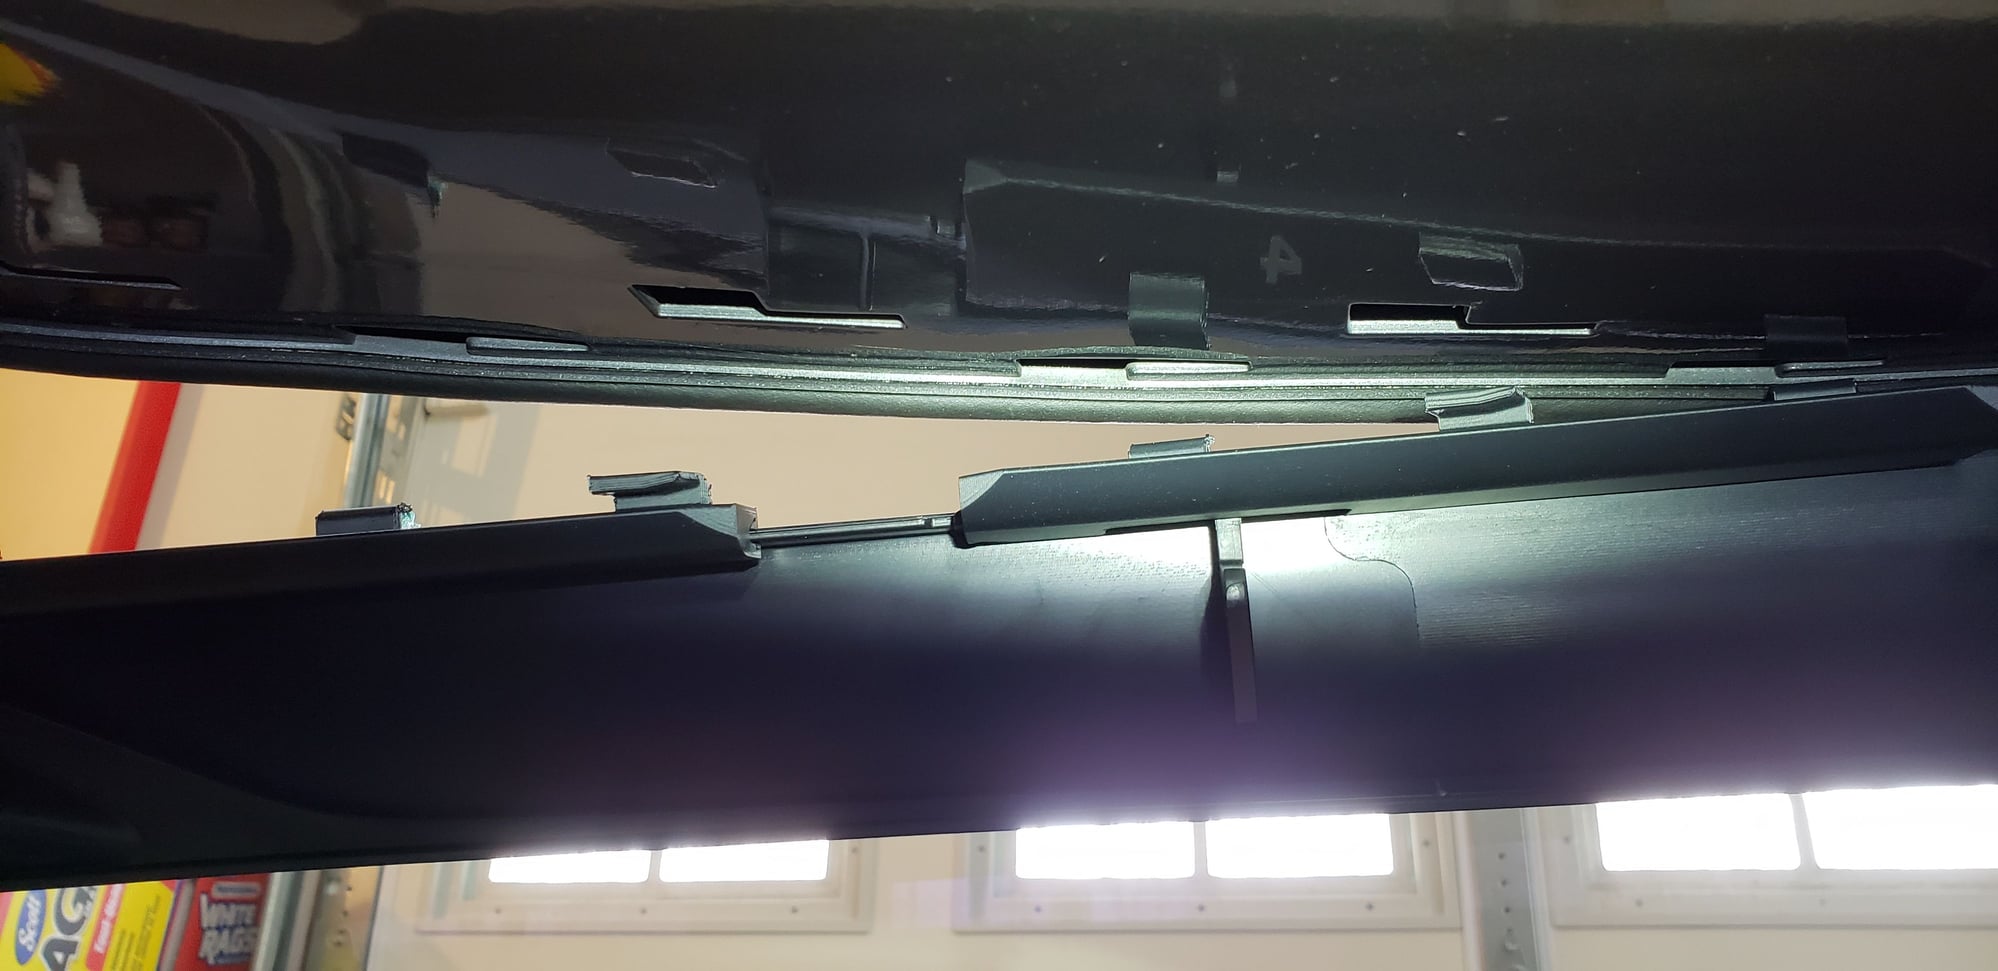
First pic is from under the car, showing the new spoiler partially installed. You can see EMC2's adapter clips installed on the spoiler and the slots where they mount in the bumper above.
On a side note, my car is NOT lowered, but I do have Eibach lowering springs in the shop and will be installing them over the winter. I will report back with pics after the car is lowered.
Here are a couple more installation pics:
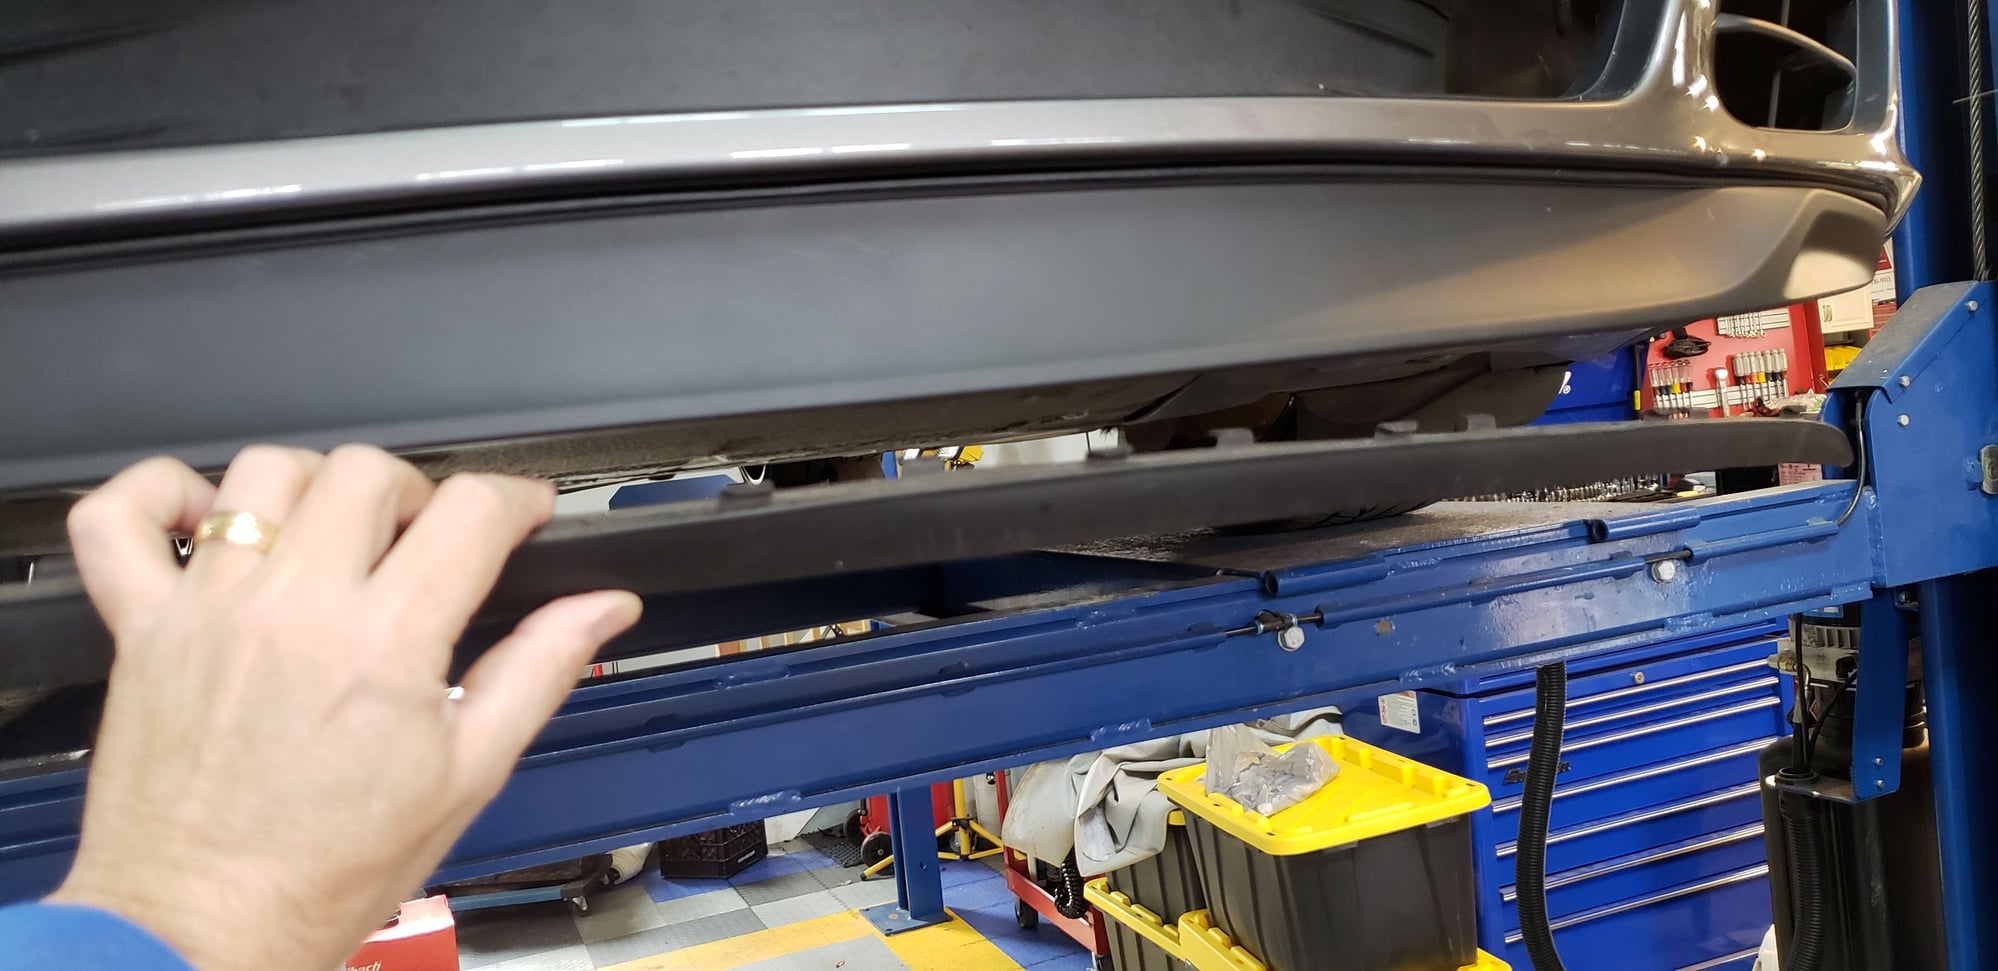
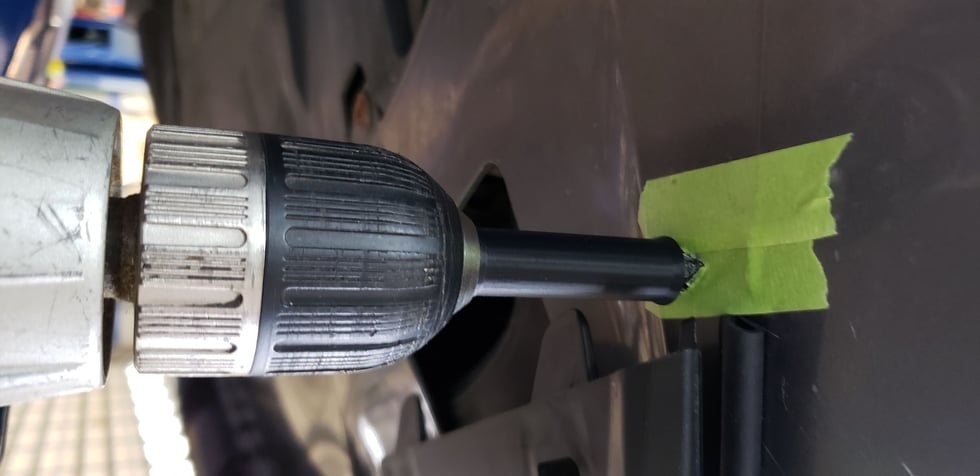
This pic shows me drilling one of the two mounting holes for the end-caps. The "A" kit doesn't use these. You can also see the drill bit and spacer that EMC2 provides with the kit. The spacer ensures that you don't damage any components inside the bumper.
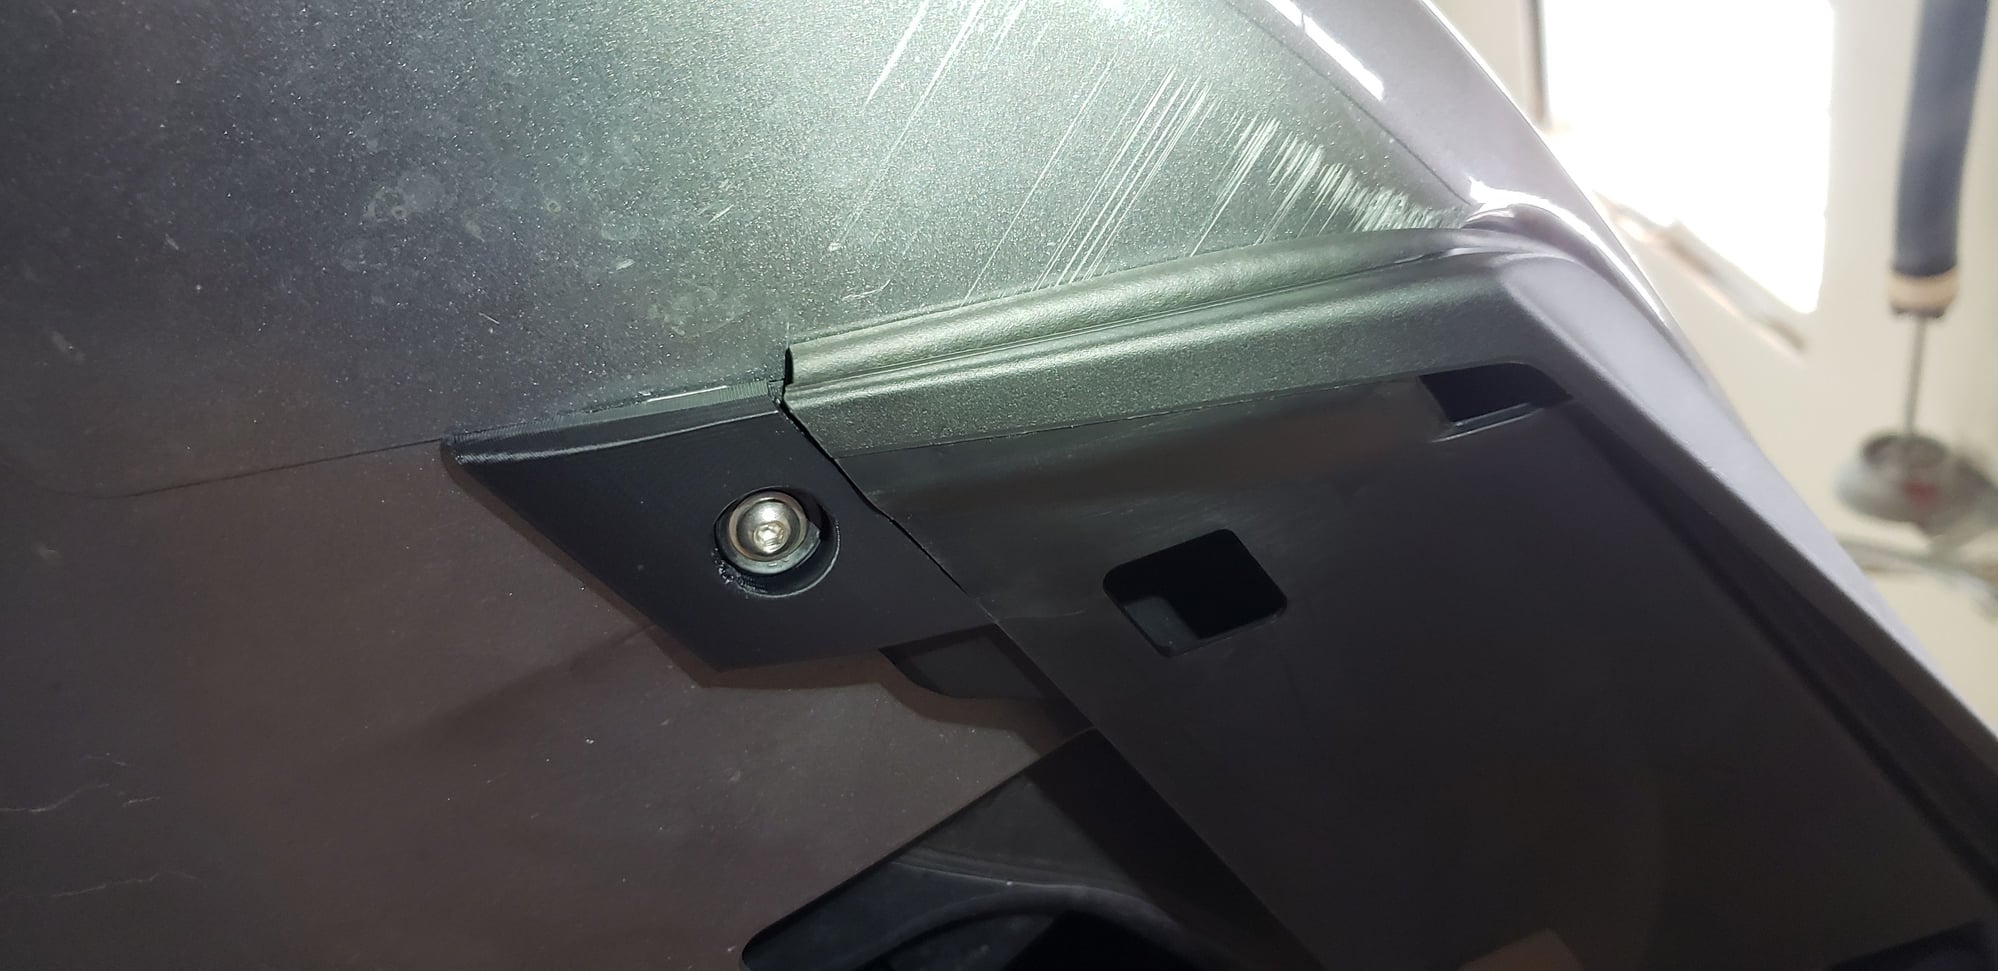
Here is the nicely-molded end-cap after installation on the passenger side. The attaching hardware appears to be stainless and EMC2 even provides an allen wrench and torque specs for tightening. This sucker isn't going anywhere.
On a side note, my car is NOT lowered, but I do have Eibach lowering springs in the shop and will be installing them over the winter. I will report back with pics after the car is lowered.
Here are a couple more installation pics:
This pic shows me drilling one of the two mounting holes for the end-caps. The "A" kit doesn't use these. You can also see the drill bit and spacer that EMC2 provides with the kit. The spacer ensures that you don't damage any components inside the bumper.
Here is the nicely-molded end-cap after installation on the passenger side. The attaching hardware appears to be stainless and EMC2 even provides an allen wrench and torque specs for tightening. This sucker isn't going anywhere.
Thanks for the detailed feedback Iceter. Looks great


 01-20-2019, 08:39 PM