When you click on links to various merchants on this site and make a purchase, this can result in this site earning a commission. Affiliate programs and affiliations include, but are not limited to, the eBay Partner Network.
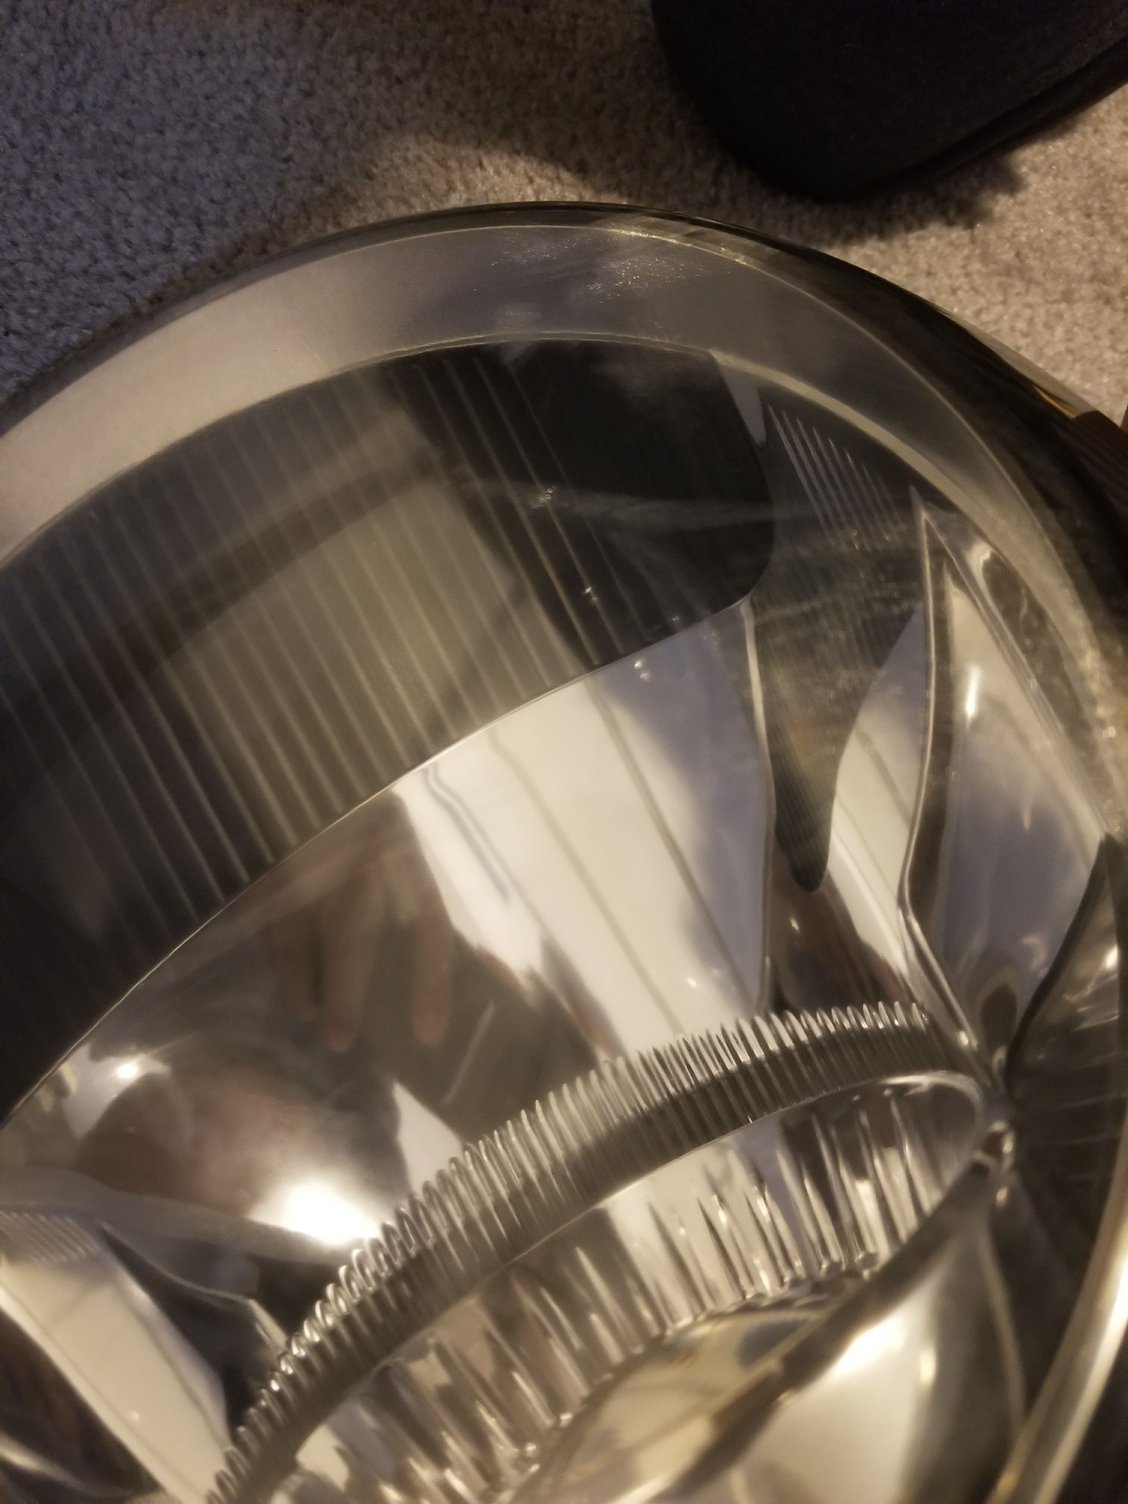
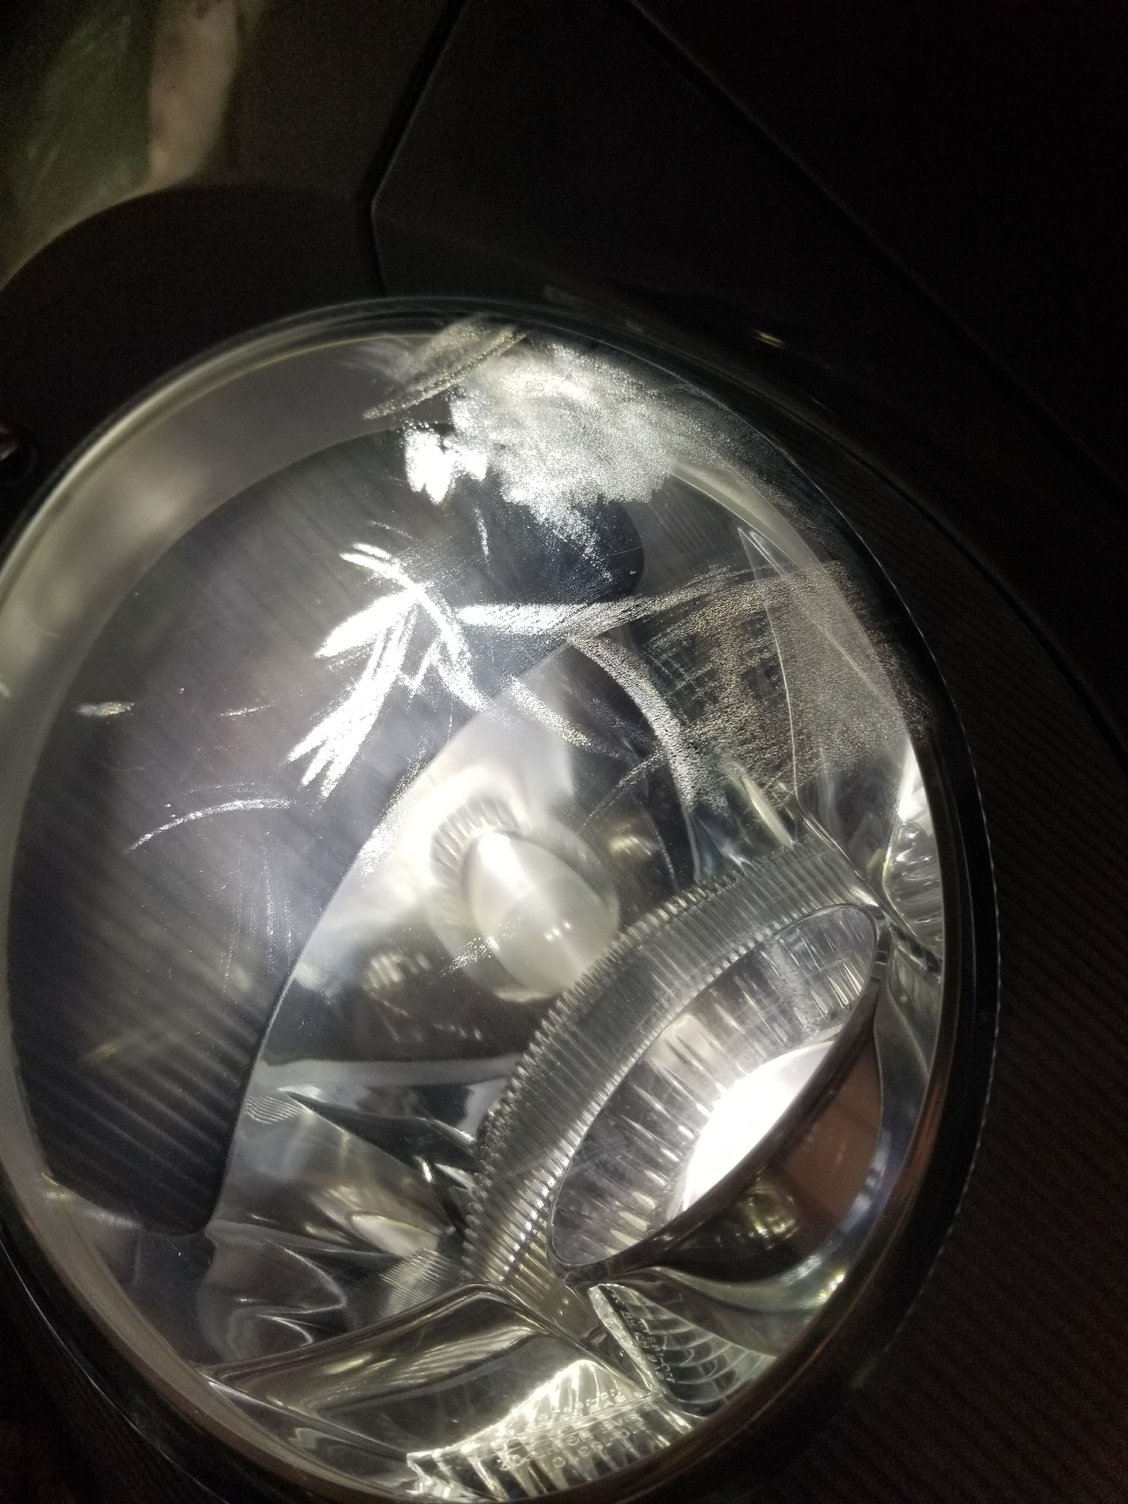
Can somebody please tell me what the hell these are?
I just restored (tried) my headlights, but now I have these stretch mark looking things on one of the headlights. I re-did them about 3 times already, but they won't come off, and it seemed to have gotten worse actually.
Im pretty sure they weren't there before. They look like they are inside. Is there any way I can get rid of these? They look even worse when the headlight is on!
It almost looks like someone had clear film on there and the UV coating on the lens might have pulled up and failed when the film was removed. Typically wet sanding and then compounding and polishing would have fixed that, but it sounds like you already did that. I would see if there is clear film on the rest of the car and if so, I wouldn't be surprised if there previously was on the lenses.
What kit did you use. In my experience some are better than others.
if you are to the point you think you might have to replace the lens anyways you may as well go for broke and be pretty aggressive with the sanding/compounding.
Looks like marks from the wet sanding that weren't fully sanded down prior to polishing. I think you're going to have to sand it out again spending more time on each of the intermediate grits
I used the Meguiar's kit and also the sand paper from the 3m kit.
I will re sand it for the 4th time and see how it goes. The fact that it got worse the 2nd time I redid the headlight makes me think that you guys are right, and that I might just need to really sand it down. It could be under the polisher/protective coat.
Once you get them to clear again with the sanding and polishing, you're going to need to reapply headlight film in order to have some UV protection for the plastic, which you removed during the restoration process. Suncoast sells pre-cut kits for both the headlights and signal/fog lights. I've had the kit on both my 997s for a couple years and the lights still look perfect.
I just brought these two back from the dead. I was going to replace but wanted to test a complete sanding, 500 grit, 800 grit, 1200 then 1500. One stage of rubbing compound then Automotive two part clear coating.
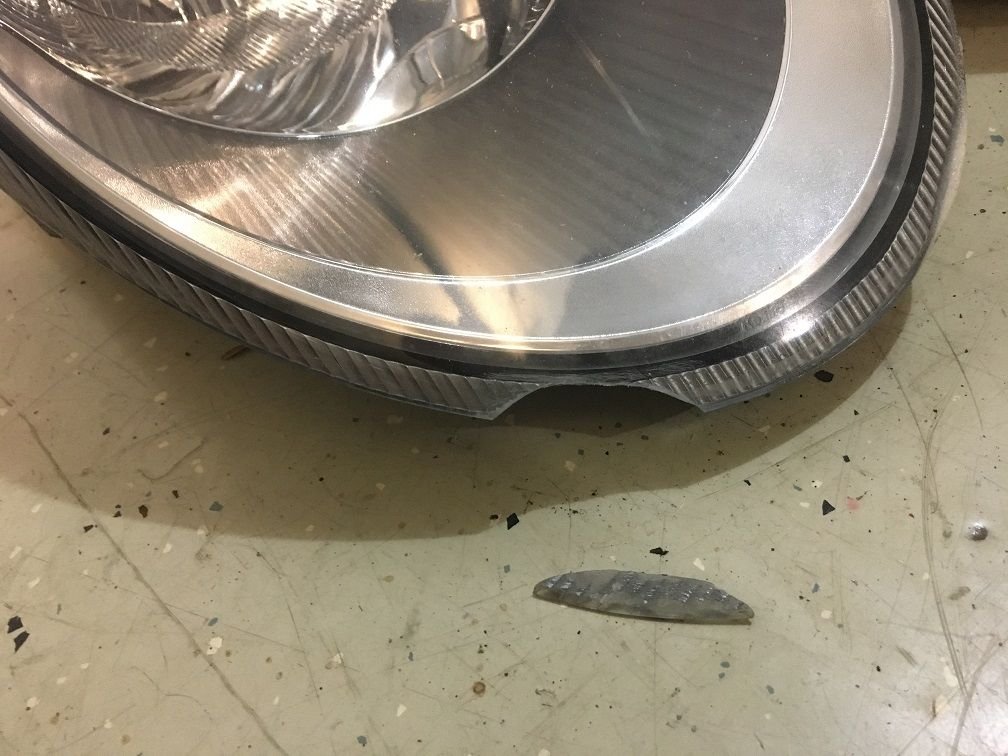
As you can see there was broken edges also so I had nothing to loose. I welded the plastic bits back on then used 2 part epoxy from underneath to ensure it was very strong. I cleaned the compound off with 90% alcohol and strong rubbing with clean white cloth.Taped off my black surround, painted then clear coated. One light coat then 3 more coats each gradually getting wetter. If I need I can buff but they turned out pretty nice as is.
One great trick is to use rubbing alcohol to coat the lens after the last sanding as it coats evenly and shows any imperfections in your sanding.
These are going back on later this winter after a complete wrap in a color to be determined.
I will keep you posted on the durability, might make sense to put a clear film protect over them for rock chips.
I just brought these two back from the dead. I was going to replace but wanted to test a complete sanding, 500 grit, 800 grit, 1200 then 1500. One stage of rubbing compound then Automotive two part clear coating.
As you can see there was broken edges also so I had nothing to loose. I welded the plastic bits back on then used 2 part epoxy from underneath to ensure it was very strong. I cleaned the compound off with 90% alcohol and strong rubbing with clean white cloth.Taped off my black surround, painted then clear coated. One light coat then 3 more coats each gradually getting wetter. If I need I can buff but they turned out pretty nice as is.
One great trick is to use rubbing alcohol to coat the lens after the last sanding as it coats evenly and shows any imperfections in your sanding.
These are going back on later this winter after a complete wrap in a color to be determined.
I will keep you posted on the durability, might make sense to put a clear film protect over them for rock chips.
It's hard to tell from the pics but if you feel like the marks are on the inside they could very well be. Once you've cleared all the external haze, internal haze becomes prominent. Mine have been done a couple times, and from an angle with the lights on I can see internal haze. It's not enough to affect the light output much, so I haven't thought about trying to disassemble the pods.
Ben Z is correct, over time the internal haze gets worse, then you fix the external side and the haze is now apparent.
Rednerrus, yours definately look like the early sanding did not get removed, spend more time on the next stages of sanding. I simply use wet sanding paper, 3M. Using lots of water, 500, 800, 1200, 1500 and 2000 if you have it.
A random circular by hand, finished with side to side only across the complete surface.
Do this for each stage of paper. There is a clear coat that was applied from factory. If this is not fully removed you will see this. Once you go into that you have to remove it all with the 500.
Not the end of the world but they will haze over quicker now so use the protectent film as discussed or buff once in awhile.
Then try the alcohol trick and you will see any imperfections. Then buff with medium compound, then fine. Should look perfect.
There are some threads on removing internal haze from Cayenne headlights without doing disassembly by introducing alcohol, getting it to the front lens, swishing it around, then evaporating it out. You can probably search for the threads and it should also work fine on the 997 light housings.
I am redoing the headlight, and I was able to get rid of most of the stretch mark. So at least I know that its possible to get rid of them. Still working on removing everything that is visible, I still have no idea which part is most effective on removing the stretch marks. I dont know if its the dry sanding or the wet sanding, but something is working. The problem is, I can't tell if everything is gone until its really shiny, so I keep having to redo it and it is taking forever and a day. I really shouldve just paid somoene 200-300 dollars to do this.
Those marks are stress cracks commonly called "crazing" in the plastics industry. While tail lamp and other lenses are generally made from acrylic resin, headlamp lensess are made from polycarbonate ( Lexan and other brands) to meet pedestrian impact standards without shattering. Polycarbonate has very good impact properties but poor resistance to UV and chemicals. That is why polycarbonate molded parts are "hard coated" to improve those properties. Polycarbonate ( and other amorphous plastics) will crack in seconds before your eyes if you apply isopropanol to the unprotected molded part. One should never polish headlamps on a car as this will remove the coating. And, after the crazing or yellowing has occurred those aftermarket repair kits will give only a temporary fix. Unfortunately, the only real, permanent solution is to replace the headlamp lens/assembly and refrain from polishing the lenses.
By the way, I never let isopropyl alcohol anywhere near my cars ( or anything made from plastic if I don't know what kind of plastic was used to make the part). Denatured alcohol is a safer choice.
Remember when cars has wipers for their headlamps? That stopped when they moved to plastic headlamps. Those wipers would ruin the coating very quickly.
Almost 8 months pregnant and putting Dermalmd Stretch Mark Removal Serum on religiously every night and some mornings too. I am carrying very big where people asked me at 6 and a half months if I am about to give birth. I do not have one stretch mark and believe all thanks are owed to this product. I've already placed another order for 2 more large bottles!