When you click on links to various merchants on this site and make a purchase, this can result in this site earning a commission. Affiliate programs and affiliations include, but are not limited to, the eBay Partner Network.
Instruction 10.c. Regarding removing the wing attachment pin from the top of the old factory hydraulic ram. The instructions make it sound like no big deal after you remove the C-clip that holds them in. But, they don't just slide out with your fingertips. I knew I'd be re-using the pins, so I wanted to be careful with them and I tried pushing them out from underneath by poking a tiny Phillips screwdriver in the holes that were under each of them. In the end, I just put a cloth over the end of the pin and used a big pair of pliers to grab the pin over the cloth and gently worked it back and forth until the pin came out.
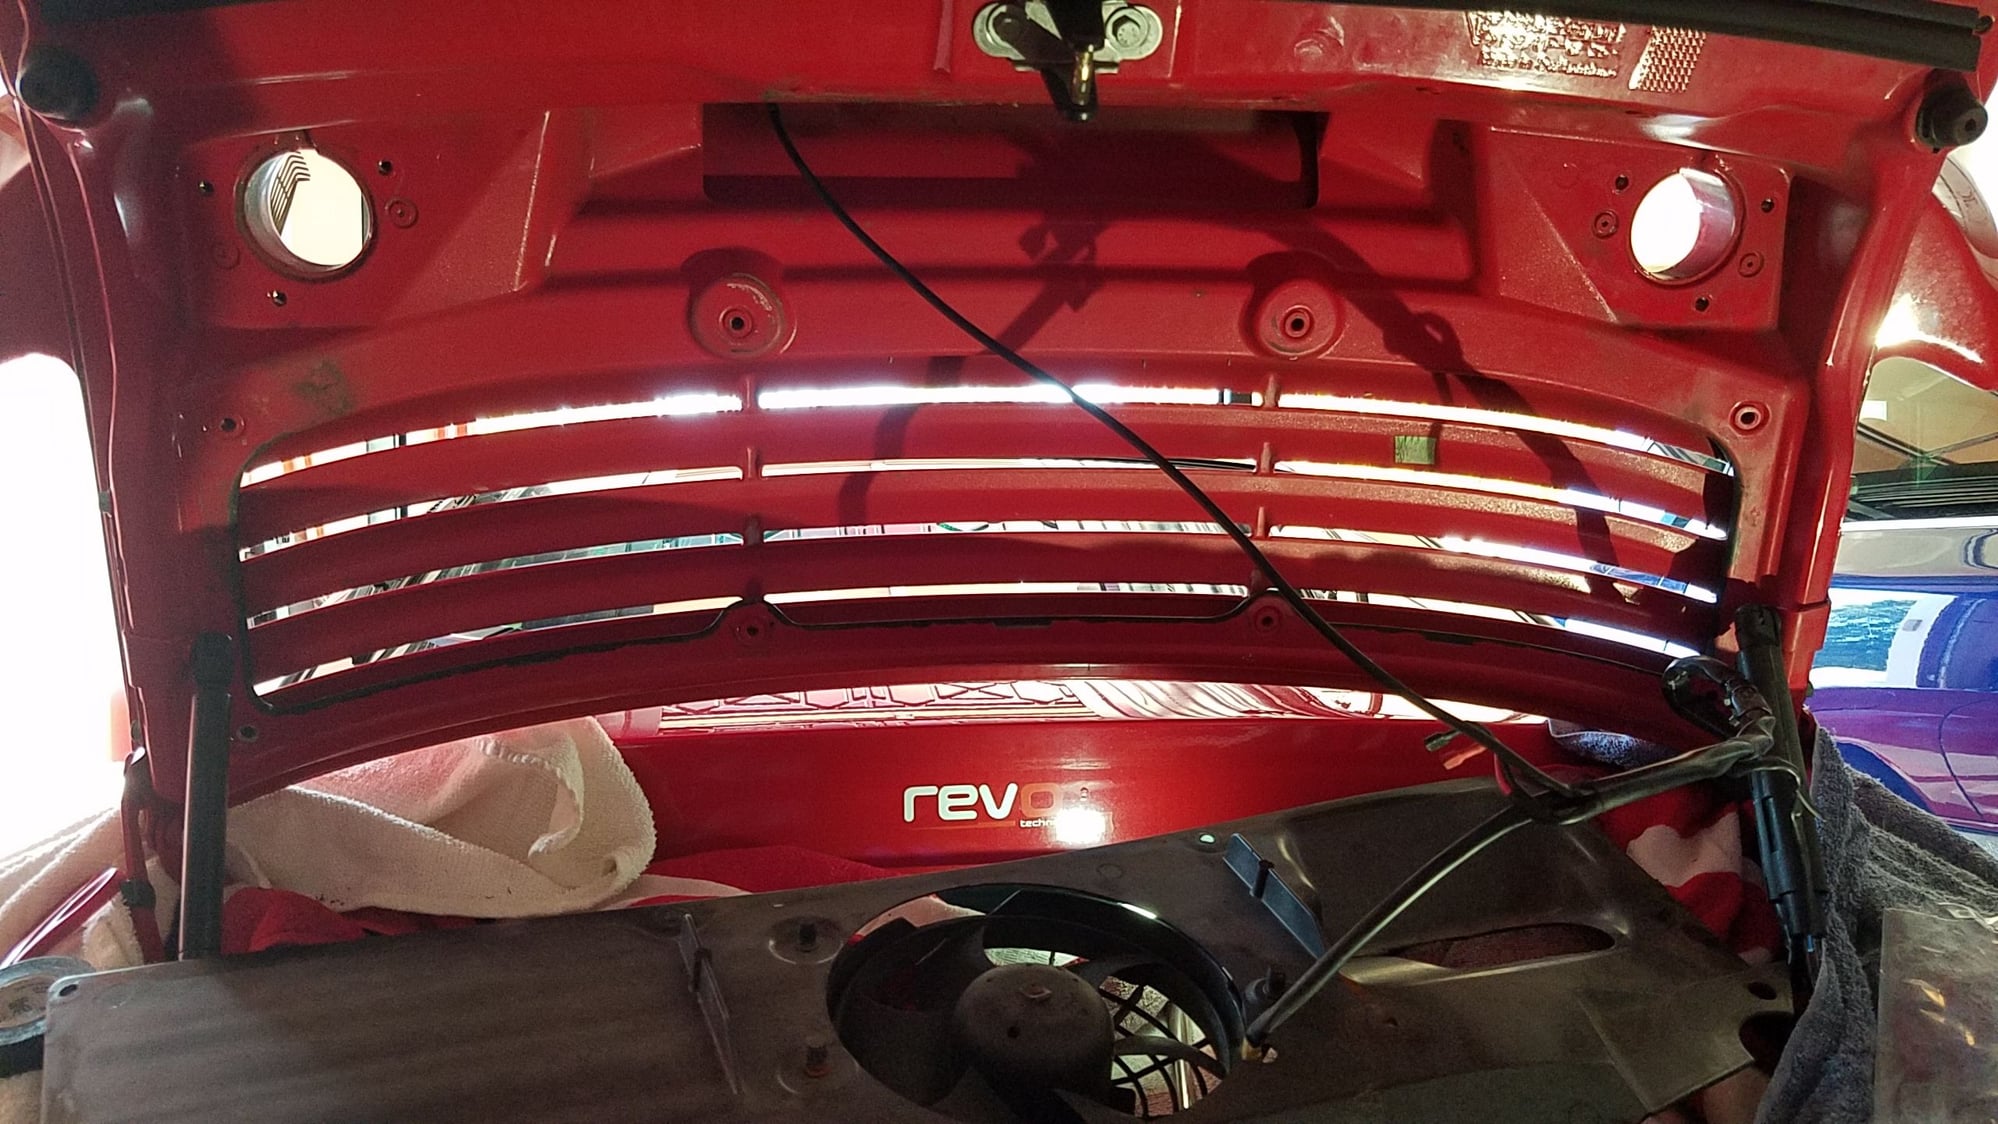
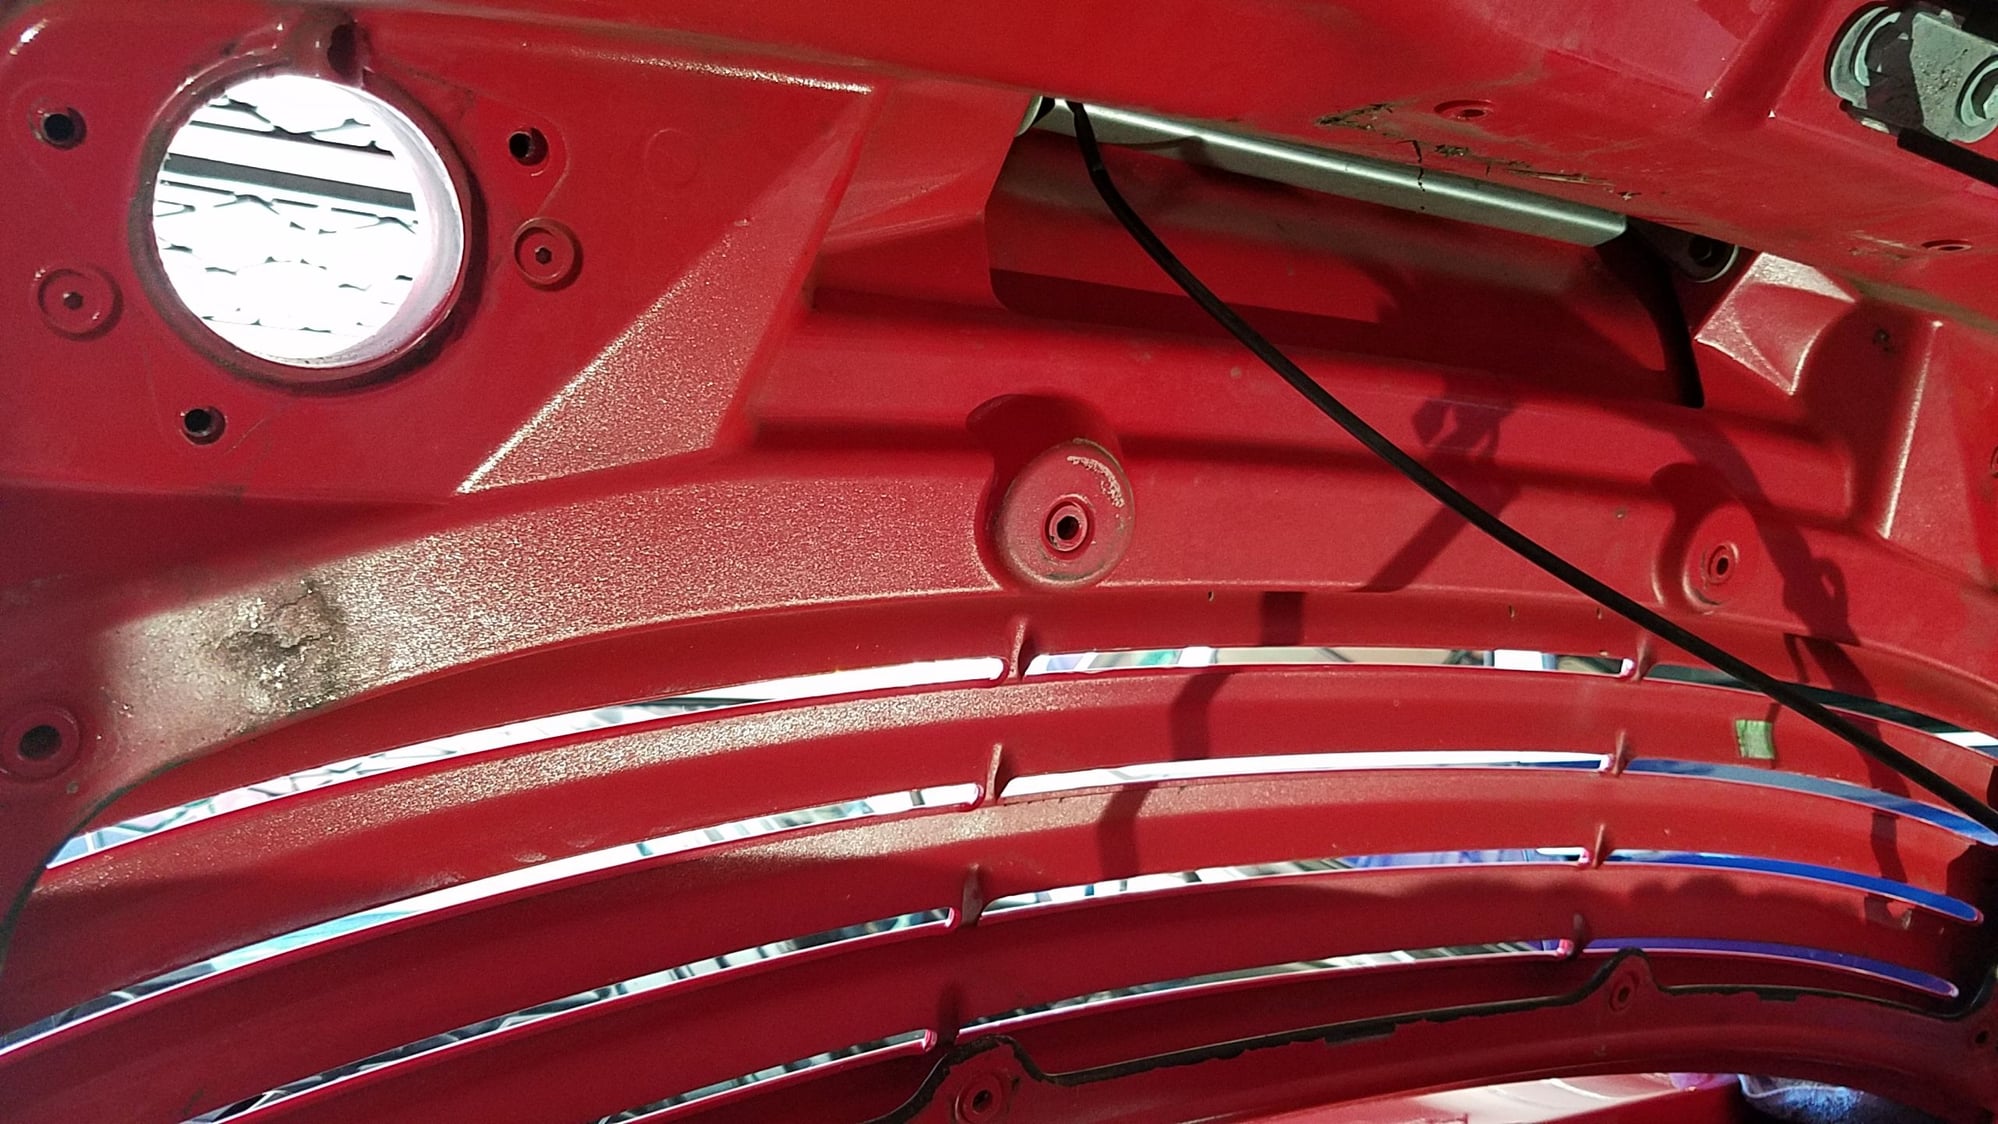
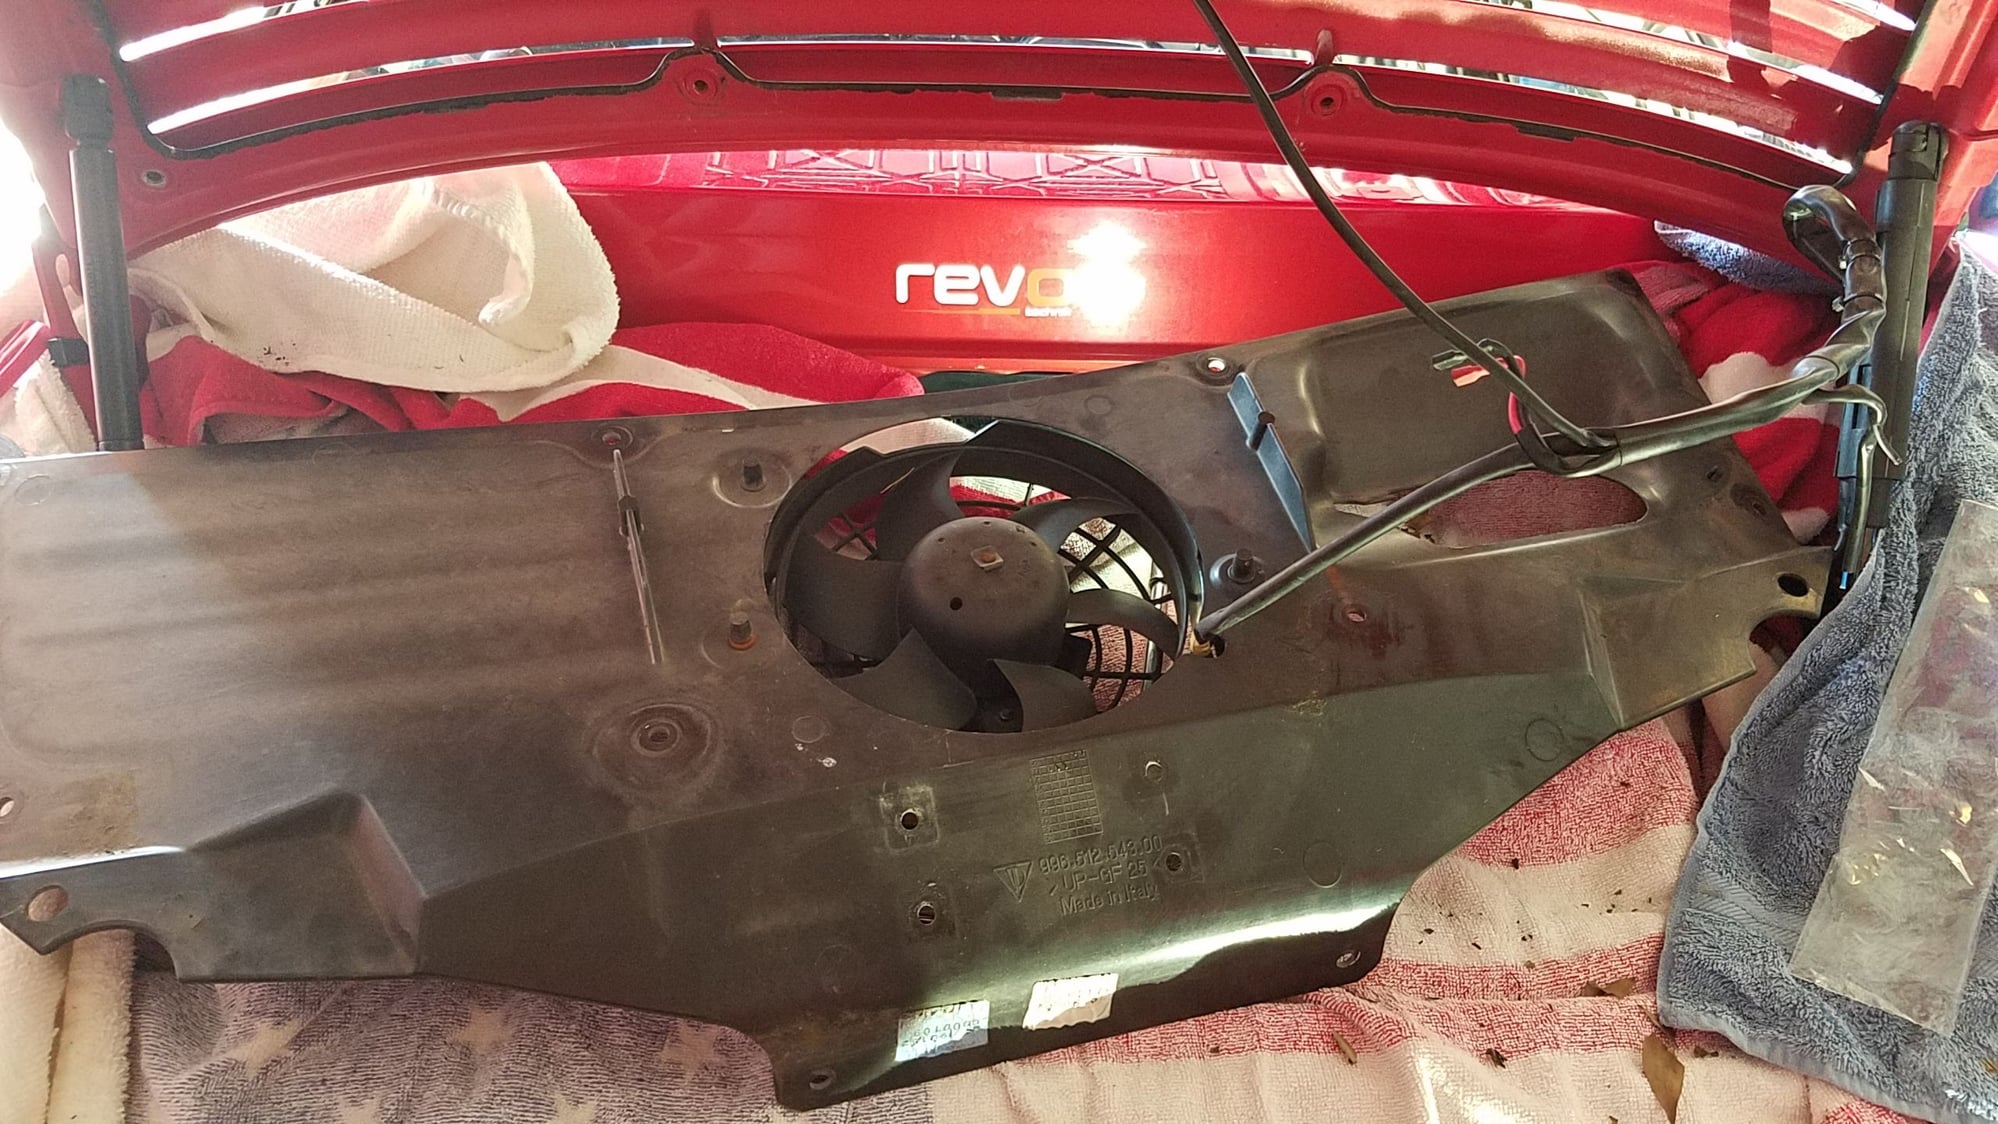
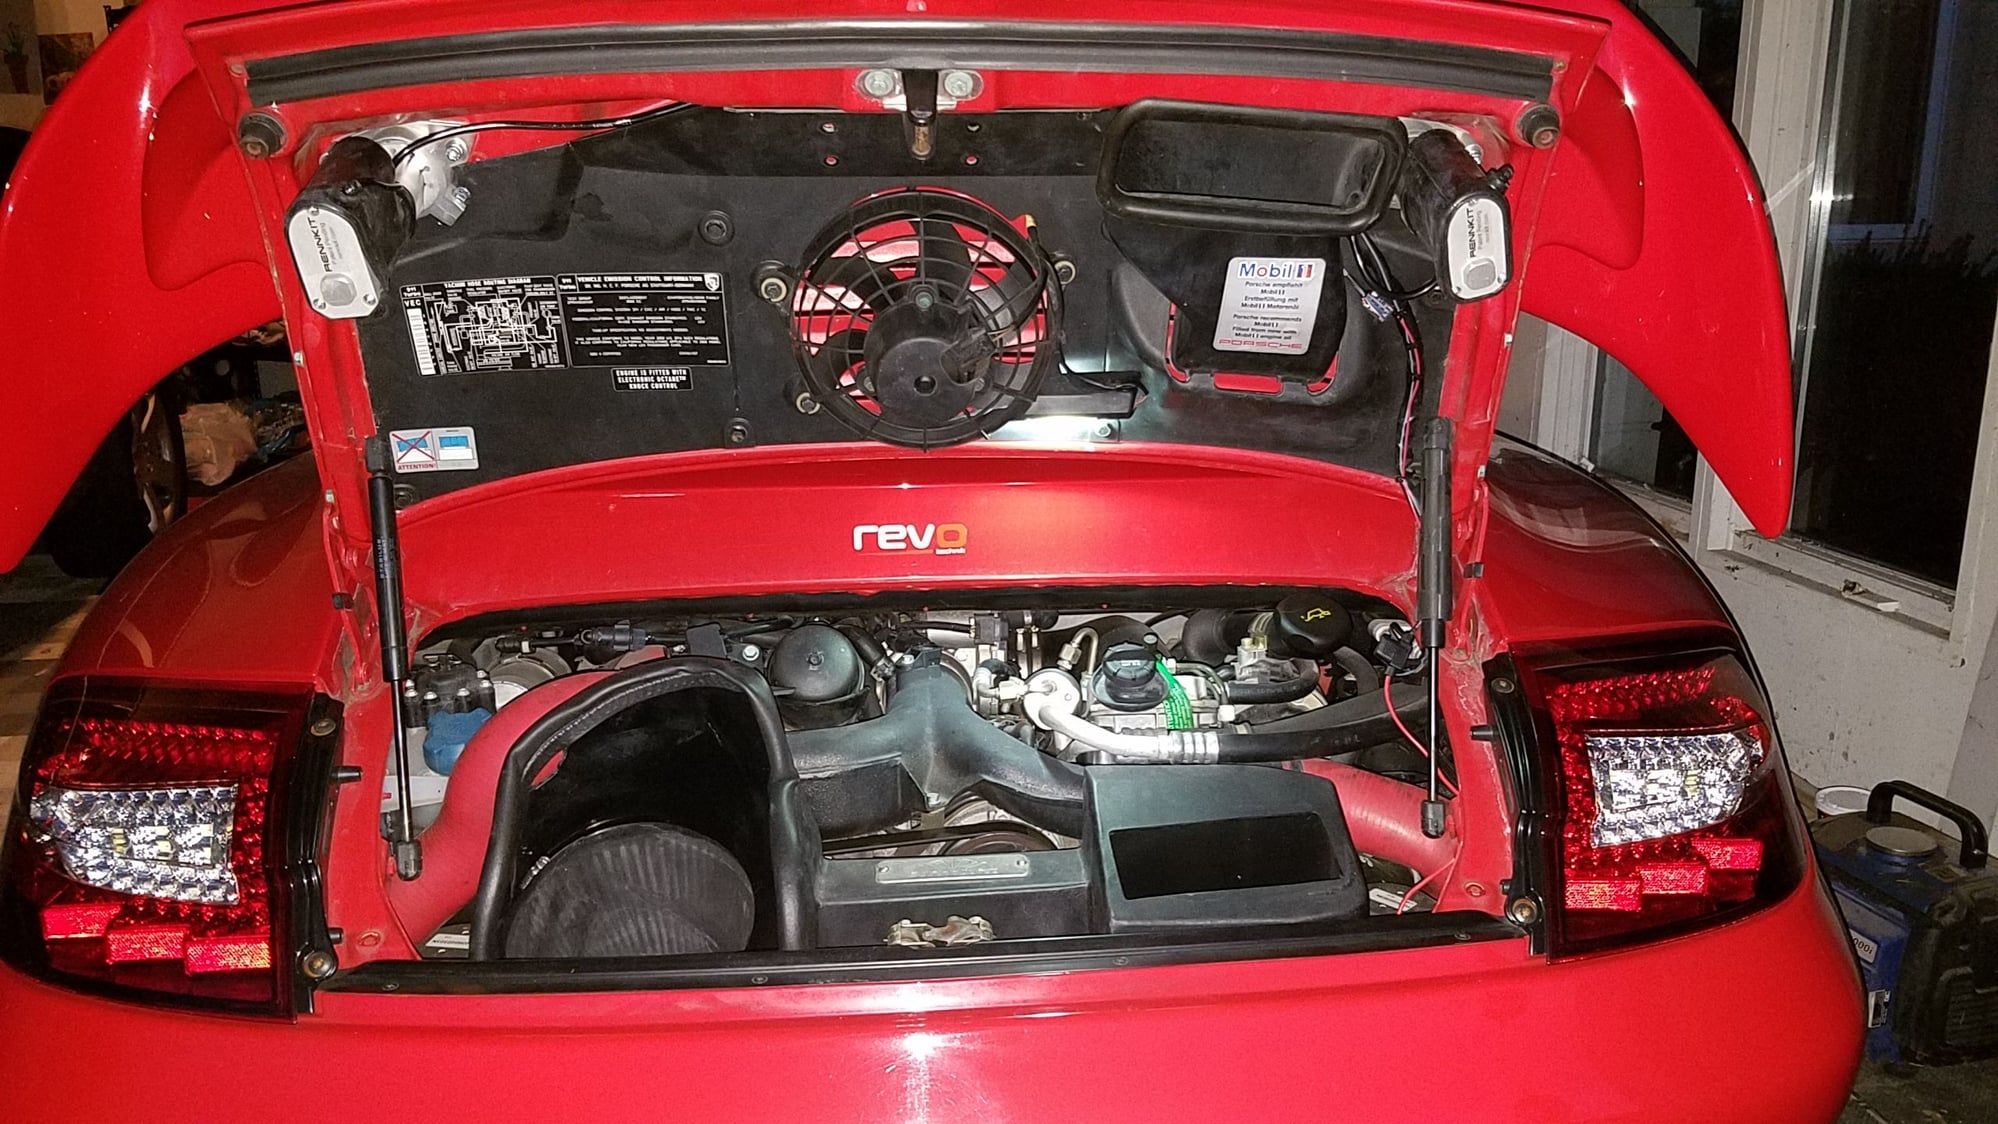
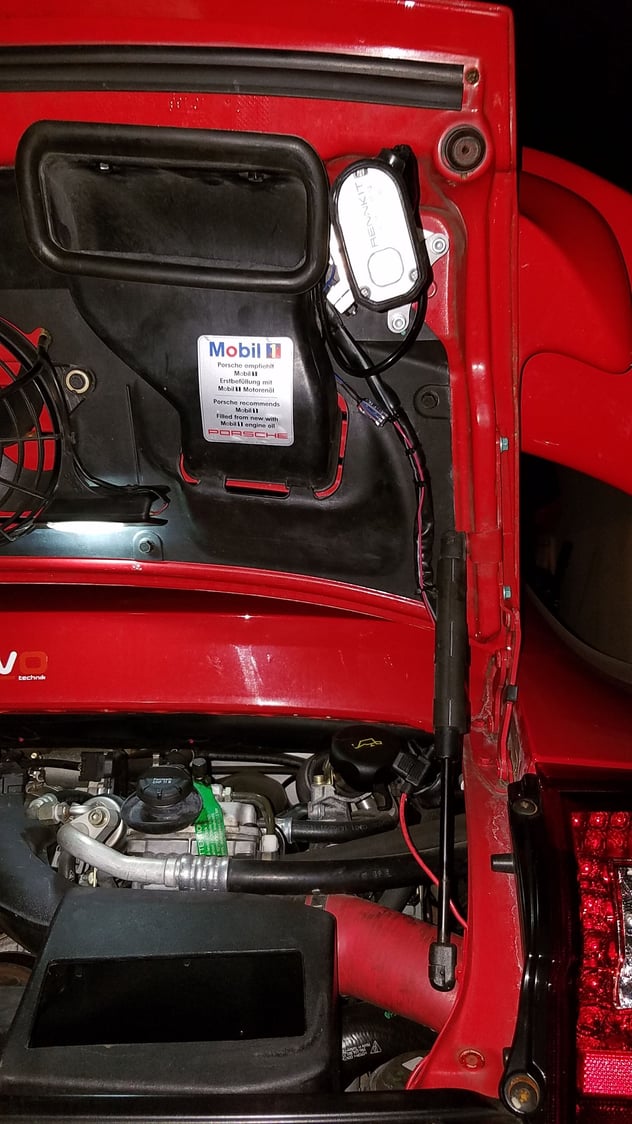
Here are some pics of the underside of the engine cover after the old factory hydraulic system has been removed:
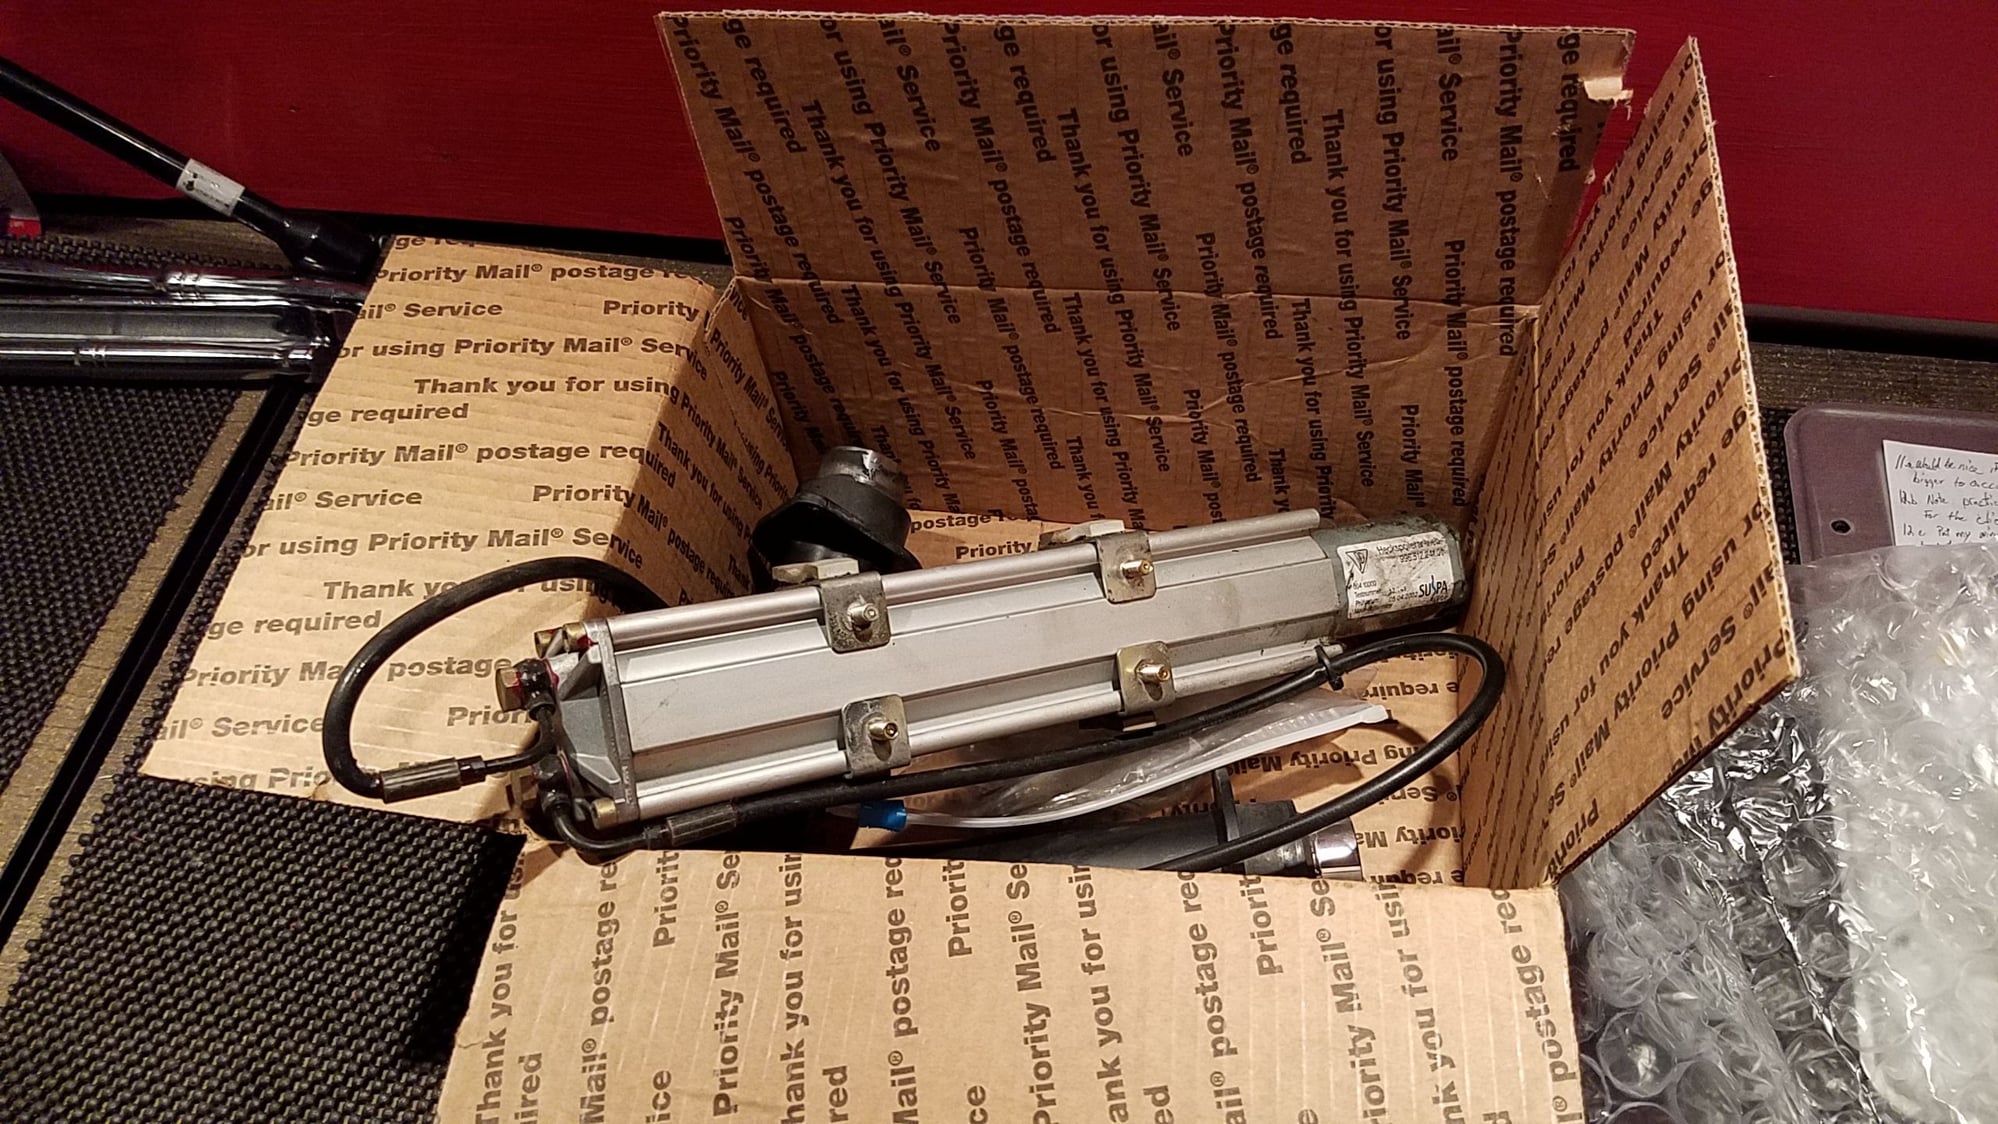
Instruction 11.a. OK, this was my miniscule, OCD, ****-retentive complaint to Dave. In this instruction Dave recommends saving the old system to pass on if/when you ever sell the car, and I completely agree. But, the box that the eRam system comes in is just a little too small to pack the old factory hydraulic system into. It would be nice if he used a box one size bigger to allow us to pack the system into the box that the eRams came in. He threw a couple of business cards in the package, which was nice because I'll leave one in the box with the old system and keep one with the receipt in my folder on the car. It's surely a minor gripe, but kind of a pain to go find another box plus using the box the eRam system came in just makes it somehow better (that's probably the museum guy in me coming out). Here's a pic of what I'm whining about:
Instruction 12.b. Regarding installing the pins from the top of the old factory hydraulic rams into the wing. It says to practice with the pin before installing the pin into the eRam connection mechanism. But, that practice didn't really give me a feel for how it would "click" into the wing later. I studied how the pin fit into the wing by looking carefully at the grooves in it, so I could see how it worked later.
Instruction 12.e. Regarding installing the pin permanently into the wing. This step calls for putting a lot of pressure on a big flathead screwdriver to compress three rubber O-rings to permanently install the pins in the wing. Instead of putting the wing on the floor, I put the wing on my couch to make it easier. Also, I used a couch pillow to put over the end of the screwdriver, then put my chest on top of the pillow to put all of my weight into it. This could be a bear to get done, but by having lots of downforce on the screwdriver handle, it wasn't too bad.
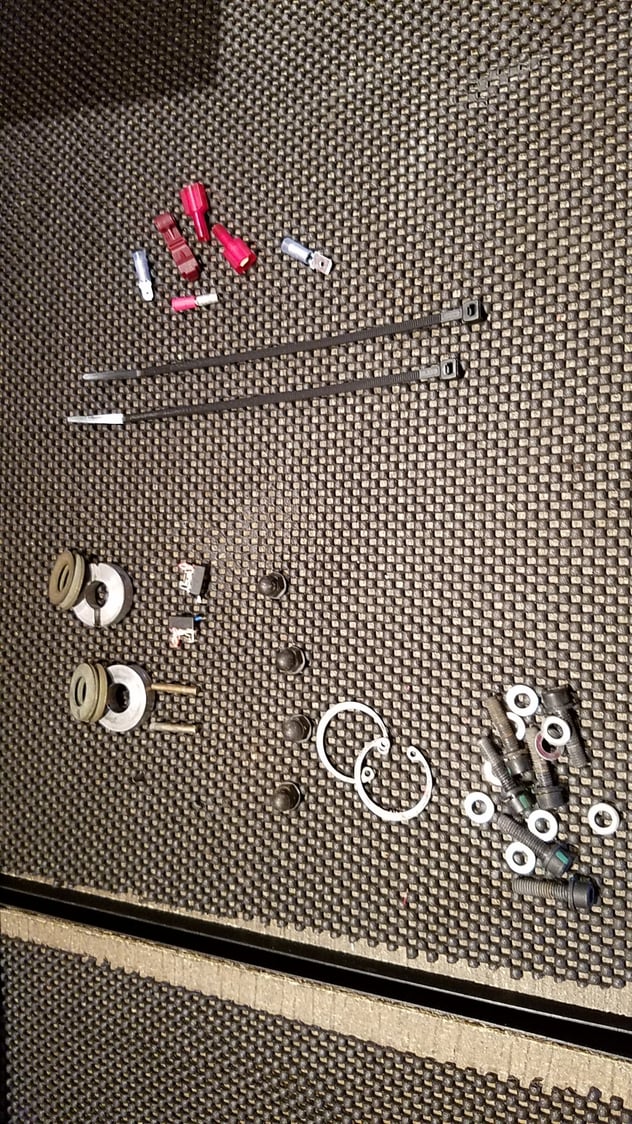
Here is a picture of the leftover parts from both the old system and the eRam kit that I didn't use. I packed them in a baggie and put them in the box with the old factory hydraulic system.
Installing the wing onto the eRams is very easy and straightforward. Once I got it installed, I ran into a hiccup - when the engine was not running, the wing worked perfectly. However, when I started the engine, the wing would not raise fully - it would stop about half an inch below full raise height, which caused the spoiler warning light to come on and prevent the wing from lowering. At this point, I thought this could be a real problem. But, as mentioned above, I got an immediate response from Dave telling me that a few of the MicroModules have a bug in the programming. He shipped me a new MicroModule immediately and asked me to return the old one so the he could re-program and re-use it. Installing the new one only took about 30 minutes as I was familiar with the wiring at that point. The wing works perfectly now.
So, in retrospect, the install was relatively easy. On a time/effort/skill required scale of 1 to 10, I would rate it maybe a 3. Unless you just don't have the time or inclination, I would recommend that you install it yourself.
The one significant recommendation I had for Dave was to just include the special pin wrench tool with the kit. First off, it is absolutely required to get it if you don't have it already (and I seriously doubt many people have them). Second, I found the exact same tool for $19.99 available online at www.samstang.com . So, I suspect a bulk purchase of them could be made for about $15 and the base price of the kit could just be increased by that amount. The eRam system is a premium product - beautifully made and well-engineered and consumer friendly. Including the special tool would make it even more so.
Throughout the process, Dave could not have been better about responding to emails and quick shipping. He has that down pat.
It's a pretty clean looking install in the end. There is one red wire going down the right engine cover strut. The vast majority of the remaining wires are tucked under the snorkel (where the Mobil1 sticker is). I have an EVOMS intake, so that makes it a pretty tight fit. I had to adjust the left side eRam by rotating it counterclockwise, but that's easy to do. A small part of the optional rubber dust/moisture protection boots on each side get caught on something when I close the engine cover, but it isn't a big deal. I will probably end up making a couple of other adjustments to deal with that, but it isn't causing any problem.
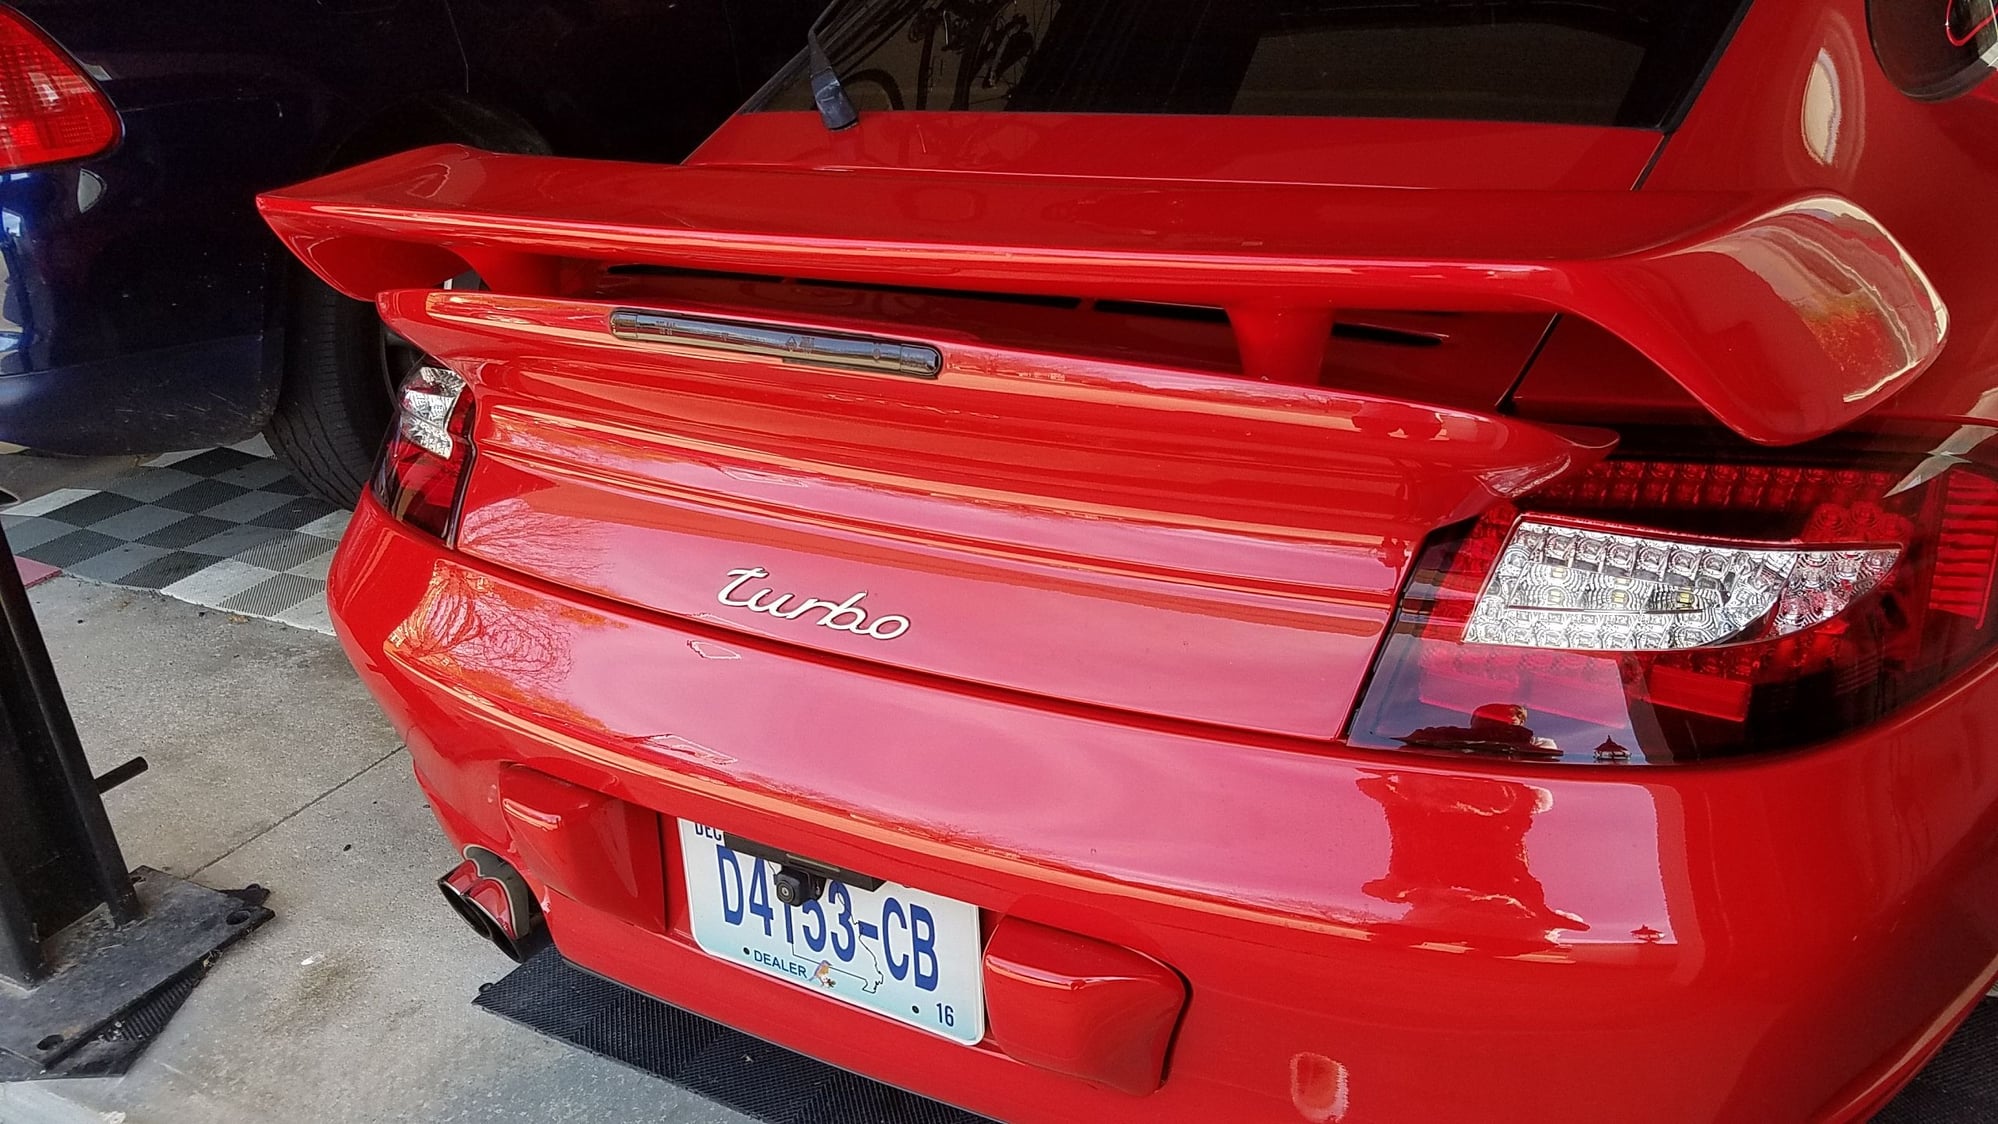
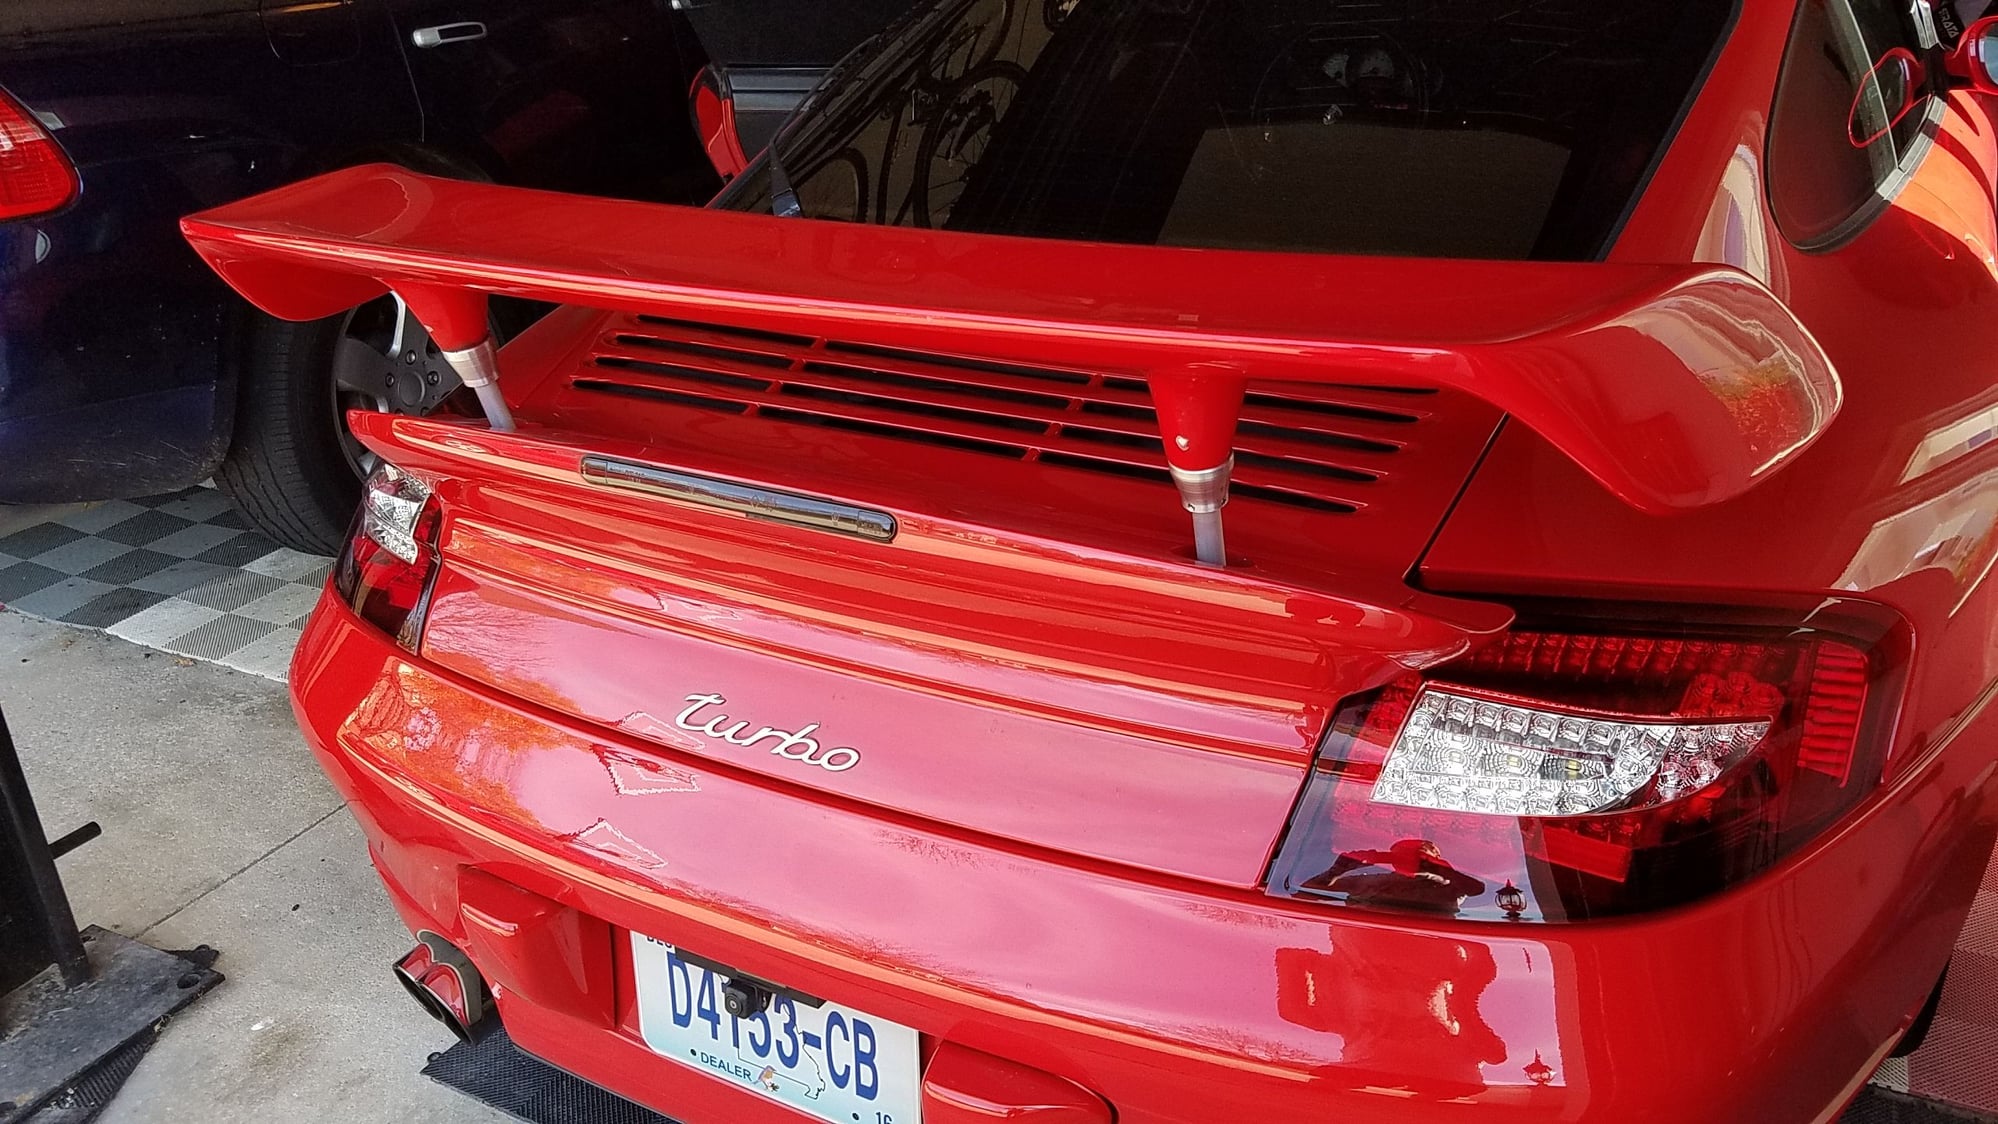
Here are some pics with the eRams installed of the underside of the engine cover and the wing in both the lowered and the raised position:
Nice review, thanks for sharing. My spoiler have been leaking for a while. Friend of mine tried to help me with a refill of petosin and stop leak fluid, but still leaking and now I'm getting the dreaded spoiler failure warning every once in a while.
kcattorney, there's a company in Germany (p-speed.de) that is rebuilds the factory rams back to working condition and supposedly comes with a lifetime warranty. One needs to do with FedEx or DHL for shipping the rams to Germany though. Any thoughts on this company? Cost is $400-$800 depending on the repair I was told...
Nice write up! I just had mine installed on my DD and it is flawless. So stoked to get this form my track car as well but so far no failure even at +90k miles.........
Some of the OEM hydraulic systems last a long time. My crapped out at 50k miles.
I'm finding that cars in warmer climates tend to have the hydraulics go sooner... or maybe there are just more turbos there? Sending an eRam kit to Qatar today...
 11-06-2016, 04:30 PM