Front Main Seal Replacement...DIY?
 06-08-2018, 09:41 AM
#31
2nd Gear

Here is the conclusion of this thread. I tried to list as many steps as possible when going back together since I didn't do a great job of documenting them on the tear down.
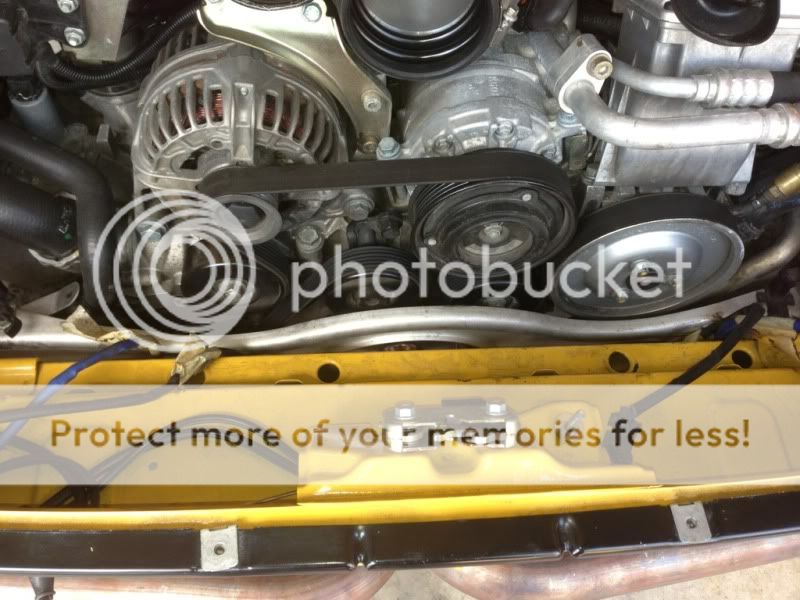
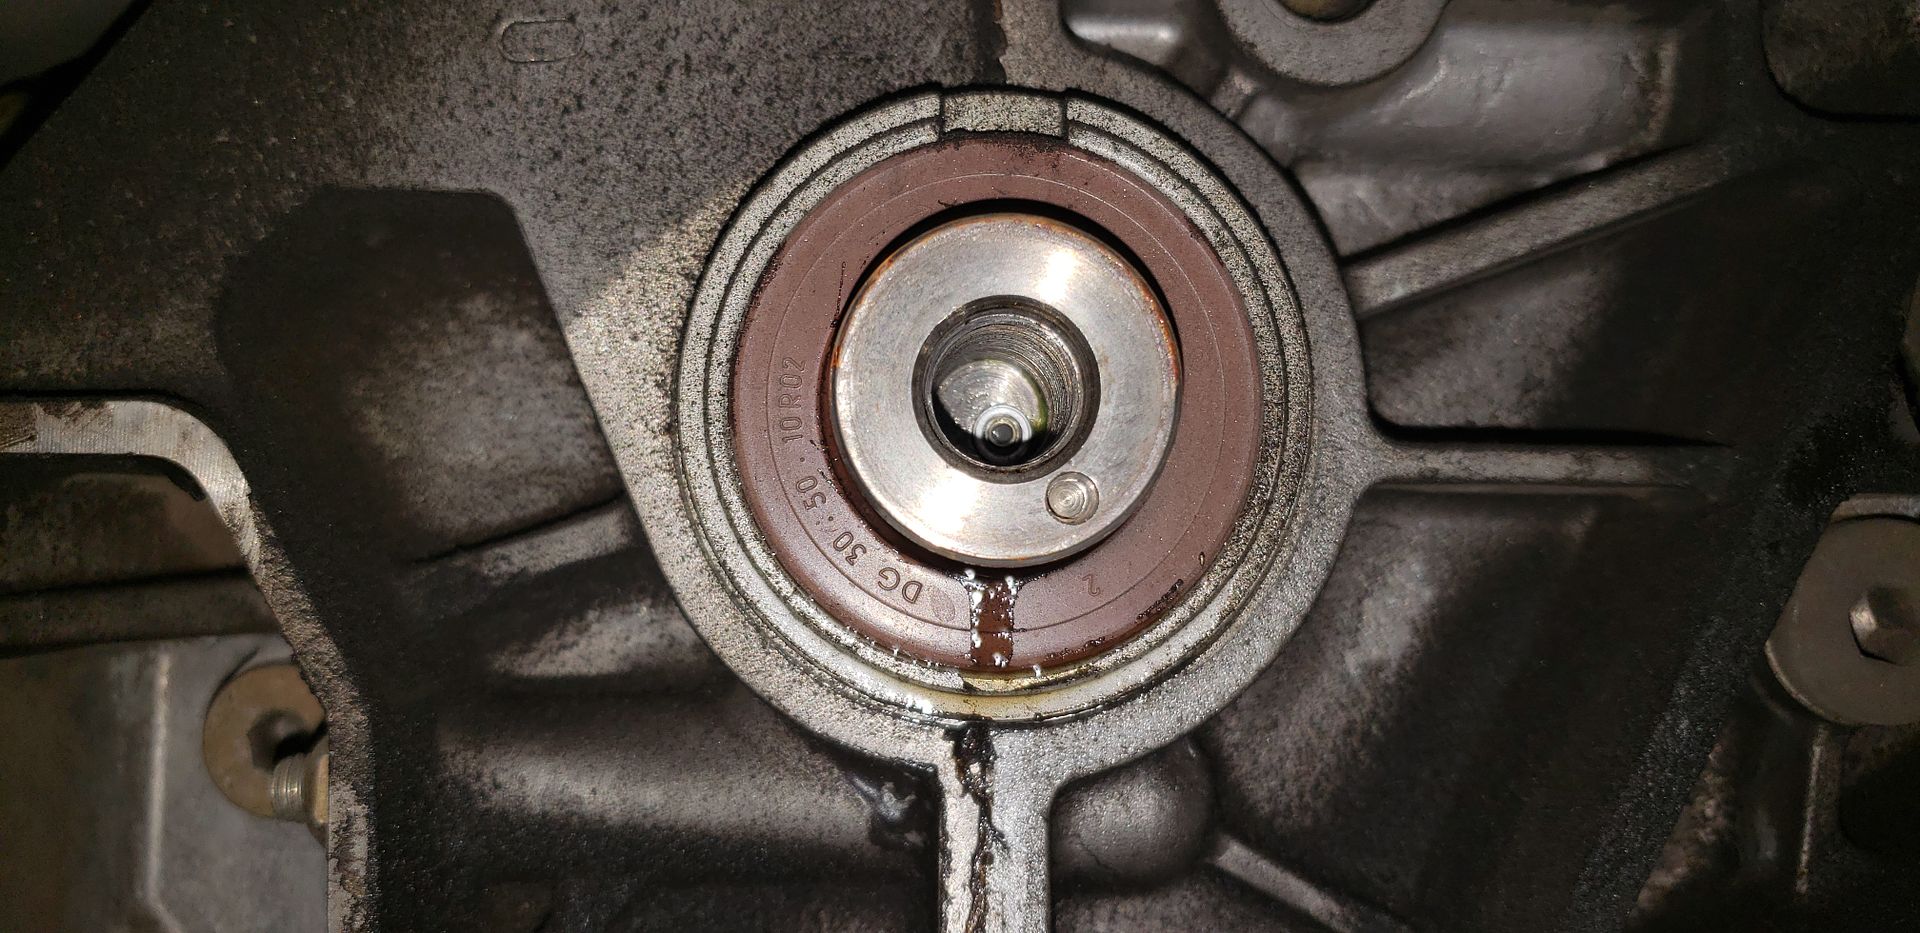
Area around front main cleaned up to get rid of the mess that was there, and new seal installed. **Note** that is the red 996 seal I ordered (999.113.290.41) not the newer 997 seal
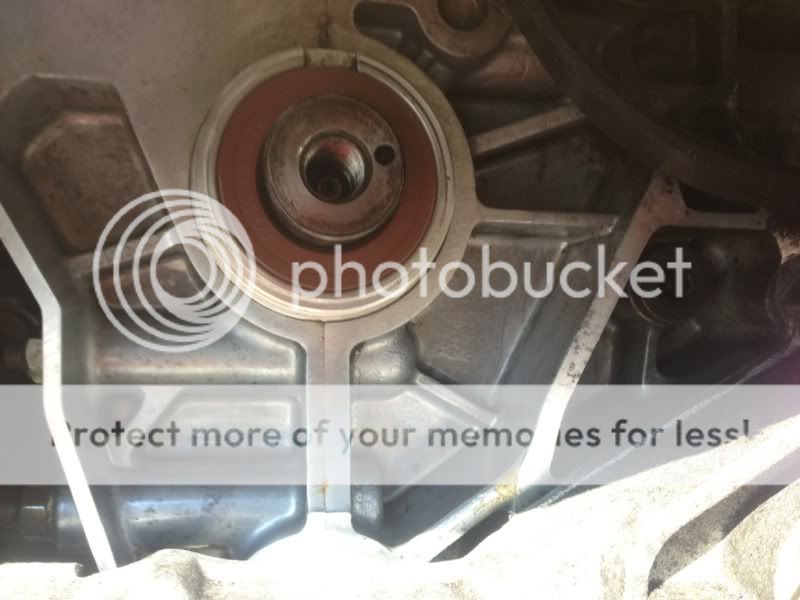
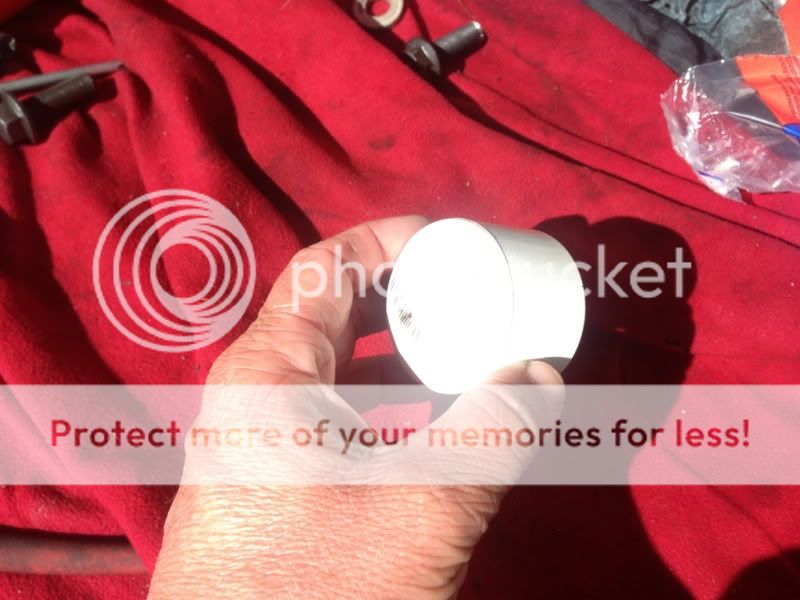
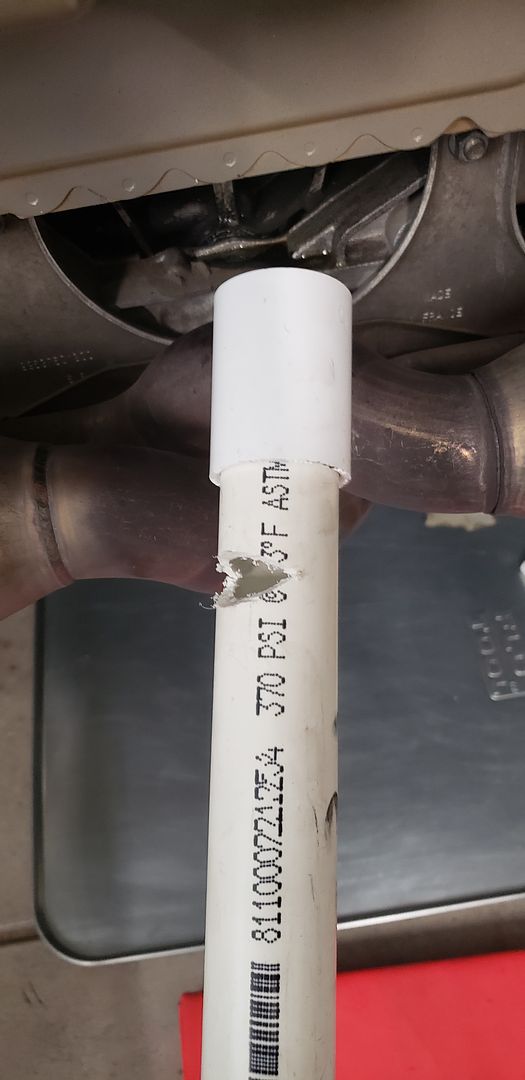
I was offered up the factory installation tool from a friend of mine at the dealer. Turns out it was not the correct diameter tool and they could not find the appropriate tool. The correct one sits over the seal and has a hole in the end and you use the crank bolt to push the seal into place. As a compromise I found that 1 1/4" PVC pipe is the correct fit so I used a PVC pipe cap to press the seal in place
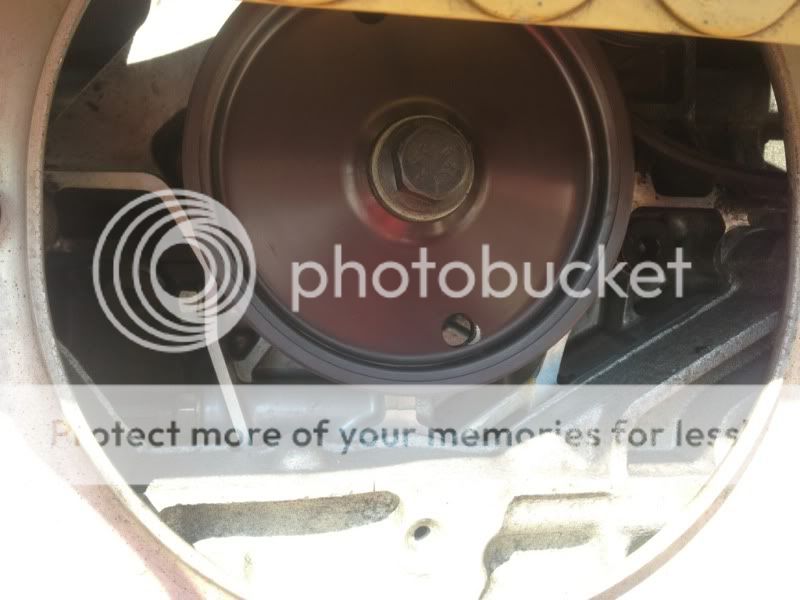
Next Install pulley. Remember the bolt is a one time use bolt as is the friction washer that sits between the pulley and crank. Combined these two stupid parts are ~$70 so be prepared for that cost. Torque seems to be a bit of a question. Depending on the car it's anywhere from 120-185 ft lbs. I settled in the middle at 160 which is the same value I used when I first installed the RS pulley on my car. Dab of Red Loctite here as well.
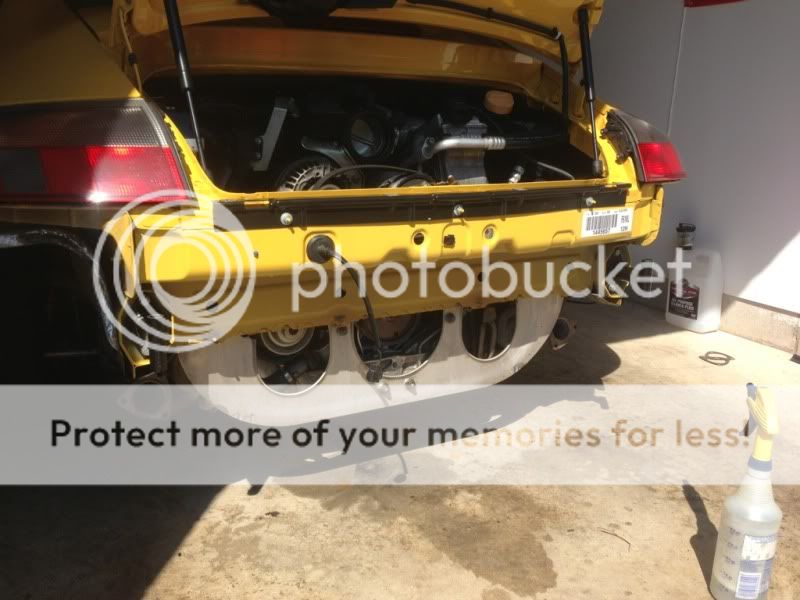
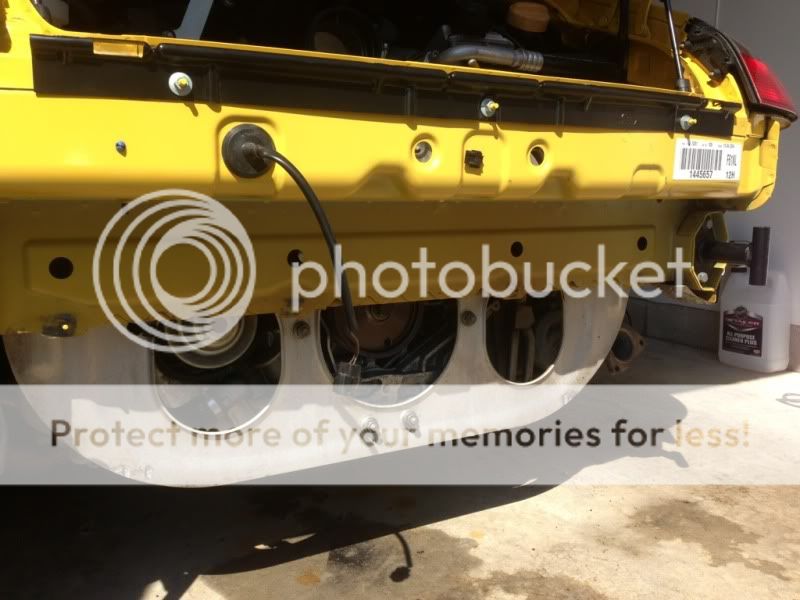
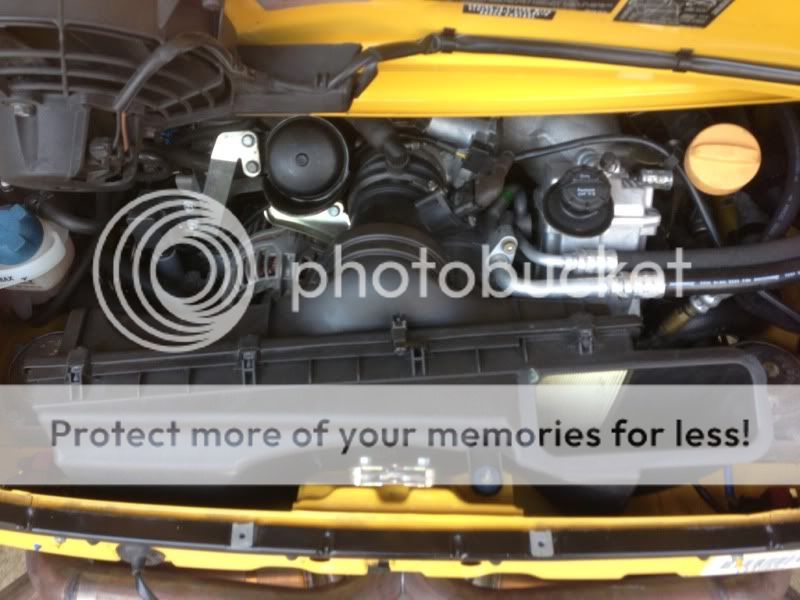
Next is a little bit of house cleaning while you've I've got the bumper off. Things get pretty filthy back there so this is a good time to clean everything up a little.
Install the s-belt. 15mm on the tensioner this should be pretty straight forward
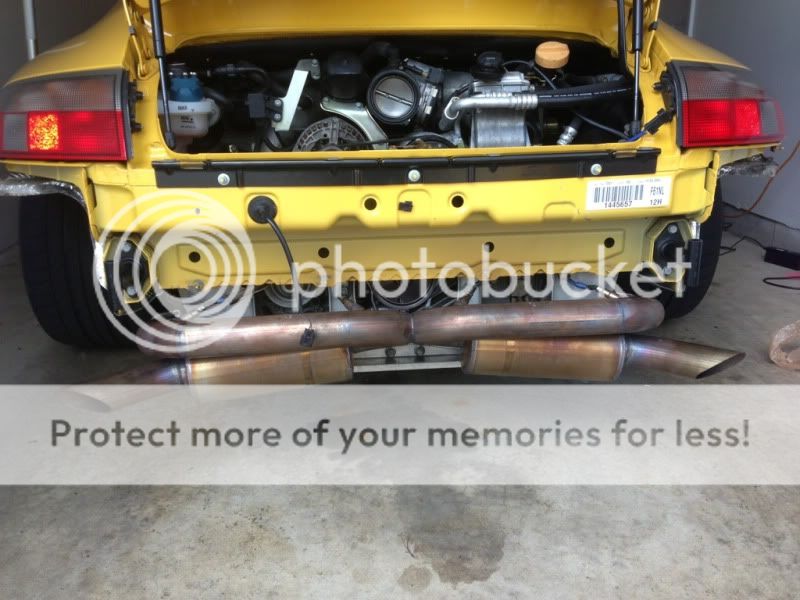
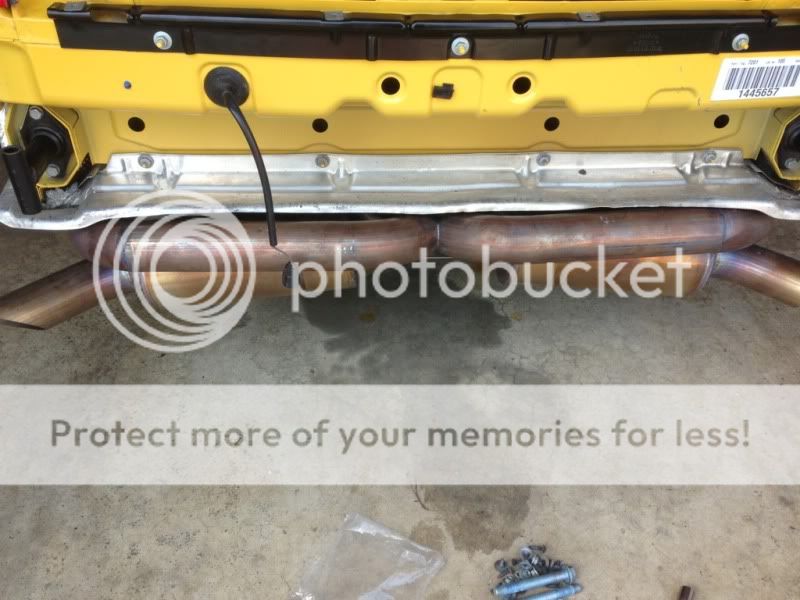
Install exhaust.
Route and hook back up o2 sensors
Install air box - don't forget to hook up the MAF sensor
Install heat shield above exhaust
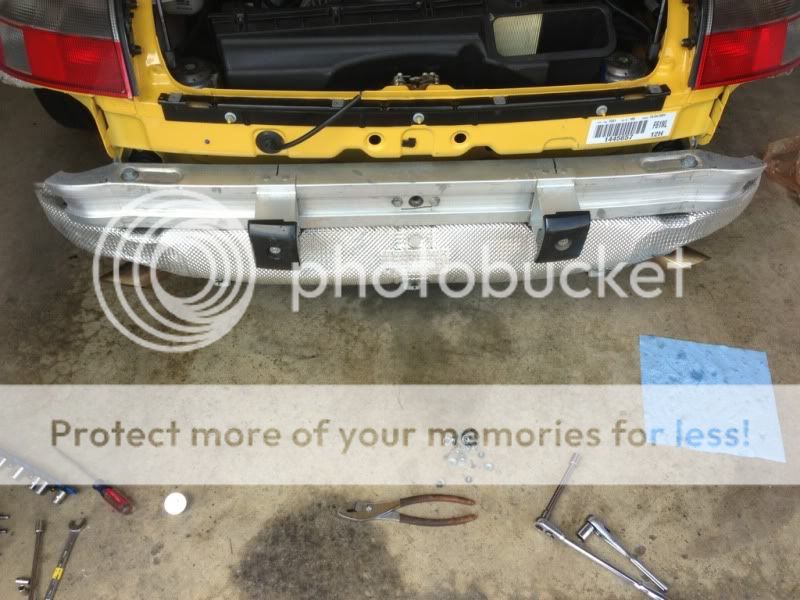
Install bumper bar and additional heat shield
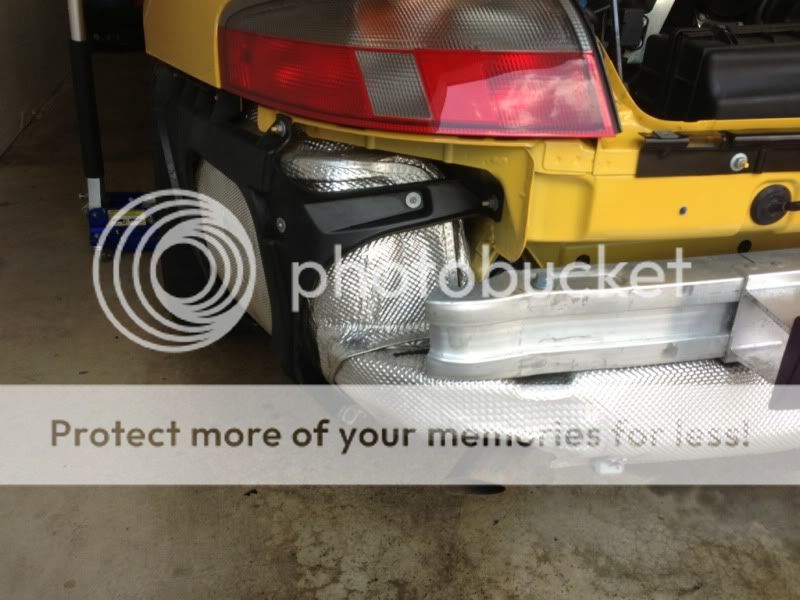
Install side / muffler heat shields
Finally Install bumper, then go for a drive and enjoy.
Area around front main cleaned up to get rid of the mess that was there, and new seal installed. **Note** that is the red 996 seal I ordered (999.113.290.41) not the newer 997 seal
I was offered up the factory installation tool from a friend of mine at the dealer. Turns out it was not the correct diameter tool and they could not find the appropriate tool. The correct one sits over the seal and has a hole in the end and you use the crank bolt to push the seal into place. As a compromise I found that 1 1/4" PVC pipe is the correct fit so I used a PVC pipe cap to press the seal in place
Next Install pulley. Remember the bolt is a one time use bolt as is the friction washer that sits between the pulley and crank. Combined these two stupid parts are ~$70 so be prepared for that cost. Torque seems to be a bit of a question. Depending on the car it's anywhere from 120-185 ft lbs. I settled in the middle at 160 which is the same value I used when I first installed the RS pulley on my car. Dab of Red Loctite here as well.
Next is a little bit of house cleaning while you've I've got the bumper off. Things get pretty filthy back there so this is a good time to clean everything up a little.
Install the s-belt. 15mm on the tensioner this should be pretty straight forward
Install exhaust.
Route and hook back up o2 sensors
Install air box - don't forget to hook up the MAF sensor
Install heat shield above exhaust
Install bumper bar and additional heat shield
Install side / muffler heat shields
Finally Install bumper, then go for a drive and enjoy.
Cheers,
Gerry

 08-25-2018, 10:27 PM
#34
Rennlist Member
I completed this project today. Thanks for the writeup!! Helped a lot!! With the right tools this is a pretty easy job, it took me about 1-1/2 hours start to finish, much less time than I anticipated.
Here are some tips that I can add to the knowledge base:
-My seal went from a few drops to gushing oil in less than a week. Once it went, it went FAST!
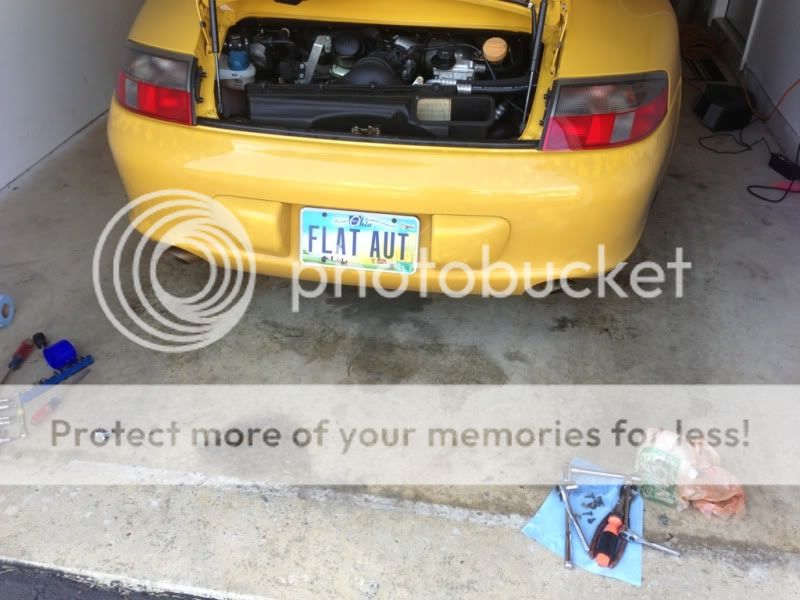
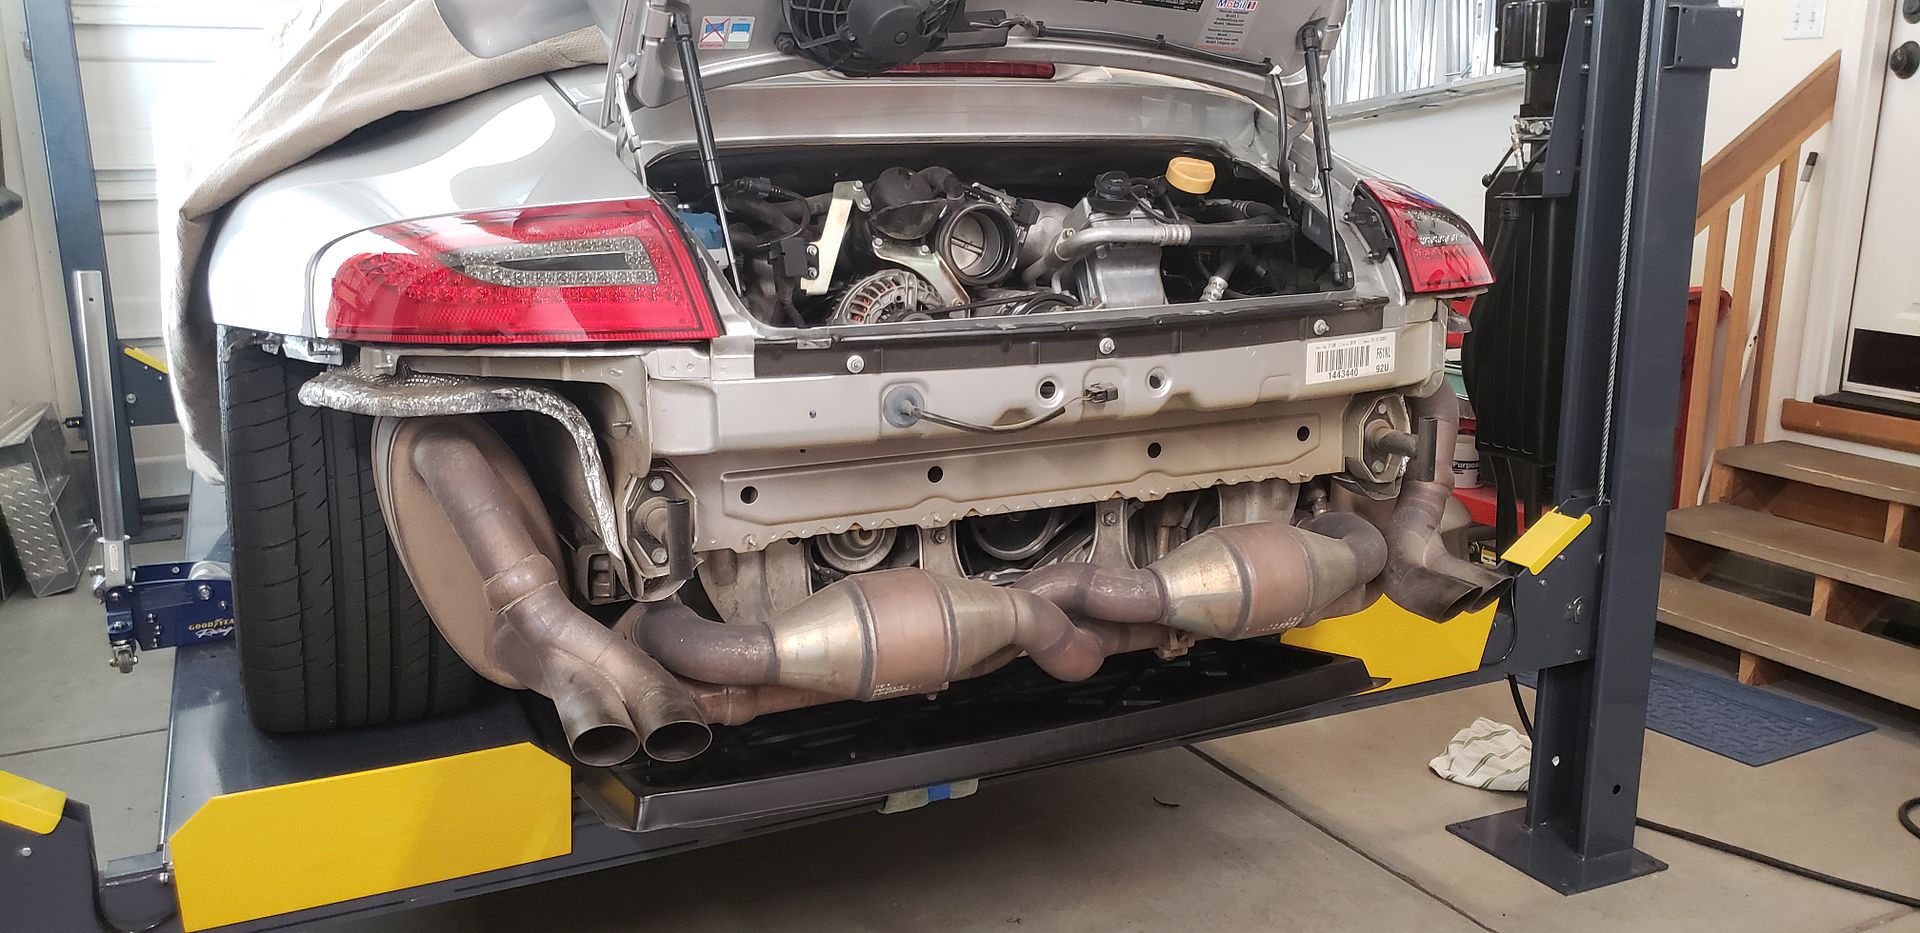
-I have a Europipe exhaust and cats, I am not sure how this compares for the size it takes up to the stock cats, but I did not need to remove the exhaust, there was plenty of room.
-I don't think this was mentioned above but you don't need to drain the oil at all in order to replace this seal.
-You can get straightline access to the bolt easily with an impact wrench. I was able to get the pulley off in about 3 seconds, then I used the impact to initially tighten it when reinstalling, then finished w/ a torque wrench.
-I used the same method to remove the seal as above...drill holes in either side, screw in two sheet metal screws, pop the seal out with a slide hammer that has a vice grip attached, clamped onto the screws one side, then the other.
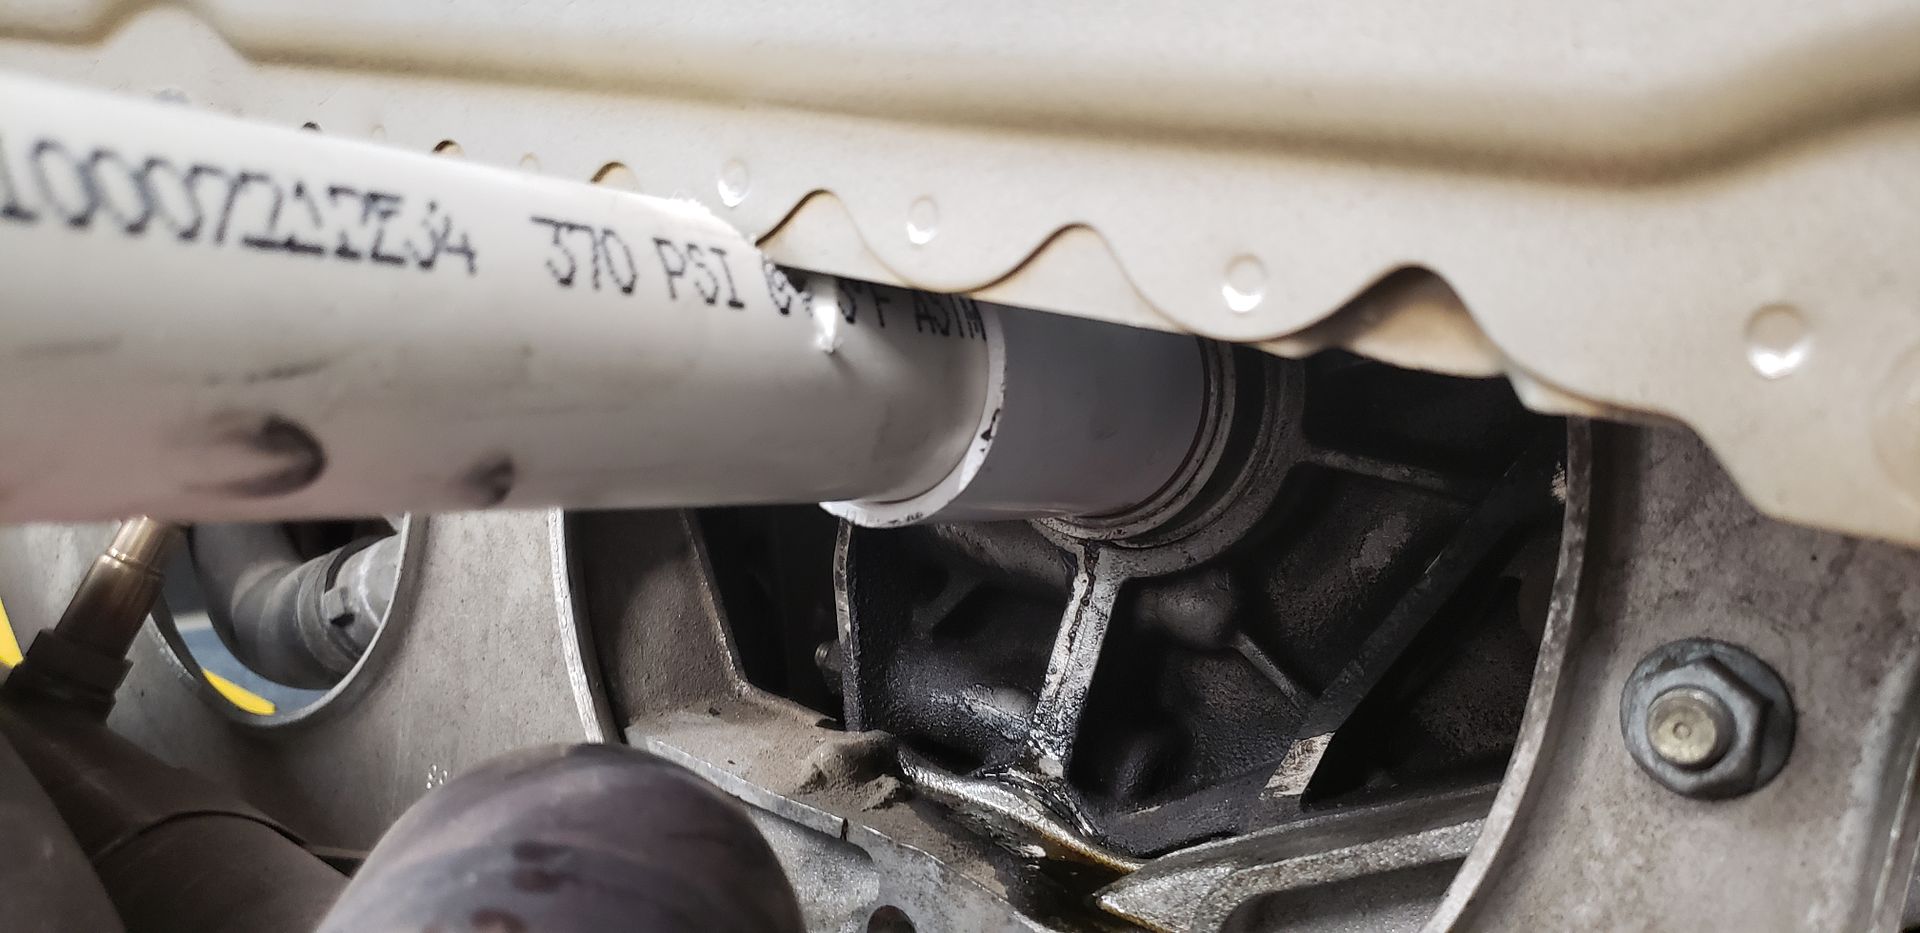
-I used a 1-1/4" PVC pipe and connector which matched the diameter of the seal but I could not get square on the seal so I cut a notch in the pipe to clear the body pinch welded sheet metal that is in the way, worked great.
-If you have the GT3-RS pulley on the car the correct bolt is 993-102-550-81 with washer 999-025-174-01 and special thin spacer for behind the pulley 996-102-203-90. I torqued the bolt to 160 ft lbs with a drop of blue locktite. As stated above I saw references that said the torque is 126-185 ft lbs so I went with a number in the middle and a little locktite.
Pics below:
Here are some tips that I can add to the knowledge base:
-My seal went from a few drops to gushing oil in less than a week. Once it went, it went FAST!
-I have a Europipe exhaust and cats, I am not sure how this compares for the size it takes up to the stock cats, but I did not need to remove the exhaust, there was plenty of room.
-I don't think this was mentioned above but you don't need to drain the oil at all in order to replace this seal.
-You can get straightline access to the bolt easily with an impact wrench. I was able to get the pulley off in about 3 seconds, then I used the impact to initially tighten it when reinstalling, then finished w/ a torque wrench.
-I used the same method to remove the seal as above...drill holes in either side, screw in two sheet metal screws, pop the seal out with a slide hammer that has a vice grip attached, clamped onto the screws one side, then the other.
-I used a 1-1/4" PVC pipe and connector which matched the diameter of the seal but I could not get square on the seal so I cut a notch in the pipe to clear the body pinch welded sheet metal that is in the way, worked great.
-If you have the GT3-RS pulley on the car the correct bolt is 993-102-550-81 with washer 999-025-174-01 and special thin spacer for behind the pulley 996-102-203-90. I torqued the bolt to 160 ft lbs with a drop of blue locktite. As stated above I saw references that said the torque is 126-185 ft lbs so I went with a number in the middle and a little locktite.
Pics below:


Last edited by Nickshu; 08-26-2018 at 12:48 PM.
The following users liked this post:
Robocop305 (12-06-2020)
08-28-2018, 05:18 PM
#35

Thanks for posting this. Every time I consider buying something different it's the posts like this and general tech help that keeps me in the fold. [Nickshu: I DO notice your Spyder! I've had a few and considered more. My sick mind thinks it would be fun to have a built Vair 6 in a 911/912 to be sure of offending everyone.]