Front Main Seal Replacement...DIY?
 08-09-2013, 08:50 AM
#16
Race Car
Thread Starter
Steve, thanks for the input. You're the first person I've found that's been able to explain the differences.
You mention the 997 seal is designed a little differently because of crankcase vacuum...I'm assuming this is due to the difference in breathers? I thought about the motorsport breather for my car when I had it all apart but decided not to do it.
At this point neither seal is installed. My dealer is ordering the other part number and then I'm going to evaluate which one to put in the car. My leak wasn't horribly bad and the crank doesn't show any wear that looks concerning.
 08-09-2013, 04:30 PM
#17
Racer
I think the 997 has a check valve in the breather to maintain the case vacuum. It uses suction of the multistage oil pump to create the vacuum. So for that the rear main seal mounts in reverse so the lips face out, so that vacuum would pull it in to tighten seal. I thought it was odd though that the lips on the red front seal were not also backwards as the vacuum could suck air and dirt in if the lip wasn't tight enough. Subsequently with the black seal, not only was that changed, but the added felt ring was a much needed feature that makes a very tight seal to protect the rubber seal within.
On the 997 GT3, and/or a car that is exposed to the grit and grime of a track or dirty roads, I think the updated seal is necessary. On the 996, without the check valve, I'm not sure how much or if any vacuum is produced in its case, but for those 996s that were having problems, I would think if there is enough engine wear such as blowby past the rings, enough to pressurize the case, then that could cause oil to spout out of the lips of the black seal, making the standard seal a better choice.
On the 997 GT3, and/or a car that is exposed to the grit and grime of a track or dirty roads, I think the updated seal is necessary. On the 996, without the check valve, I'm not sure how much or if any vacuum is produced in its case, but for those 996s that were having problems, I would think if there is enough engine wear such as blowby past the rings, enough to pressurize the case, then that could cause oil to spout out of the lips of the black seal, making the standard seal a better choice.
08-28-2013, 12:40 PM
#18
Race Car
Thread Starter
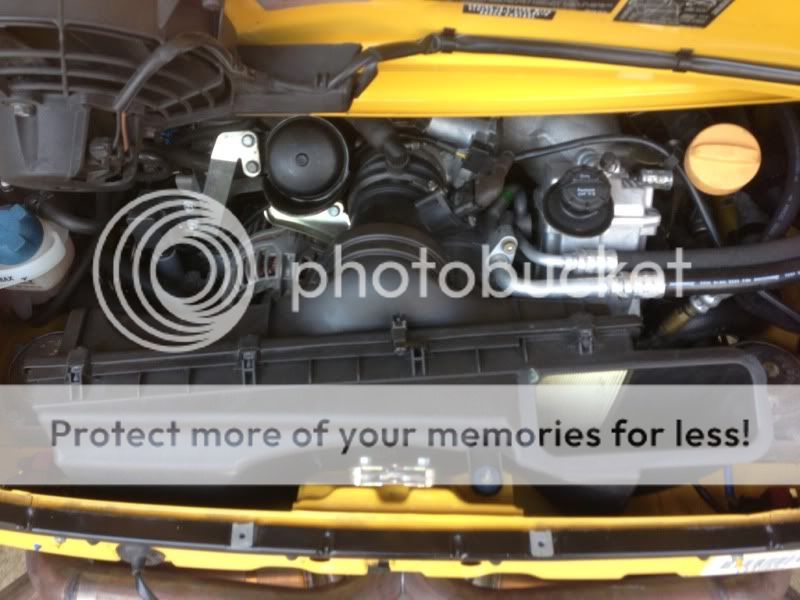
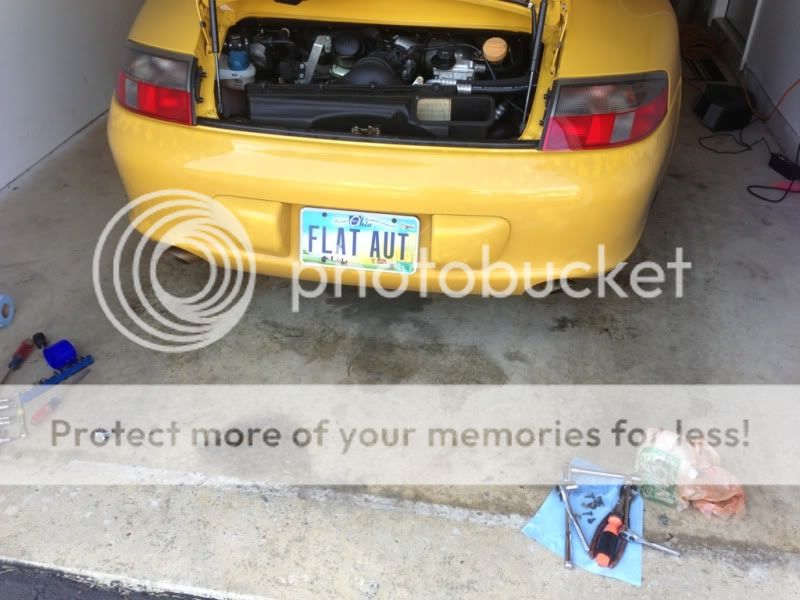
Here is the conclusion of this thread. I tried to list as many steps as possible when going back together since I didn't do a great job of documenting them on the tear down.
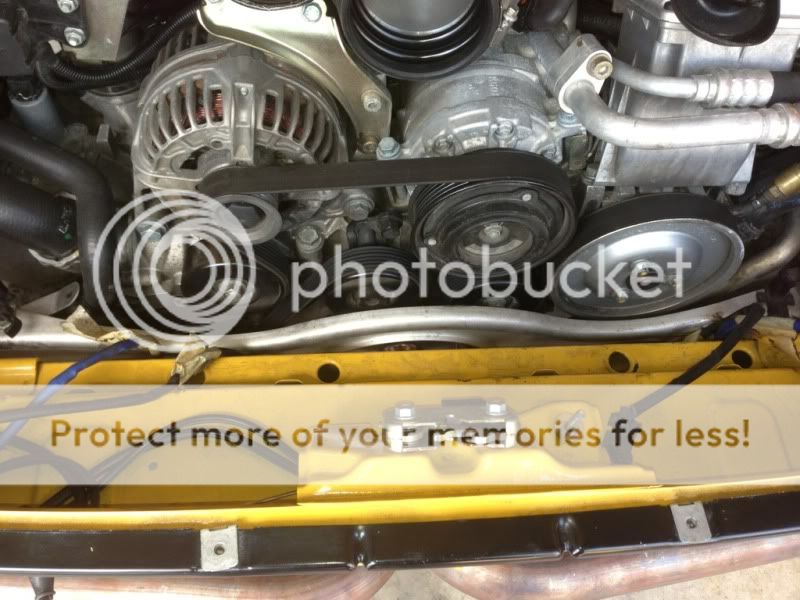
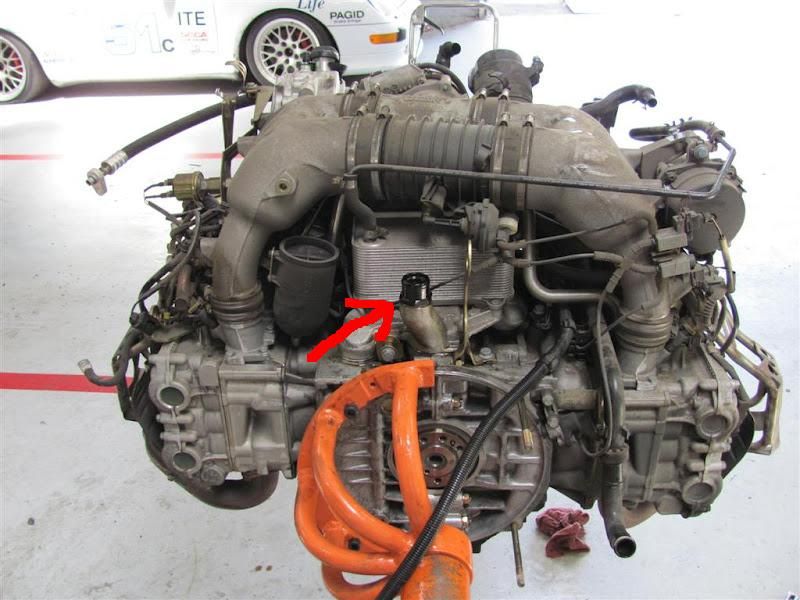
Area around front main cleaned up to get rid of the mess that was there, and new seal installed. **Note** that is the red 996 seal I ordered (999.113.290.41) not the newer 997 seal
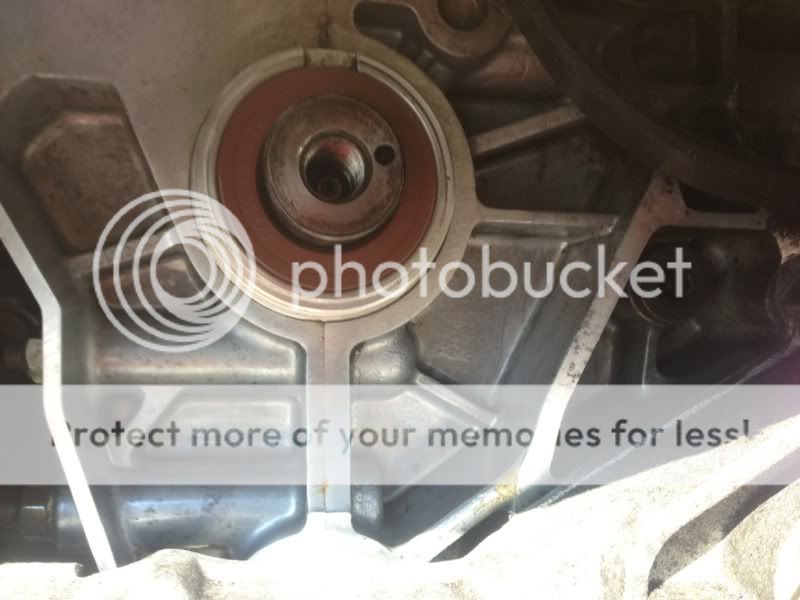
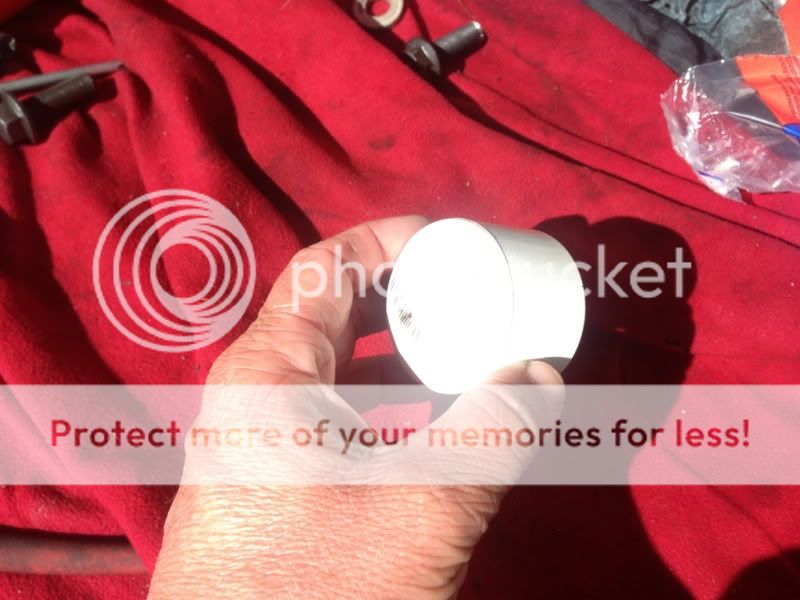
I was offered up the factory installation tool from a friend of mine at the dealer. Turns out it was not the correct diameter tool and they could not find the appropriate tool. The correct one sits over the seal and has a hole in the end and you use the crank bolt to push the seal into place. As a compromise I found that 1 1/4" PVC pipe is the correct fit so I used a PVC pipe cap to press the seal in place
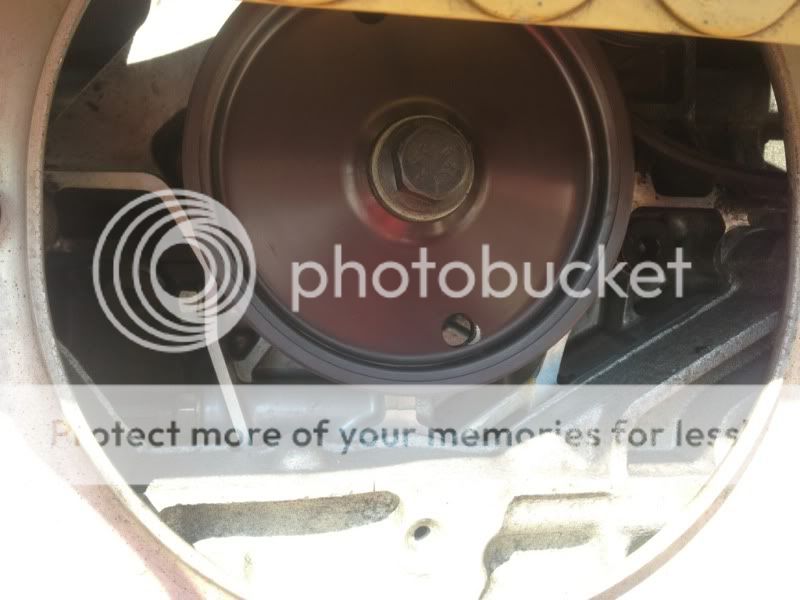
Next Install pulley. Remember the bolt is a one time use bolt as is the friction washer that sits between the pulley and crank. Combined these two stupid parts are ~$70 so be prepared for that cost. Torque seems to be a bit of a question. Depending on the car it's anywhere from 120-185 ft lbs. I settled in the middle at 160 which is the same value I used when I first installed the RS pulley on my car. Dab of Red Loctite here as well.
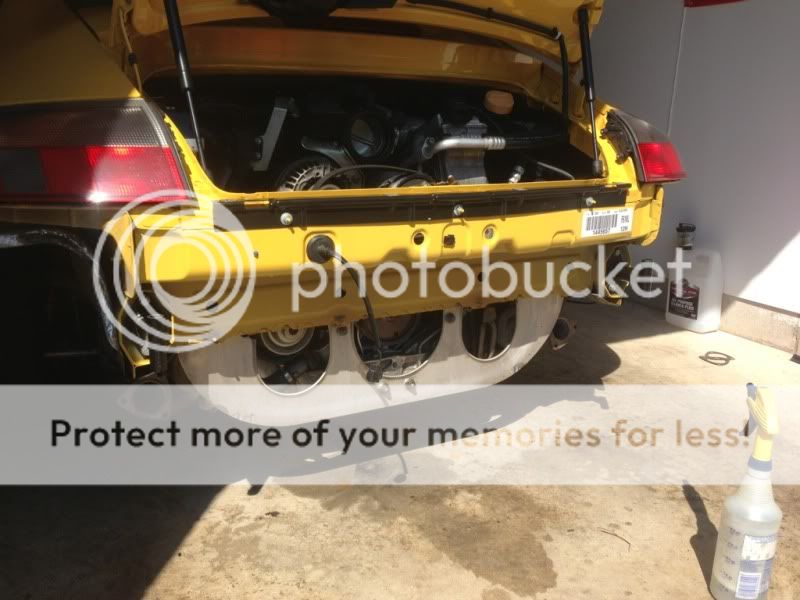
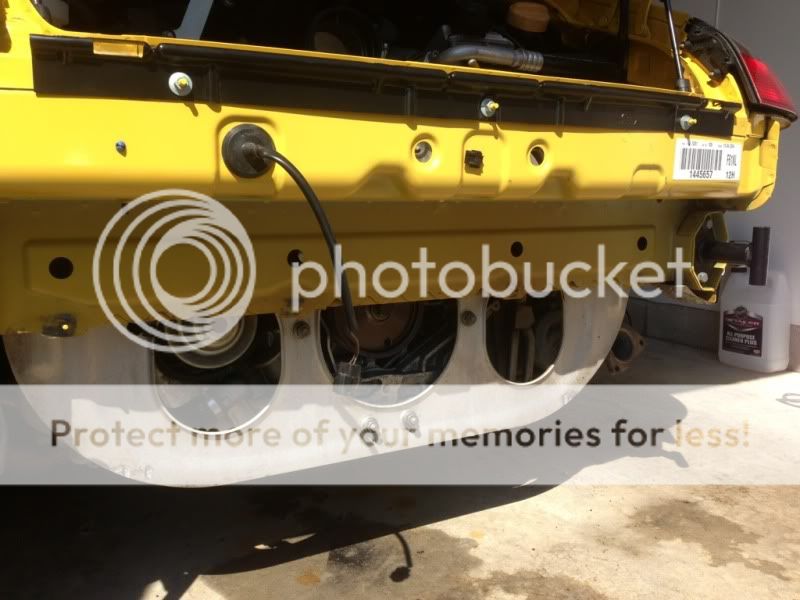
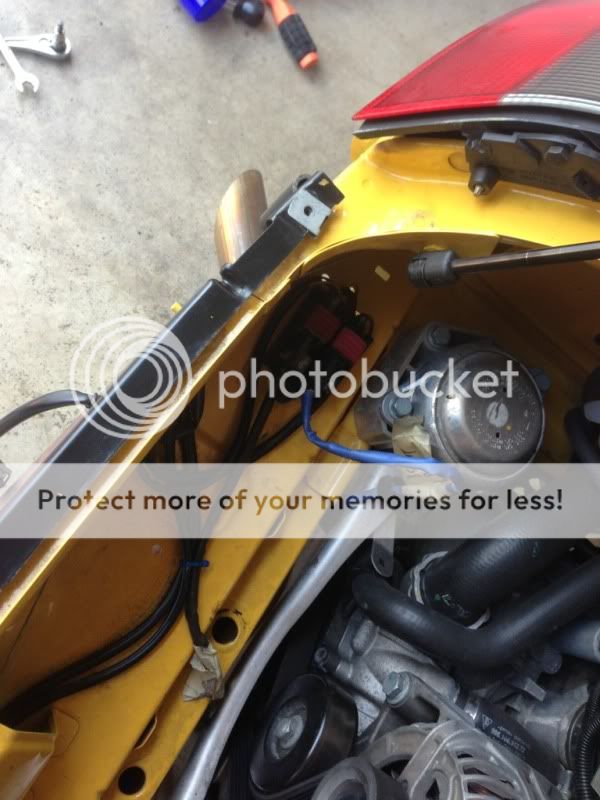
Next is a little bit of house cleaning while you've I've got the bumper off. Things get pretty filthy back there so this is a good time to clean everything up a little.
Install the s-belt. 15mm on the tensioner this should be pretty straight forward
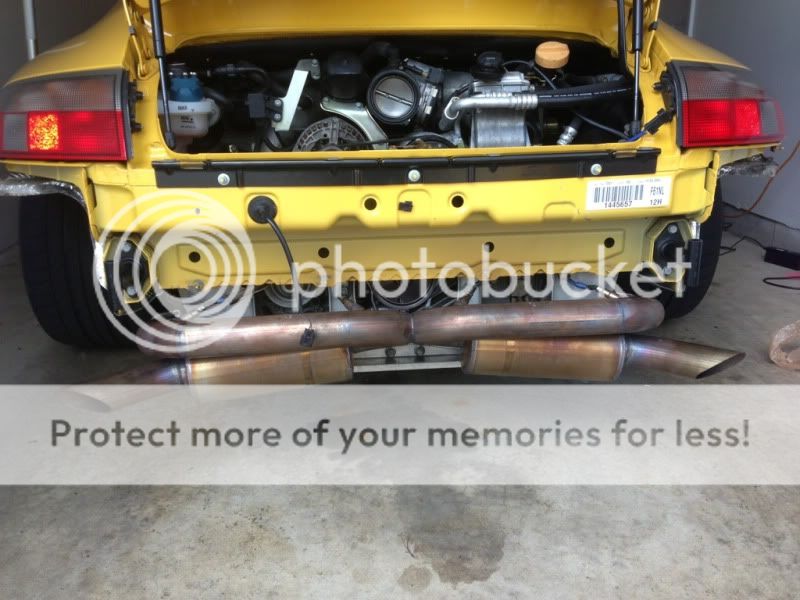
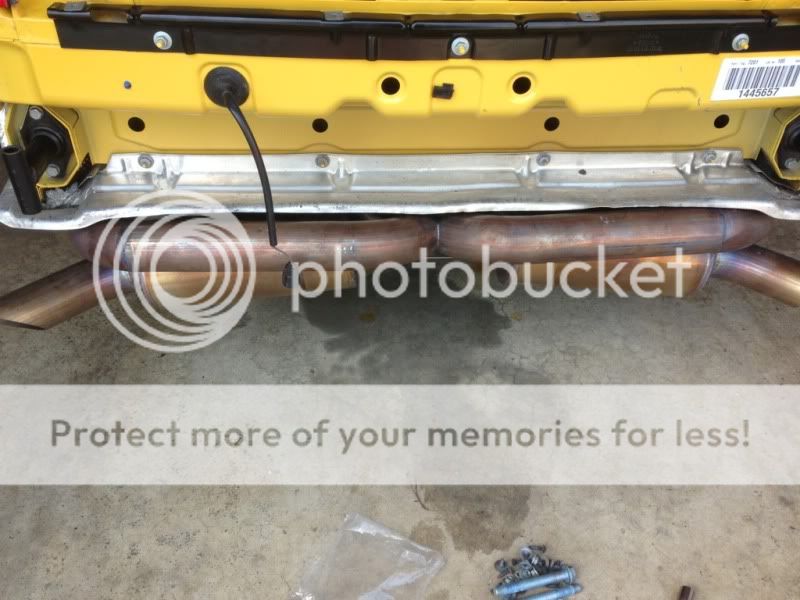
Install exhaust.
Route and hook back up o2 sensors
Install air box - don't forget to hook up the MAF sensor
Install heat shield above exhaust
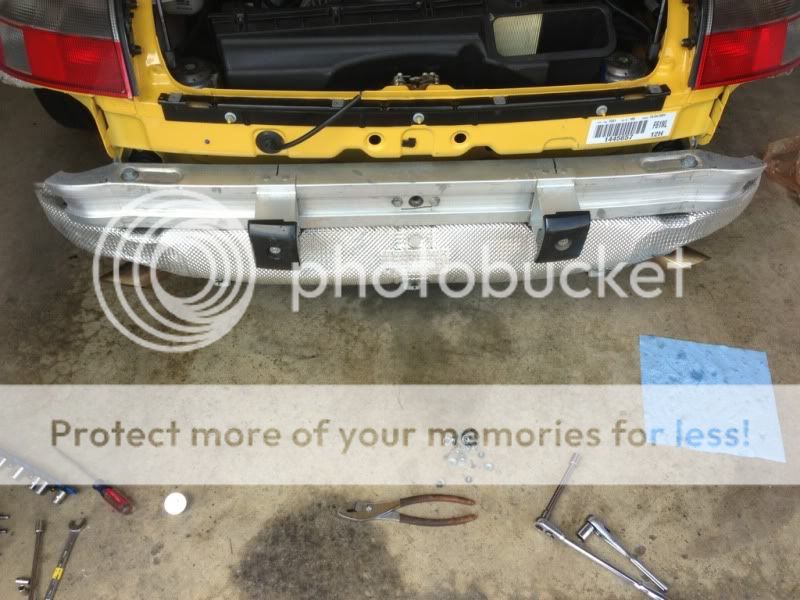
Install bumper bar and additional heat shield
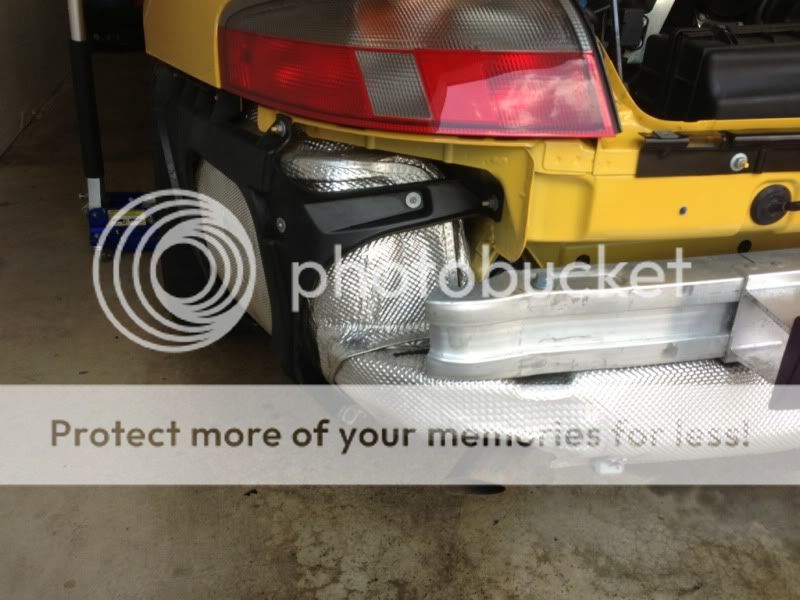
Install side / muffler heat shields
Finally Install bumper, then go for a drive and enjoy.
Area around front main cleaned up to get rid of the mess that was there, and new seal installed. **Note** that is the red 996 seal I ordered (999.113.290.41) not the newer 997 seal
I was offered up the factory installation tool from a friend of mine at the dealer. Turns out it was not the correct diameter tool and they could not find the appropriate tool. The correct one sits over the seal and has a hole in the end and you use the crank bolt to push the seal into place. As a compromise I found that 1 1/4" PVC pipe is the correct fit so I used a PVC pipe cap to press the seal in place
Next Install pulley. Remember the bolt is a one time use bolt as is the friction washer that sits between the pulley and crank. Combined these two stupid parts are ~$70 so be prepared for that cost. Torque seems to be a bit of a question. Depending on the car it's anywhere from 120-185 ft lbs. I settled in the middle at 160 which is the same value I used when I first installed the RS pulley on my car. Dab of Red Loctite here as well.
Next is a little bit of house cleaning while you've I've got the bumper off. Things get pretty filthy back there so this is a good time to clean everything up a little.
Install the s-belt. 15mm on the tensioner this should be pretty straight forward
Install exhaust.
Route and hook back up o2 sensors
Install air box - don't forget to hook up the MAF sensor
Install heat shield above exhaust
Install bumper bar and additional heat shield
Install side / muffler heat shields
Finally Install bumper, then go for a drive and enjoy.
The following users liked this post:
Robocop305 (12-06-2020)
08-28-2013, 01:04 PM
#20
Race Car
Thread Starter
Steve W was great in explaining the differences in how the seals are designed. The 997 seal, to me, is designed to work with the different crank case pressure of the 997 cars. Had I installed the Motorsport breather on my car (I was thinking about it last year) I would have probably gone with the 997 seal but since stock breather and stock crank case pressure I left well enough alone.
Also if you search for members here who have had the front main replaced there were several accounts of the 997 seal leaking immediately and dealers re-fixing the problem by using the older seal.
Just didn't want to take my chances.
Also if you search for members here who have had the front main replaced there were several accounts of the 997 seal leaking immediately and dealers re-fixing the problem by using the older seal.
Just didn't want to take my chances.
08-28-2013, 01:09 PM
#21
Rennlist Member
Got it.. maybe when the engine is dropped, I should consider the breather and the 997 seal at the same time.. although there are people who installed the breather and not having any problem either..
08-28-2013, 01:53 PM
#22
Race Car
Thread Starter
08-28-2013, 01:55 PM
#23
Rennlist Member
Would like to see "this" breather assembly. Anyone have photos and/or instructions?
Thanks!
Thanks!
08-28-2013, 02:49 PM
#24
Race Car
Thread Starter
 08-28-2013, 03:00 PM
#25
Rennlist Member
Just like the days of old!
Thanks.
Thanks.
09-01-2013, 11:49 PM
#26
Rennlist Member
Great job, Andy! THX
09-04-2013, 10:07 AM
#27
Race Car
Thread Starter
And the follow up. I've driven the car probably 100-120 miles since installing the seal and was happy to see no drips on the floor. I got down under the car last night and I'm happy to confirm everything is dry down there.
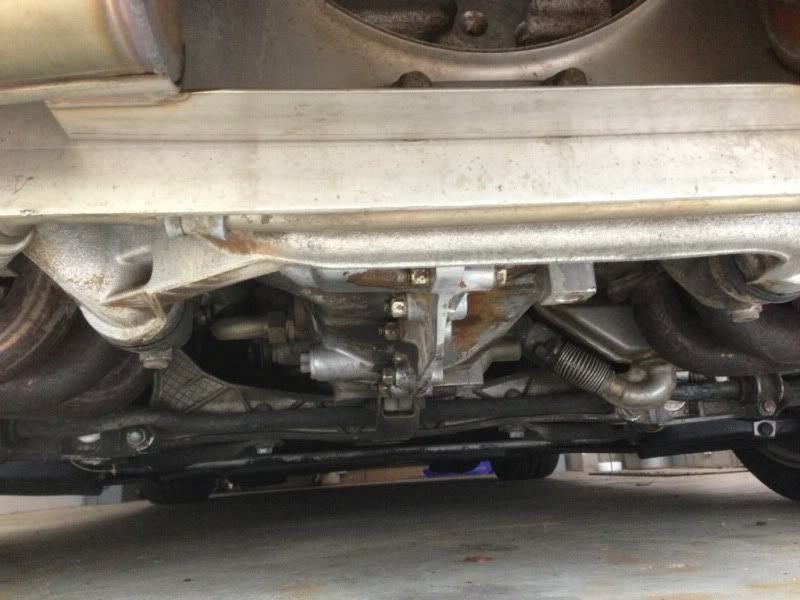
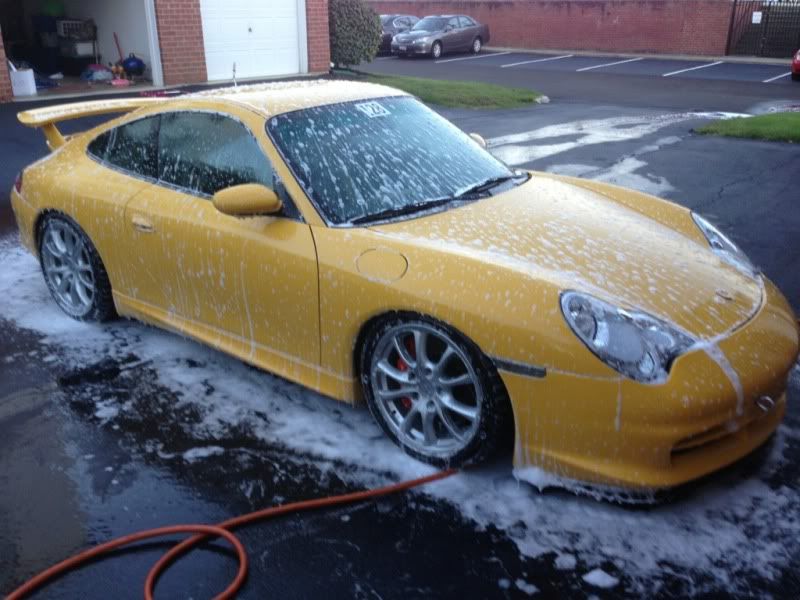
Now it's time for some much deserved cleaning.
Now it's time for some much deserved cleaning.
 09-05-2013, 06:00 PM
#29
Basic Sponsor
Rennlist
Site Sponsor
Rennlist
Site Sponsor
Very well done Andy - great thread to follow!
Mark/Pelican Parts
Mark/Pelican Parts
__________________
Your Trusted Source For DIY and Parts
FREE SHIPPING over $99 click here
Porsche Parts | DIY Tech Articles | Facebook | Twitter | Instagram | YouTube | Promos
888.280.7799 | 6am - 5pm PST

FREE SHIPPING over $99 click here
Porsche Parts | DIY Tech Articles | Facebook | Twitter | Instagram | YouTube | Promos
888.280.7799 | 6am - 5pm PST