When you click on links to various merchants on this site and make a purchase, this can result in this site earning a commission. Affiliate programs and affiliations include, but are not limited to, the eBay Partner Network.
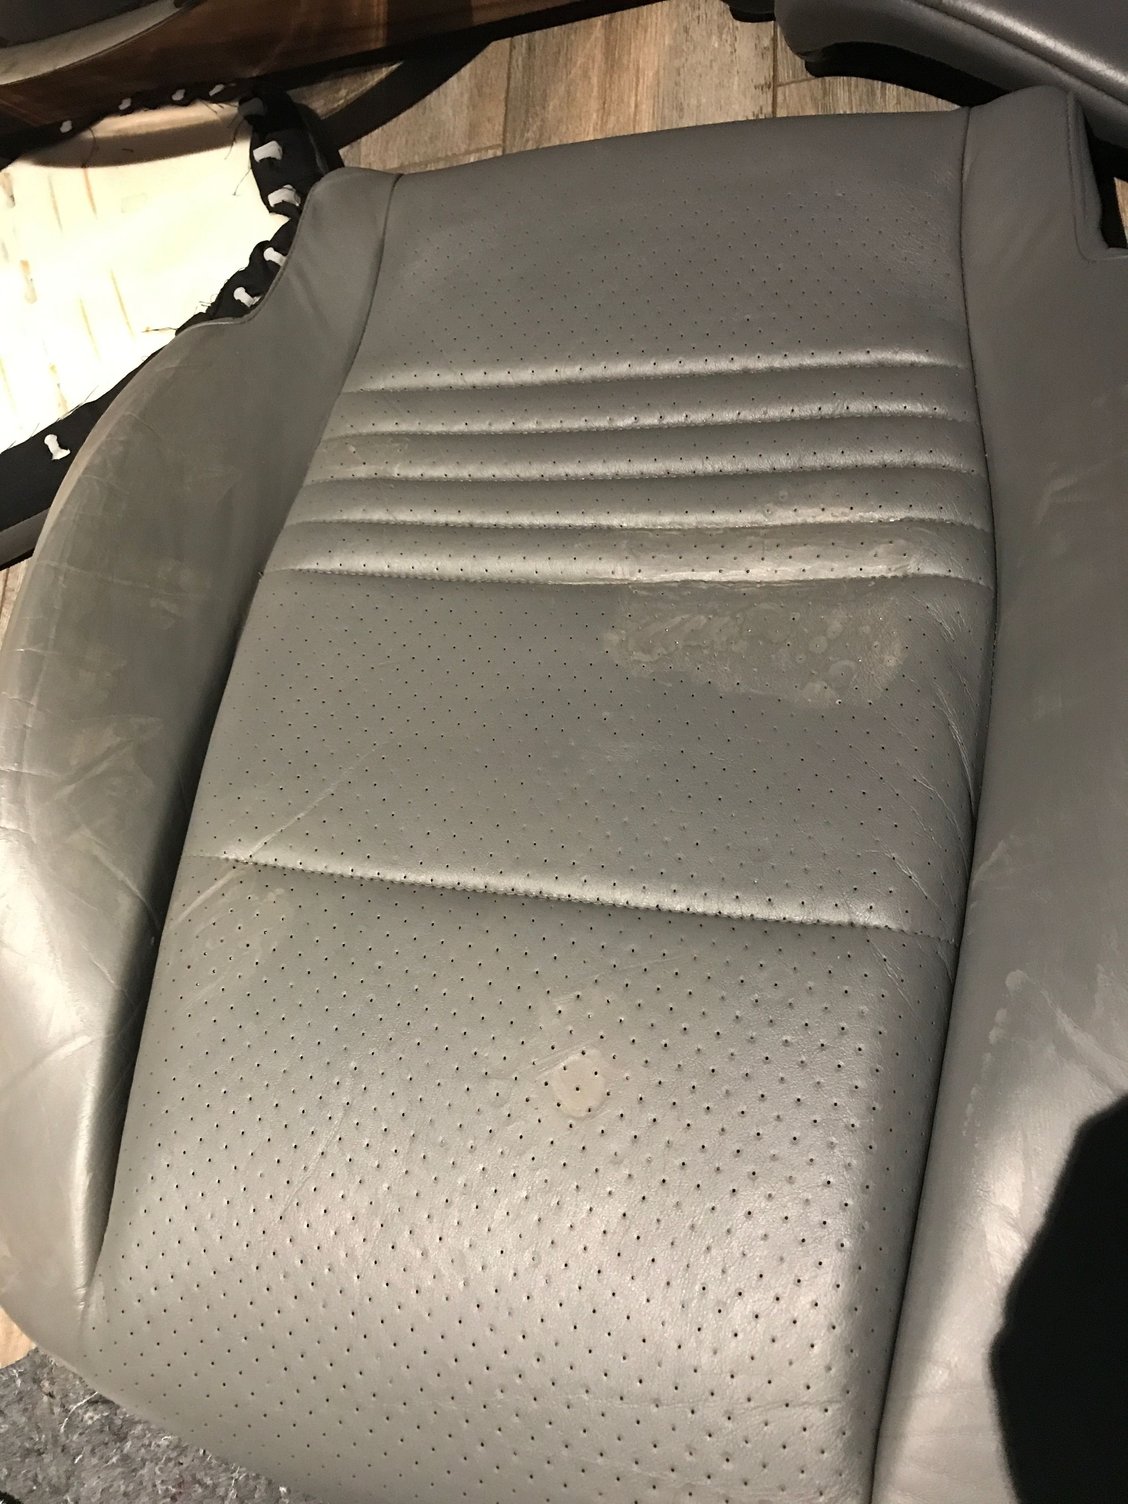
A few new photos after coat 3 of the dye. I am half way through the dye bottle so far.
Coming along nicely Seat bottom Close up of the side bolster. It was the part worn the most when I started.
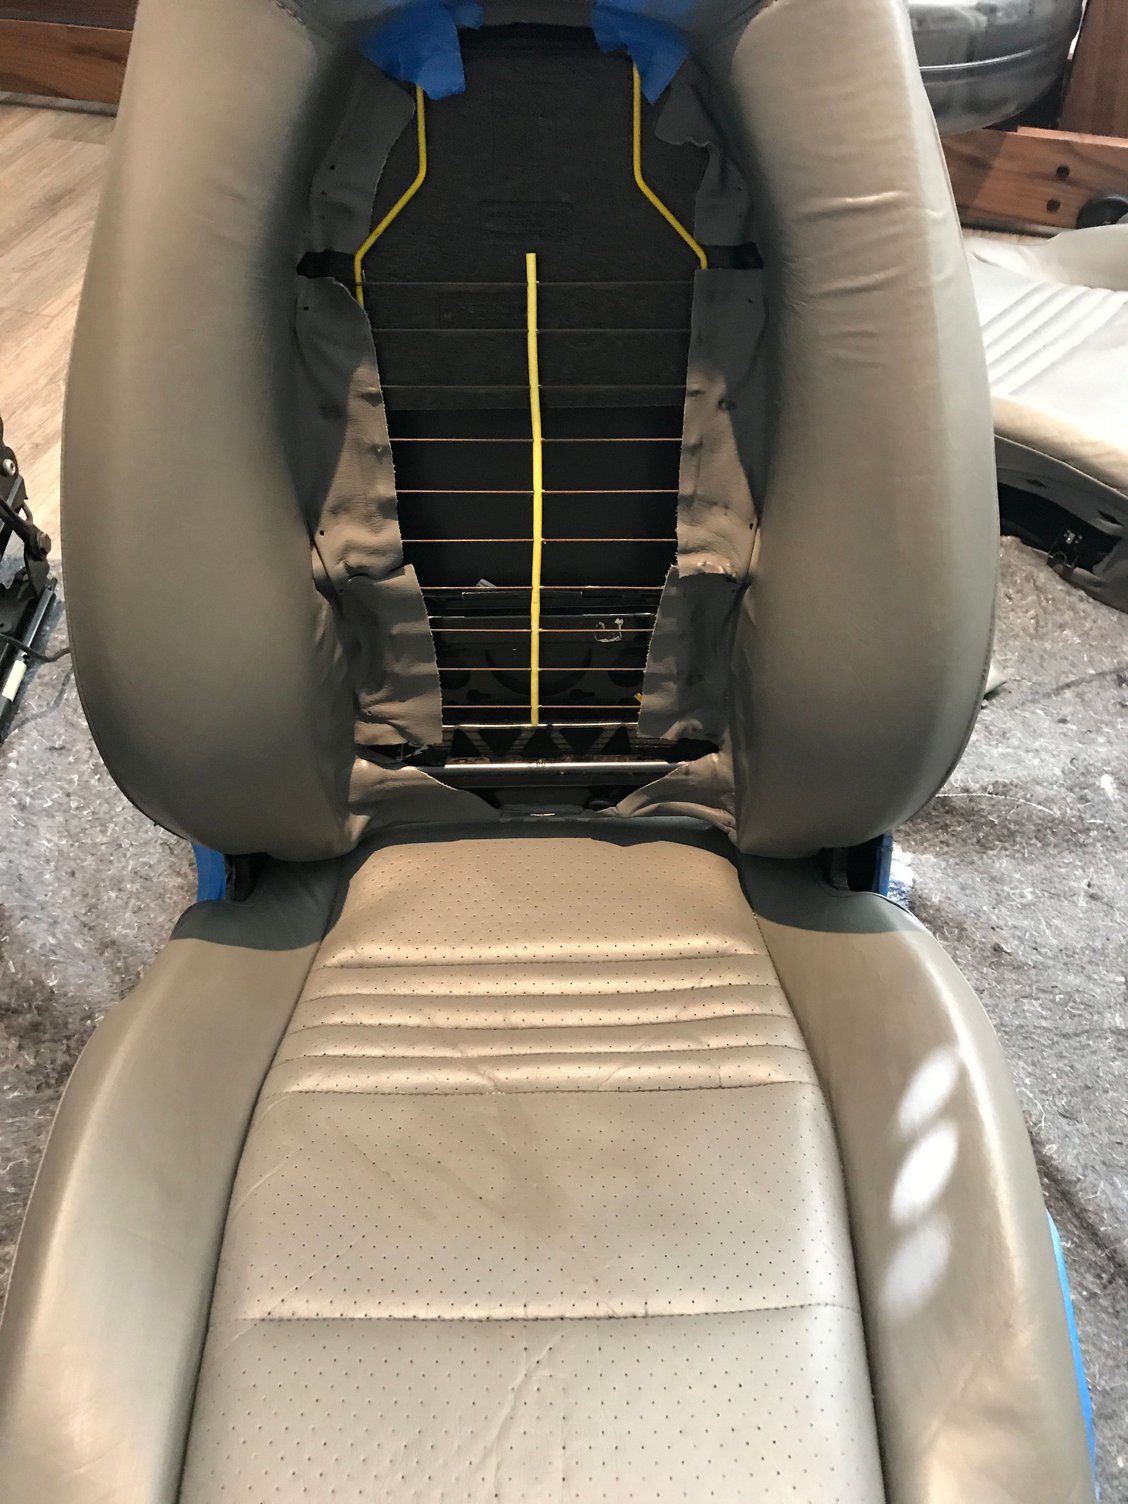
See step 6 above. The bottom is wrapped and held at the bottom by a black plastic rail that is exposed in the back. Slip that out and then the bottom comes free. Them grab the top of the section and pull up. Picture shows the three clips at the top.
Originally Posted by Southern Man
How is the center section of the back held in? Velcro?
If that's the third coat of dye, your doing something wrong. Are you shaking it well before using? Also, it looks like you may be wiping it on... try more of a dabbing technique, and let more material stay on the surface. The only thing you have to be careful of is bubbles... 😉
Yes I am wiping it on with the provided sponge. I shook the dye as I can see it does separate. I'll try the dab and thanks. It does look a lot better after coat 5 but not there yet.
Originally Posted by dporto
If that's the third coat of dye, your doing something wrong. Are you shaking it well before using? Also, it looks like you may be wiping it on... try more of a dabbing technique, and let more material stay on the surface. The only thing you have to be careful of is bubbles... 😉
Yeah, dabbing it on works well - if it leaves bubbles, just use the drier part of the sponge to break/smooth them out. It looks like you're getting closer to opaqueness...
Thanks for the tips on removing the back! You seem to be really cautious with how much dye you're using, but better that than using too much. You are going to be very pleased when done!
I used the same stuff on my console. Sanded it down and just wiped it on with foam brushes. Taking it out of the car is pretty easy, and makes the job much more enjoyable, and with better results.
For someone that doesn't want to go though this trouble here are a couple other options that a friend used in the past on his 996 and got great results.
Almost there and thanks for the tip on dabbing. Dab the area and pull the bubbles works great. Decided to do the steering wheel too As well as the handbrake. Took the console off only cause I had to adjust my Numeric racing short shift to realign the shift. Almost there!

 Always intrigued to see new products and methods of DIY fixes. Will be attentively watching and awaiting the finished result. Looks good..

 06-22-2017, 11:14 AM