When you click on links to various merchants on this site and make a purchase, this can result in this site earning a commission. Affiliate programs and affiliations include, but are not limited to, the eBay Partner Network.
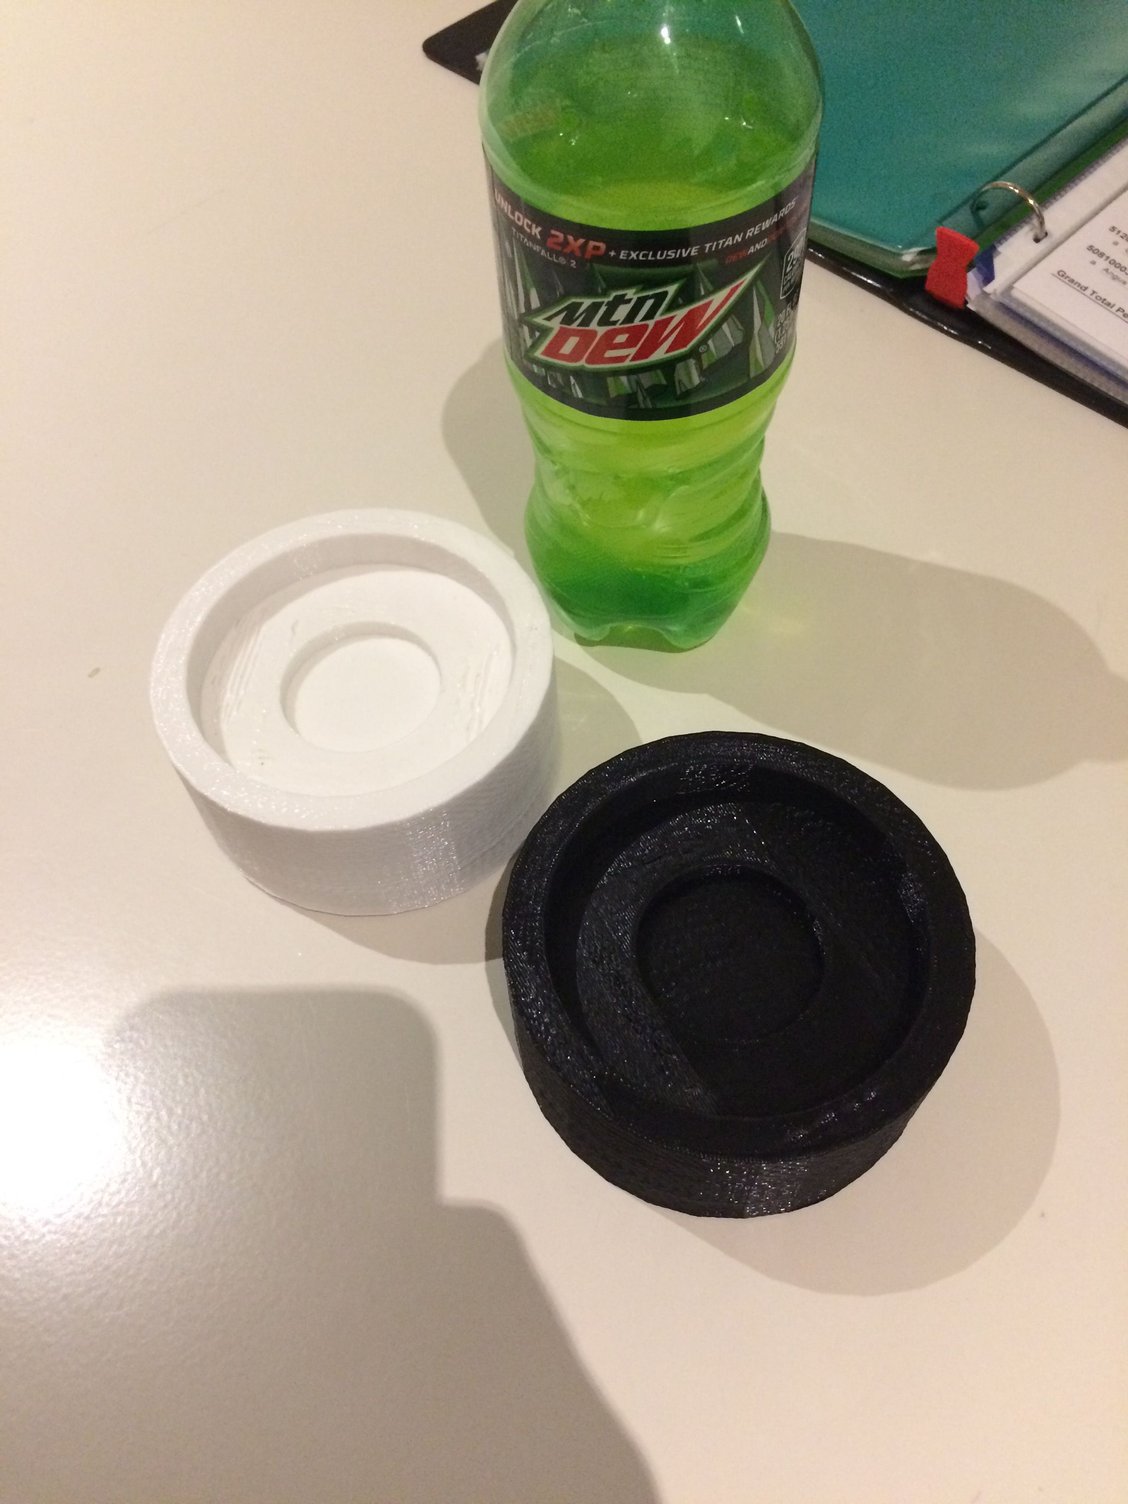
Well I needed a RMS install tool. I know a buddy with a 3D printer, feast your eyes! I have no idea if this is going to work... pretty cool though. Plan to test it tonight...
Well I needed a RMS install tool. I know a buddy with a 3D printer, feast your eyes! I have no idea if this is going to work... pretty cool though. Plan to test it tonight...
Before you use it, I suggest you compare it to the official Porsche RMS tool and make some minor modifications .
This part is easily turned on a lathe using a block of HDPE or Delrin.Old school I know.
The precise dimensions are on Renntech.
I'd recommend throwing it in an acetone vapor bath before any sanding or light machining. Basically just find an old rice cooker, elevate the part out of the acetone, and put the lid on. The vapor acetone will just barely melt the surface and remove most of the print lines.
Well. It technically worked, but not really and I don't understand why... I pushed the seal on and then used the tool. The seal didn't go on even and it ended up like 13.5 in some areas. I destroyed it and pulled it out.. I then practiced and put the old and the ruined new seal back in a few times trying to practice. My last attempt I got it perfect but I don't know why. The measurements are all right. Not sure how it could go in further.
also did some measuring and I'm not sure how the seal even stays on at all. The crank surface is 24mm deep. The seal is 11mm deep and the seal is supposed to be 13mm offset from the crank face. I mean it's on the edge of falling off if you really think about it..
Ordering a new seal now.. hopefully I can get it right with the new one.
Ah, figured it out. Unfortunately I used the white tool and the mating surface had an imperfection. I just installed the old seal with the black tool and it worked perfectly 3 times in a row. When my new seal arrives I will pop it in there with the black tool.
There is no way you could measure from the engine case edge. the seal would not even be touching the crank at all. It would just fall in...
I should have looked at my picture first. It just sounded like you were installing the seal too deep and maybe measuring from the long location. The seal should be fully on the crank seal surface but I agree if it goes in much further than spec it would either be barely on or would just fall off the crank flange. Seems perilously close!
Your buddy needs to learn how to print hollow parts w/ supports instead of printing solids. The walls don't need to be more than a few MM thick; printing that thing solid was a massive waste of PLA/ABS filament and time. I like the idea, but the execution still needs work.


 .
.
