When you click on links to various merchants on this site and make a purchase, this can result in this site earning a commission. Affiliate programs and affiliations include, but are not limited to, the eBay Partner Network.
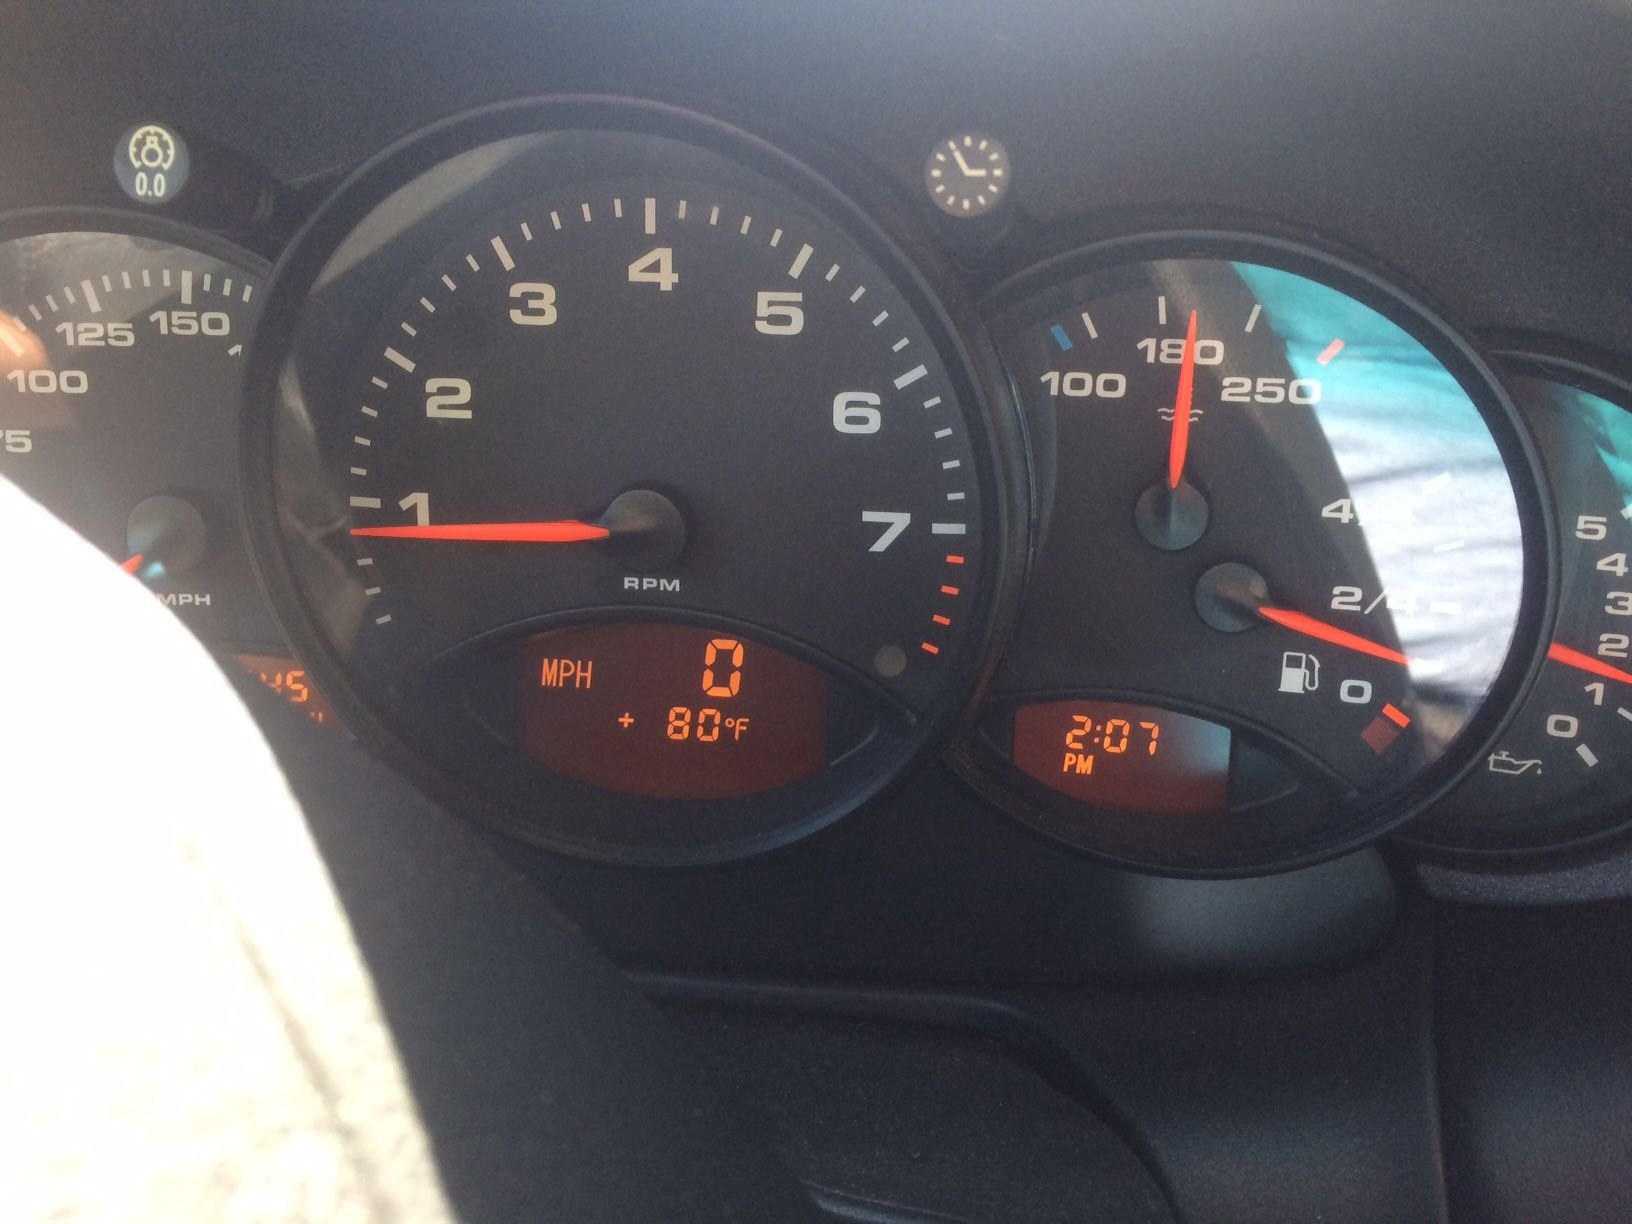
On the plus side, the clean radiators seem to be making a difference. A few days ago the needle was crawling just right of the "0." Today, stayed between "8" and "0."
Nice job. I love DIYs and this is the key reason for me to sell my 987.2S to a 996.
For the sticky *****, next time get yourself baking soda. Add a few drops of water to make a paste, leave it on the ***** for a few minutes before giving them a rub, and it returns the ***** like new, without the need to repaint.
Thanks for the hint. I hope the car is around long enough for the ***** to get sticky again!
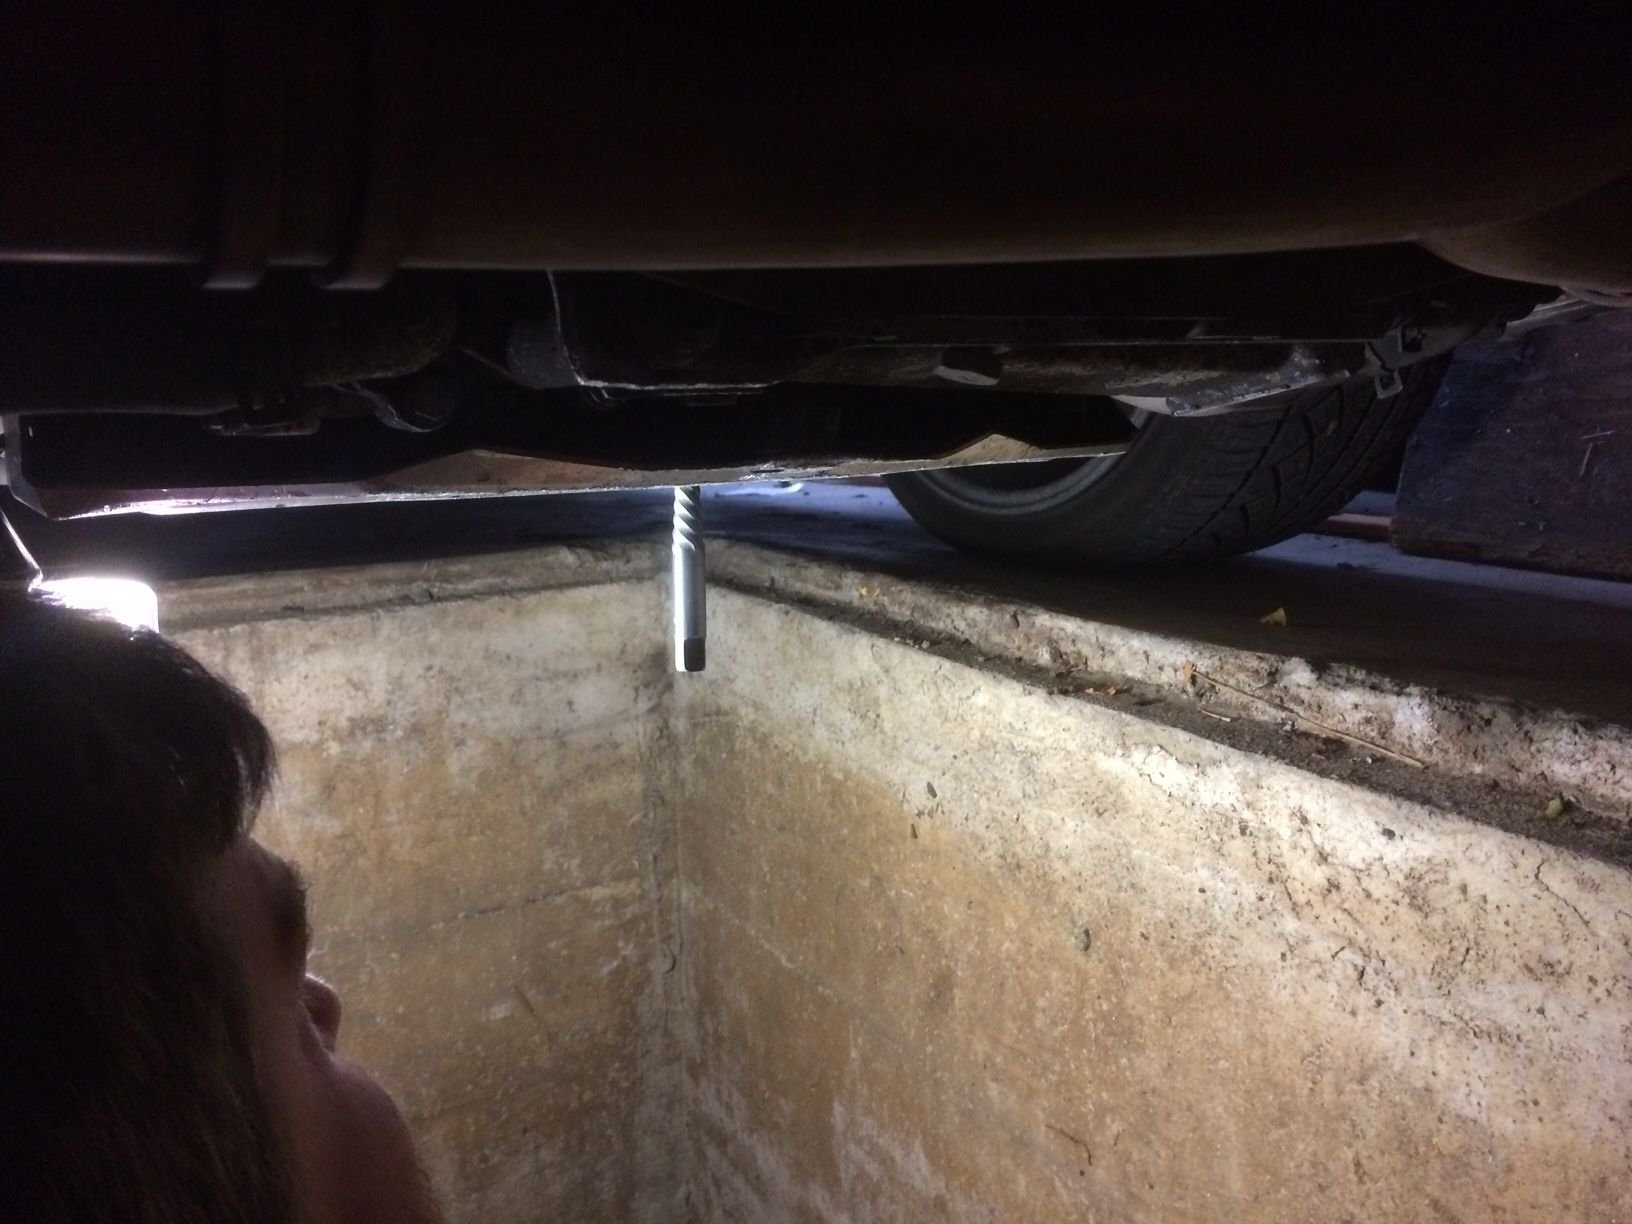
Well, I was excited to be getting my LN spin on adapter and 12 quarts of DT-40 for this weekend's DIY project (my first oil change and filter cut) but stupid UPS isn't delivering until Monday...
Well, I was excited to be getting my LN spin on adapter and 12 quarts of DT-40 for this weekend's DIY project (my first oil change and filter cut) but stupid UPS isn't delivering until Monday...
Yo Woody,
Be sure to post some pictures. We all want to see how much metal your car is eating. (snicker) hehehe
A kindly gentleman in a panel truck informed me today my brake light was not working.
Having not replaced bulbs in the tail lights yet, I wasn't sure how easy this endeavor would be.
Dang, was it easy! It took me about 4 minutes to put in a new one. When I had to do that in my Mini it took damn near an hour and it scraped my hands all to heck.
I can see how tail lights have (on occasion) fallen off at speed, considering there is only one screw involved.
Replaced the plastic top hook latch cover today. Amazing that a $9 piece of plastic was preventing the rear windows from going up.
Process went smoothly, but I popped the piece on without glue to check for fit, then couldn't get it back off to add glue...it's pretty snug though so hopefully that will be fine.

 08-28-2017, 06:15 PM