When you click on links to various merchants on this site and make a purchase, this can result in this site earning a commission. Affiliate programs and affiliations include, but are not limited to, the eBay Partner Network.
Change spark plugs/tubes - No problem
Change oil - No problem
Change coolant tank- No problem
Change water pump- No problem
Change windshield wipers - F****ed it up
That center cap is now $54 on Amazon! Off to Ebay.
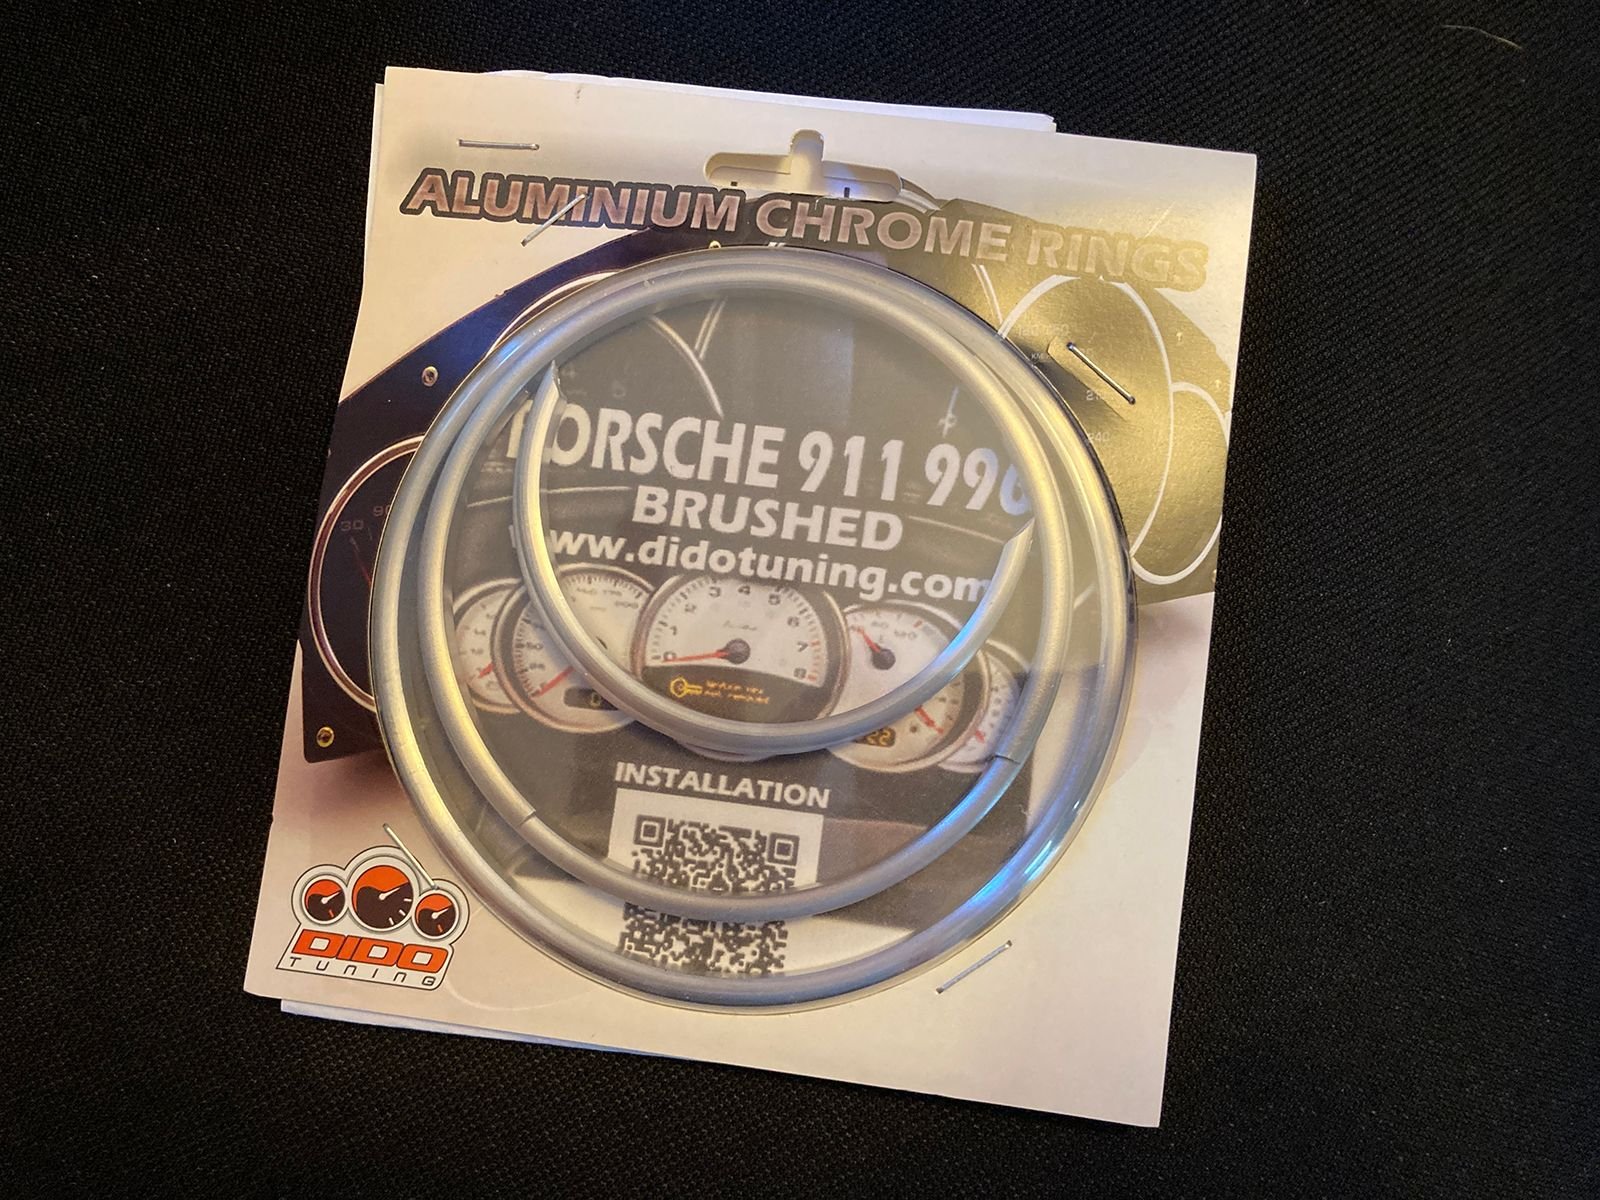
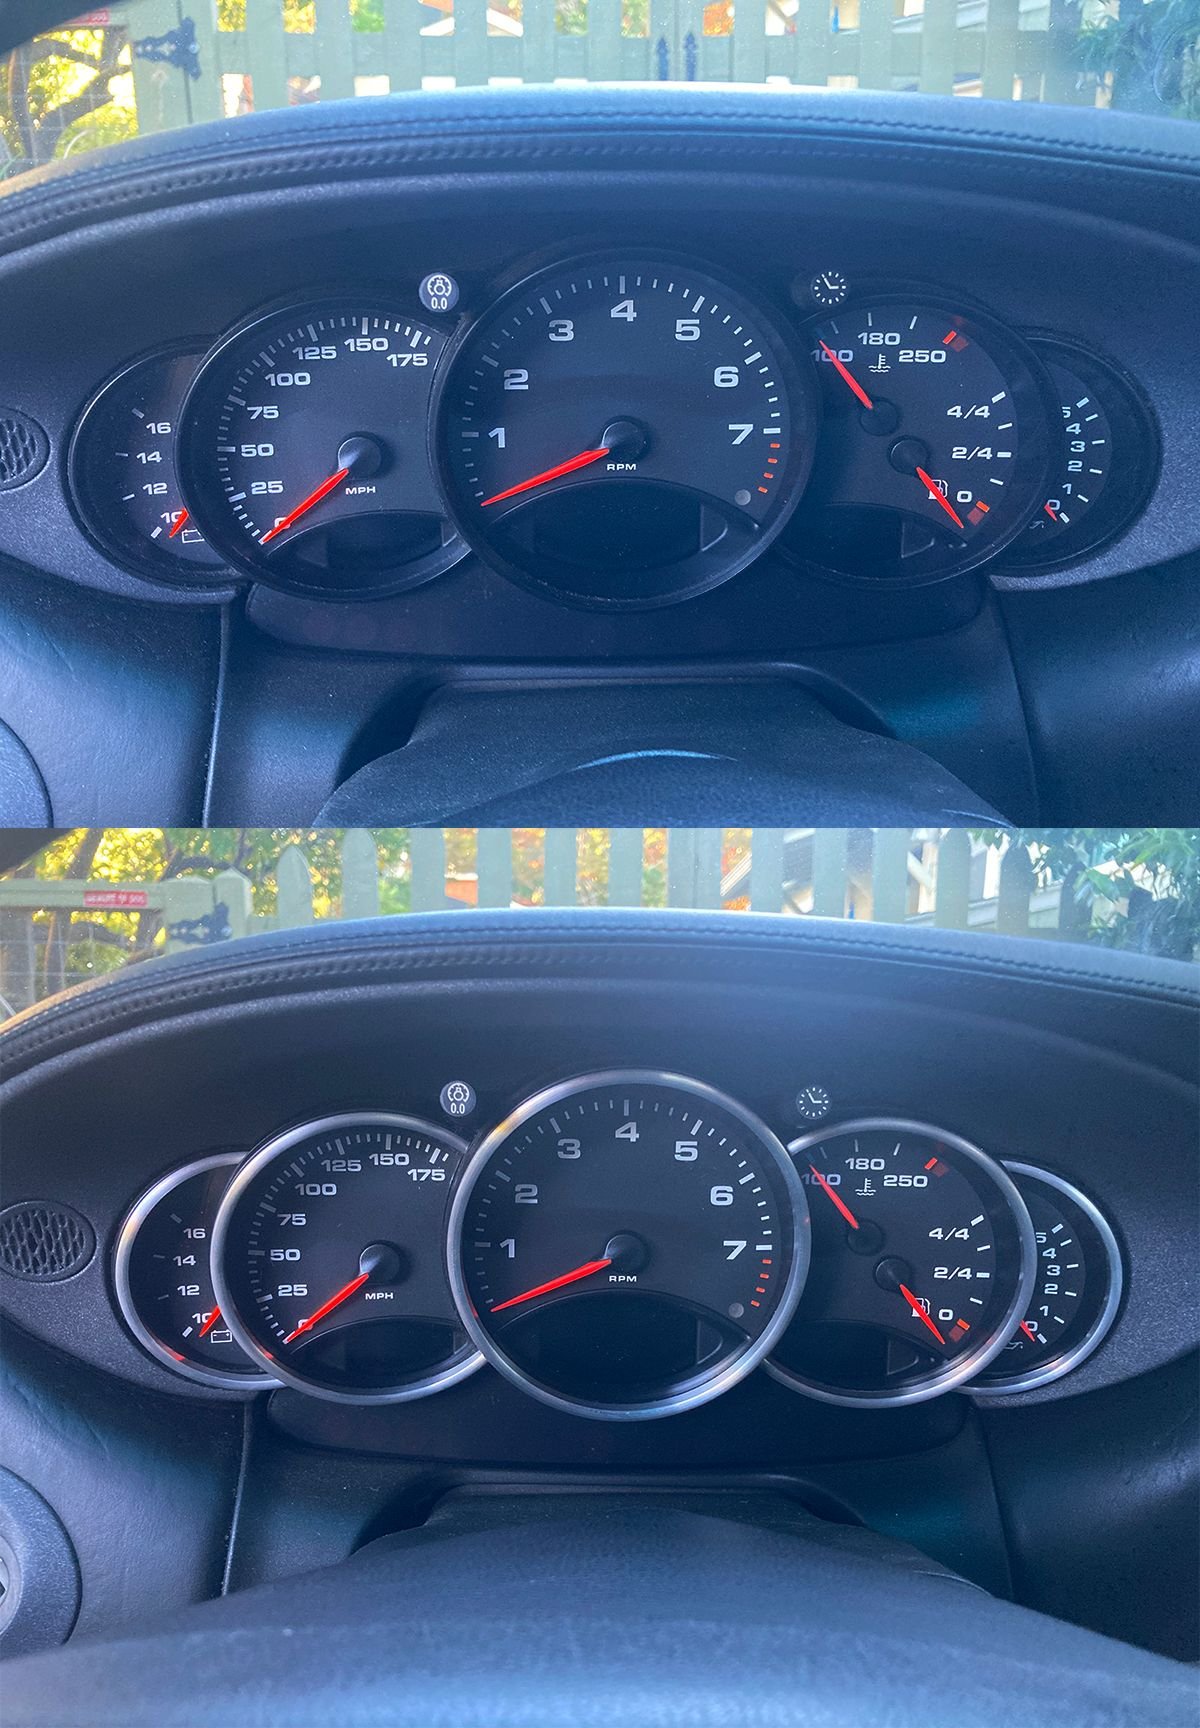
I found these on Etsy - $75 for all four, and the quality is surprisingly good. I'd post this DIY but I already did a similar thing in an earlier post when I aligned the caps to the valve stem.
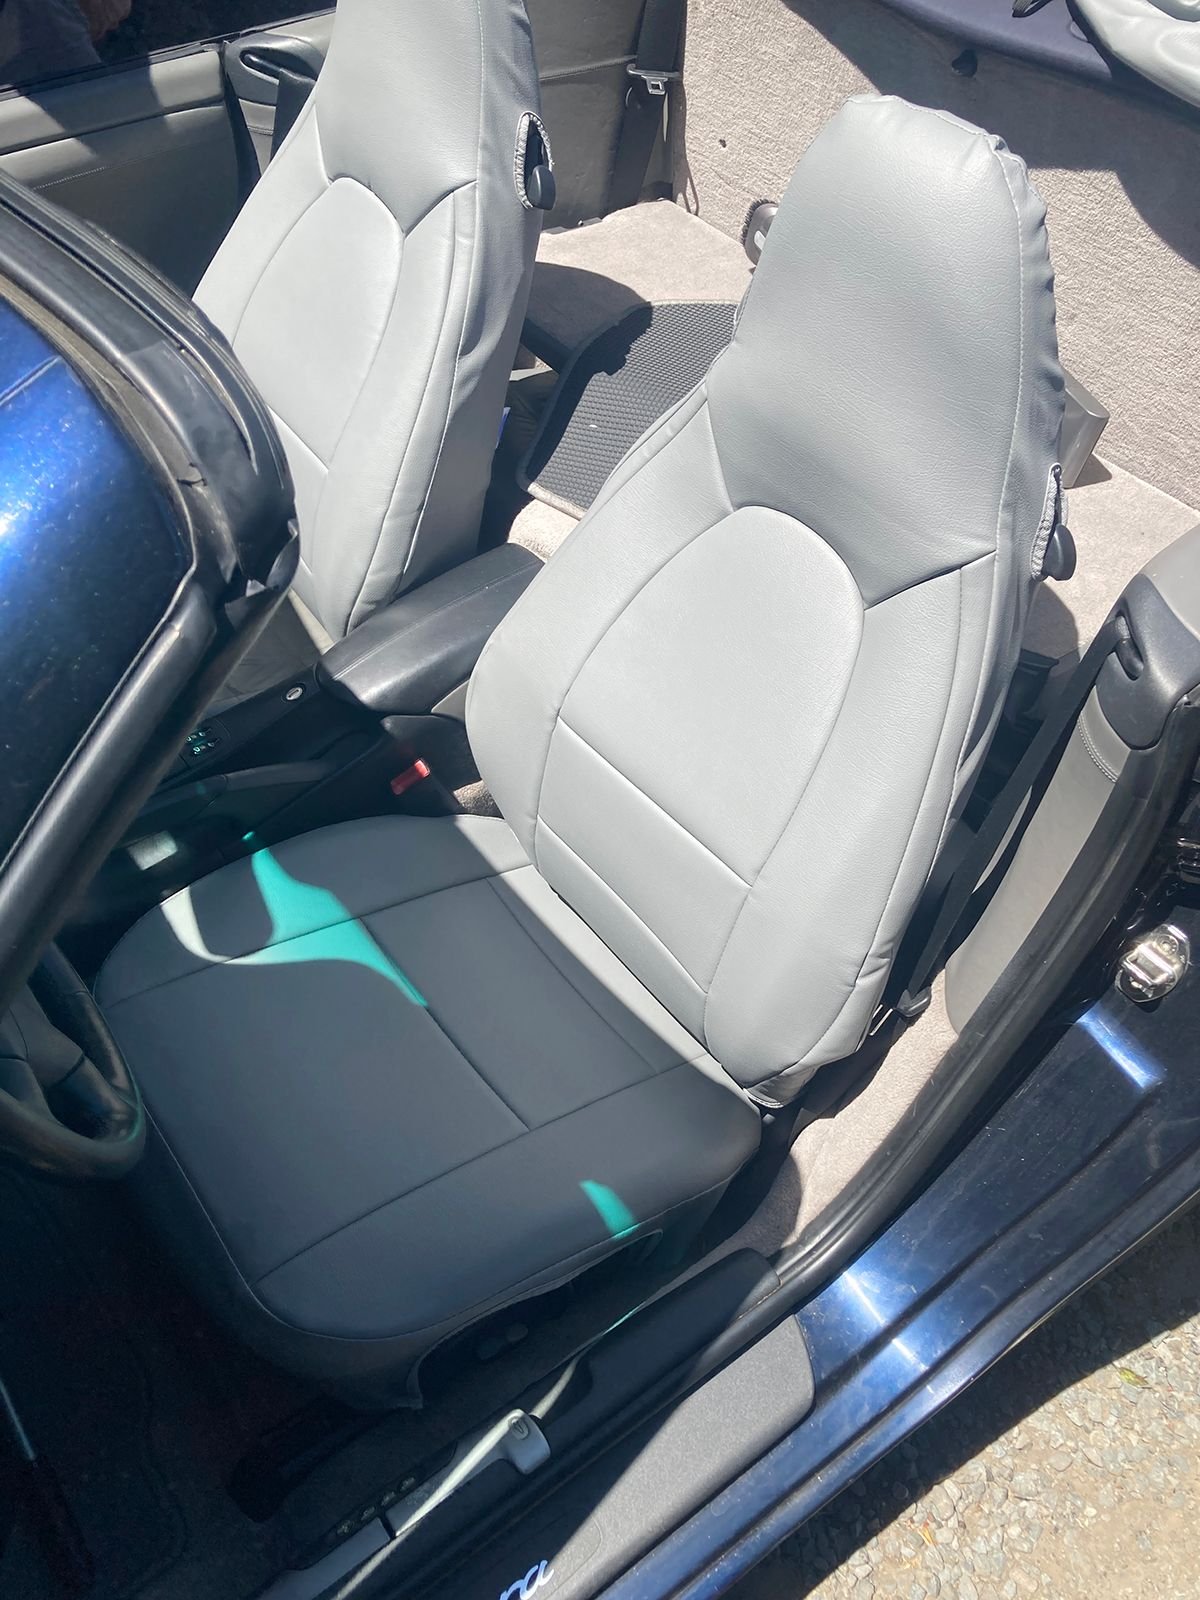
So, after getting some estimates from upholsterers and looking at the option of new seats, I did much research on seat covers for my worn, torn and tired seats.
Call me a heretic, but I just don't want to spend $1500-$2000 for some seats in my vehicle, I'd rather put that towards important things like AOS solutions, water pumps, etc.
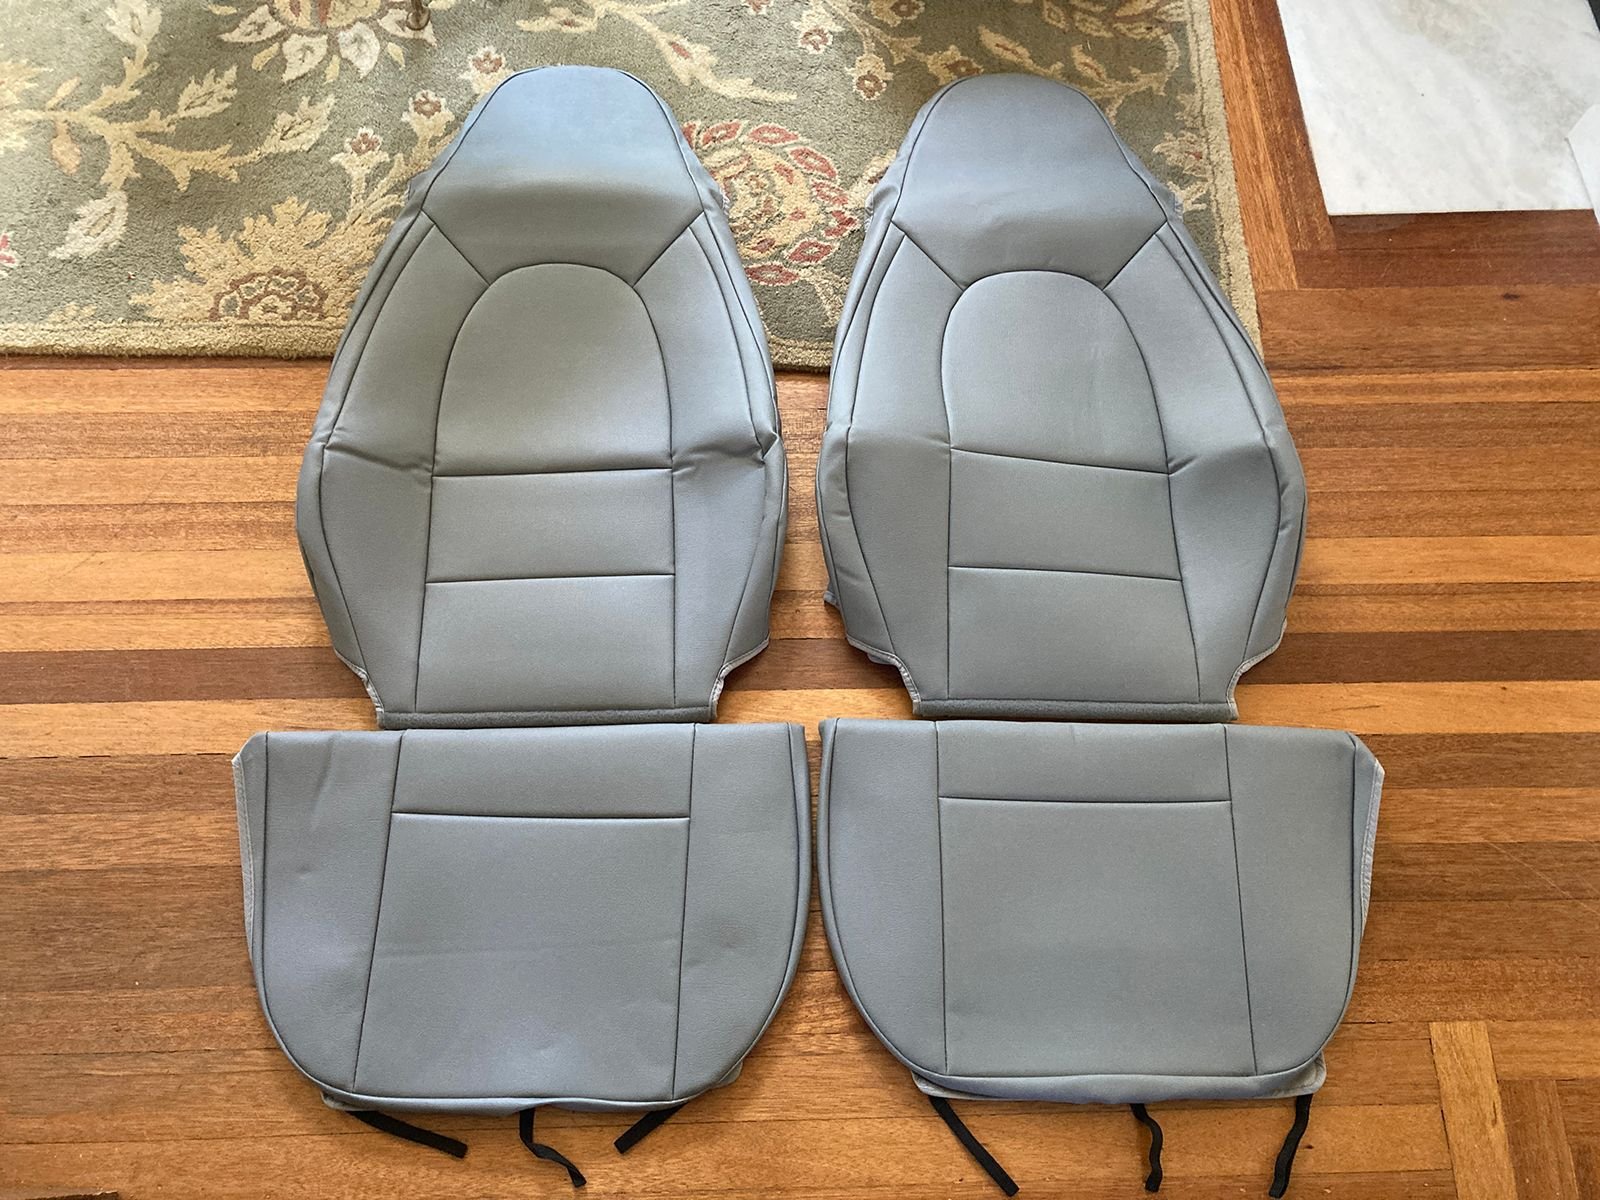
I ready many reviews for the Igge covers from other Porsche ownens on Ebay so decided to take a chance with them.
Overall, they actually look pretty nice coming out of the box. I hope to put them in this weekend and will upload process and before/after pics in case anyone else is considering a similar path as mine.
I don't think I need to remove the seats to do this, but it might be easier - and it would give me a chance to clean up 20+ years of who knows what (french fries? they always seem to find a way...) from underneath.
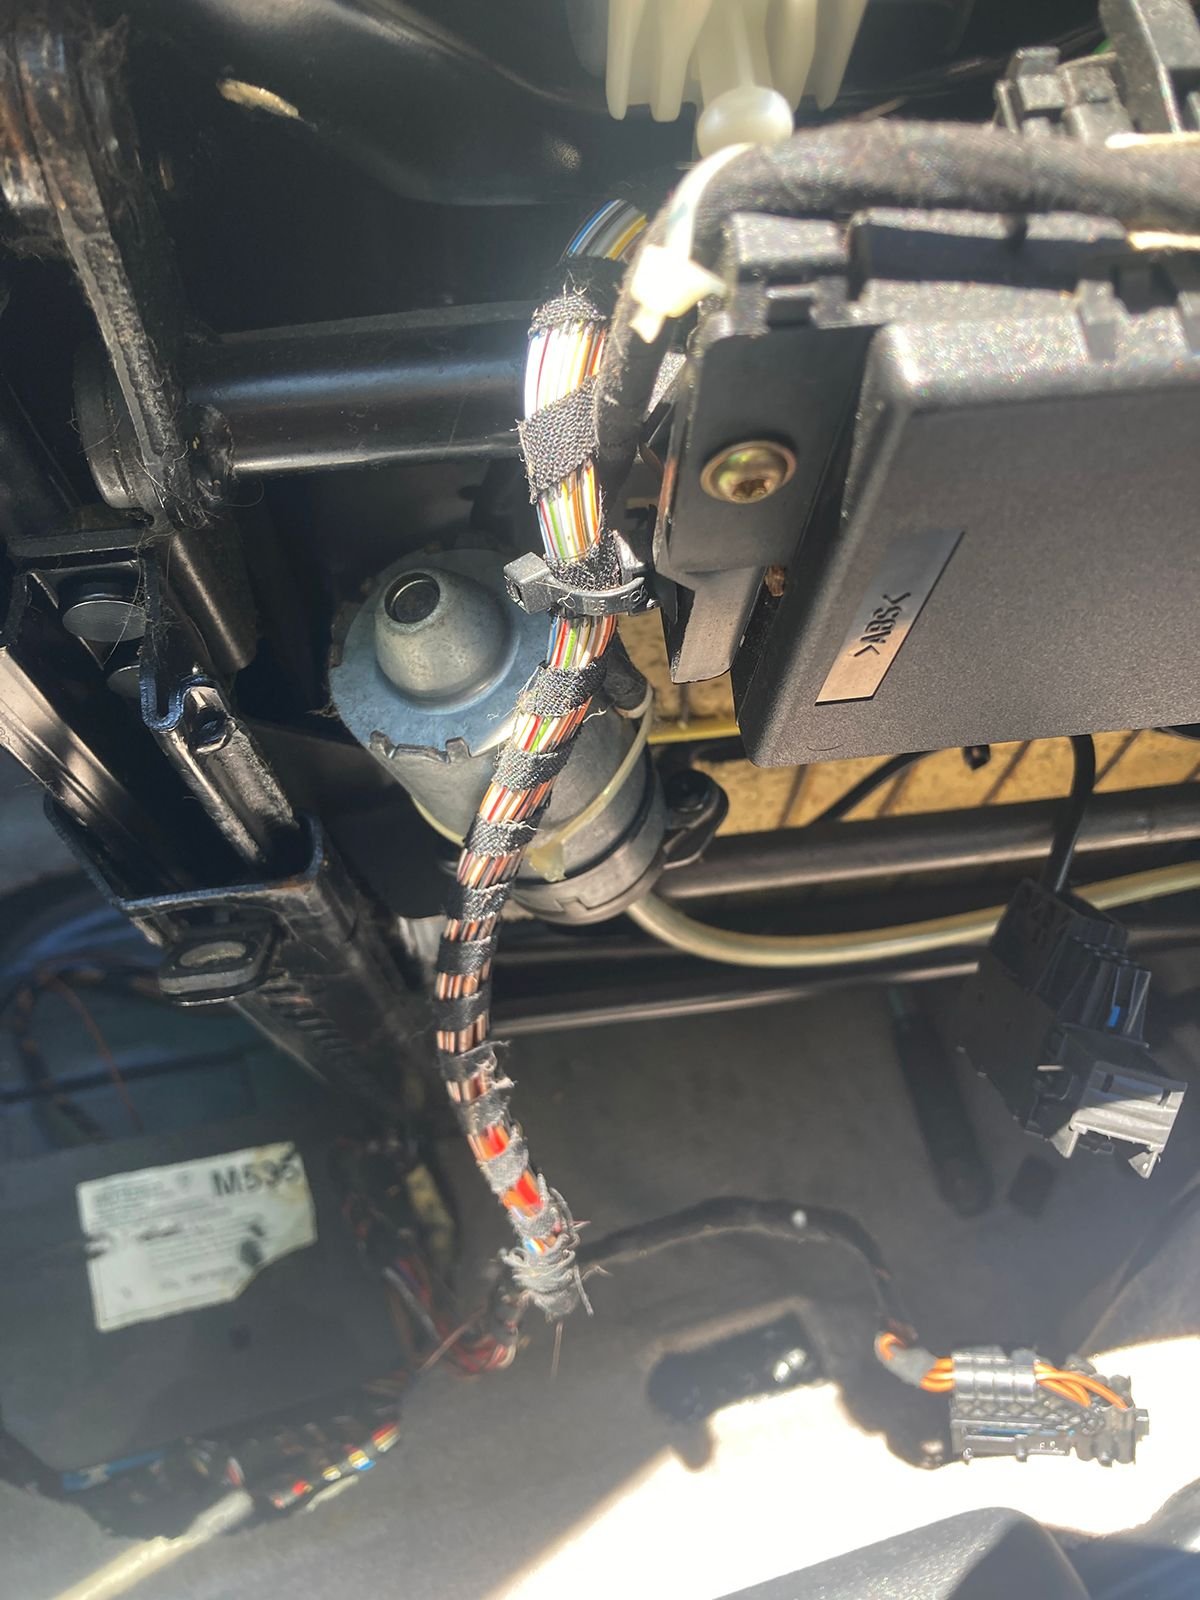
Removed the driver's side front seat and was all ready to be excited, when I noticed after unclipping the electrical, there was a whole other batch of wiring going deep into an area that wasn't unclippable.
Weird.
So, I worked on the underside of the seat while it was still in the car. Not ideal, but easier than blindly trying to clip elastic bands.
That said, I tried to install the passenger seat cover without removal (not sure why I picked the hottest part of the day to do this, btw...)
With all the crazy ways this seat moves, I was able to do it. Seriously,the seat moves more ways than one of those EZ stand recliners for geriatrics.
Overall I am so far happy with the fit and look, considering everything. I think the material will stretch out a bit for and I can re-adjust for an even more snug fit.
If you are on a budget and your seats are trashed, would recommend.
Been a while, so figured I would update my DIY adventures.
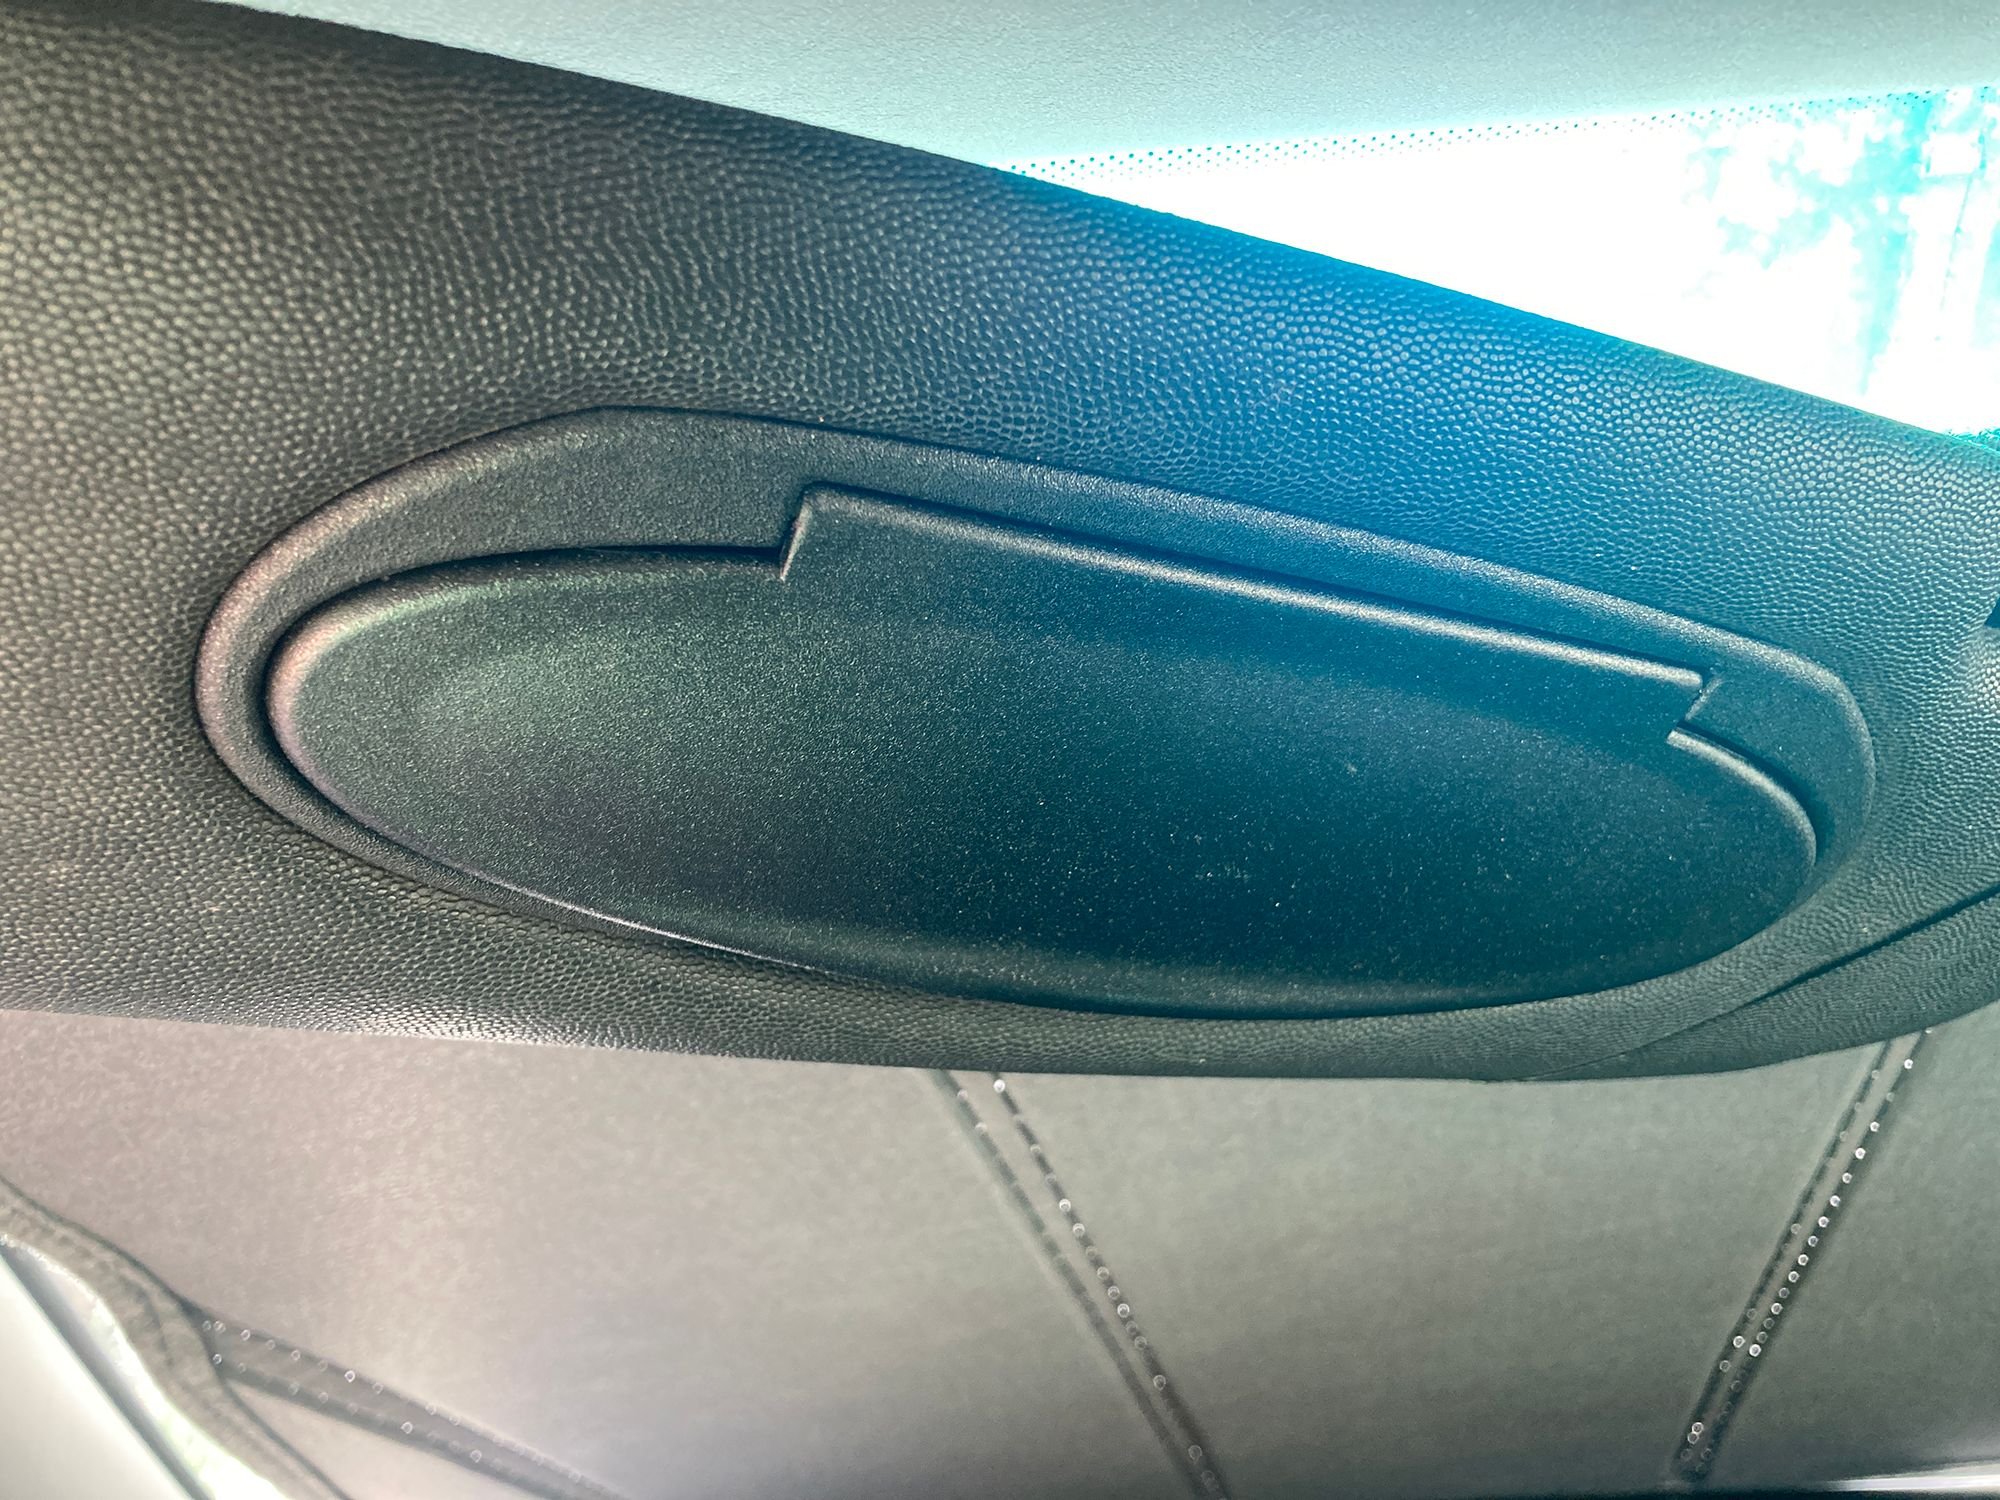
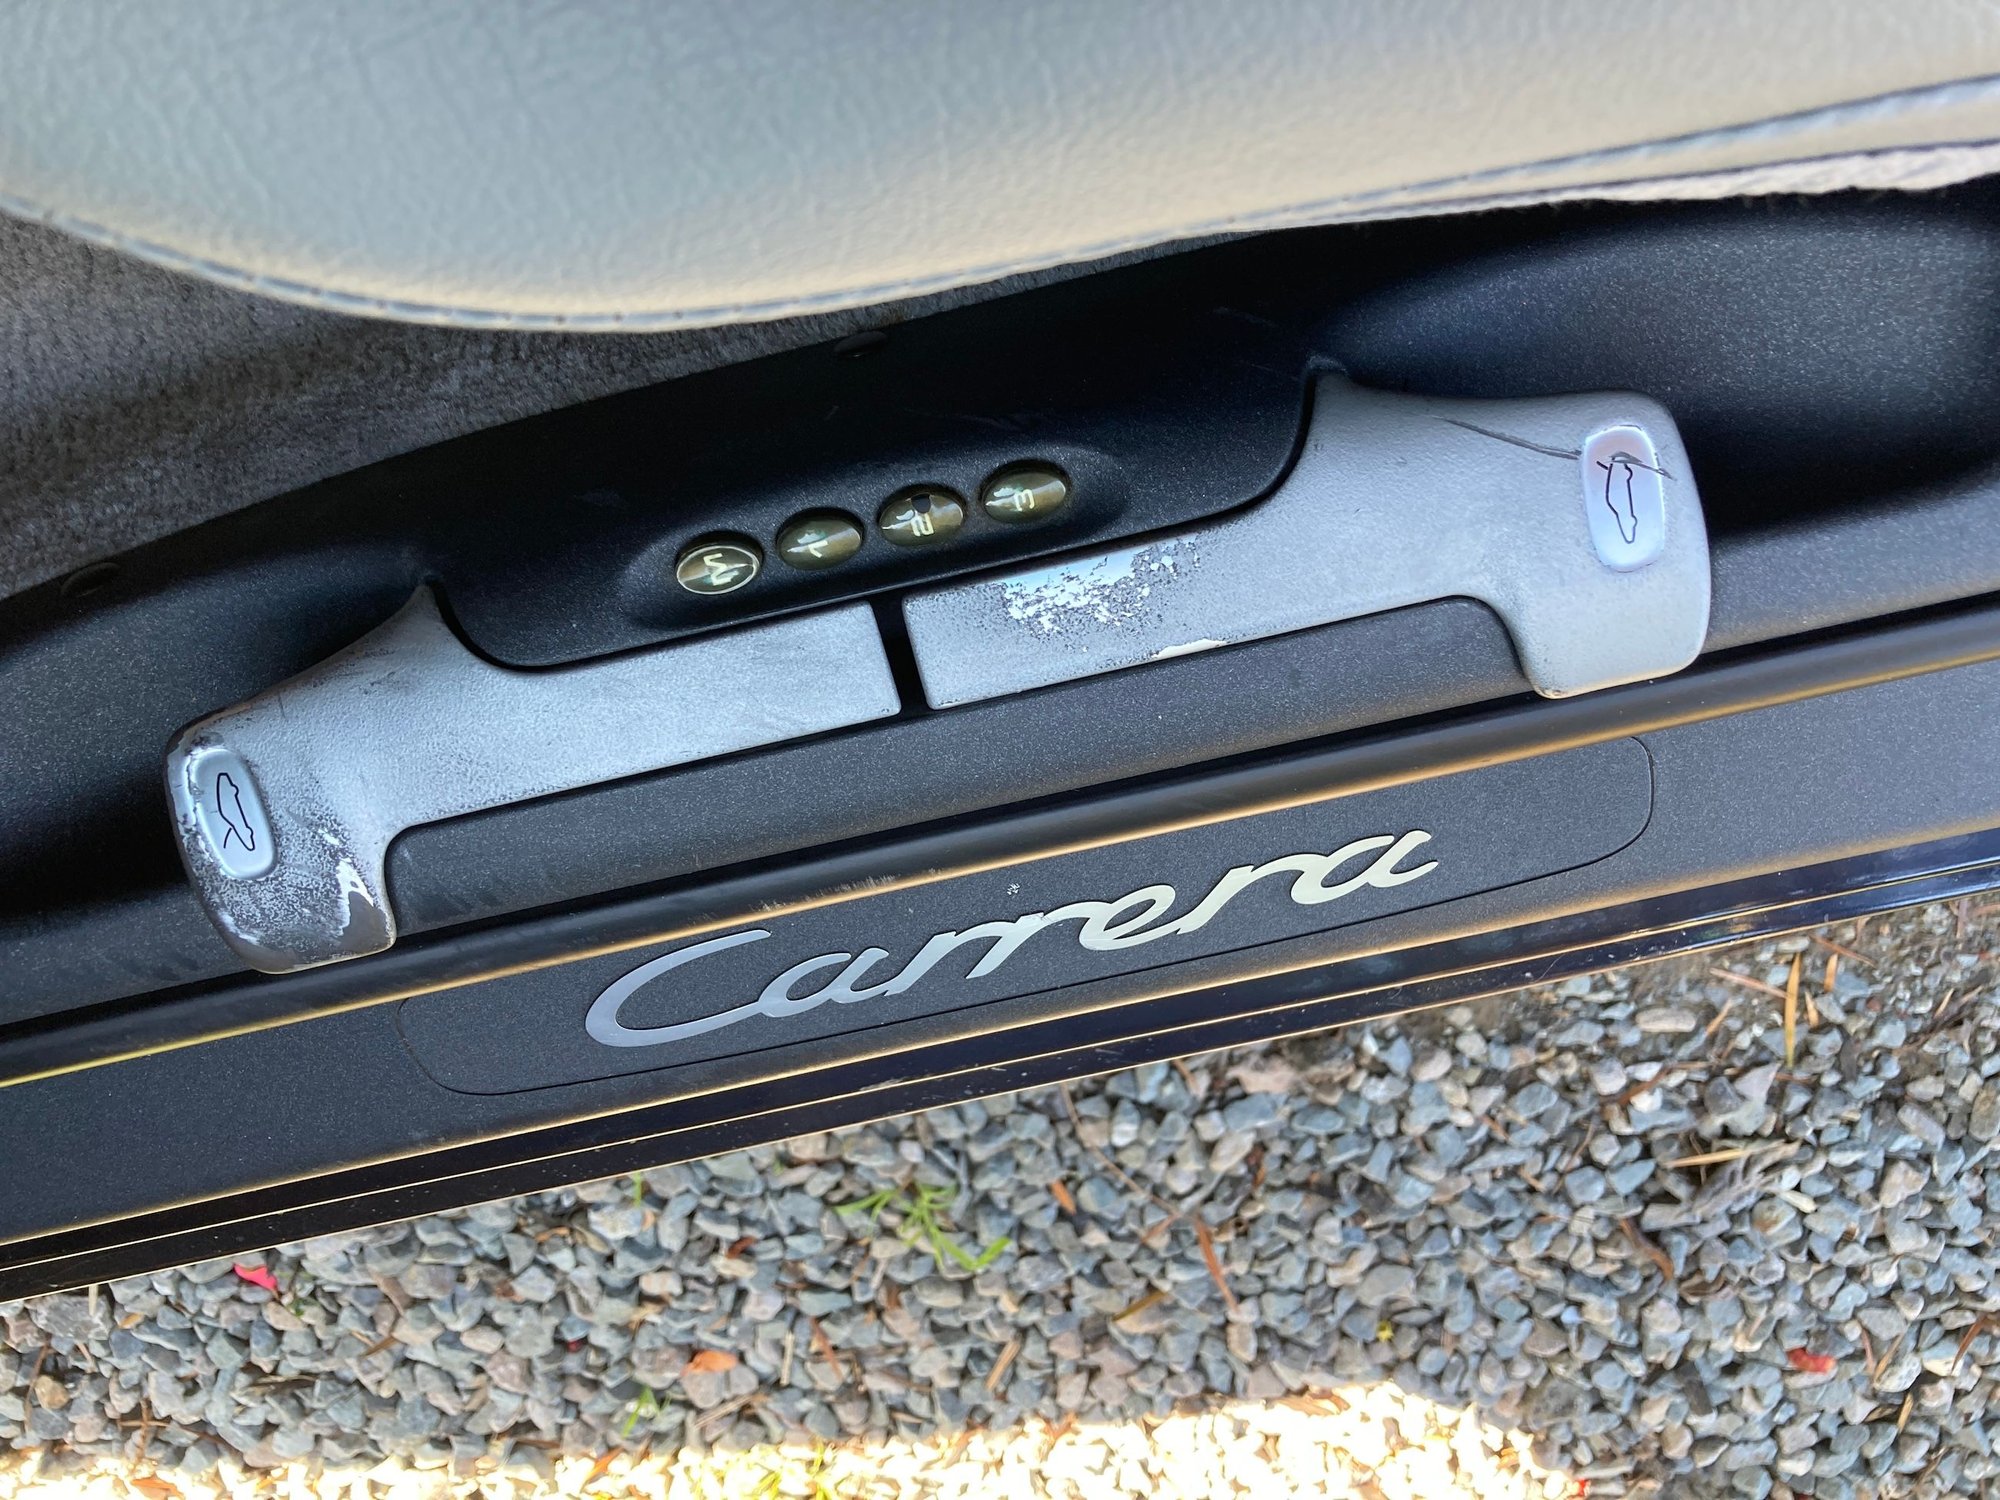
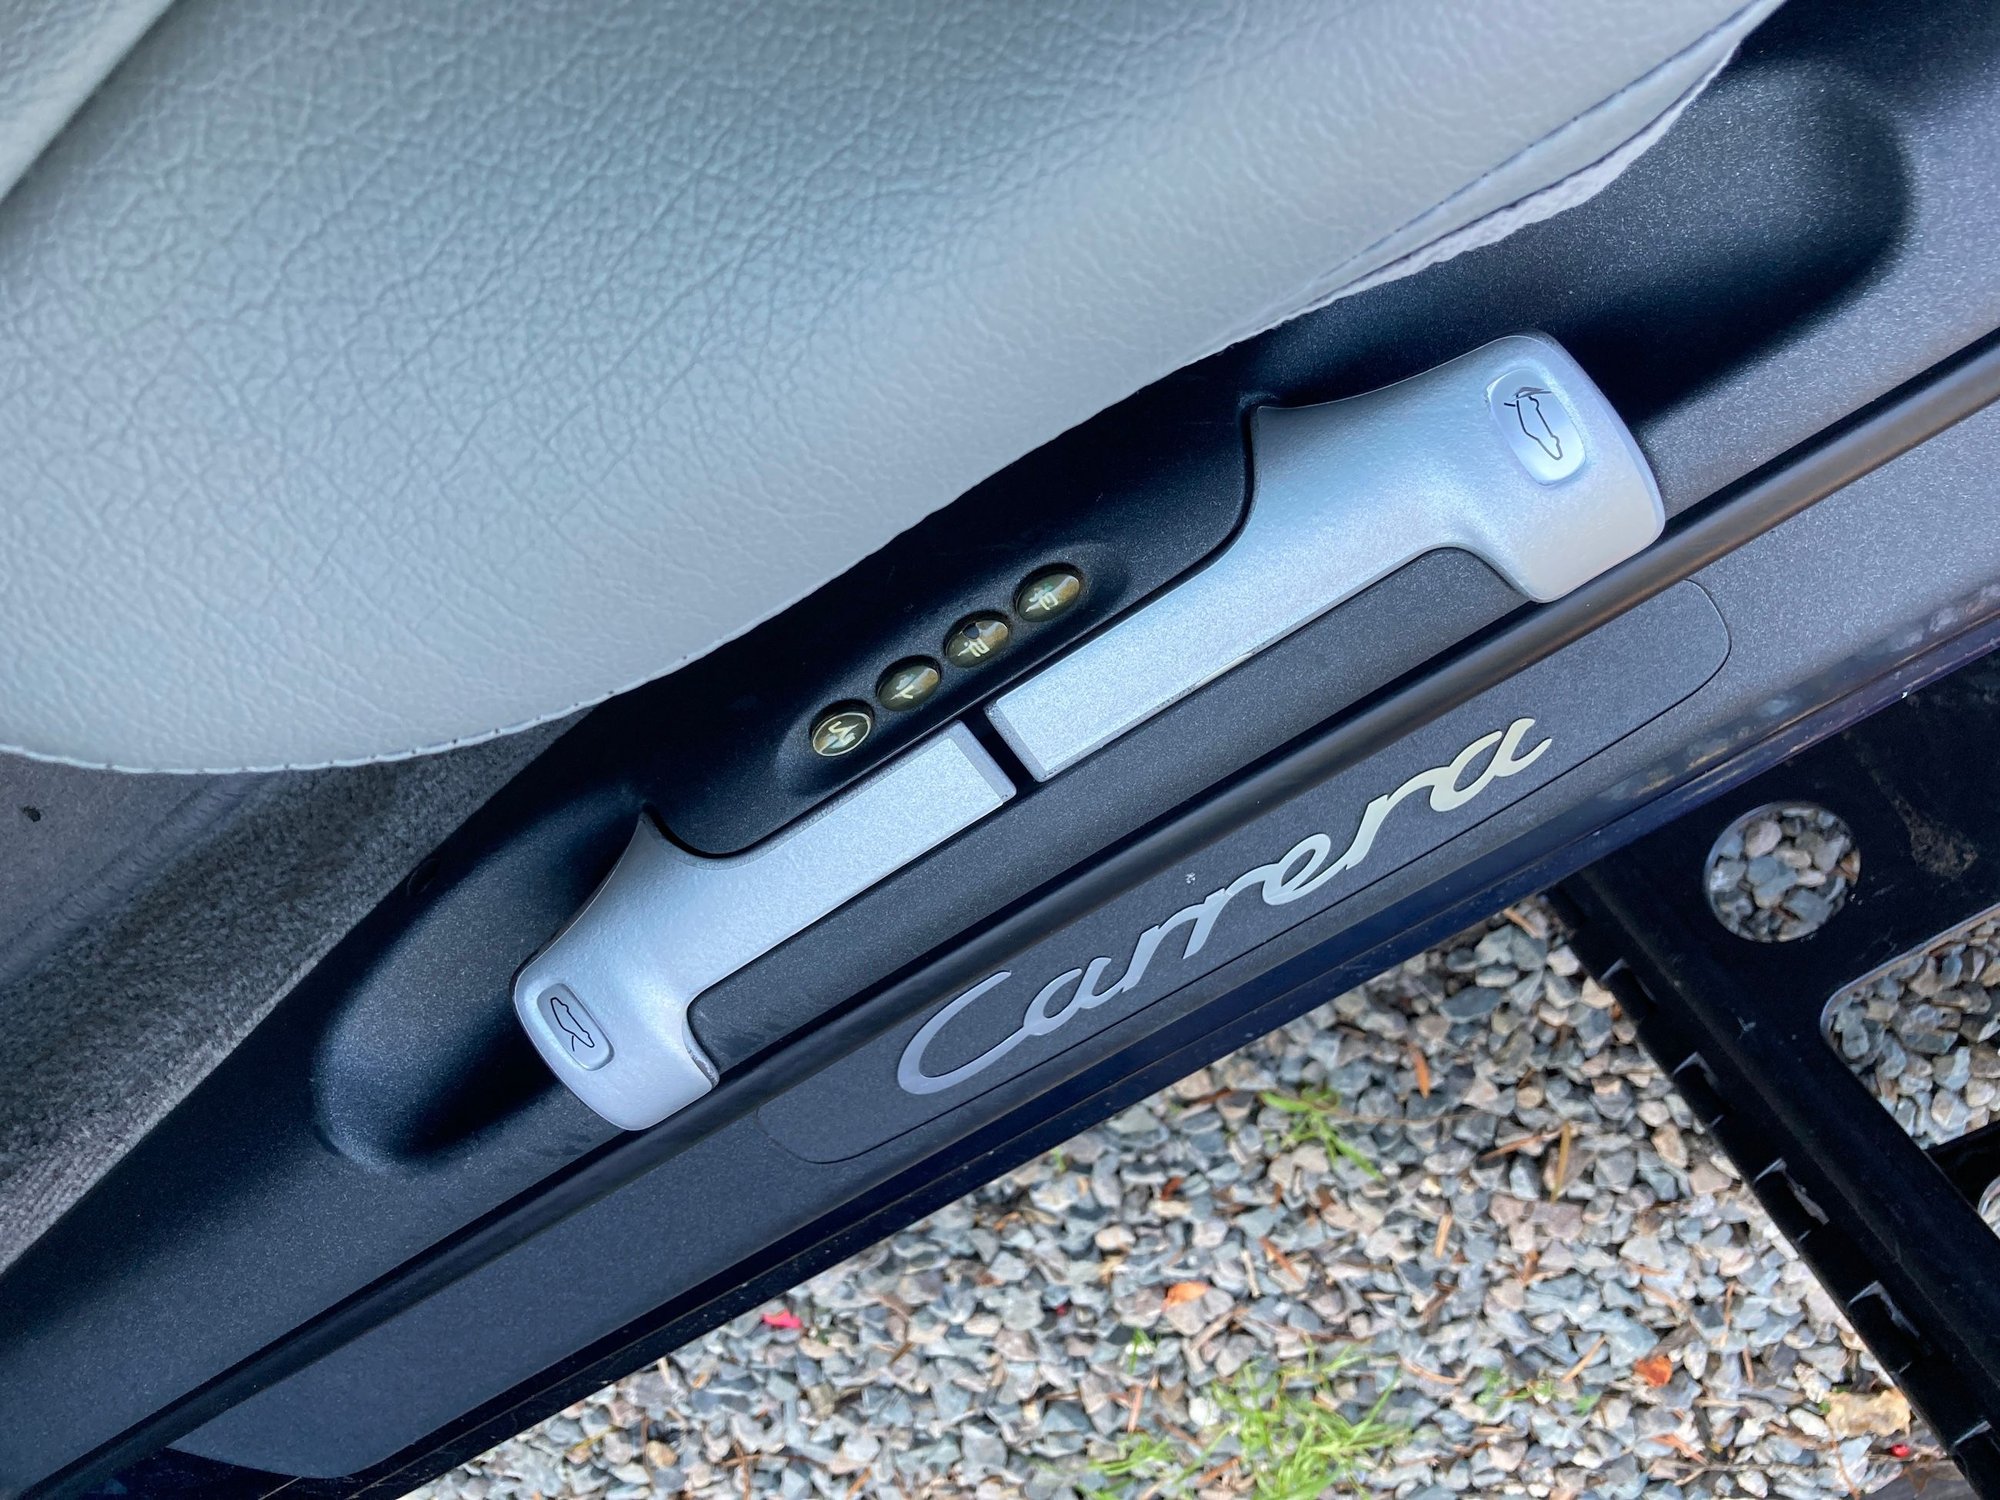
Every time I reached down to pull open the frunk or engine lid, I was greeted with scratched, discolored lever handles.
Rather than spring for $125 each to replace them, I opted fir the cheap and slightly less beautiful solution. Stickers! Actually came out half decent, and I will touch up the edges with silver to hide the remaining blemishes.
So, after getting some estimates from upholsterers and looking at the option of new seats, I did much research on seat covers for my worn, torn and tired seats.
Call me a heretic, but I just don't want to spend $1500-$2000 for some seats in my vehicle, I'd rather put that towards important things like AOS solutions, water pumps, etc.
I ready many reviews for the Igge covers from other Porsche ownens on Ebay so decided to take a chance with them.
Overall, they actually look pretty nice coming out of the box. I hope to put them in this weekend and will upload process and before/after pics in case anyone else is considering a similar path as mine.
I don't think I need to remove the seats to do this, but it might be easier - and it would give me a chance to clean up 20+ years of who knows what (french fries? they always seem to find a way...) from underneath.
Curious to know what you learned last year about upholstery work. The '88 is in dire need of seat repair. I looked into it a few years ago and decided to forgo the work. $1,500-$2k actually sounds reasonable from what I gleaned. Canepa only works on millionaire restomods and the San Jose guy at Generations retired years ago. I hear there's someone in Walnut Creek worth asking? Apparently the old leather seats require a rare special sewing/stitching machine to match OEM work. Thanks in advance for any current pertinent information.
 05-10-2023, 12:58 PM