When you click on links to various merchants on this site and make a purchase, this can result in this site earning a commission. Affiliate programs and affiliations include, but are not limited to, the eBay Partner Network.
At this point the stock wheel center caps were looking ratty. I sanded them with 600-grit sandpaper to clean off some of the gunk, but couldn't get them looking new.
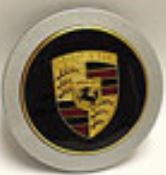
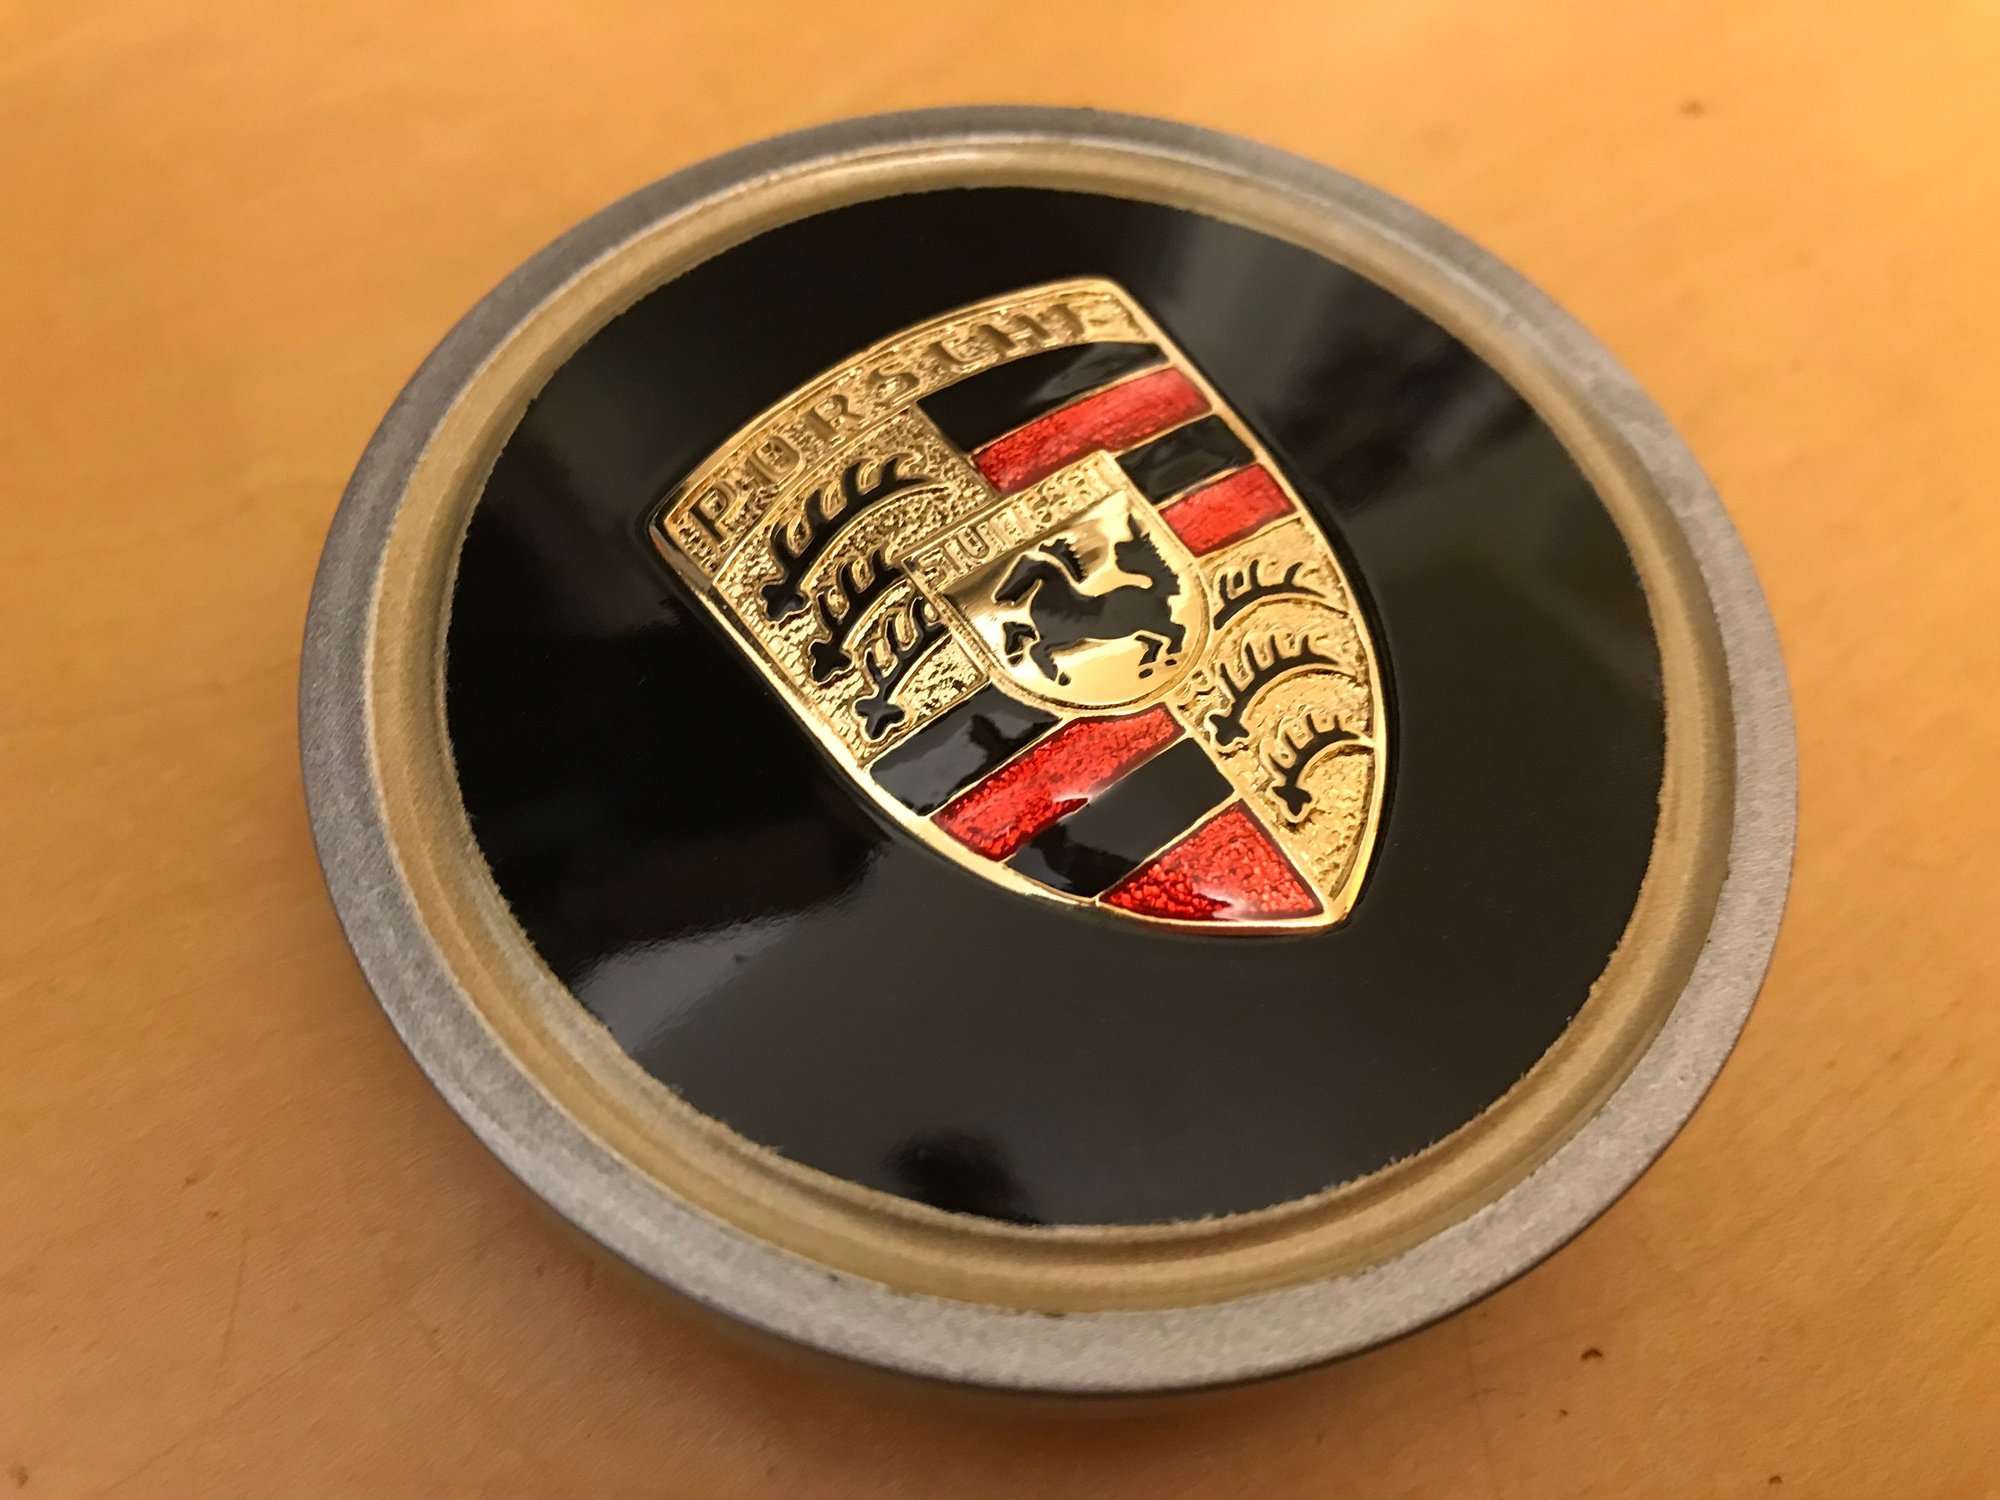
For years I've tried to buy a set of Ralph T. Boothe (Boothe Design) center caps like the one below. Based on never getting an emailed reply from his old website, and his current website (http://www.boothedesign.com/) being almost blank, for all intents and purposes he's sadly out of business. Boothe Design center cap
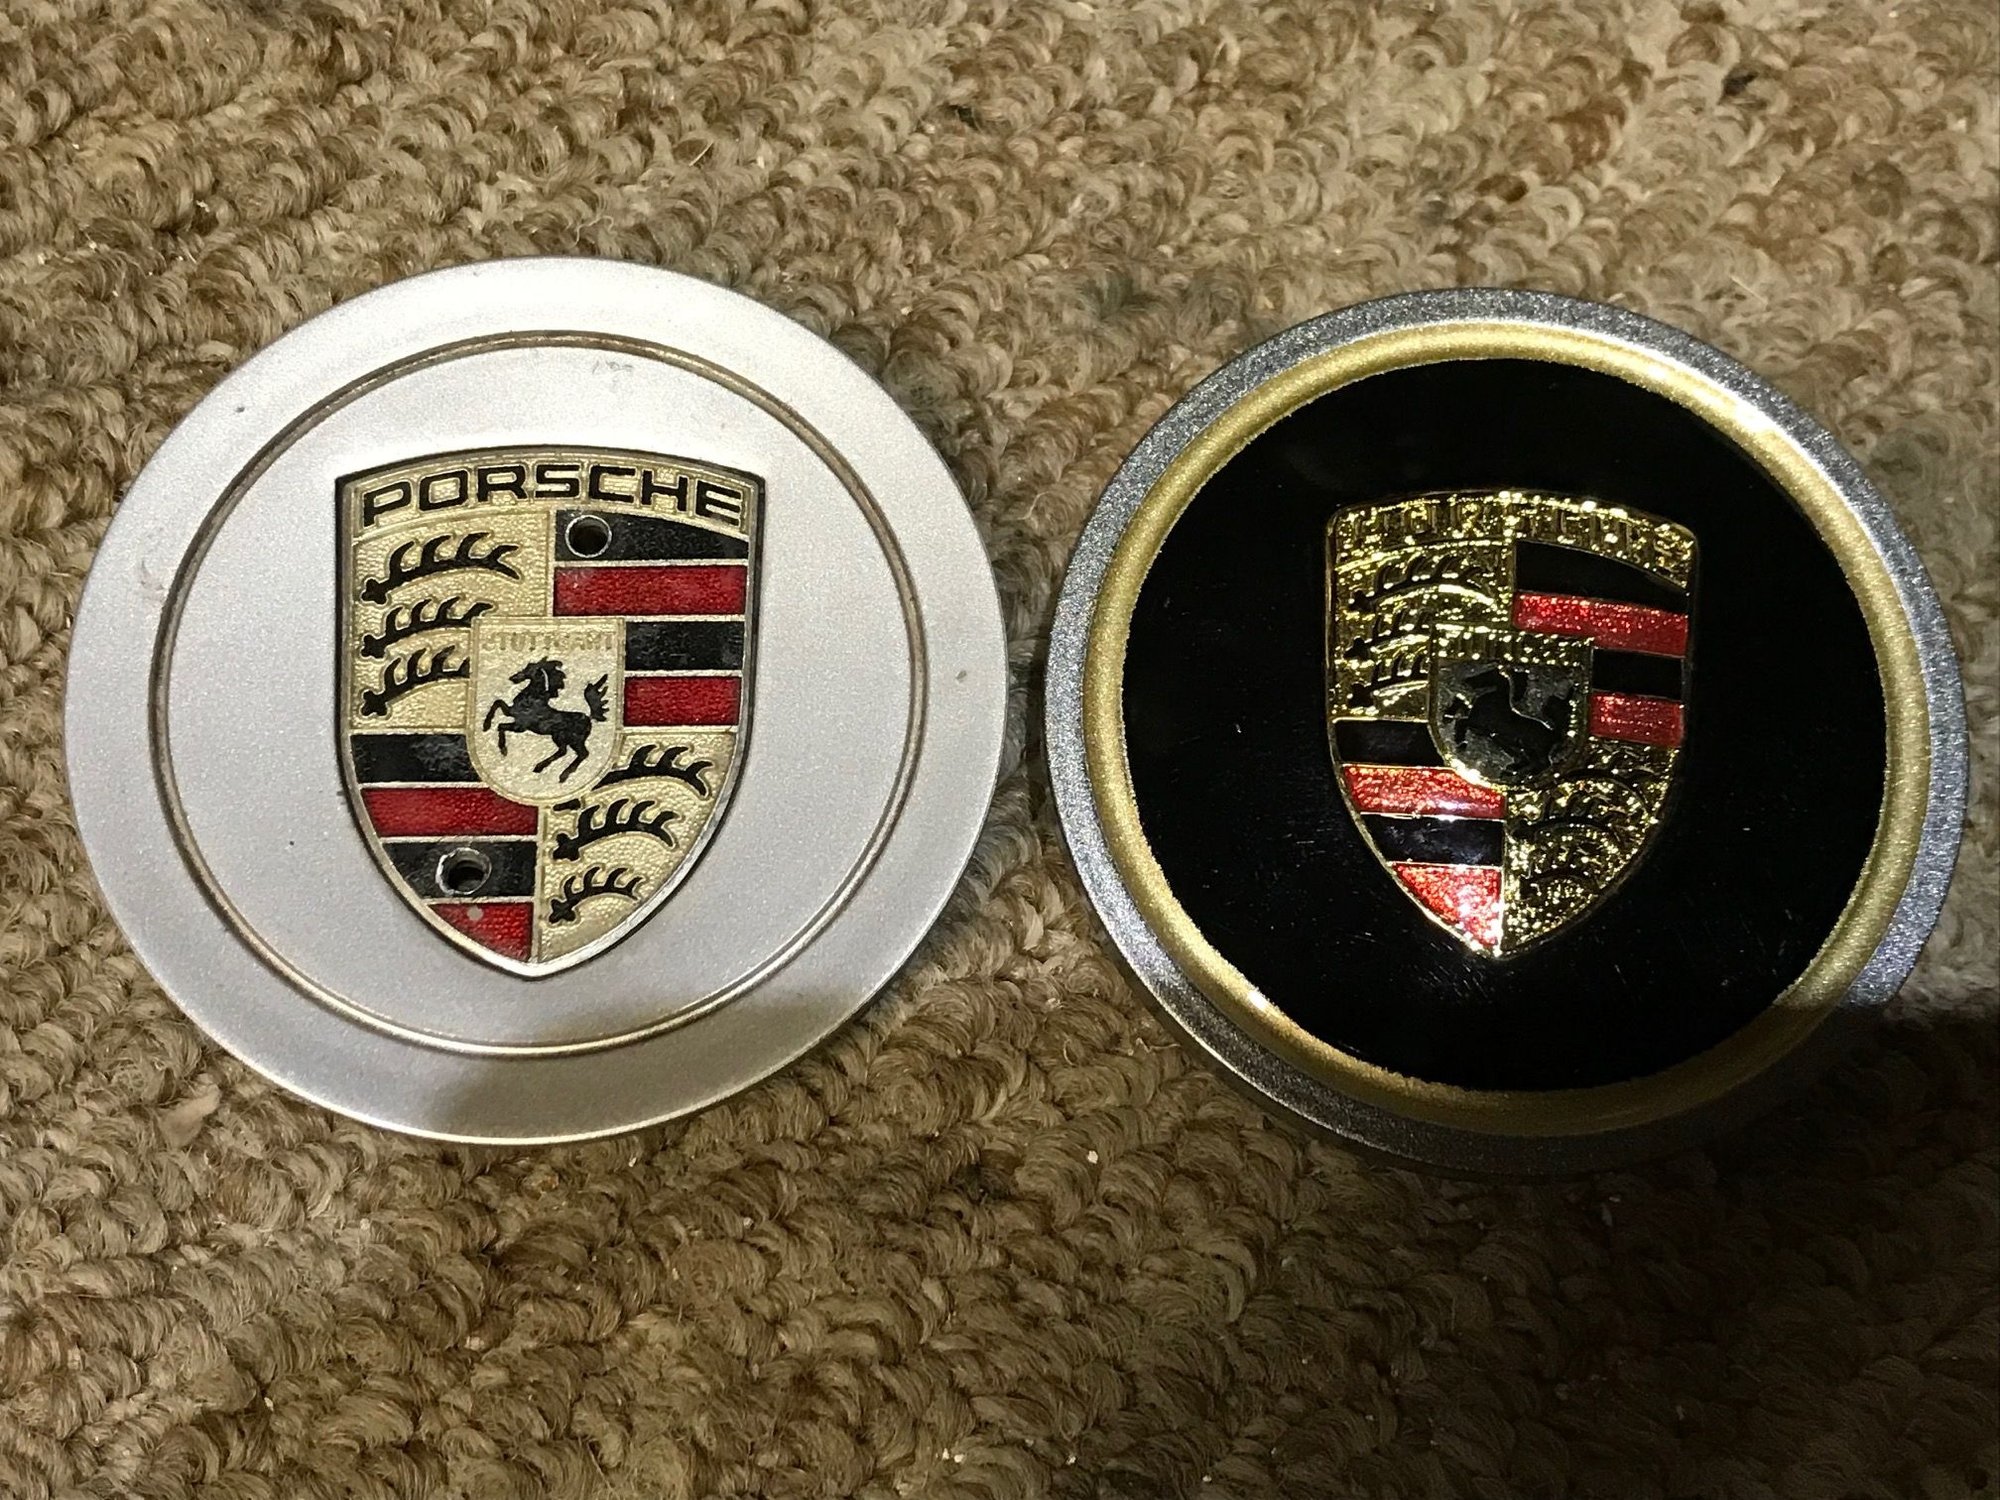
Fortunately another person, NeuTechAuto, started making similar wheels caps and selling them on eBay. I custom ordered caps like the one above with the Porsche crest in the middle, black gloss around that, gold in the groove, and silver paint on the perimeter (which doesn't quite match the stock wheel. Photos are below. The emblem seems to be a stock Porsche emblem.
The old and the new: front view
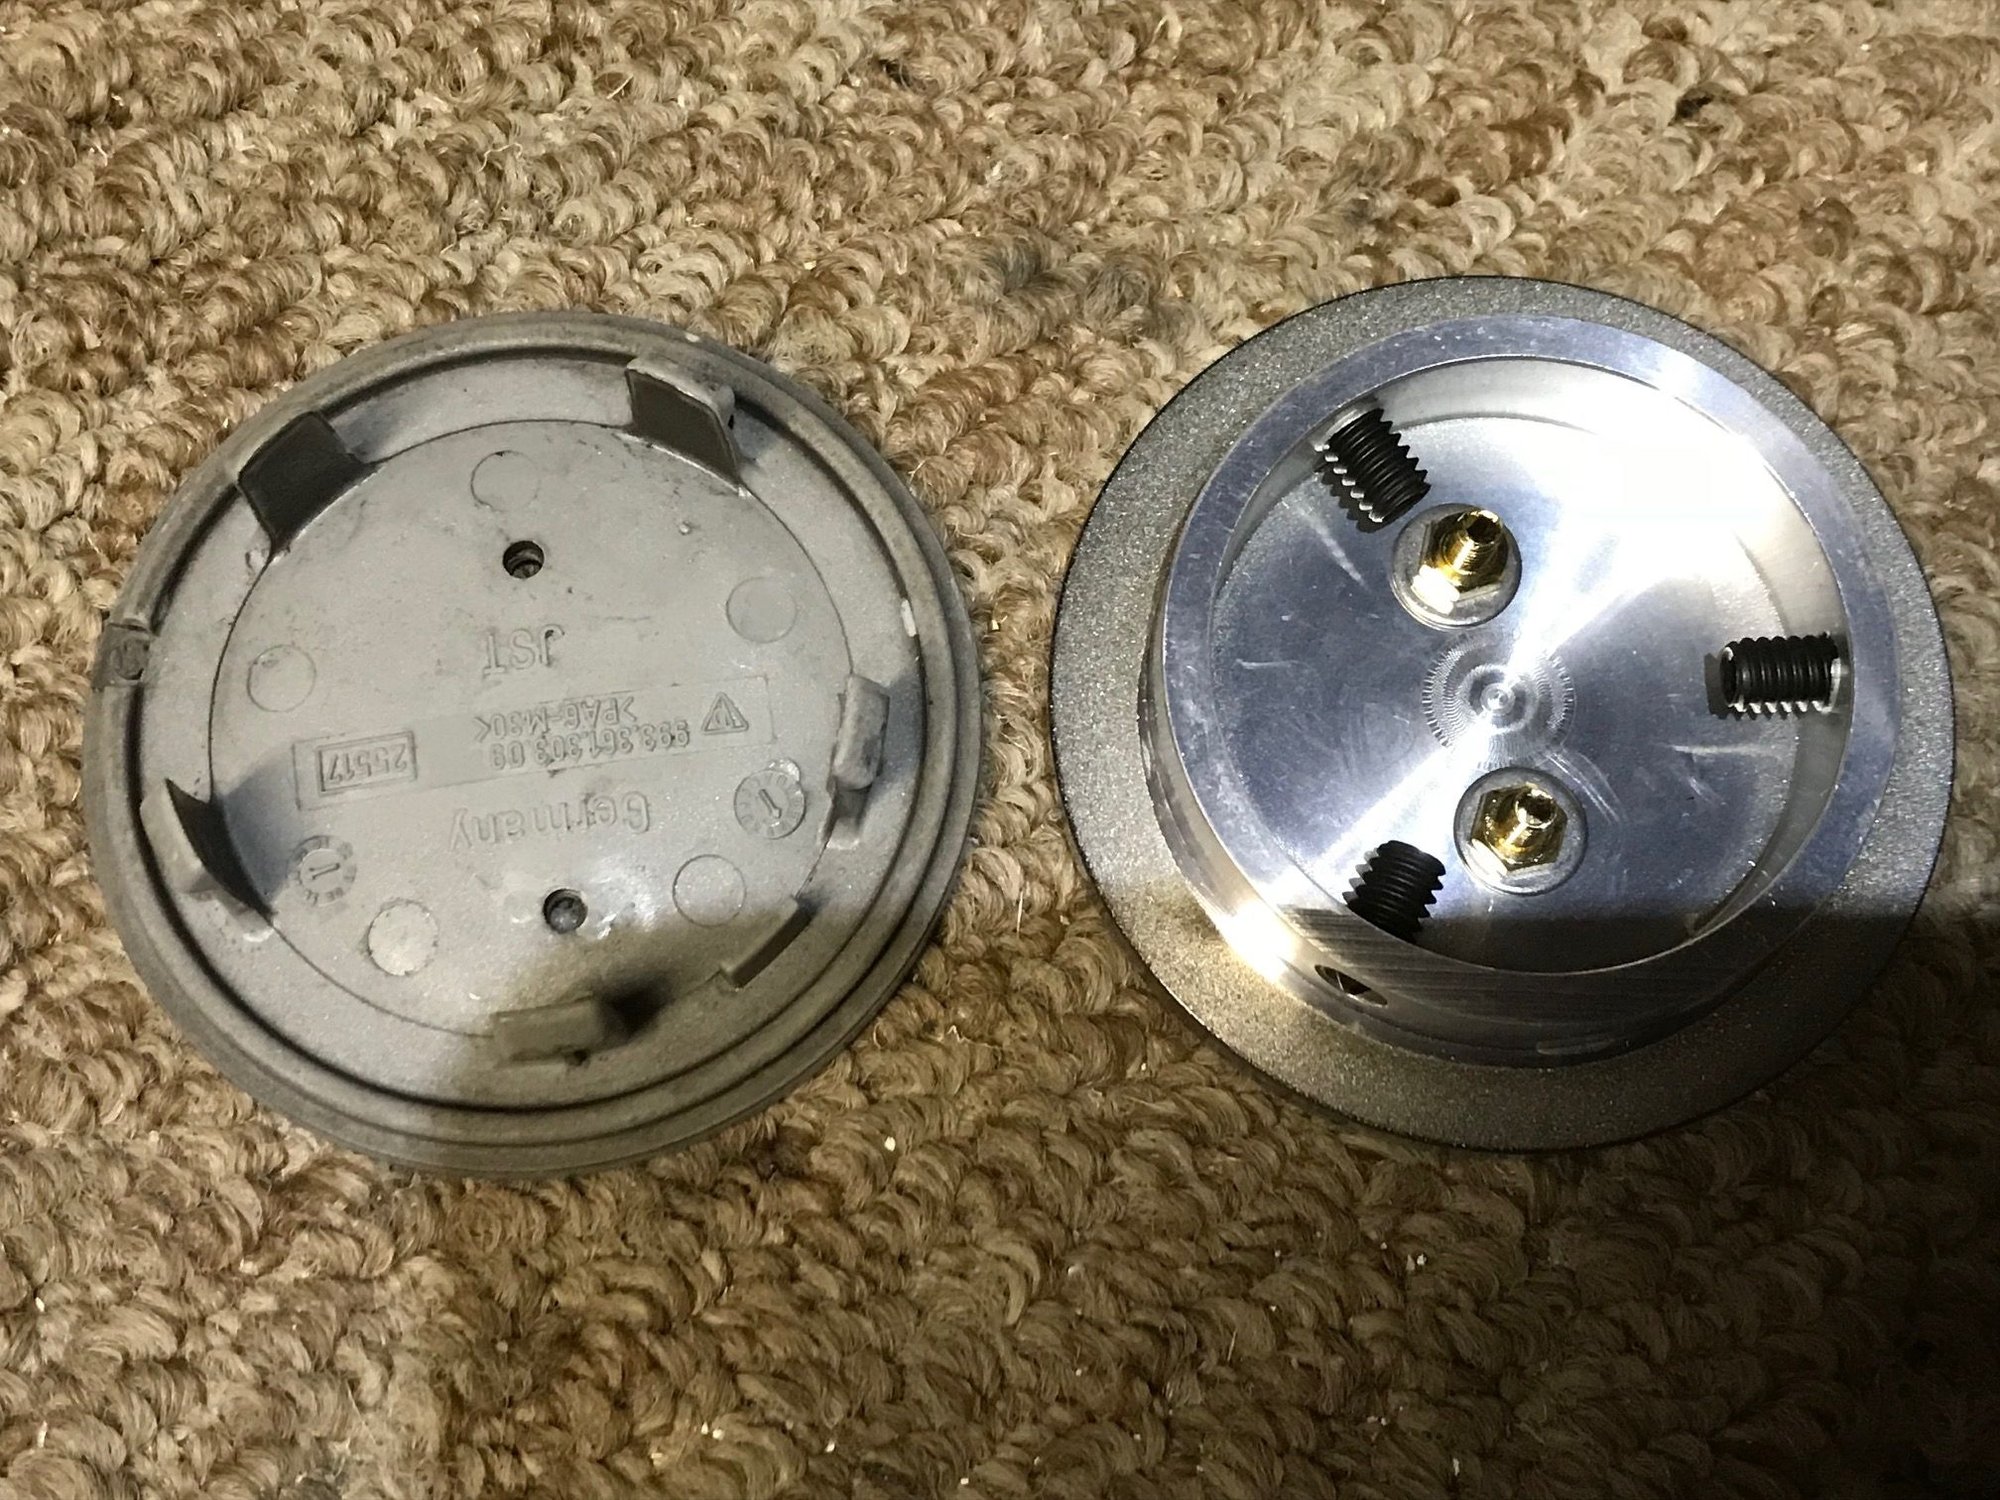
The old and the new: rear view
A close-up of a new wheel cap
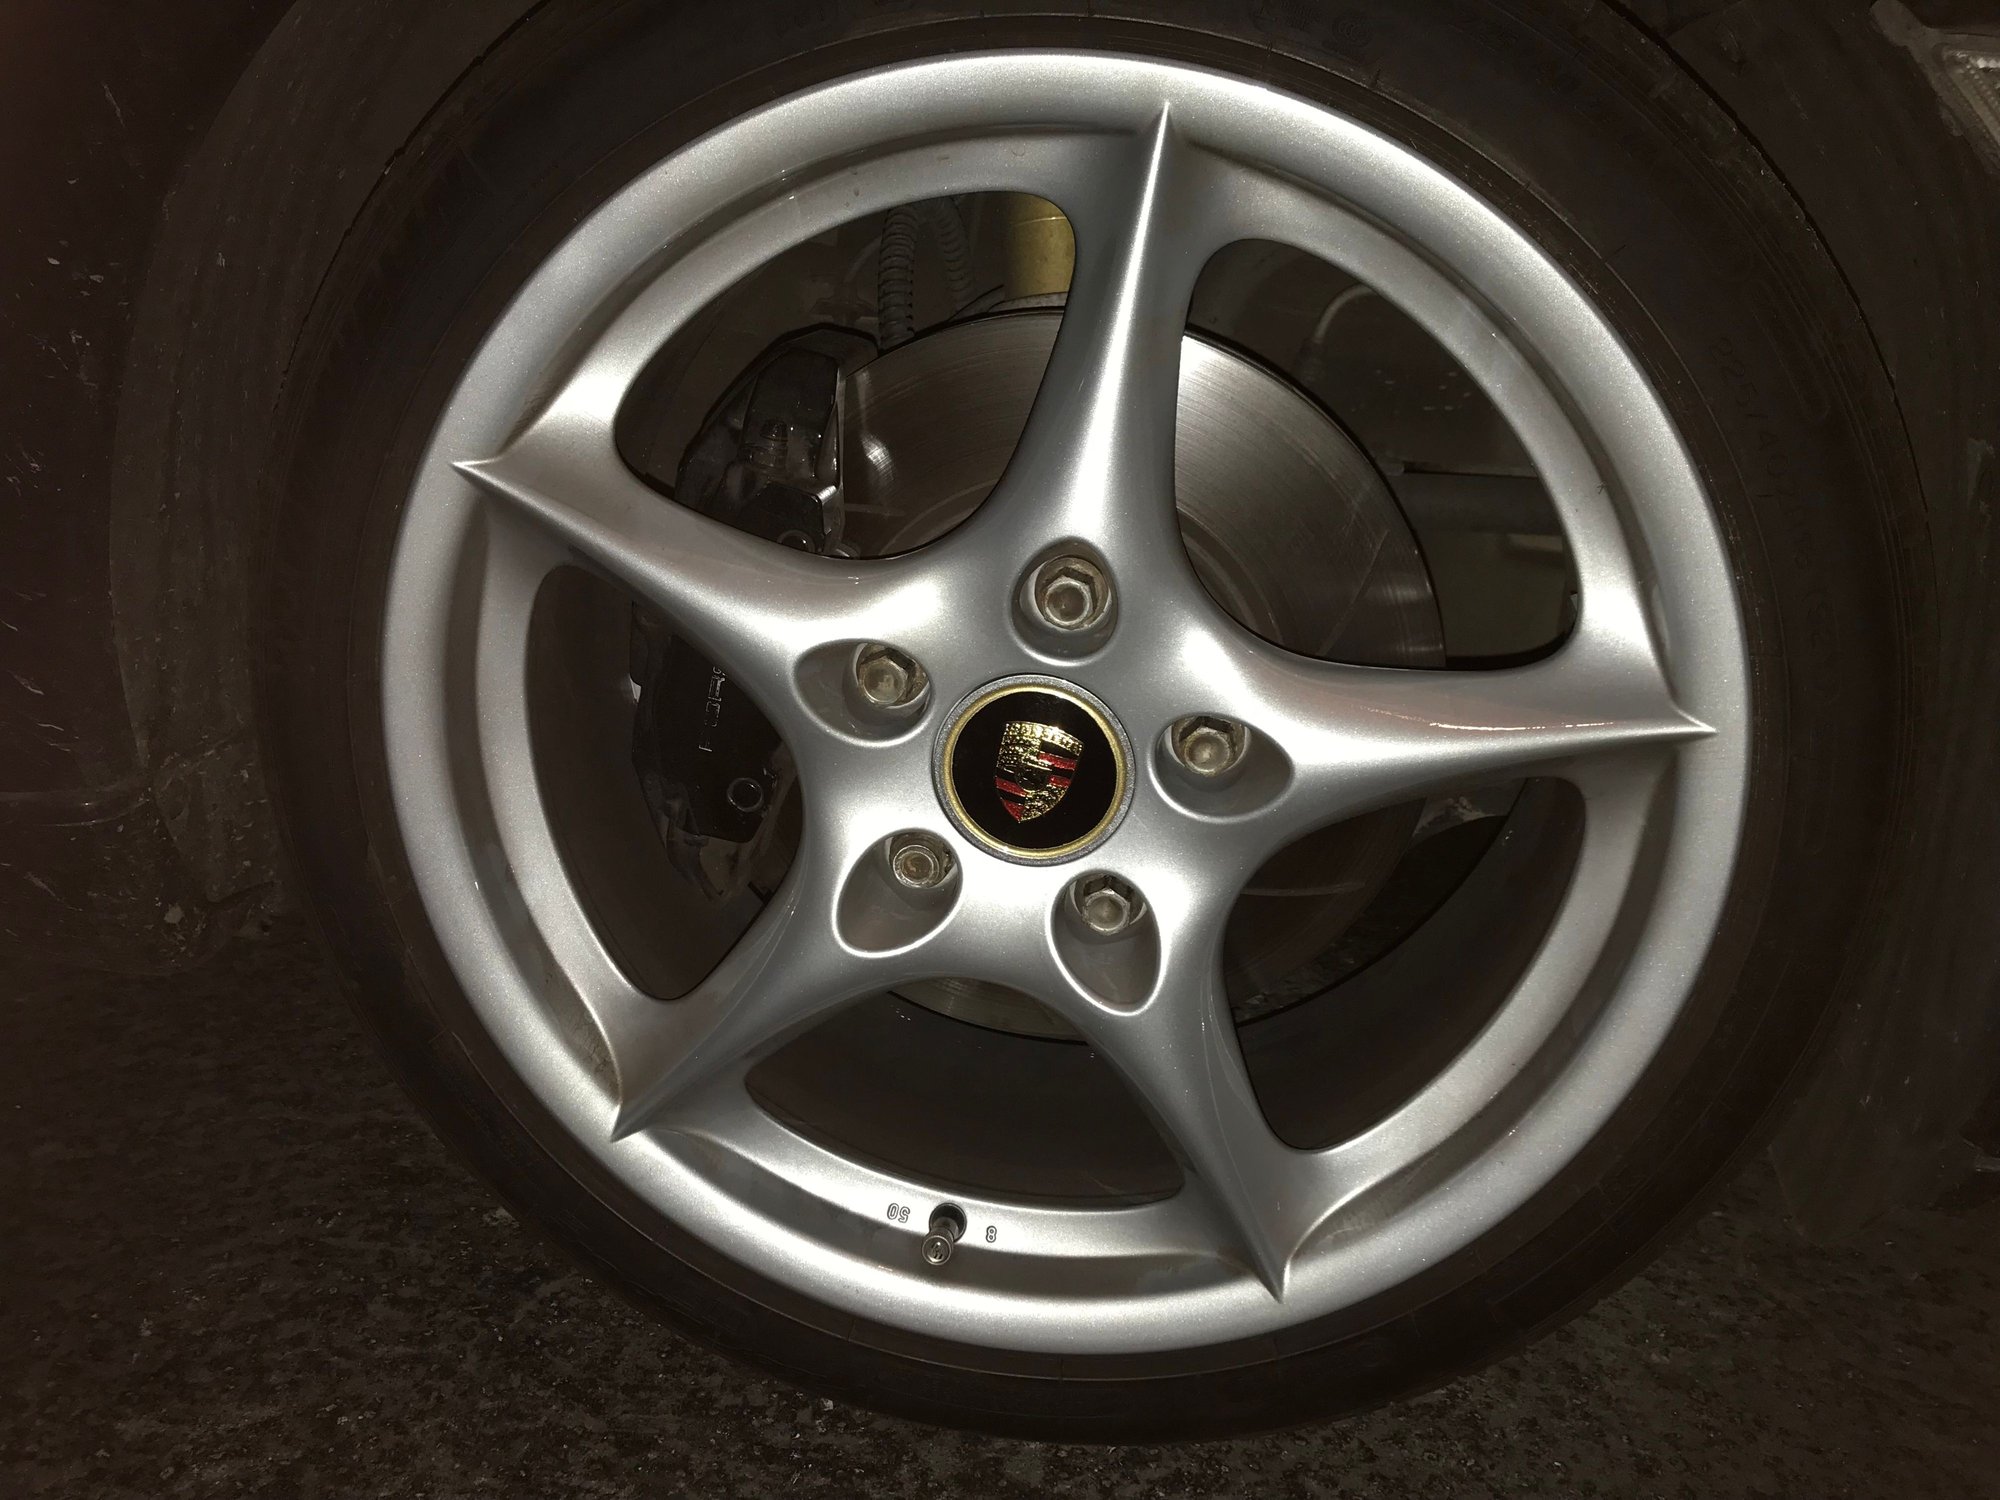
To install one, I removed the wheel from the car and popped off the stock center cap. I removed the emblem from the cap, inserted the cap into the wheel, added Loctite, and uniformly tightened the three set screws. Finally, I placed the emblem back in place, added Loctite, and tightened down the nuts. The whole job took me two hours. New wheel cap on the car
I'm happy with how nice they look...like jewelry for the car.
I've ordered some gloss black lug bolts to replace the ratty stock bolts. Hopefully they match the wheel caps.
Last edited by DrMEMS; 03-16-2018 at 10:15 PM.
Reason: Added labor time.
I like what you did the with the LED tail lights. The aftermarket "997 style" tail lights look out of place on the 996 to me because the lines of the tail lights don't follow the lines of the LEDs. Your solution takes care of that nicely!
You are so right about this...I have always wanted to upgrade to LEDs but because they made the LEDs follow a 997.2 pattern, it does look out of place. They should have followed the lines of the 996 taillight. The solution here is interesting one that I hadn't considered. Haven't developed an opinion on this yet but I agree with another poster who said you should match the glossiness of the paint. THanks for sharing, the car does look great!
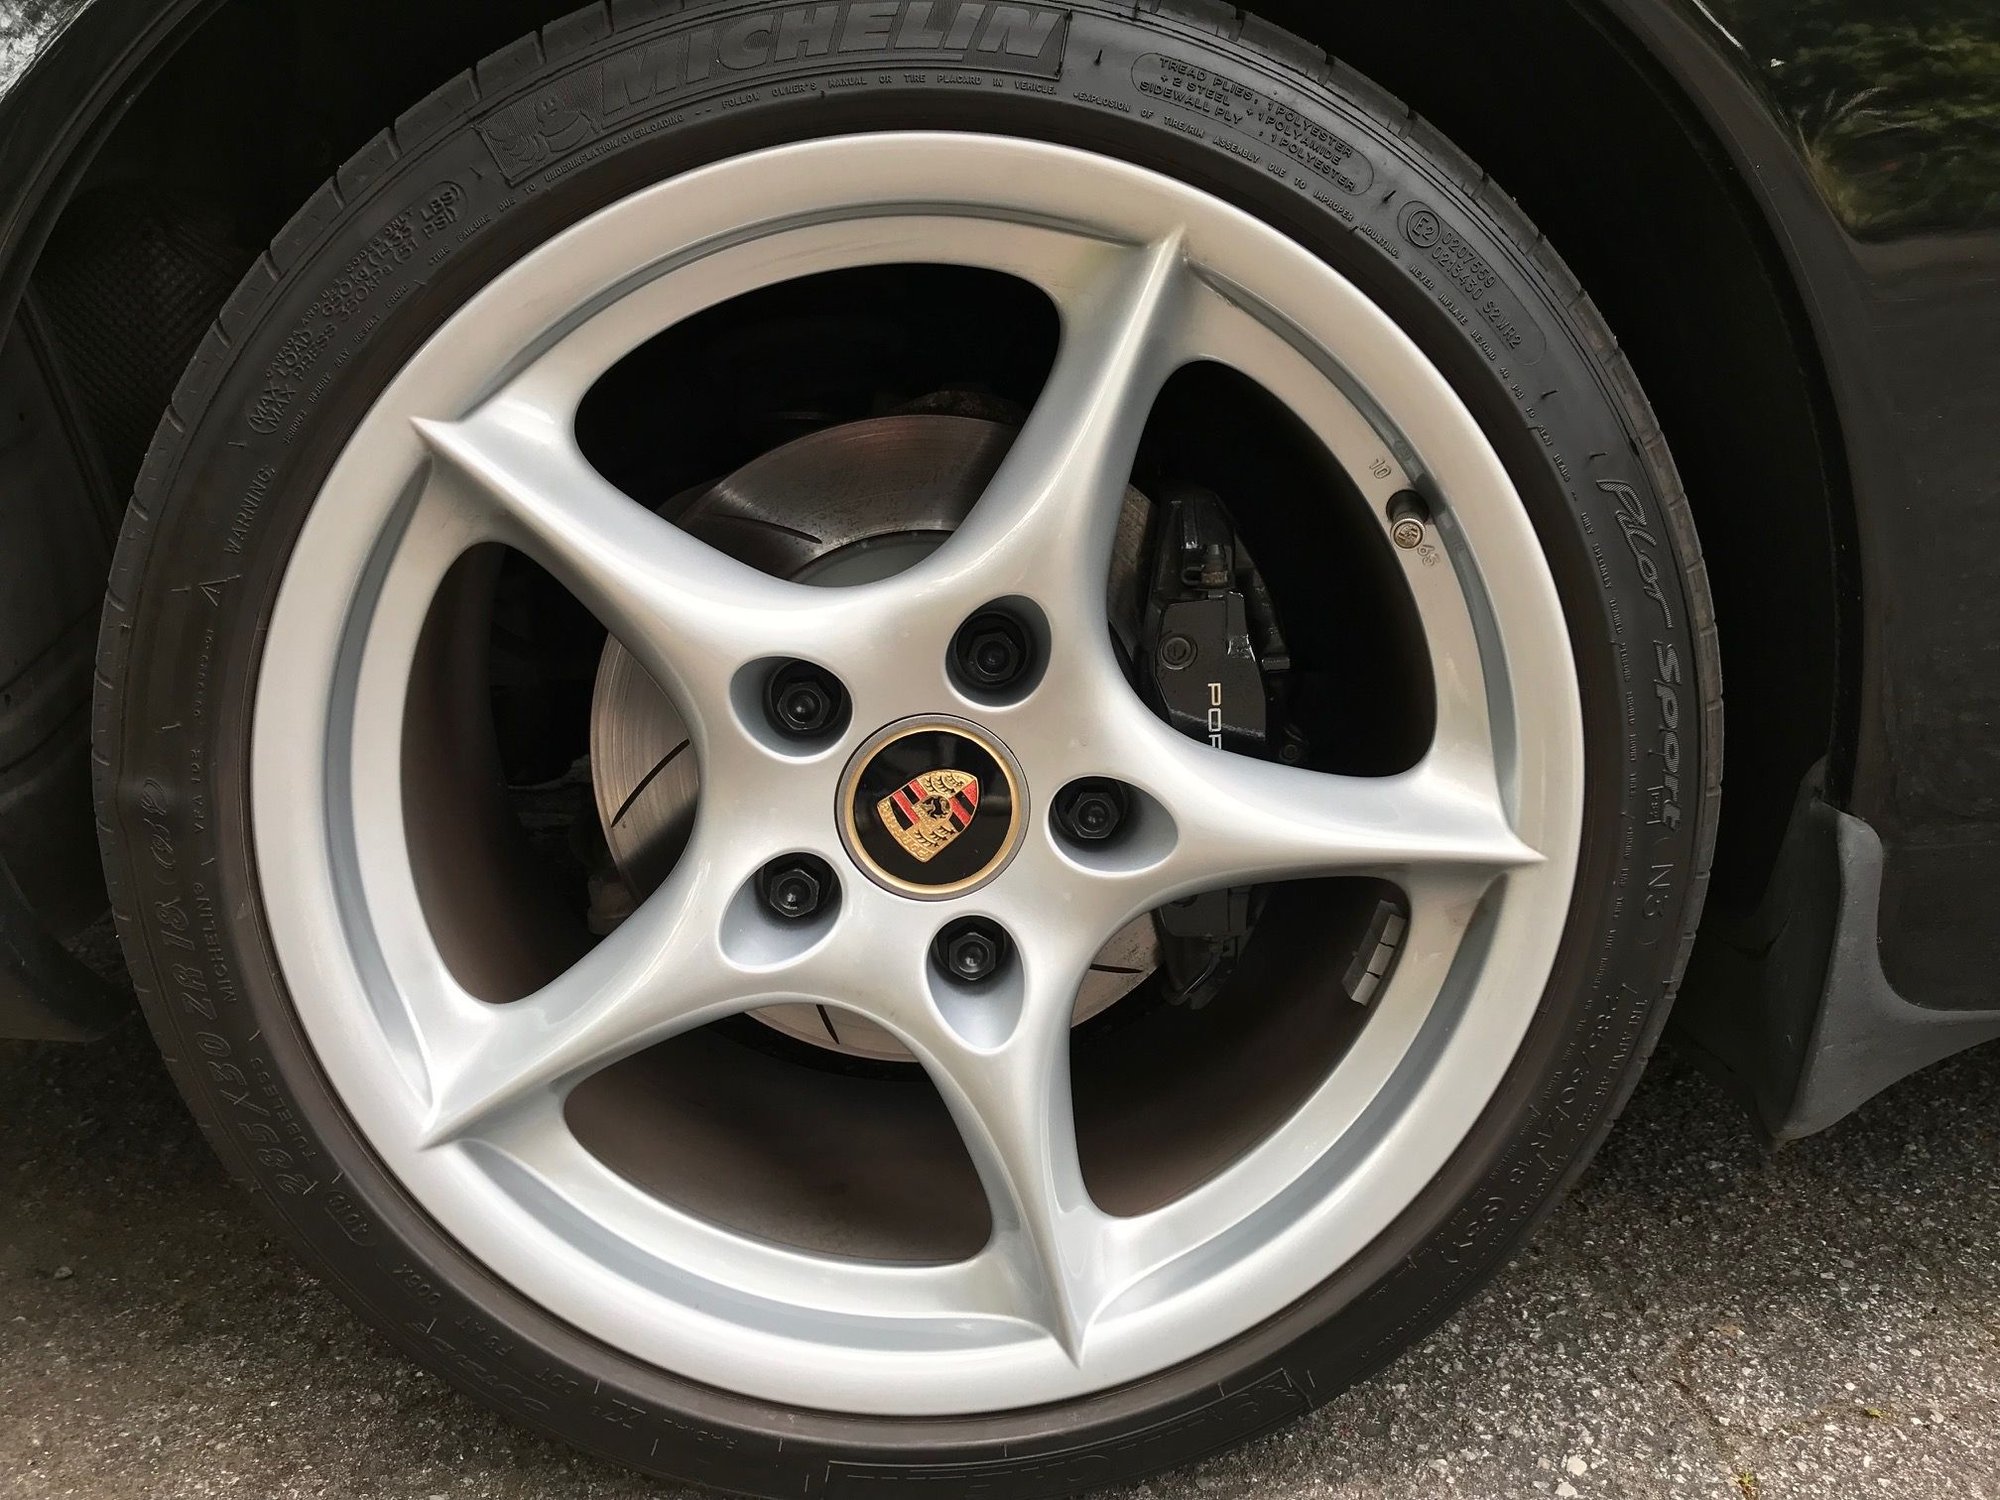
I installed black glossy lug bolts from ECS Tuning for $79.95. I selected these so that the glossy black would match the black on the center cap. They don't look that much different than the rusted stock bolts due to being in the shadow of the cutout in the wheel. With new glossy black lug bolts
Reading through the thread, I was just about to comment that - now all you have to do is replace the ratty stock lug bolts... You beat me to it! The black ones look good - let us know if they start to rust like the stock ones...
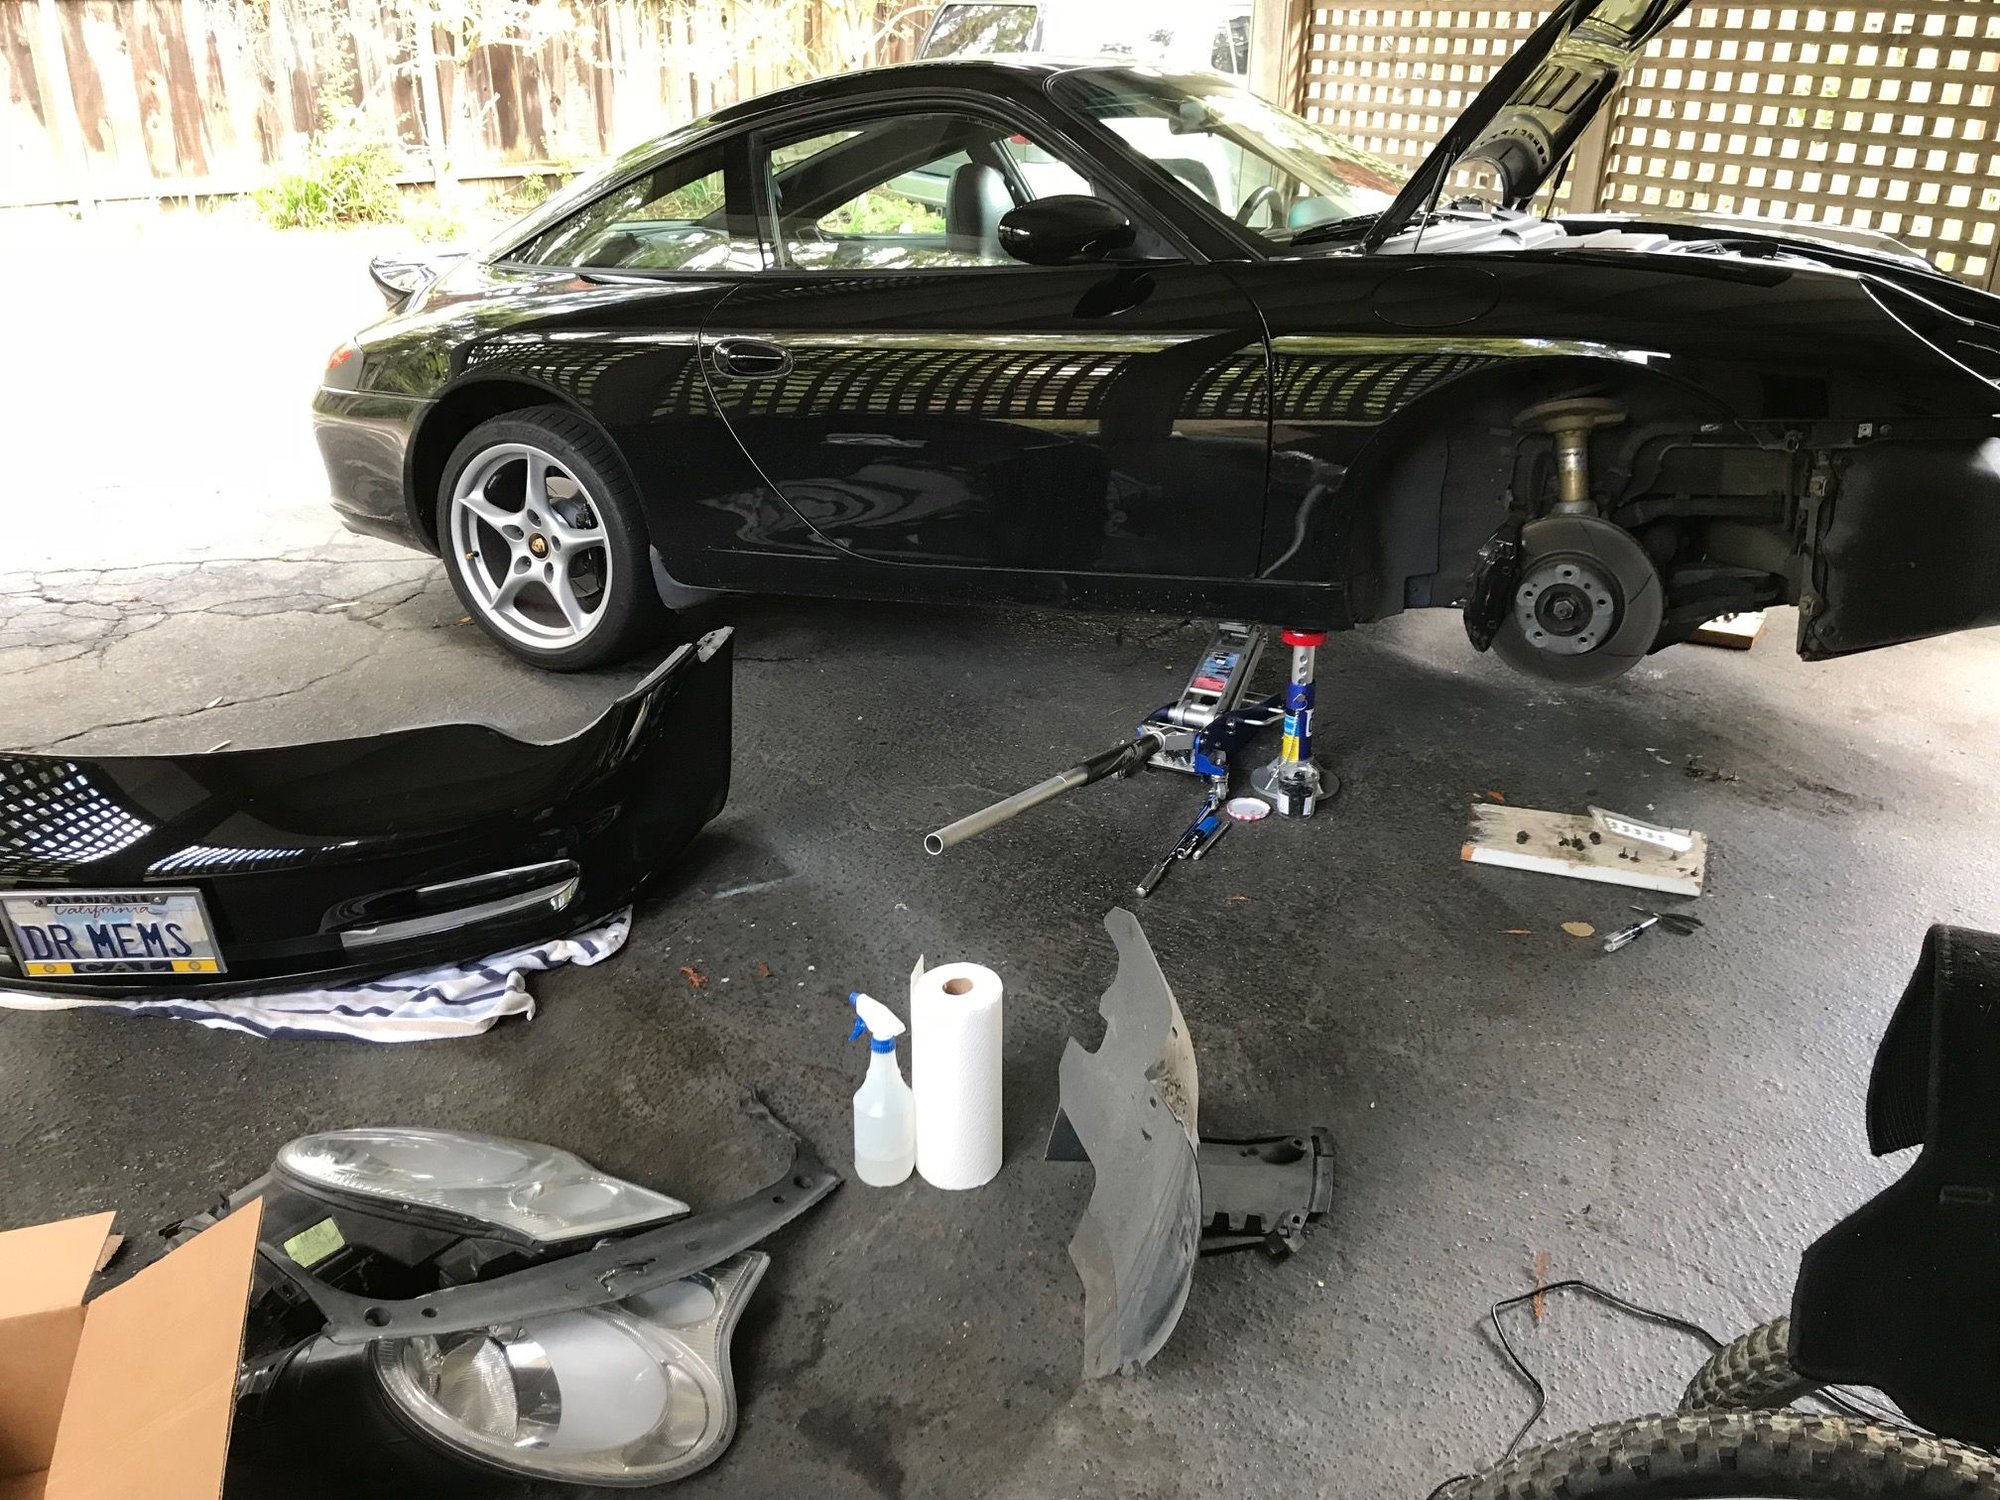
A few years ago I removed my front bumper and cleaned out the debris that has accumulated on the left and right air-conditioner condensers, as well as between the condensers and radiators. I estimate that a quarter of the air flow was blocked. To prevent, or at least slow down the collection of road flotsam, I added a pair of Rennline grilles to the air-flow openings in the front bumper.
First I removed the front bumper. This took over two hours, as the front wheels, wheel-well covers, headlights, side markers, and trim need to come off.. A lot of parts must be removed to get the front bumper off
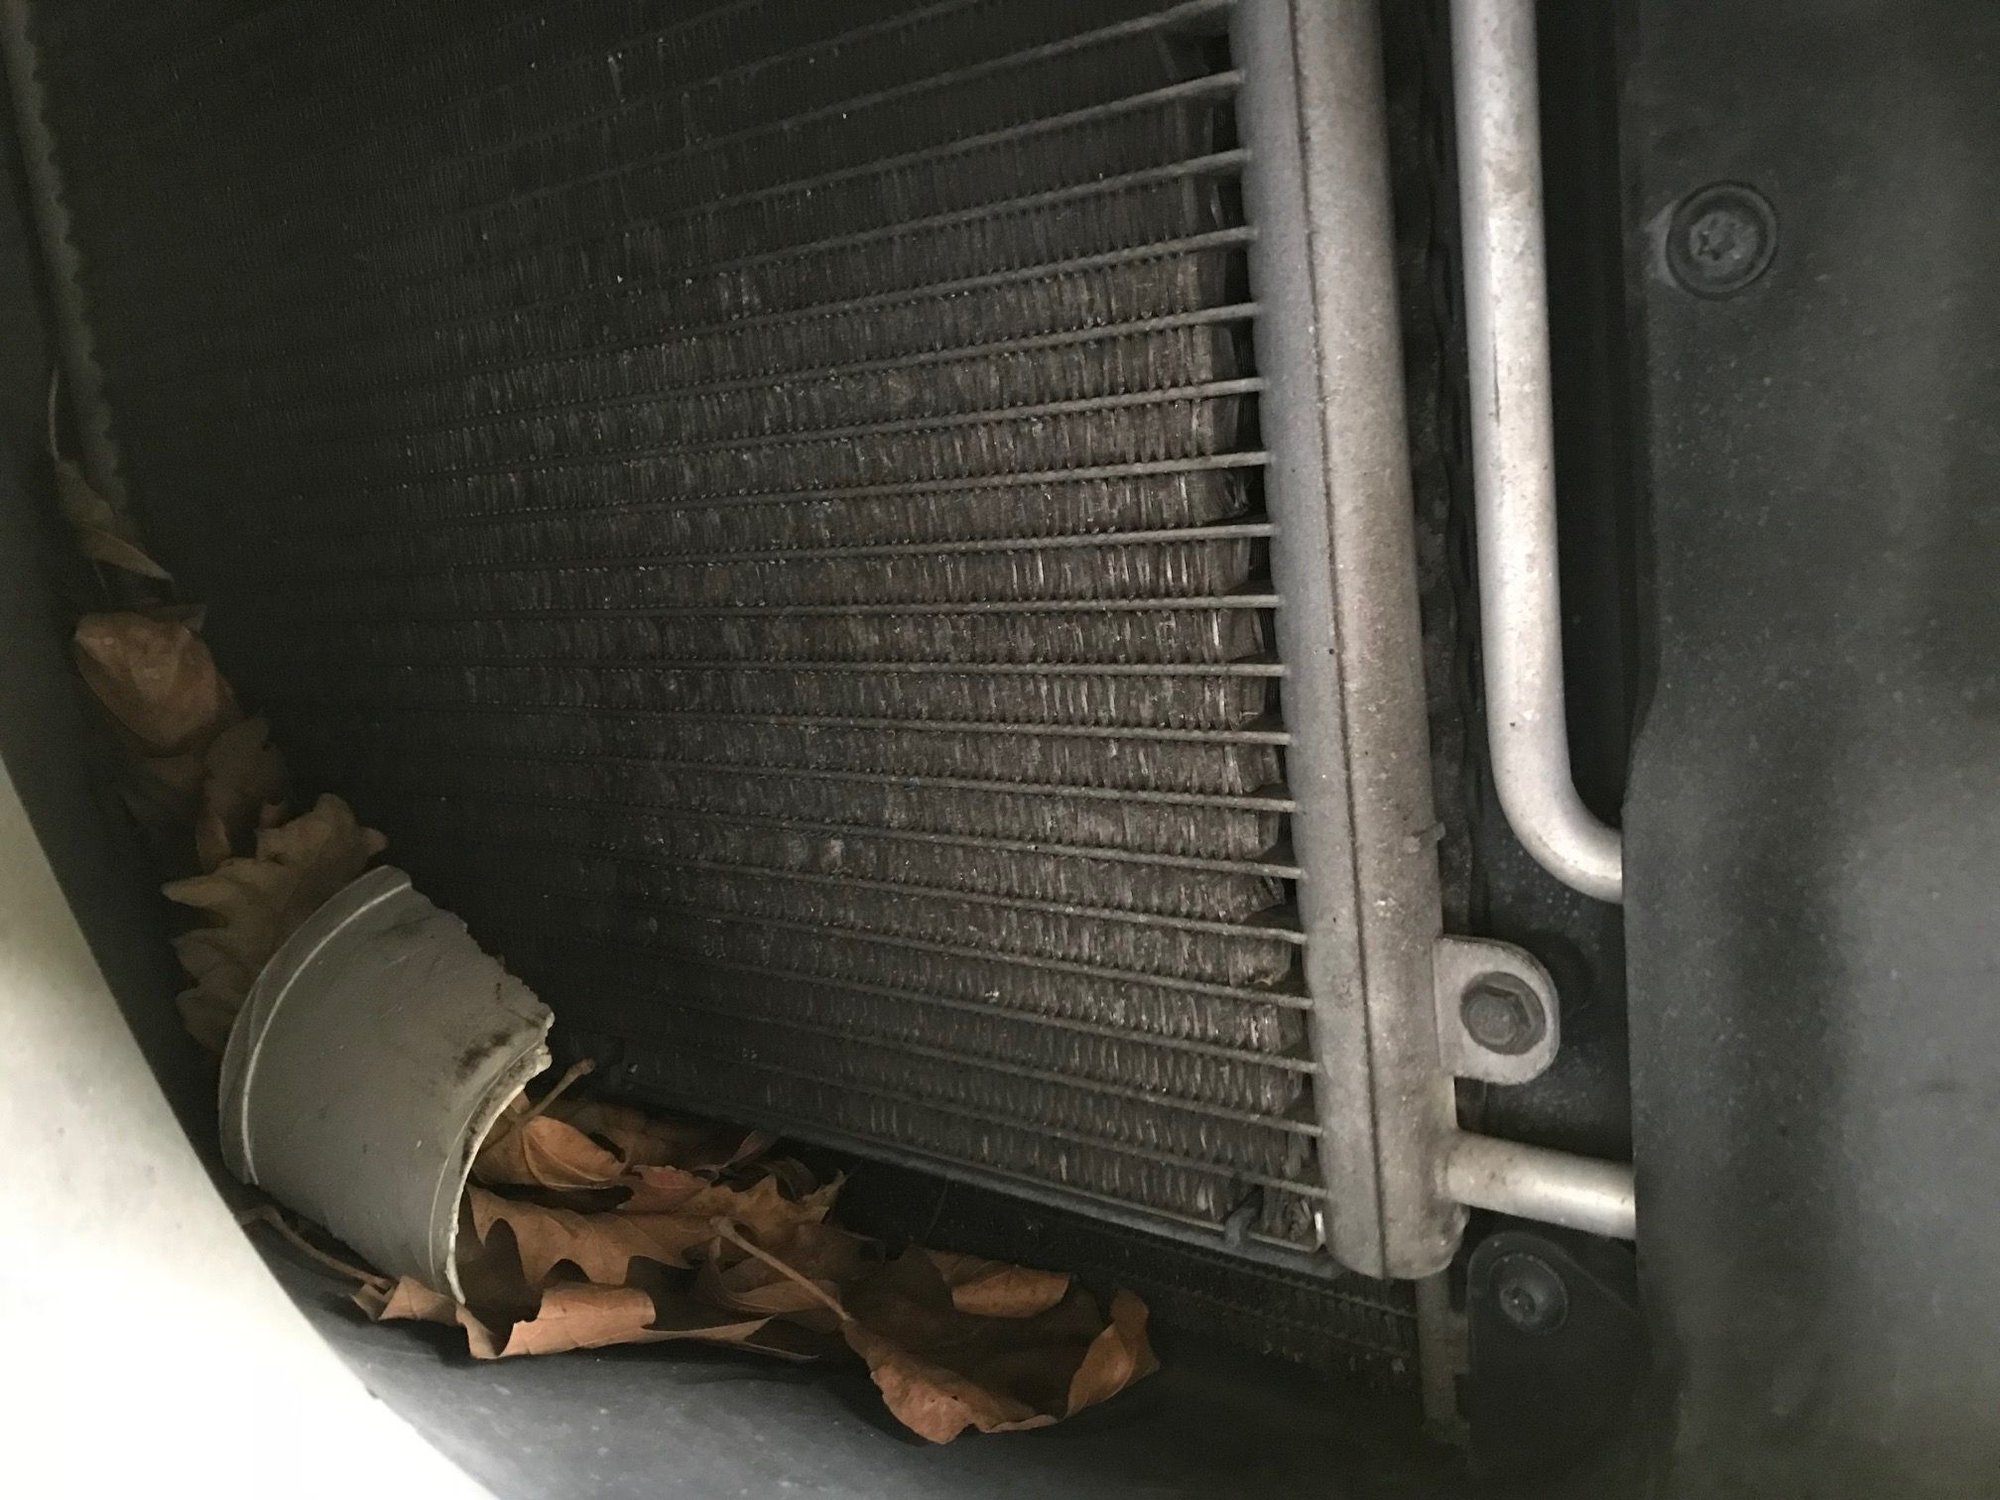
There were a lot of leaves, a big chunk of a Styrofoam cup, and the usual cigarette butts against the condenser (but fewer butts than last time, a good sign). Debris against the condenser
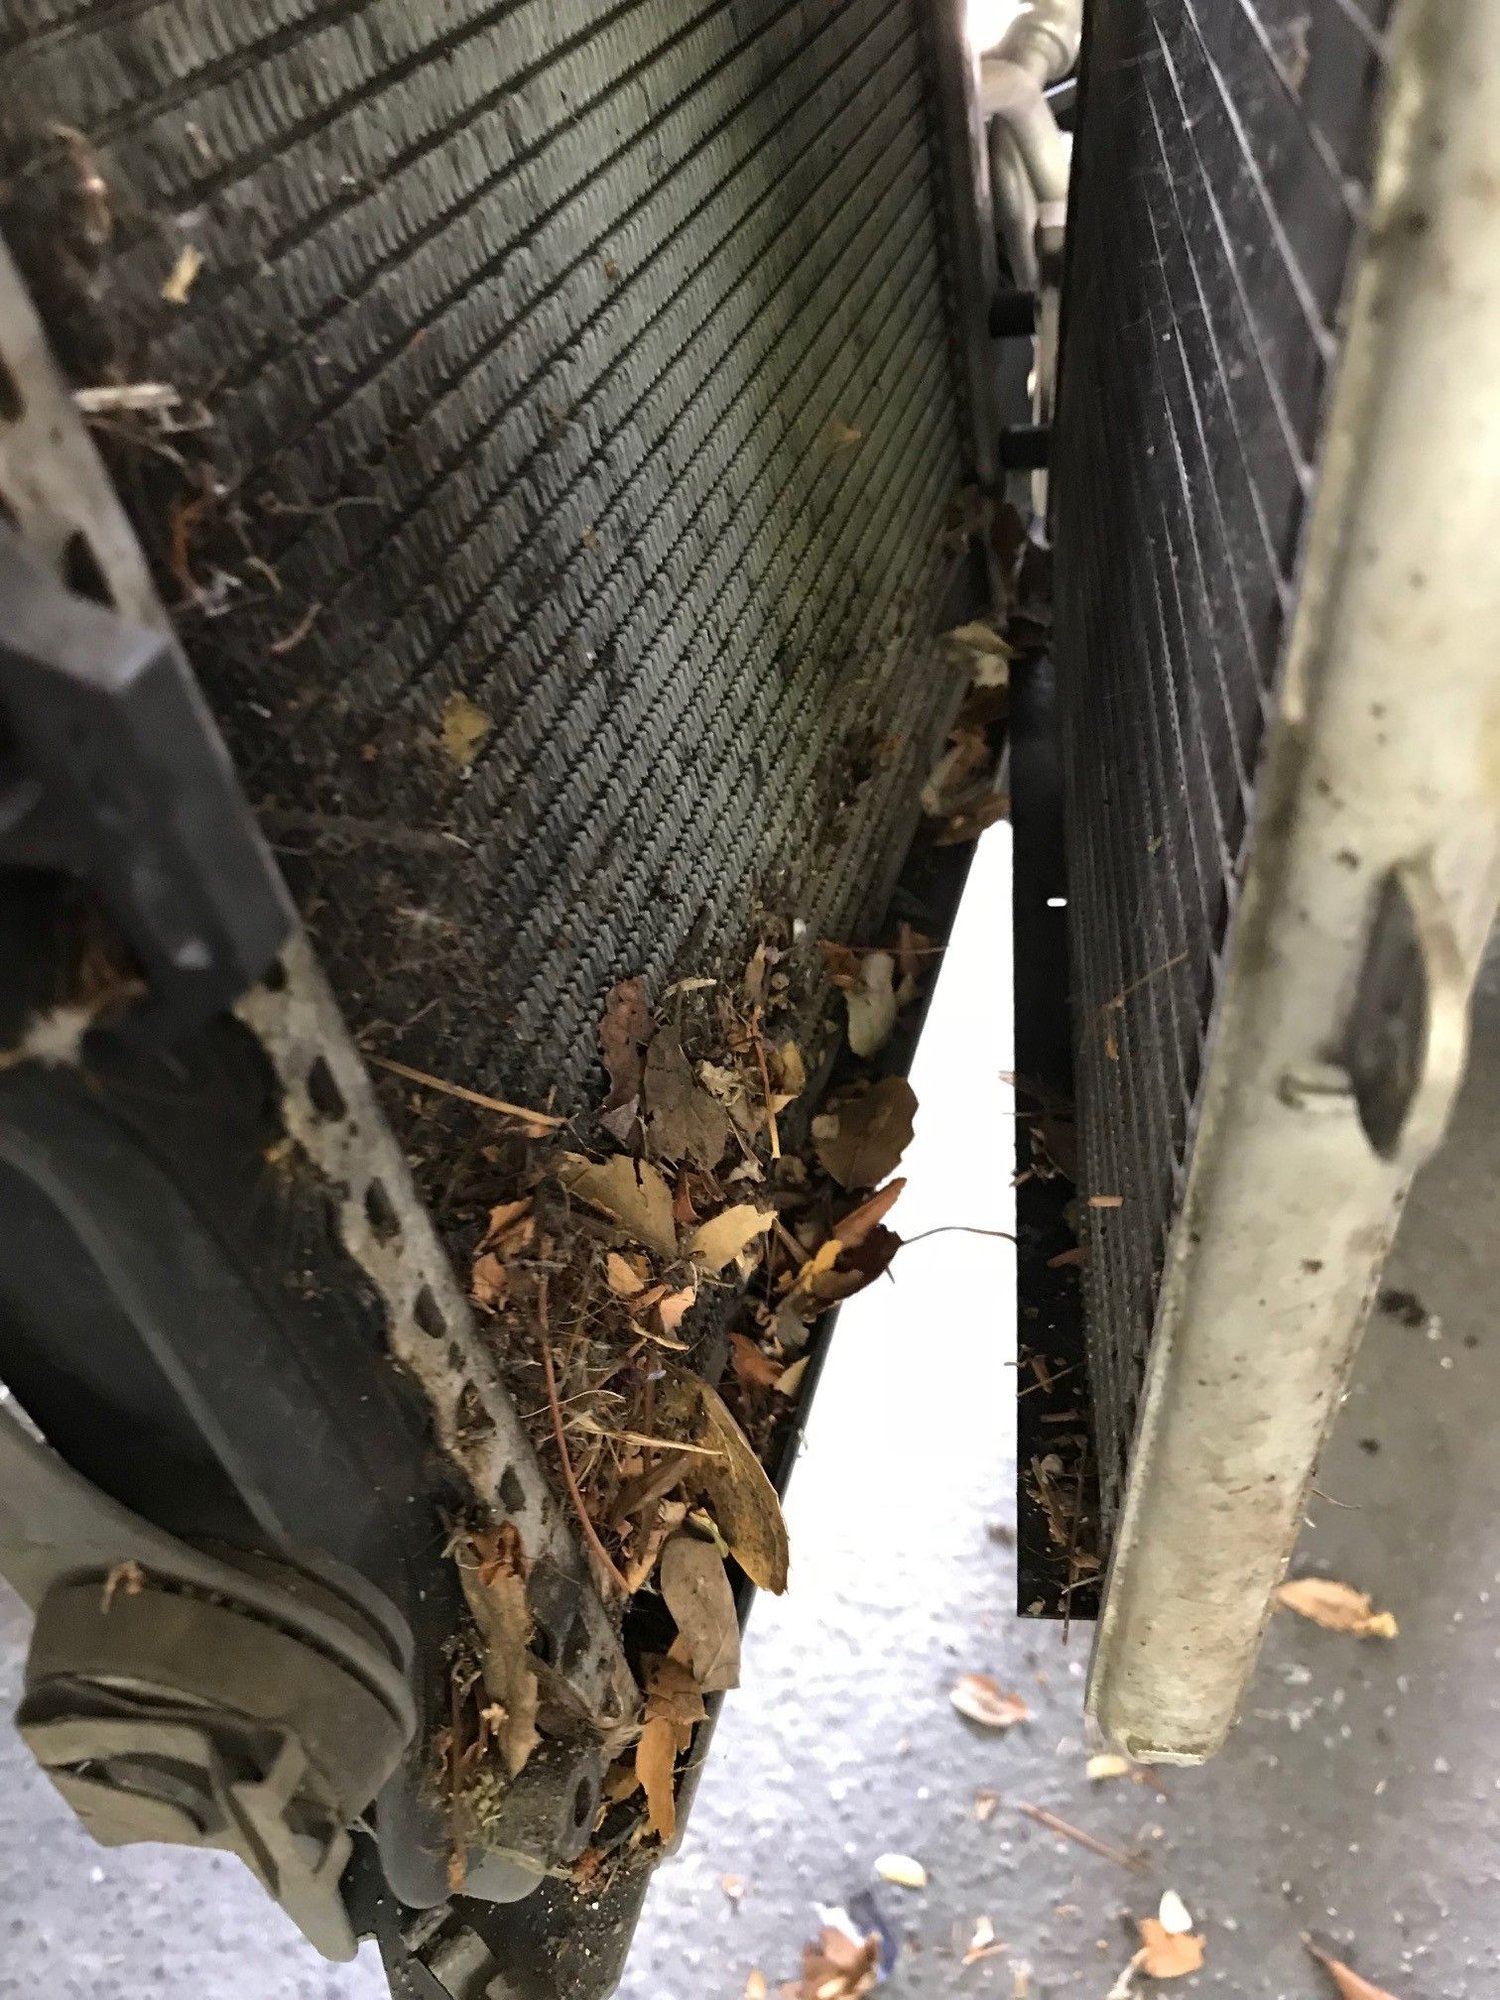
If you're doing this job, pull the condenser away from the radiator behind it. A lot of junk collects there. About a quarter of my radiator areas was blocked. Junk between a condenser and radiator
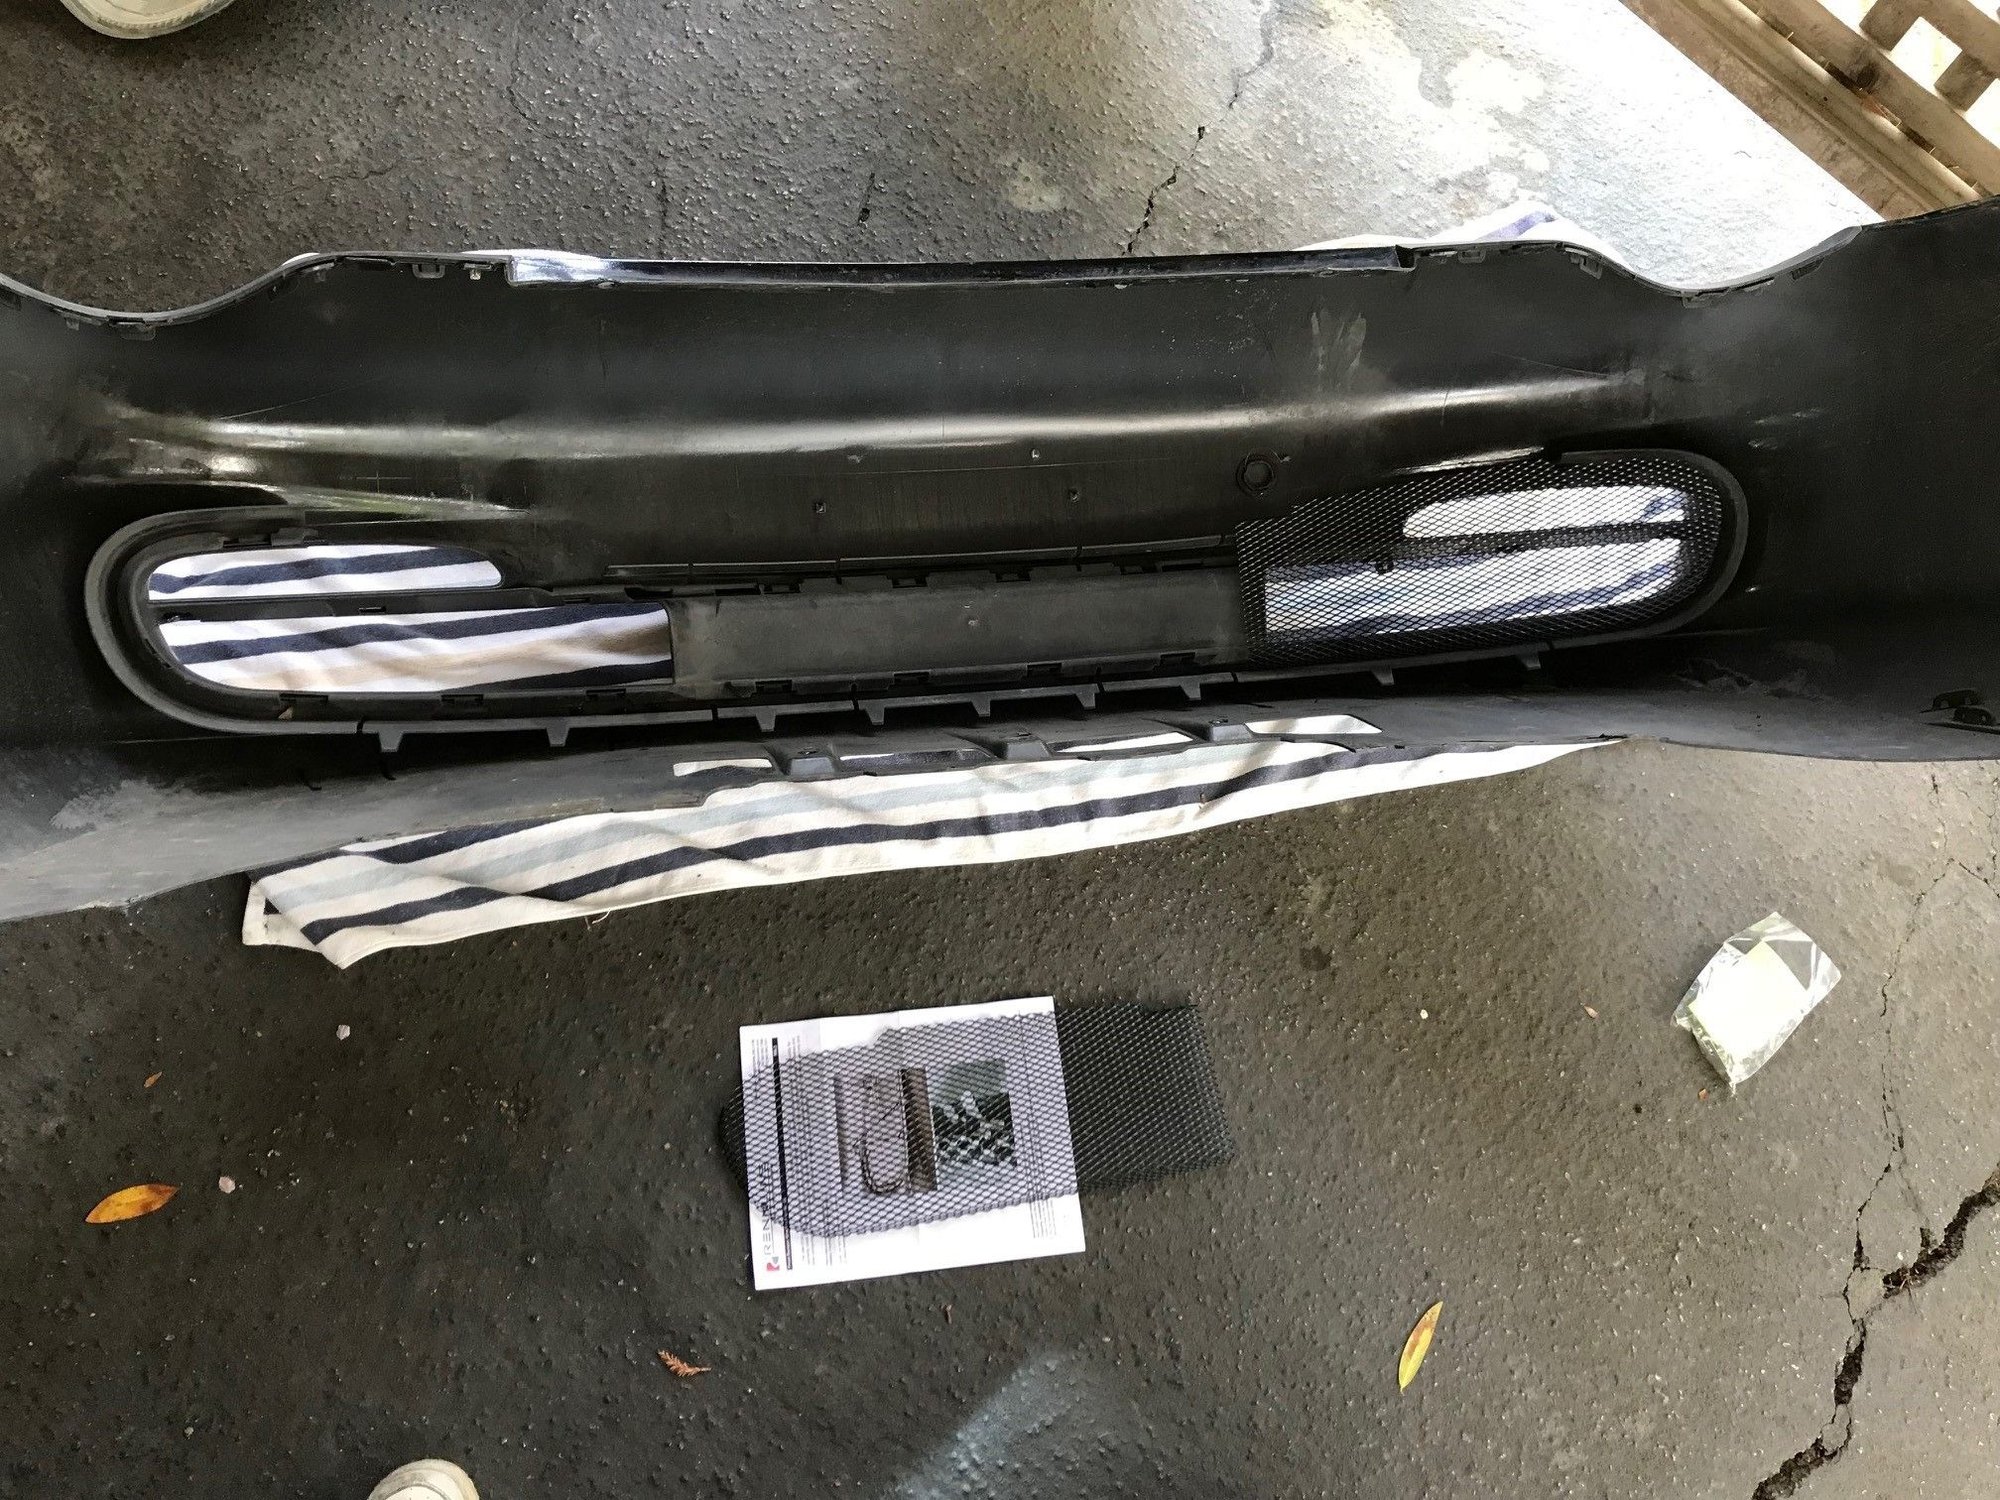
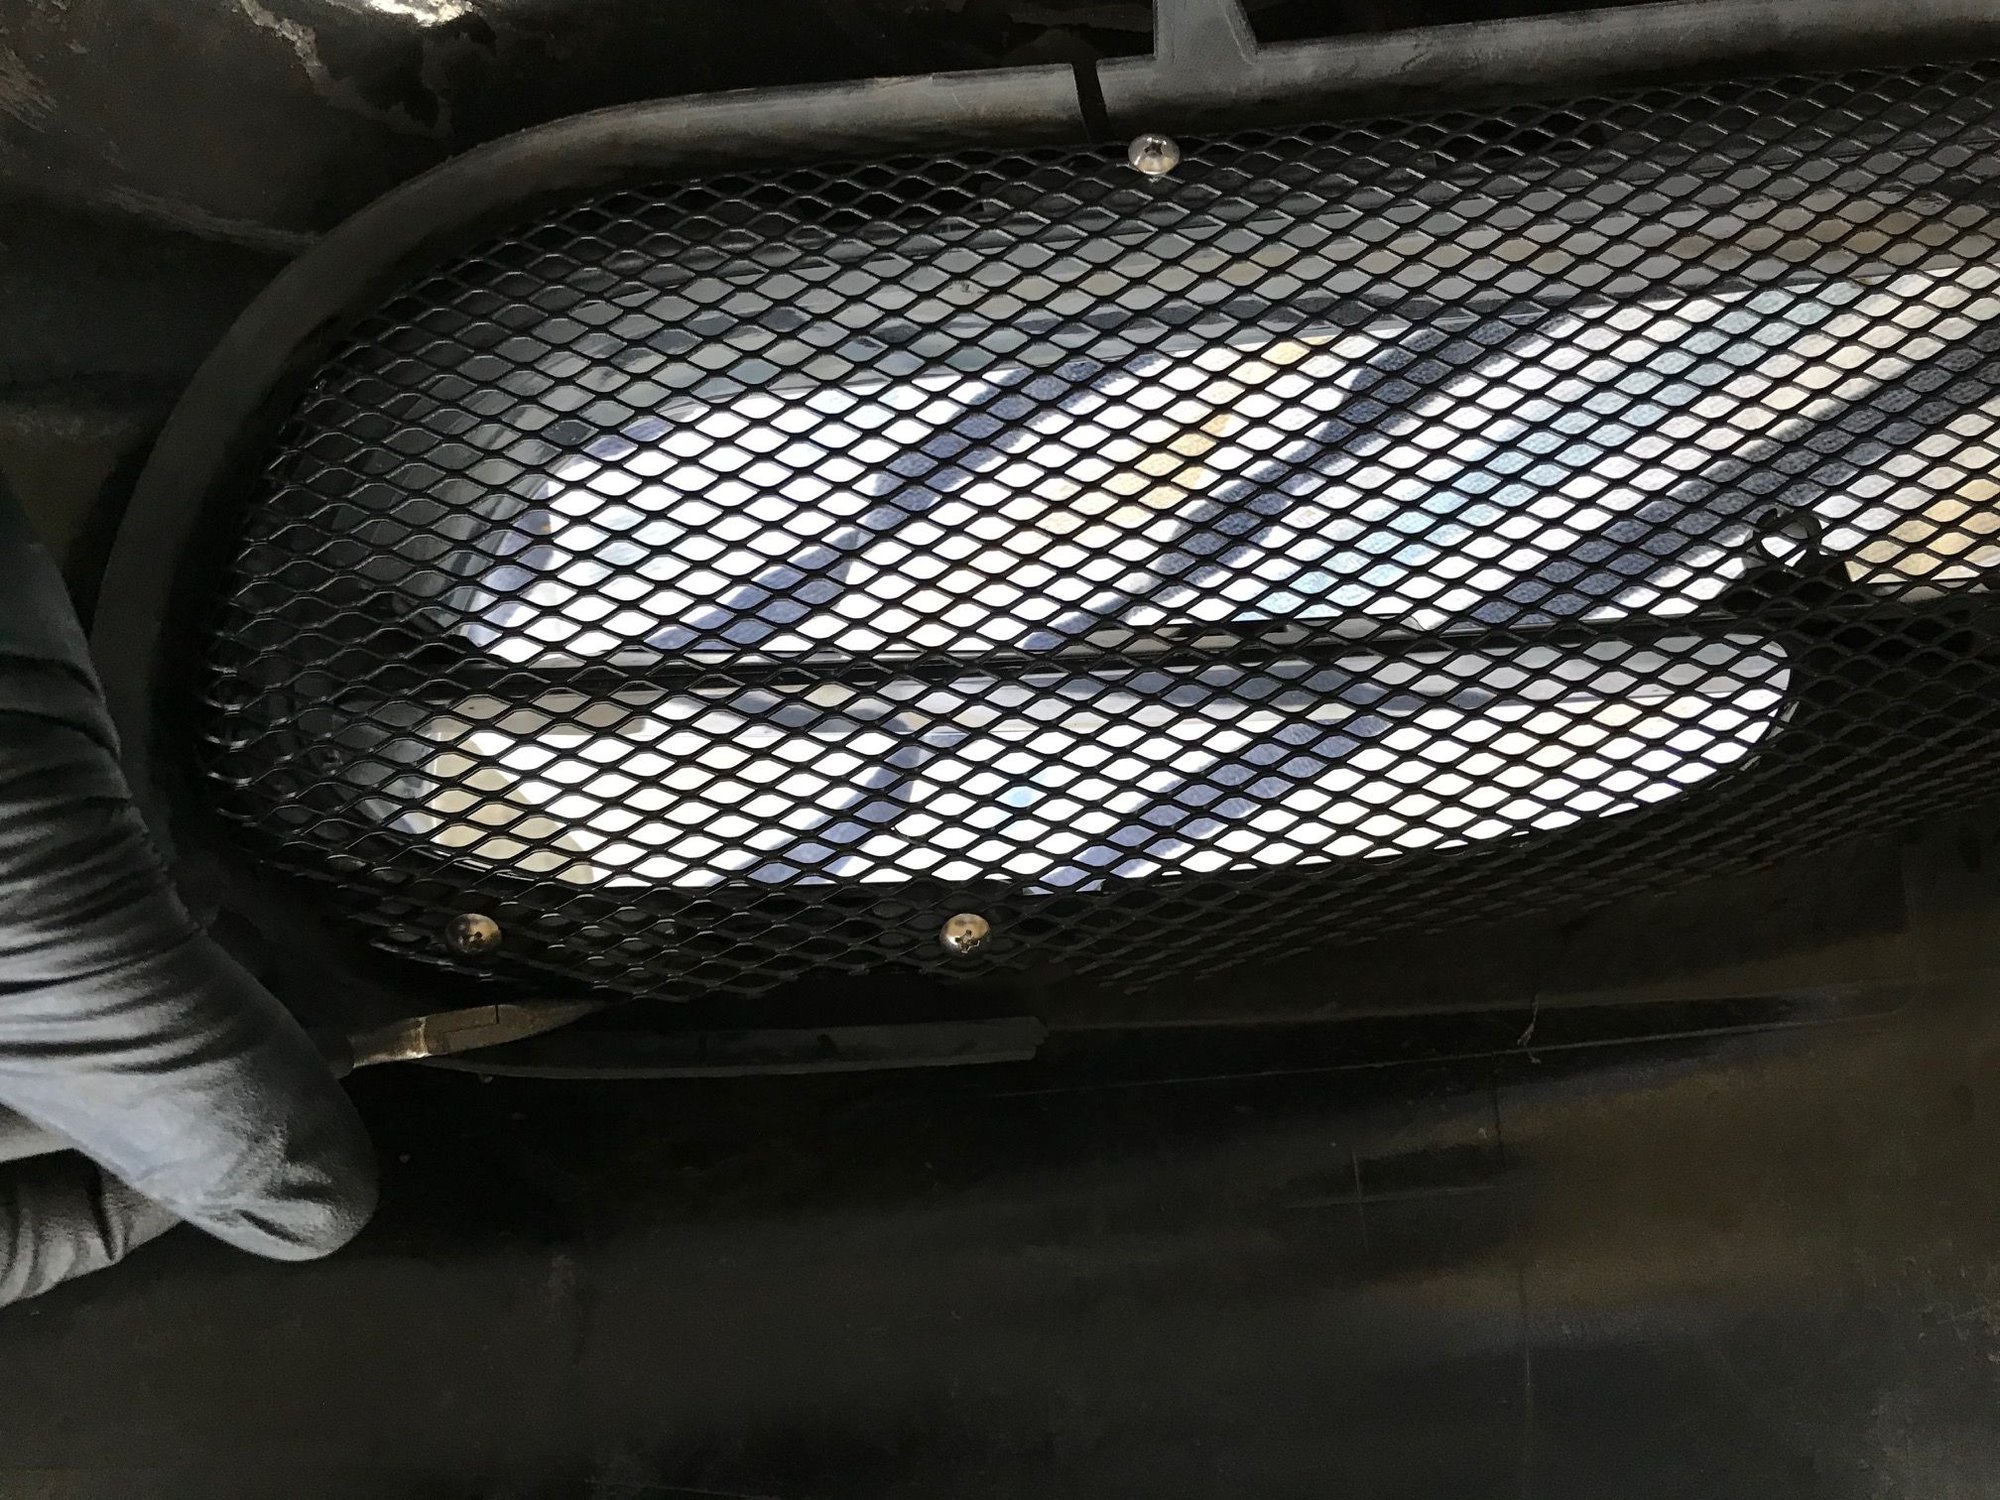
Finally, I got to installing the grilles. They're just mesh that has been custom cut, bent, and painted block. Mounting screws are included. Not much for $275.
One grille has been installed
The grilles were not a perfect fit, so I had to do some bending to ensure that the bumper would slide back on. After screwing the grille on, I bent the mesh down in some places
After grille assembly, I put the car back together. Fortunately I had ordered a bunch of new "exploding" plastic rivets (P/N 999-507-497-40-M58) and fender mounting screws (P/N 999-073-227-09-OEM) to replace the old and lost ones. The external air temperature sensor is no longer mounted in the same place on the bumper, but it's hanging where external air blows past it. Total labor time was about 4.5 hours.
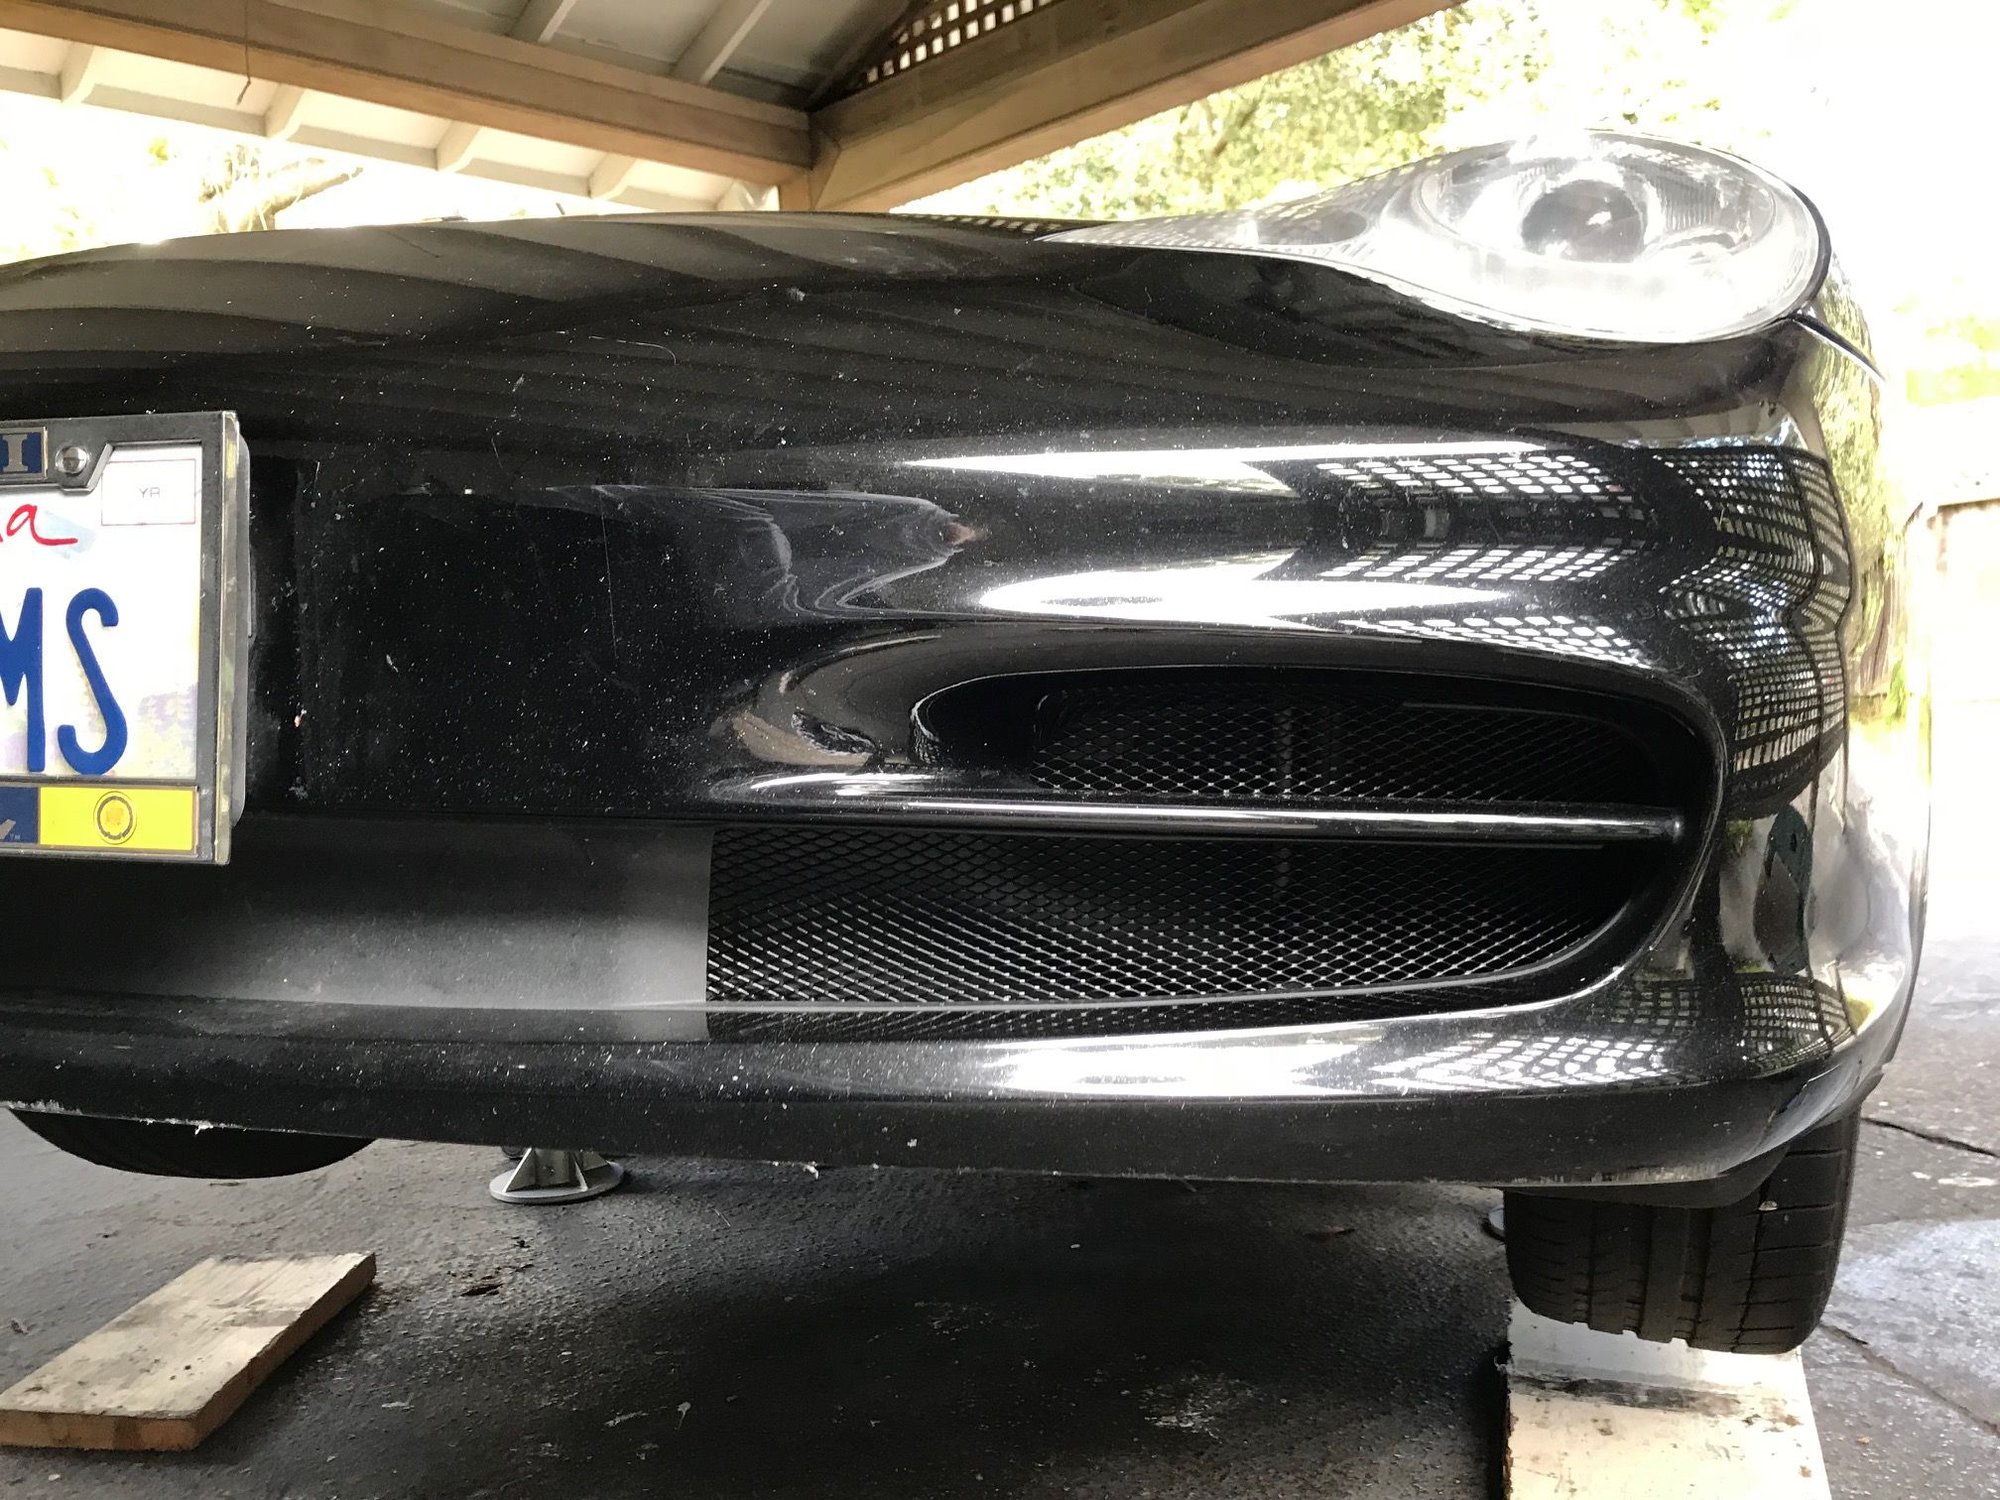
The finished product looks like it came from the factory that way.
So apart from your mods, the car's pretty much factory then... 😉
I'm not a huge fan of cosmetic mods, but have been guilty of modifying suspension (H&R blue lowering springs, and Billy B8s), plus fitting 17mm spacers all round with black bolts (car is Basalt Black C2m).
The spacers are perfect, with the outer rims flush with body. 2-3 degrees negative camber on rear, tyres too new to report on tyre wear yet... The ride height dropped 25mm and I think is perfect now.
The handling markedly improved with minimal drop in ride comfort (she says!).
I have kept all original suspension .
Having said that your car has been tastefully and carefully done. Congratulations.
Last edited by Audidude; 04-09-2018 at 09:22 PM.
Reason: Added comment
So apart from your mods, the car's pretty much factory then... 😉
Ya, it's stock apart from the exterior mods above and the interior mods documented here: https://rennlist.com/forums/996-foru...-upgrades.html .
And a rebuilt engine (IMSB failure) with the X51 option, with X51 intake and exhaust headers.

 03-16-2018, 10:13 PM


 The black ones look good - let us know if they start to rust like the stock ones...