When you click on links to various merchants on this site and make a purchase, this can result in this site earning a commission. Affiliate programs and affiliations include, but are not limited to, the eBay Partner Network.
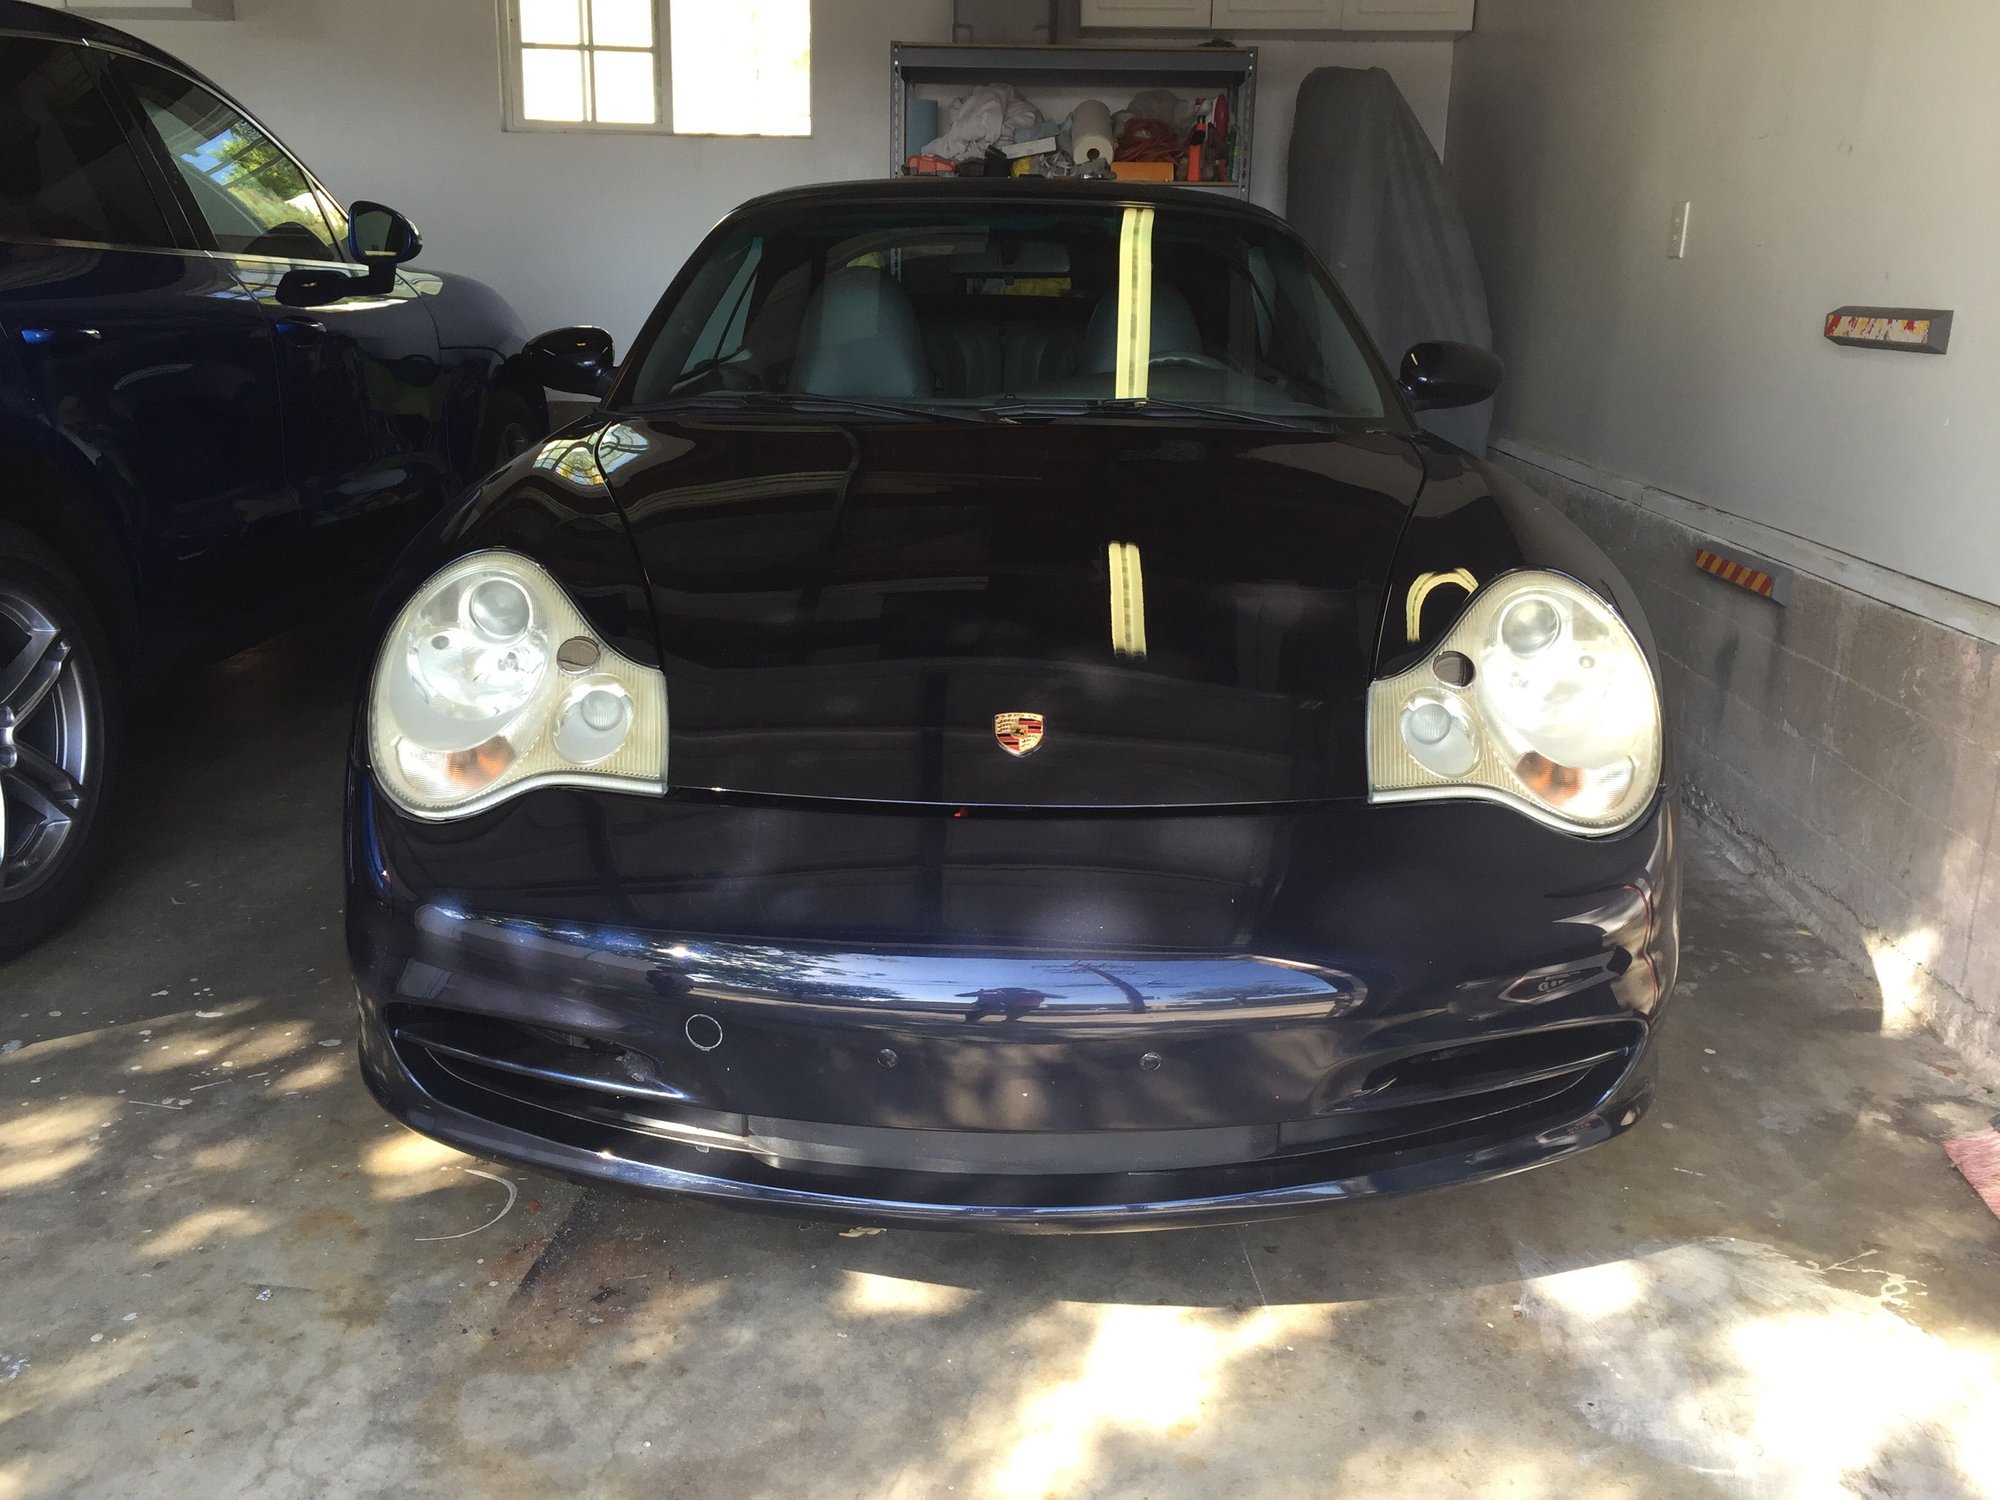
Mine aren't yellow but look like someone "cleaned" them with steel wool. Fine scratches over the majority of the lens. Opinion on whether the sandpaper type kits will remove that. Have used kit before on a bother-in-law's Honda to remove yellow and worked well. Not sure about what the issues of the P-car.
Mine aren't yellow but look like someone "cleaned" them with steel wool. Fine scratches over the majority of the lens. Opinion on whether the sandpaper type kits will remove that. Have used kit before on a bother-in-law's Honda to remove yellow and worked well. Not sure about what the issues of the P-car.
Yes. You're basically using a polish to grind away the top scratched layer. Make sure to apply uv protection after.
In case this helps anyone, I wrote a detailed explanation of how I refinished my headlights here https://rennlist.com/forums/rennlist...-before-4.html. I tried a few different approaches and got the best results with hand sanding with a soft sanding block. And lots of time polishing with a circular polisher.
Last edited by kgoertz; 04-28-2015 at 11:53 PM.
Reason: Thread link wasn't working
I wasn't sold on the Sylvannia kit either. It looks like it requires hand sanding. It would probably be easier to just buy the paper yourself and find something to use as a sanding block. And then decide on a UV protector (opti-coat, clear coat Lamin-x etc.)
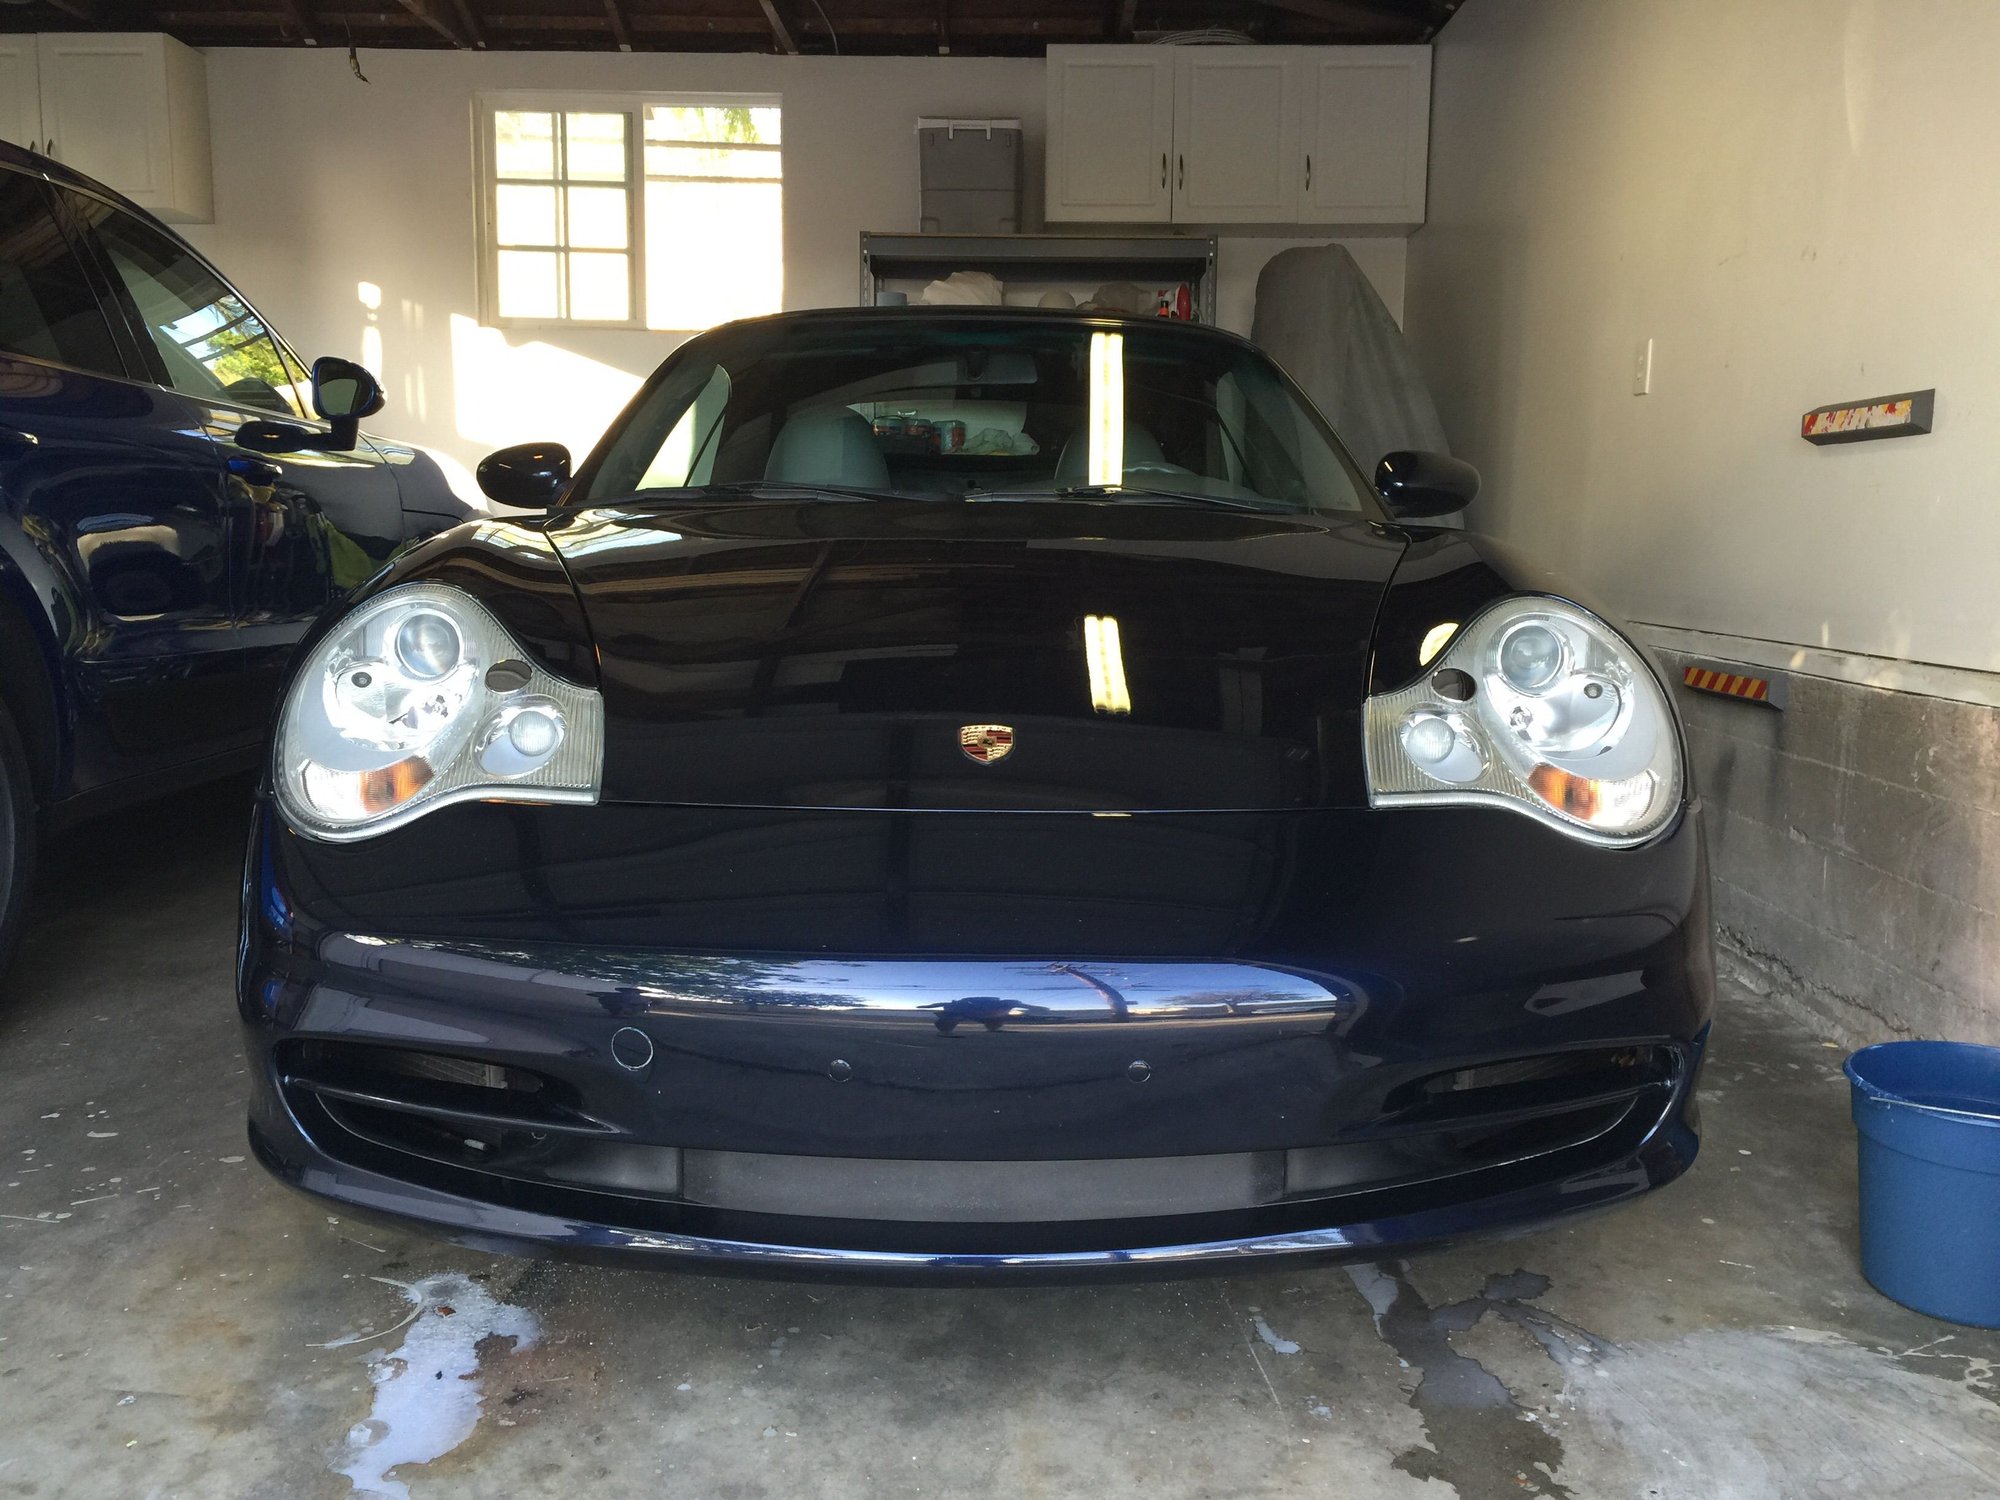
Well, finally got around to doing them this weekend. Very happy with the results.
I used the 3M kit. It came with a polish protectant but I doubt it'll give long term UV protection.
I'll probably buy that separately or pre-cut clear covers.
Nice. I installed the Lamin-x cover on mine about a month ago. They looks good and I'm mostly happy with the results. If I did it again I would probably just get a square piece of the film and cut them myself. The pre-cut covers were a little too small and the headlight washer hole was too large so there are still parts of the headlight that are still exposed to UV.

 04-06-2015, 02:15 PM