Brake Caliper Rebuild
 07-03-2012, 10:46 PM
#16
Well, it seems you are getting faster Pete... maybe cup brake ducts is the way to go.
 09-03-2012, 10:07 PM
#17
Rennlist Member
Thread Starter
Join Date: Nov 2008
Location: Mooresville, IN (Life Long Cheesehead)
Posts: 5,815
Likes: 0
Received 55 Likes
on
36 Posts
Well with a 3 day weekend I decided to finally dig in and do the rebuild. Besides changing thge seals I also added Goodridge SS brake lines. Last to do will be painting the calipers. You need a 10mm and 11mm flare nut wrench and patience. Also pick up some plastic bowls from a parts store for putting calipers in and for catching the brake fluid that comes out. I started at the rt rear and that oozed the most fluid. By the time I got to the left front it was just a drip. With a 13 year old car the brake lines needed some persuasion to get loose. Some fittings came off good after being soaked with PBlaster....others came off with adding heat. I wrapped the areas with wet rags that I did not want to get torched.
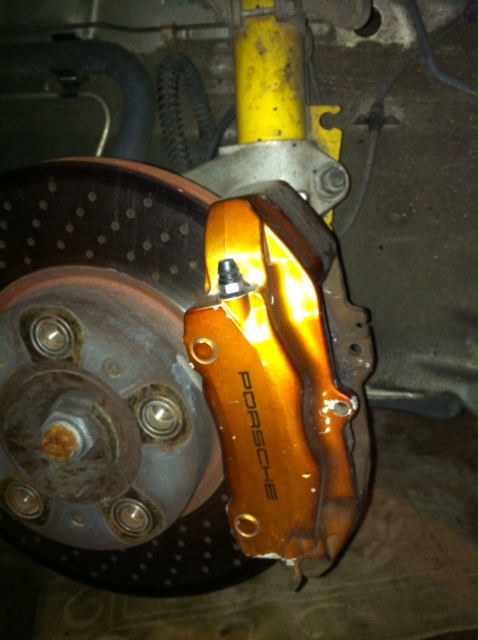
My front left caliper looked like this.
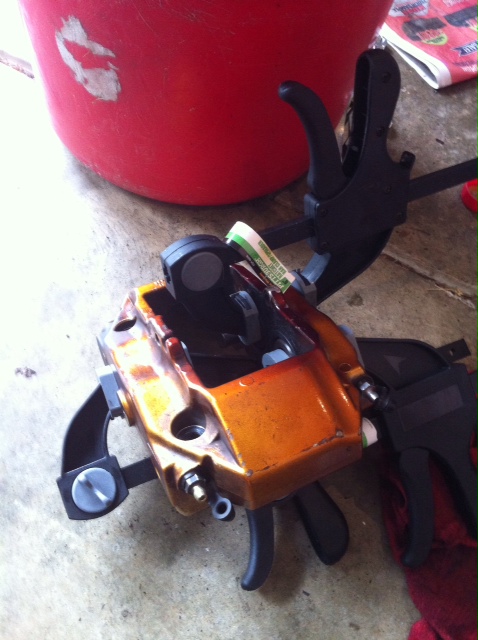
I used the tips from Van's DIY on youtube. The pistons came out one by one by using small clamps and compressed air. Tip is to leave the bleeder screws in the caliper and blow air in the hole where the hard line goes.......and since I'm painting the calipers when I'm done loosen the bleeder screws before you take the caliper off the rotor. I didn't and had a b#tch of time getting them off. I stripped two bleeder screws before that light bulb went off in my head.
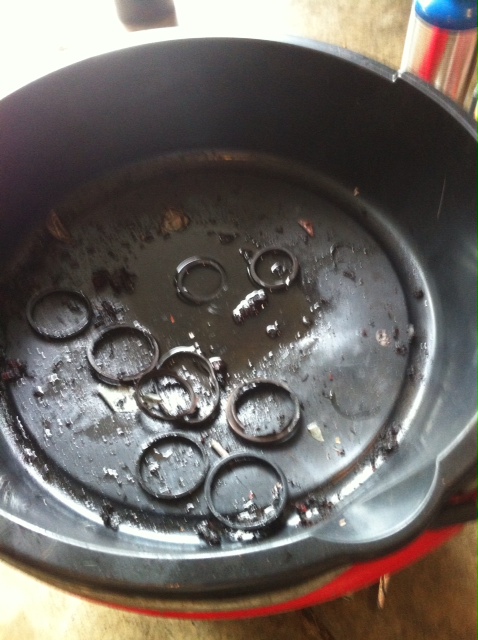
The seals were in very bad shape. They came off in pieces. This is a pic of the spent seals.
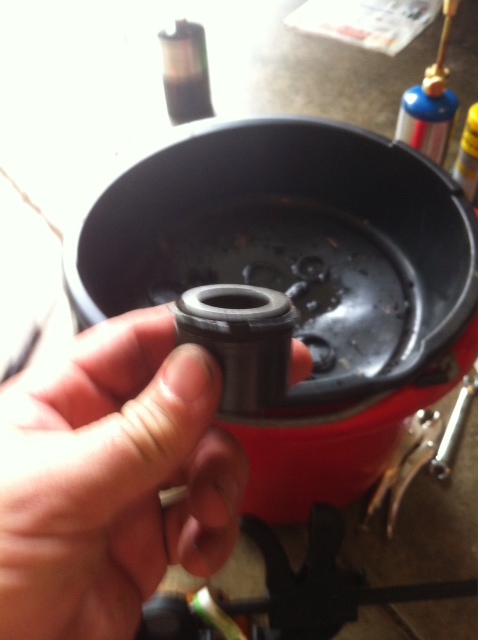
And here is a piston with what is left of the seal.
The seals are 36mm and 40mm. Each caliper gets 2 dust boots and 2 o-rings of the 36 and 40 size. Coat the seals with brake fluid before you install. Use the pistol grip clamps to get the piston seated. Got 4 clamps at Harbor Freight for $8.
I'm still not done but am getting close.......will be driving my buddy's Previa for a few days. I did not take a lot of pics because between the thin rubber gloves and the brake fluid I did not want to ruin my phone. I'll post again when I start to paint the calipers.
My front left caliper looked like this.
I used the tips from Van's DIY on youtube. The pistons came out one by one by using small clamps and compressed air. Tip is to leave the bleeder screws in the caliper and blow air in the hole where the hard line goes.......and since I'm painting the calipers when I'm done loosen the bleeder screws before you take the caliper off the rotor. I didn't and had a b#tch of time getting them off. I stripped two bleeder screws before that light bulb went off in my head.
The seals were in very bad shape. They came off in pieces. This is a pic of the spent seals.
And here is a piston with what is left of the seal.
The seals are 36mm and 40mm. Each caliper gets 2 dust boots and 2 o-rings of the 36 and 40 size. Coat the seals with brake fluid before you install. Use the pistol grip clamps to get the piston seated. Got 4 clamps at Harbor Freight for $8.
I'm still not done but am getting close.......will be driving my buddy's Previa for a few days. I did not take a lot of pics because between the thin rubber gloves and the brake fluid I did not want to ruin my phone. I'll post again when I start to paint the calipers.