When you click on links to various merchants on this site and make a purchase, this can result in this site earning a commission. Affiliate programs and affiliations include, but are not limited to, the eBay Partner Network.
You have to pull the exhaust system to get them out, and fair warning,, I "only" broke 1 header bolt when
I pulled my engine, the guys at flat 6 and the guy that did the heads were impressed.. They said the average was 1/2 of them..
.
That's great thanks for confirming what it is, I thought at first it was a pipe carrying some sort of fluid so at least it's not about to leak!
I think I'll reassess that job for now and treat it with a bit of rust converter if it doesn't appear too bad on closer inspection for now.
LUCKY! Mine had never been off I'm pretty sure, Hoffman was the head guy that told me almost all the heads he gets have broken bolts.
I tracked down some Iconel bolts that I used to put mine back on.. And used never seize on them...
I now have all parts except the hoses and clamps and had booked the day off tomorrow to do the work. Hoses should arrive in a few days.
just wondering if I could put the engine flush in with some distilled water and get the system cleaned out and emptied, swap the thermostat and pump ready, leaving the cooling system empty for a few days.
Then replace hoses once they arrive and vacuum fill with coolant.
Would it be bad to have the system empty for a few days? If so I'll leave it, but would be good to get most of the work done if possible.
I do sometimes feel like I overthink everything with this car!
Thanks, I've made a start. So far I'm glad to say no issues, I sprayed all the bolts a few days ago and so far all have come off quite easily.
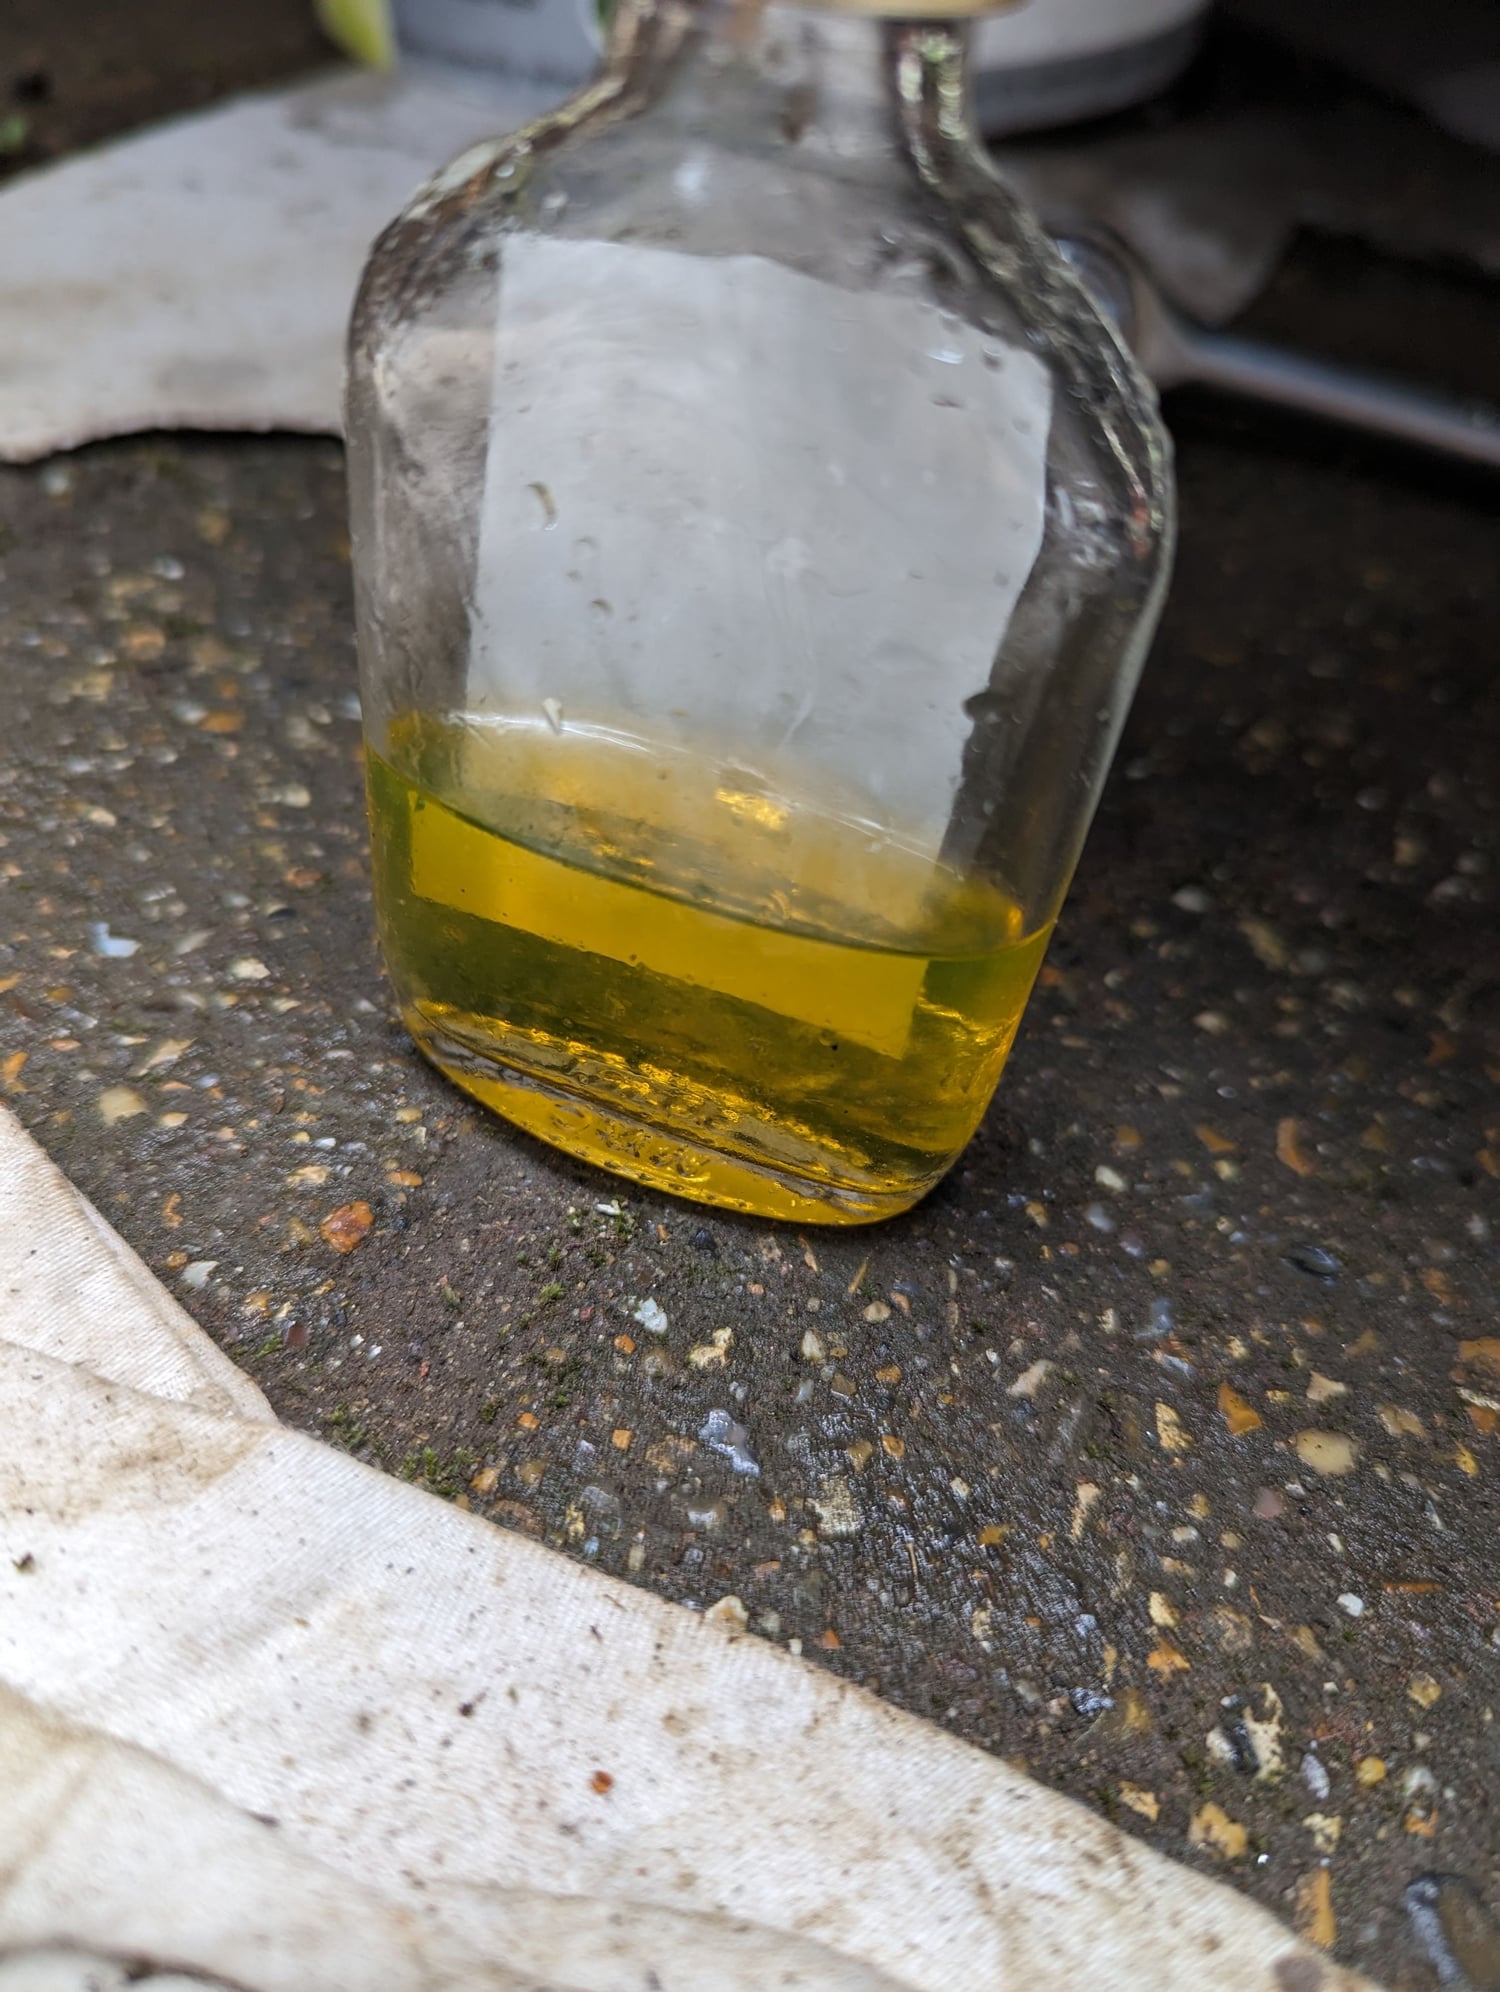
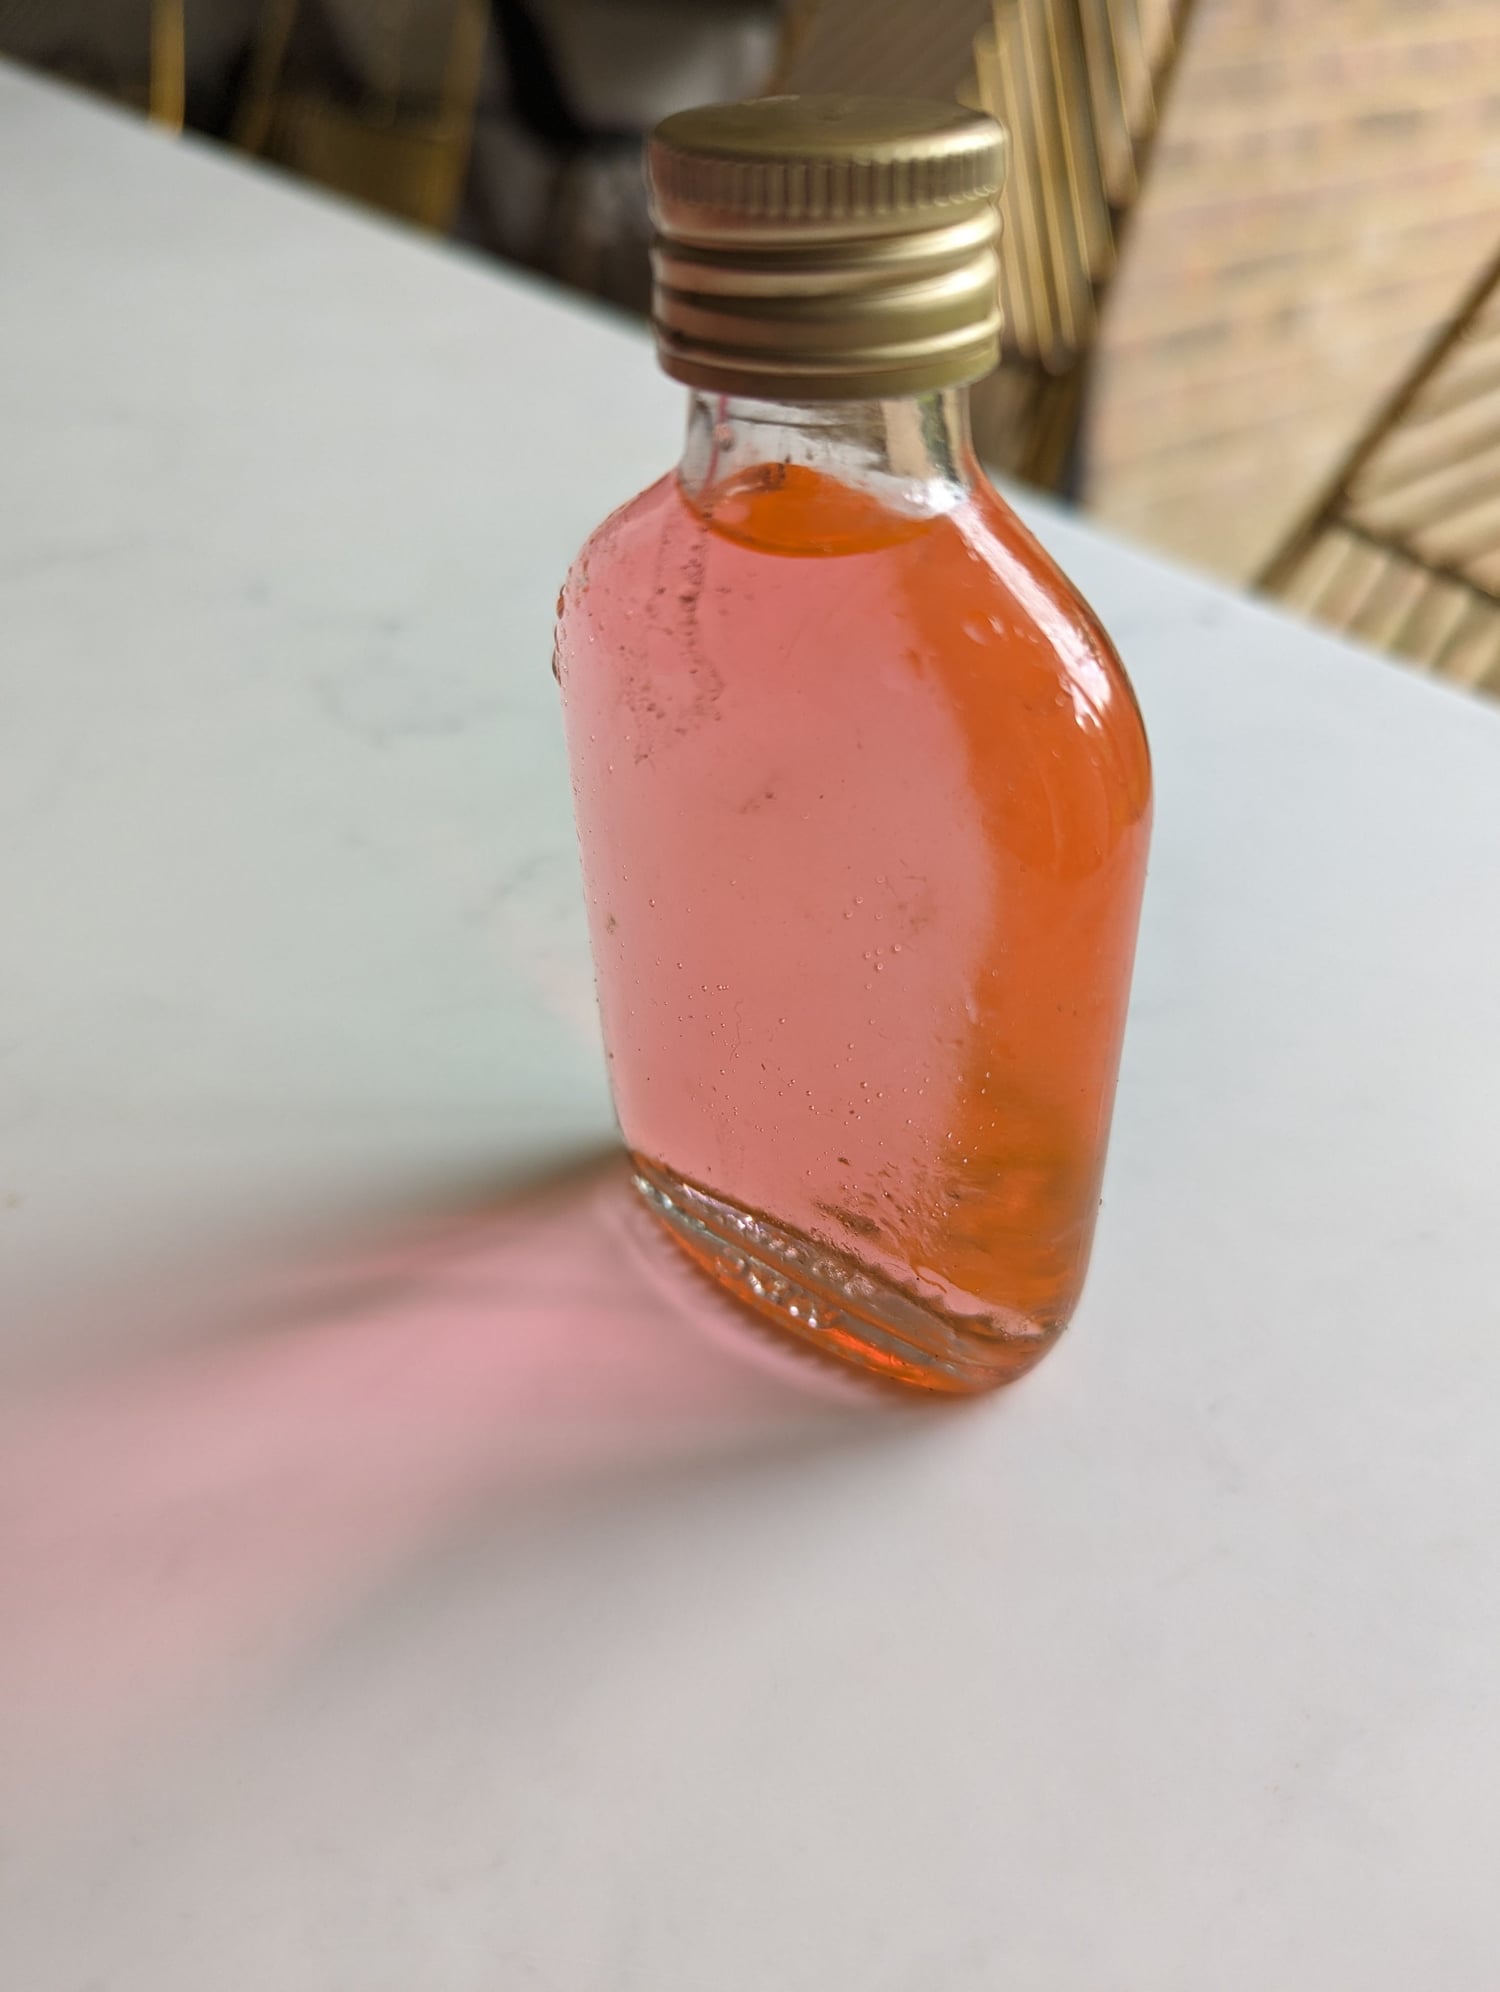
Coolant coming out looks very clean. I thought I'd do an experiment and mix some of the old with the new coolant to see if they react to form a gel. The old is luminous green/ yellow and the new is red/pink.
Not sure how quick they will react if they are going to at all but so far nothing.
Porsche had a green coolant that was used in the "early 99 996", it was a carry over from the 944-968-928 water-cooled cars. It was soon replaced by the newer coolant but they sent out a TSB saying the newer coolant was compatible with "thier" older green coolant..( not to say that it was compatible with any ole green coolant)
So if you are a die-hard "purest" with an early car, you may want to search for some NOS Genuine Official Porsche Green coolant for your car...
Last edited by Porschetech3; 09-02-2023 at 02:26 PM.
Thanks, I've made a start. So far I'm glad to say no issues, I sprayed all the bolts a few days ago and so far all have come off quite easily.
Coolant coming out looks very clean. I thought I'd do an experiment and mix some of the old with the new coolant to see if they react to form a gel. The old is luminous green/ yellow and the new is red/pink.
Not sure how quick they will react if they are going to at all but so far nothing.
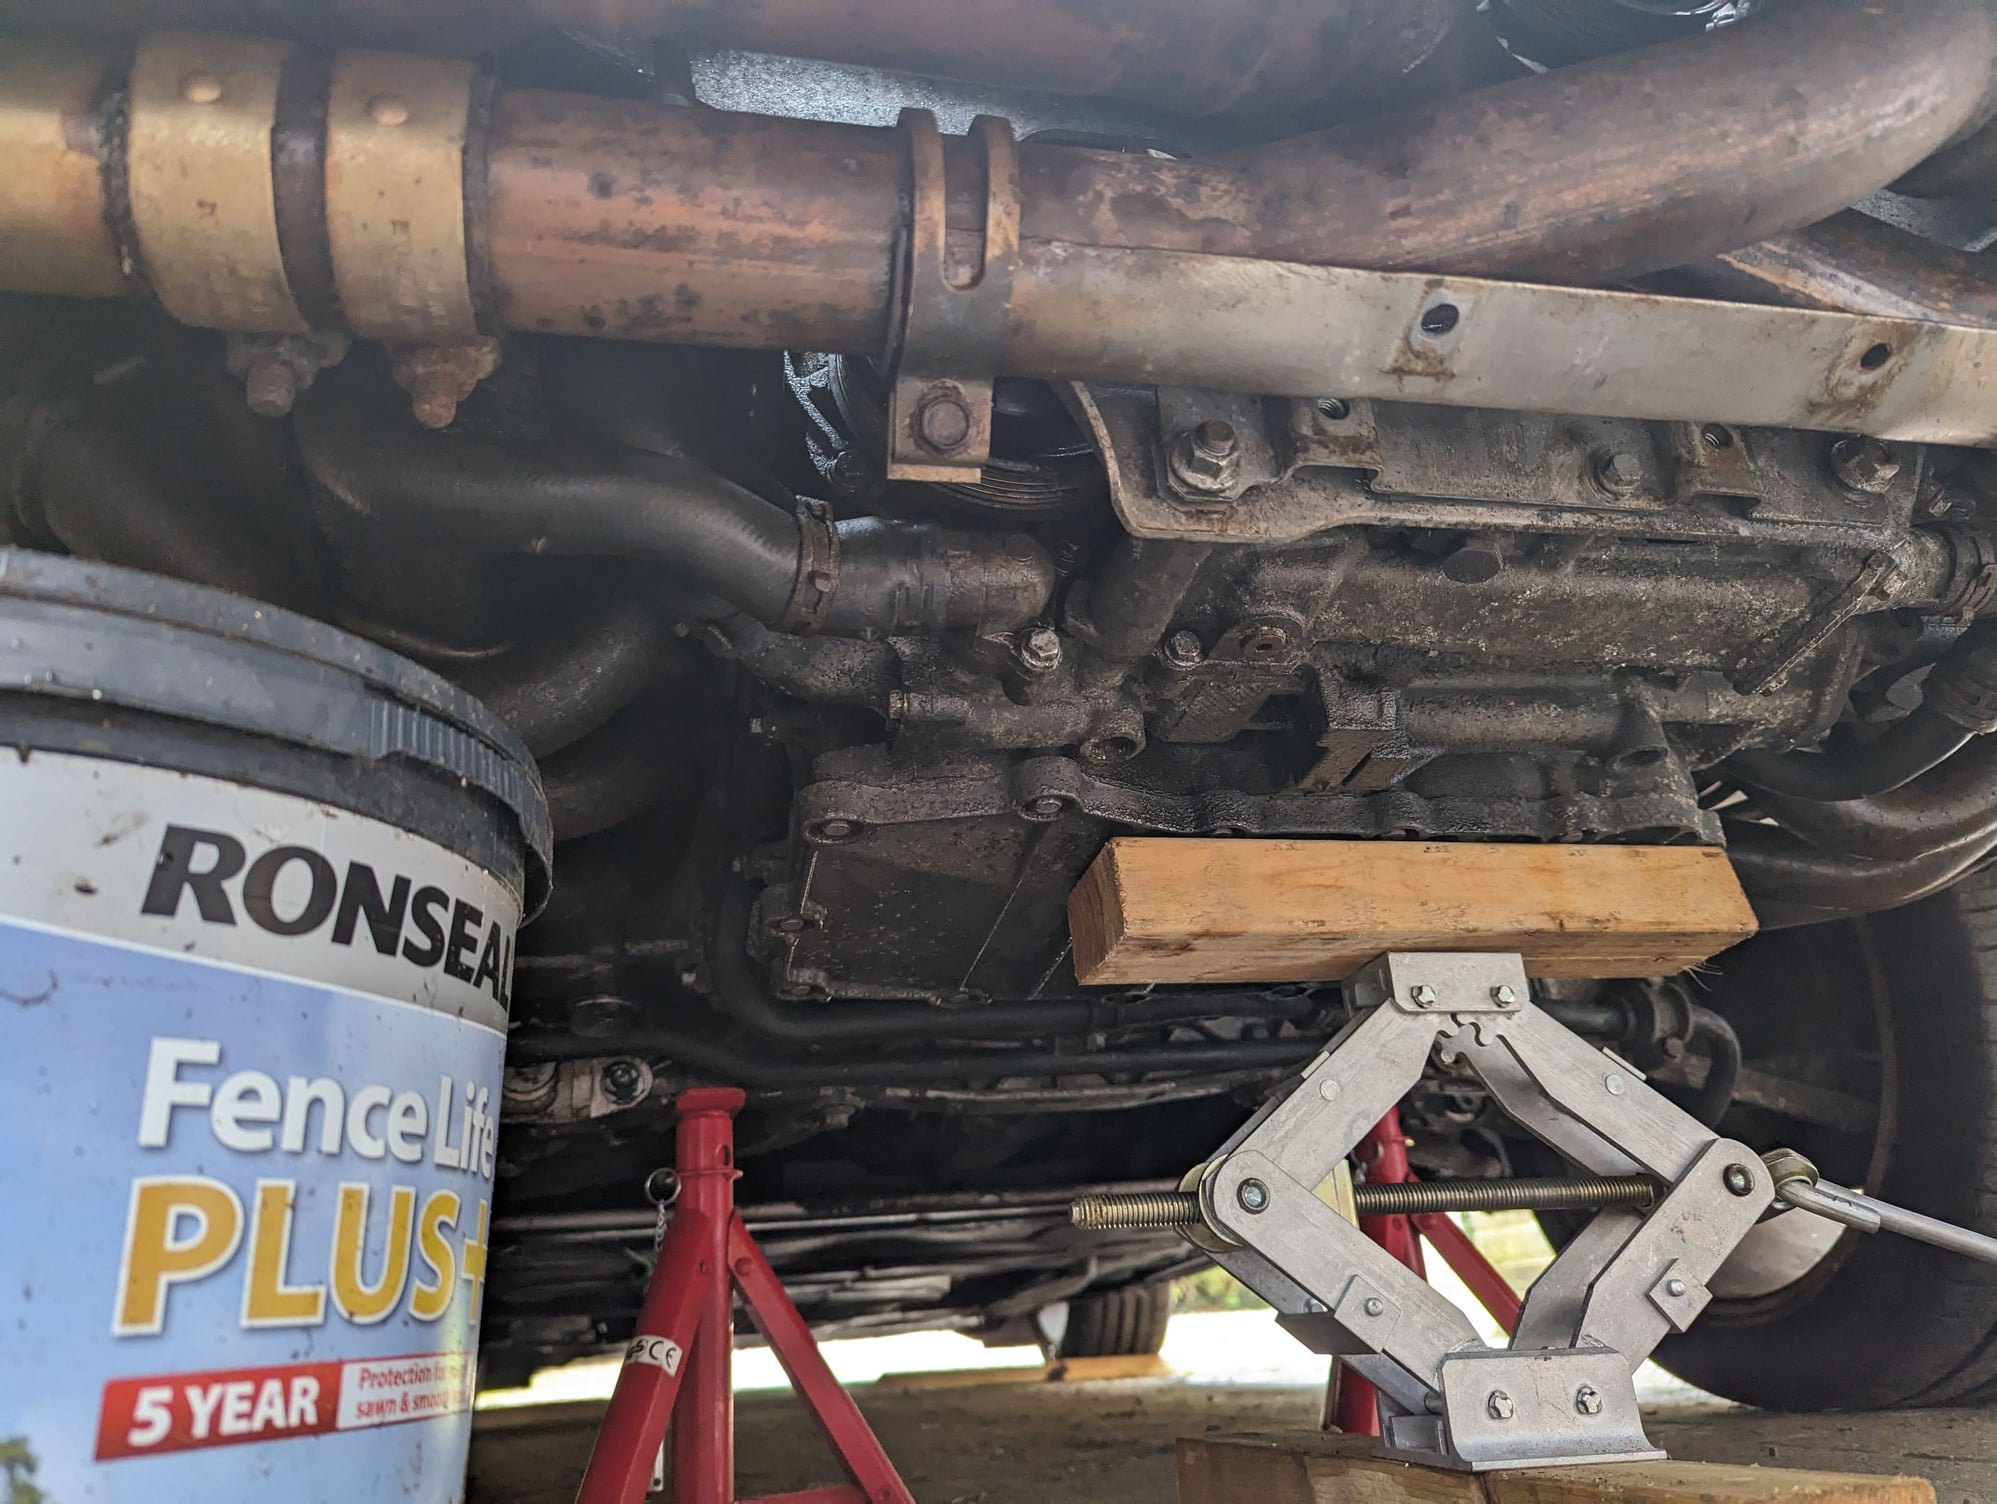
Was at another forum members garage and he showed me a sump plate that was jacked up like yours. It had a large crack in it from being jacked/supported just like in your pic. Maybe he'll chime in..?
I know, many do this, but... Those sump covers are not thick and from what I've seen, not a good jacking point...
I certainly take your point on this, in my defence it's actually right on the edge so there is sump casing above, rather than it being jacked in the middle of the cover where I understand it would potentially crack.
out of interest where should it be supported for future reference?
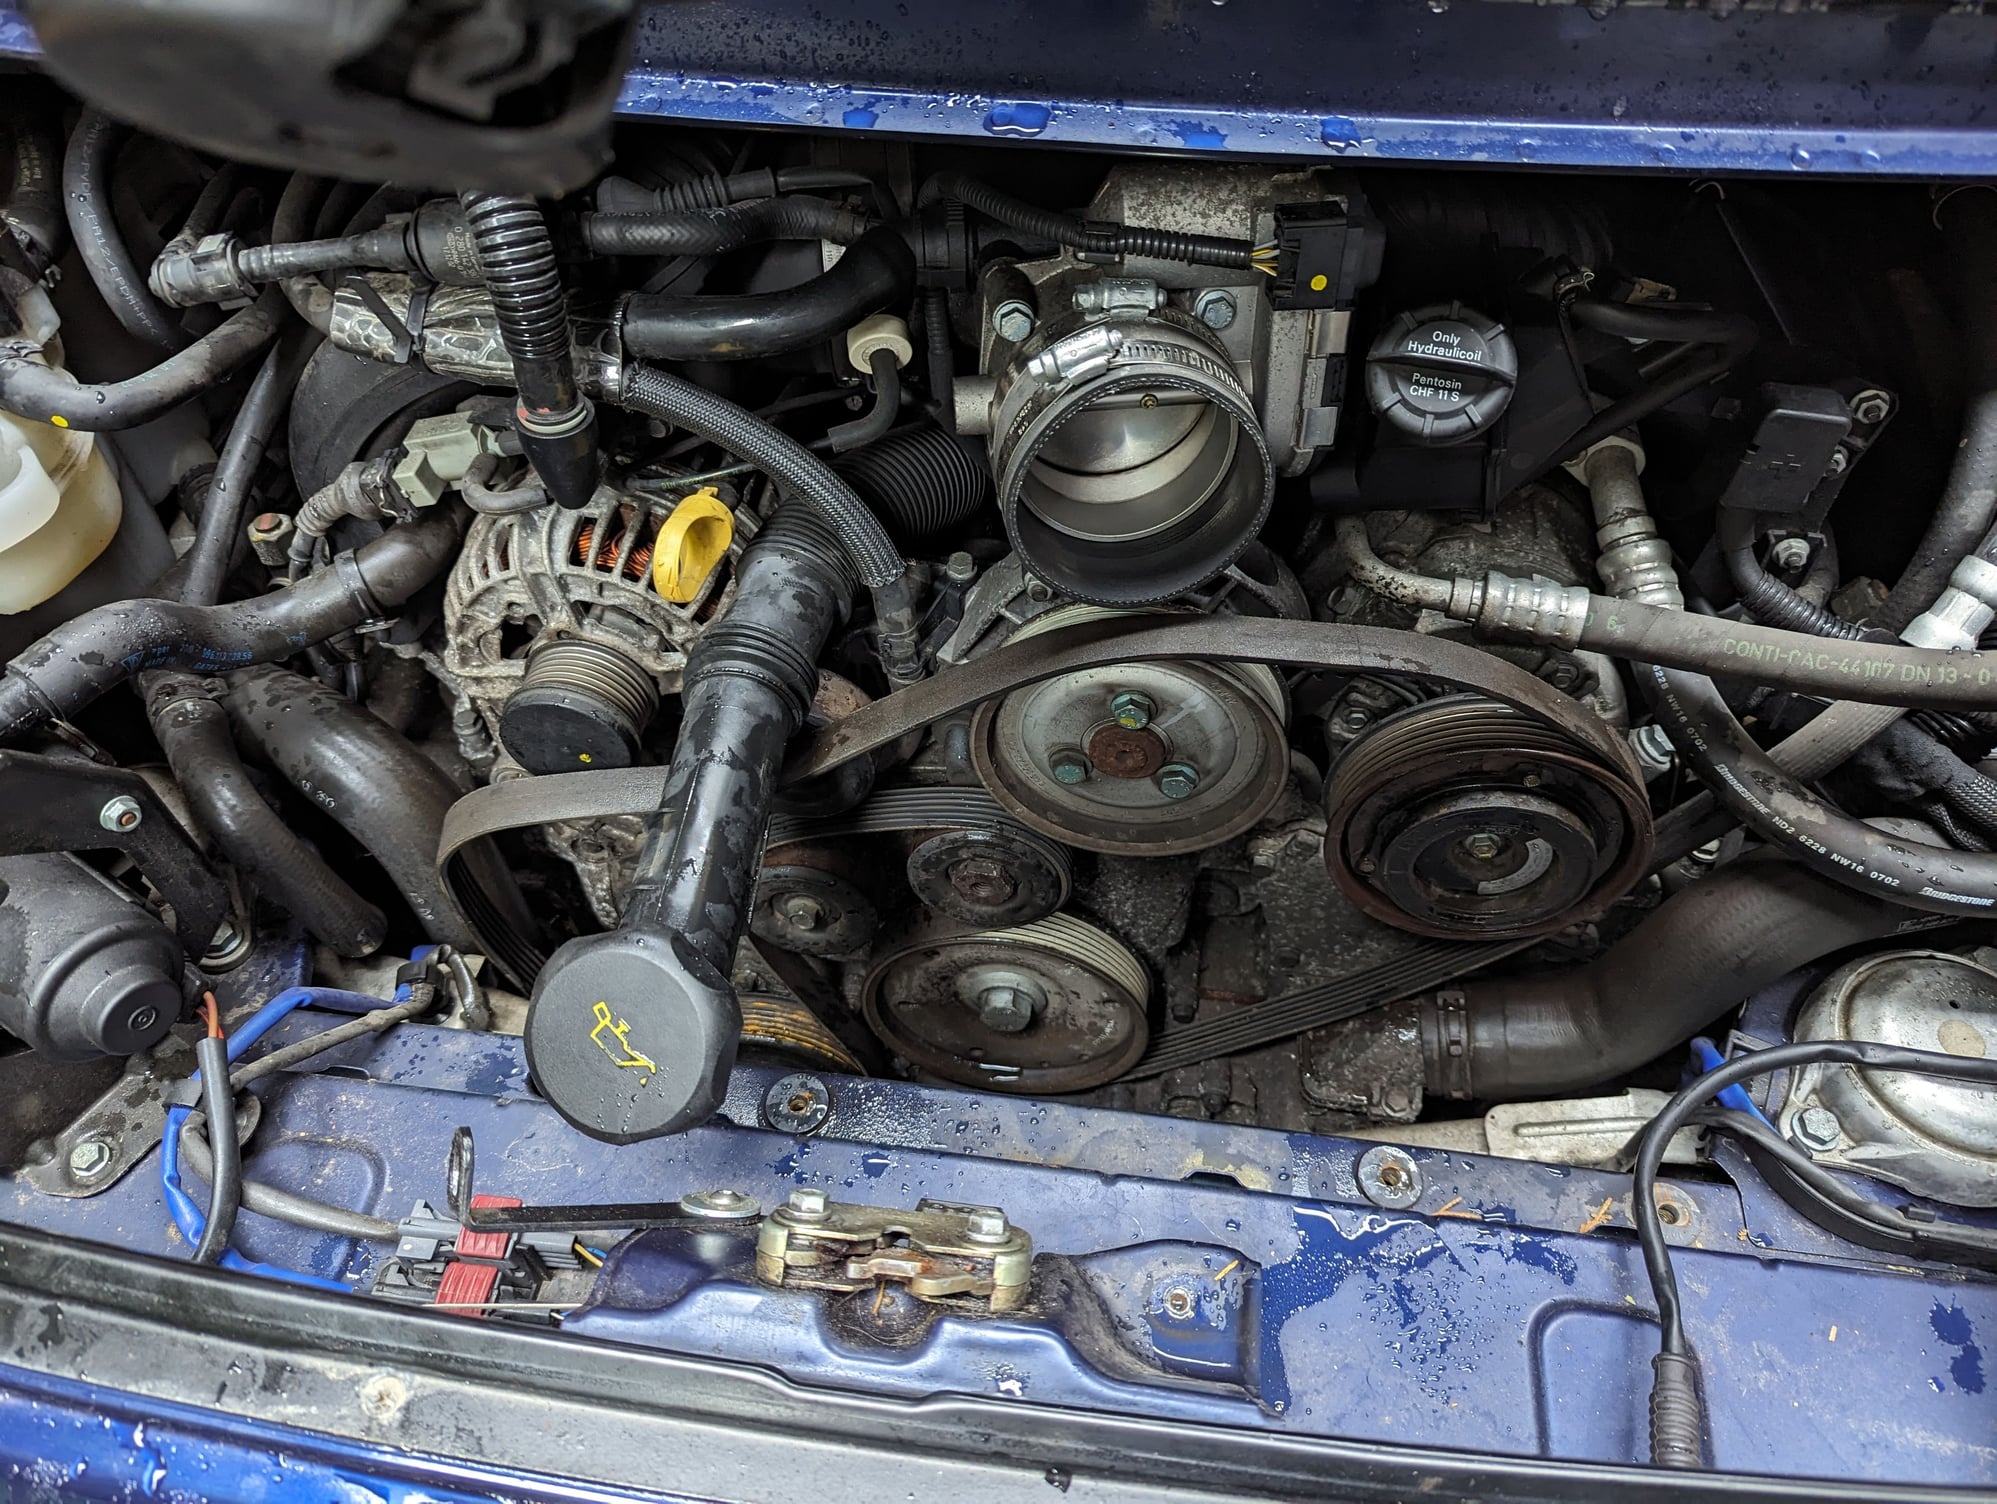
The job went pretty smoothly, though took me a lot of fiddling to get the pump out and I broke 3 of the impeller veins doing it, but recovered all the broken pieces. I was naturally more careful getting the new pump in!
The old pump appeared to be in visibly good condition, but there was a tiny amount of play which I expect is all that's needed to produce a leak, so hopefully that's definitely the cause. The pump had a year stamp of 07 and the thermostat shows 01. Since the car is 03, looks like the stat is original and the pump has been replaced once before.
Also getting the replacement belt on was extremely difficult, it was a Febi and I think I would try another brand next time. Just awaiting replacement hoses so I can finish the job now
To update on progress- I've now completed the work. I got the replacement hoses on yesterday.
I used the vacuum method having bought an eBay lit and borrowed a compressor. It seemed to work fine but couldn't get the pressure as low as the recommended level, but close to it. Held it for 20 mins and no sign of leaks.
Refilled using the siphon hose and topped up to max, ran the car and topped up again.
Took it for another drive and checked the water pump housing which is completely dry. So far so good!
Thanks to all who have helped and I would echo what I have read on several posts- it might seem like a daunting job, but follow the posts and videos others have made, take your time and it's not too tricky if you are reasonably confident. Also very rewarding to do.
I now have an AC compressor magnetic clutch to replace on my A4 B8, hopefully that goes as smoothly as this job!
FWIW, the engine lift point is the steel mount at the rear of the engine that the motor mounts hook to.
Otherwise a 3/4 inch thick piece of plywood thats bigger than the sump cover with a pad of a couple layers of cardboard will spread the load.
That engine is WAY heavier than most people realize.. Its heavier than my 5.3 chevy aluminum V8 in my other toy.

 08-29-2023, 08:41 PM


 LUCKY! Mine had never been off I'm pretty sure, Hoffman was the head guy that told me almost all the heads he gets have broken bolts.