When you click on links to various merchants on this site and make a purchase, this can result in this site earning a commission. Affiliate programs and affiliations include, but are not limited to, the eBay Partner Network.
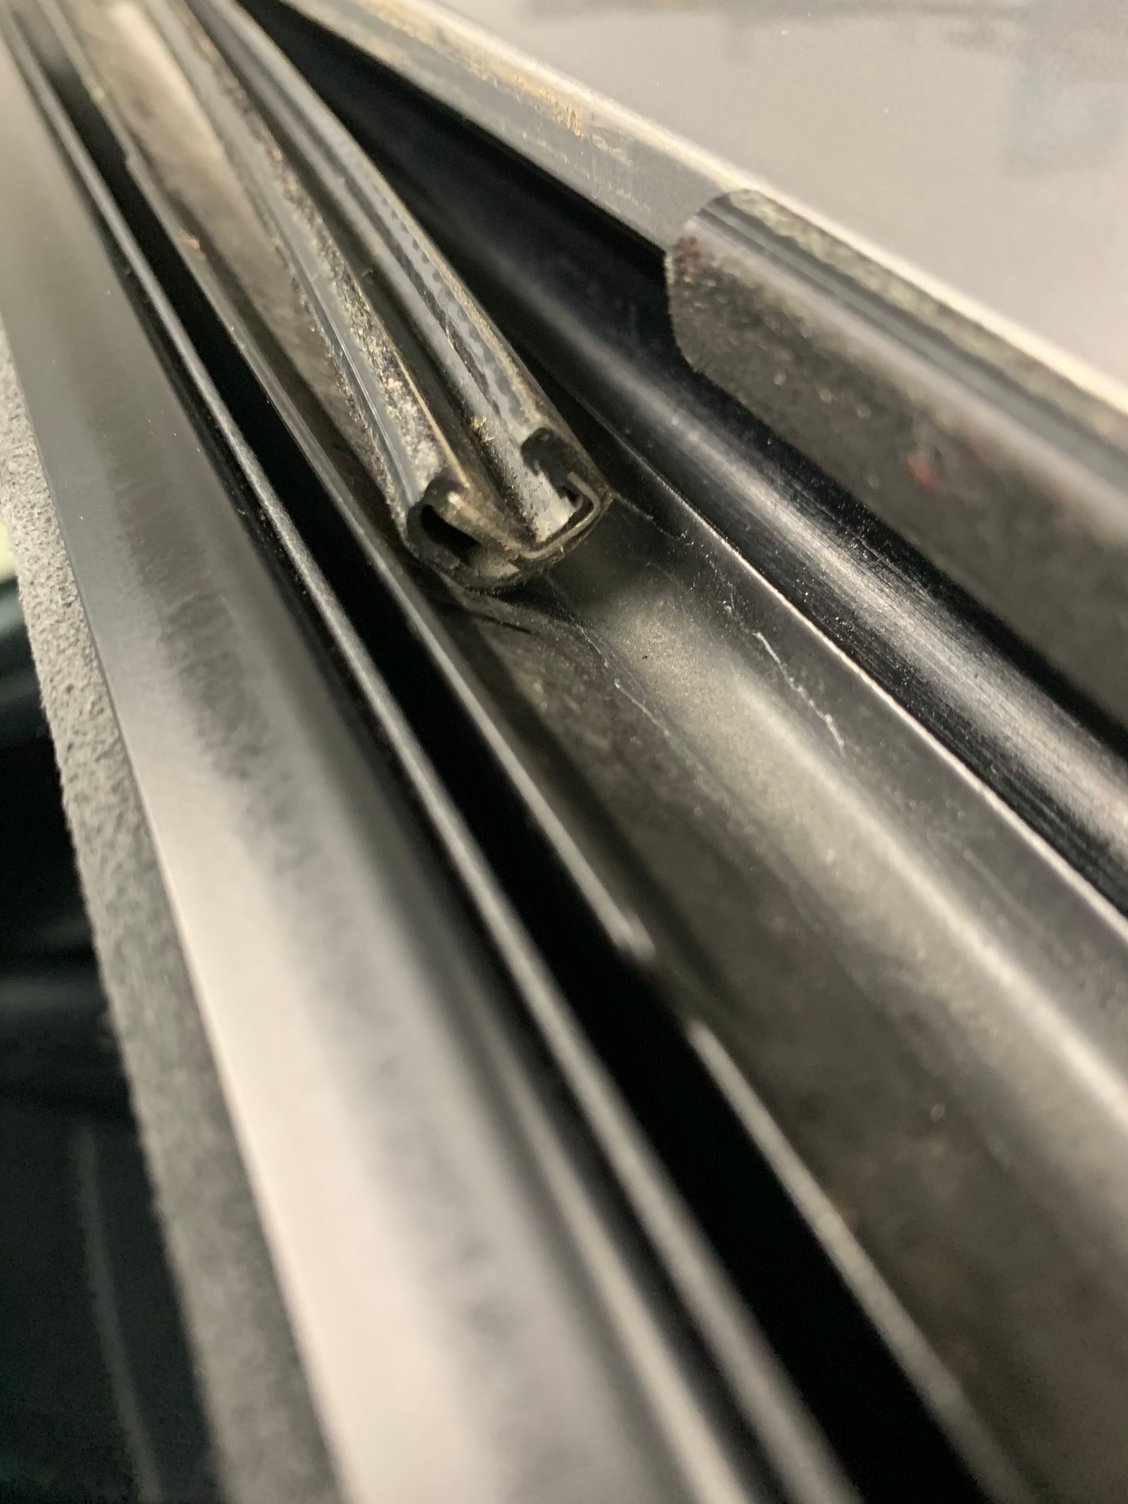
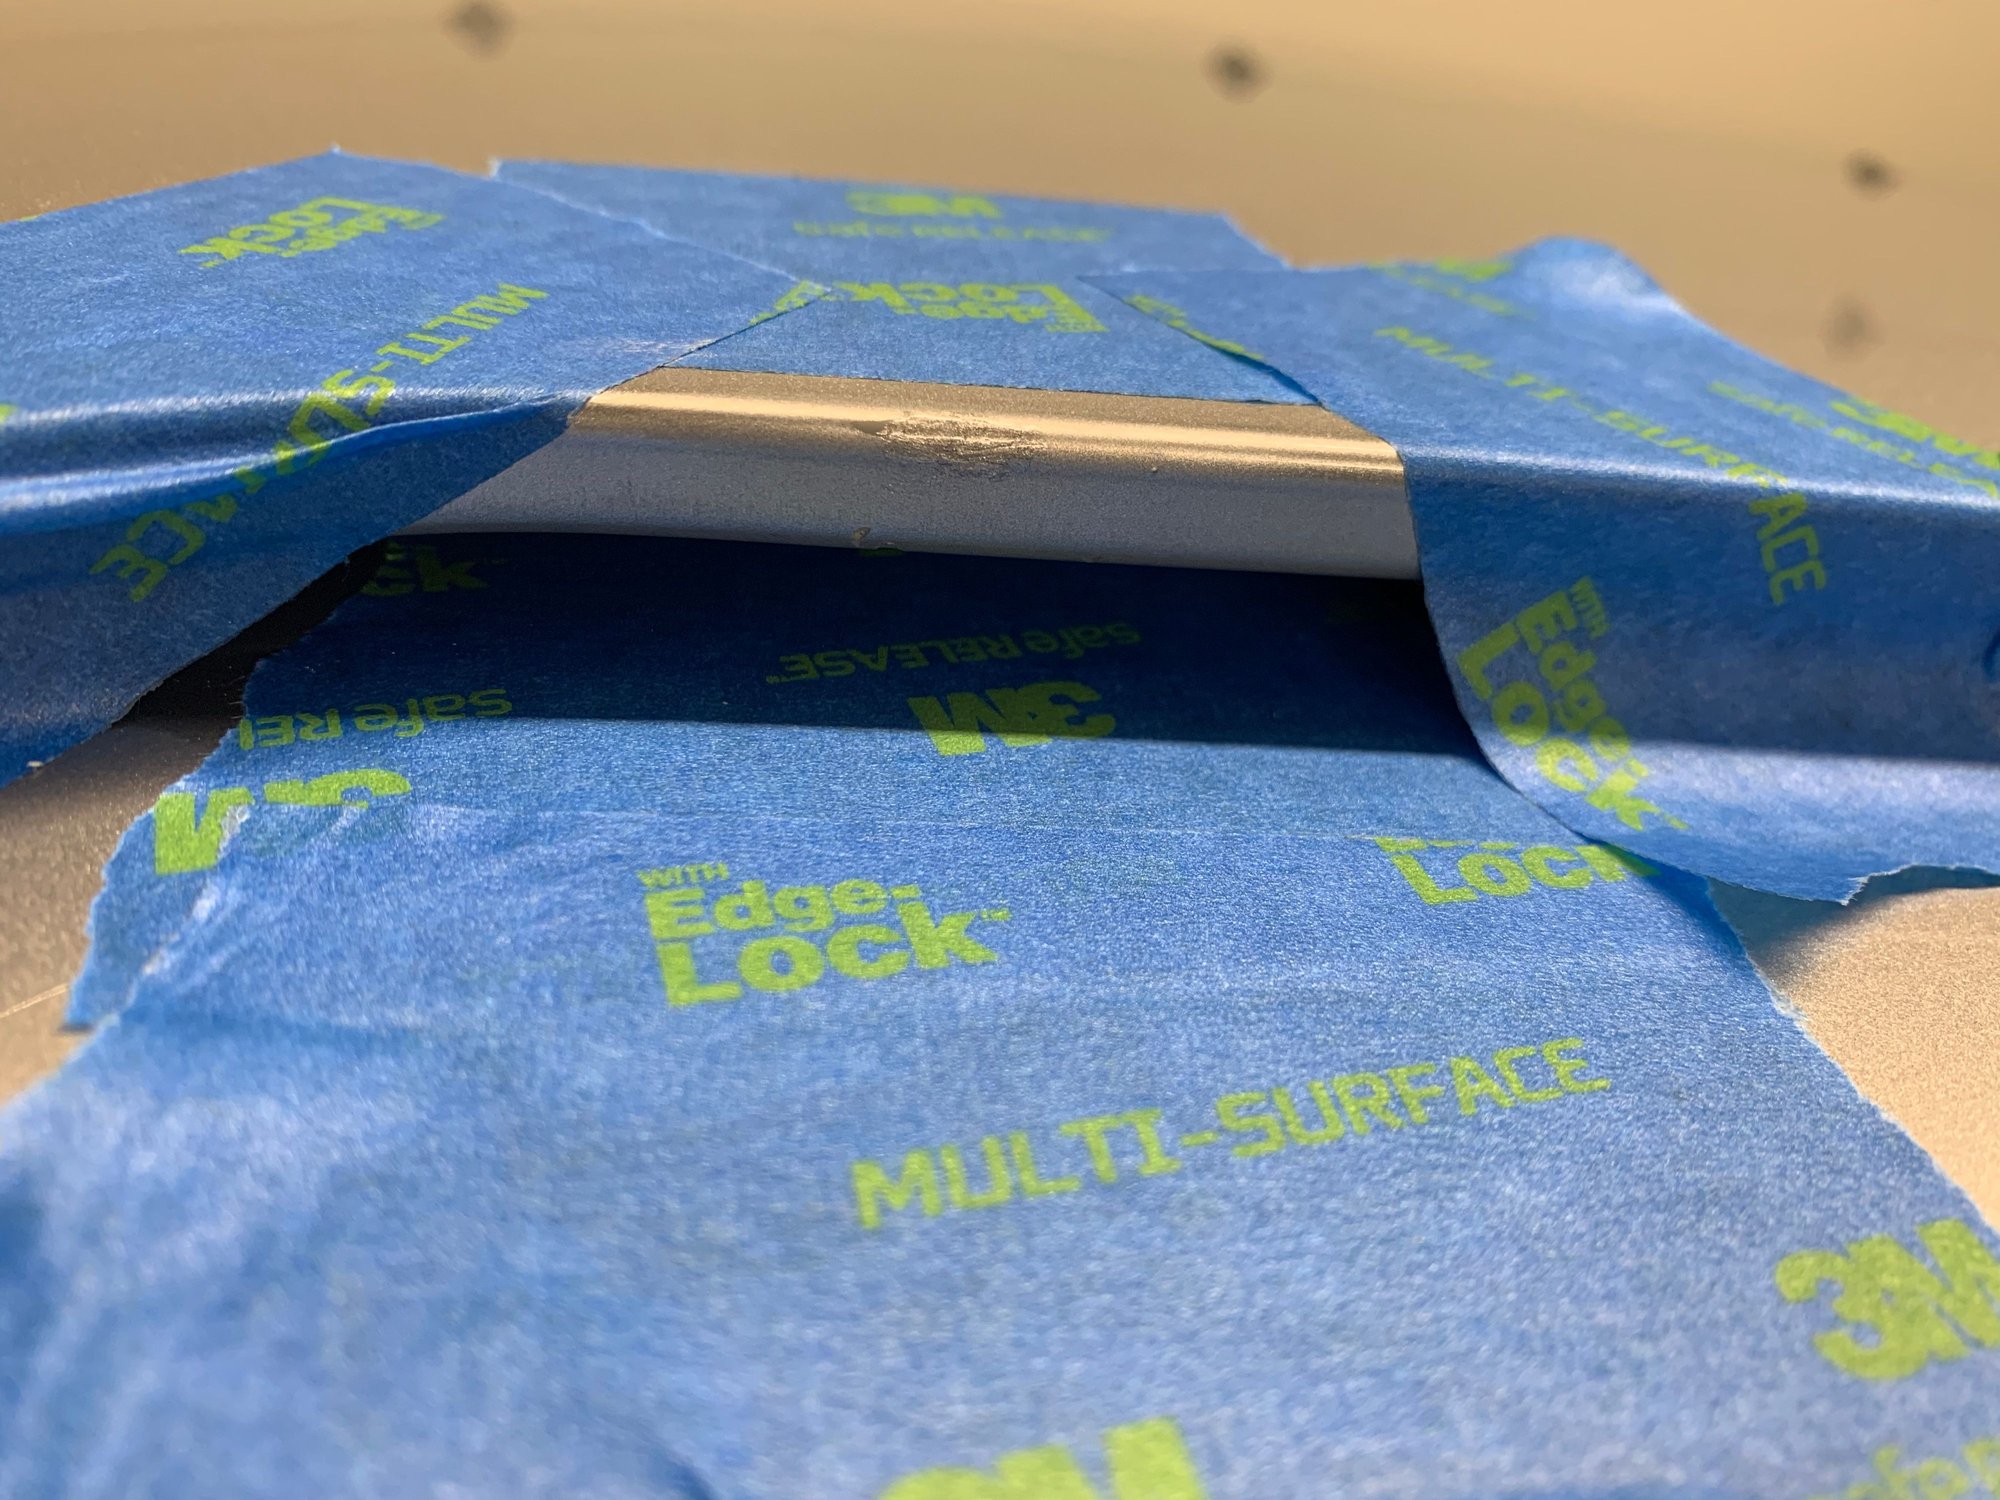
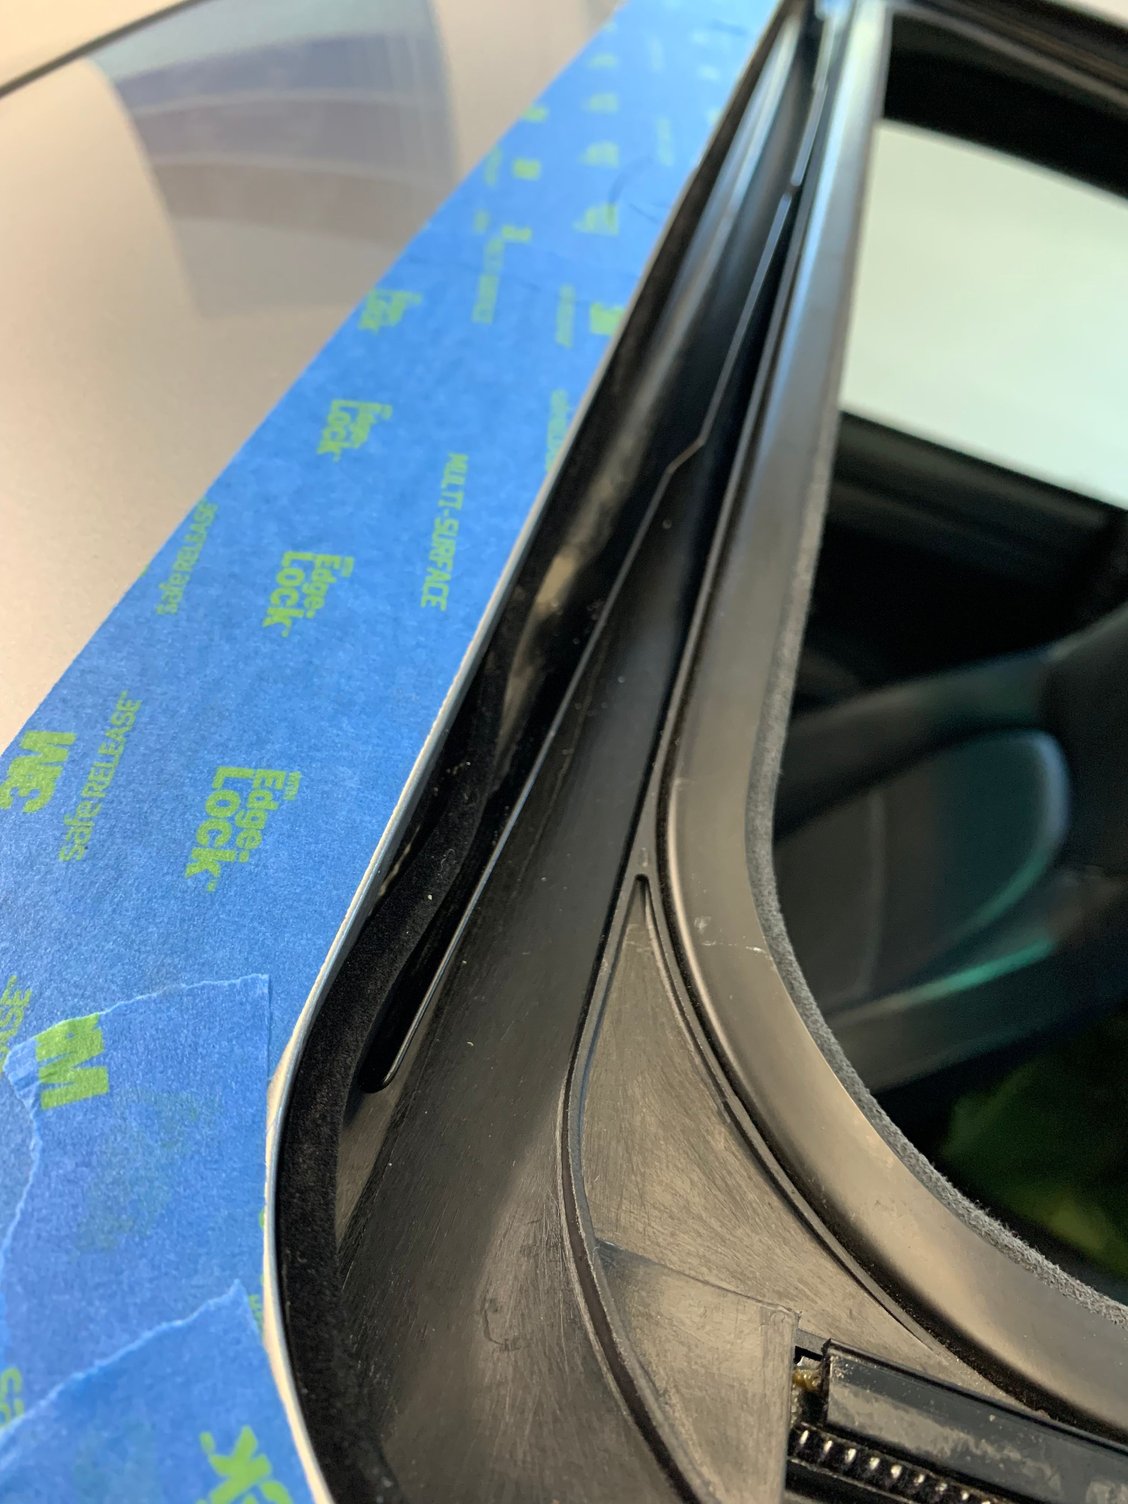
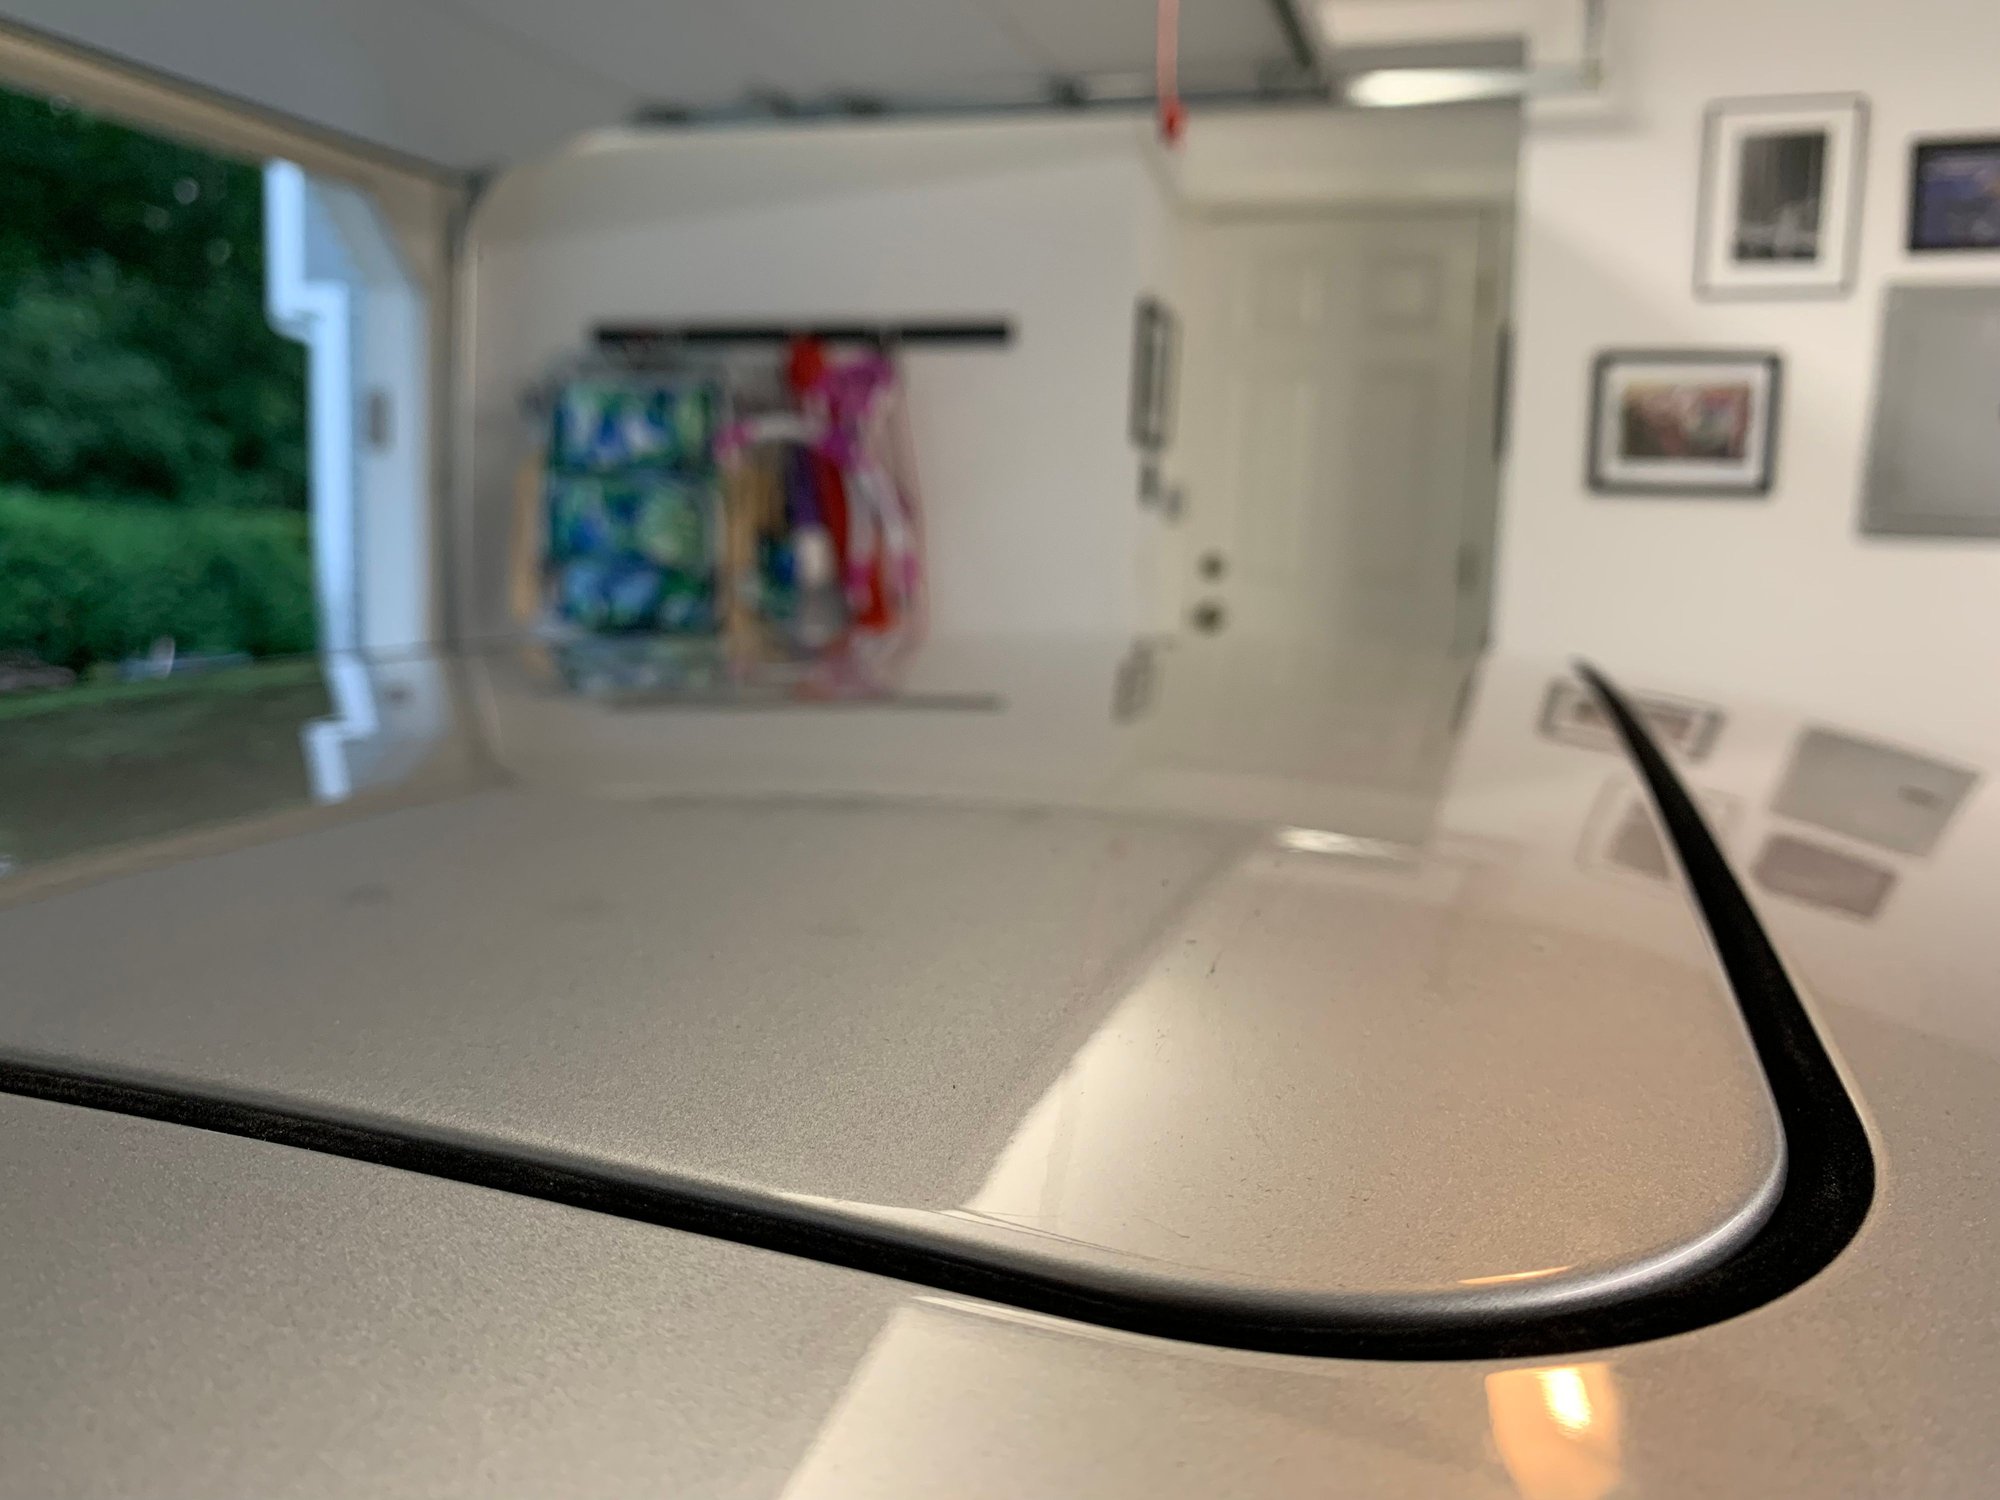
Another small maintenance item on my 40AE 996- sunroof seal replacement. Not sure how long these things are supposed to last, but I figured I would end up replacing it this season prophylactically since it's not 18 years old. My toddler has a fascination with opening and closing sunroofs, so we put the seal to the test by moving it open, shut and into vent position multiple times to keep her satiated and out of tantrum zone. Ends up that it was on its way out; putting the sunroof into vent position broke the seal loose and when we opened the sunroof again the seal slid back under the roof.
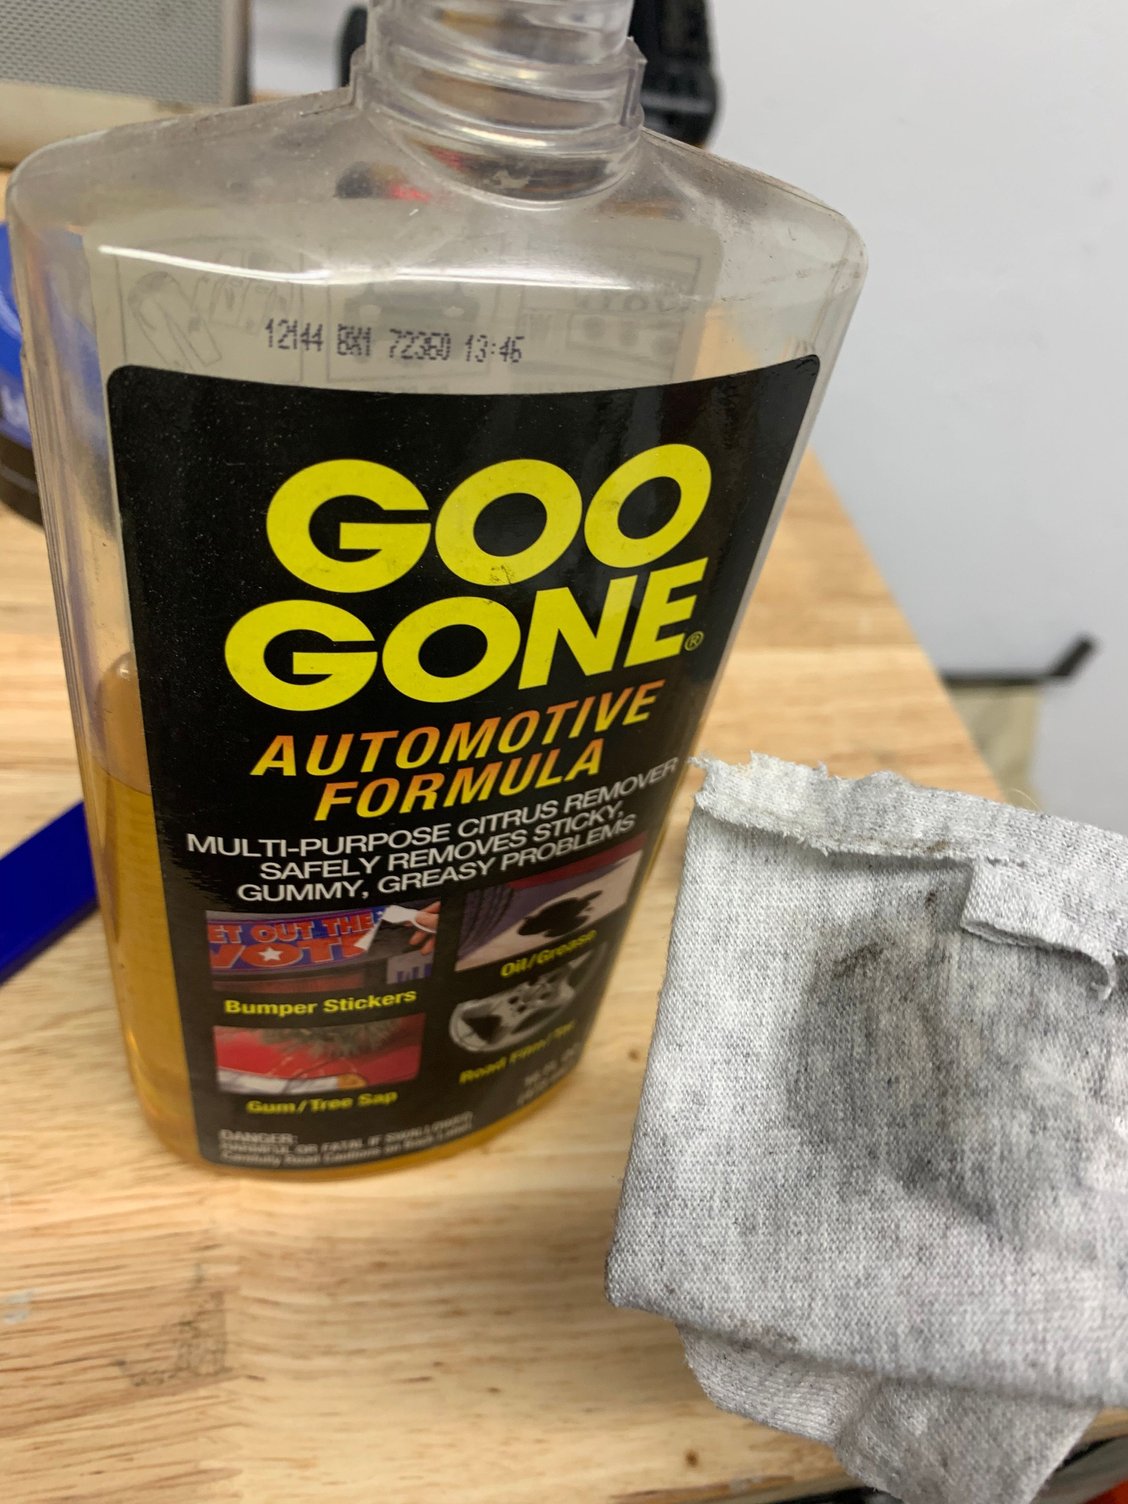
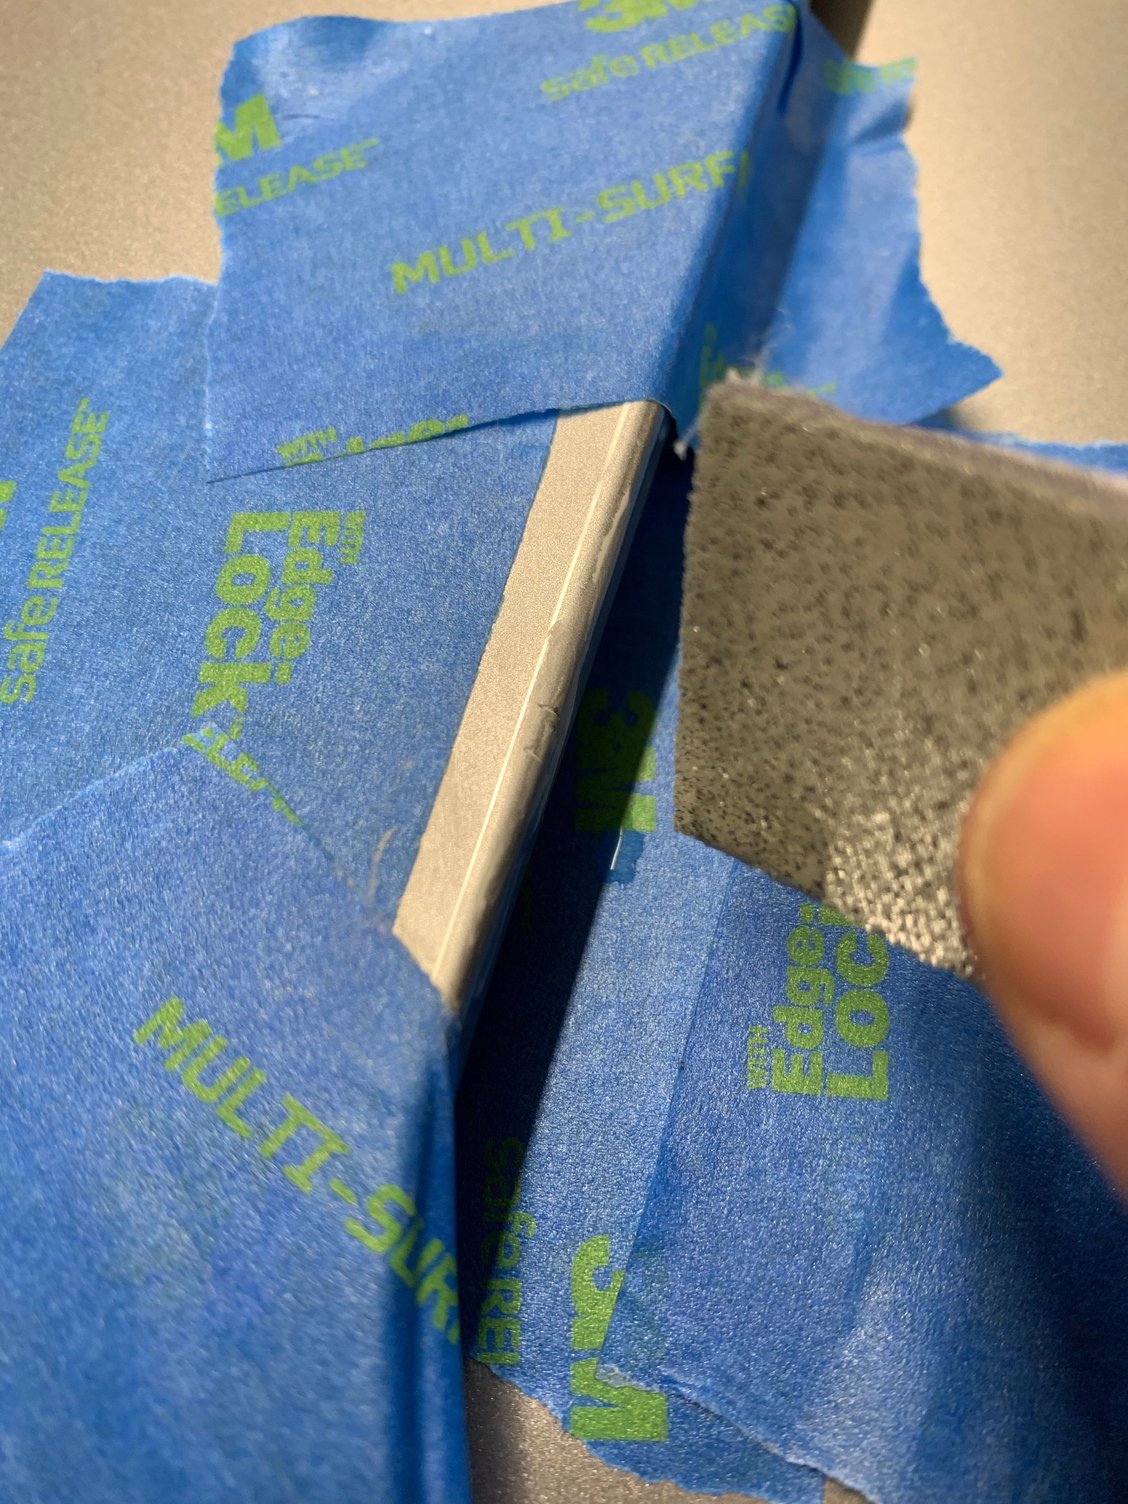
I looked into the process and it is a simple DIY. Remove old one, place new one on. If there is any rust, treat it while you are in there. Under an hour job. I took it off a few weeks ago and found that there were a few nicks from when someone attempted to replace the seal back onto the lip (I suppose this has happened before). I decided to fix up the nicks by wet sanding with 2000 grit, followed by 3000 grit, apply Porsche paint and clear coat, wetsanding again and using a light compounding polish. Slight scratch is good as gone.
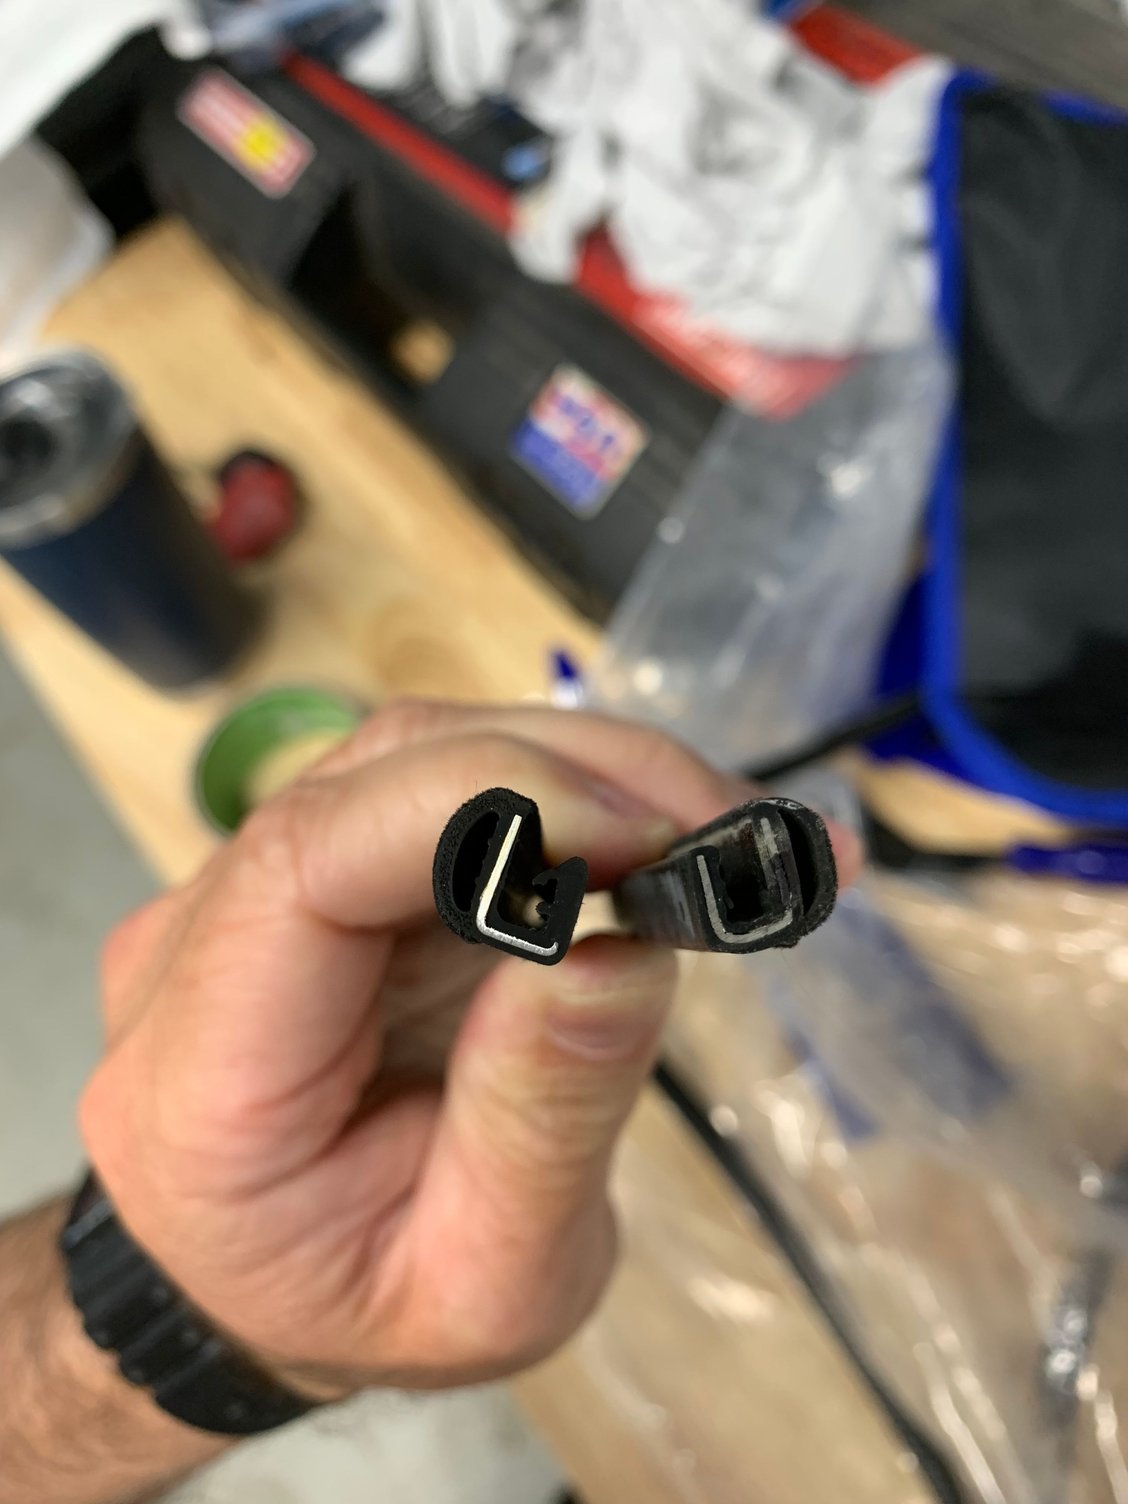
I've read on various forums that some people like to use the 3M black super weatherstrip adhesive when installing a new seal. It appears like the old seal didn't have any adhesive at all. Has anyone replaced one before and if so, did you use the adhesive when doing so? It seems like it could be helpful in preventing the seal from getting pulled back under the roof again. Also, new seal cost $102.75 from Pelican Parts, the part number is 997-564-211-00-OEM.
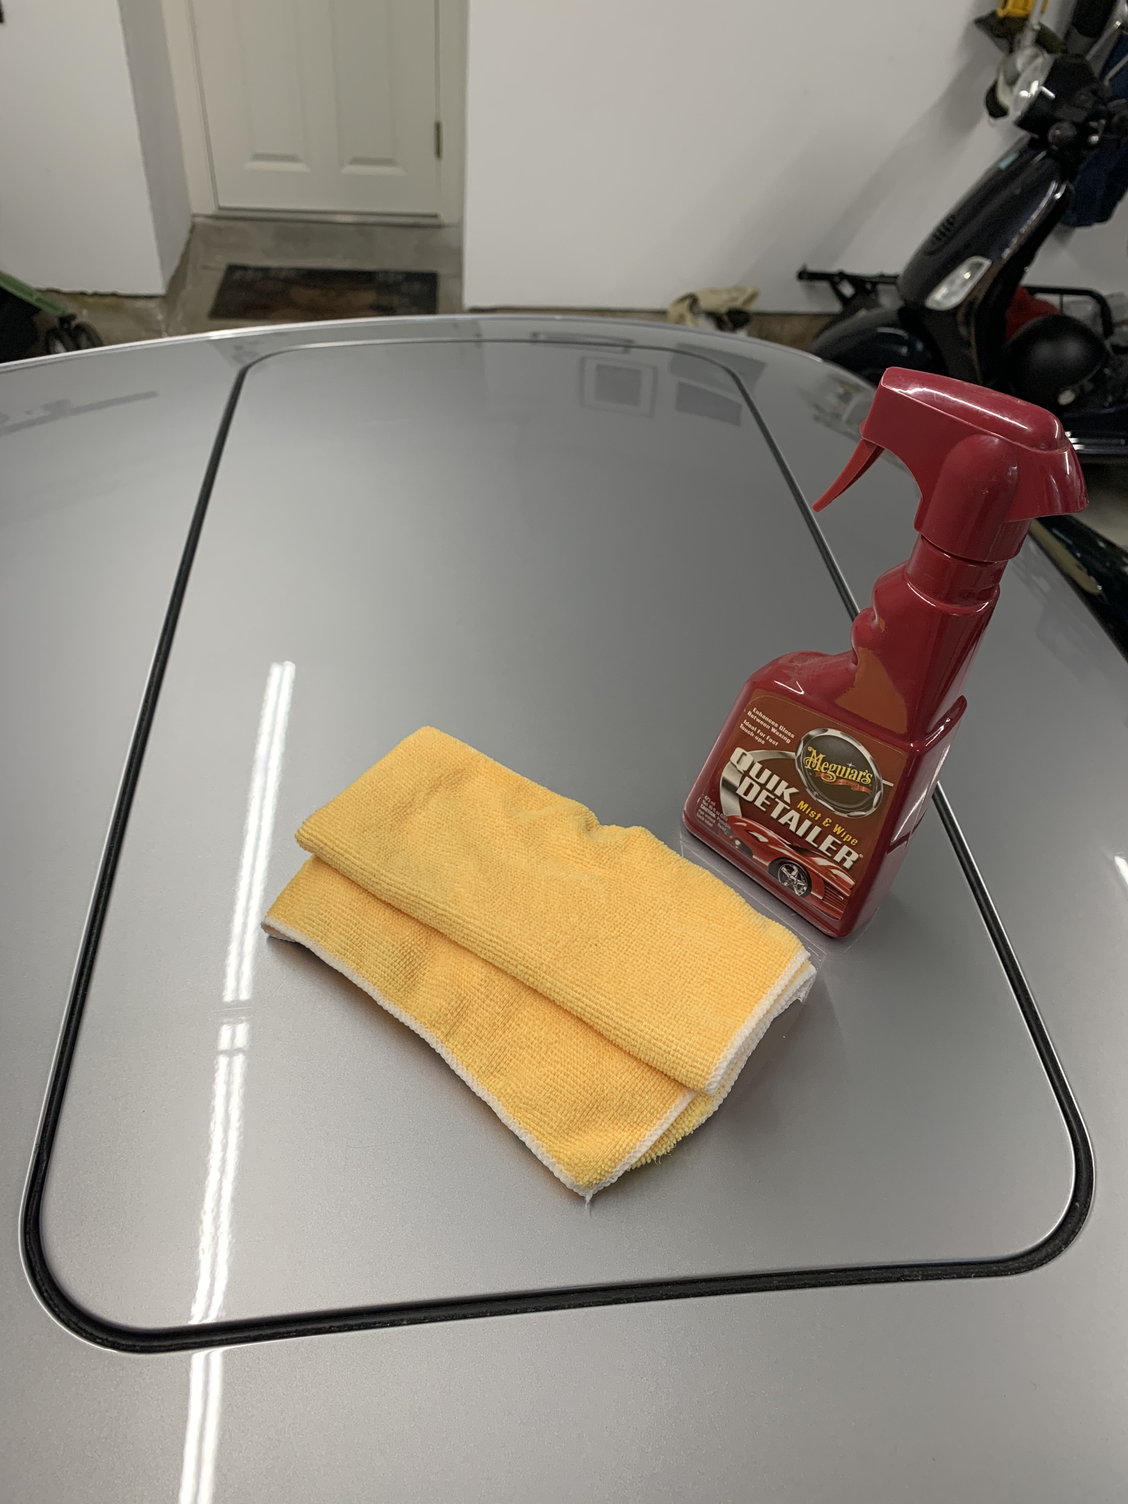
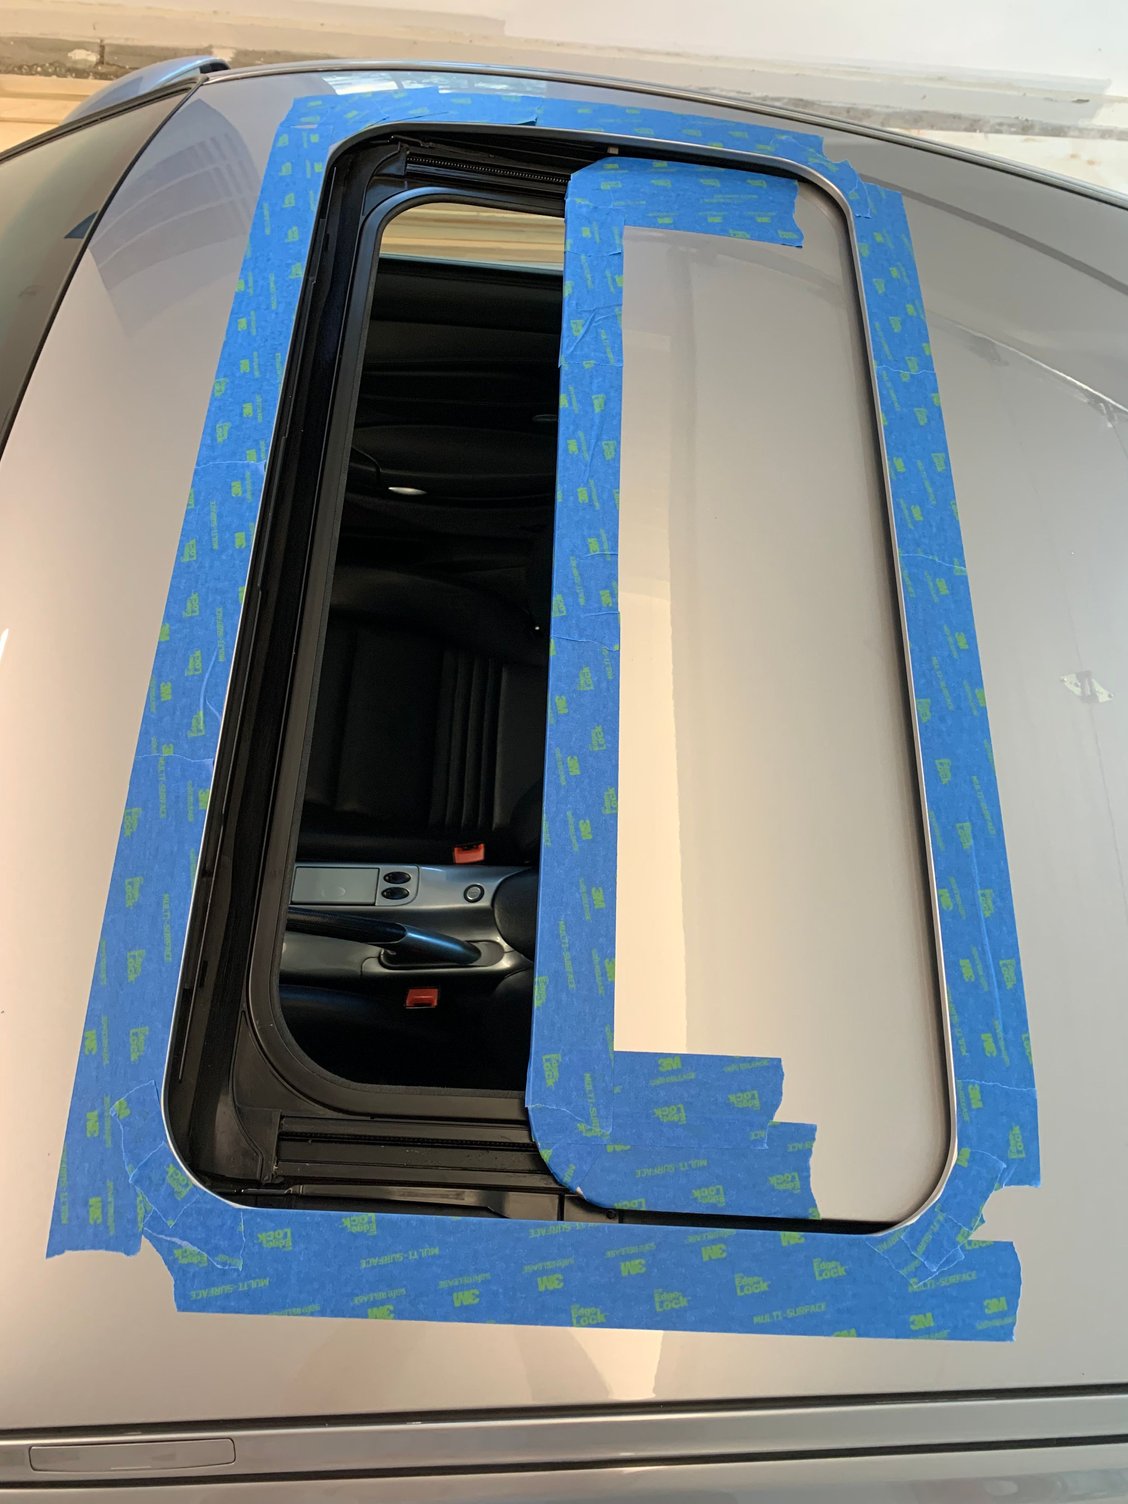
Cleaning surface with Quikdetailer.
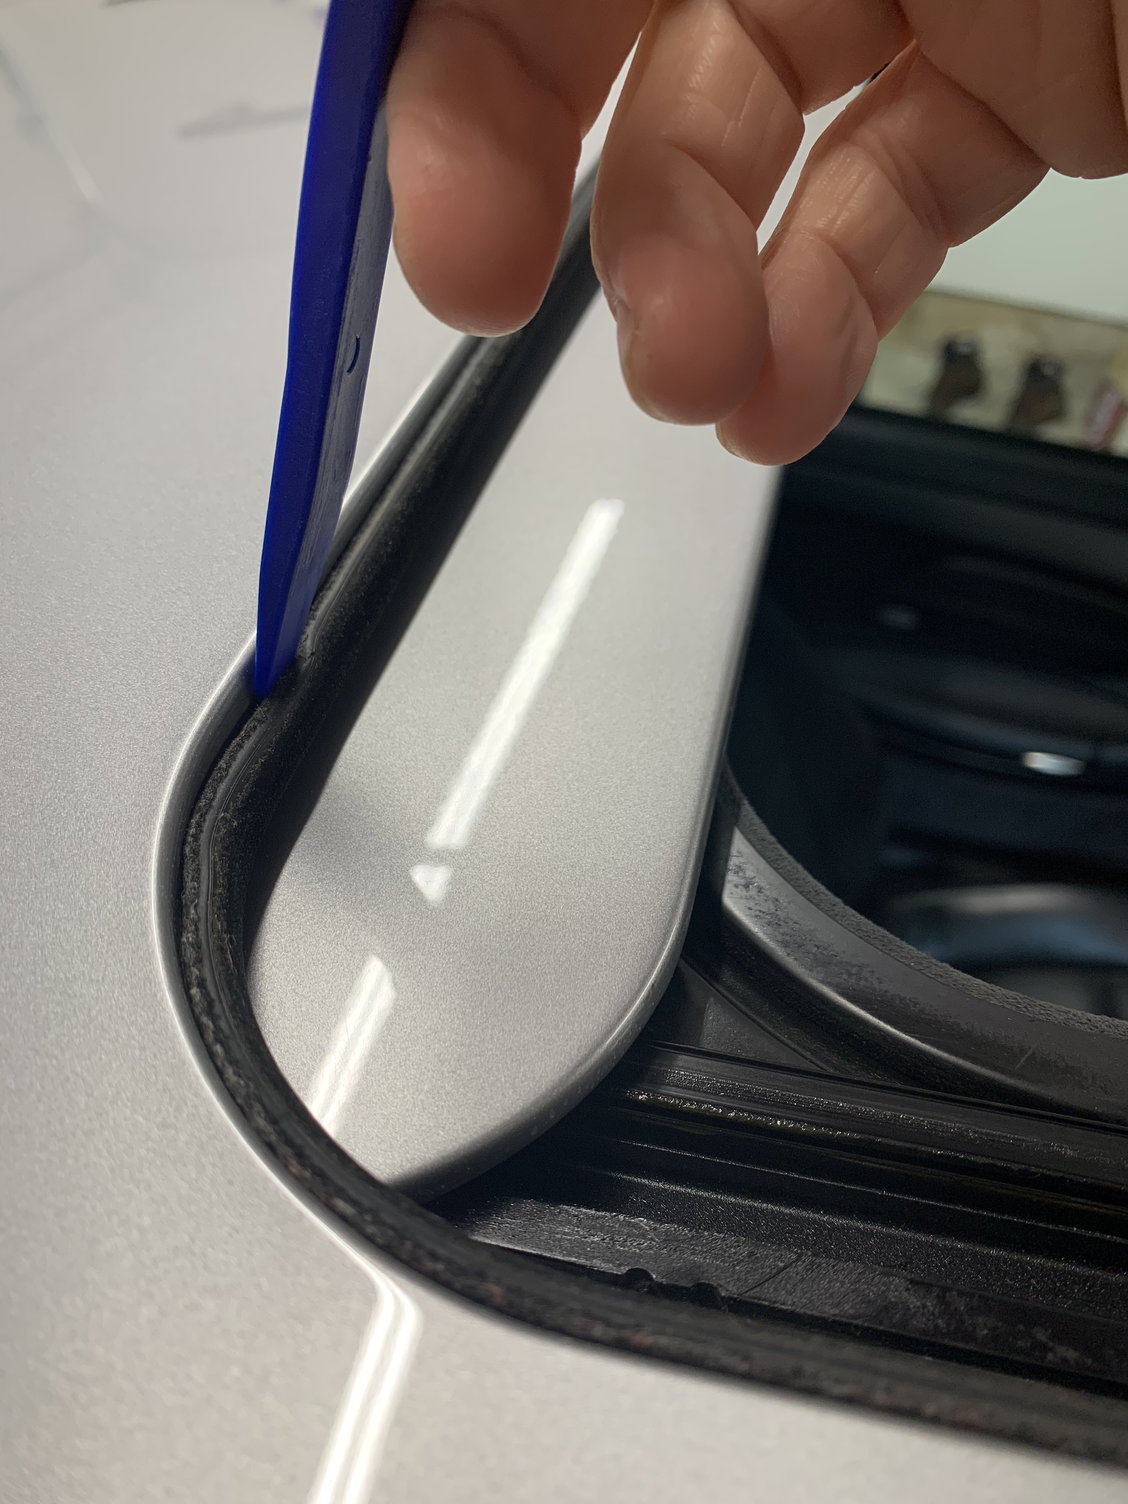
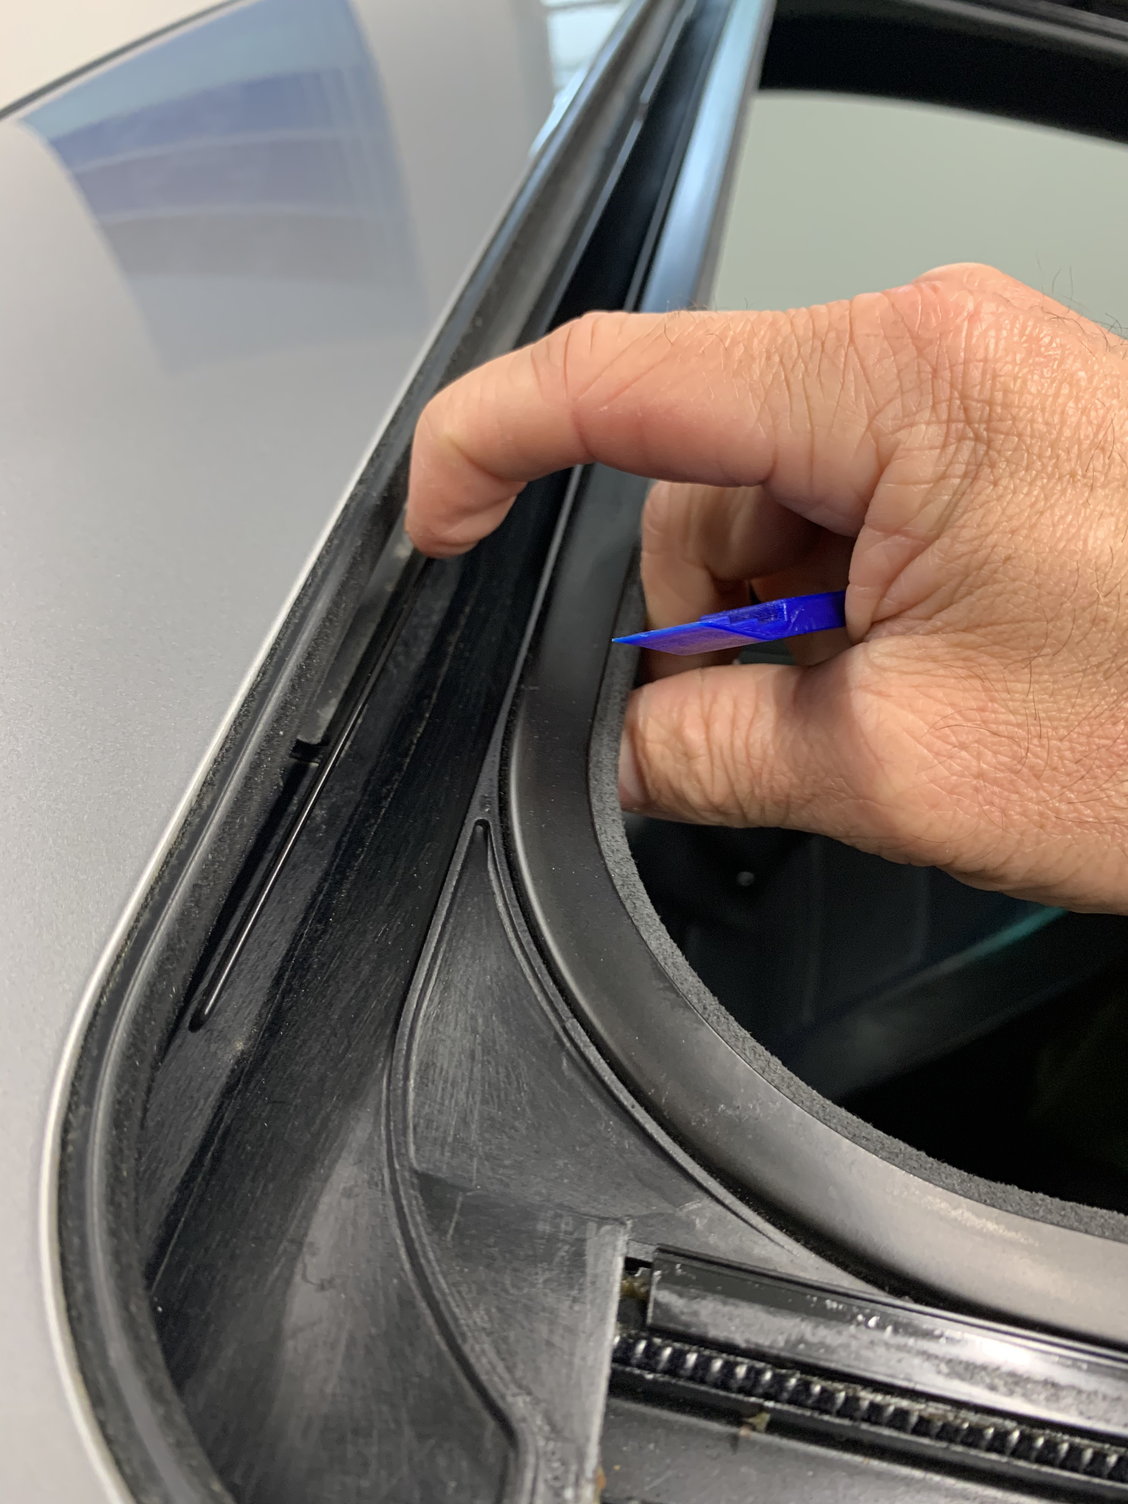
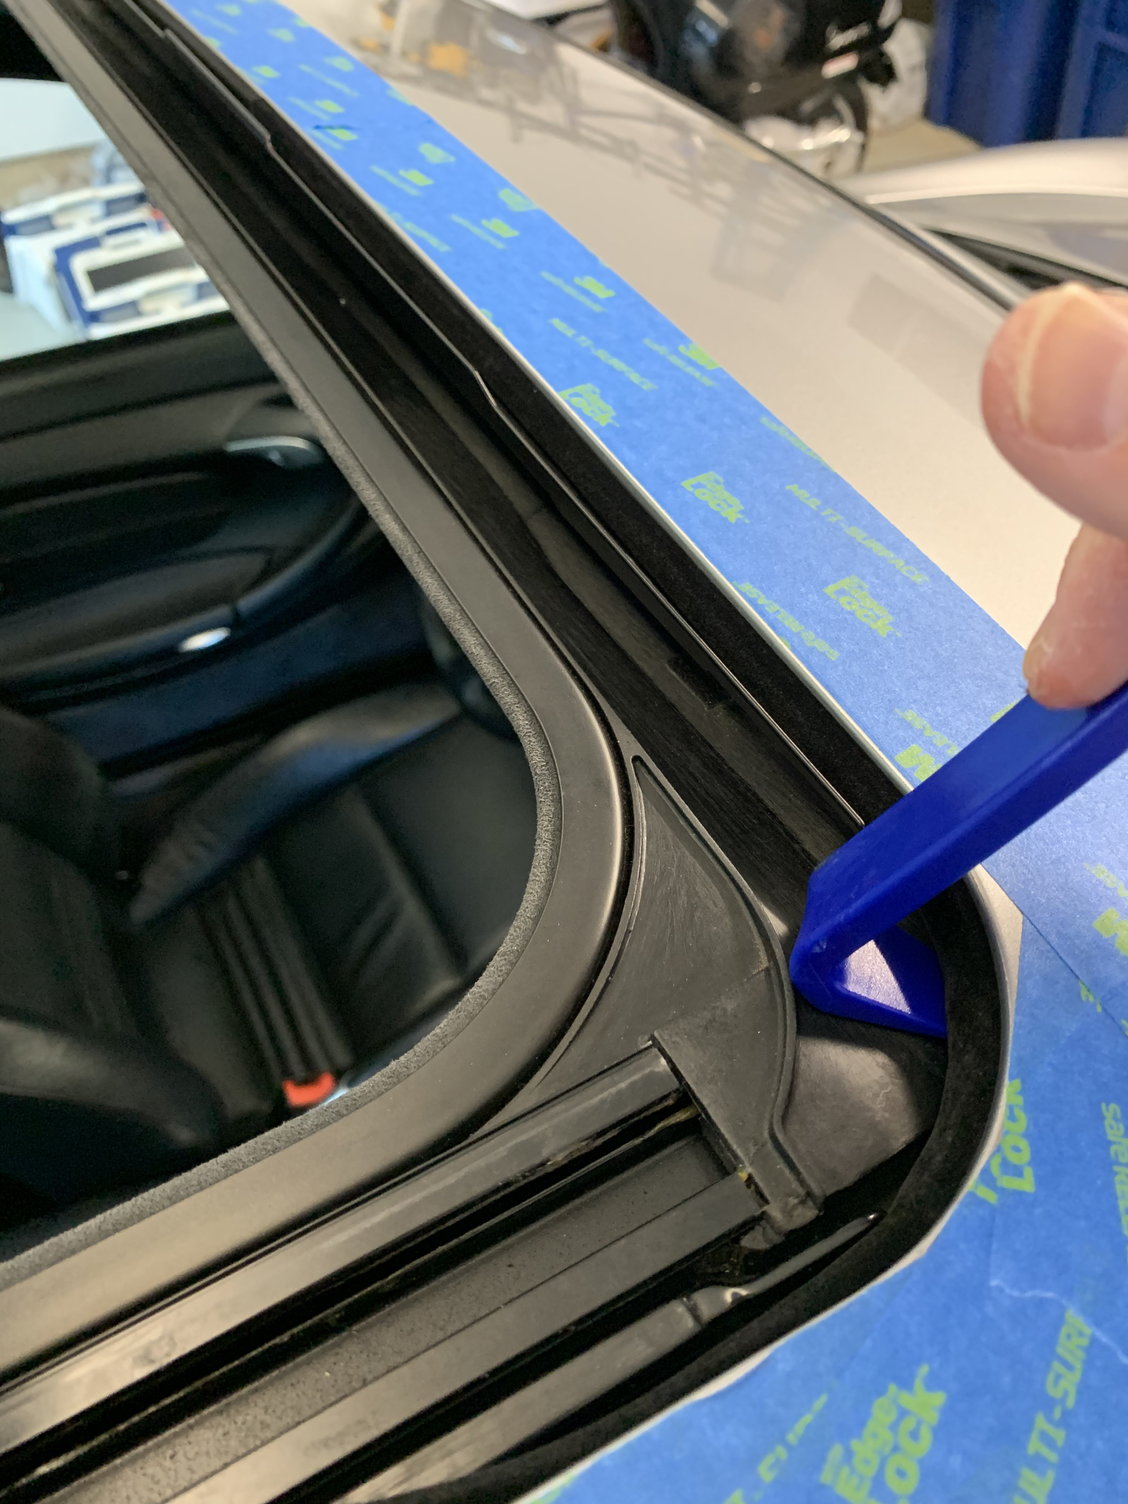
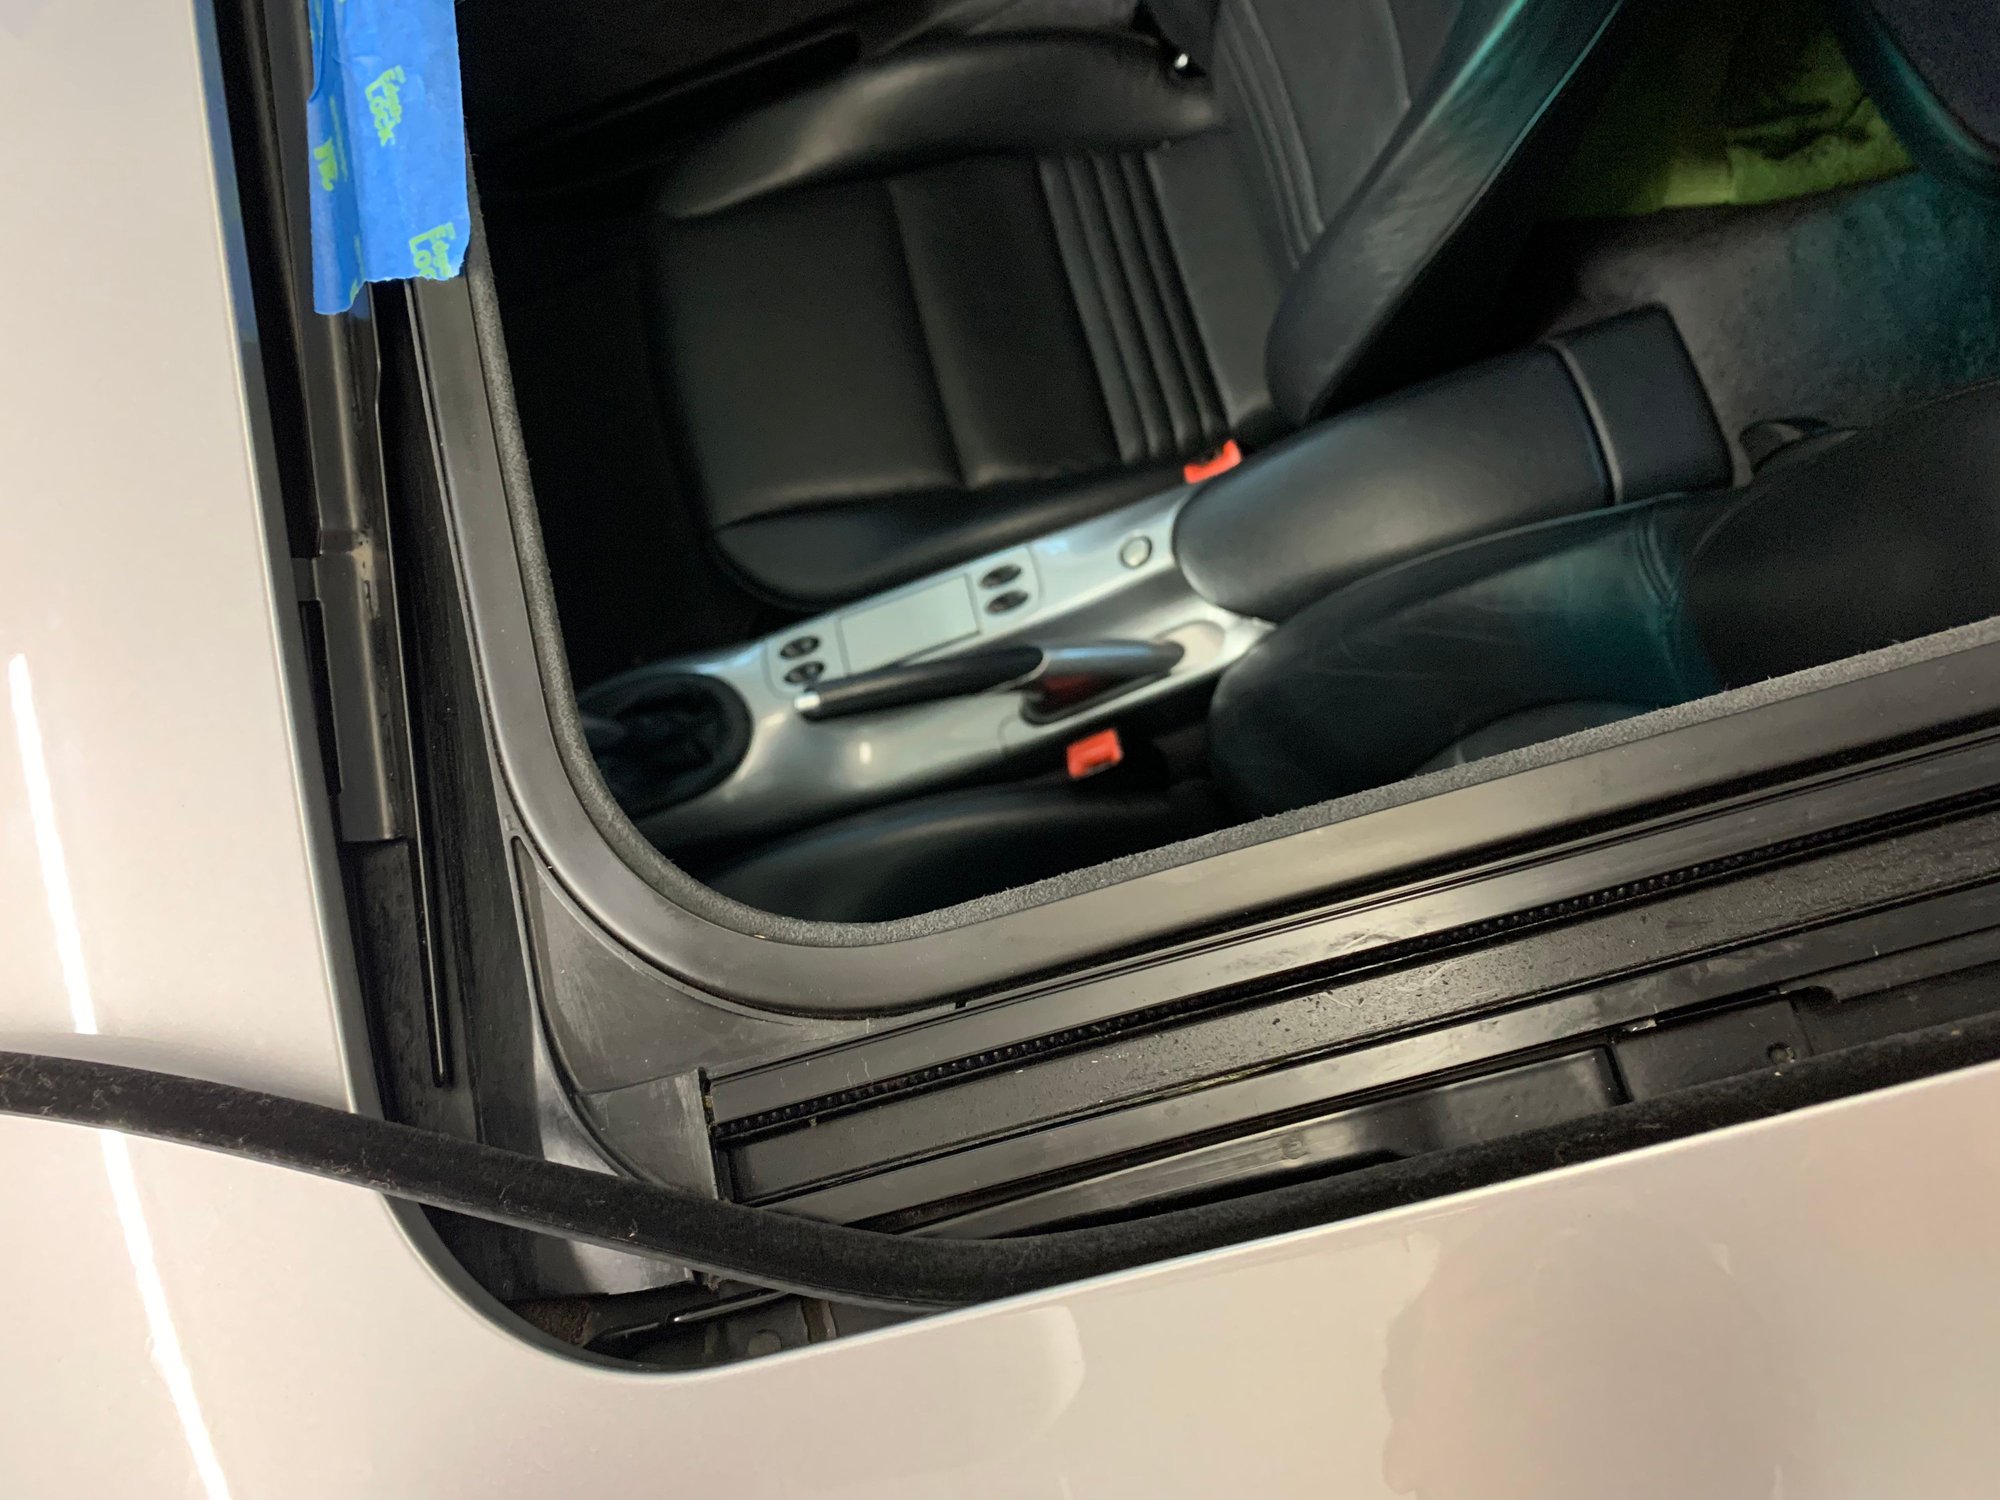
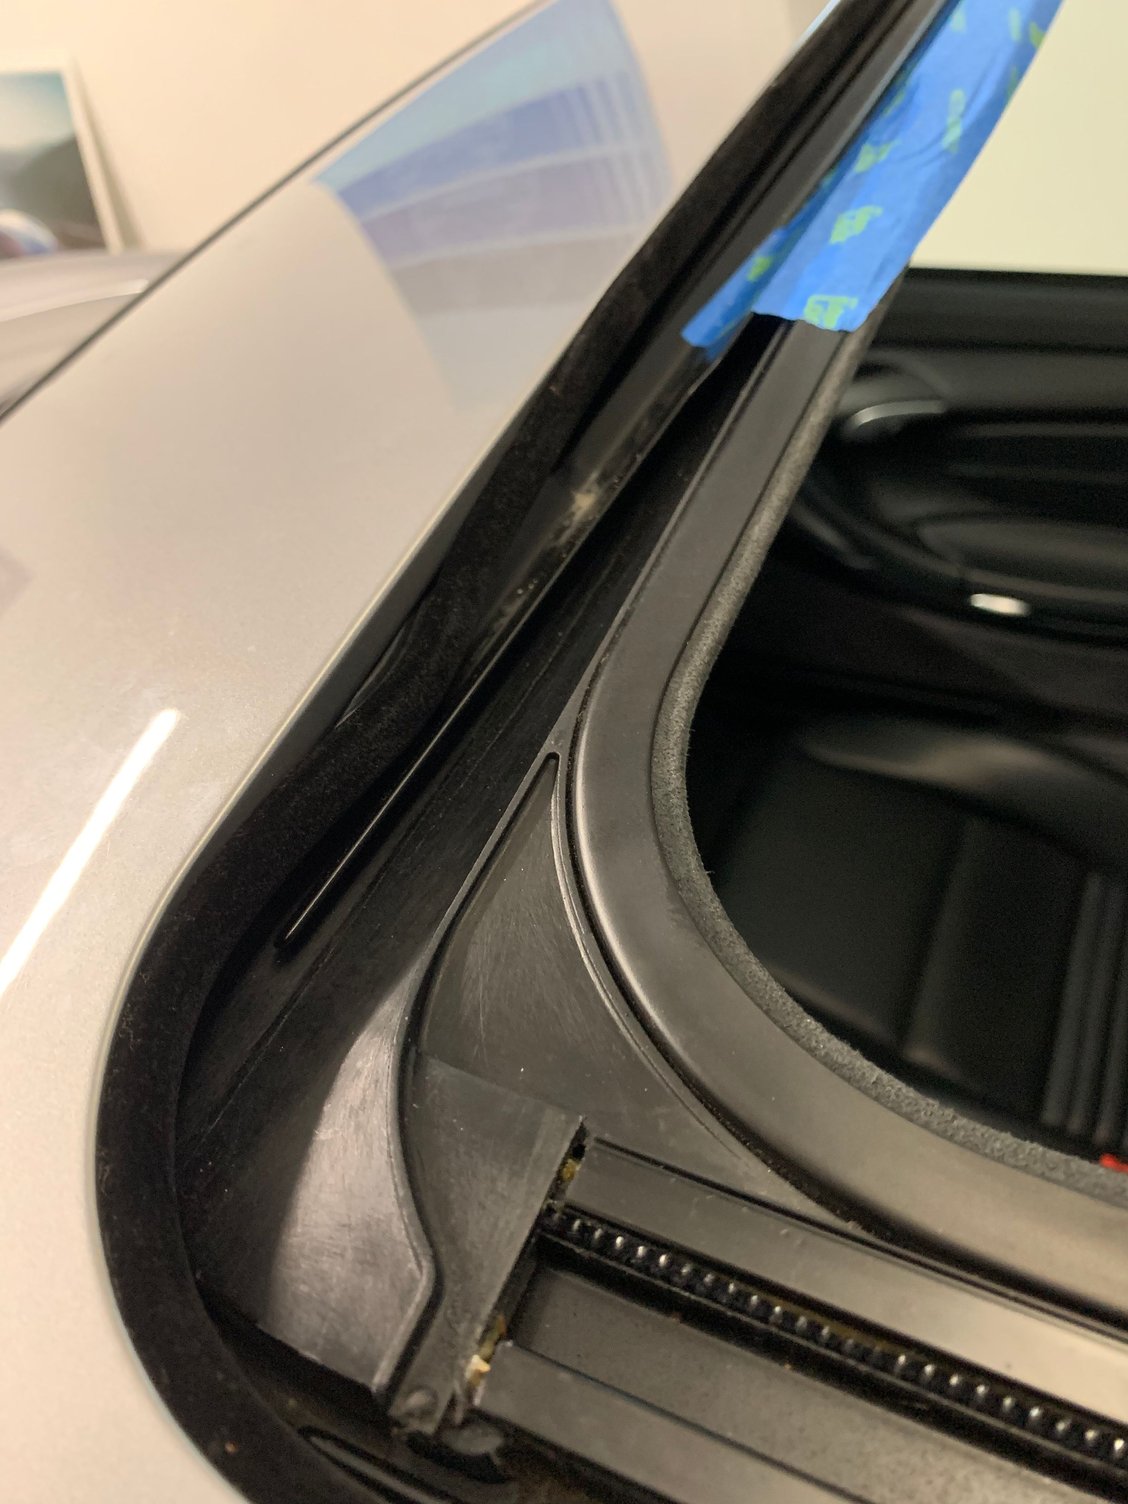
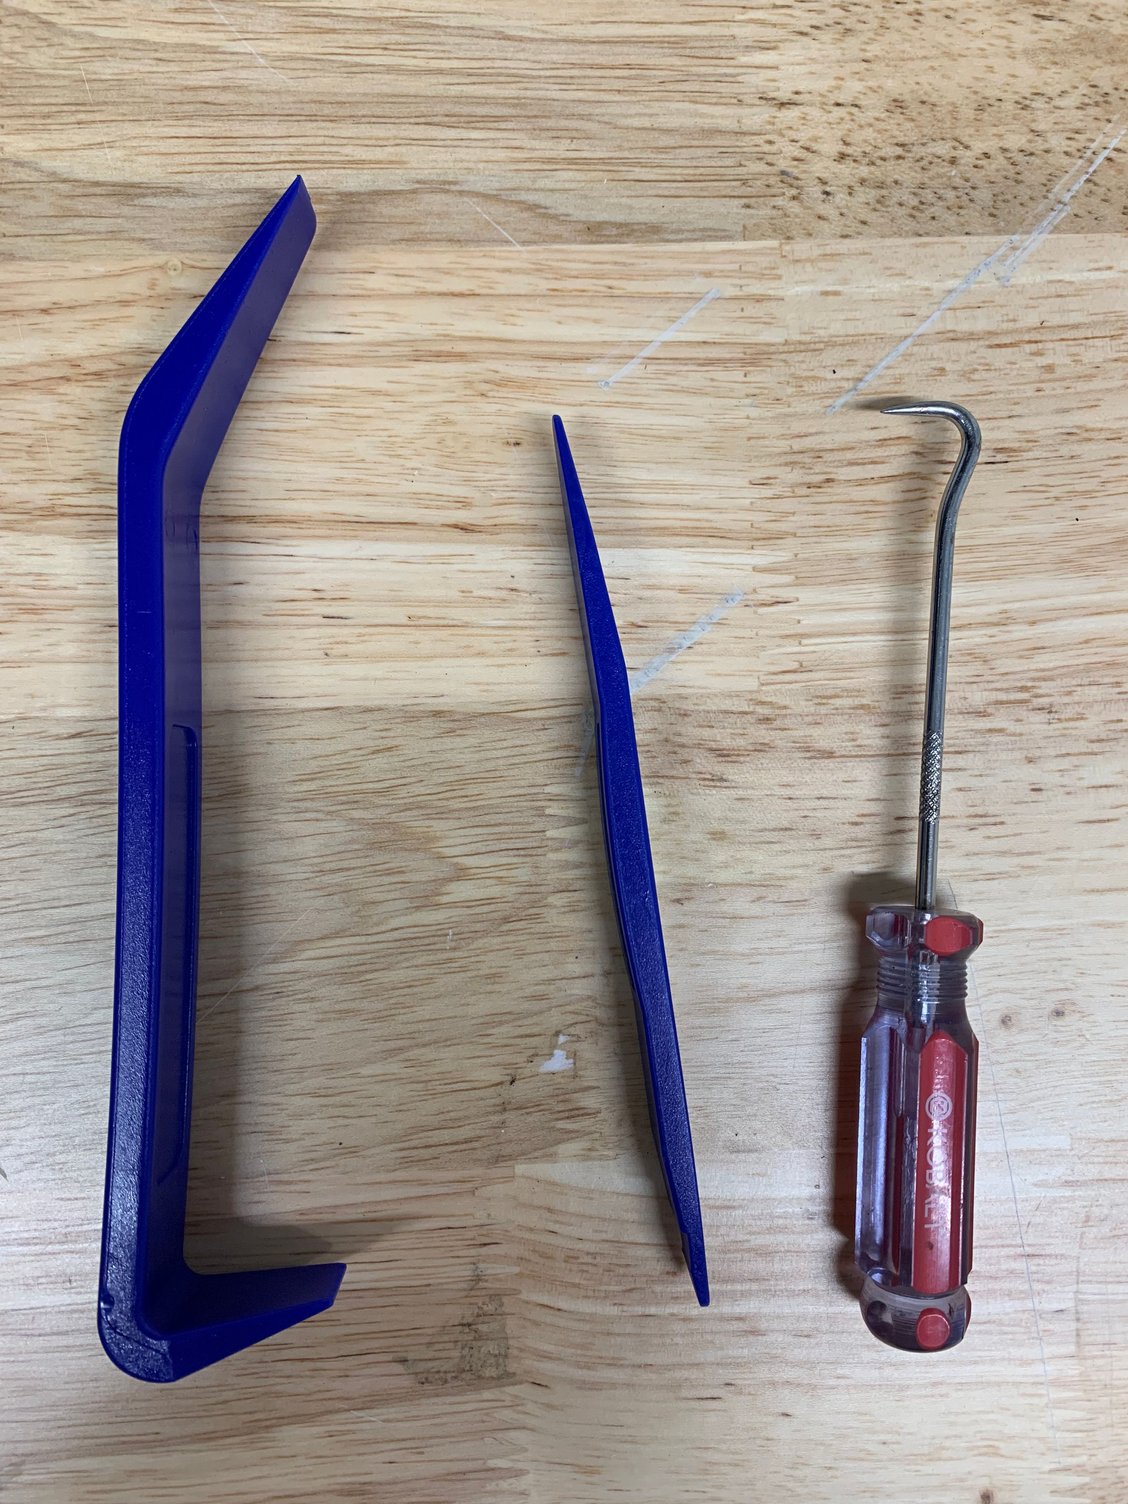
Removing seal with trim tools kit purchased on Amazon
Depress front hinge while removing seal
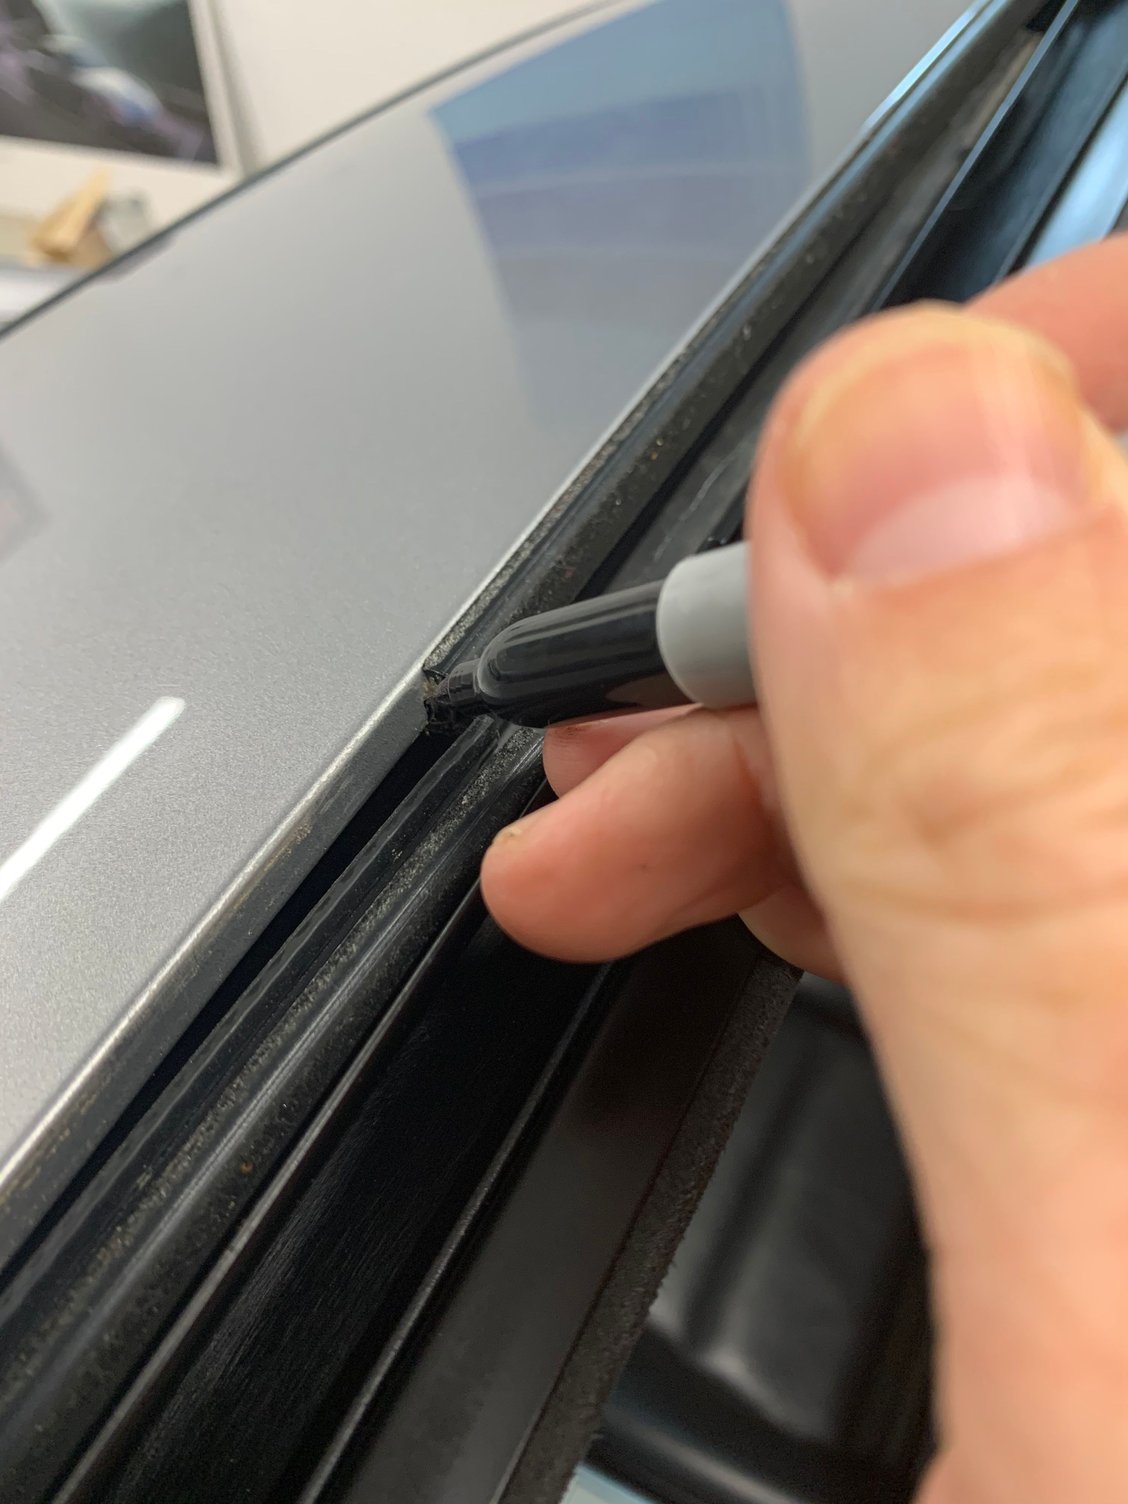
Mark beginning of old seal as a guide for the new seal
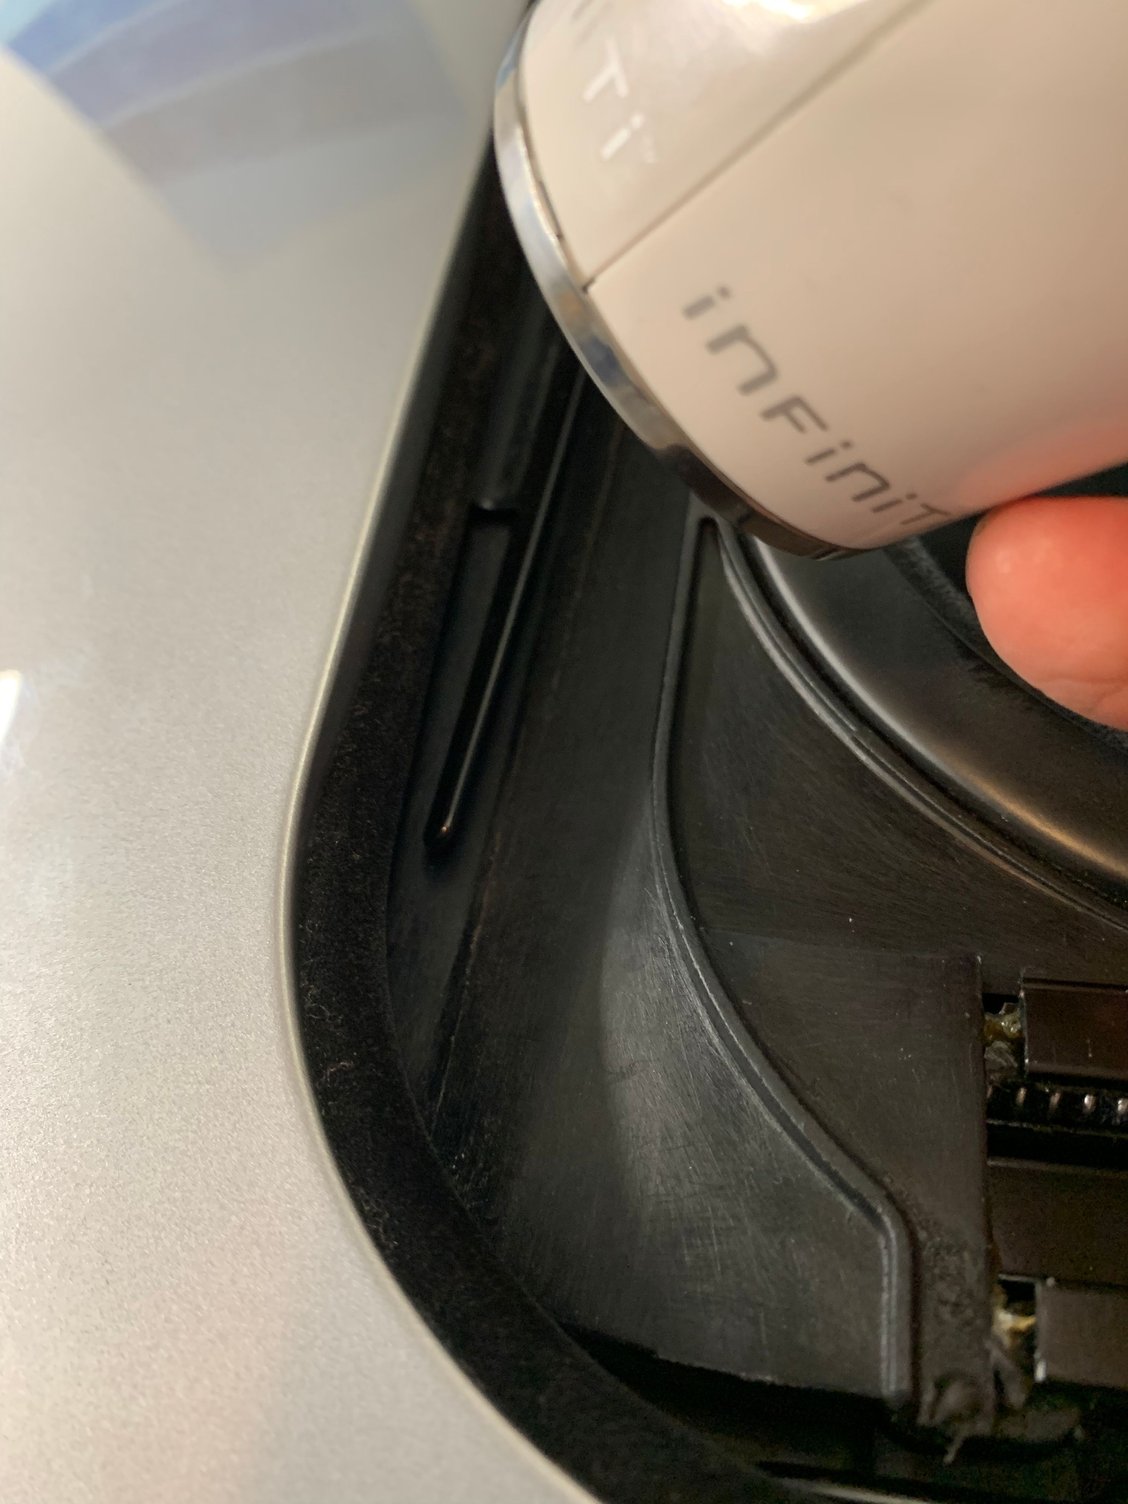
Examine lip for rust (none on mine)
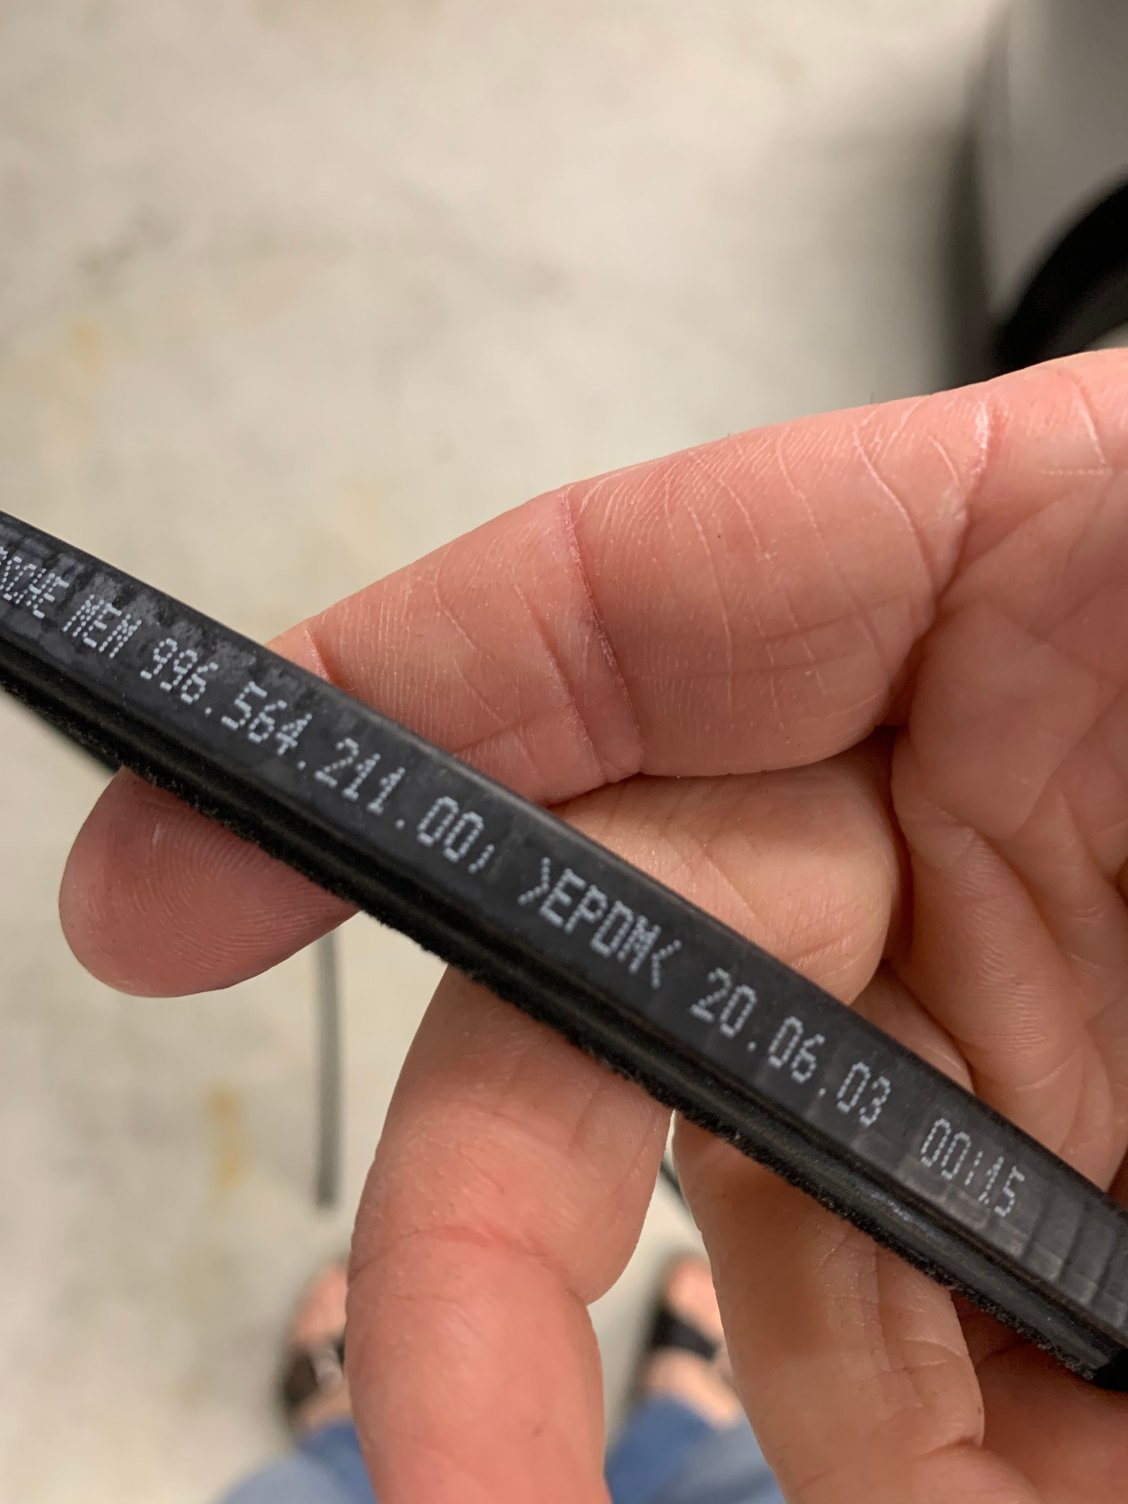
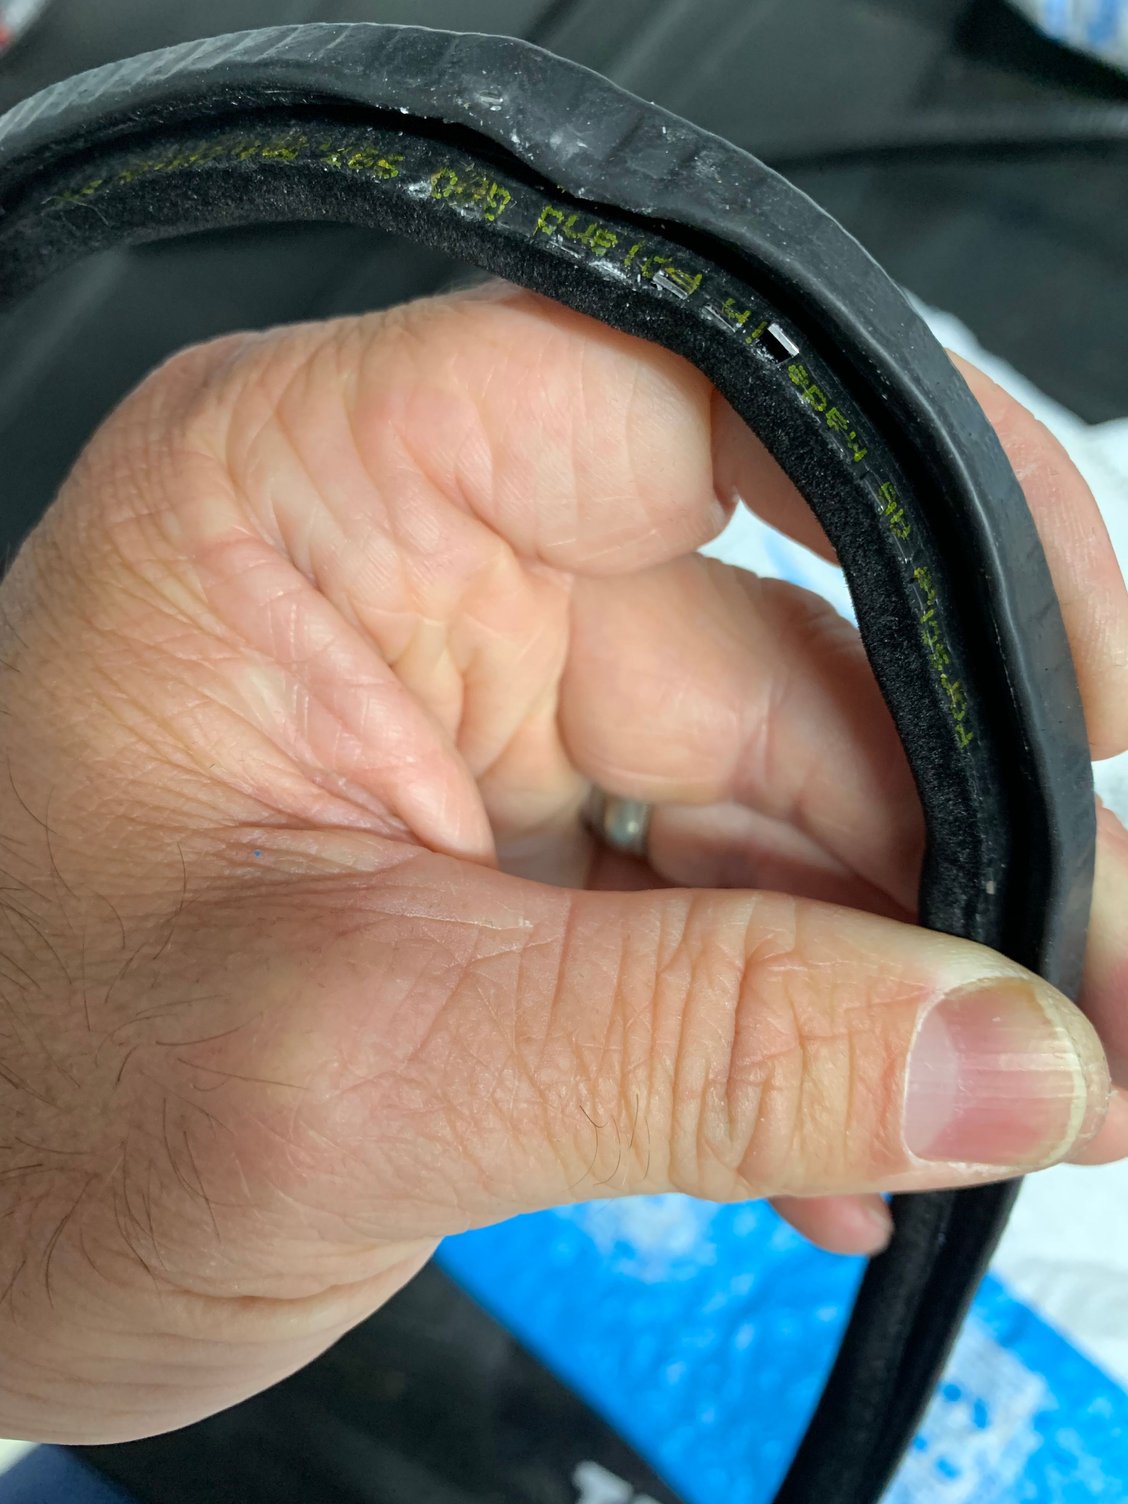
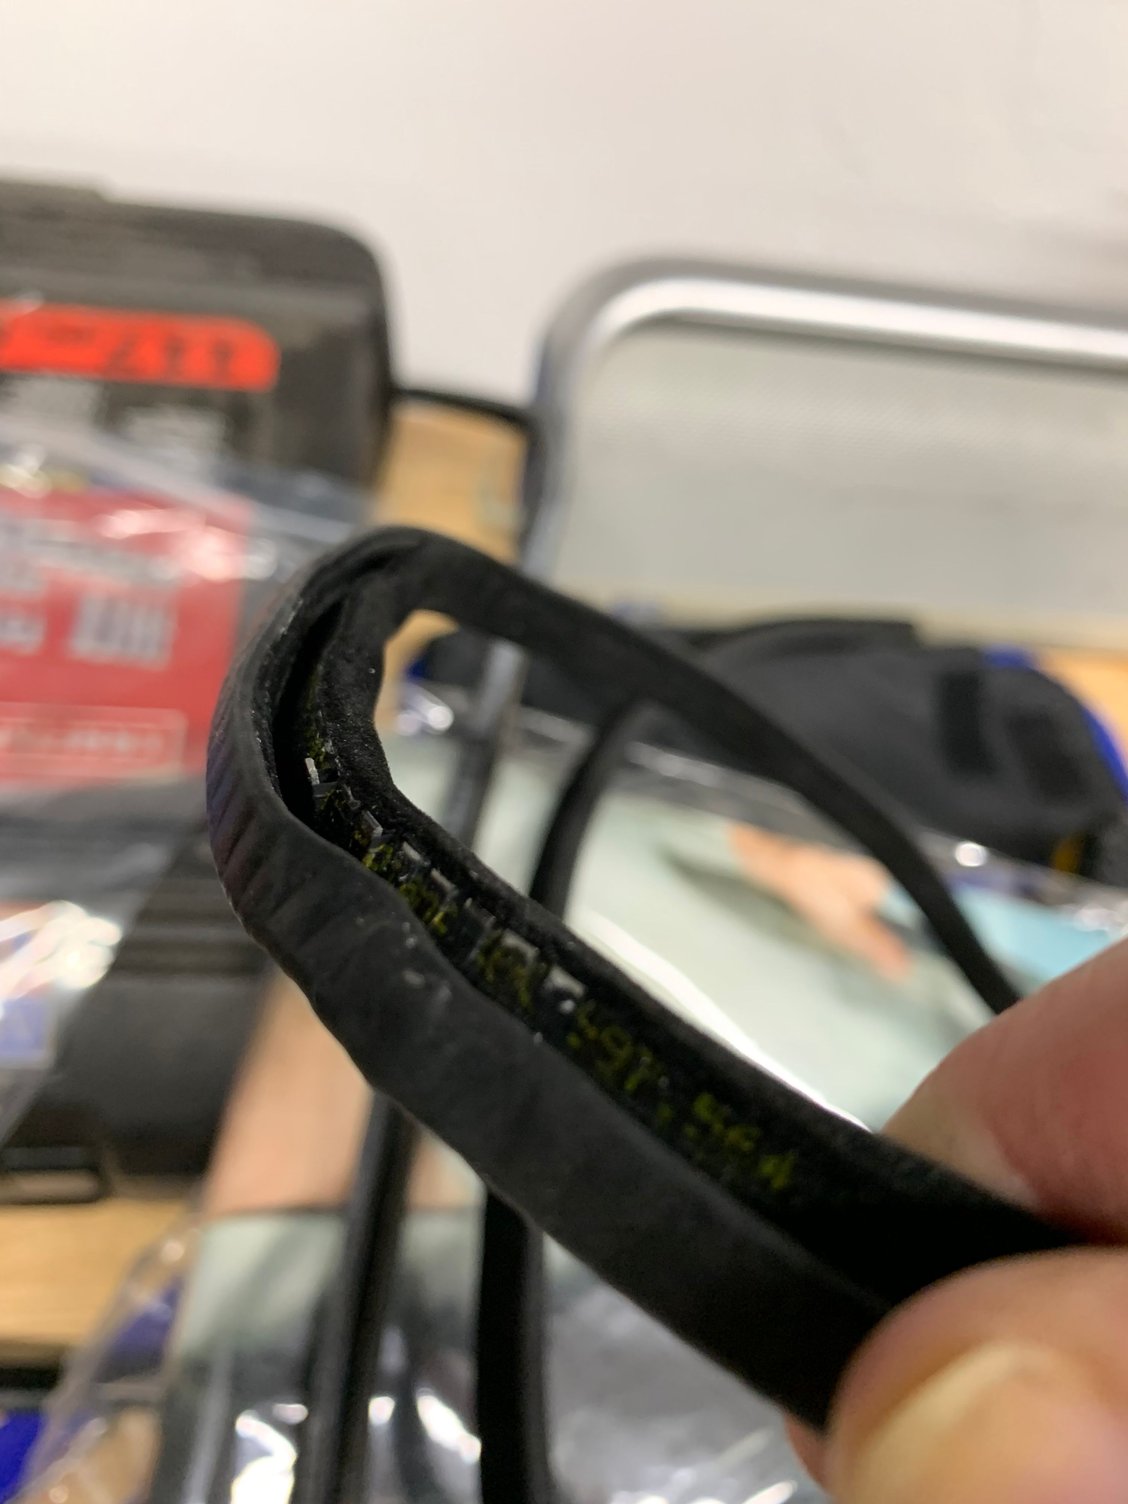
Old seal was original (6/20/03 dating)
Clean lip with a light solvent
Masking off slight paint defect area and wet sanding with 2000 grit and 3000 grit very lightly
Apply matched paint and clear coat at least an hour between applications, 3000 grits wet sand and compounding polish the next day. (This was after the initial paint layer, not after clear.)
I need to do this too. I get wind noise through this seal on the highway. I tested it by covering it with masking tape then going for a drive, and that killed most of the noise so I know it is the majority of the problem.
Can you confirm if the old seal was glued and/or if the new one needs to be glued to fit in place?
Im planing to do the same, and I wont want to use glue unless is really necessary
Thanks again!
appears that old one was not glued it, no residue of glue to be seen, or at least it has totally vaporized in 18 years. I�ll glue this weekend and post results.
Got the seal on in about a half hour, but perfect is the enemy of good. So guess what I did? I managed to screw it up.
Prep surround surface. This was more or less done in anticipation of using the 3M weatherstrip seal adhesive. After doing all this, I realized it was entirely unnecessary due to the extremely tight nature of this seal (and the fact that the stock seal had zero adhesive residue on it).
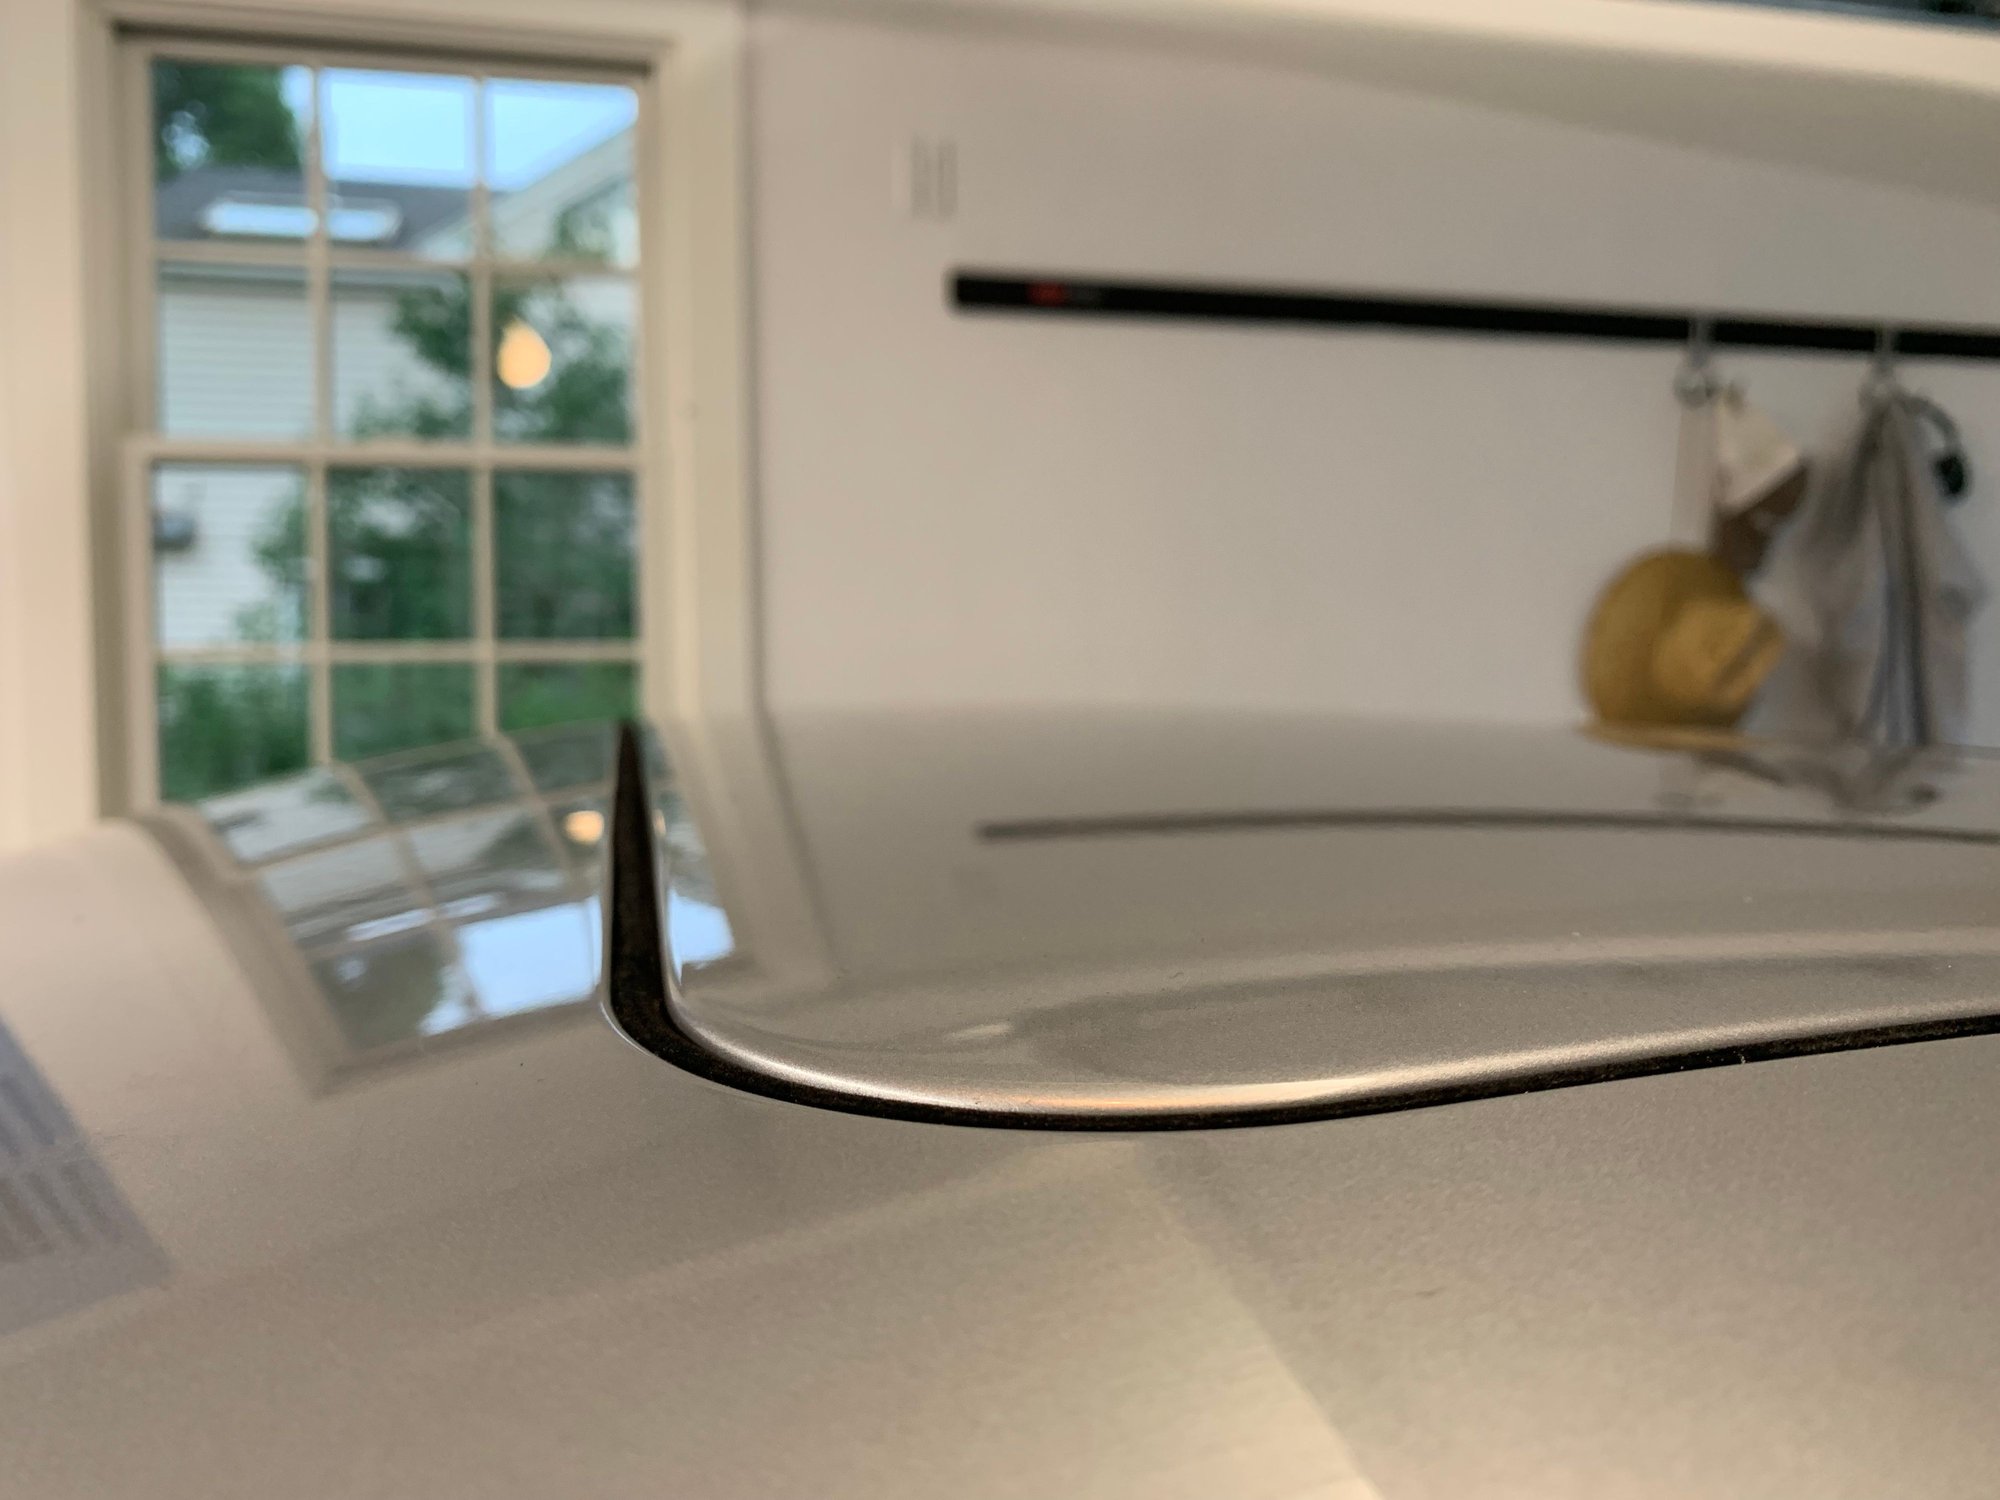
New seal vs. old seal. Kinda hard to tell the wear difference in this photo.
Helpful trim kit tool from the amazon kit.
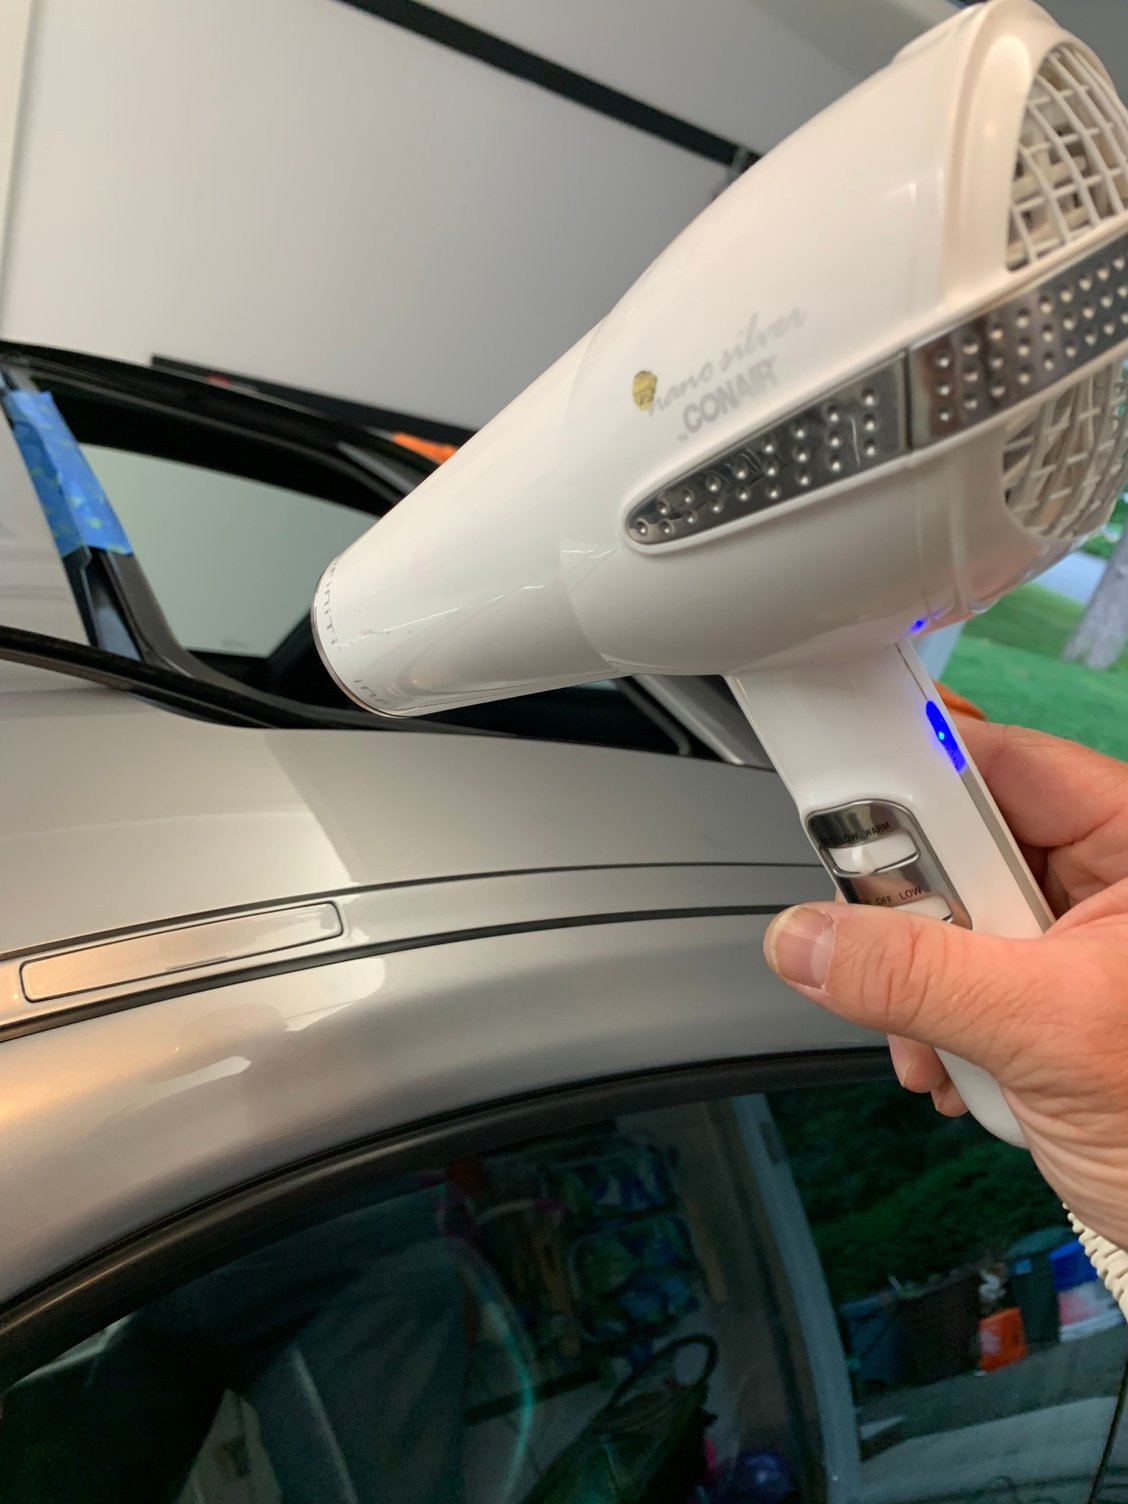
The front corners are really the challenge. This is where the wind deflector hinge pops up. It's helpful to tape the wind deflector down prior to installation. I realized after the fact that torquing the seal away from the lip while seating it with your fingers or with a tool works best. Contemplating using heat from a hair dryer the next time around. The corners are tough because of the hardware buildup in these locations makes getting your fingers under there very tough. Also, the metal starts to bind up.
And as I learned, after the internal metal of the seal binds up multiple times and you lose your patience and jam it in there, it pops through the rubber. I suppose you could install it that way, but seeing that its a seal, water is bound to get in there and then cause corrosion.
I hope someone learns from my mistake and doesn't need to waste a seal in the process.
I see you were trying to install the corners after you installed the final end of the seal in the front. Do you think it would make it easier to start from the rear of the car and advance to the front with both extremes of the seal loose?
I see you were trying to install the corners after you installed the final end of the seal in the front. Do you think it would make it easier to start from the rear of the car and advance to the front with both extremes of the seal loose?
I initially started from one end to another (starting in the center and ending in the center). The issue is that there was approximately 2mm overlap, so I worked to compress more into the corners, which was incredibly challenging. I don�t think this could be easily trimmed either due to the metal channel.
Ordered another, open to more suggestions for round 2.
Did you apply any type of treatment to the seal like silicon grease or armor-all to make the rubber more pliable and/or slippery and easier to slide in?
I reordered a seal from Pelican shortly after my first failure. I had doubts whether it would be worth it to try again and blow through another seal, so I reached out to local dealership and local Porsche mechanic to get a quote on pricing/availability. Both said they would find out and call me back Monday. I think that was two Monday's ago. It left me time to think, sleep, work, but not forget about the annoyance of this project. The part came in sooner than expected. The weather being quite wet lately has encouraged me to get this thing watertight. So I do it again.
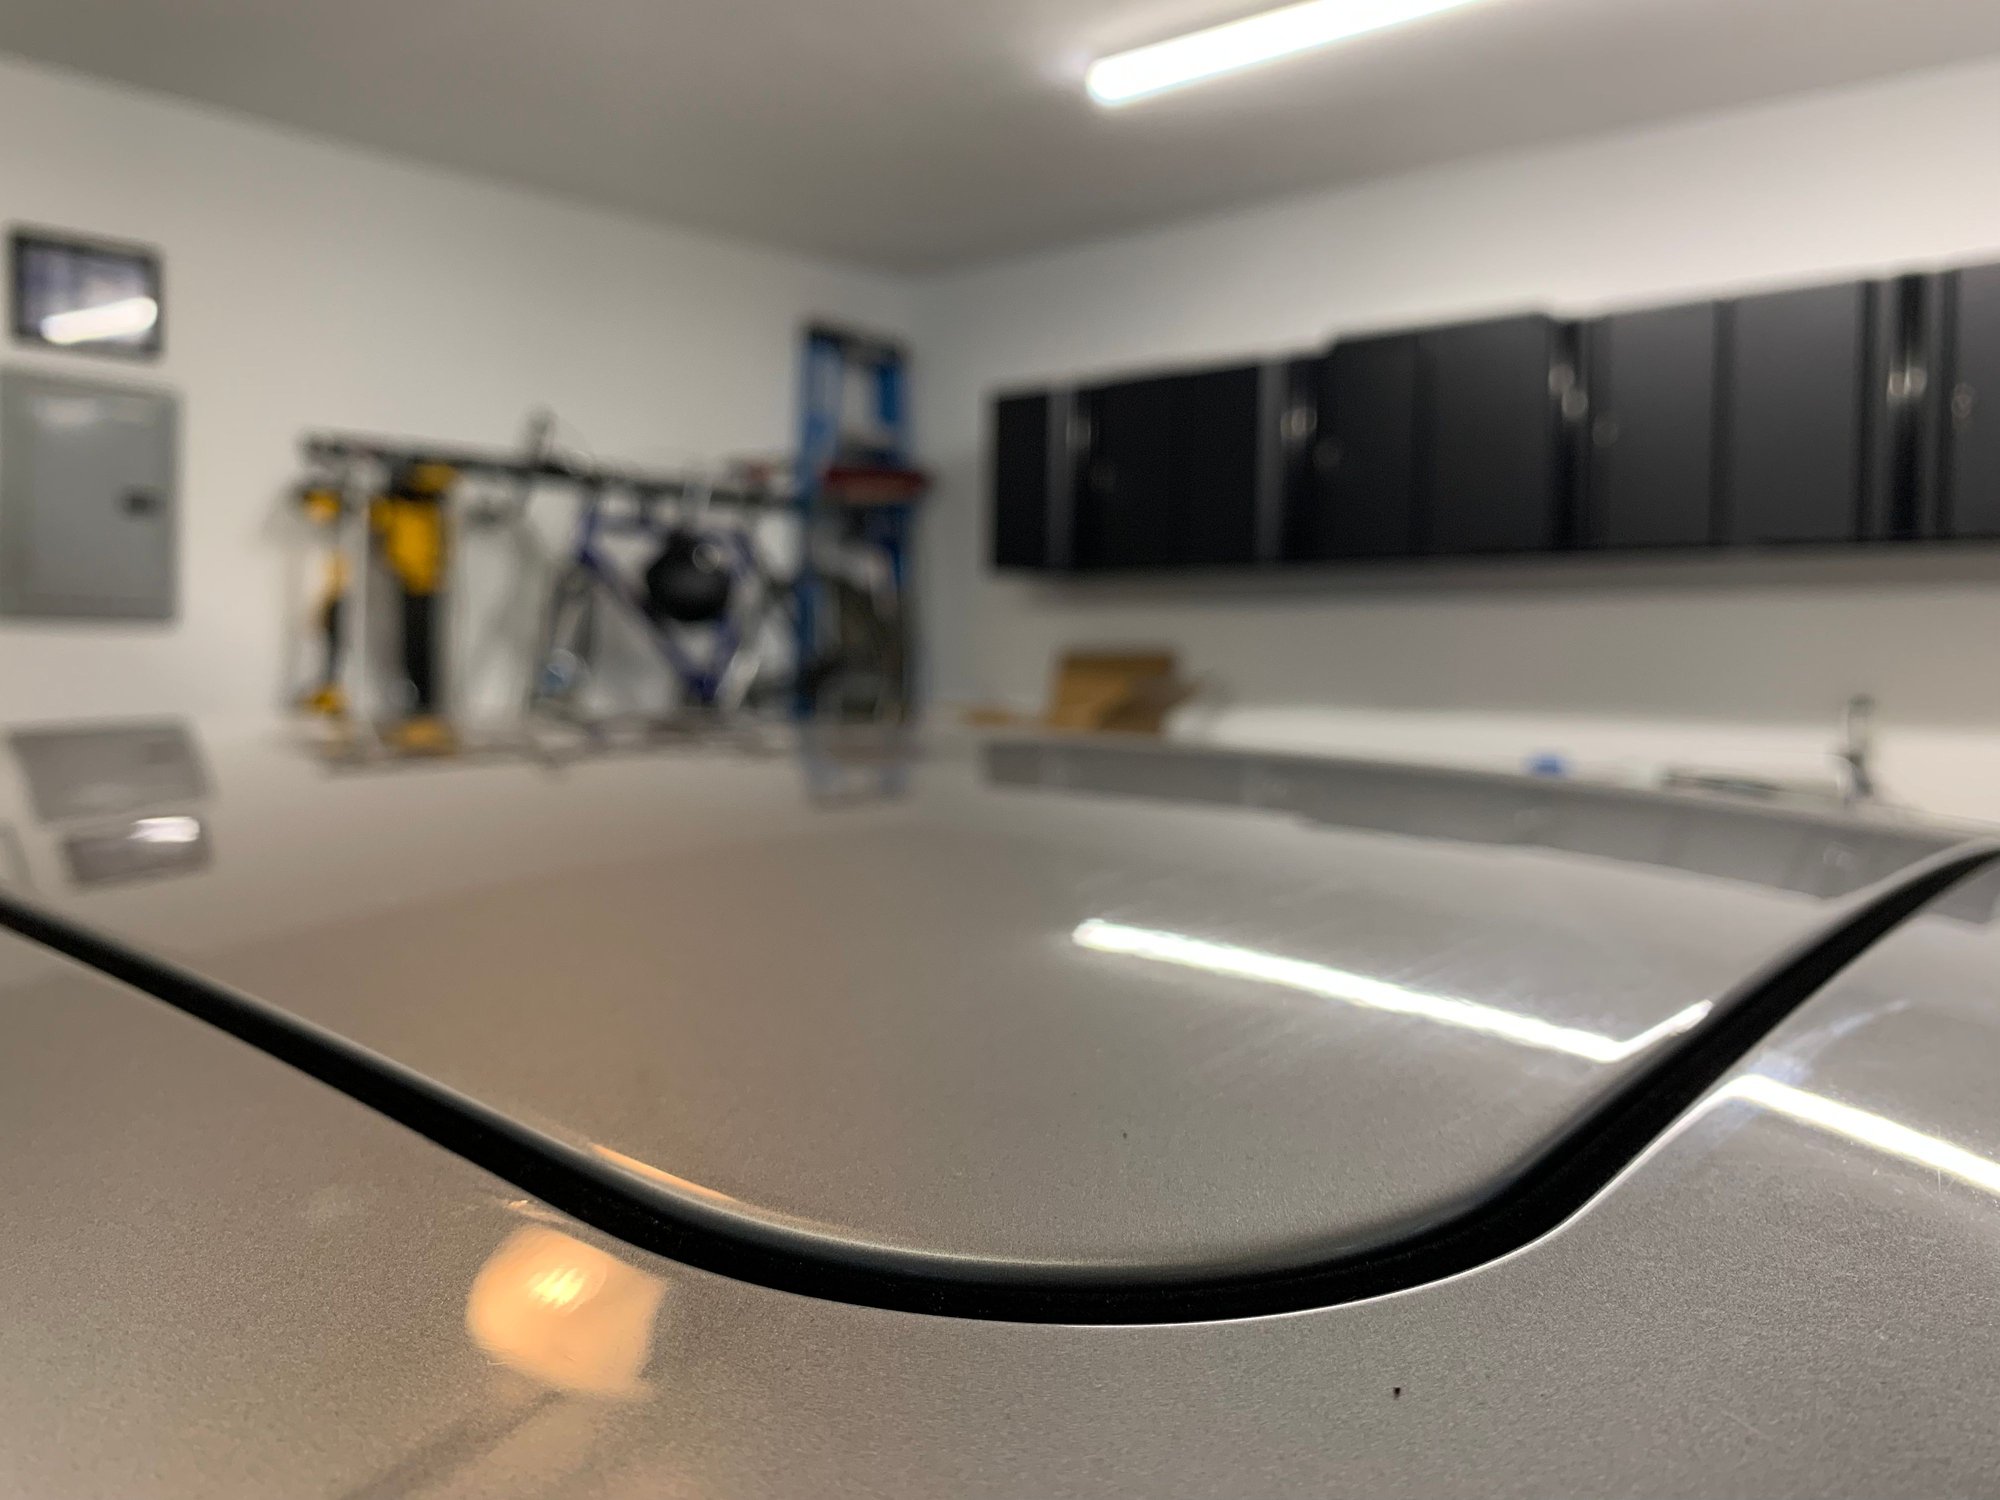
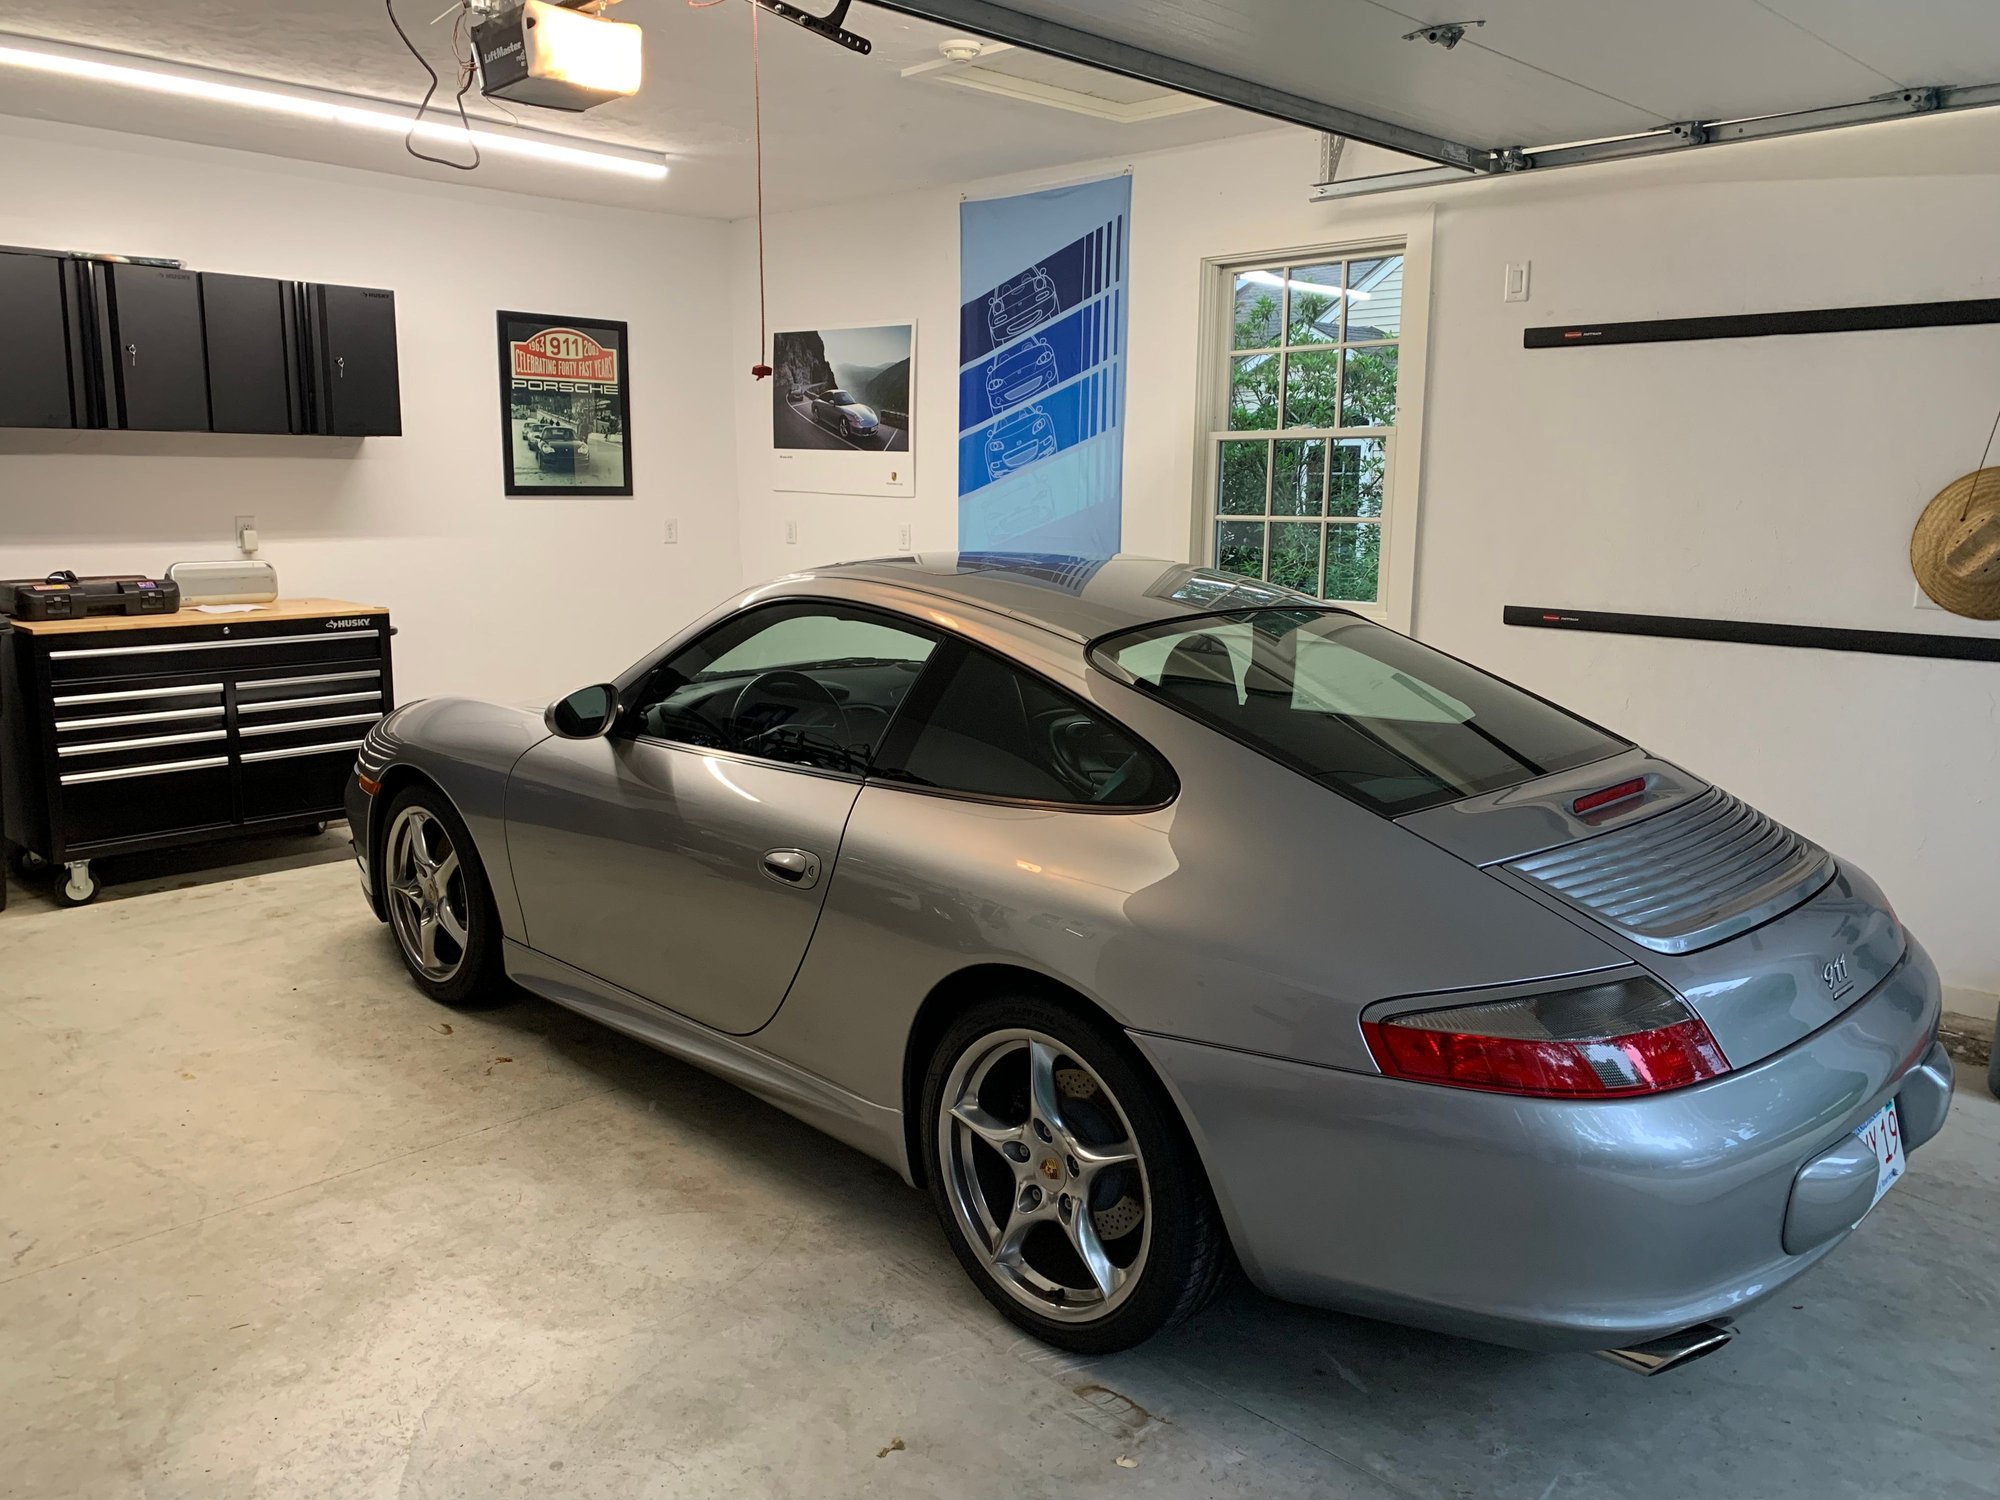
This time I didn't do the full 3M blue tape prep work around the perimeter of the sunroof. Just took a nice strip to hold down the wind deflector, which will inevitably get in your way if you don't. Working your way around the first three corners is simple, it's the final fourth and front corner that gives the challenge. Heat, massage, and Mingus. You've made it this far, do the right thing and fire up your/their/ours hairdryer. Heat that puppy up for a minute and give it a massage with your fingers. The tension will start building now, so put on some Charles Mingus to relax those nerves so that you don't bust your seal. You get through the corner and line up the ends, only to end up with bubble trouble. It's about a millimeter longer than you think it needs to be. 100 Deutschmark says that Hans in the factory measured twice before he made this thing and your shade-tree mechanic mind is wanting to make a short cut now. Breath in, fire up the CONAIR and lean into the Mingus. Use your left hand to block the headliner from heating and potentially detaching, because that will be more traumatizing than a burn from a hairdryer. Front driver corner. Rear driver corner. Rear passenger corner. Front passenger corner. This is what I did in round 1. Don't do what I did in round 1. Three tools I used. Use the right-most pointy pick very sparingly. Fingers as small as an 8 year olds and as strong as a rock climbers will do best. Patience and a clear mind is the top tool here. A picture of my dirty car.
Originally Posted by James_03C4S
Did you apply any type of treatment to the seal like silicon grease or armor-all to make the rubber more pliable and/or slippery and easier to slide in?
I believe that using a lubricant would also make it likely to pop out when using the vent function, so I avoided it. I am also not sure how people install this with the 3M weatherstrip adhesive, but I could see how that is needed in two-part 964 or earlier seals. Seeing how it didn't have adhesive from the factory, this made sense to me. I also wonder if installing it with the seam/gap at the back would make the install easier. The rear corners went it incredibly easy as there is no wind deflector hinge hardware there. The only other change I would make in prep would be to 3M the leading edge of the sunroof. I was very careful as to not use tool pressure over the sunroof and cause any unnecessary clear coat scratching.
Next up is to check the drains around the car and clear them if necessary. I don't think/doubt this car has ever been parked outside, nor has it been in inclement weather according to the PO.
Oh man I'm like half way thru this and stuck in the back where the sunroof retracts to... How did you make space there? It's very tight.
Eh I got through, got it installed, but not without scratching up the sunroof paint
Mine is still holding up after two years�so at least you won�t have to redo it anytime soon! Did you scratch the internal lip of the sunroof or the top of the sunroof?

 06-19-2021, 06:55 PM