When you click on links to various merchants on this site and make a purchase, this can result in this site earning a commission. Affiliate programs and affiliations include, but are not limited to, the eBay Partner Network.
Nice rebuild, the wiring for the 996.1 tip is different. It's really not the wiring or mechanical side of the swap it's the programming. The tip is tied into everything they all cross check each other, you simply can not just unplug the module. When you get the wiring diagram for the 996.2 tip you will see it effects many systems, Instrument Cluster, PSM, Engine DME and more. If you get it done it will be an interesting journey, good luck I'm in for the count.
Thanks! Ive been talking with a couple of other members that have done a tip-->manual swap already, so I have a bit of a crutch now! I've reached out to a few local places regarding the PIWIS but haven't heard anything back yet. I'm dying to drive this car this summer so I may end up putting off the 6 speed swap until this winter. 50+ hour work week, a 1st and 2nd grader doing the school thing from home, a wife that works full time, daddy duties, etc. etc. My "free" time is hard to come by and I don't want to miss the nice summer nights with the windows down and sunroof open....
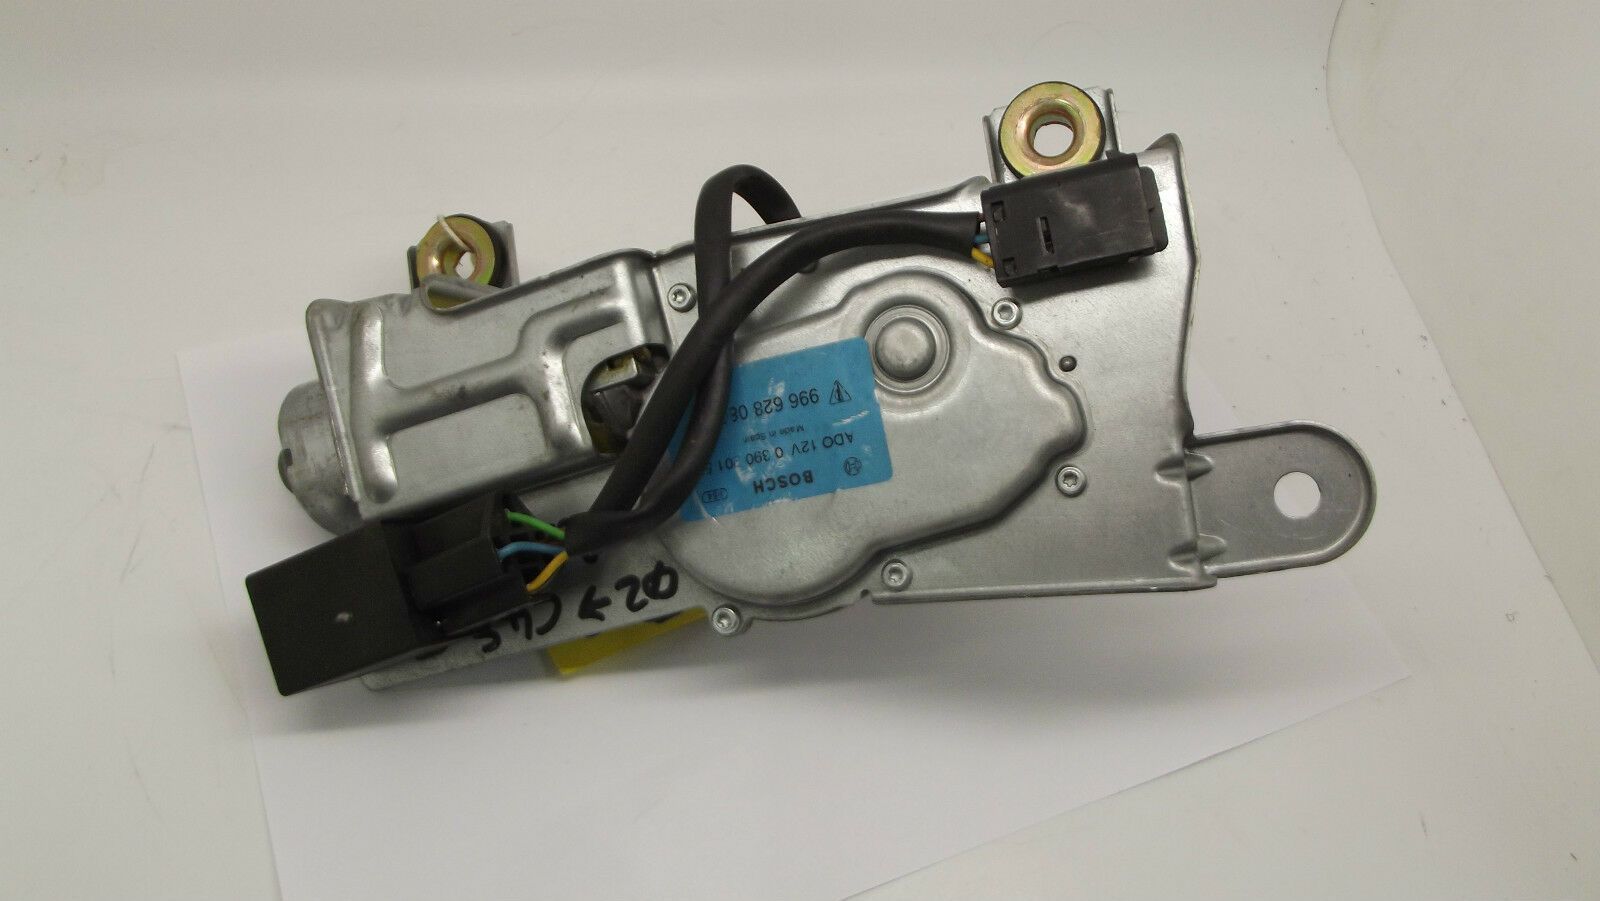
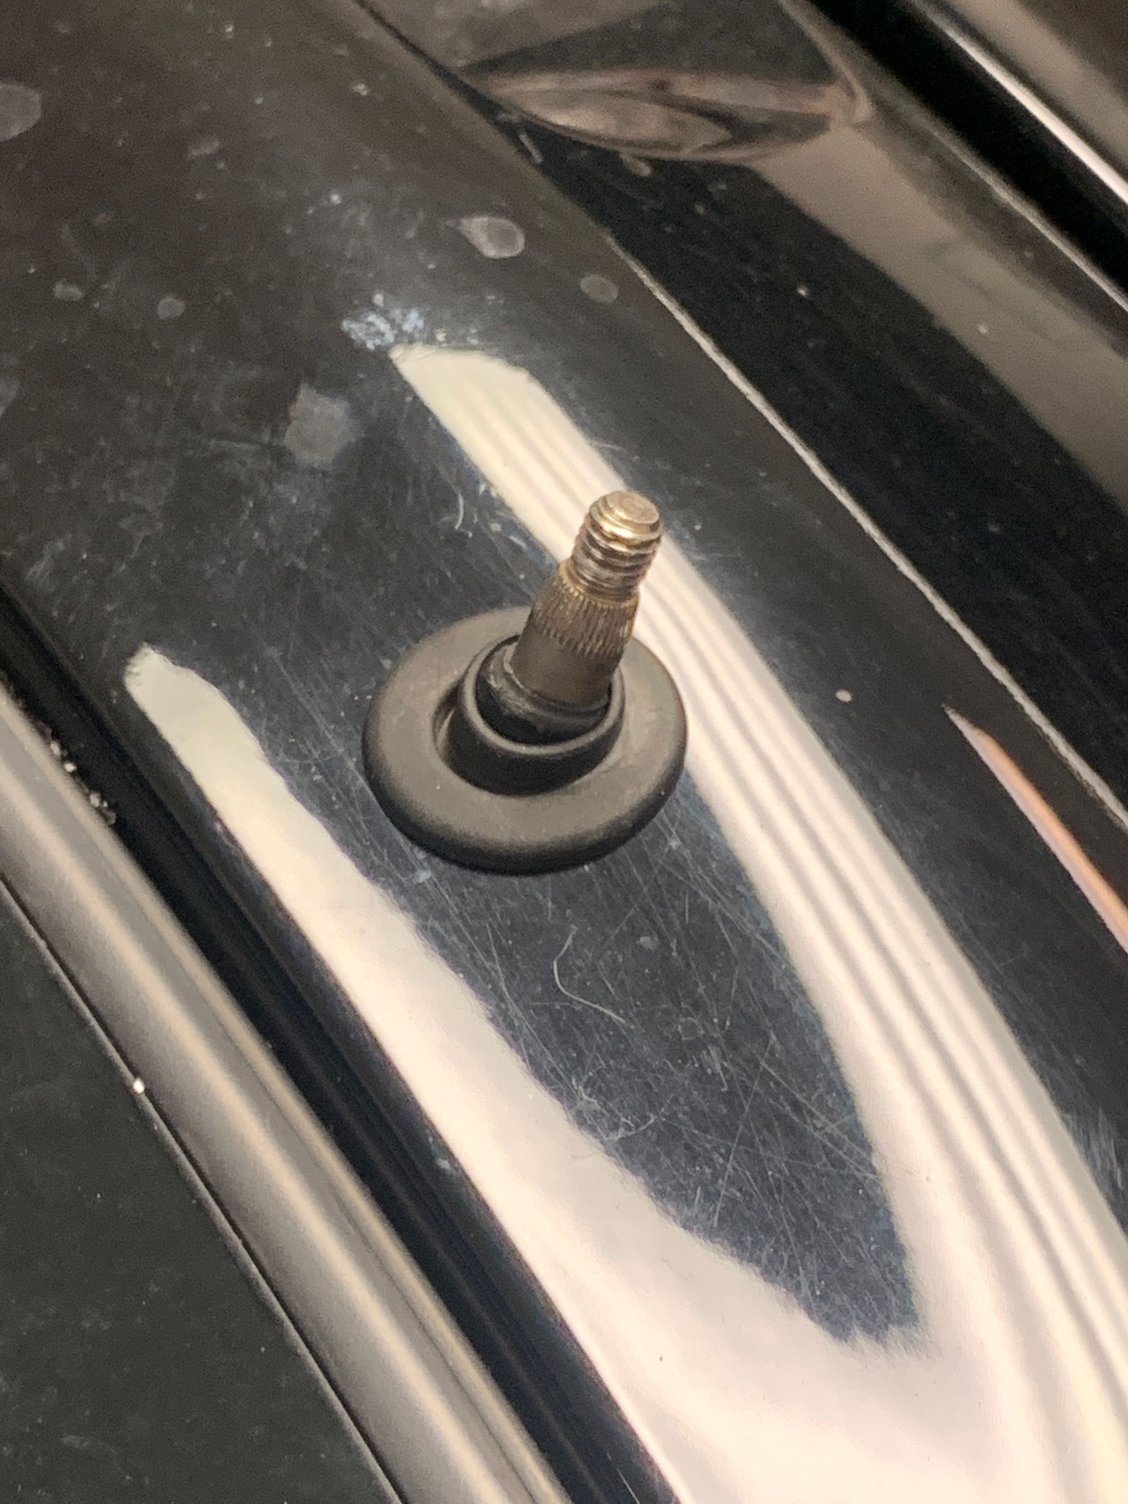
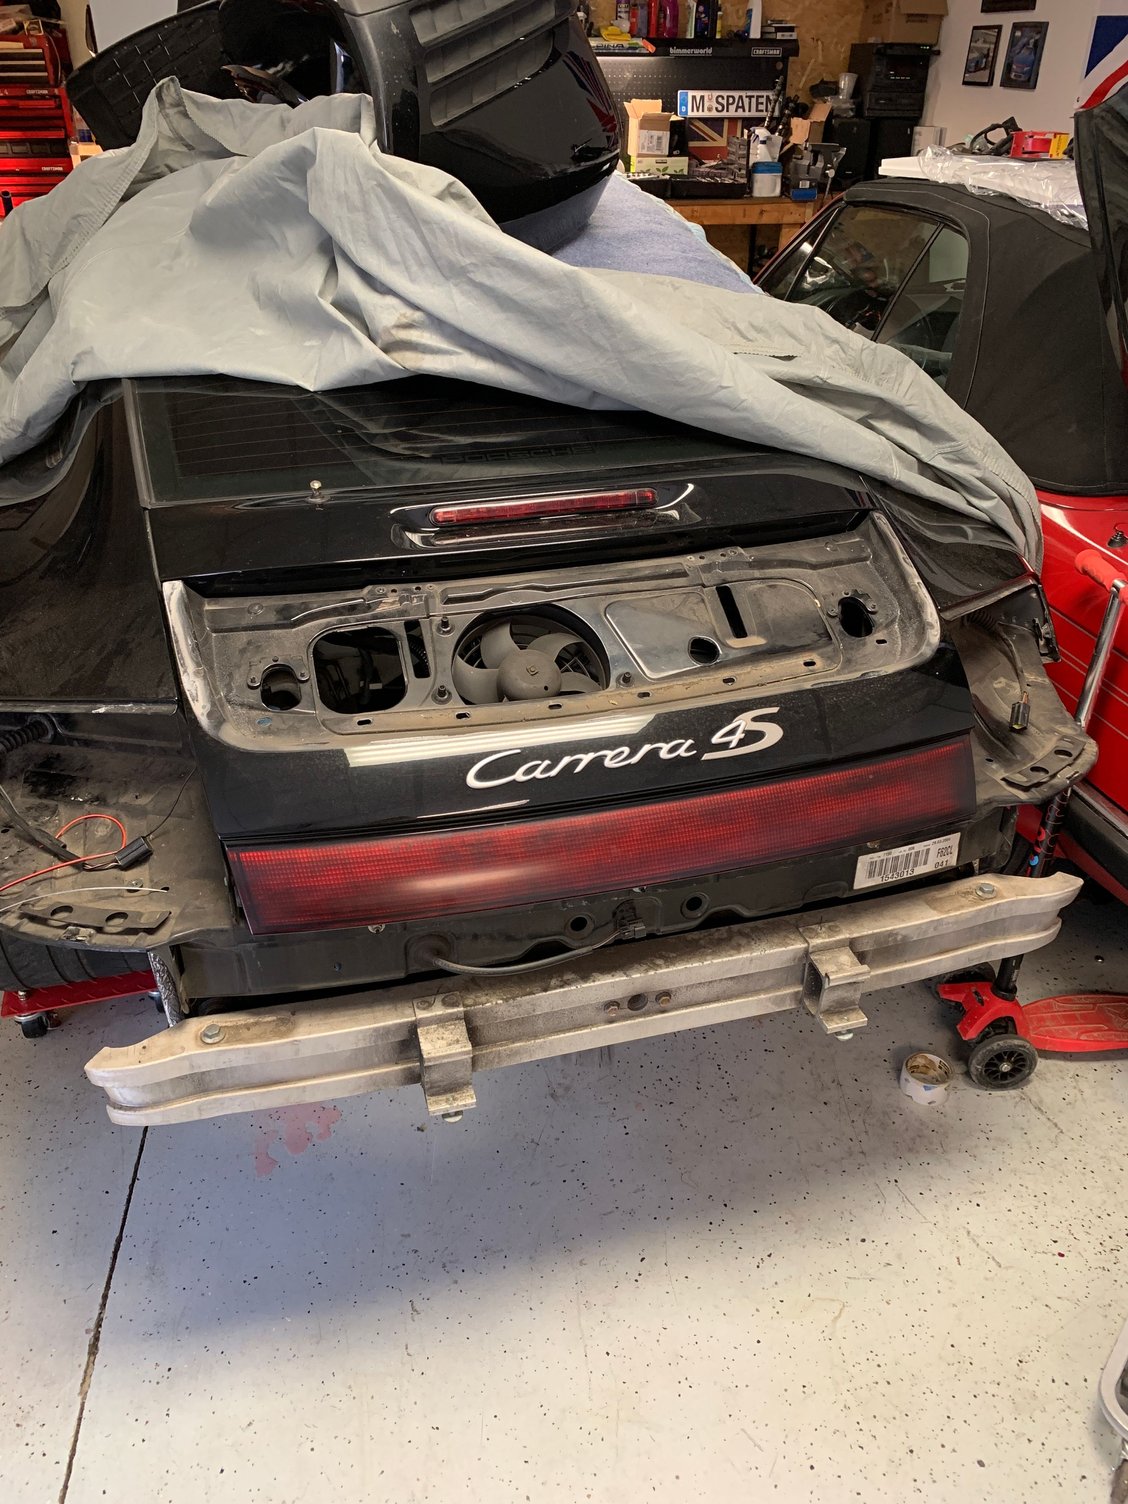
Since I'm bored, I'm looking for stuff to do before the block halves make their way back. It must be the English in me but I love the look of the rear wiper on the C4S, so going to add one. Yes, the drilling in a pristine body scares the hell out of me (I'd rather do a 6 speed swap!!!!) but its not too bad of a job overall. The C4S has a specific part number for the rear motor (996.628.080.01). Not sure how it's different from the other 996 rear wiper motor (.00) but I'm not planning on chancing it.
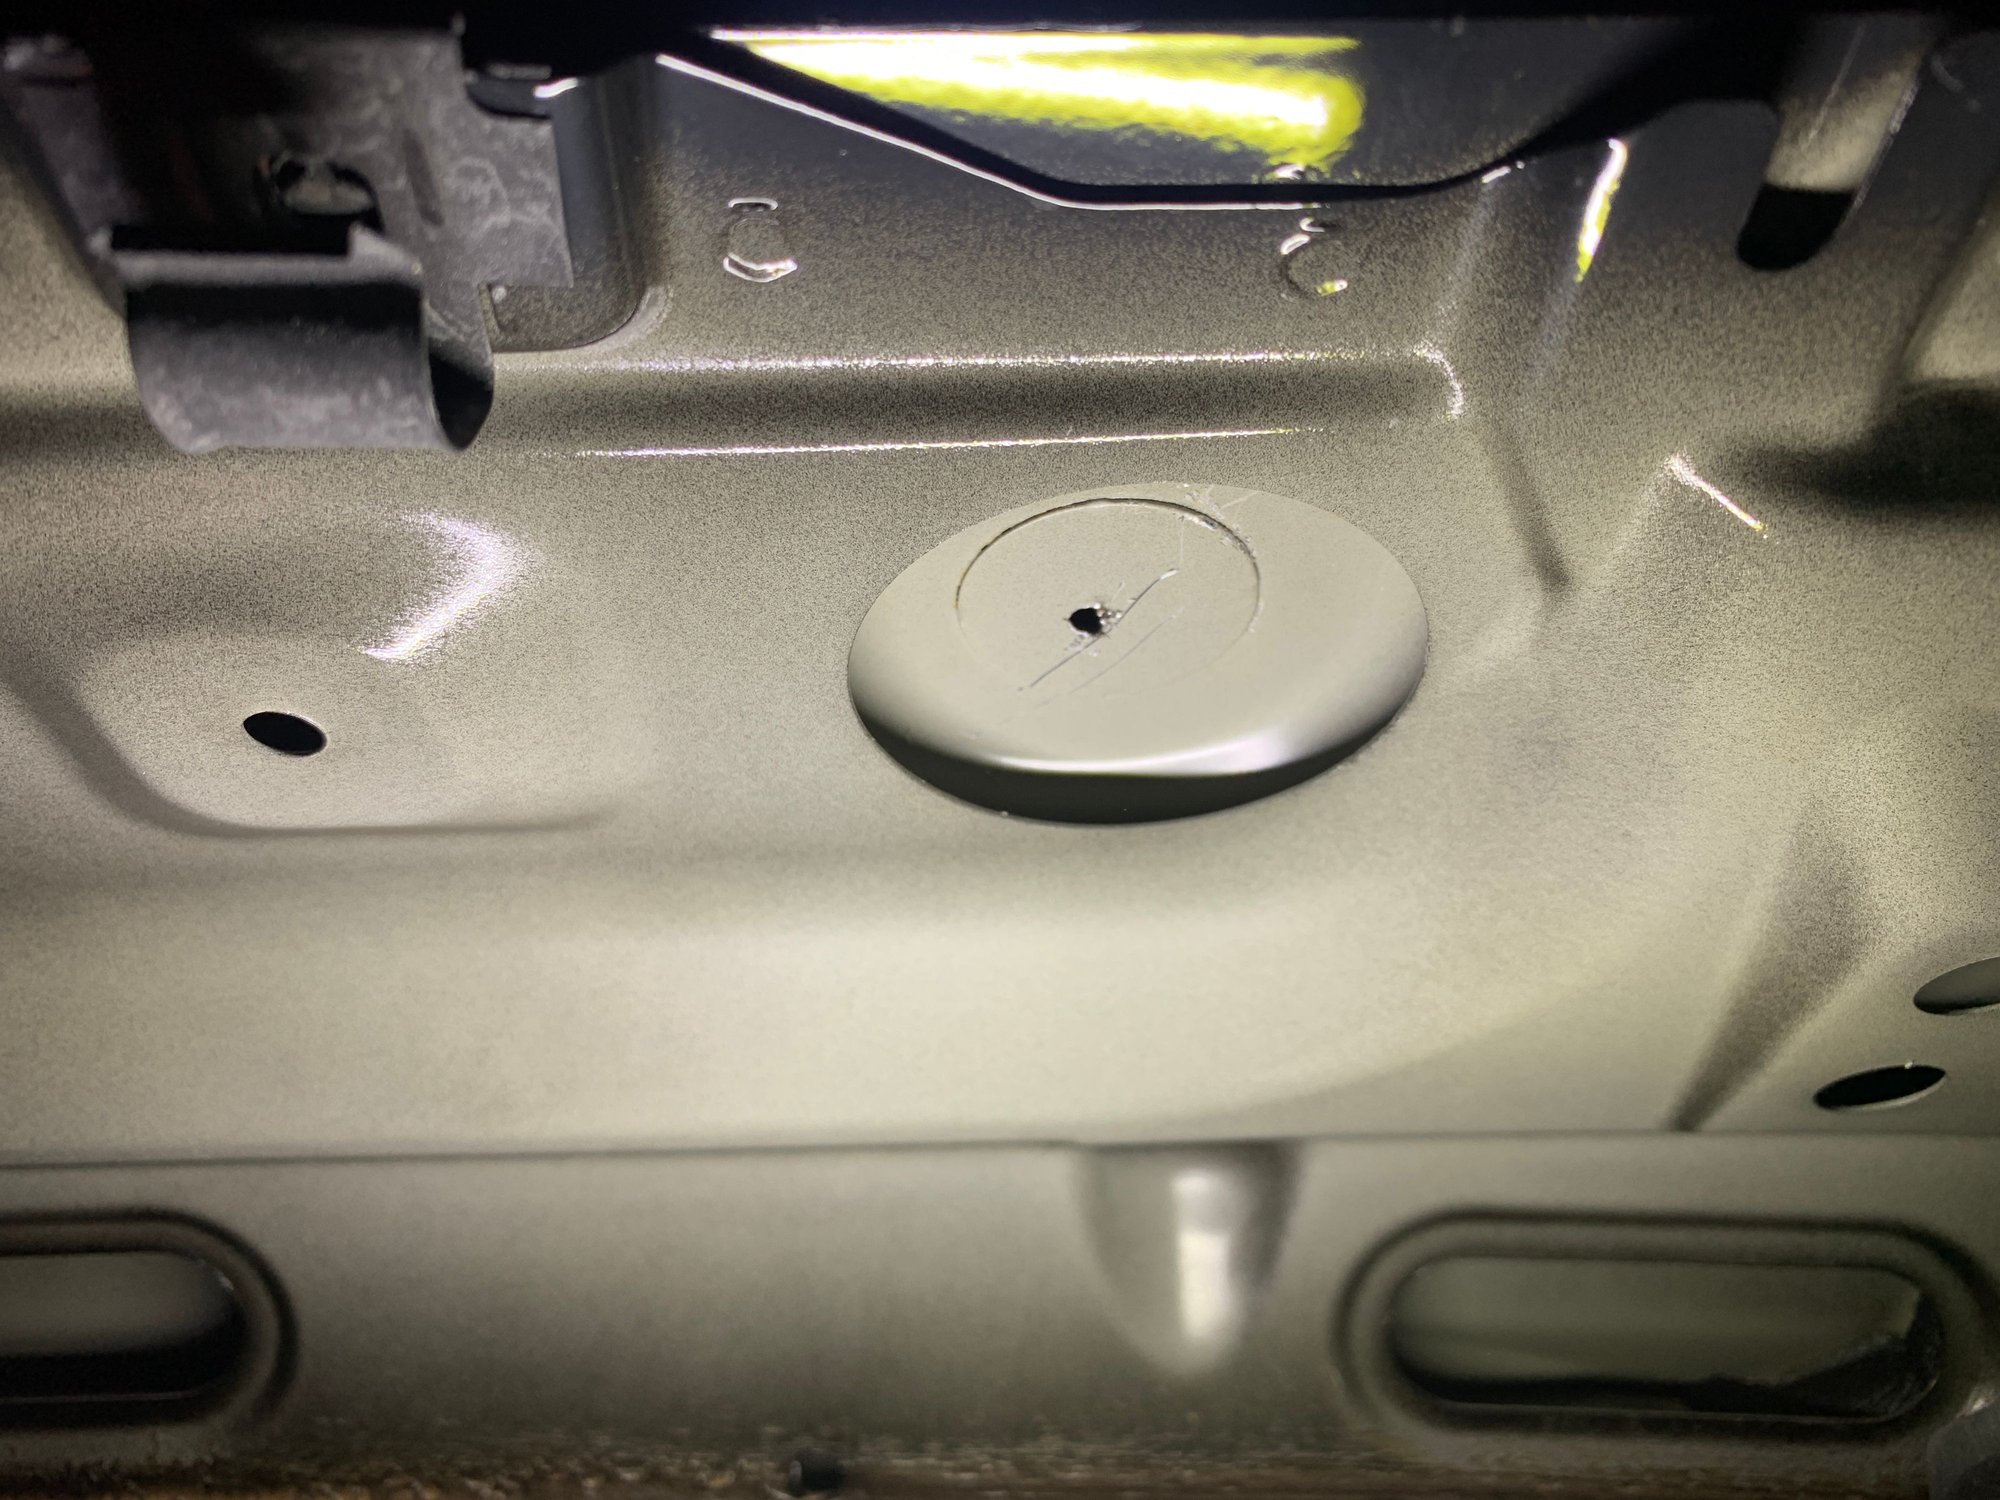
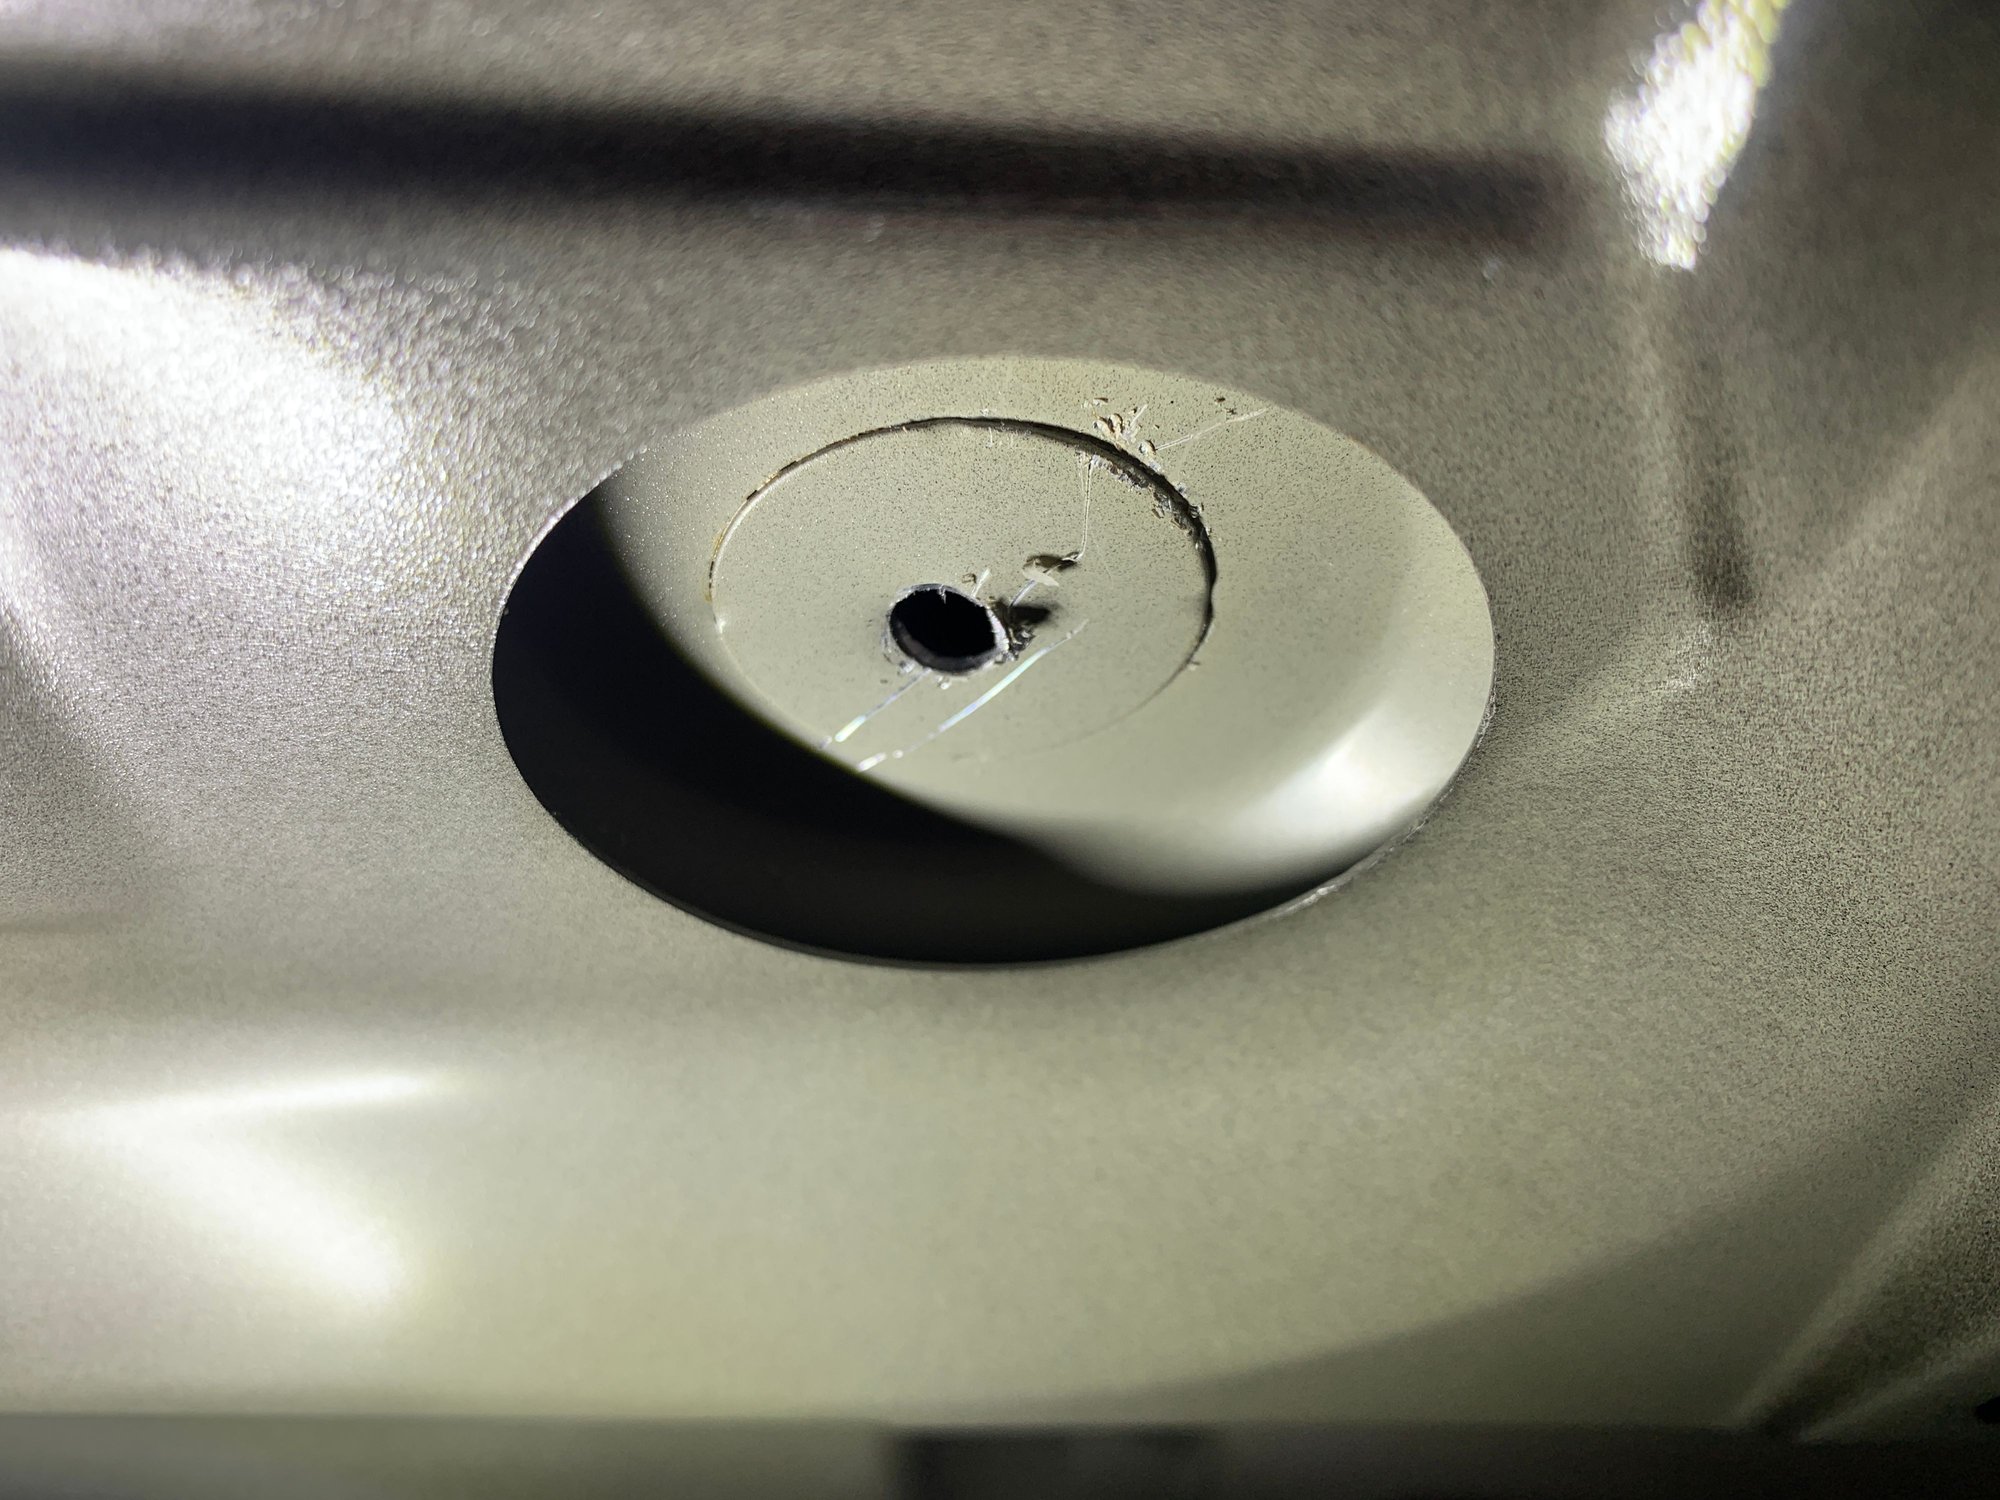
I keep reading that the rear panel will have to be cut out and the correct one welded in. Rather discouraging but since I had a bit of time, I decided to pull the back trim cover off. Lo and behold, the rear wiper assembly bolt mounts are there and a hole in the first layer of metal to use as a guide.....
So now I may as well add a rear view camera I've been debating about at the same time.
Why? Well...
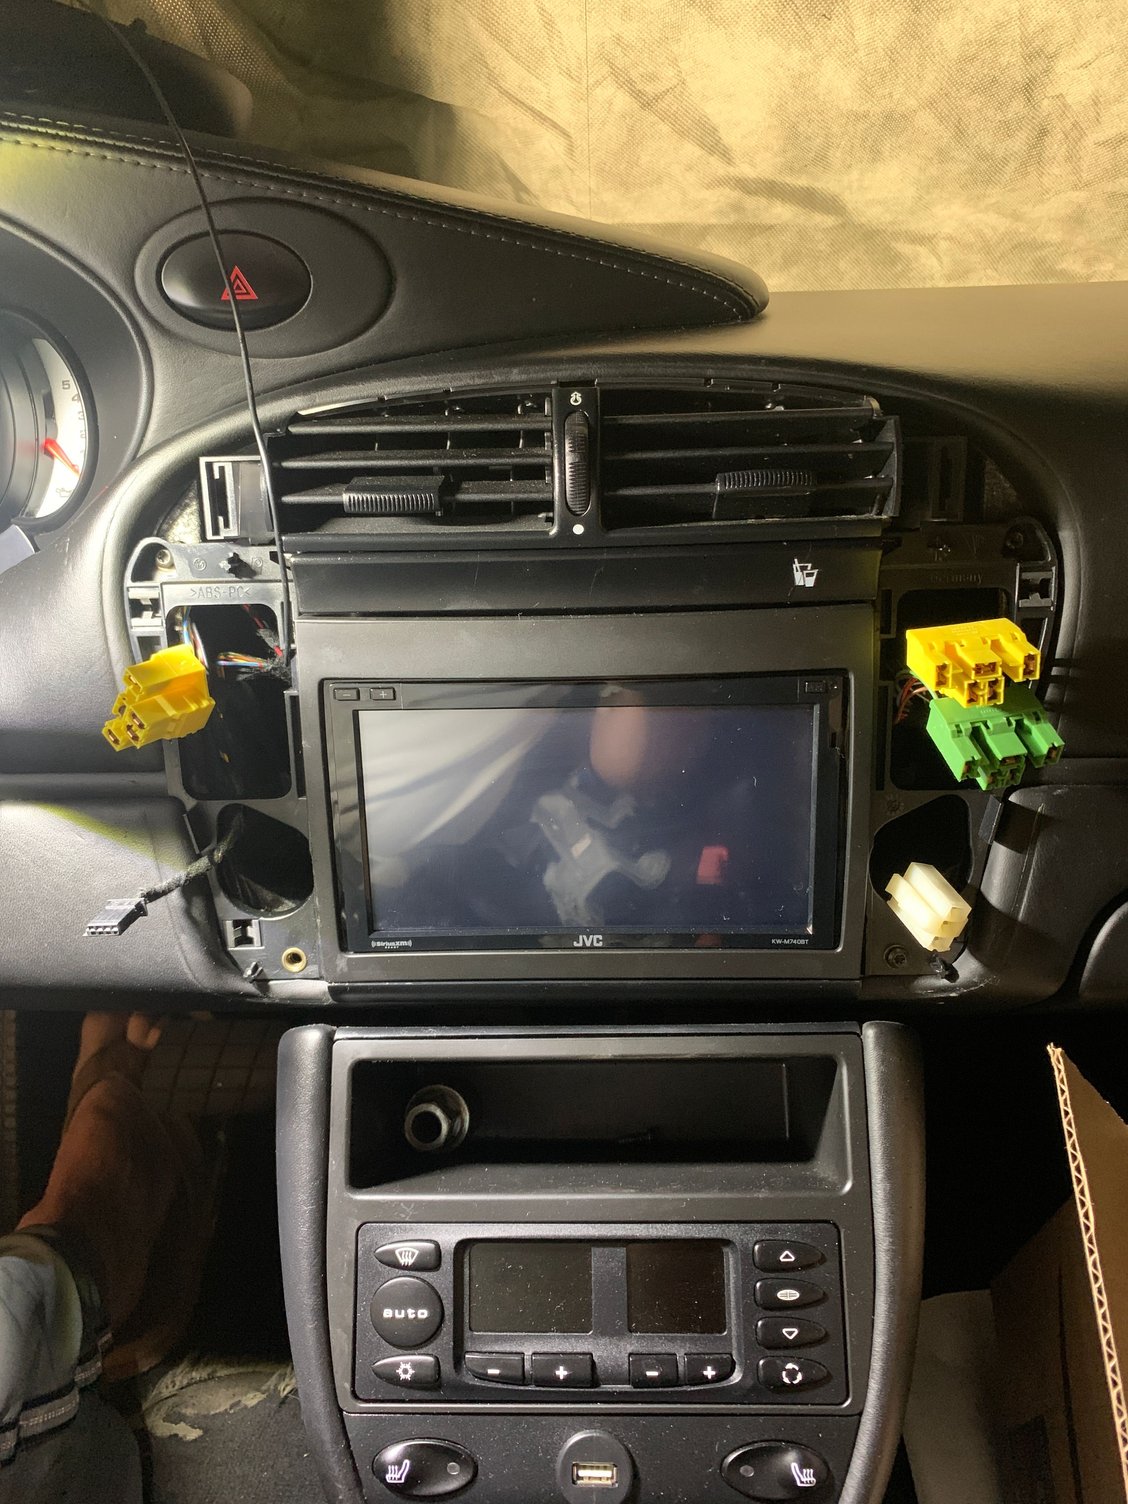
My head unit is a double din and has the back up camera function built in.
My console, shifter and emergency brake are out.
Already 75% of the way there removing interior and exteriors bits anyway.
I'm feeling old today and have a muscle pain in my neck LOL
So if anyone has parts of the harness, plugs, rear wiper switch, rear wiper arm etc, let me know! I've been talking with a guy on eBay about his C4S specific motor....It's a really good deal so I think I've got that sourced.
Last edited by e30rapidic; 02-12-2021 at 05:22 PM.
C4S rear wiper motor and dash button incoming. Wiring is fairly straight forward per the diagrams.
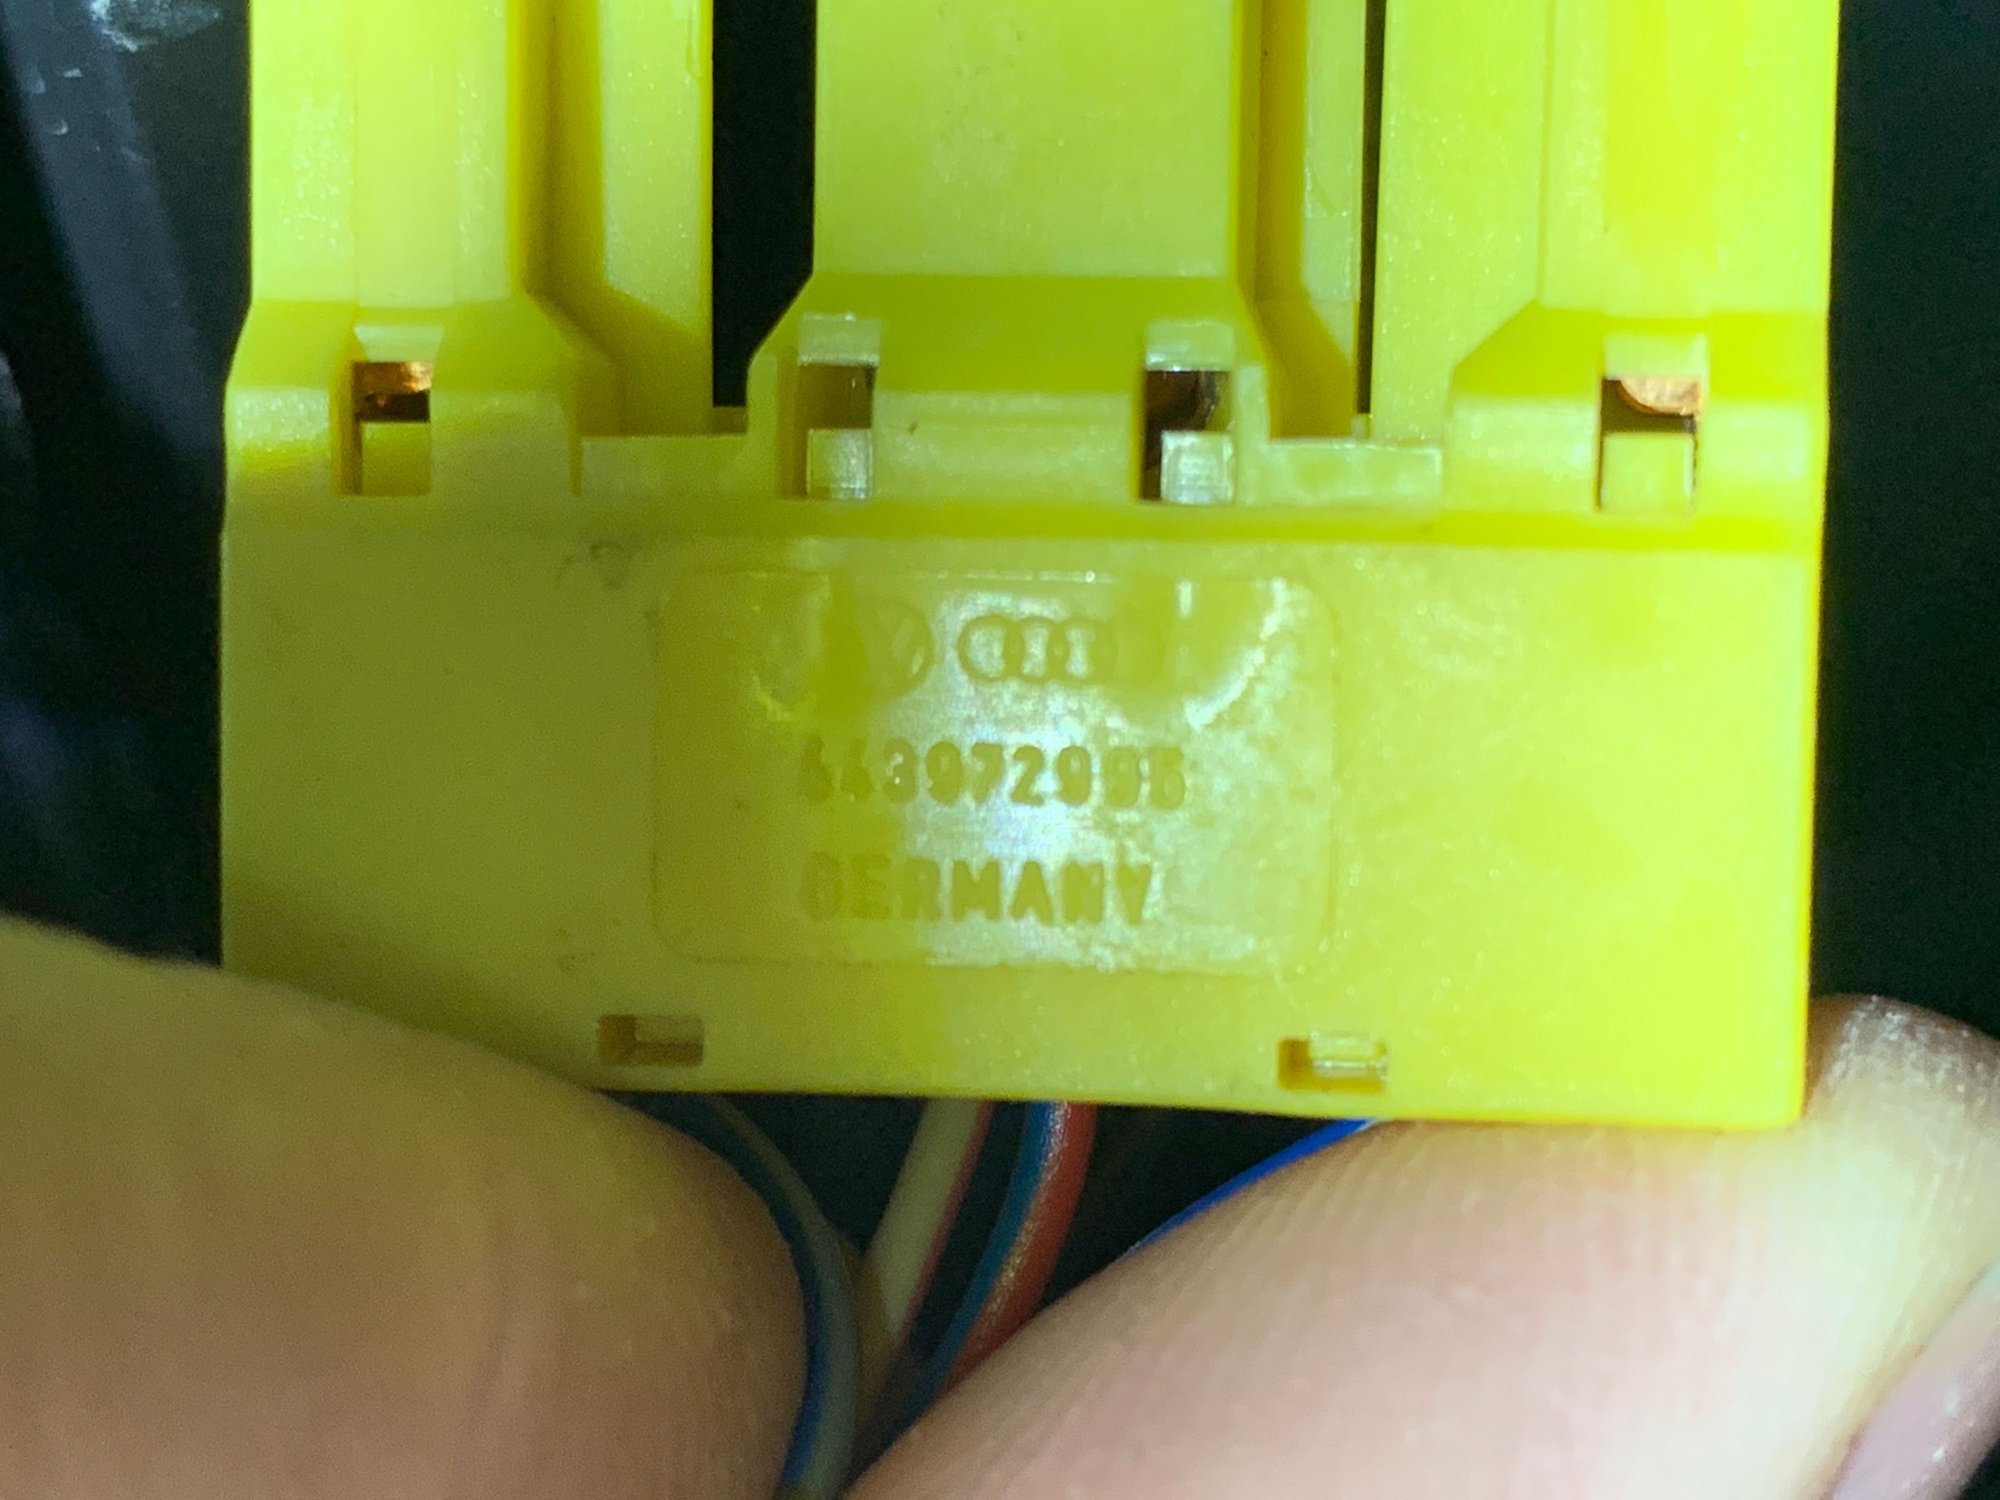
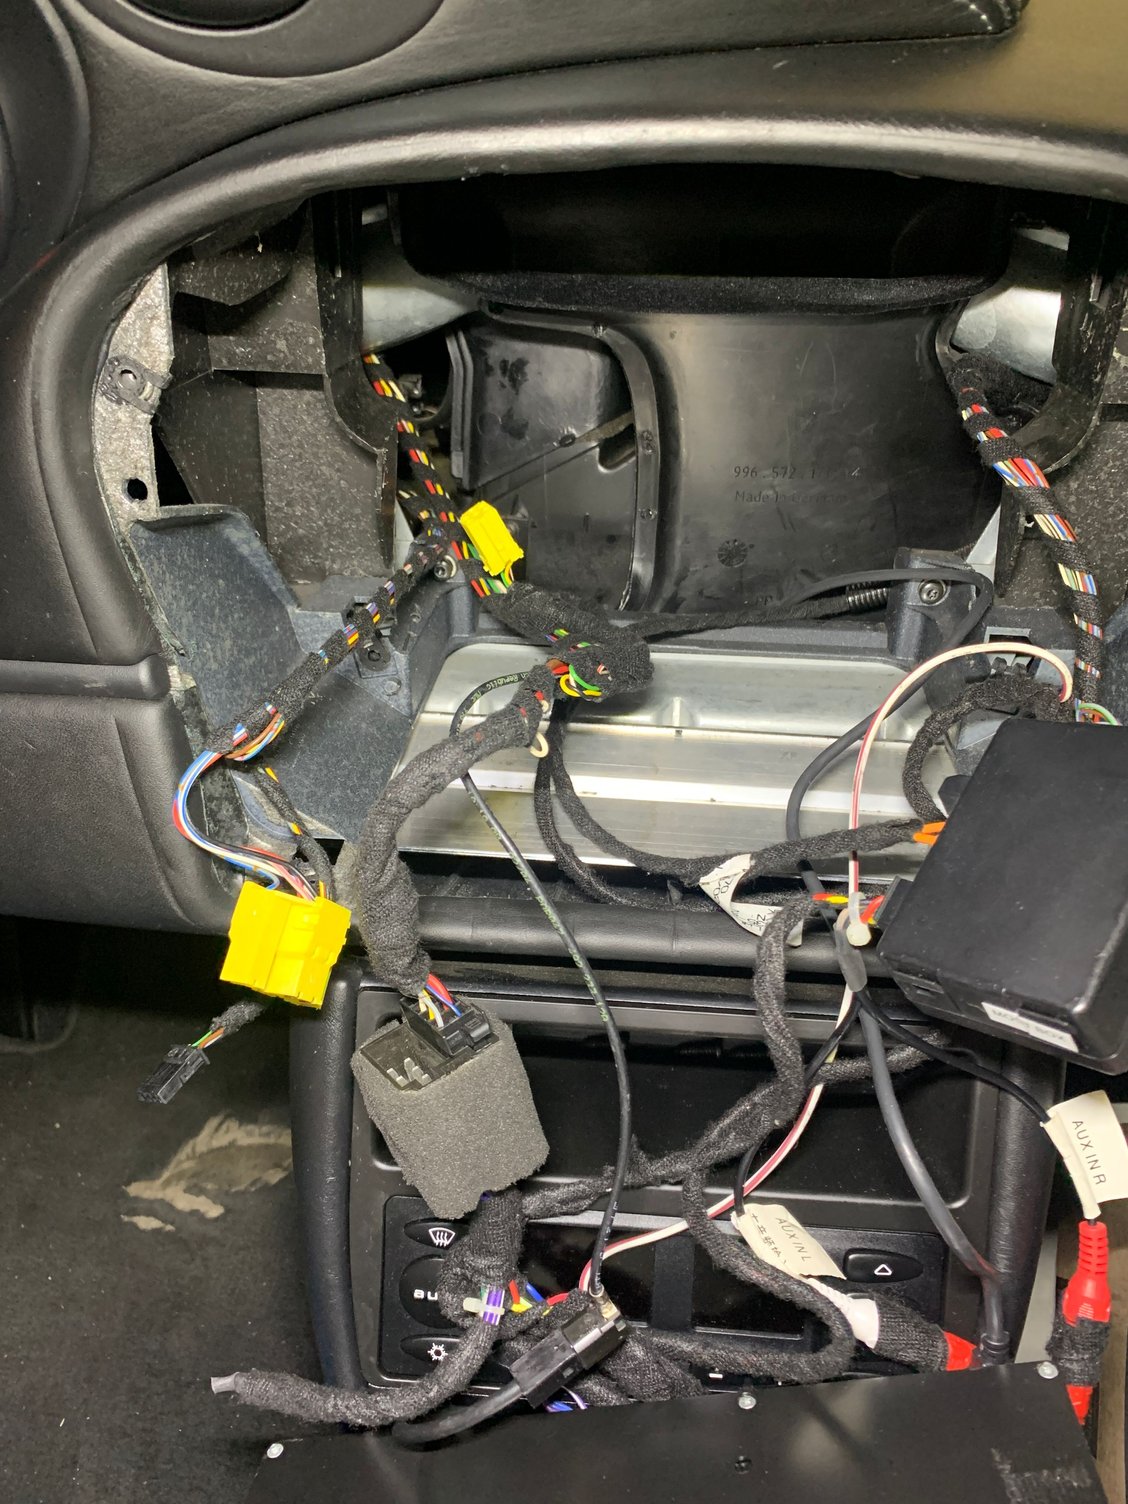
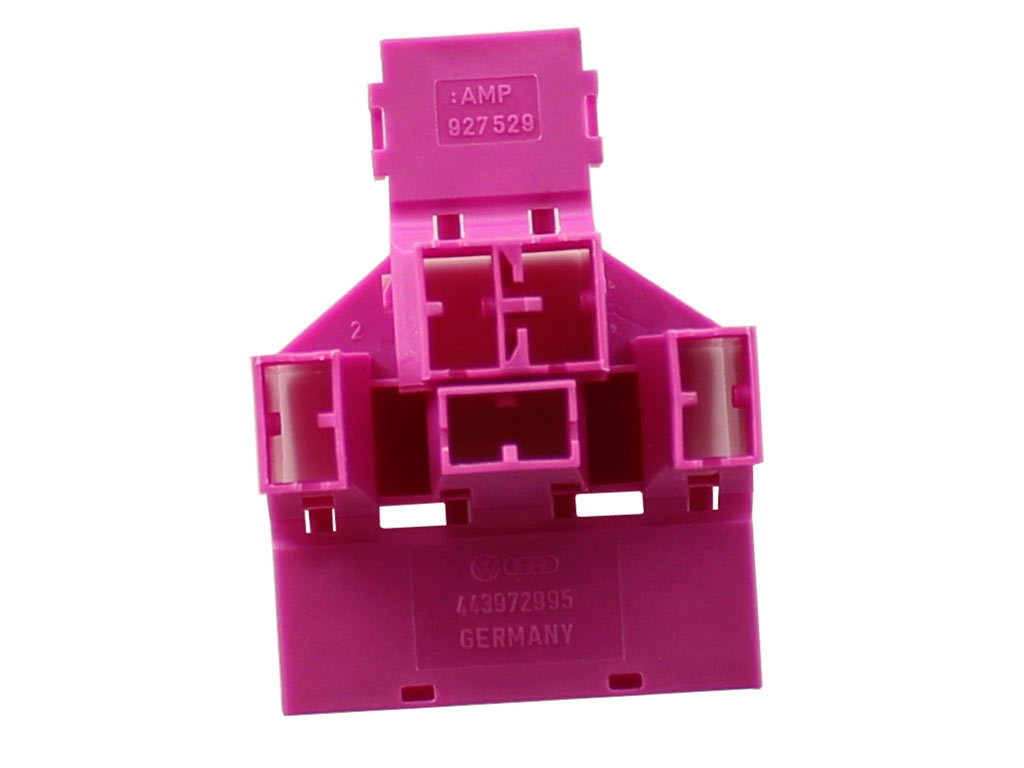
Does anyone have a parts car with a rear wiper that wouldn't mind cutting the pink plug at the dash button, the 3 prong plug at the rear wiper motor, the rear wiper arm and as much of the wiring as feasible?
I know its a long shot but I figured I would ask
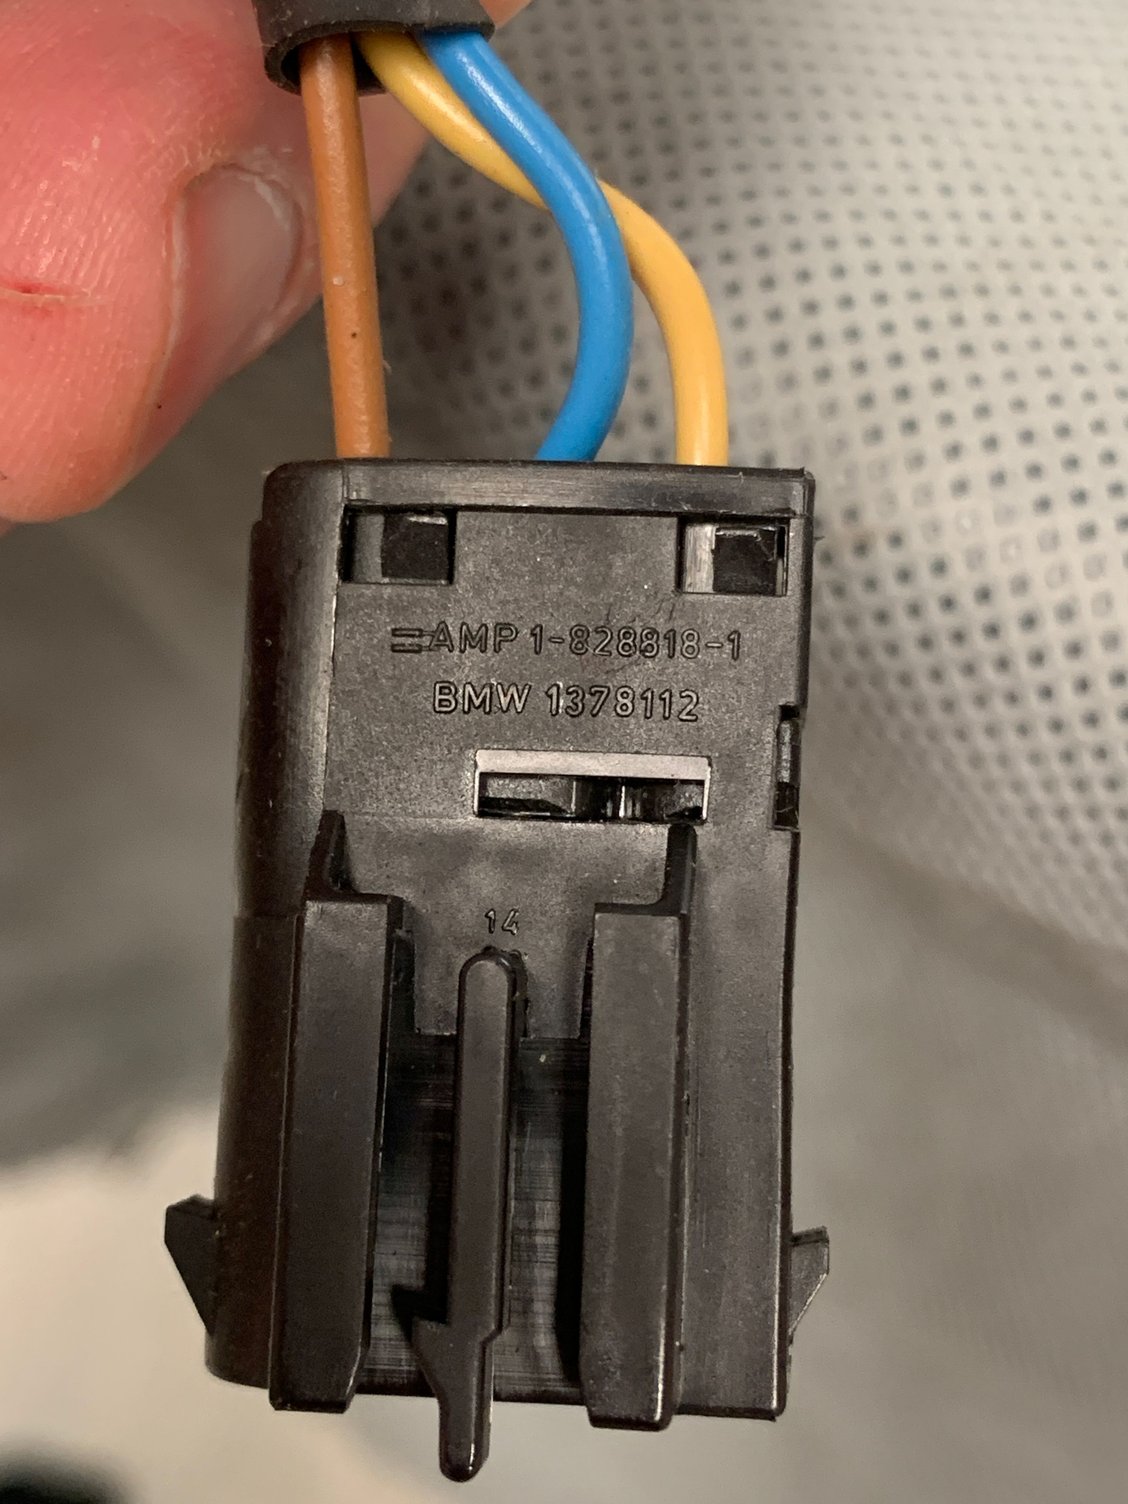
The plug looks like this yellow one ..... but is pink
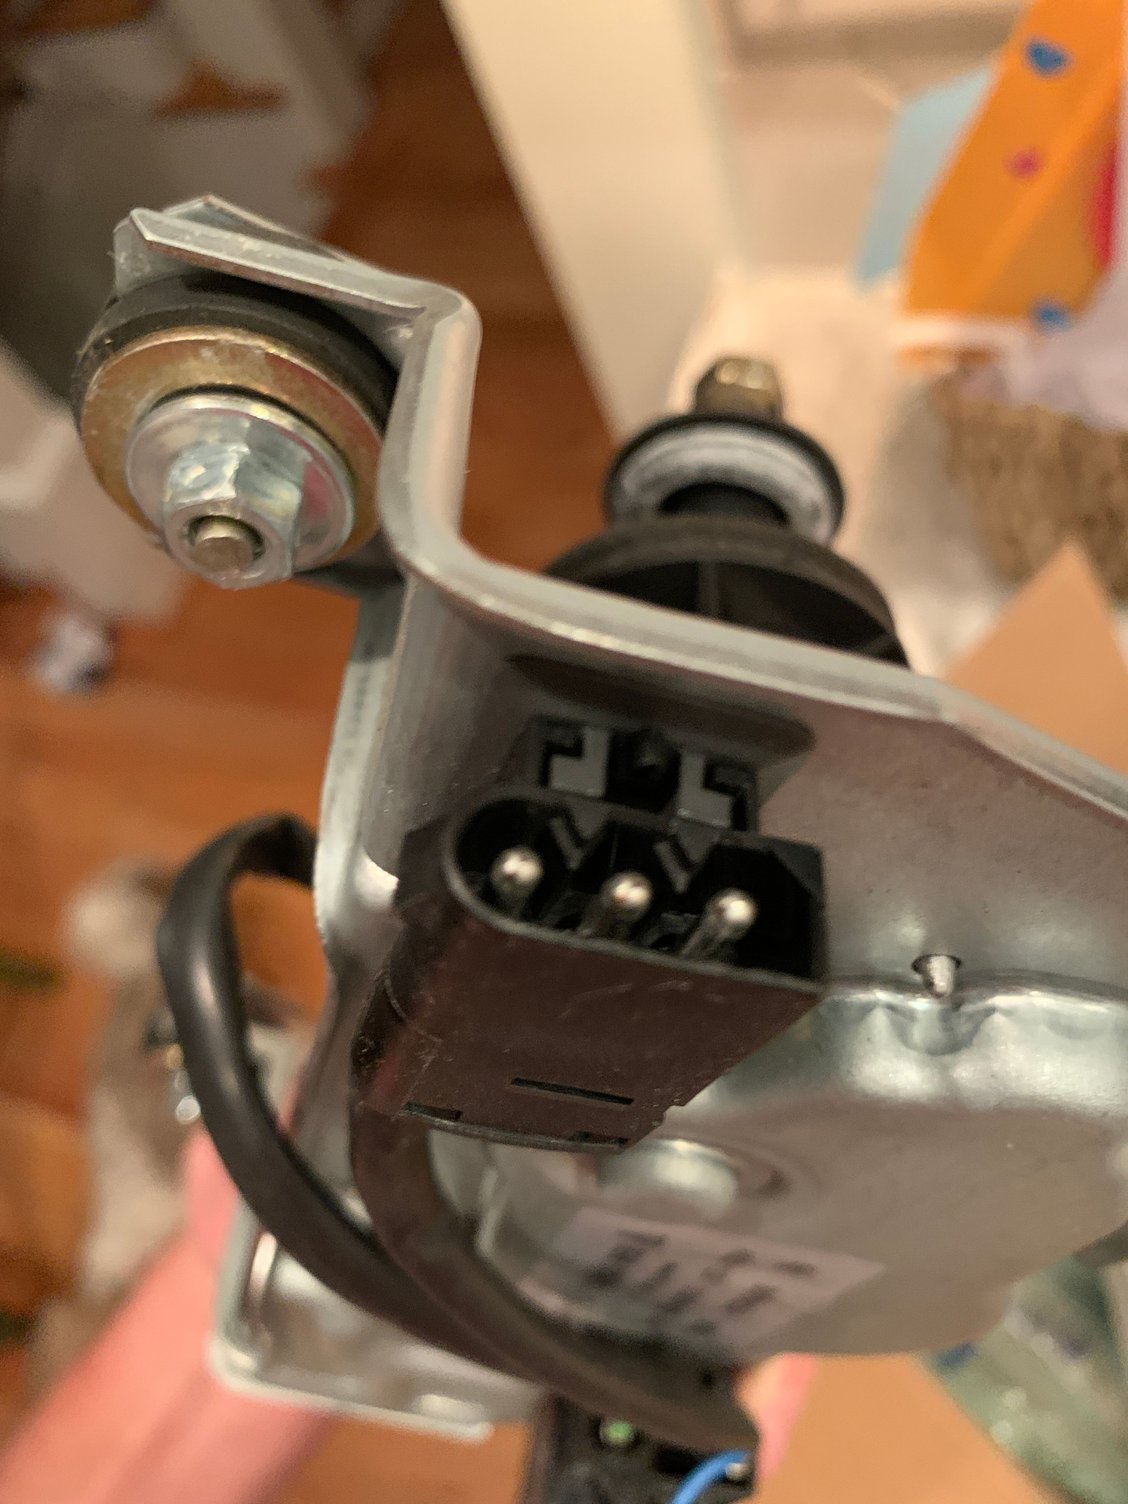
Plug needed at rear wiper is the 3 prong connector at the top right,
Also, waiting on the rear view camera to arrive today so I'll have something to tinker with this week......
Cheers....
Last edited by e30rapidic; 02-19-2021 at 09:16 PM.
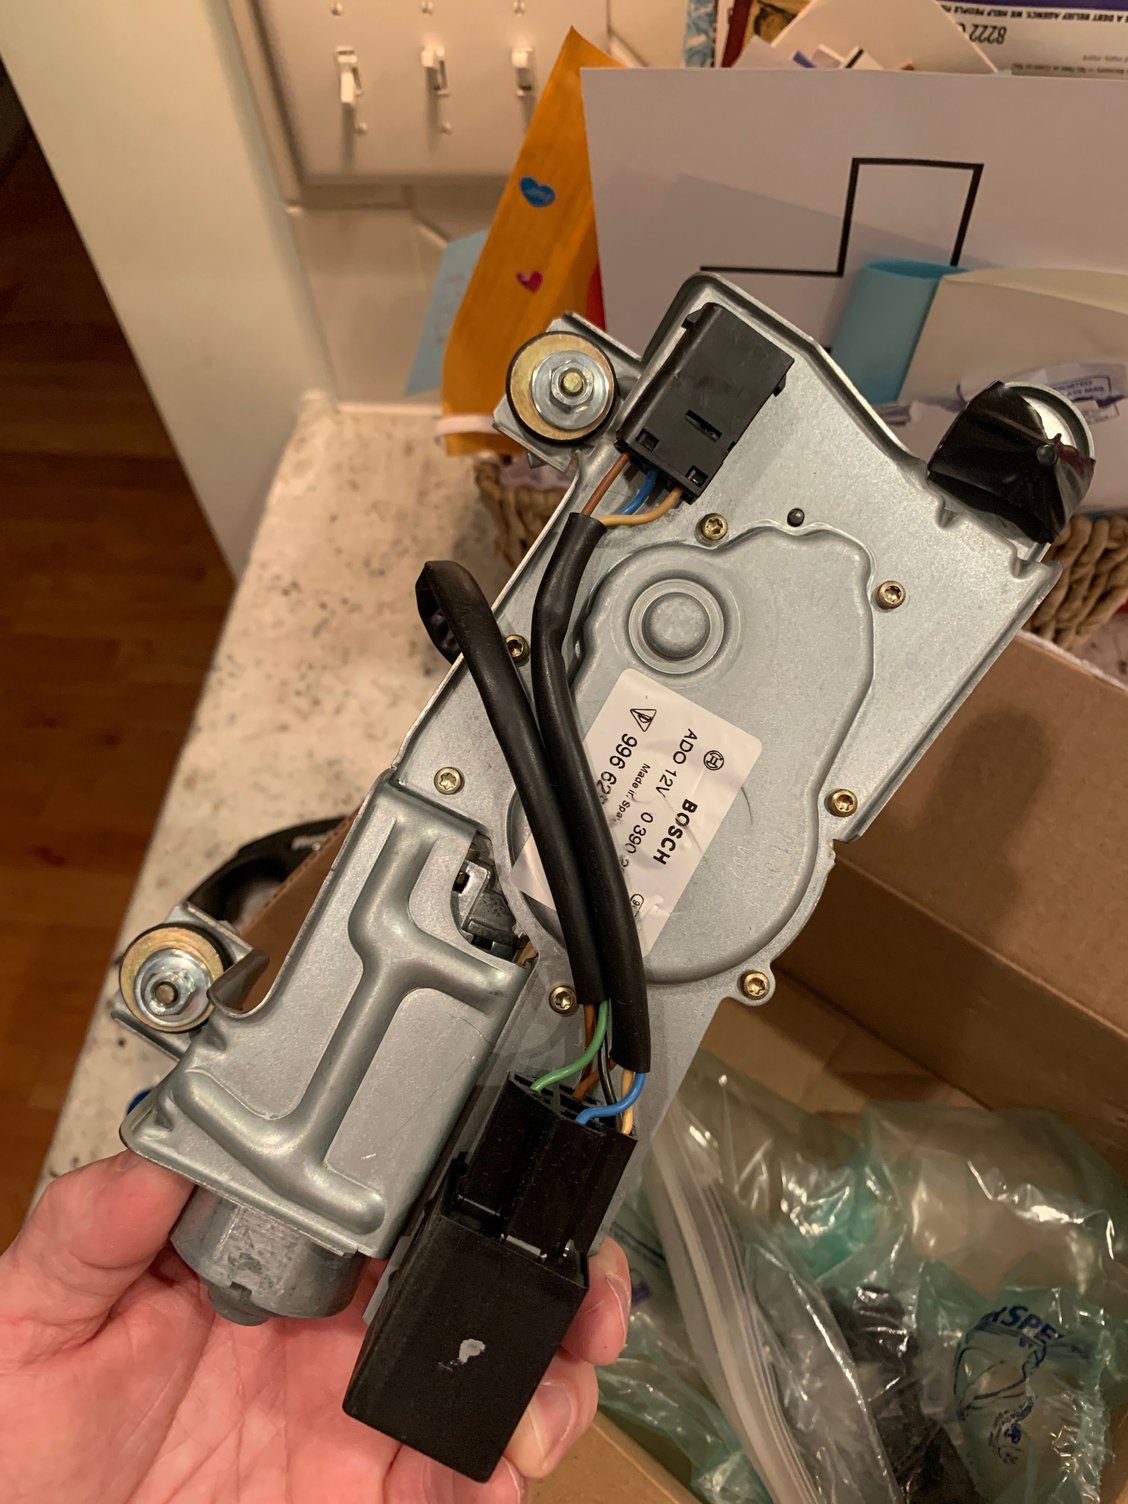
Rear wiper arrived. Interesting thing is that the wiper harness connector I've been pulling my hair out over has a BMW part number on it. Still trying to track down the part number for it's "mate"
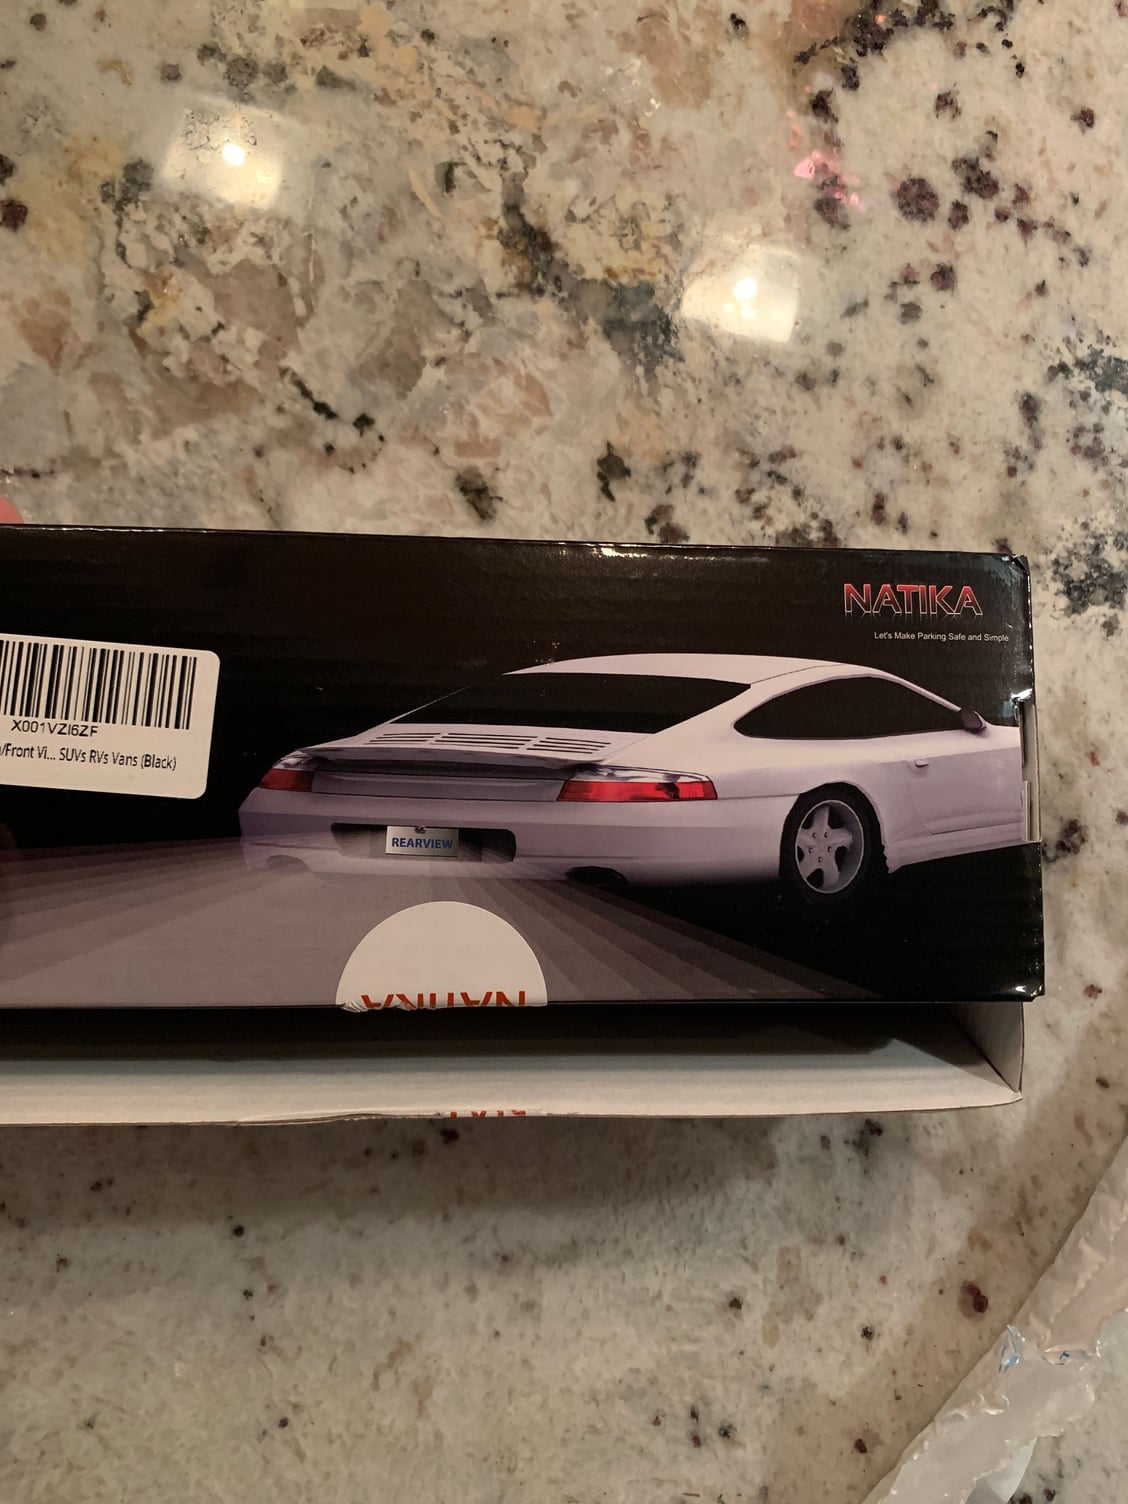
Also ordered the rear view camera, check out what was on the back of the box.
I might get something done on the car this weekend. Looking like I'll be pulling the rear seat and carpet up in an effort to track down the future harness routing for the rear wiper and cabling for the rear view camera.
@e30rapidic From your earlier post: "I keep reading that the rear panel will have to be cut out and the correct one welded in. Rather discouraging but since I had a bit of time, I decided to pull the back trim cover off. Lo and behold, the rear wiper assembly bolt mounts are there and a hole in the first layer of metal to use as a guide..."
@e30rapidic From your earlier post: "I keep reading that the rear panel will have to be cut out and the correct one welded in. Rather discouraging but since I had a bit of time, I decided to pull the back trim cover off. Lo and behold, the rear wiper assembly bolt mounts are there and a hole in the first layer of metal to use as a guide..."
Do you think that's true of all 996 4s?
not sure, the parts diagram shows two part numbers specific to the 4S and references the M425 rear wiper package for one of them. Mine doesn't have the package but has the proper rear panel. May be worth a look? took 10 seconds to pop the back panel off.
Rear wiper arrived. Interesting thing is that the wiper harness connector I've been pulling my hair out over has a BMW part number on it. Still trying to track down the part number for it's "mate".
Are you looking for a complete Porsche harness or just the female plug? If you just need the plug you could use the BMW part.
Are you looking for a complete Porsche harness or just the female plug? If you just need the plug you could use the BMW part
Perfect!!! Thanks for that! Wouldn't happen to have the complete harness from dash plug to wiper plug by chance? Would you consider parting with it?
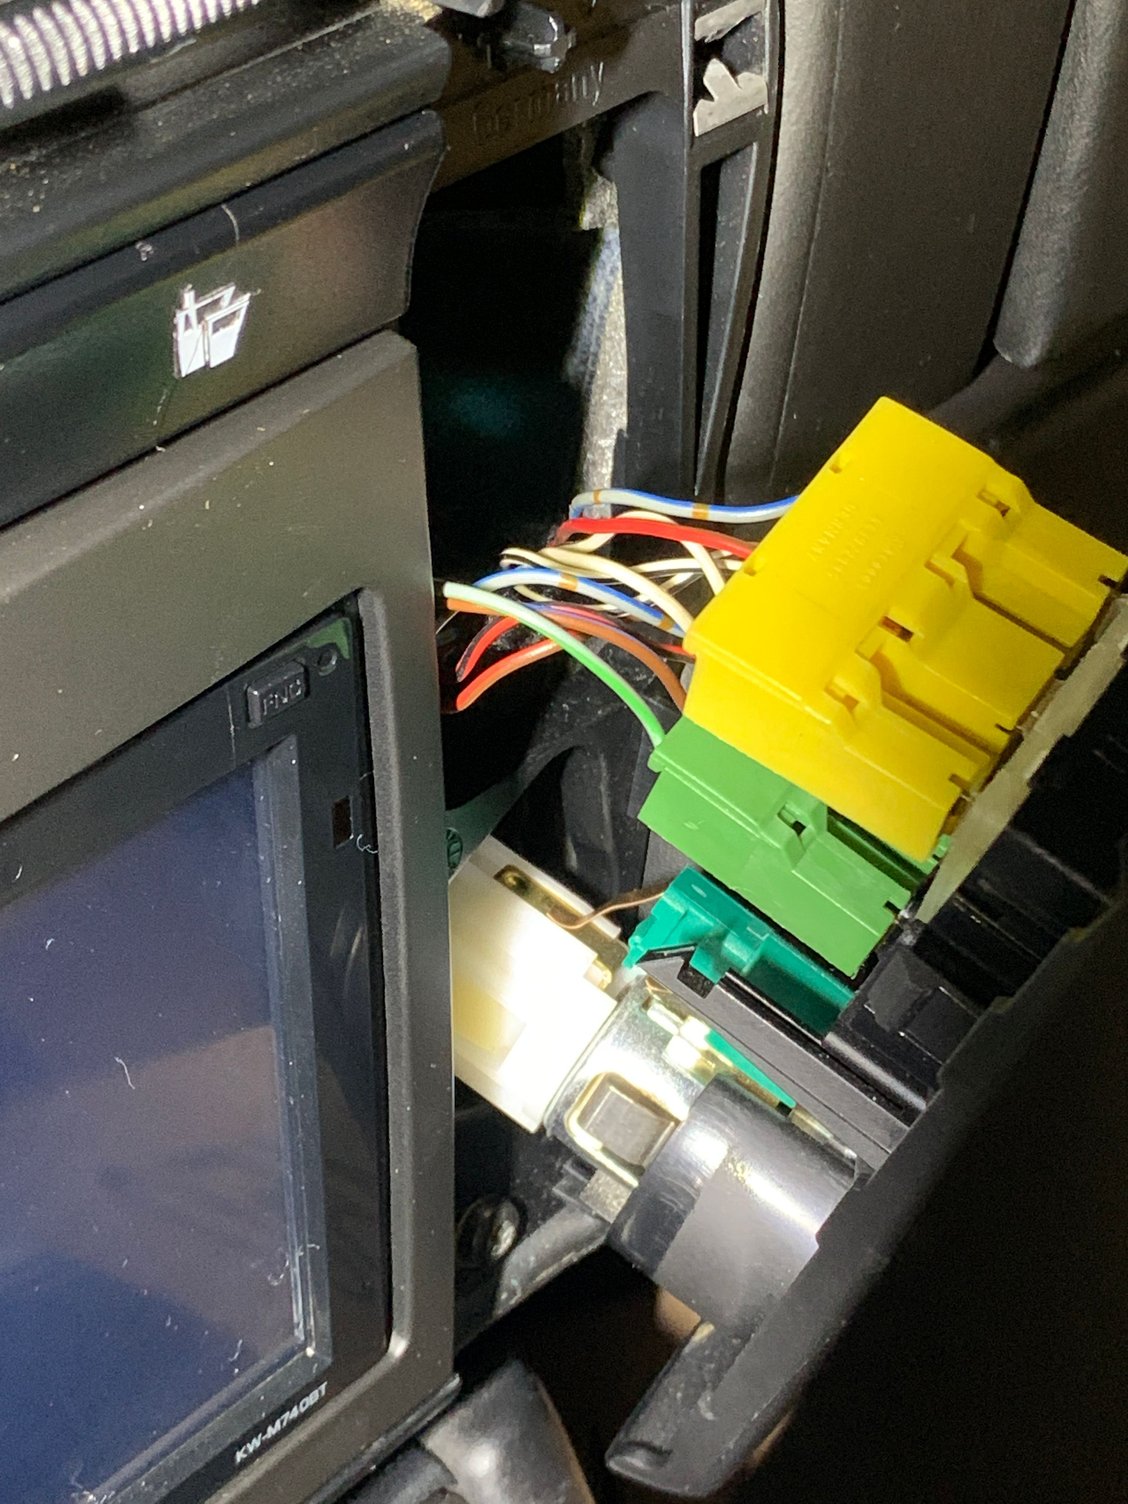
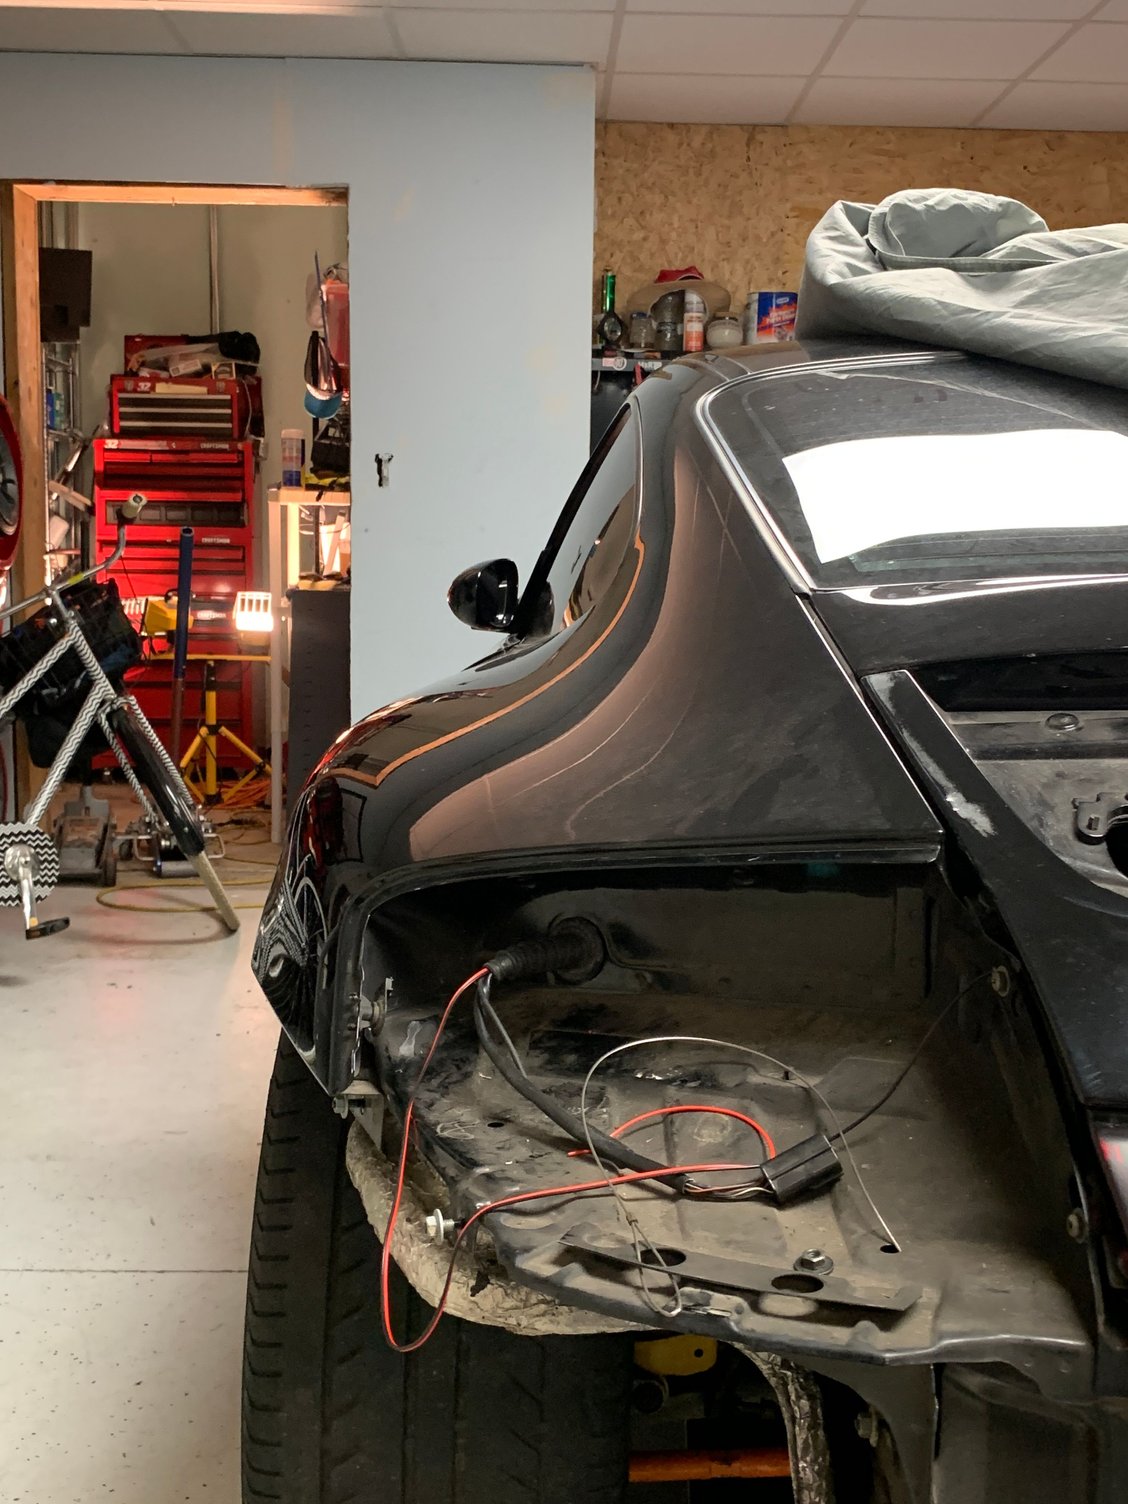
Actually got a bit done tonight, pulled out the rear interior to run the rear camera wire through the brake light grommet. I intend to add all the new wire in with the existing harness, not just random quick paths.
Bose subwoofer and factory carpet removed.
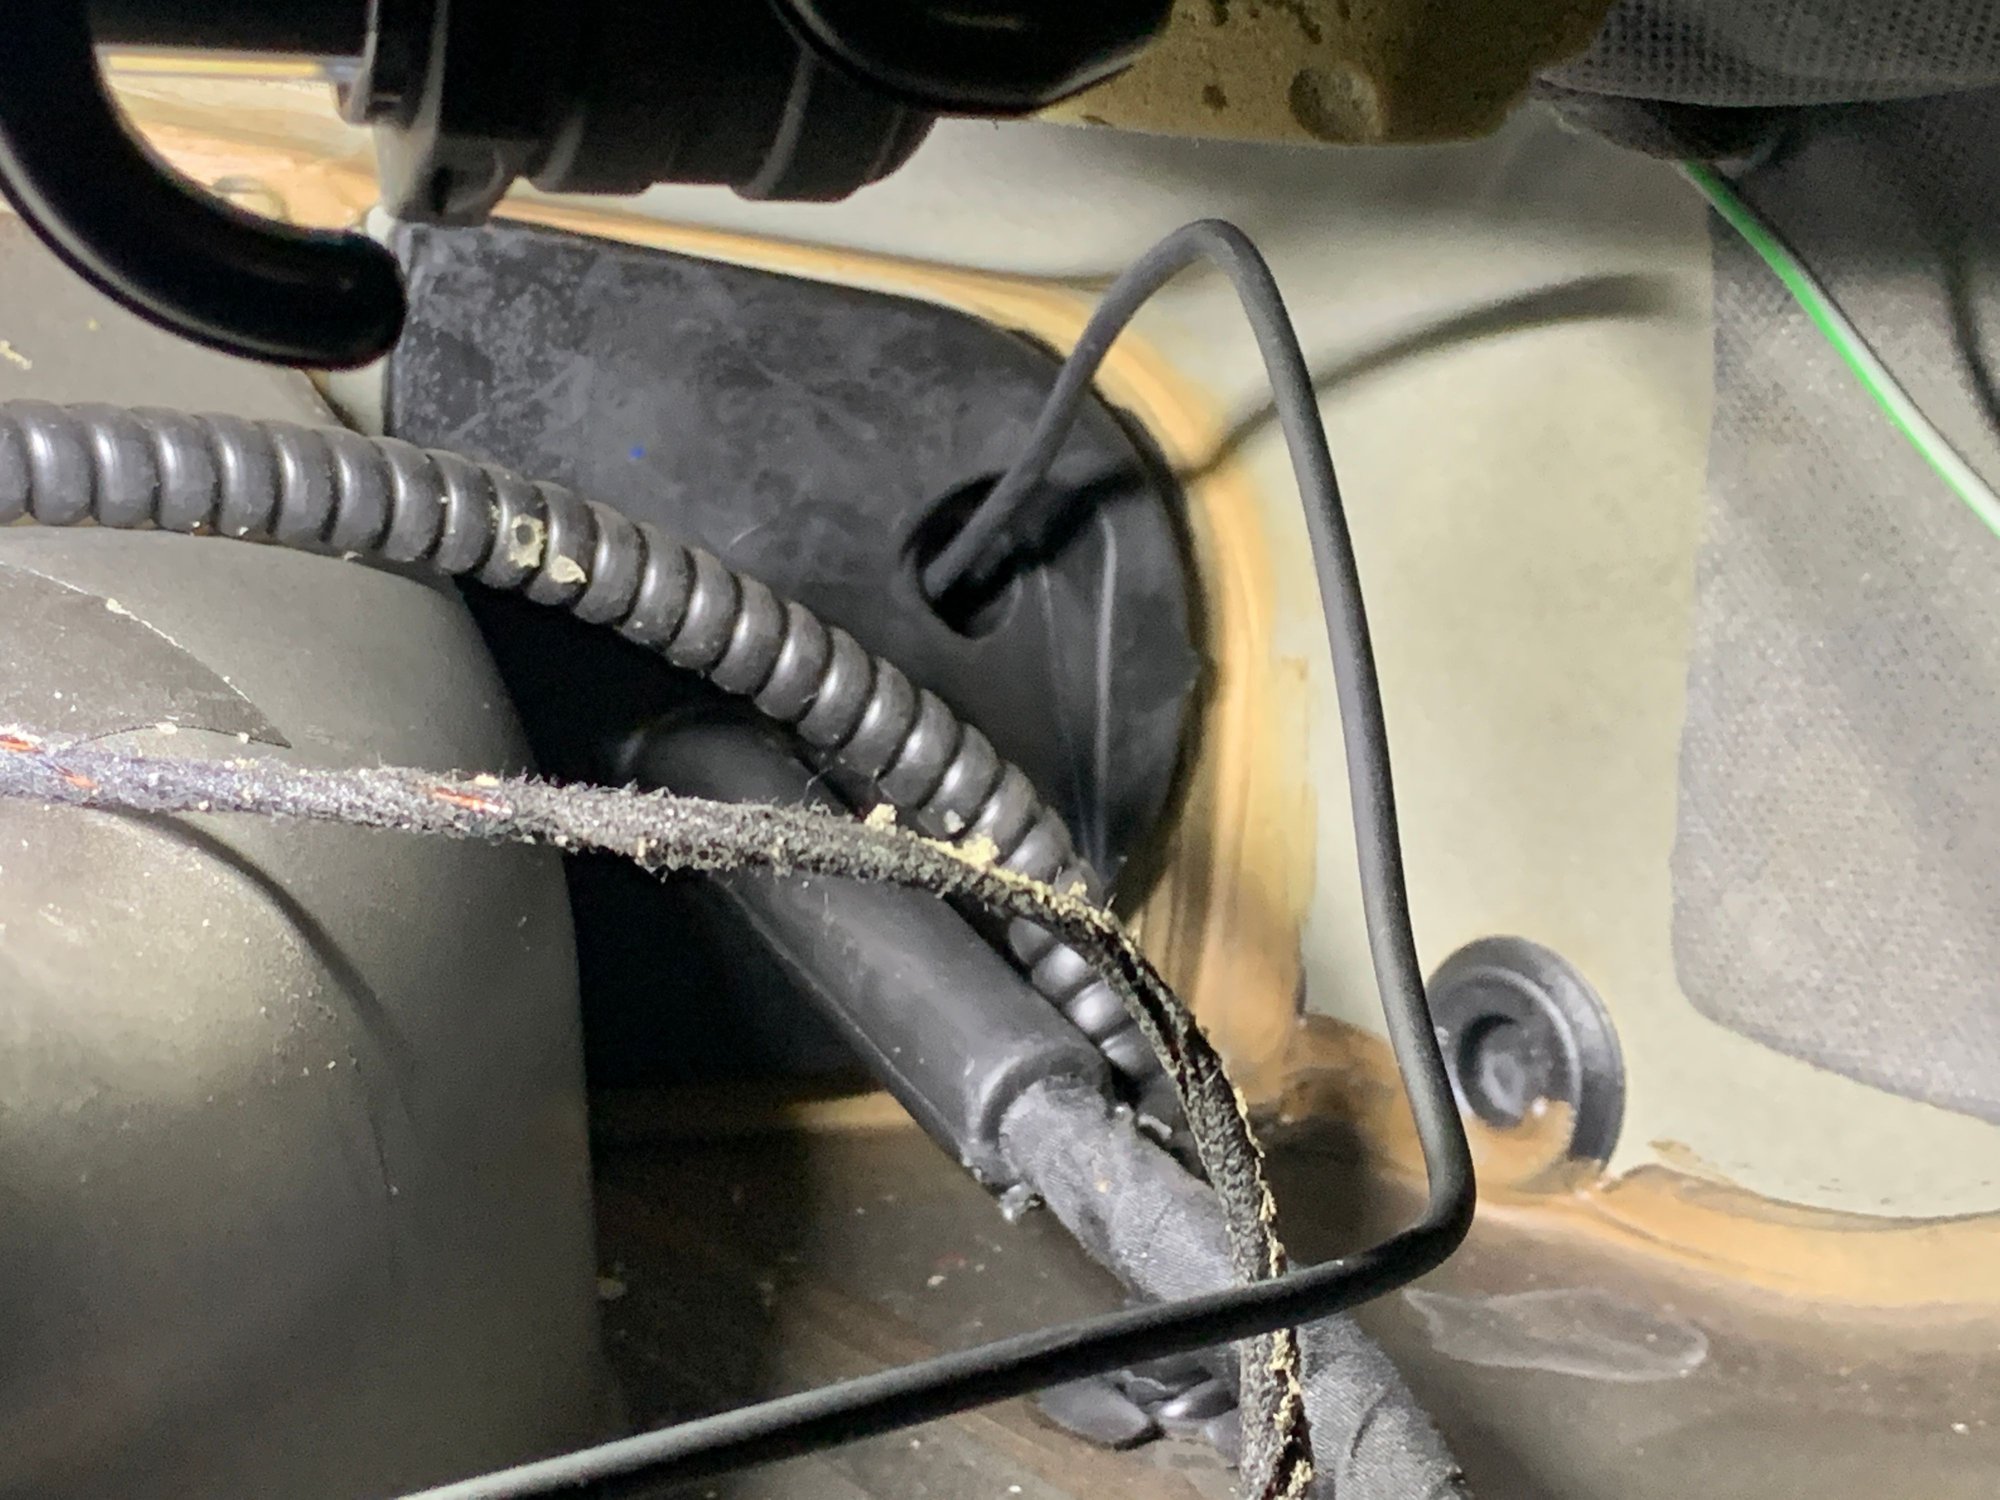
I used this grommet that had an extra nipple in it. I passed the front half of the camera wire through here and out by the left rear tail light. Corrugated plastic looking line is the rear sunroof drain line.
side panel removed. You can see the sunroof drain line run down the roof line and out above the rear wheel. Seat belt tensioner is unattached ind rotated forward in this photo. A but tight in there. But hey, the upper shock mounts look to be in decent shape.
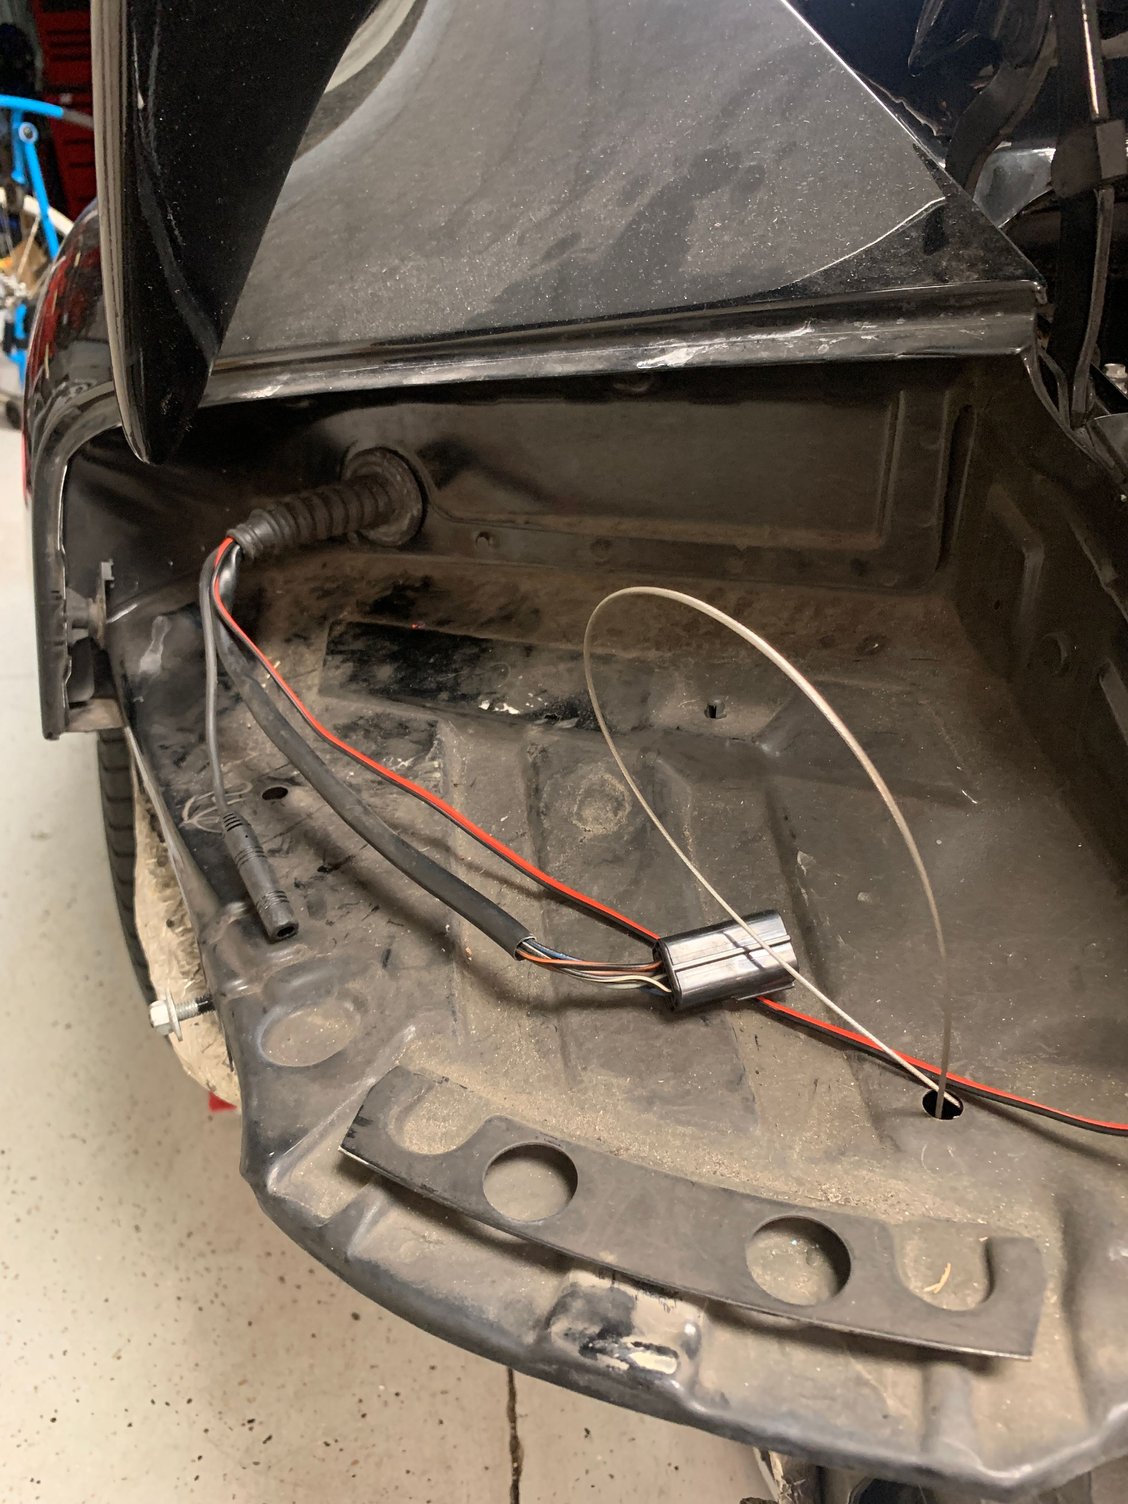
wires pulled through larger grommet and then through the taillight wiring grommet. The camera harness comes in two pieces...I put the connector here so I can easily unplug the two halves and leave the camera in the bumper should I need to remove it. I'll tap into the reverse light wire here and use a local ground point.
So here's a top tip for ya..... If you have the battery disconnected and plan on ever doing anything in the back seat, make sure you move the electric seats forward before disconnecting the battery. If you're anything over 4'3, working back there with the front seats all the way back is, well, a bastard. Nothing like trying to get a bolt out at a weird angle and having your calf cramp and not able to stretch it. Backing out of the door was a bit like an elephant being born backwards I suppose. Not much faster either.
Last edited by e30rapidic; 02-20-2021 at 01:53 AM.
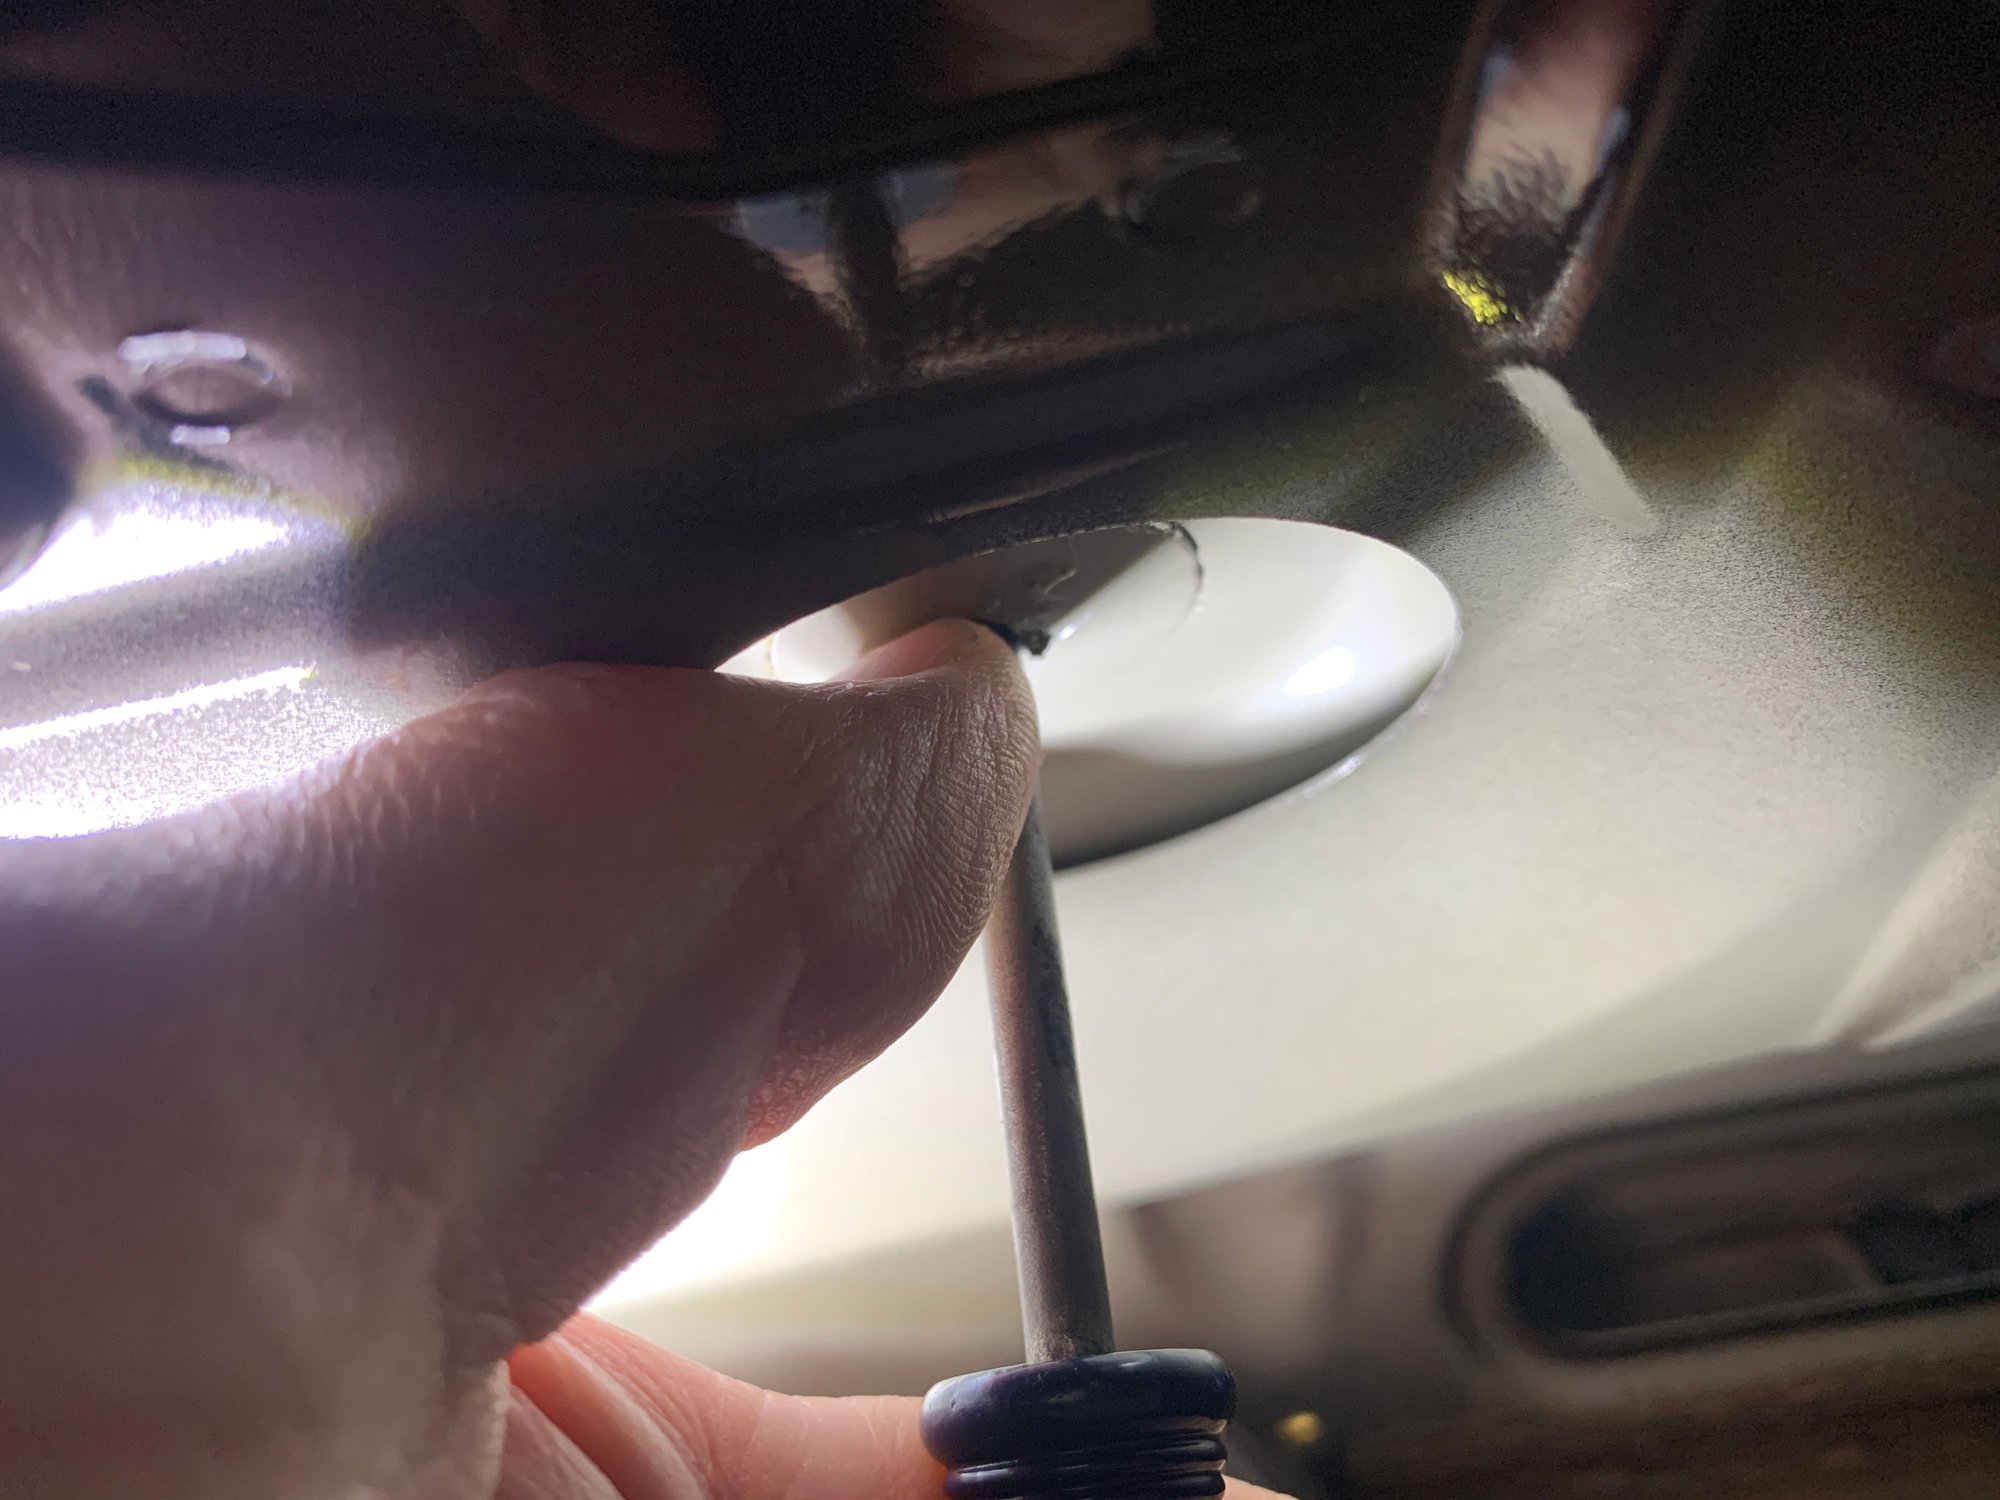
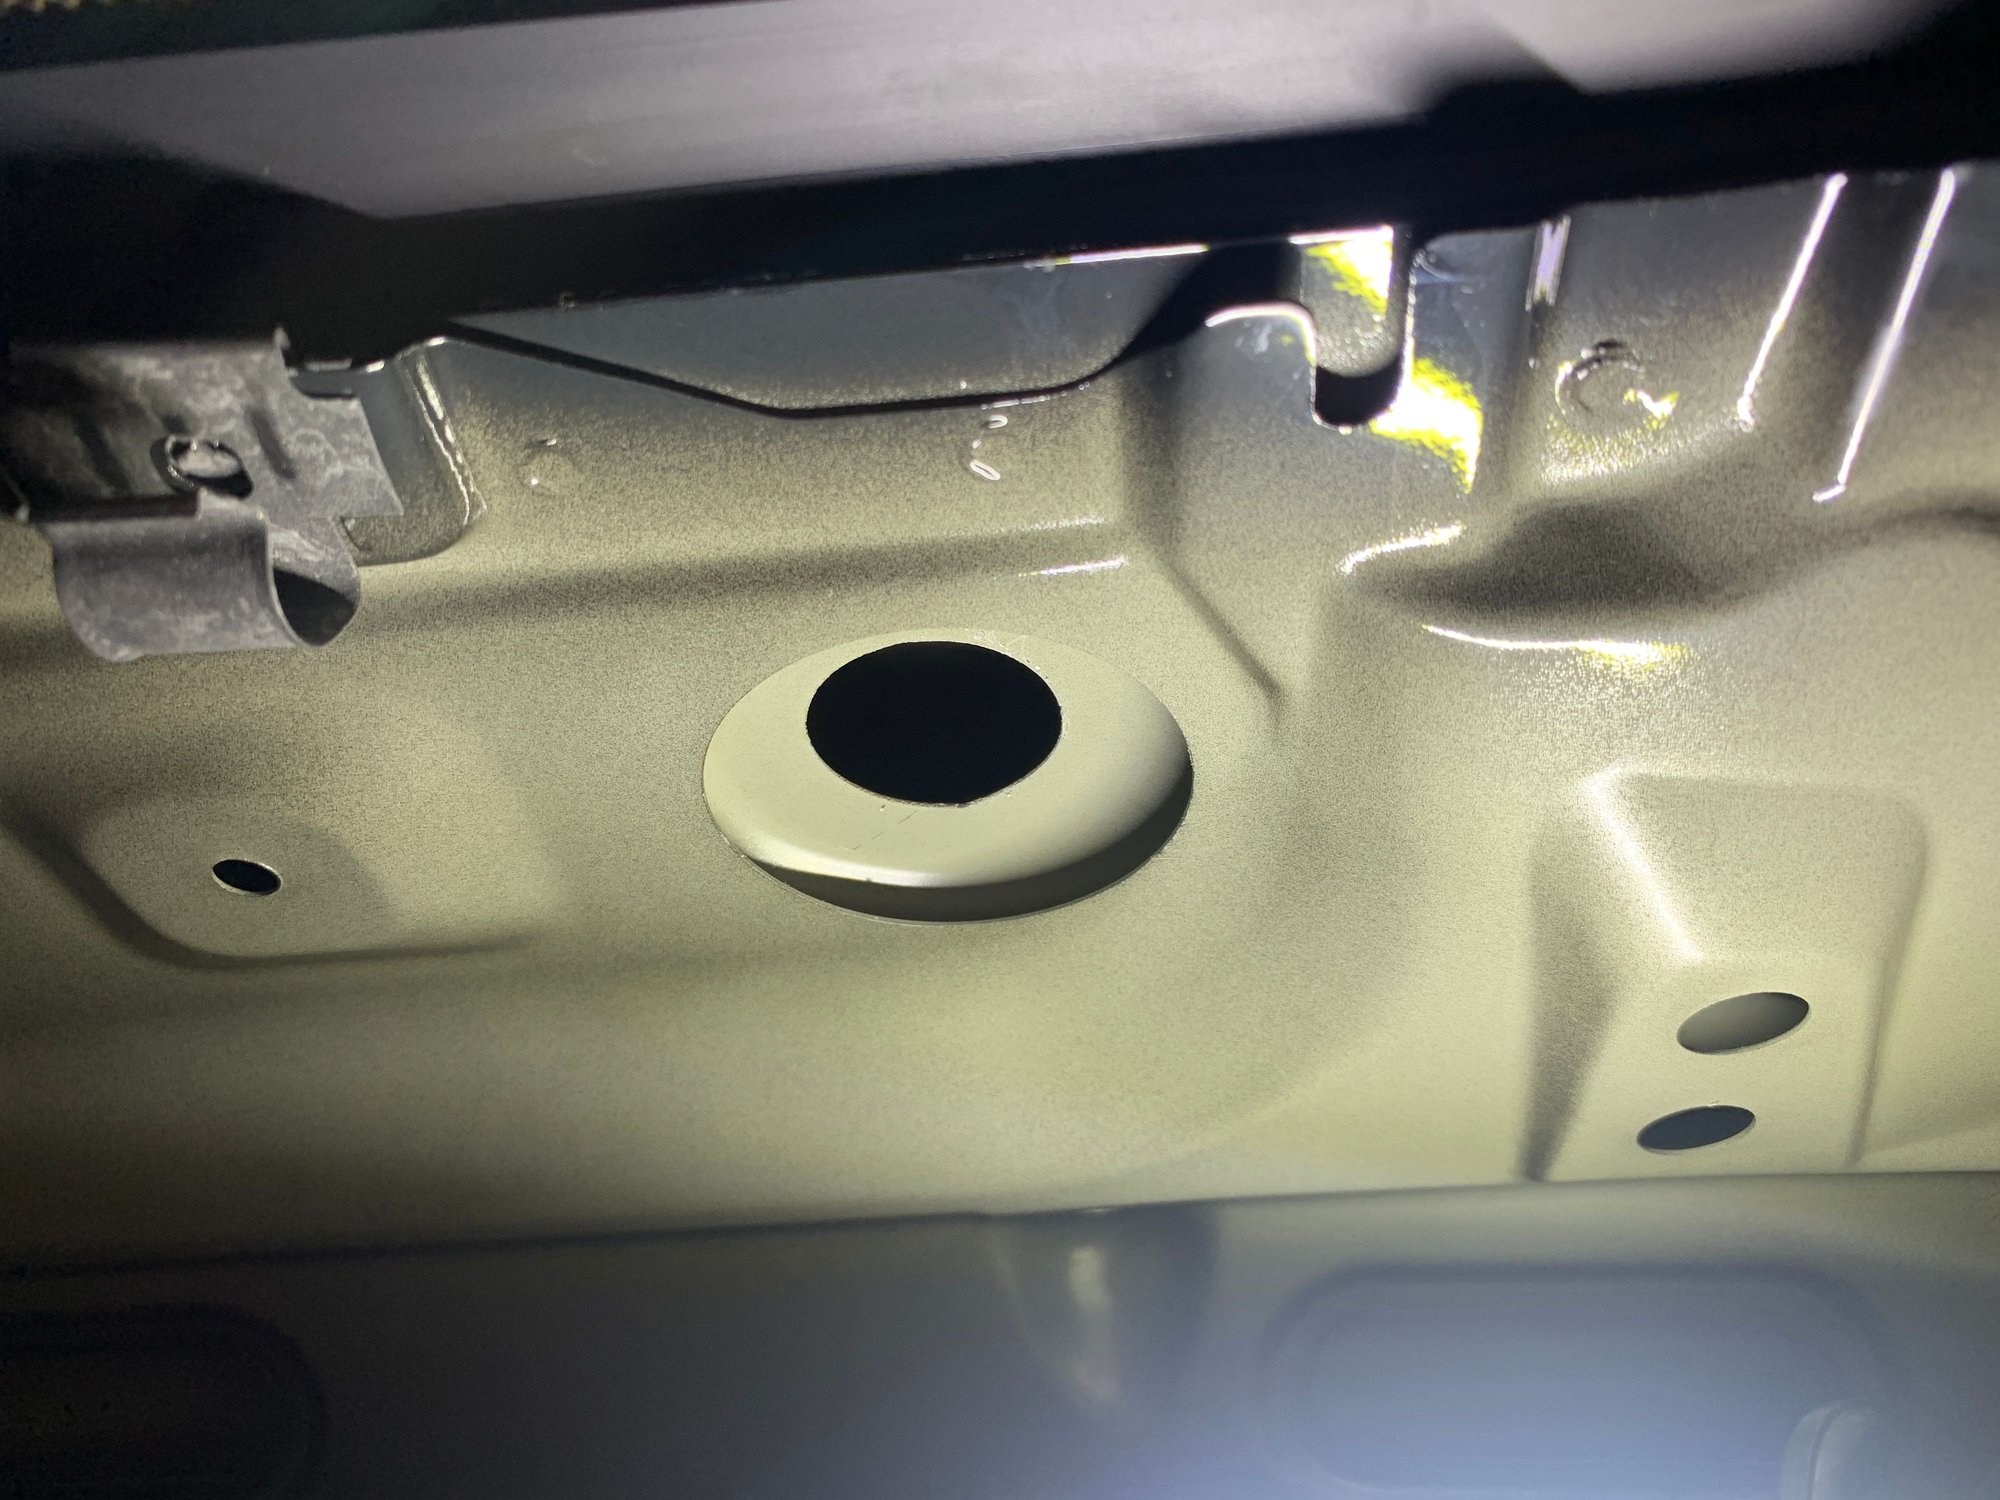
little more progress, got the knock out panel for the rear wiper shaft out.
Dug out my 90 degree drill to put a pilot hole in the knock out plate.
Used a unibit to drill up to a 1/4" hole.
Unscientifically checking depth to the exterior body panel using a screwdriver.
Depth gauge to exterior panel.
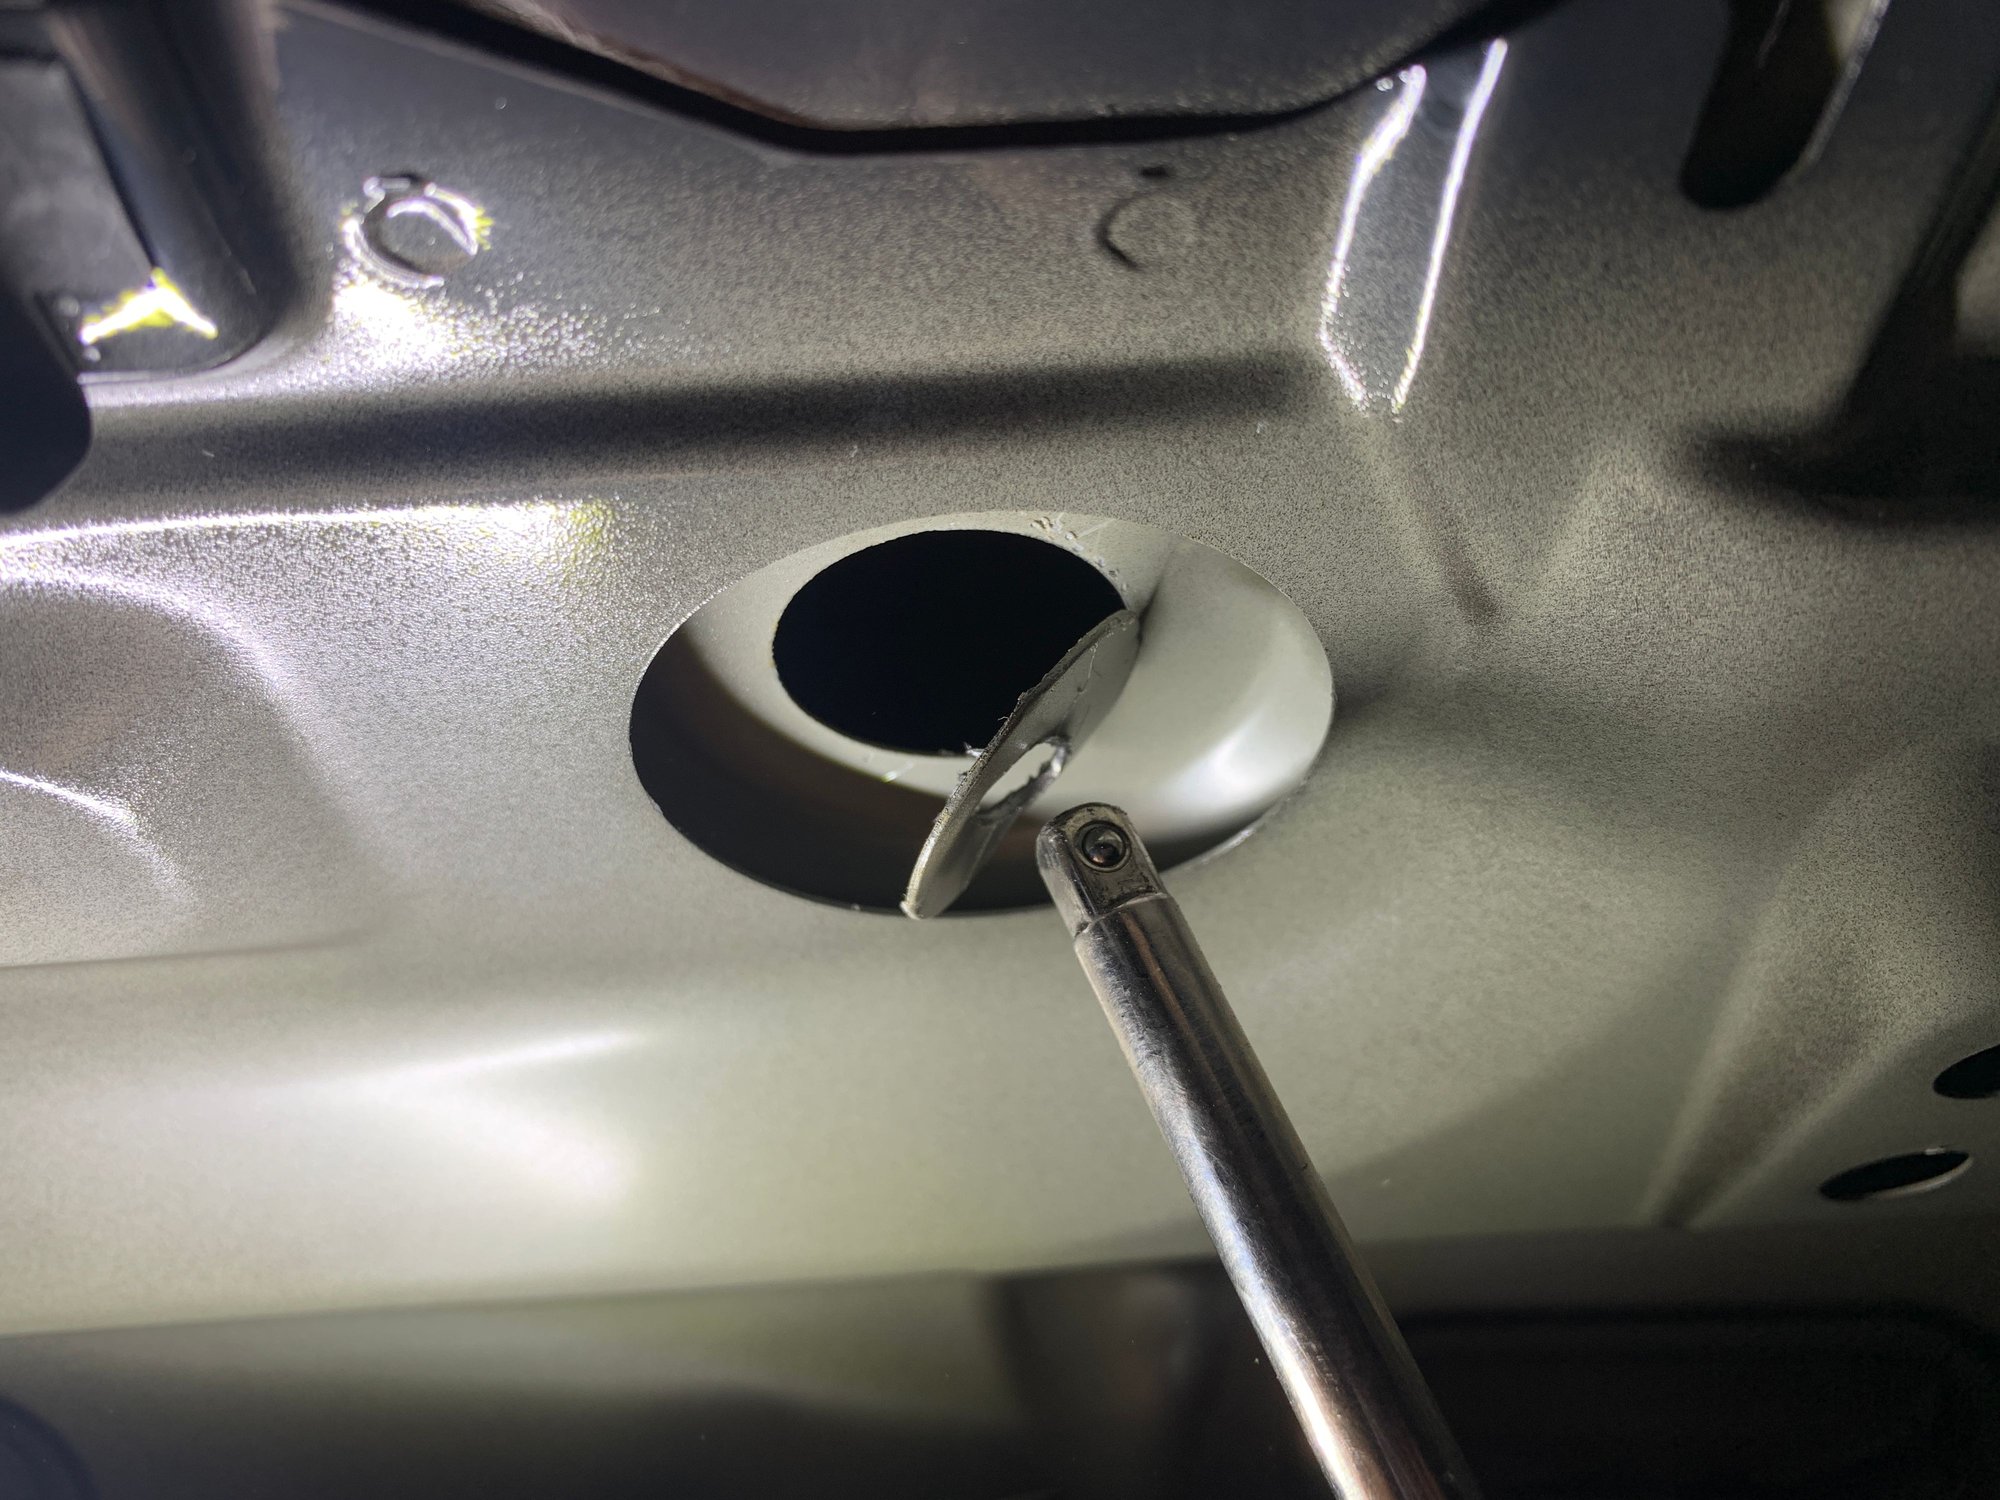
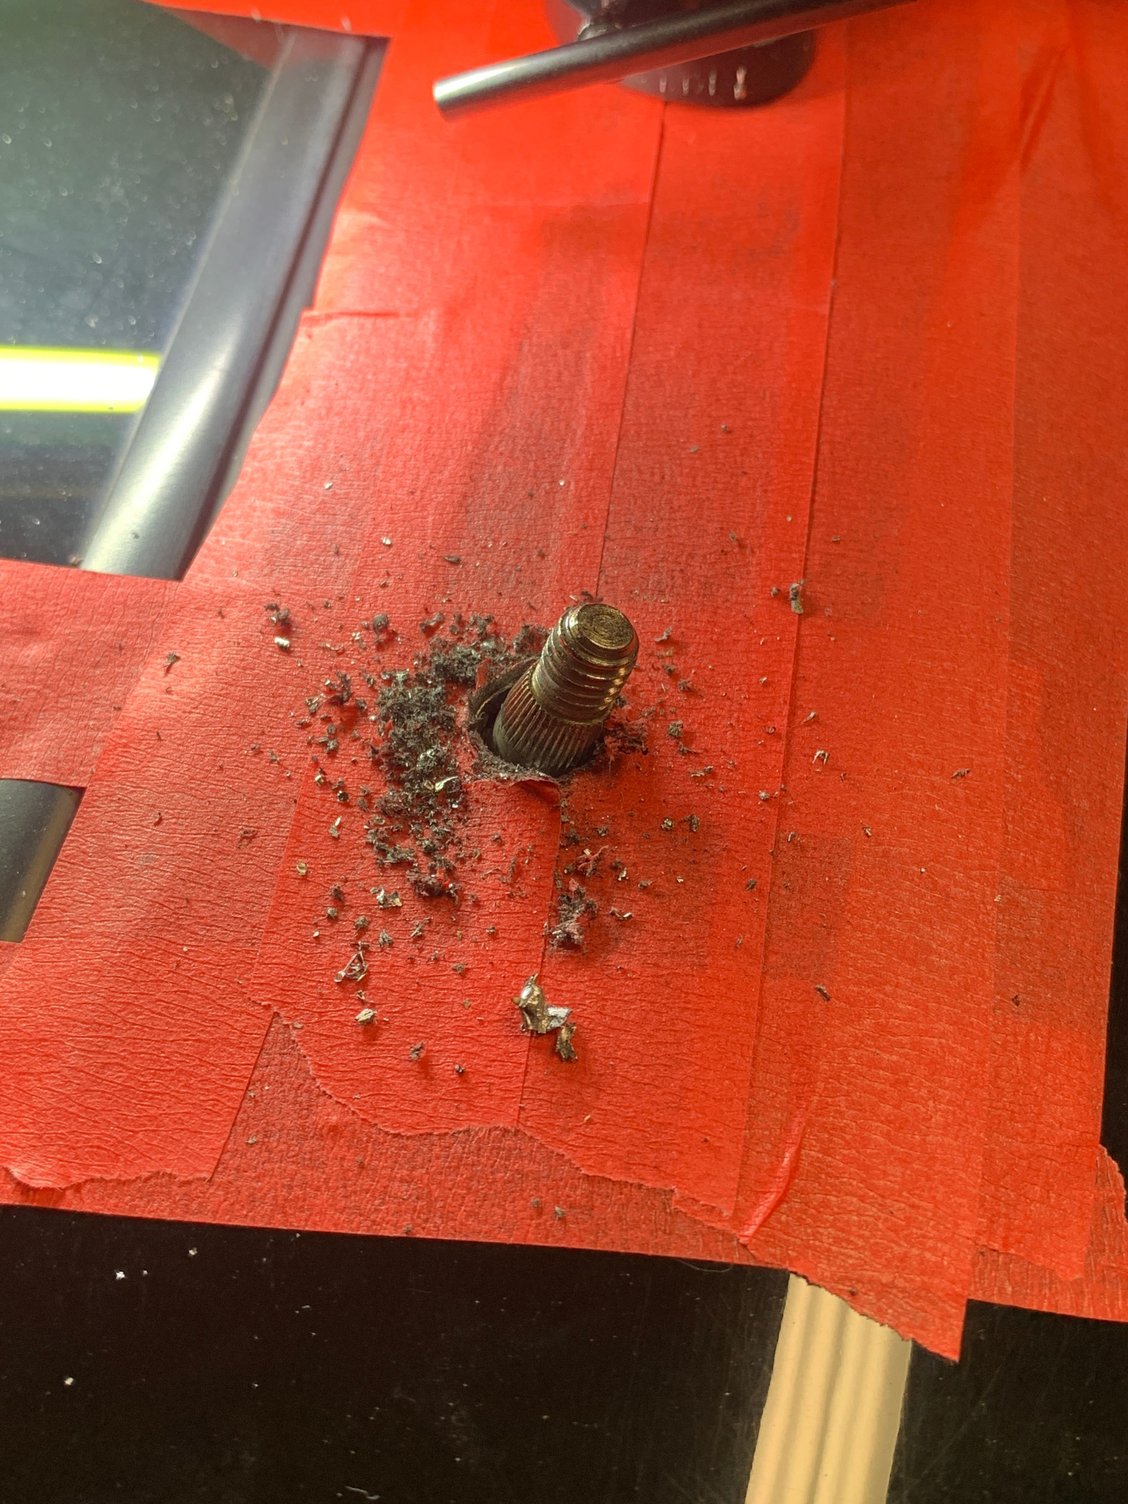
I then used a 1/4" drive extension on a socket to break the tack on the knock out plate.
A bit of wiggling and one side popped out.
Bend back the other way and the knock out plate popped right off....
And now I take a deep breath. Not willing to push my luck anymore today (not to mention nervous about drilling into the exterior panel) so I'm going to wait until my buddy comes over tomorrow for a second set of eyes.....
Last edited by e30rapidic; 02-20-2021 at 04:37 PM.
Today, I decided to drill a hole in the my 911. I bench tested the wiper motor I got from eBay, and all was well. Then my rear wiper switch showed up. So......
Measure and mark your pilot hole five times from the inside, then five from the outside.
Build a tool to centre the pilot hole.
Then hit the drill bit on the hole from the inside.
Remove everything and make sure the drill mark is lined up.
Put it all back together and take a break.
Come back to the car, sit in the back seat and stare at it.
Take another break.
Look at pics of C4S's on the web to make sure you think the drill will pop through in the right spot.
Face time with your old man.
Take fifty pics from inside the car,
Get out the shop light and work mirror.
Swear under your breath.
Pull the trigger on the drill and nothing.
Realise you unplugged the drill getting in/out the car.
Plug the drill in.
Damn, now I've lost my nerve.
Verify again.
Close your eyes.
Hear the metal of your 996 screech as the drill starts turning.
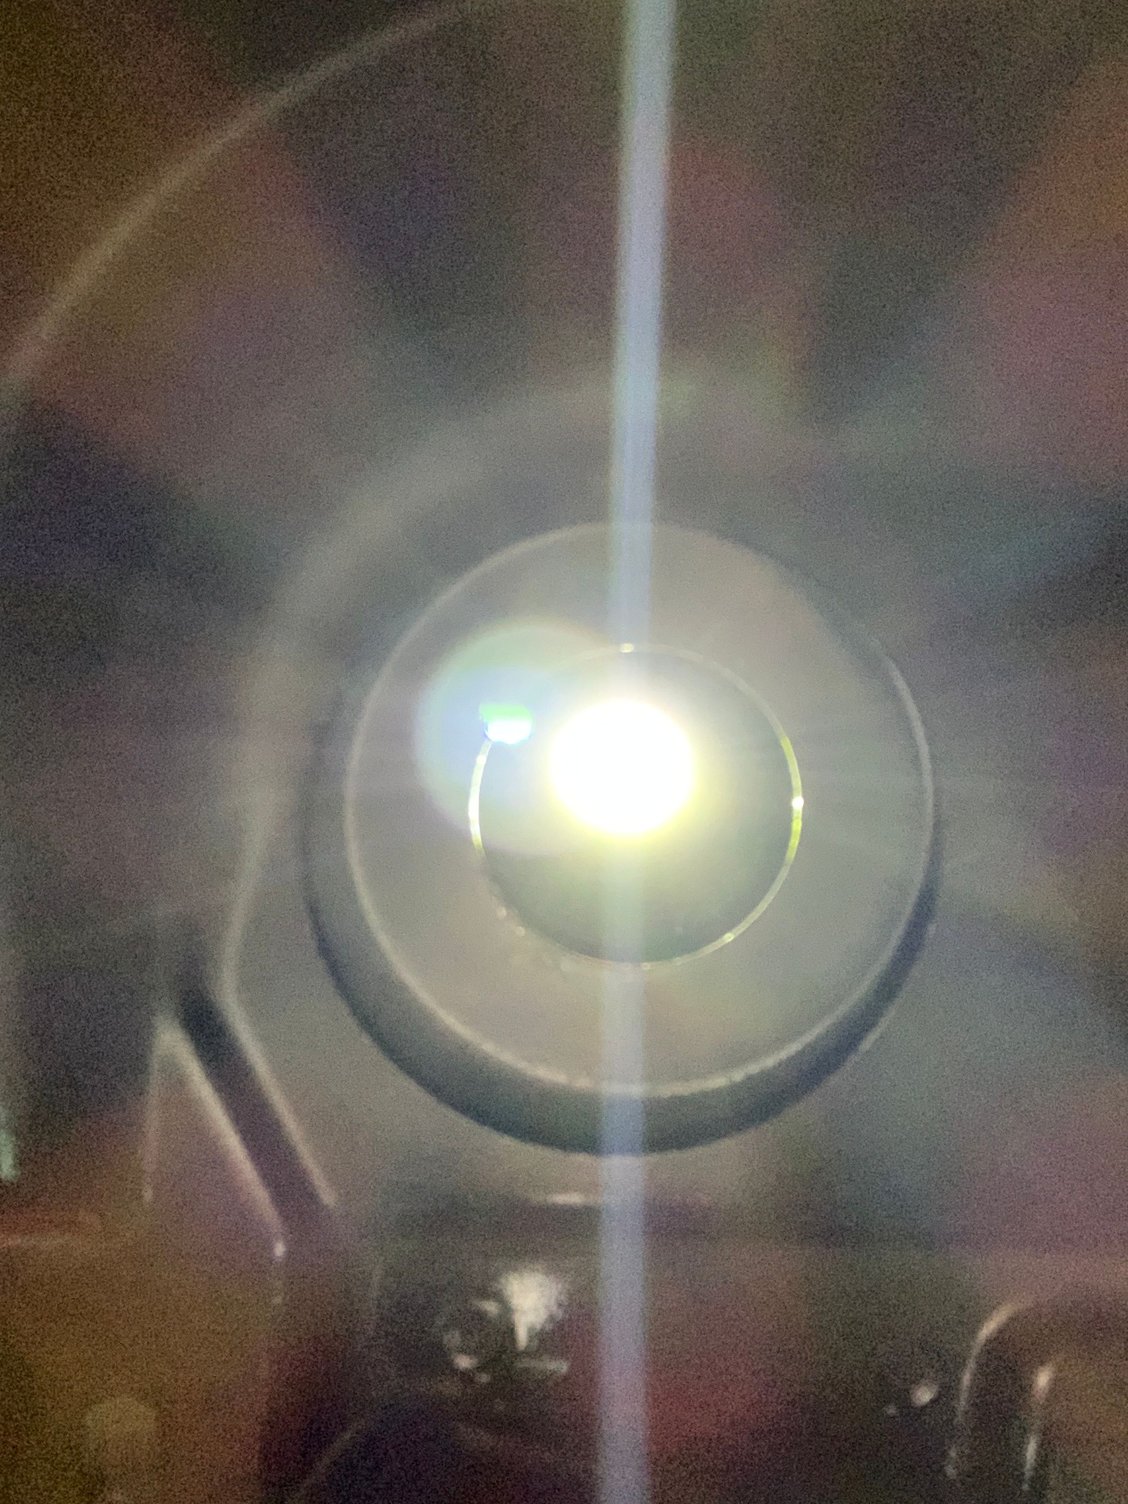
Drill for 20 seconds and then the drill bit punches all the way through.
drop the F bomb and realize your way past the point of no return...
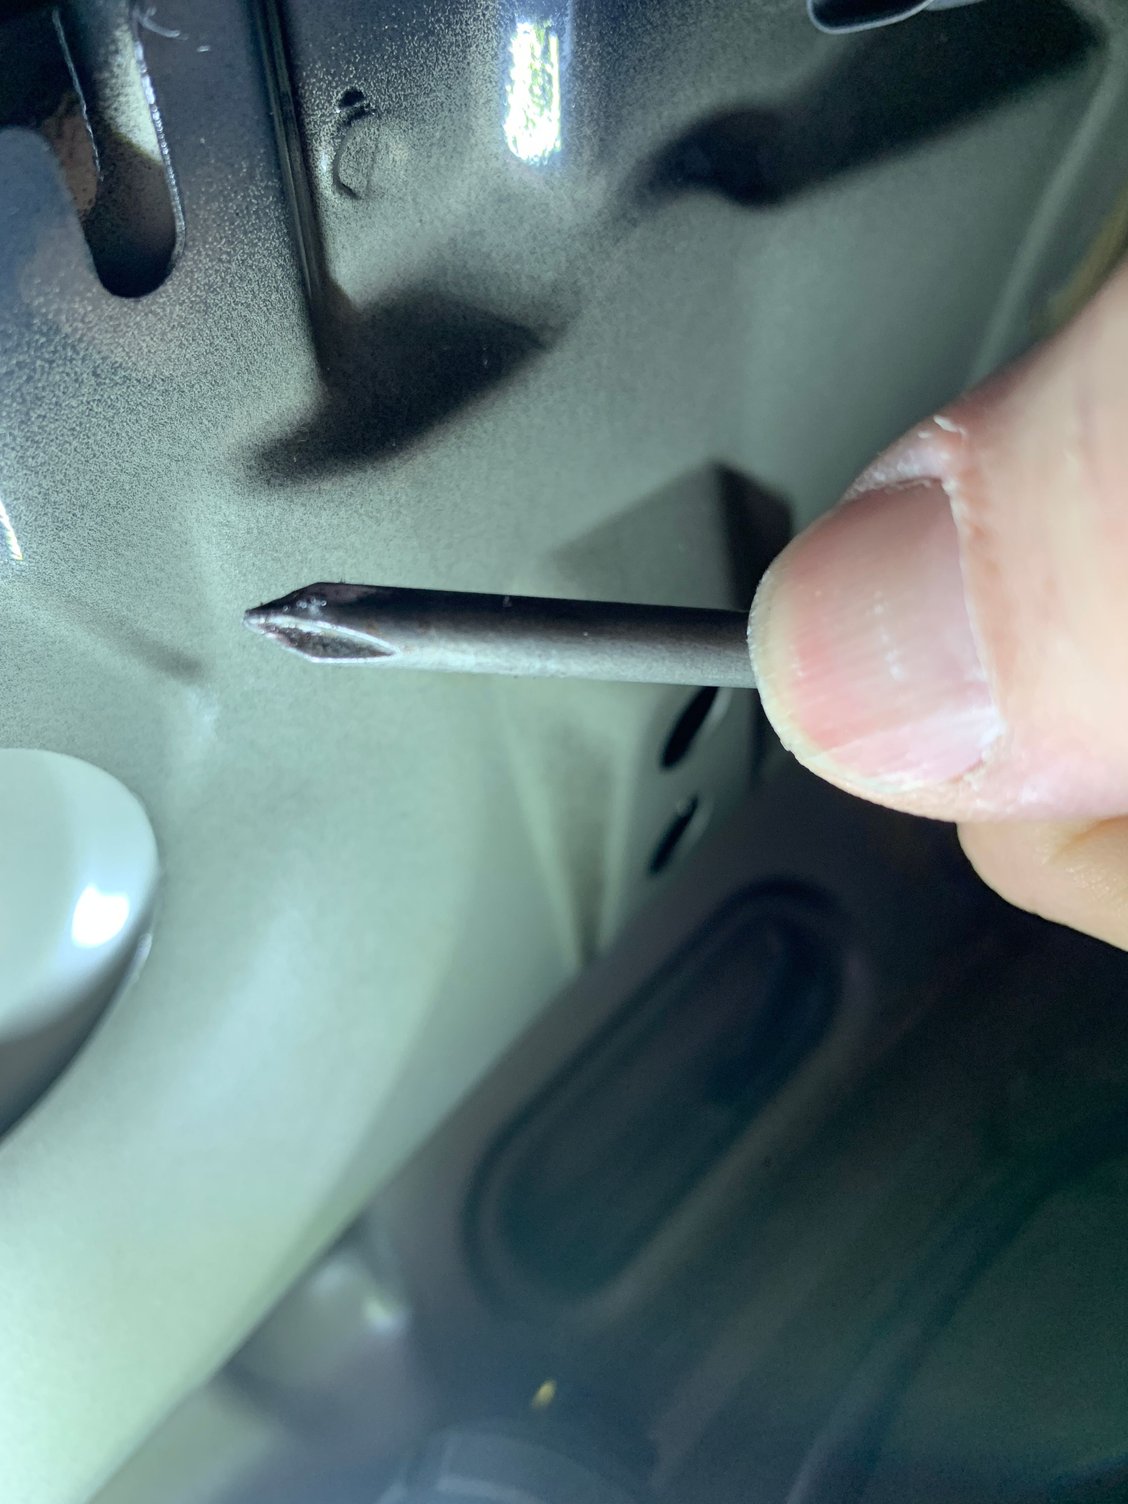
20mm socket will fit perfectly into the hole from the knock out.
Tiny socket inside the larger socket to get a centered pilot hole drilled.
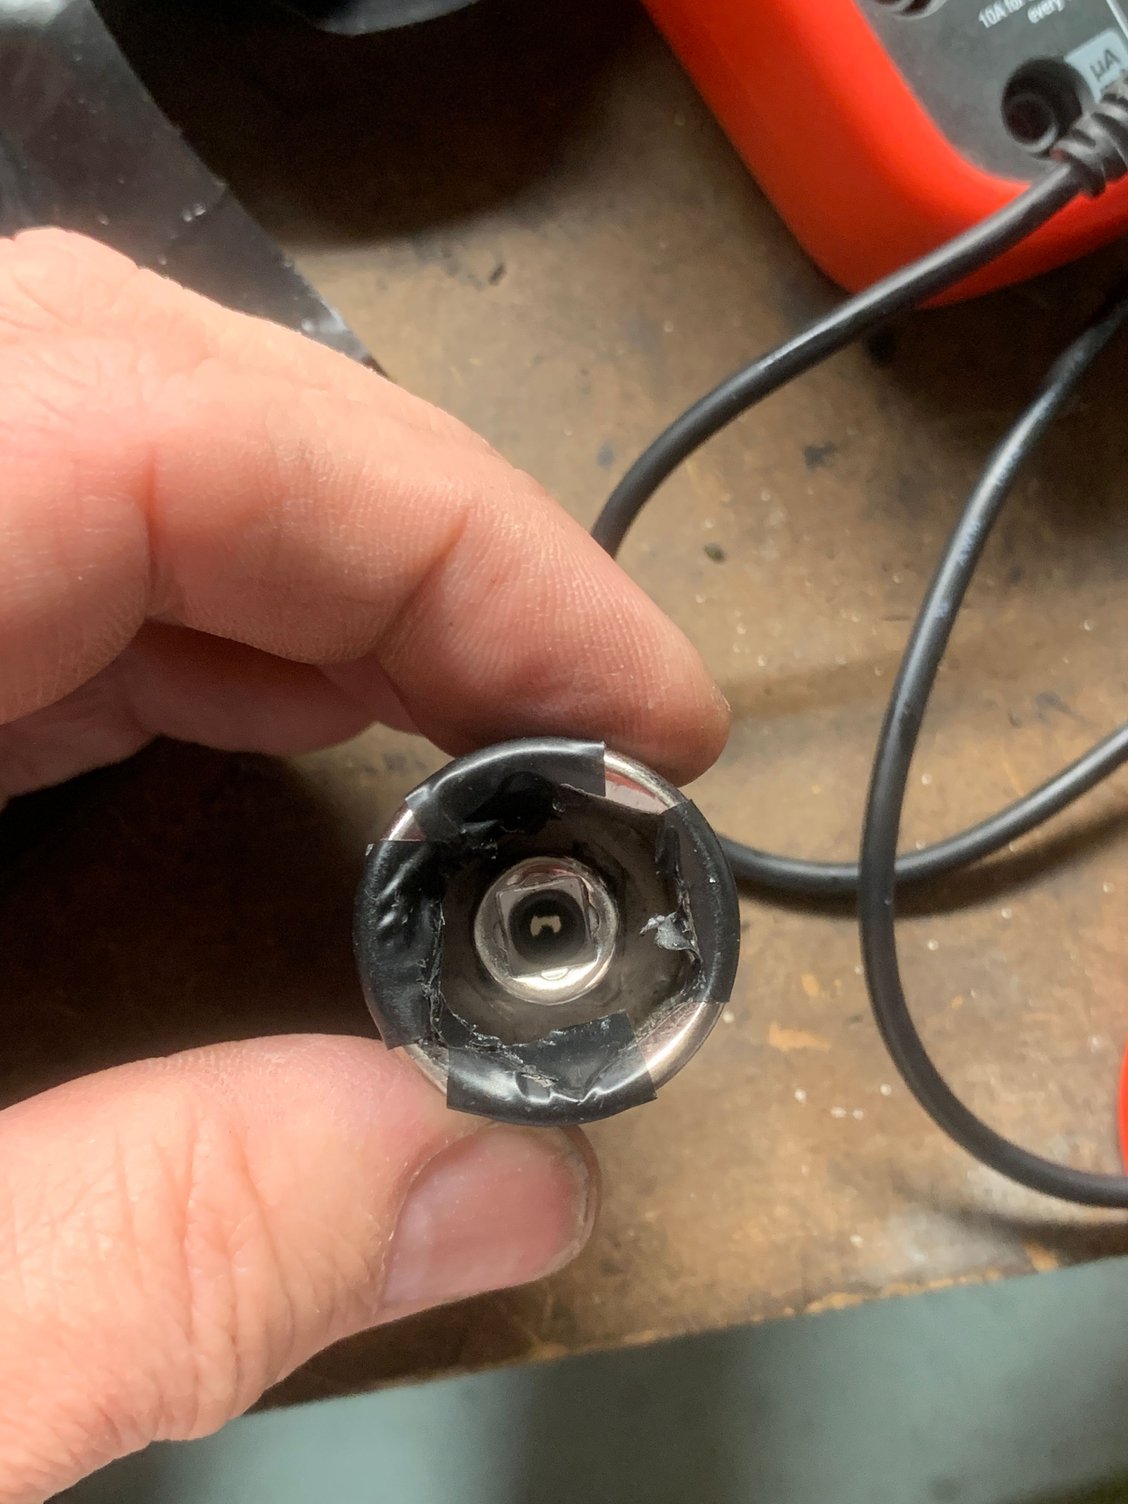
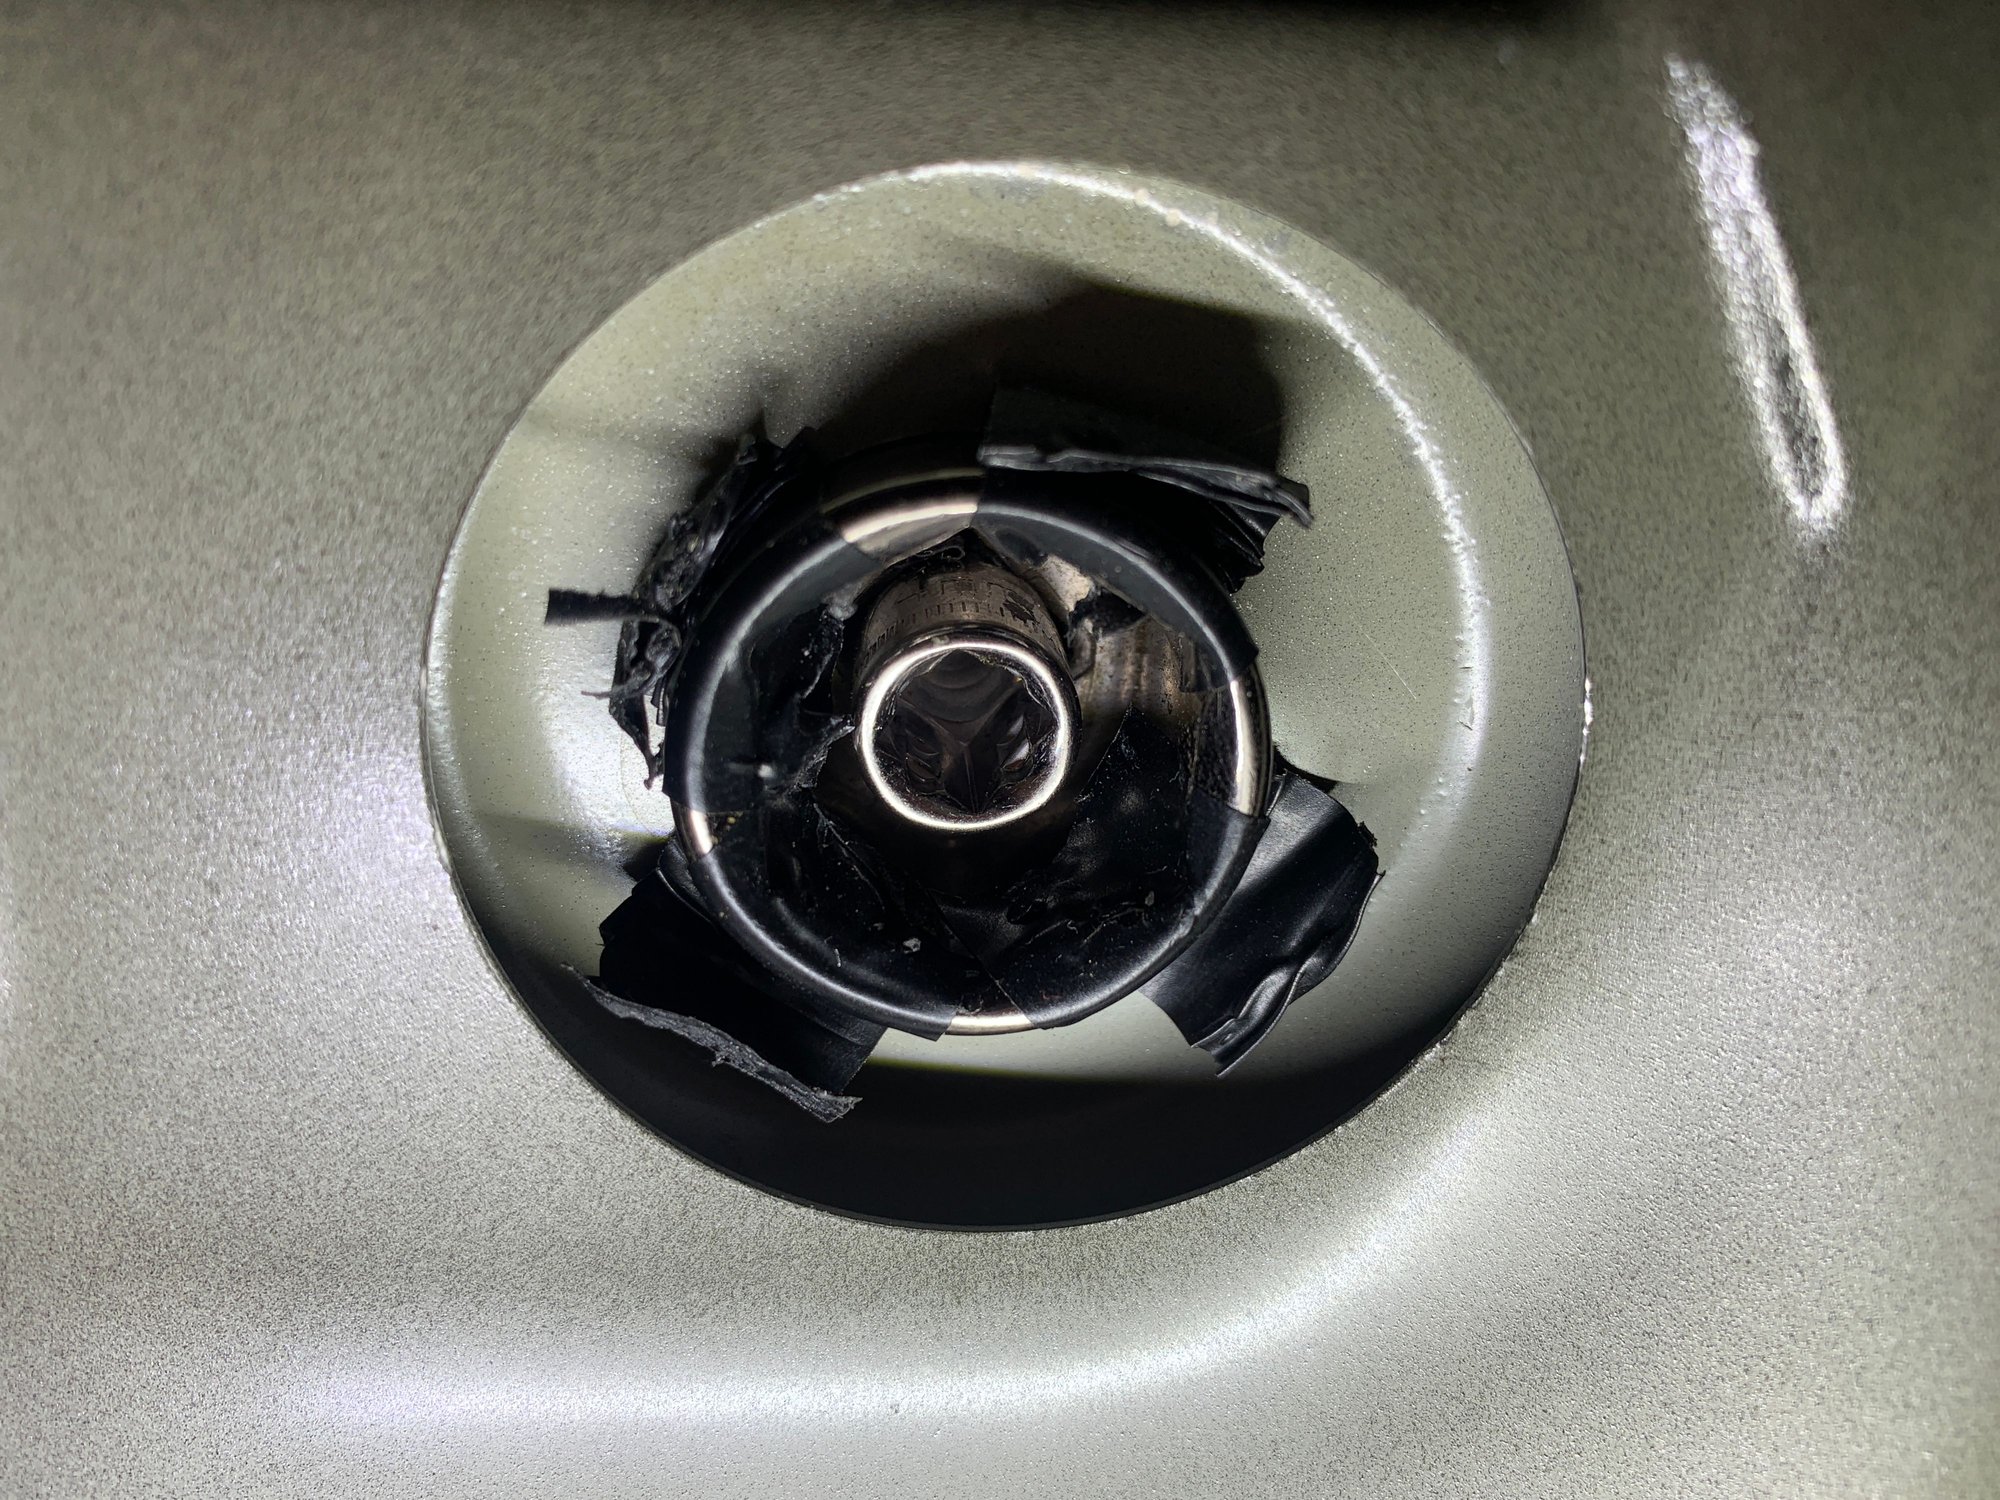
My pilot hole centering tool in place. This is where I stopped and took my first contemplation break.
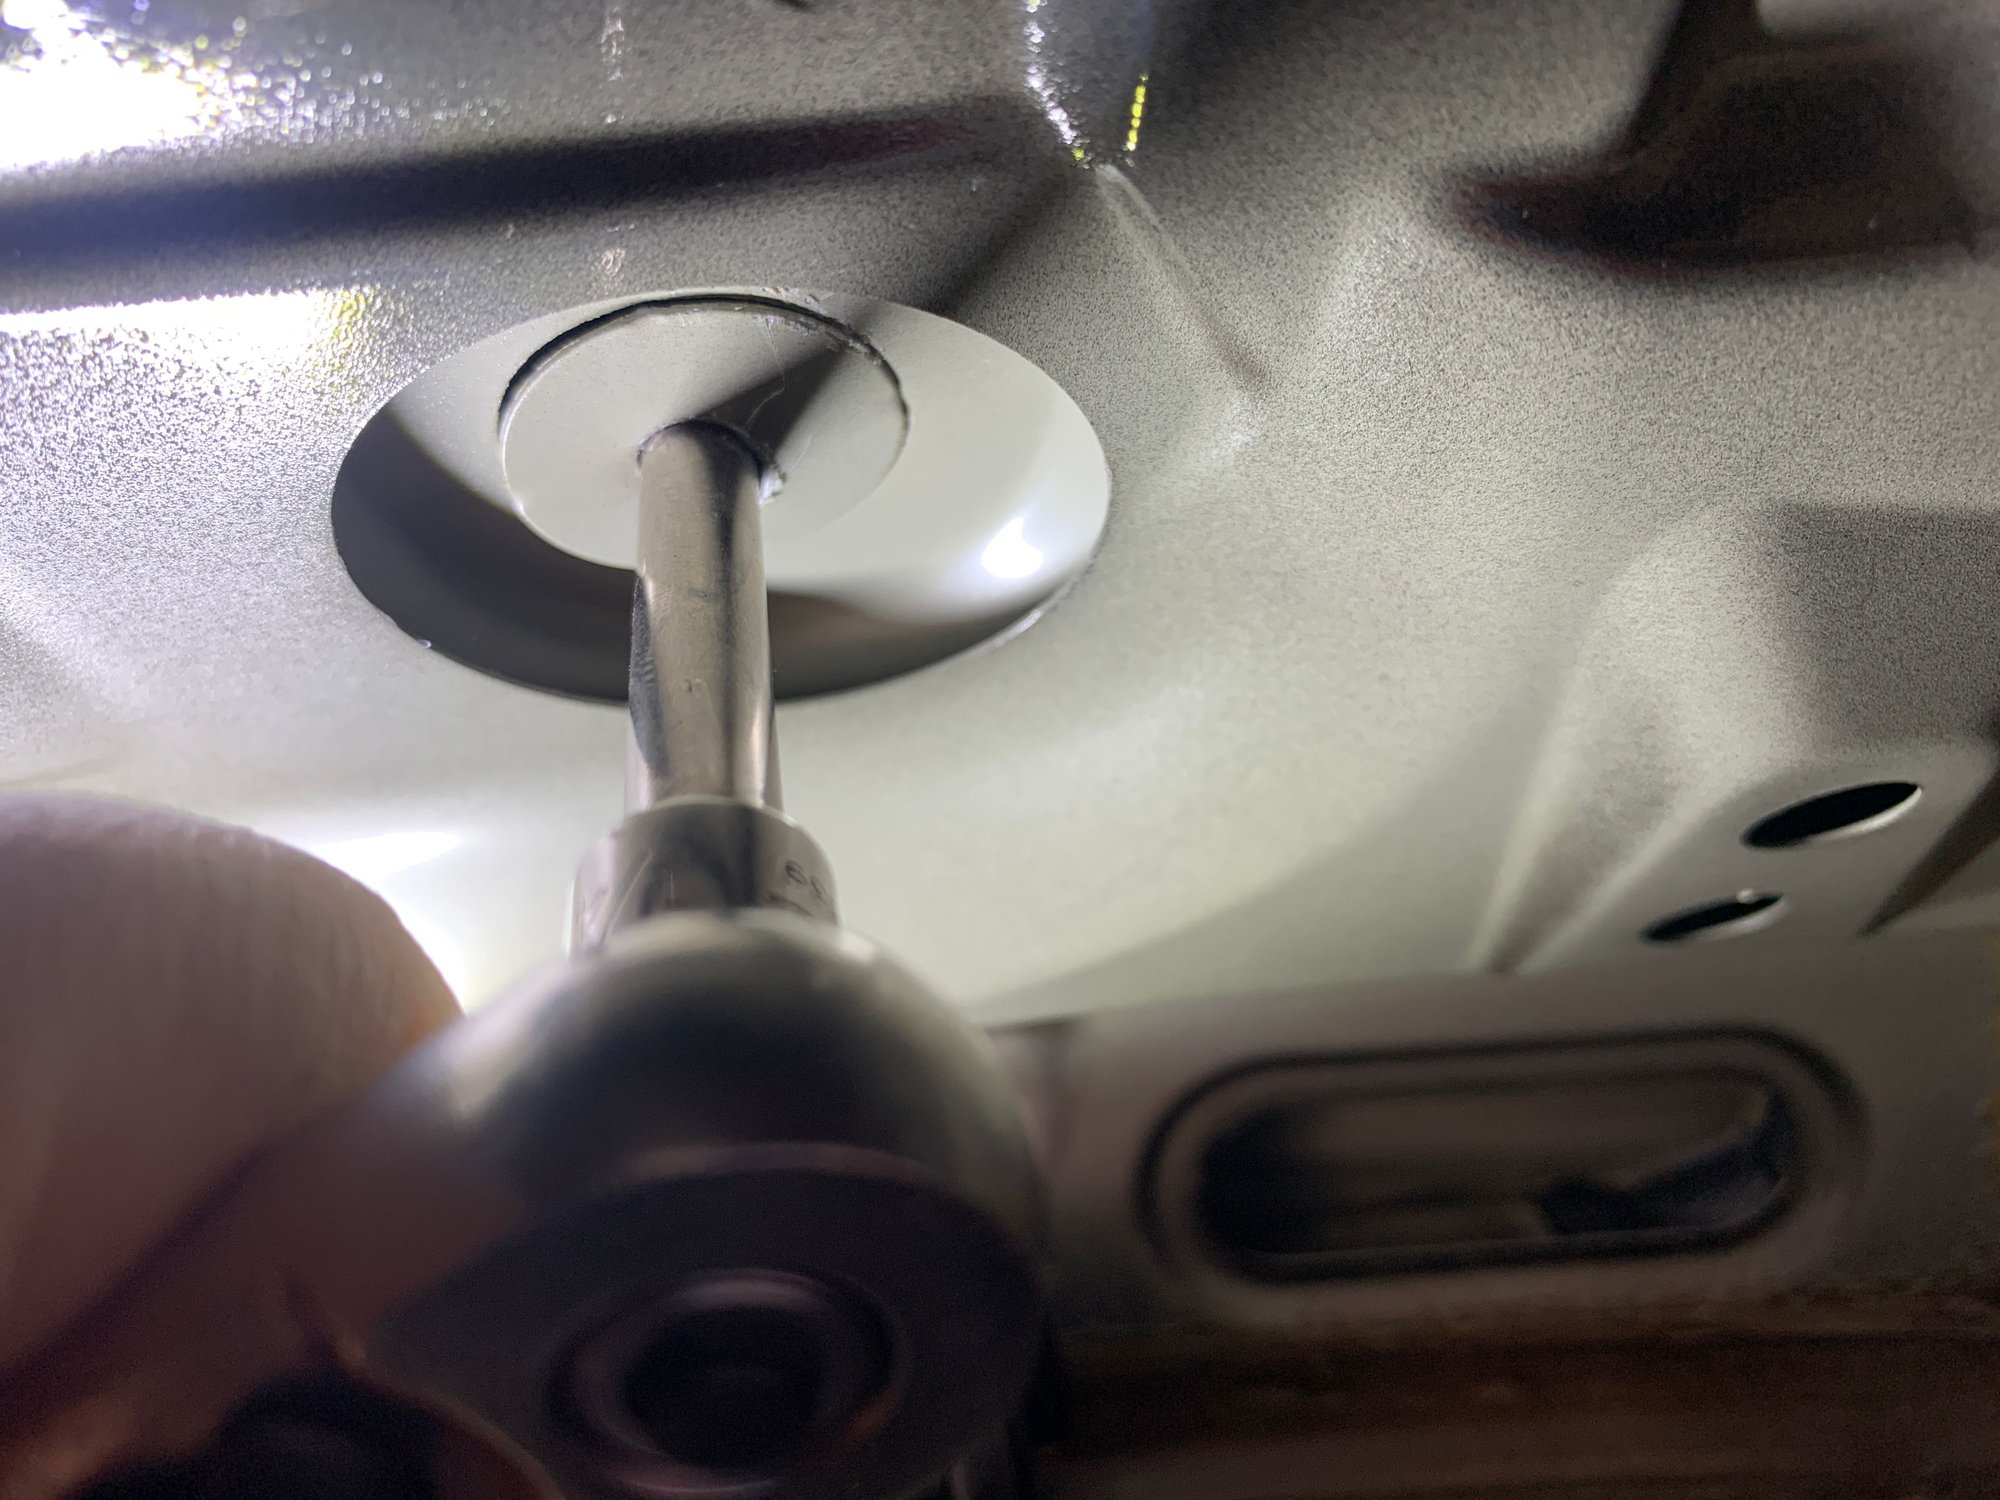
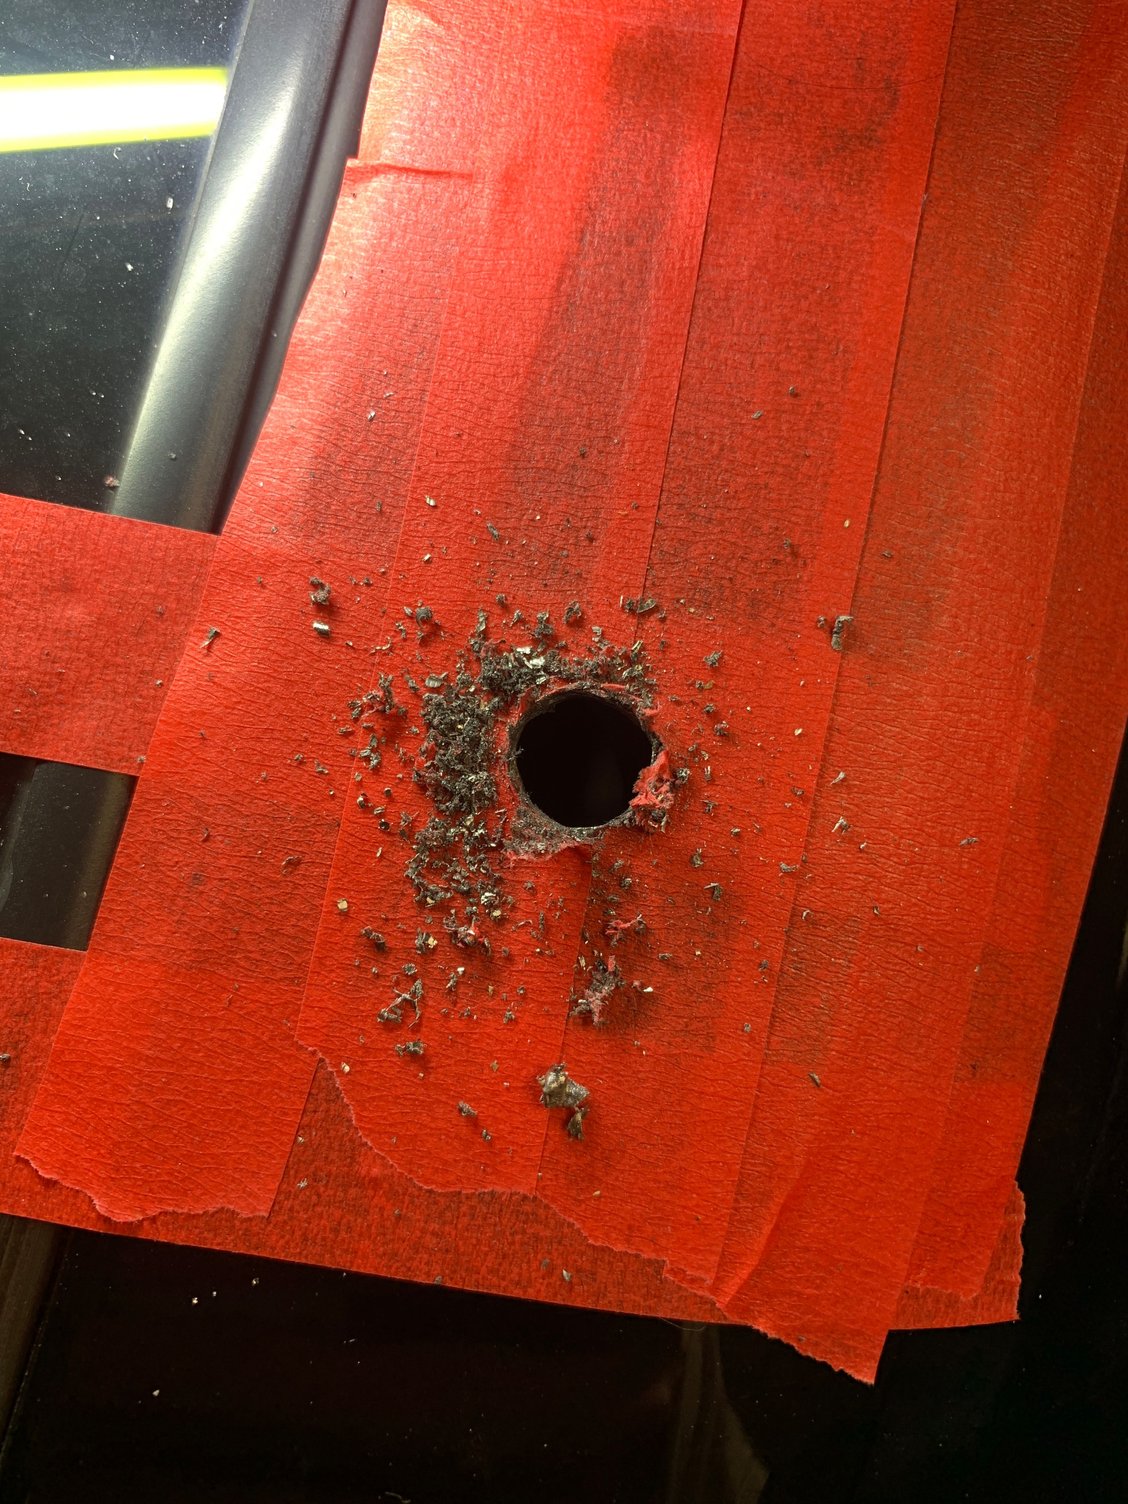
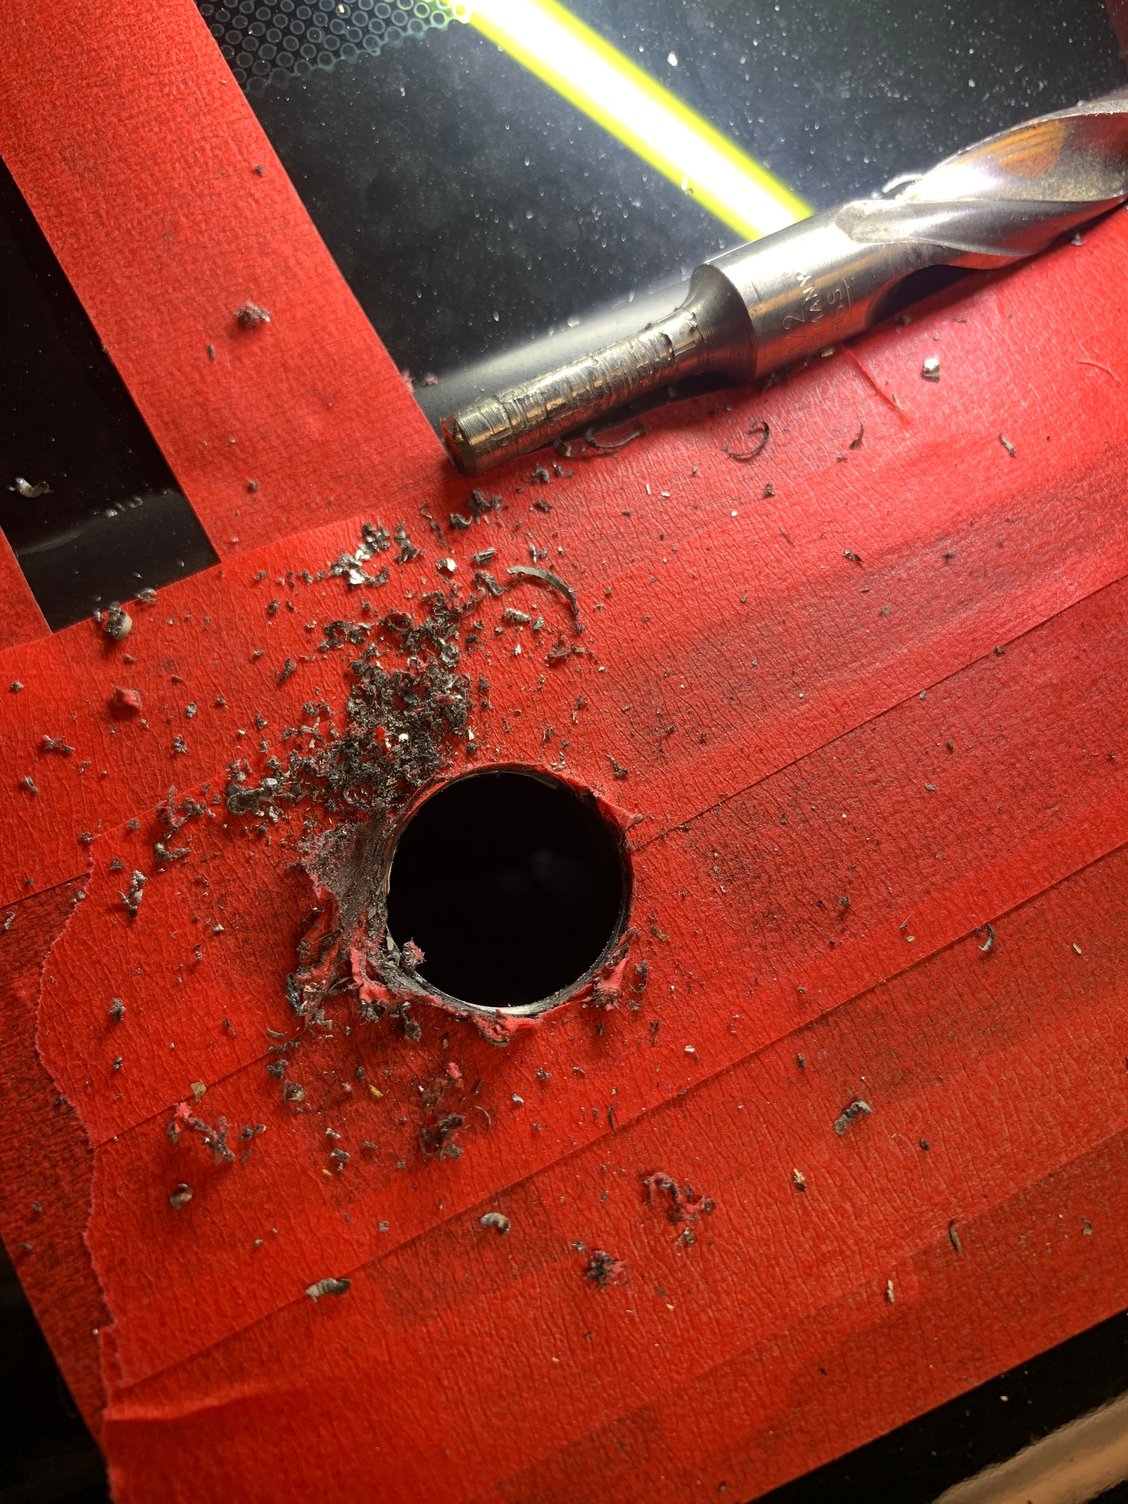
Tiny pilot hole drilled from the inside, then one size larger hole drilled from the outside.
One hole larger, let there be light....
Pulled out the unibit to get one step larger at at time, then back into the car to see how the wiper shaft was lining up.
FInally!!! Poking Through.....and I'd say I nailed it.
Used the unibit to drill out to 7/8", that's as large as my unibit will go. The hole needs to be 26mm but works just fine for the mock up.
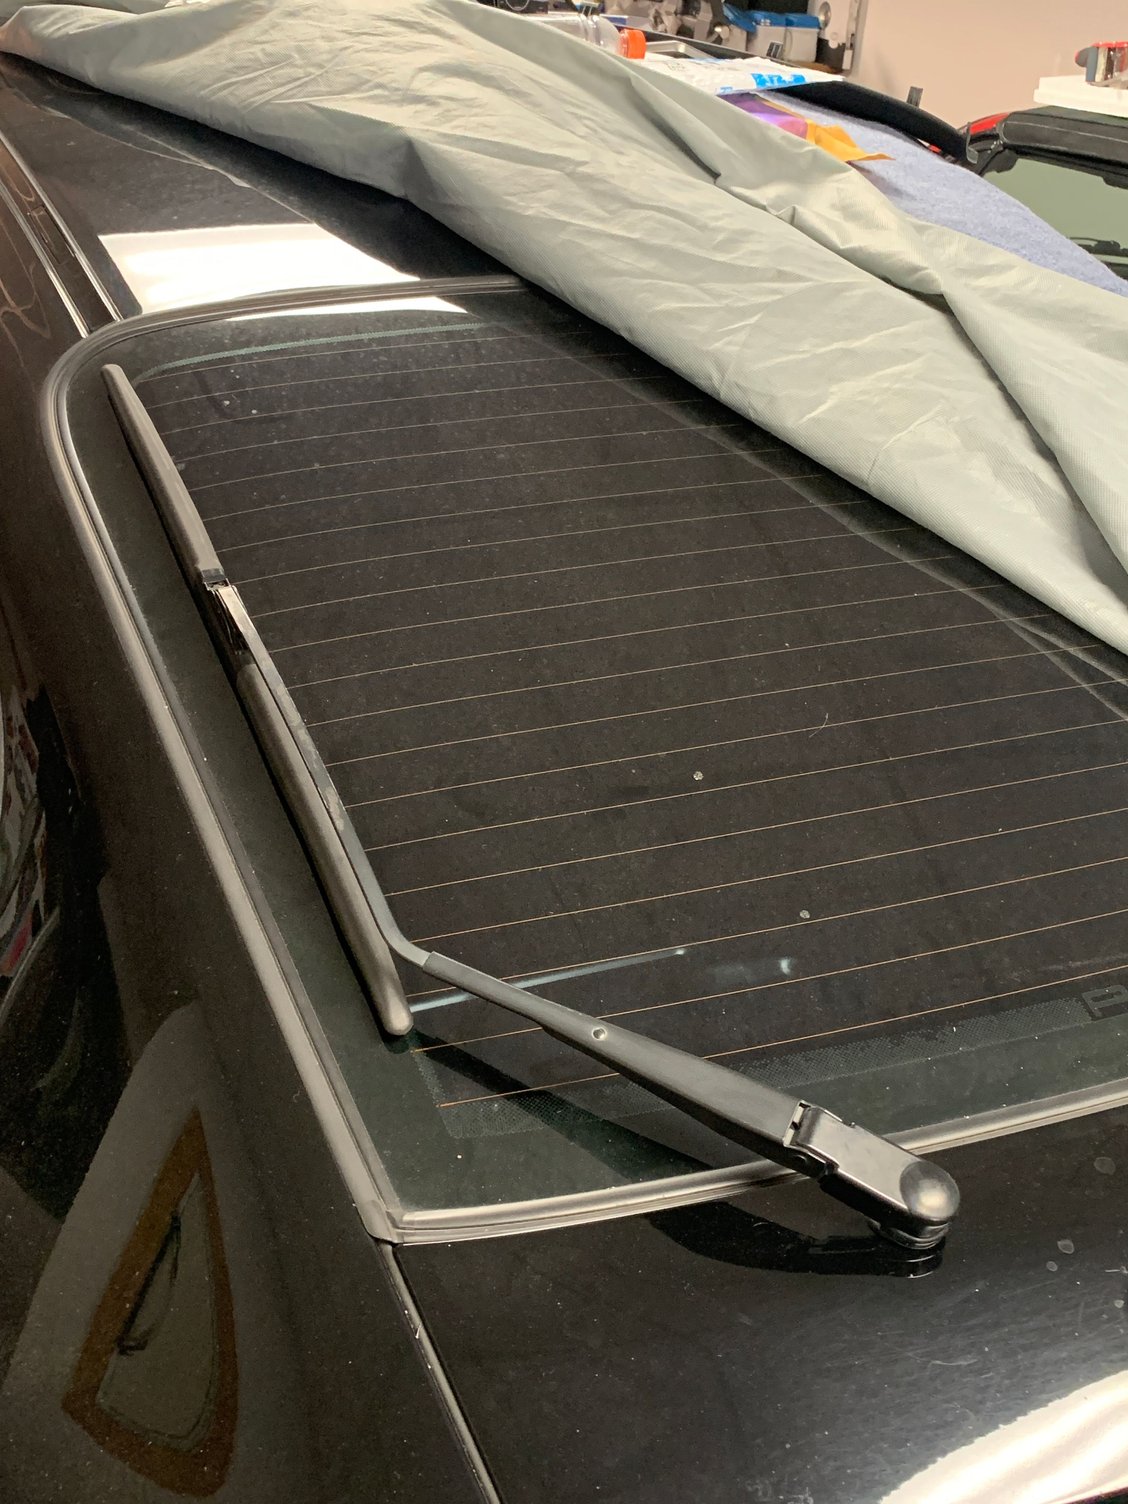
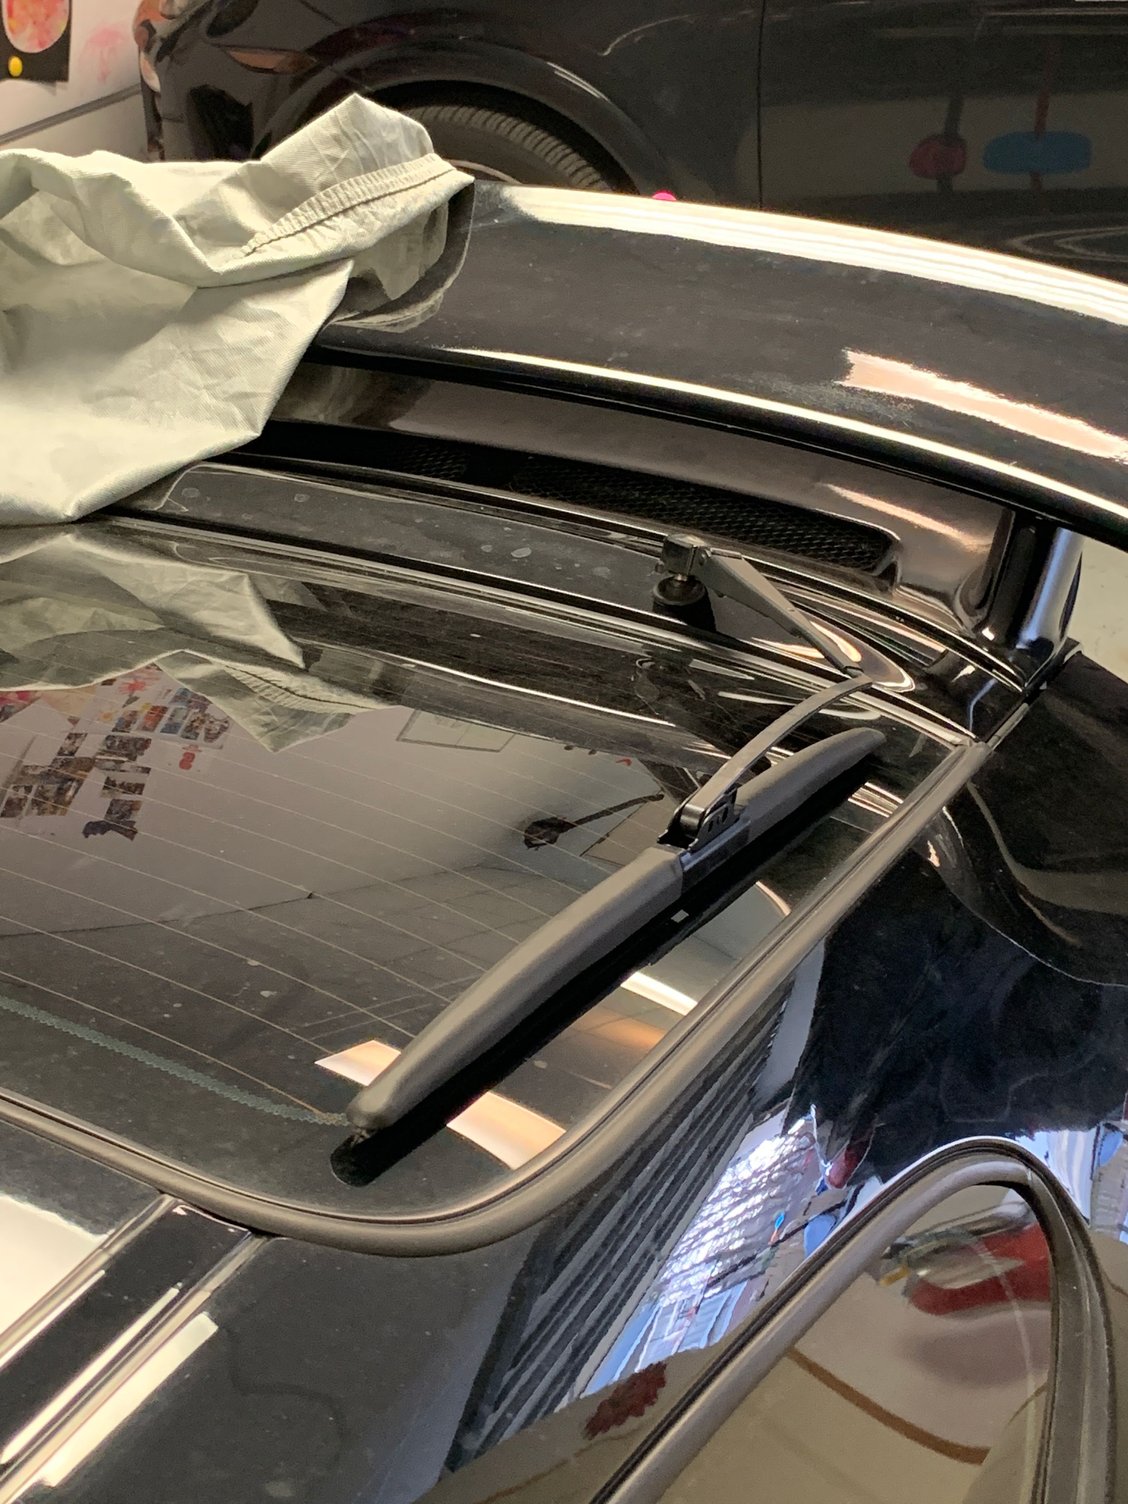
Grommet installed and wiper motor bolted in.
Test fit. I still need the speed nut for the back hole.
I'm stoked. I'm one of the few that actually love the look of the rear wiper on these cars....
Last edited by e30rapidic; 02-21-2021 at 07:28 PM.
I'm stoked. I'm one of the few that actually love the look of the rear wiper on these cars....
I was about to say earlier, in all my years on the Porsche forum, I've never seen one person want the rear wiper. My 996 had it stock and the past owner scratched the paint by putting it in service position while washing the car. Pressure washing it one day and the pressure hit the wiper... It snapped back and spun around... and.... scrrrratch!
But if you like the idea of having the wiper, then more power to you. Good thread!
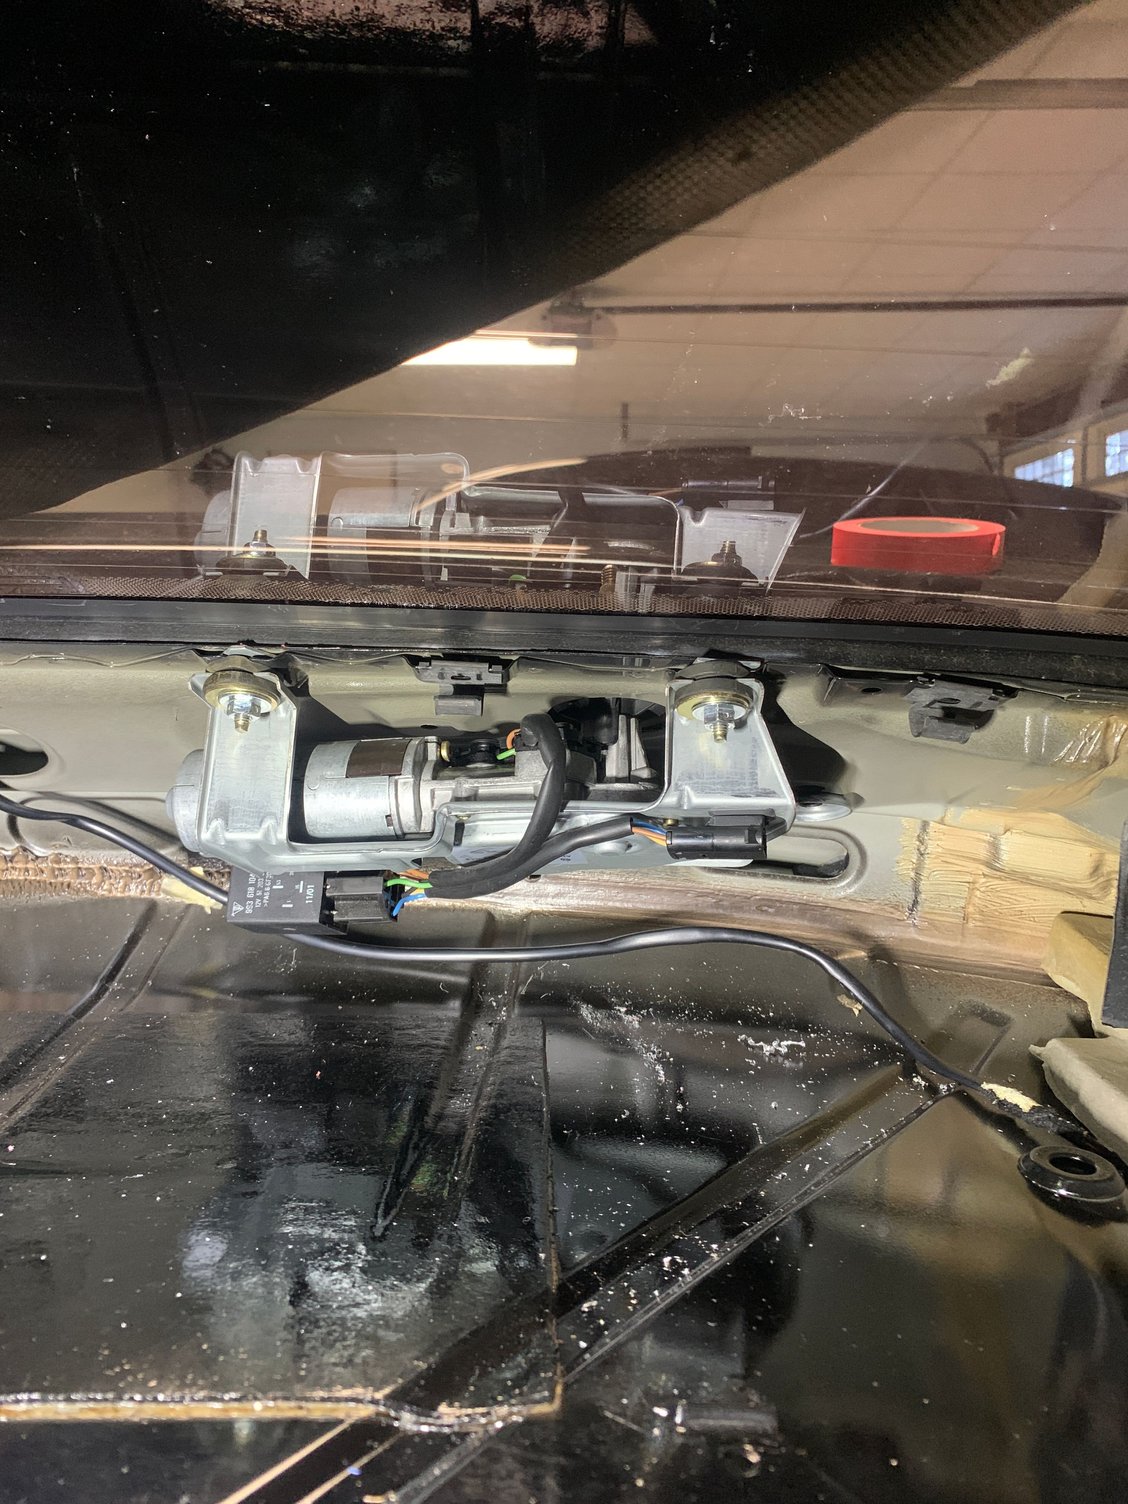
Rear wiper arm and motor connector were finally delivered today. With that I got motivated to run all the wiring for the rear wiper and continue the rear camera wiring. To do it properly, I pulled the carpet and interior trim up and ran the wiring in the factory harness. Easy to pop the tabs, open the top of the tray, insert wires and pop closed. I ran the wires in the harness all the way to the front of the drivers door. Ended up unbolting the drivers seat and rotating it for some extra clearance along the rail.
new wiring routed inside the factory harness tray
test fit!
Now I have to hook the wiring in on the front end, then tie in to the fuse and switch for power. I removed the rear wiper arm, don't want to test the switch and my wiring skills with the arm on there. I bench tested the motor but have no idea where in the sweep it is.
Last edited by e30rapidic; 02-27-2021 at 08:23 PM.
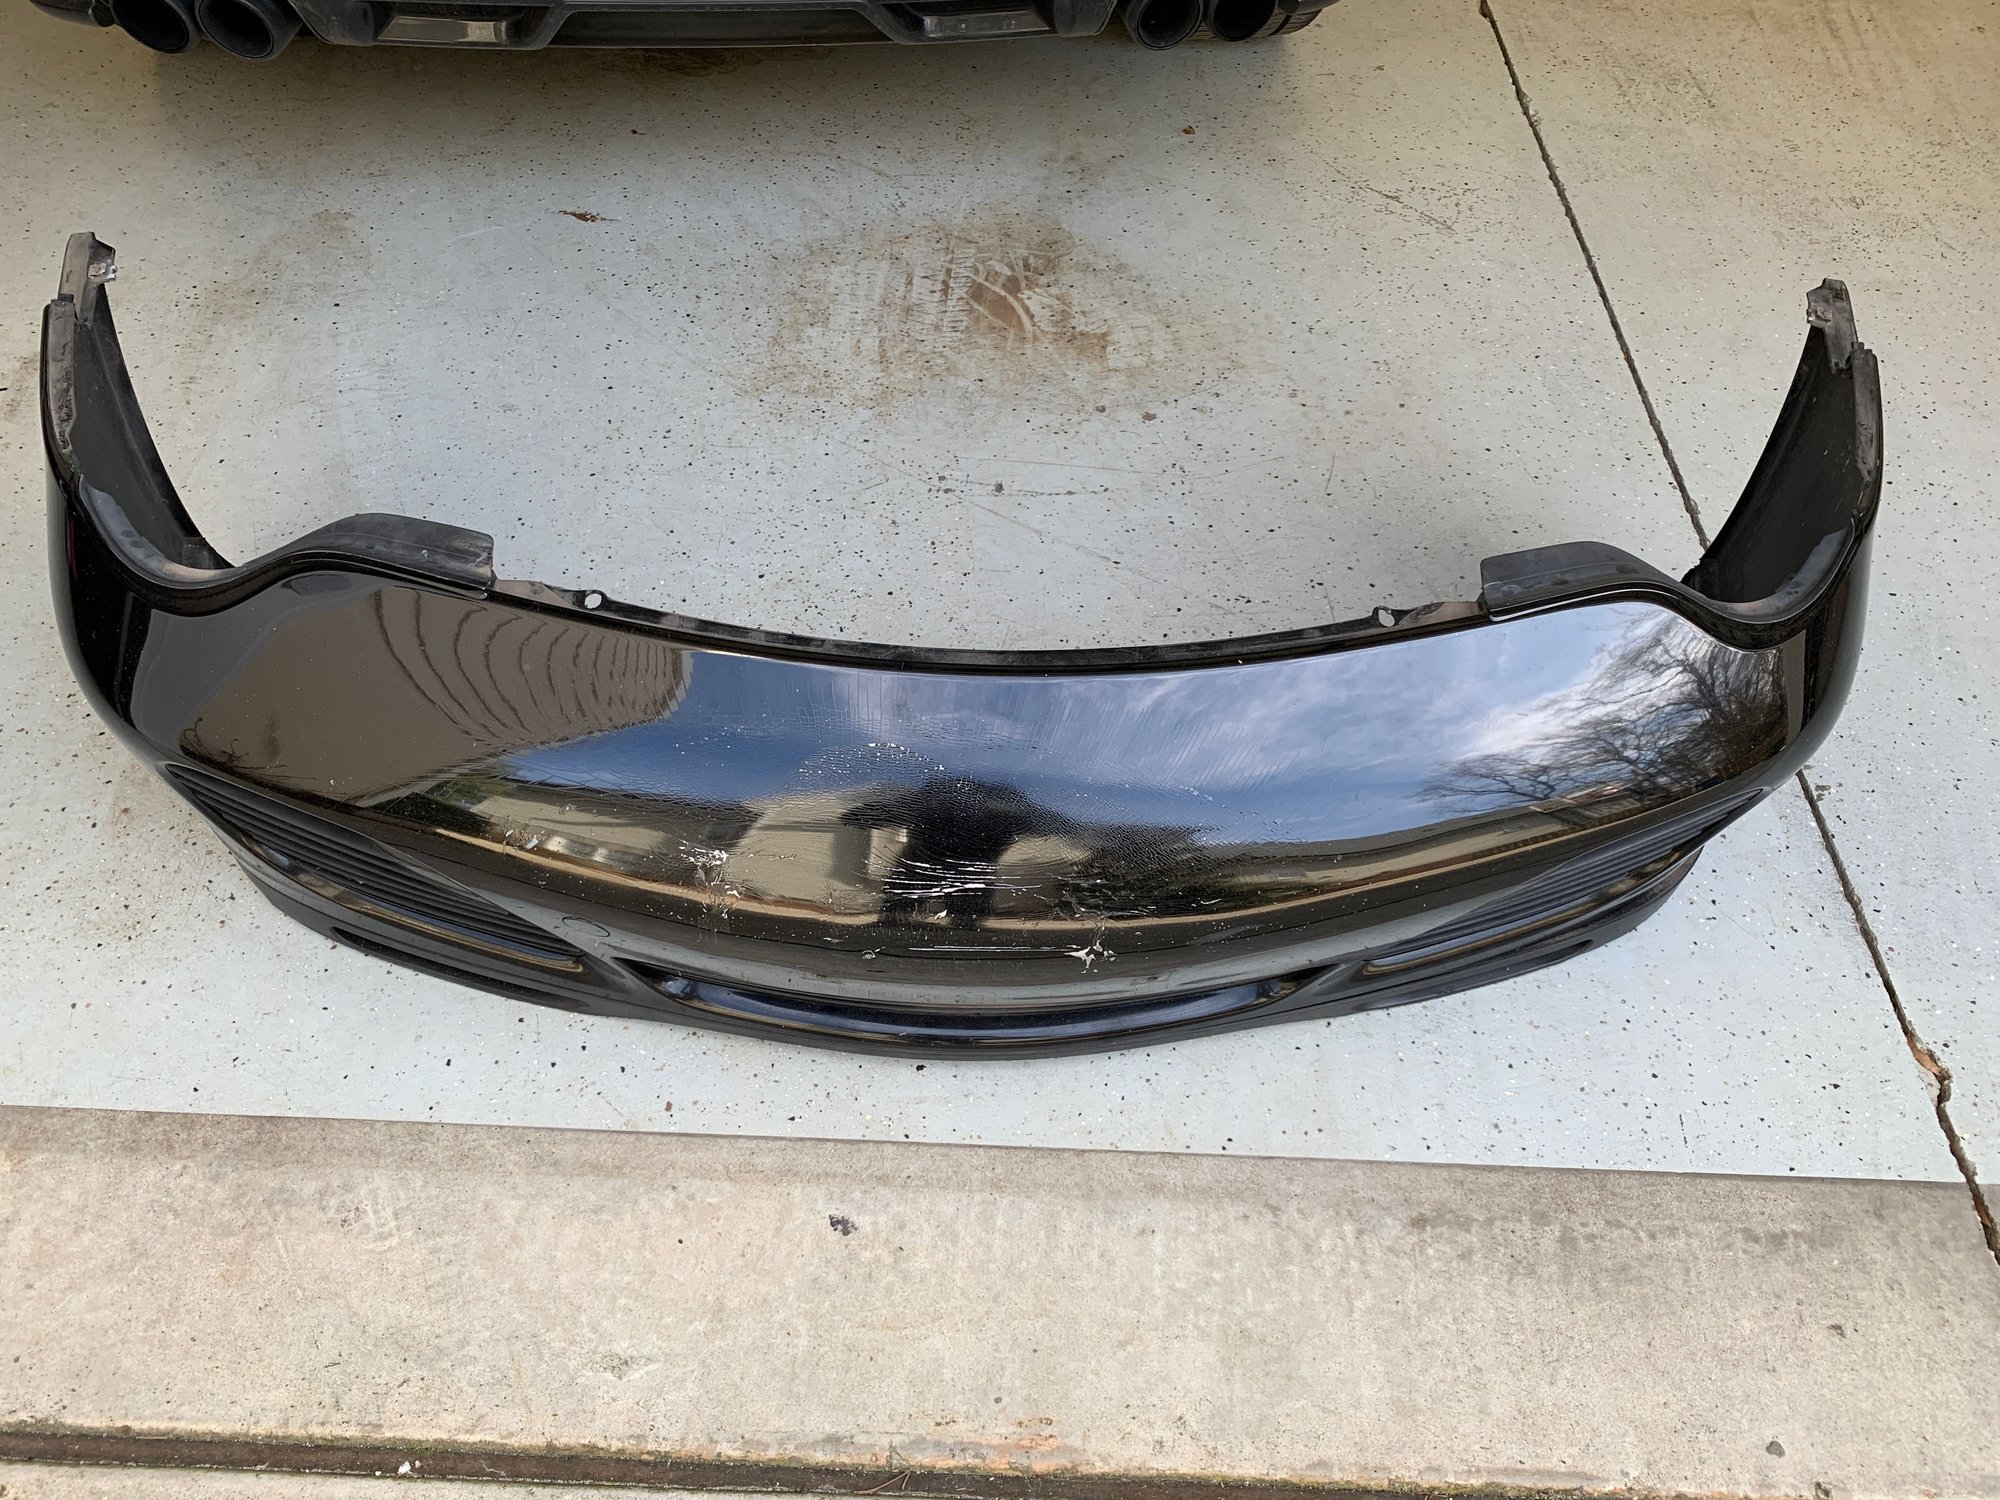
Did some more tinkering today. Kind of like three steps forward, one step back though. Pulled the front bumper off as it needs to be repaired and repainted; it got backed into it in its previous life and cracked the paint. Will also fill the front plate holes. I'm also debating on having the large rear bumperette holes filled and painted over but my paint guy wants to see it in person before he commits. Otherwise I'll paint the bumperettes.
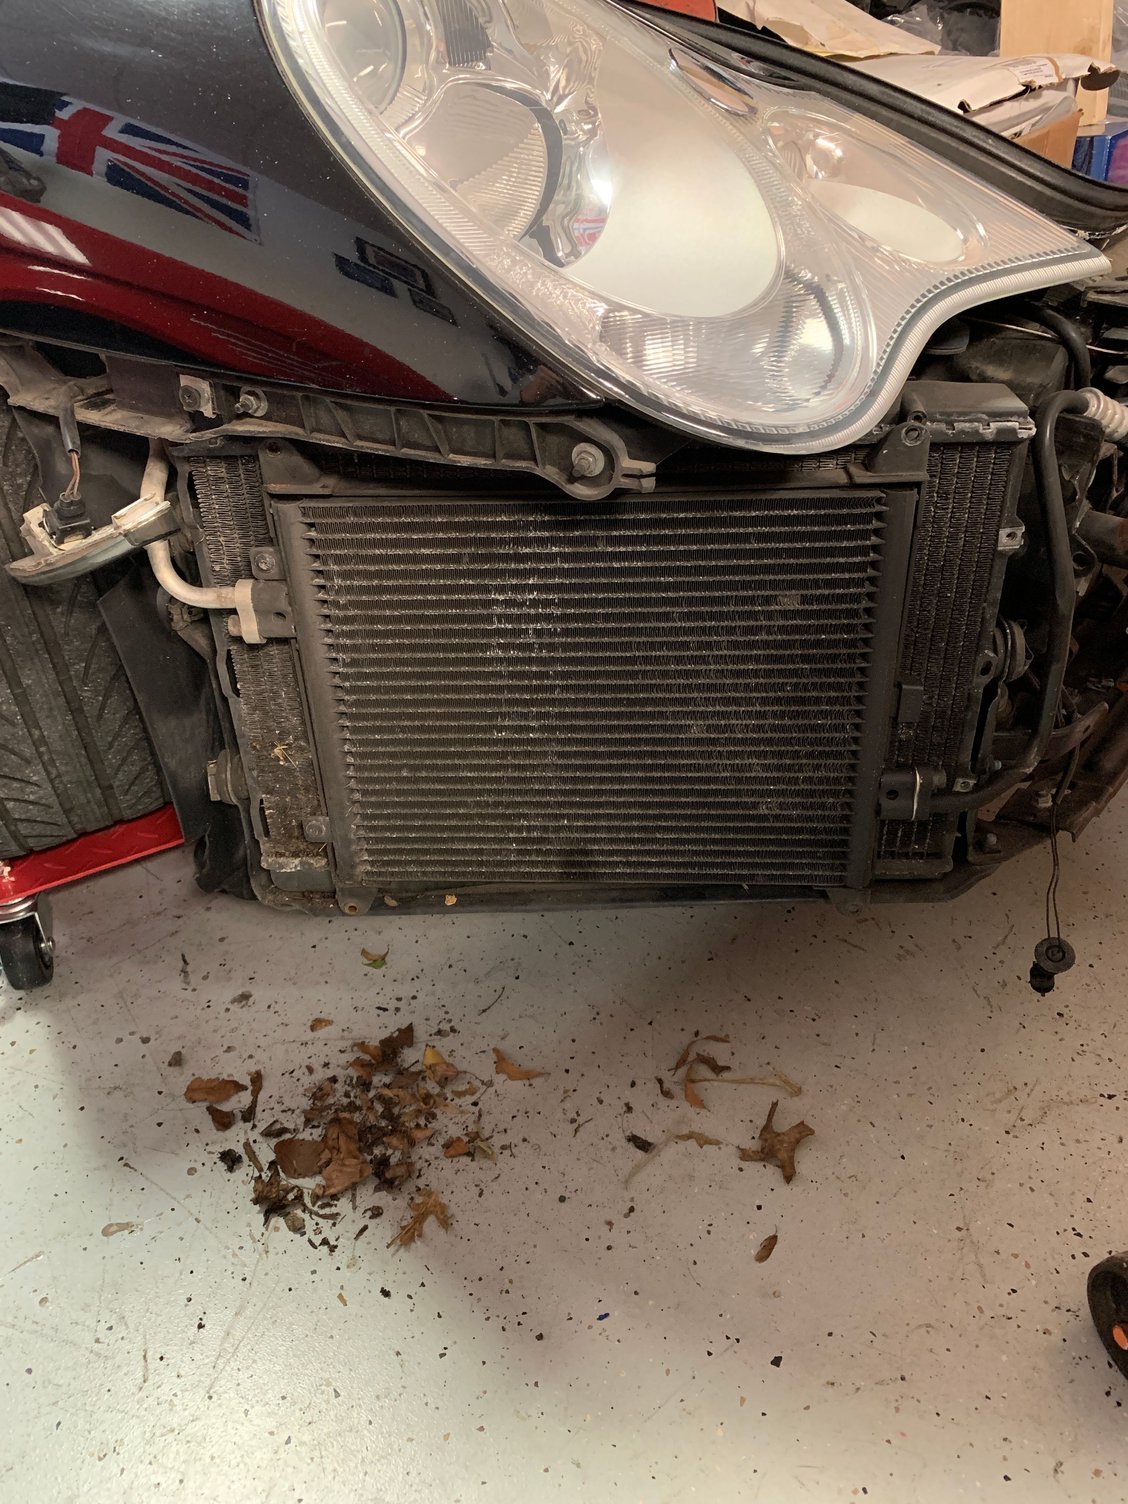
Since the front bumper was off, decided to pull the air shrouds and clean out between the radiator and condenser. Not too much crud but enough to make it worth the five extra minutes.
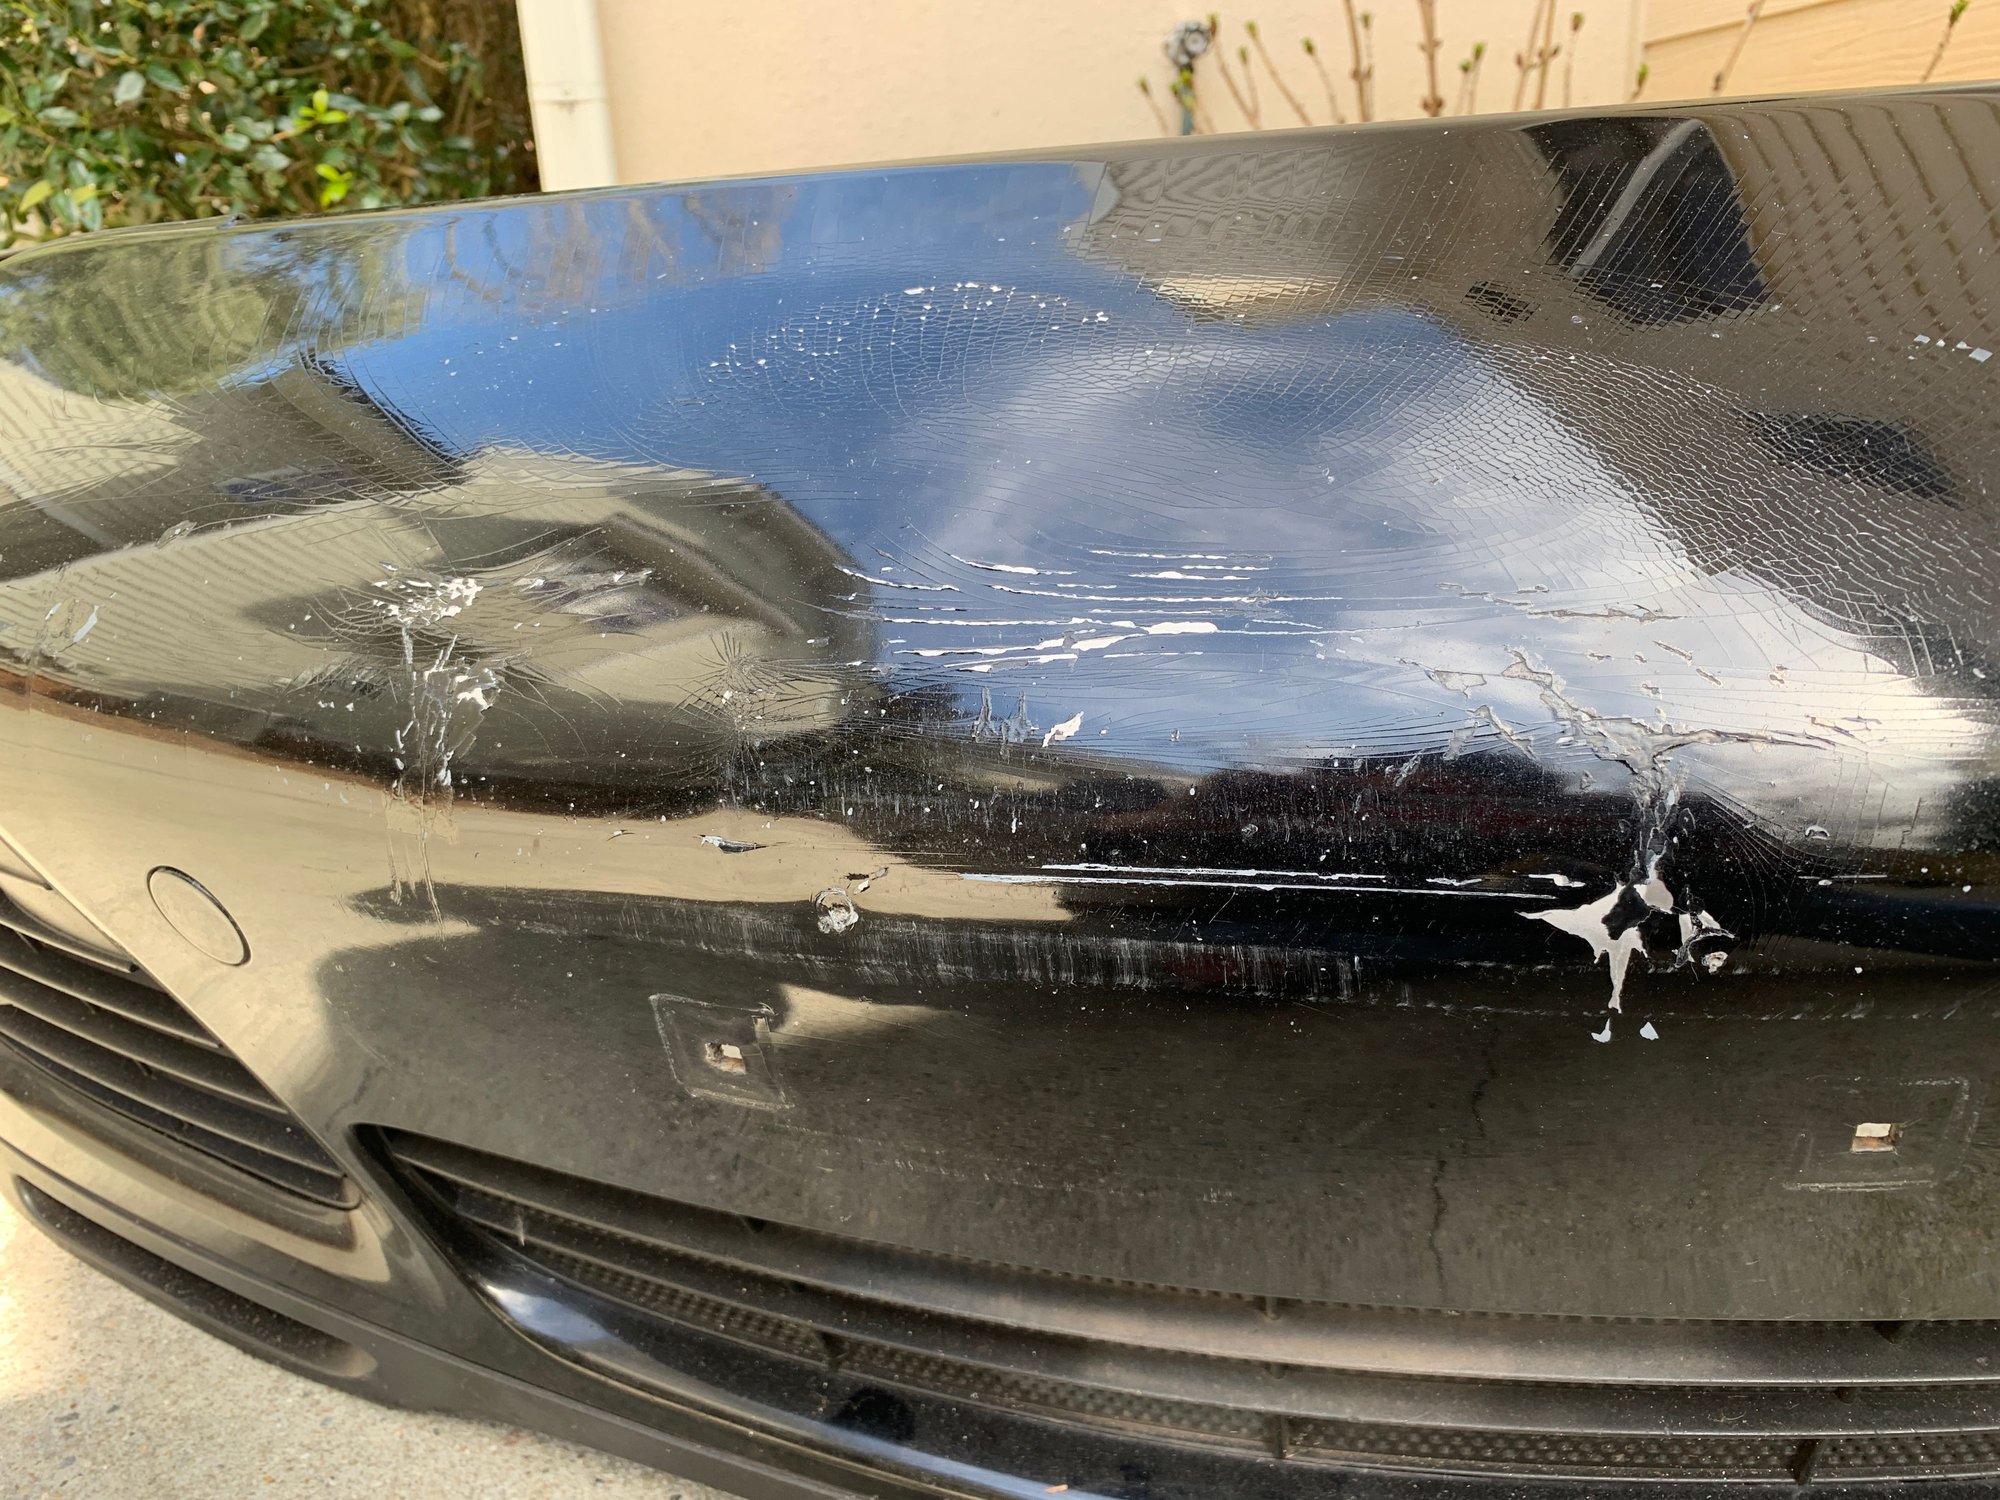
Part of my plan was to pull the GT2 wing off and replace with a stock decklid, and put on a set of turbo twists in place of the GT wheels.....but it looks like the GT2 wing has scratched the decklid. So it's probably going to be put back on after some TLC and the GT wheels will remain. I have to flatten the slope somewhere, haha.
Front bumper in need of some paintwork...
Thankfully no major damage, just cracked and chipped paint.
Very few leaves in the passenger side.
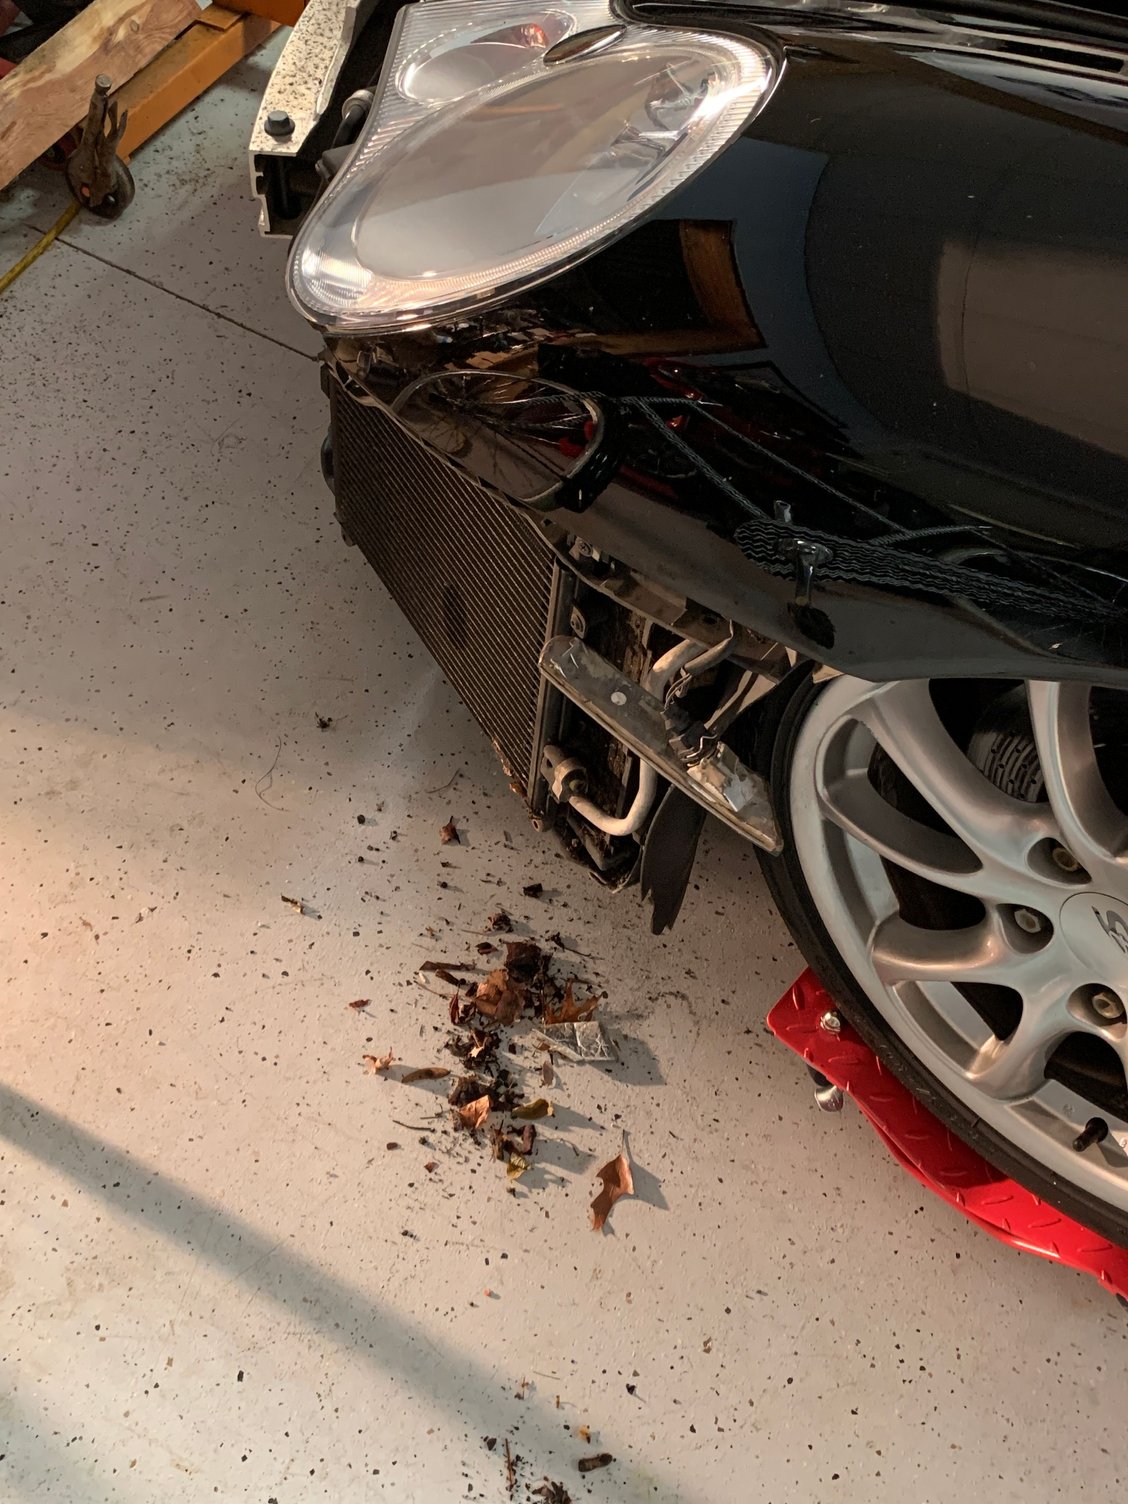
A few leaves and some silver foil in the drivers sides. Not sure what the spot is on the condenser, hopefully not a leak. Not visible on the back side and the AC works fine.
Removed the GT2 wing as I was contemplating running the stock wing. Unfortunately it looks like the wing has marred the paint up pretty badly. I'll take a closer look later but I'm pretty sure they're scratches and not buildup. Bit of a bummer. Coolant is still dripping from the car, even though the motor has been out over two months!!
Ugly.
Ugly again.
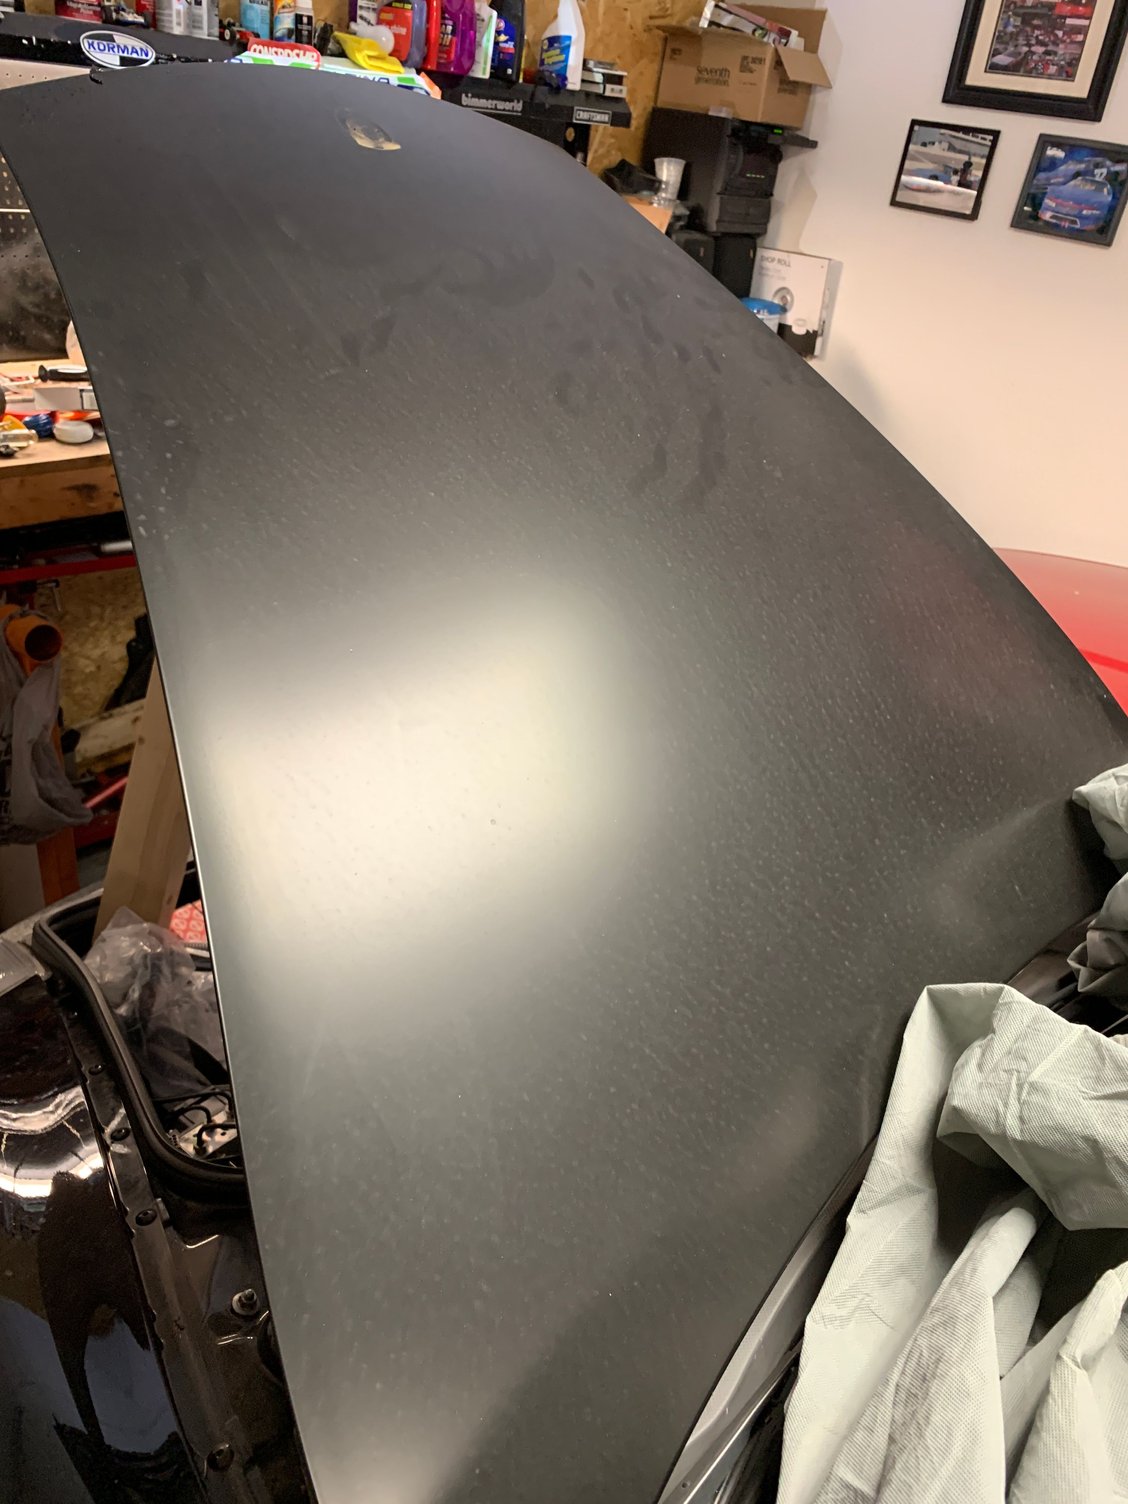
Was indifferent about the flat black vinyl on the frunk but decided to pull it off.
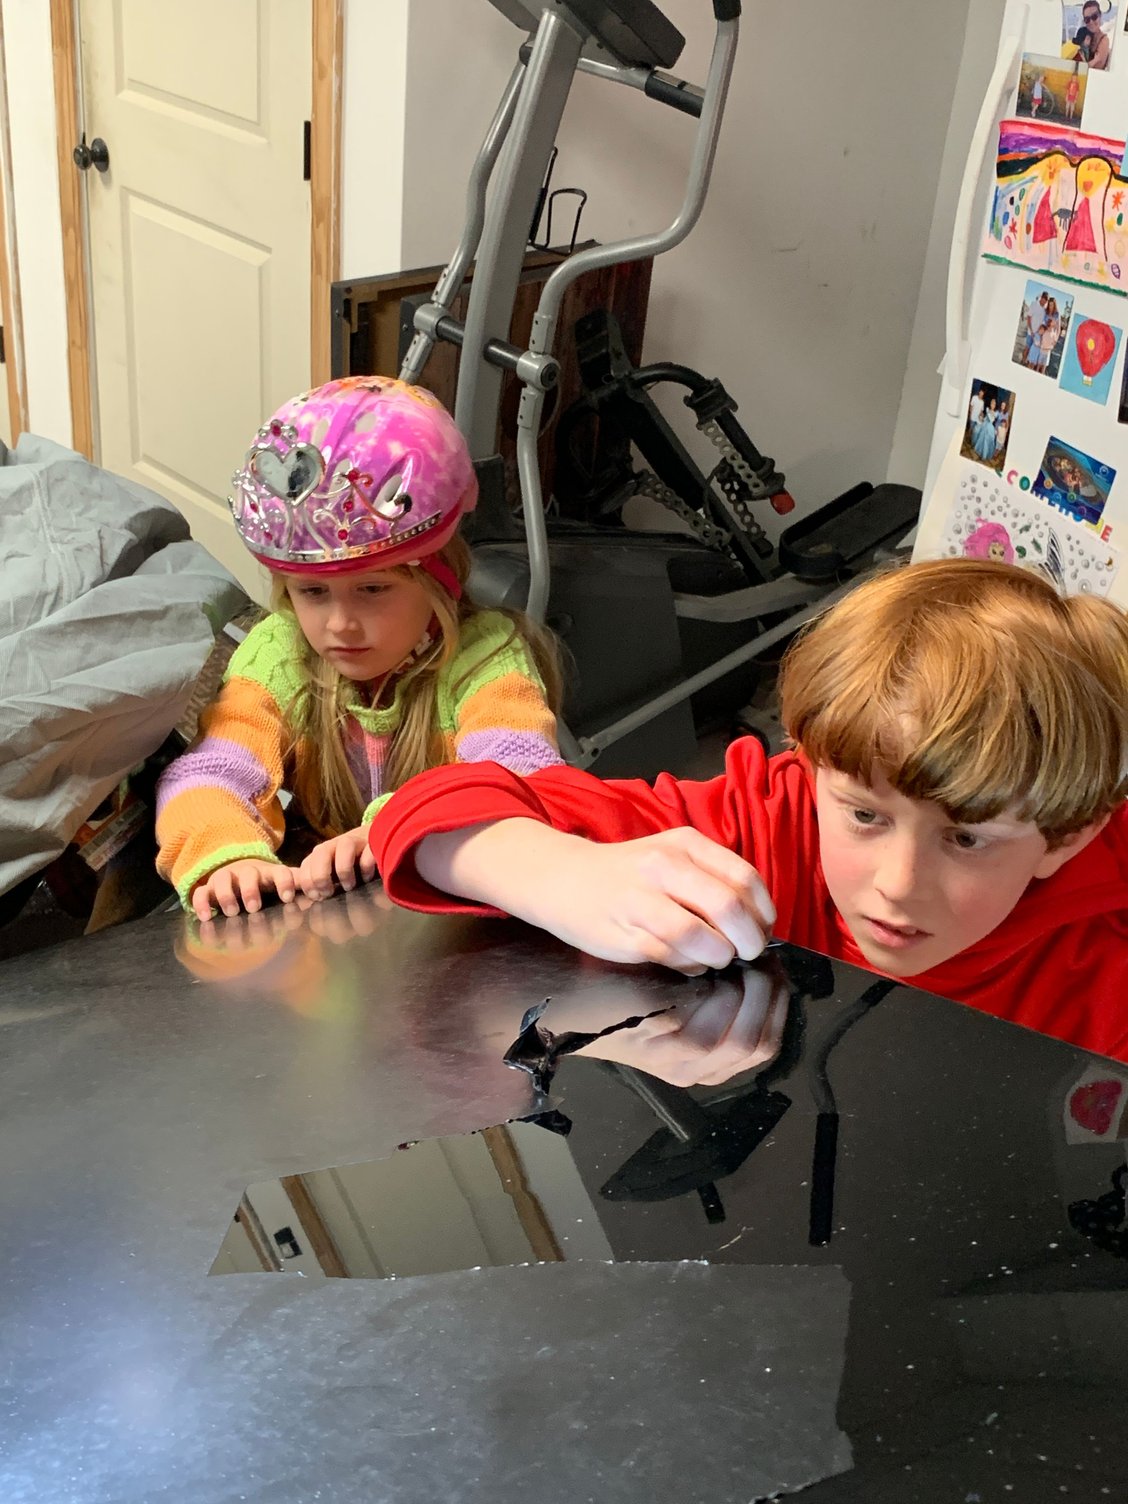
Had some help for about 2 minutes. They decided this was no fun at all and went back to riding bikes and playing basketball
All the wrap removed. Some rock chips but overall the paint is in good shape. The marks are from where the wrap pulled off; some elbow grease and wax will make it look much better.
One last pic because it shows how wide the rear tyres are that lovely fender curve!
Last edited by e30rapidic; 03-06-2021 at 09:32 PM.
If you haven't put the rear bumper back on, can you see a model number for the connector for the license plate lights, the car side? Mine, there's almost nothing left to it. The bumper side is fine, and while I can substitute any pair of suitable two pin weathertight connector, I'd like to source the real thing if I could. I'd rather not cut up a used harness for one small connector, though having some spares for other parts is tempting.
Perfect!!! Thanks for that! Wouldn't happen to have the complete harness from dash plug to wiper plug by chance? Would you consider parting with it?
Actually got a bit done tonight, pulled out the rear interior to run the rear camera wire through the brake light grommet. I intend to add all the new wire in with the existing harness, not just random quick paths.
Bose subwoofer and factory carpet removed.
I used this grommet that had an extra nipple in it. I passed the front half of the camera wire through here and out by the left rear tail light. Corrugated plastic looking line is the rear sunroof drain line.
side panel removed. You can see the sunroof drain line run down the roof line and out above the rear wheel. Seat belt tensioner is unattached ind rotated forward in this photo. A but tight in there. But hey, the upper shock mounts look to be in decent shape.
wires pulled through larger grommet and then through the taillight wiring grommet. The camera harness comes in two pieces...I put the connector here so I can easily unplug the two halves and leave the camera in the bumper should I need to remove it. I'll tap into the reverse light wire here and use a local ground point.
So here's a top tip for ya..... If you have the battery disconnected and plan on ever doing anything in the back seat, make sure you move the electric seats forward before disconnecting the battery. If you're anything over 4'3, working back there with the front seats all the way back is, well, a bastard. Nothing like trying to get a bolt out at a weird angle and having your calf cramp and not able to stretch it. Backing out of the door was a bit like an elephant being born backwards I suppose. Not much faster either.
Just hook the battery back up and move the front seats... better yet, just take them out (you�ll still have to move them forward to do this though) only 4 bolts each! 👍
 02-12-2021, 05:19 PM