When you click on links to various merchants on this site and make a purchase, this can result in this site earning a commission. Affiliate programs and affiliations include, but are not limited to, the eBay Partner Network.
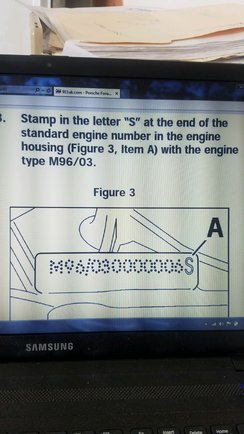
Is there an s stamped on yours? I understand This was SOP if X51 Power kit was dealer installed.
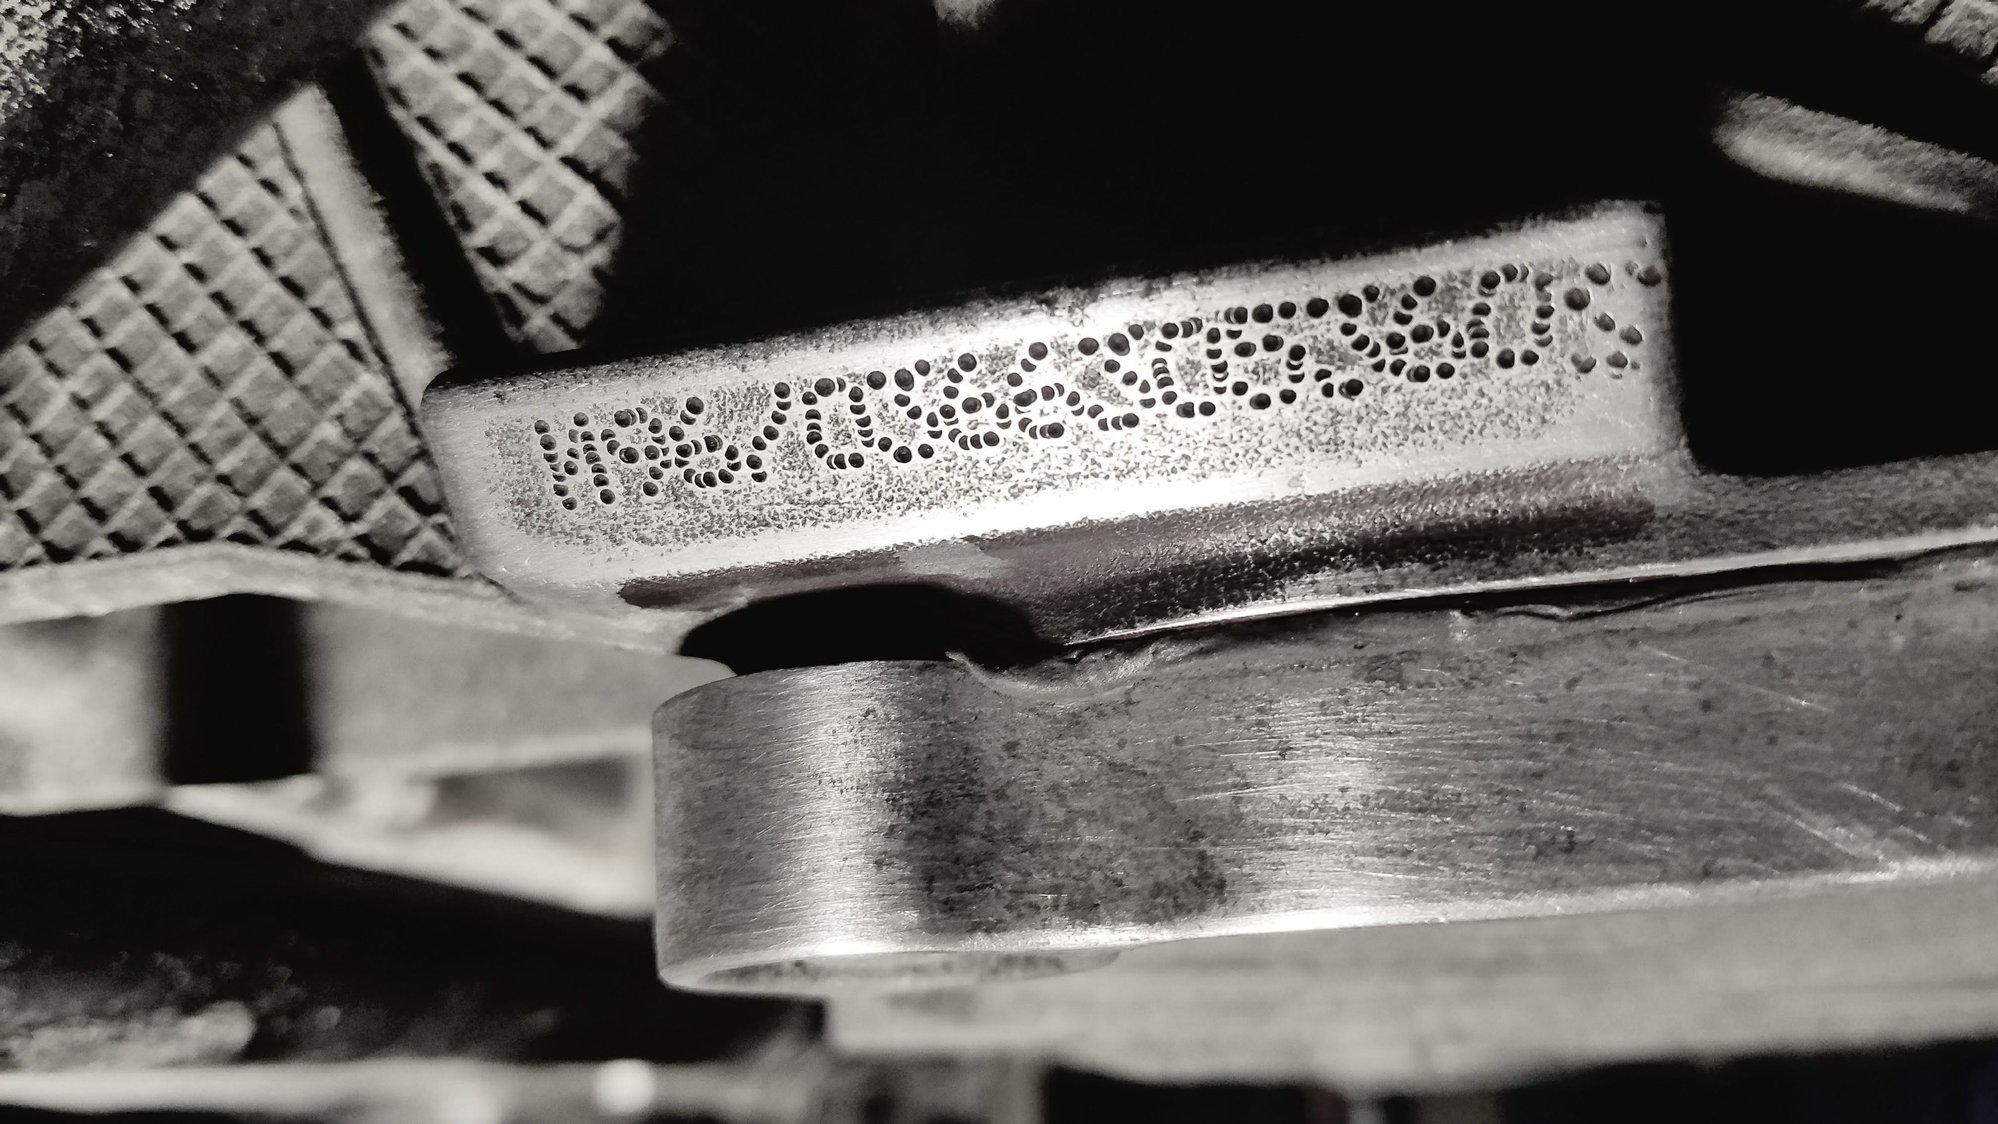
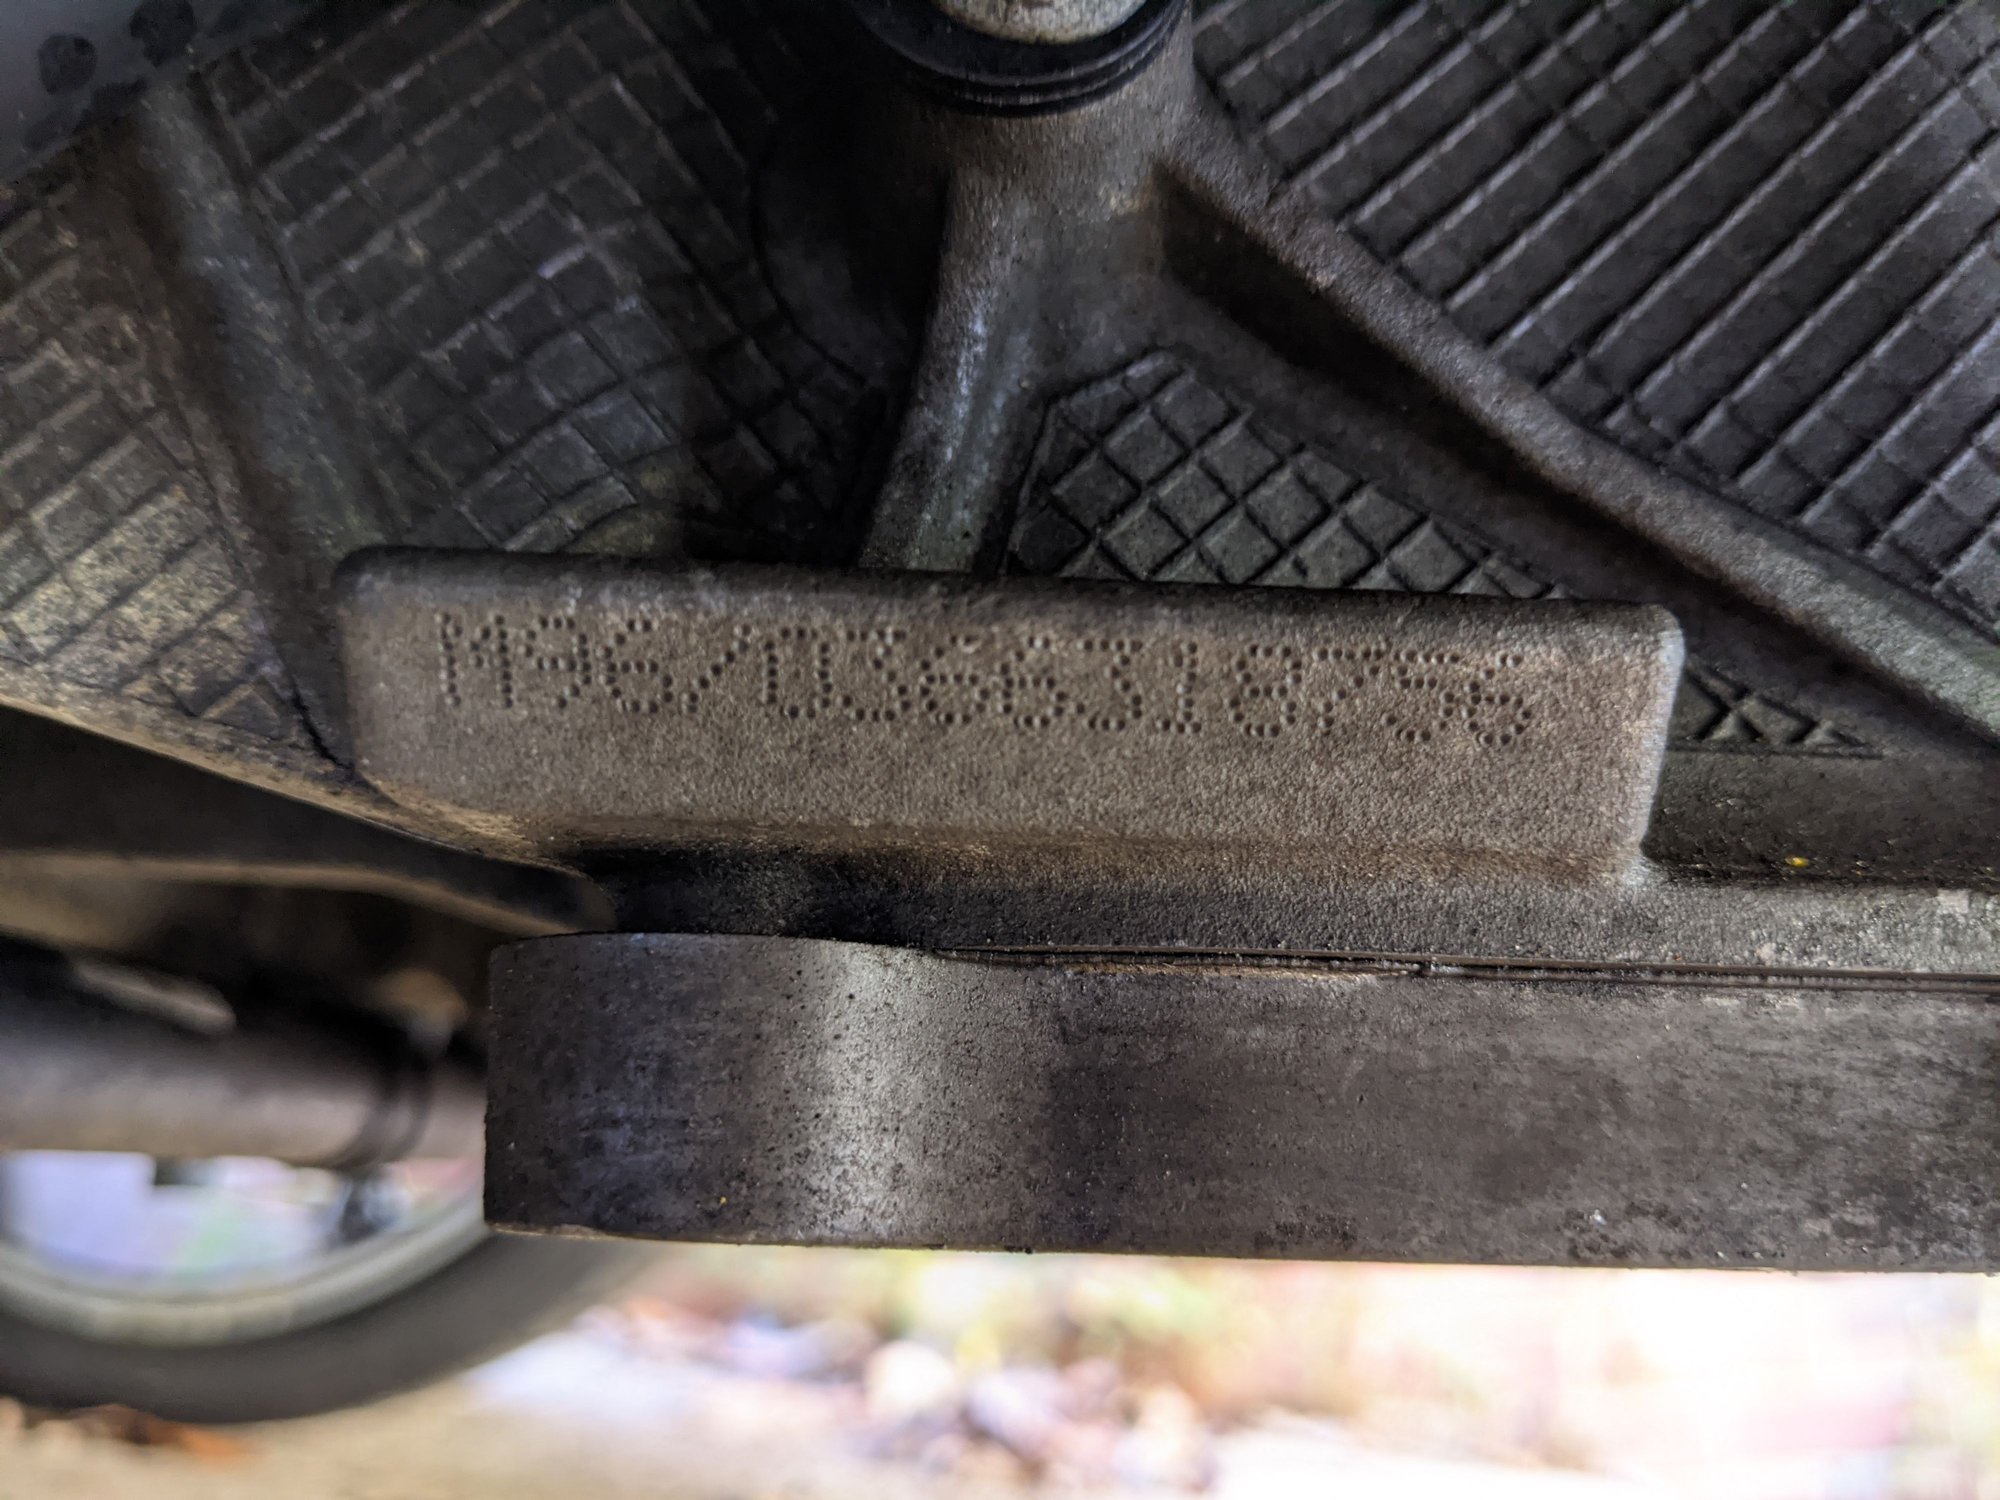
As I noted, there is no S at the end of the SN. Perhaps the dealer didn't bother to add it? At the end of the day it's not something that will bother me and I think seeing the X51 parts on the motor will triumph over a missing S at the end of the SN that may have been omitted by the installing dealer. Either way I look forward to putting on miles on the thing
motoo344 - Thank you!
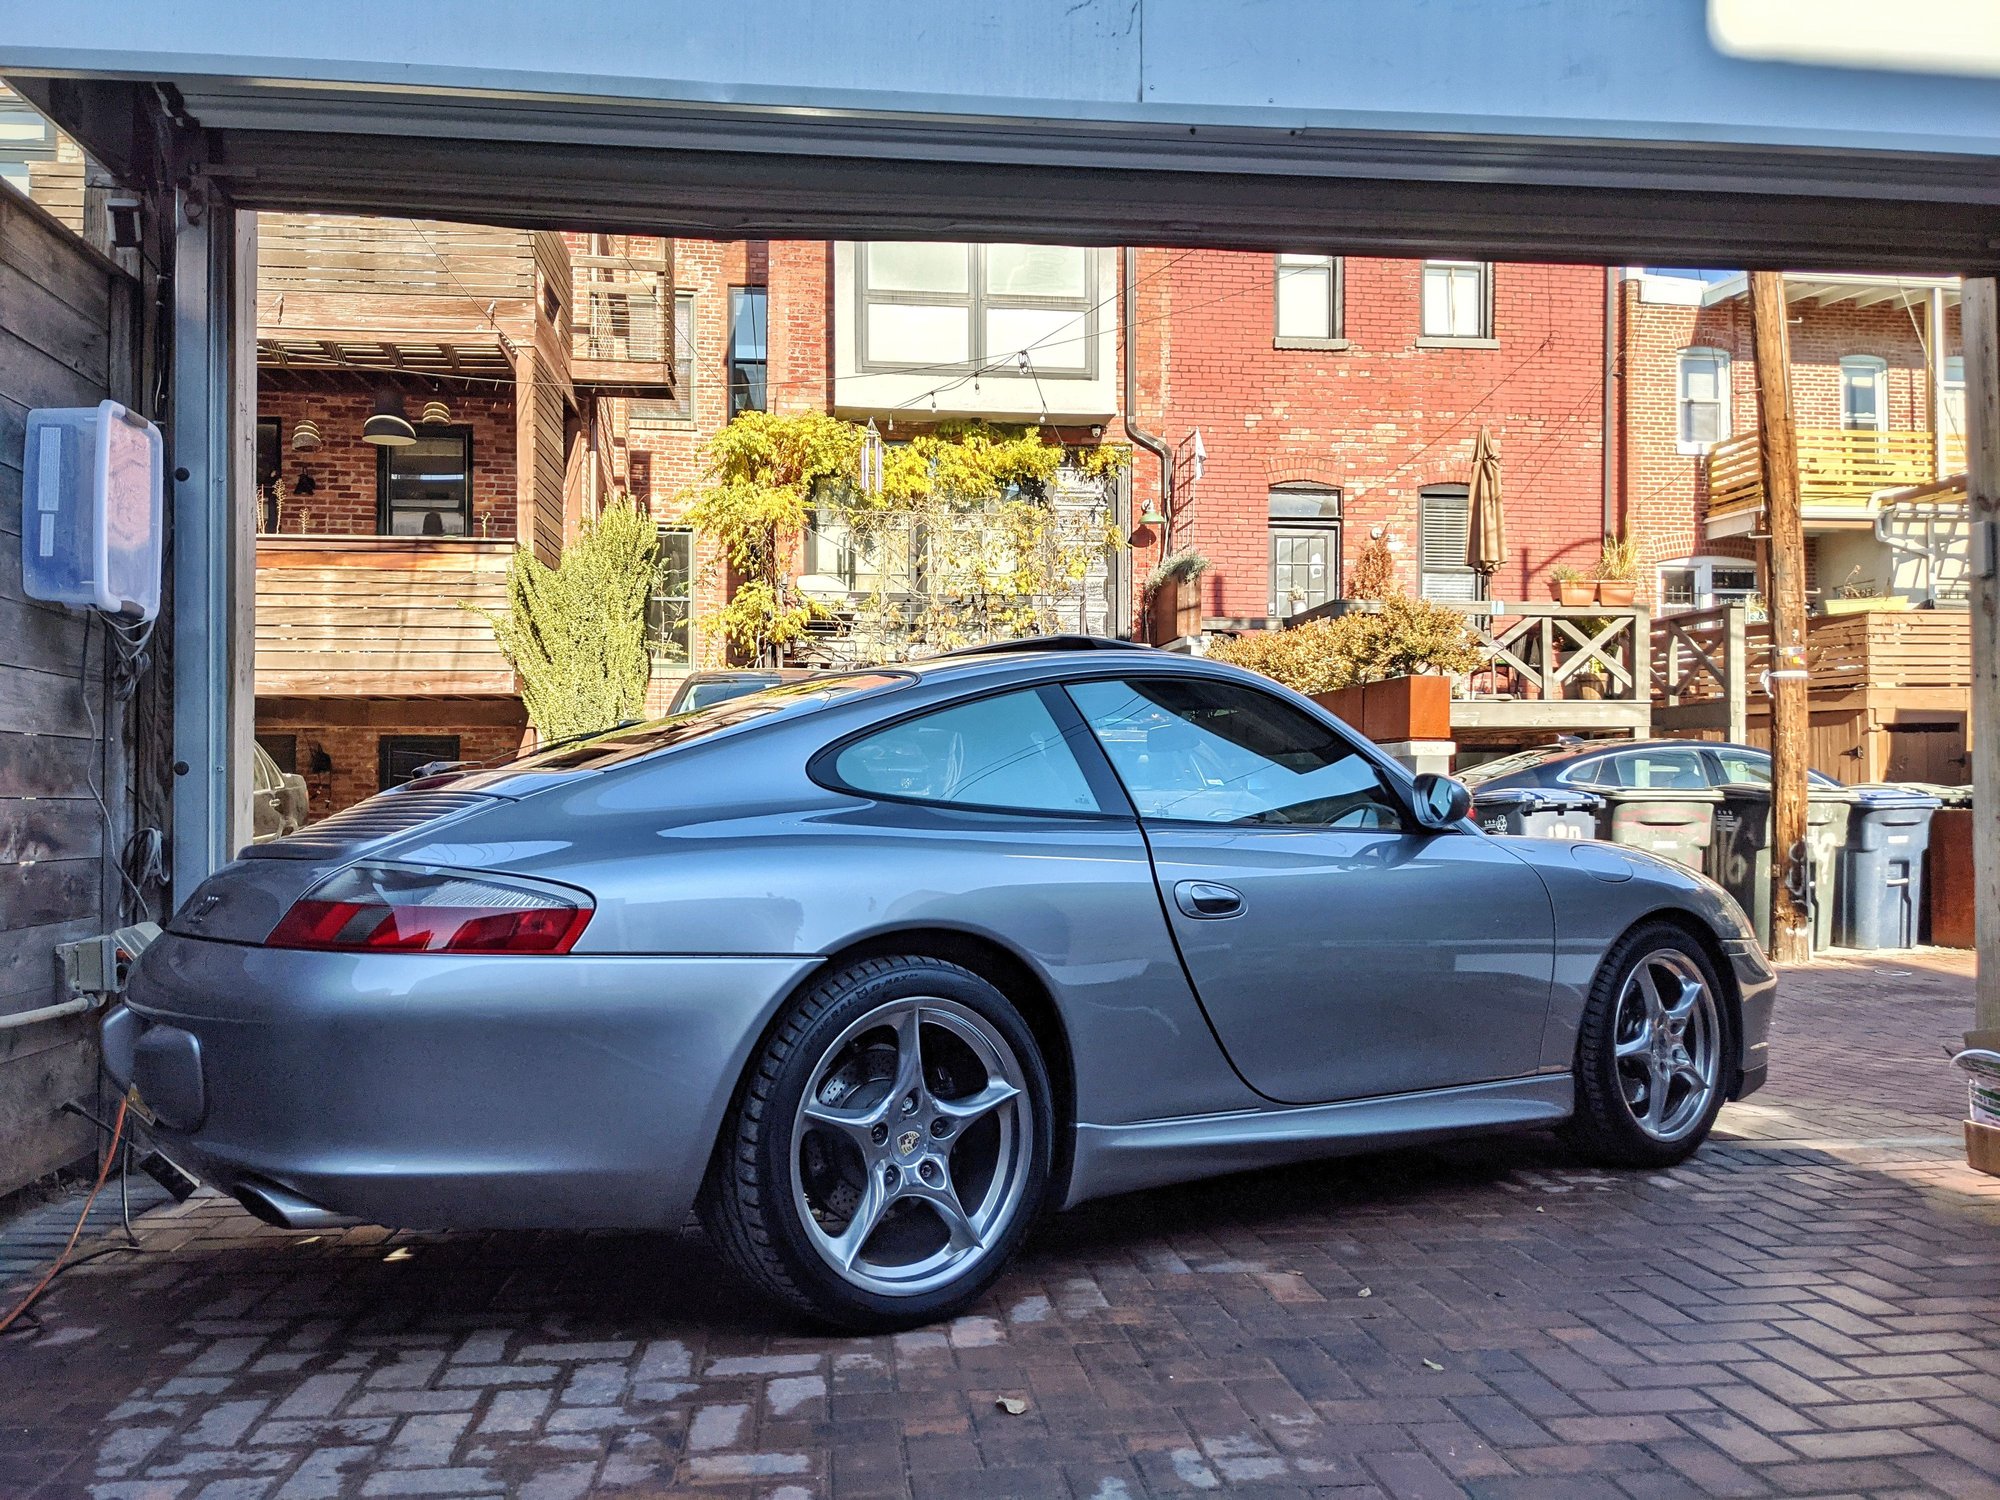
Prelude Guy - I definitely lucked out with the shifter! Other than that it will be mostly preventative maintenance. DT40 oil service w/ magnetic plug, filters, updated coils and fresh plugs, fresh transmission oil. Not a high priority now but the IMS and clutch will get done too. As for actual mods I'd like to get the PCCM Plus but it's a damn pricy piece of kit. I'll see if I can get a better deal around the holidays and perhaps make it a Christmas or bday gift. Despite the interior being full leather there are still some pieces of plastic that have the typical 996 wear. Mostly on bezel around the radio, vents and door sills. I was considering playing around and wrapping it with suede/alcantara - I think it would match well with the headliner. The suspension rode quite well actually and didn't beat me up so I'd like to maintain that, although some parts, like bump stops are on their way out. Ideally, I'd love to install a set of Ohlins RT set up and lower the car a tad - nothing major. It would be good to get a ride in a car with this set up as the last thing I want is a rough ride - and I know that's subjective. Speaking of rough ride, I love the look of the 19" lobster claw wheels on our cars but I know they would affect the ride quality and are heavier then current wheels. Only other thing I can think of at this time is perhaps a fister mod to the exhaust. If anyone has done this I'd love to hear how the sound is on a highway at speed in terms of drone.
The SN on your engine designates the engine is 2003 996 engine that is not a Factory Replacement (AT)or an X51 variant (S). Was taken from a 2003 car.
Since you have verified the X51 intake and headers have been installed, and will soon verify the X51 baffles, you should also verify the X51 heads are also installed. This and the cams would complete the Power Kit.
The X51 heads would be easy to verify by just removing the center plenum behind the throttle body and using a bore scope inserted down #4 runner, verify the intake ports on the heads are "CNC" machined.The standard heads have just a cast port, while the X51 are beautiful CNC machined for more flow, quite easy to tell the difference, and safe to assume the X51 cams are also used.
If you also have the X51 CNC machined heads, you have a complete X51 engine, although not original to the car.
That's fantastic - thanks for sharing this! I knew about the heads but didn't know how to verify and sure as heck I wouldn't tear the engine apart just to see. I may do this when I replace the spark plugs and coils and report back.
The X51 heads would be easy to verify by just removing the center plenum behind the throttle body and using a bore scope inserted down #4 runner, verify the intake ports on the heads are "CNC" machined.The standard heads have just a cast port, while the X51 are beautiful CNC machined for more flow, quite easy to tell the difference, and safe to assume the X51 cams are also used.r.
Do you happen to know who did the engine replacement? Receipt?
The replacement was done by a Porsche dealer. I actually spoke with the service manager and received the confirmation of the work being done, however, details were not available as the record was "archived". Something they do if the car doesn't get serviced there for 5 or more years. They have access to a service interval but not the details of the service itself. How true is that I don't know but at least I know if was done at the dealer. I may dig into this more at some point but for now I won't loose sleep.
I changed the oil and filter this morning. Smooth process. I'm not sure when was the last oil service but the oil looked pretty dark so it was time. I'll be keeping to the 5k/6mo interval with DT40 moving forward. Filter was pretty clean once cut open. A few tiny aluminum specks but nothing alarming. The magnet didn't pick them up. Took it for a brief spin after and the car seemed to run better immediately Engine idled very smooth and zero knocking noises. I tried to use the scope to look into the oil pan but just couldn't get a good view of the baffles. The mirror didn't help much. Perhaps during the next oil service in spring I'll just drop the sump and look then. Again, not something I'll loose sleep but it will be nice to know. I might give the intake scope a go when I do plugs/coils and have more time on my hands than this morning.
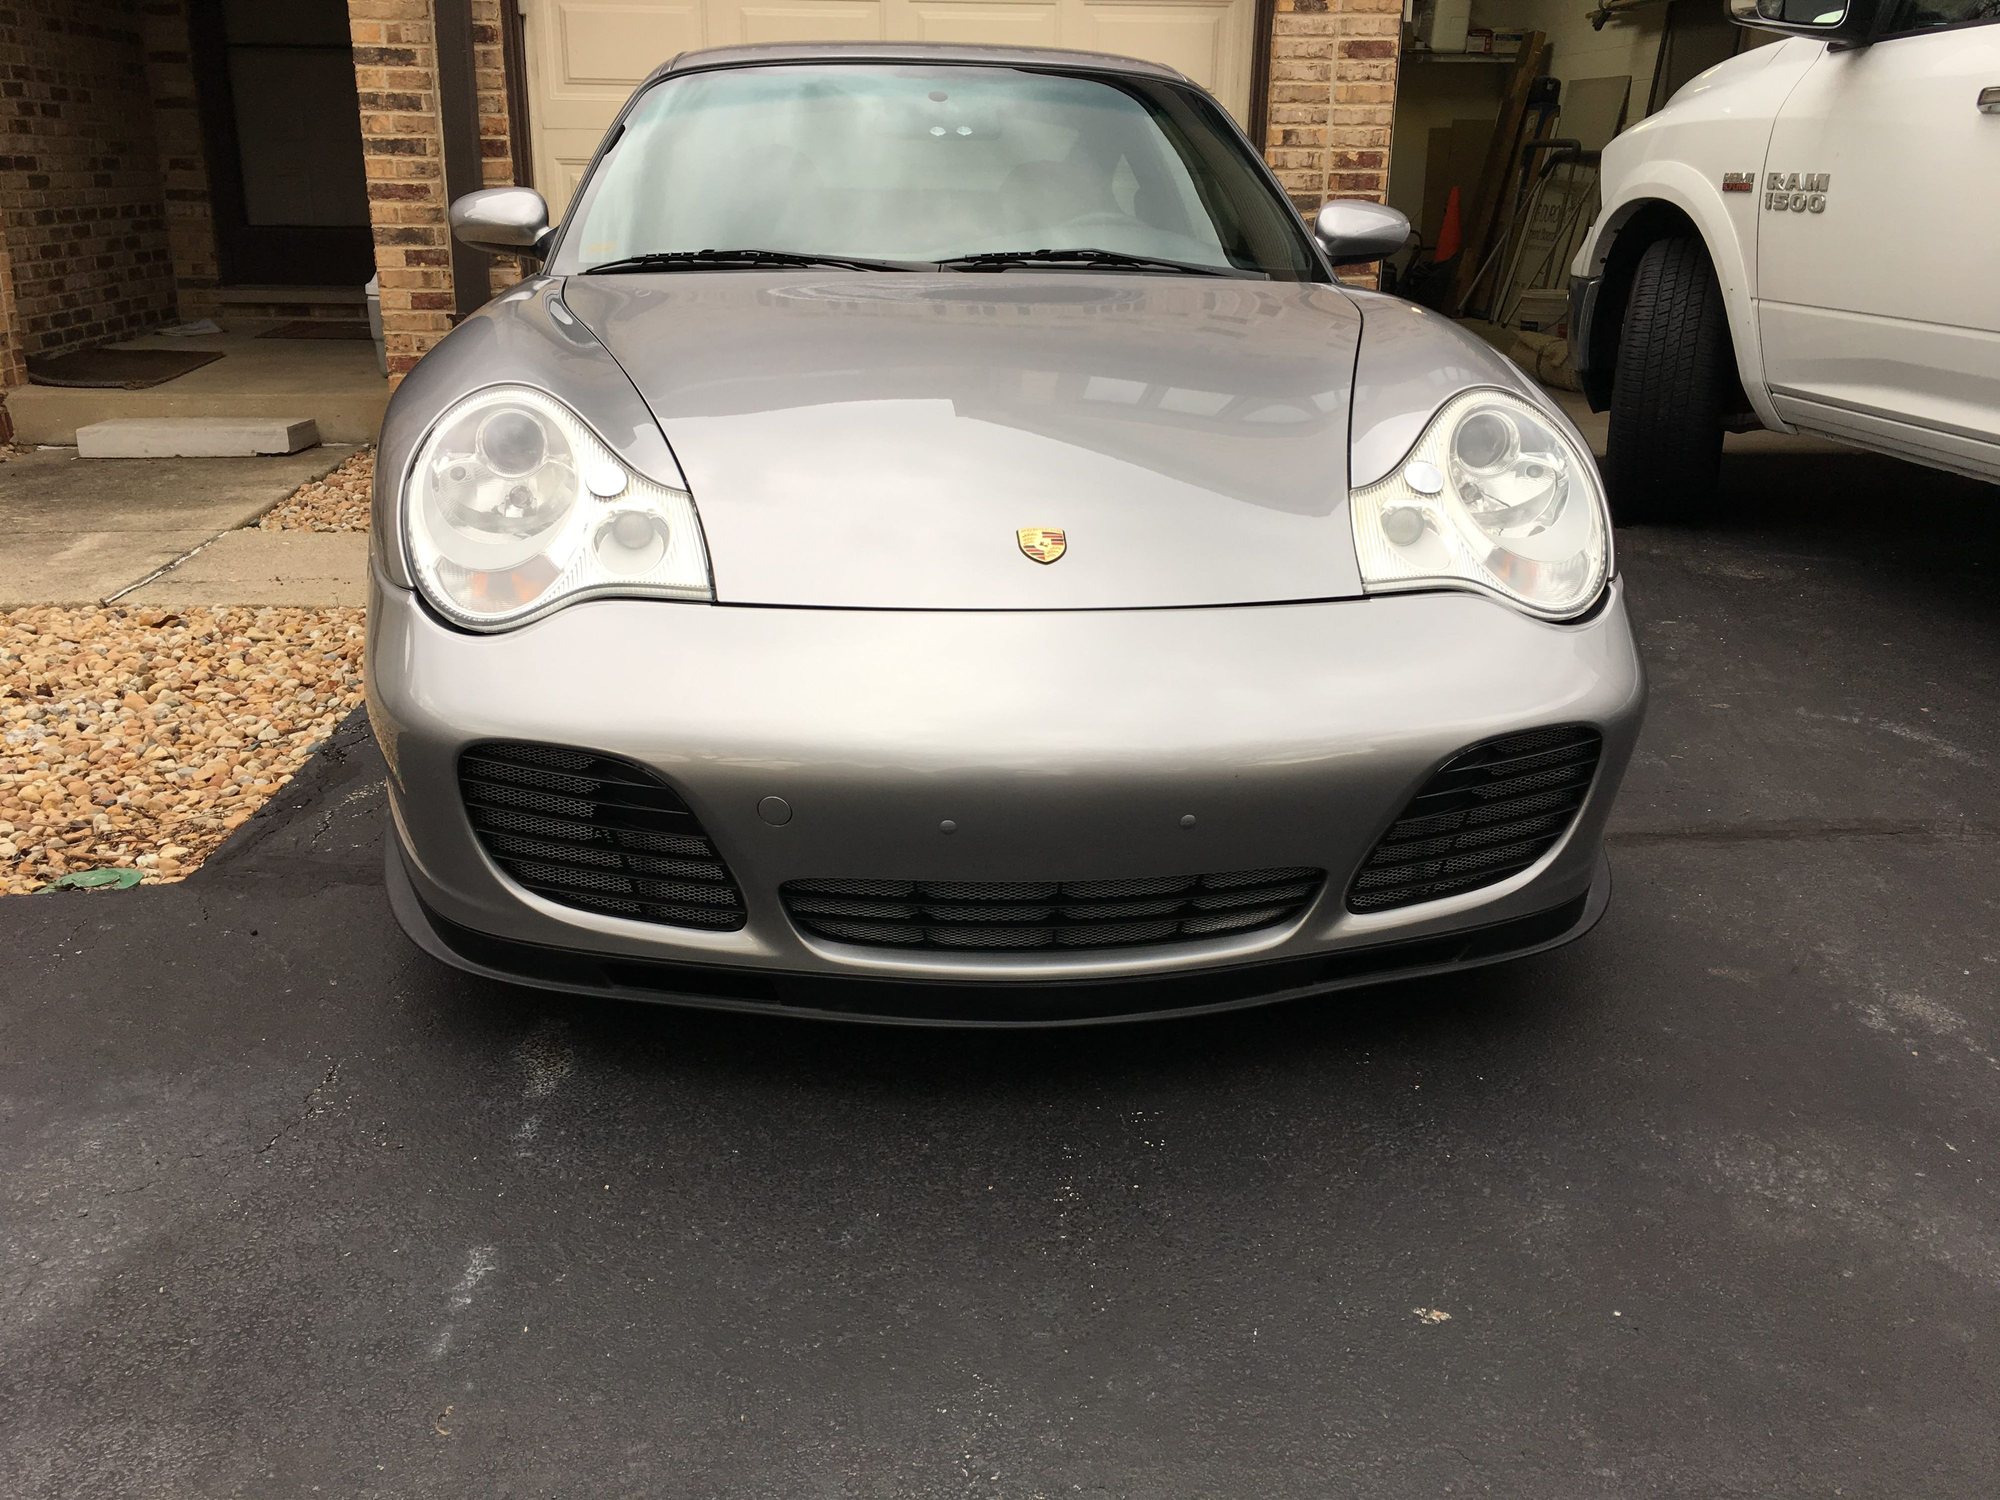
Thought I'd keep this thread going as a digital record of my ownership, if anything else, and hope I'll be able to contribute to this board with it as I progress with the ownership. With that, got quite a few updates to share!
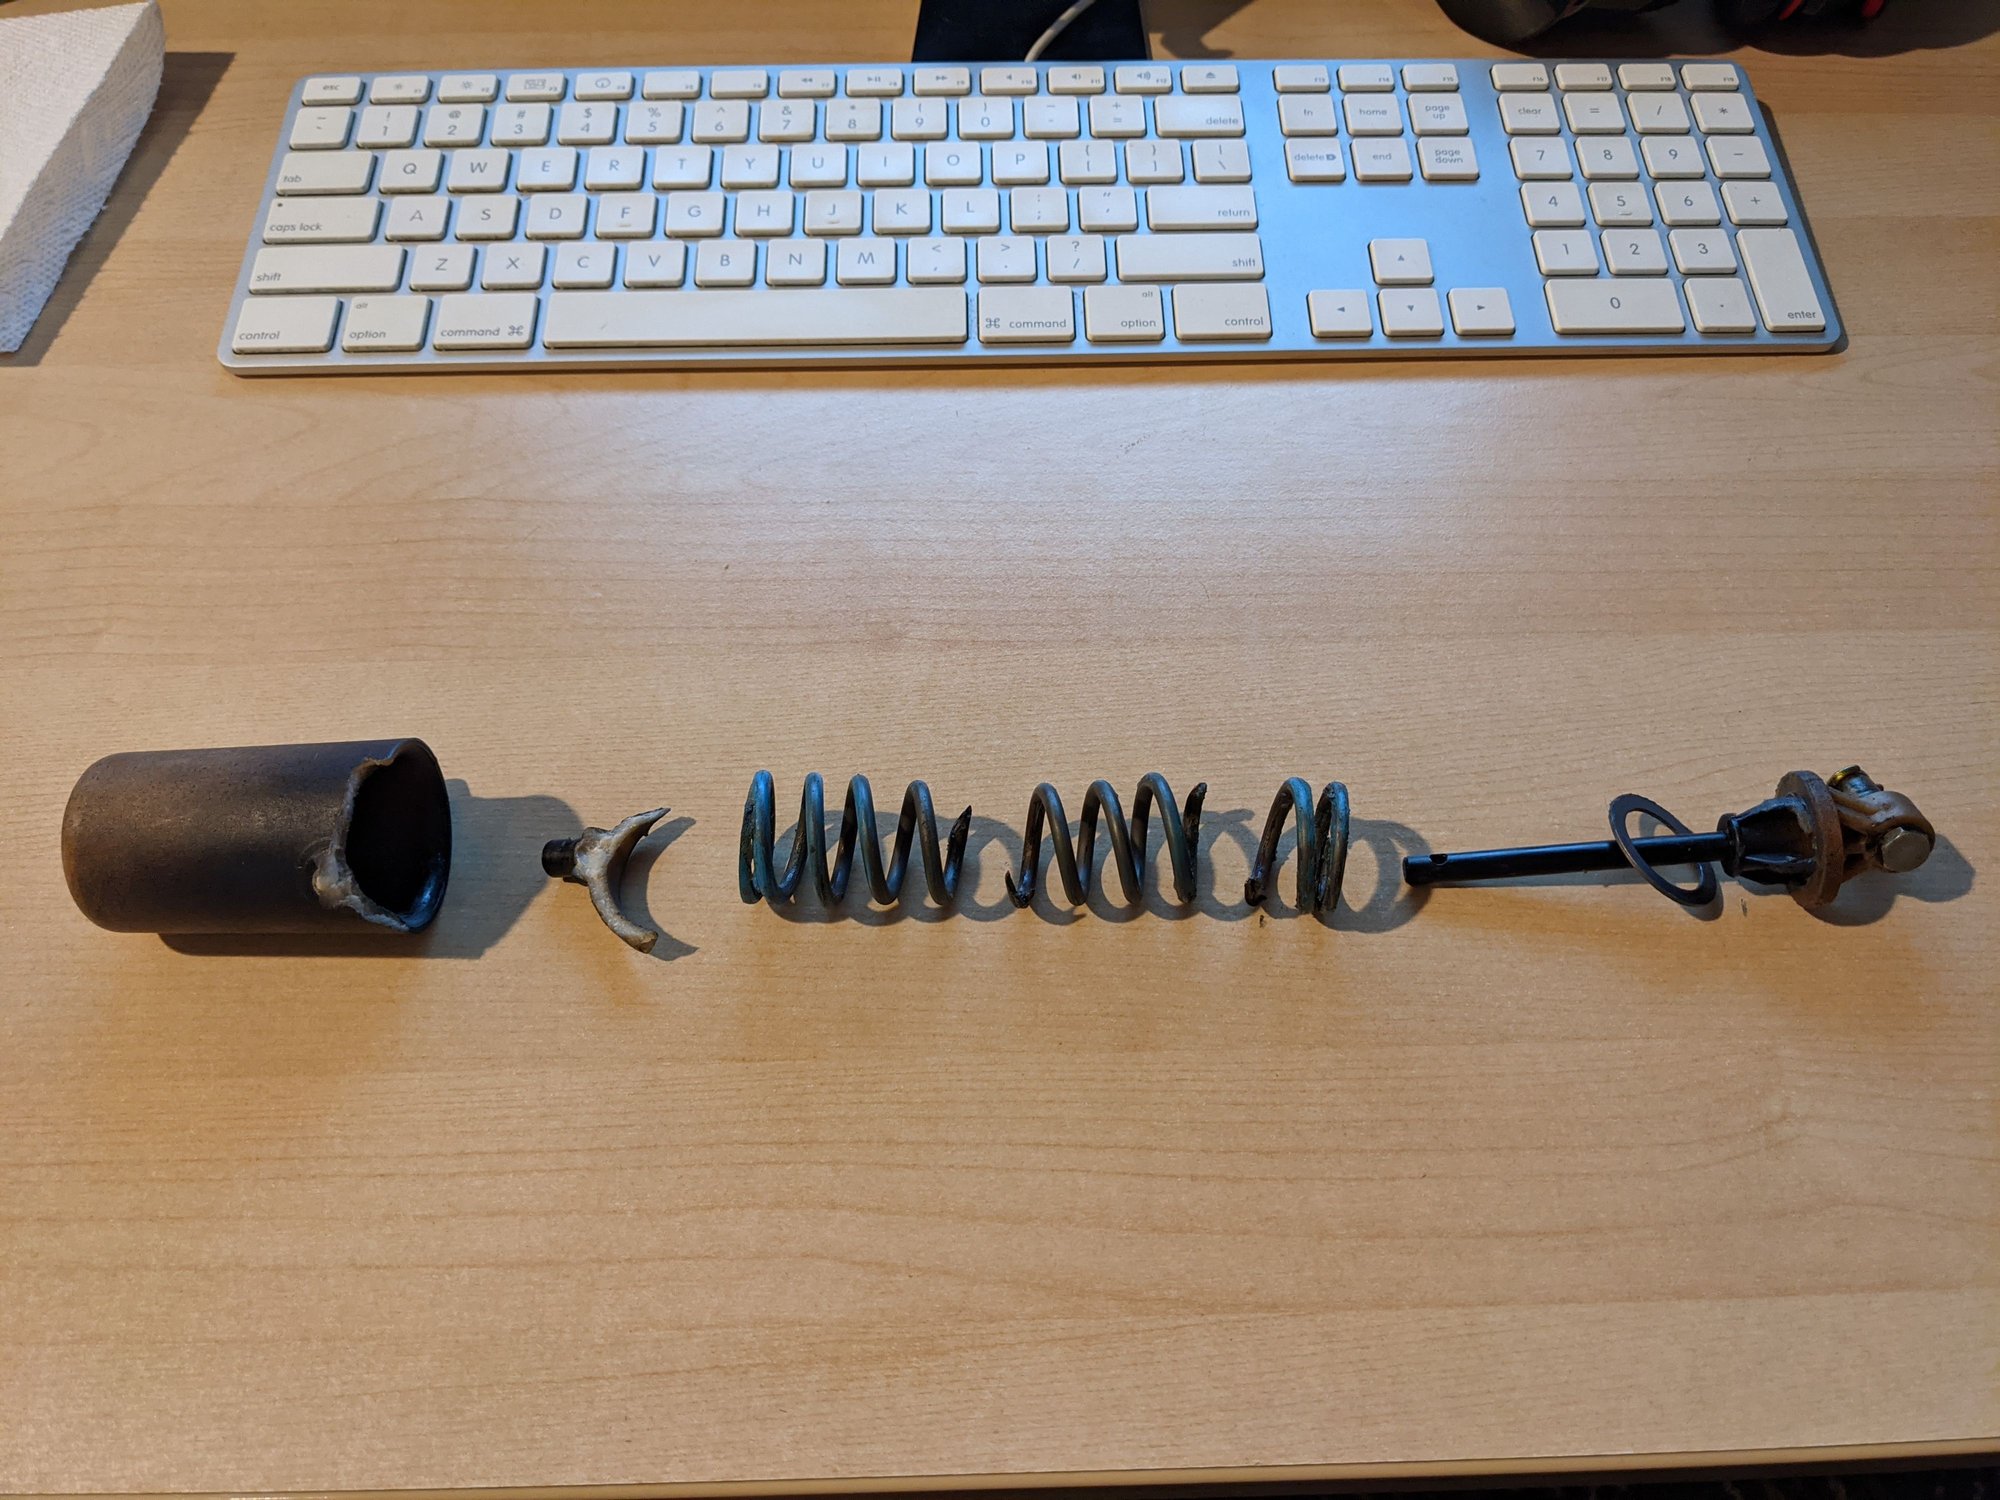
Heavy Clutch - I think I mentioned that my clutch had a very heavy feeling - very race car like. I had several theories, one being previous owner removed the power spring, another being some sort of stage 1 / GT style clutch with heavy pressure plate, or clutch and throw out bearing slowly on their way out. Driving around I didn't feel like the clutch was slipping and when upshifting and releasing the clutch quickly I'd hear the thud of the disc grabbing so I felt like that wasn't the case. I did see the housing of the power spring installed but it looked loose. I thought that maybe it was left there and just the spring was removed. The pedal also had a bit of slop at the very top. Either way I ordered a new one. Last night I went for a brief drive and during a full throttle acceleration and shifting from 2nd to 3rd I heard a crack during the shift and something fell into the foot well. Below is what I found. Spring in 3 pieces explains why the part wasn't working and the broken plastic tab is what broke during the shift as the part was loose and not seated properly. Hopefully the replacement will restore the light pedal feel.
Oil Service - this was super easy. I used DT40, OEM filter and LN magnetic plug. I cut the filter open and didn't see anything besides a few tiny specs of aluminum (checked with a magnet) and a tiny speck of what looked like plastic. Very minor and nothing that had me concerned. Obviously the dip stick reading is superior to the onboard computer but it seems like those readings are all over the place and that the car is super sensitive to not being on a perfectly level surface. Correct me if I'm wrong but I've read somewhere that there were some minor variations in oil capacity over the production years when doing oil/filter change? I'm at full 9 quarts and reading about 60% - 70% on the dipstick. No leaks anywhere.
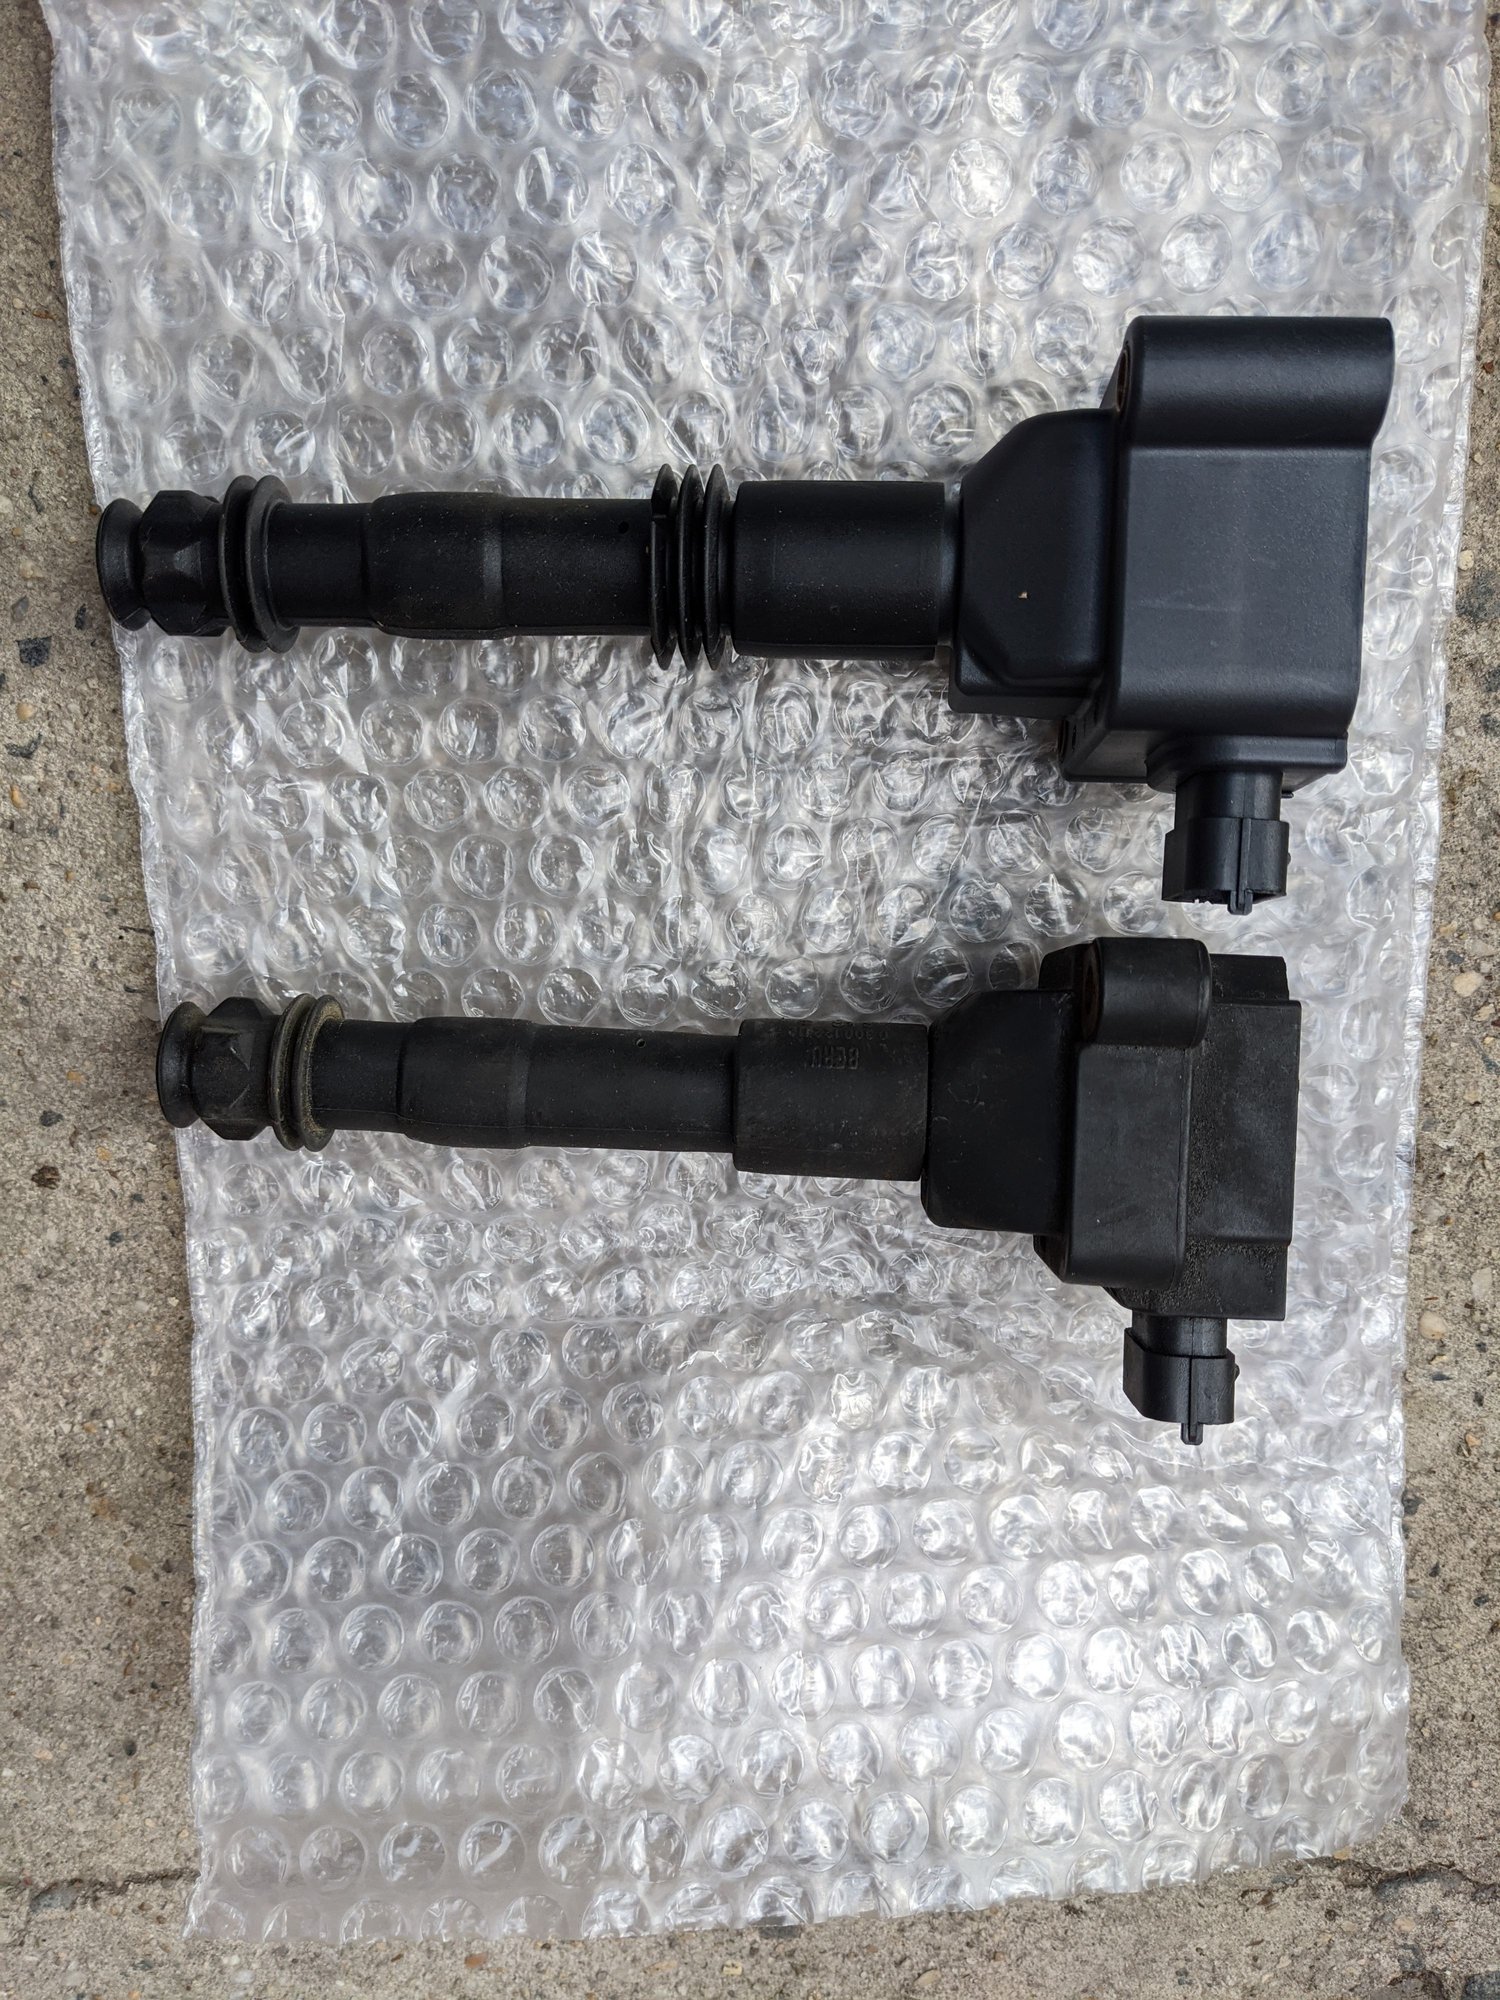
Spark plugs and coils - I had no record of that being done and the coils looked OK but were the original 996 part numbers. As many have suggested, upgrading to the newer 997 chunkier style coils and new plugs was what I did. Because old plugs and potentially failing coils can cause poor fuel economy, misfires and poor performance it was a no brainer when it comes to being proactive.
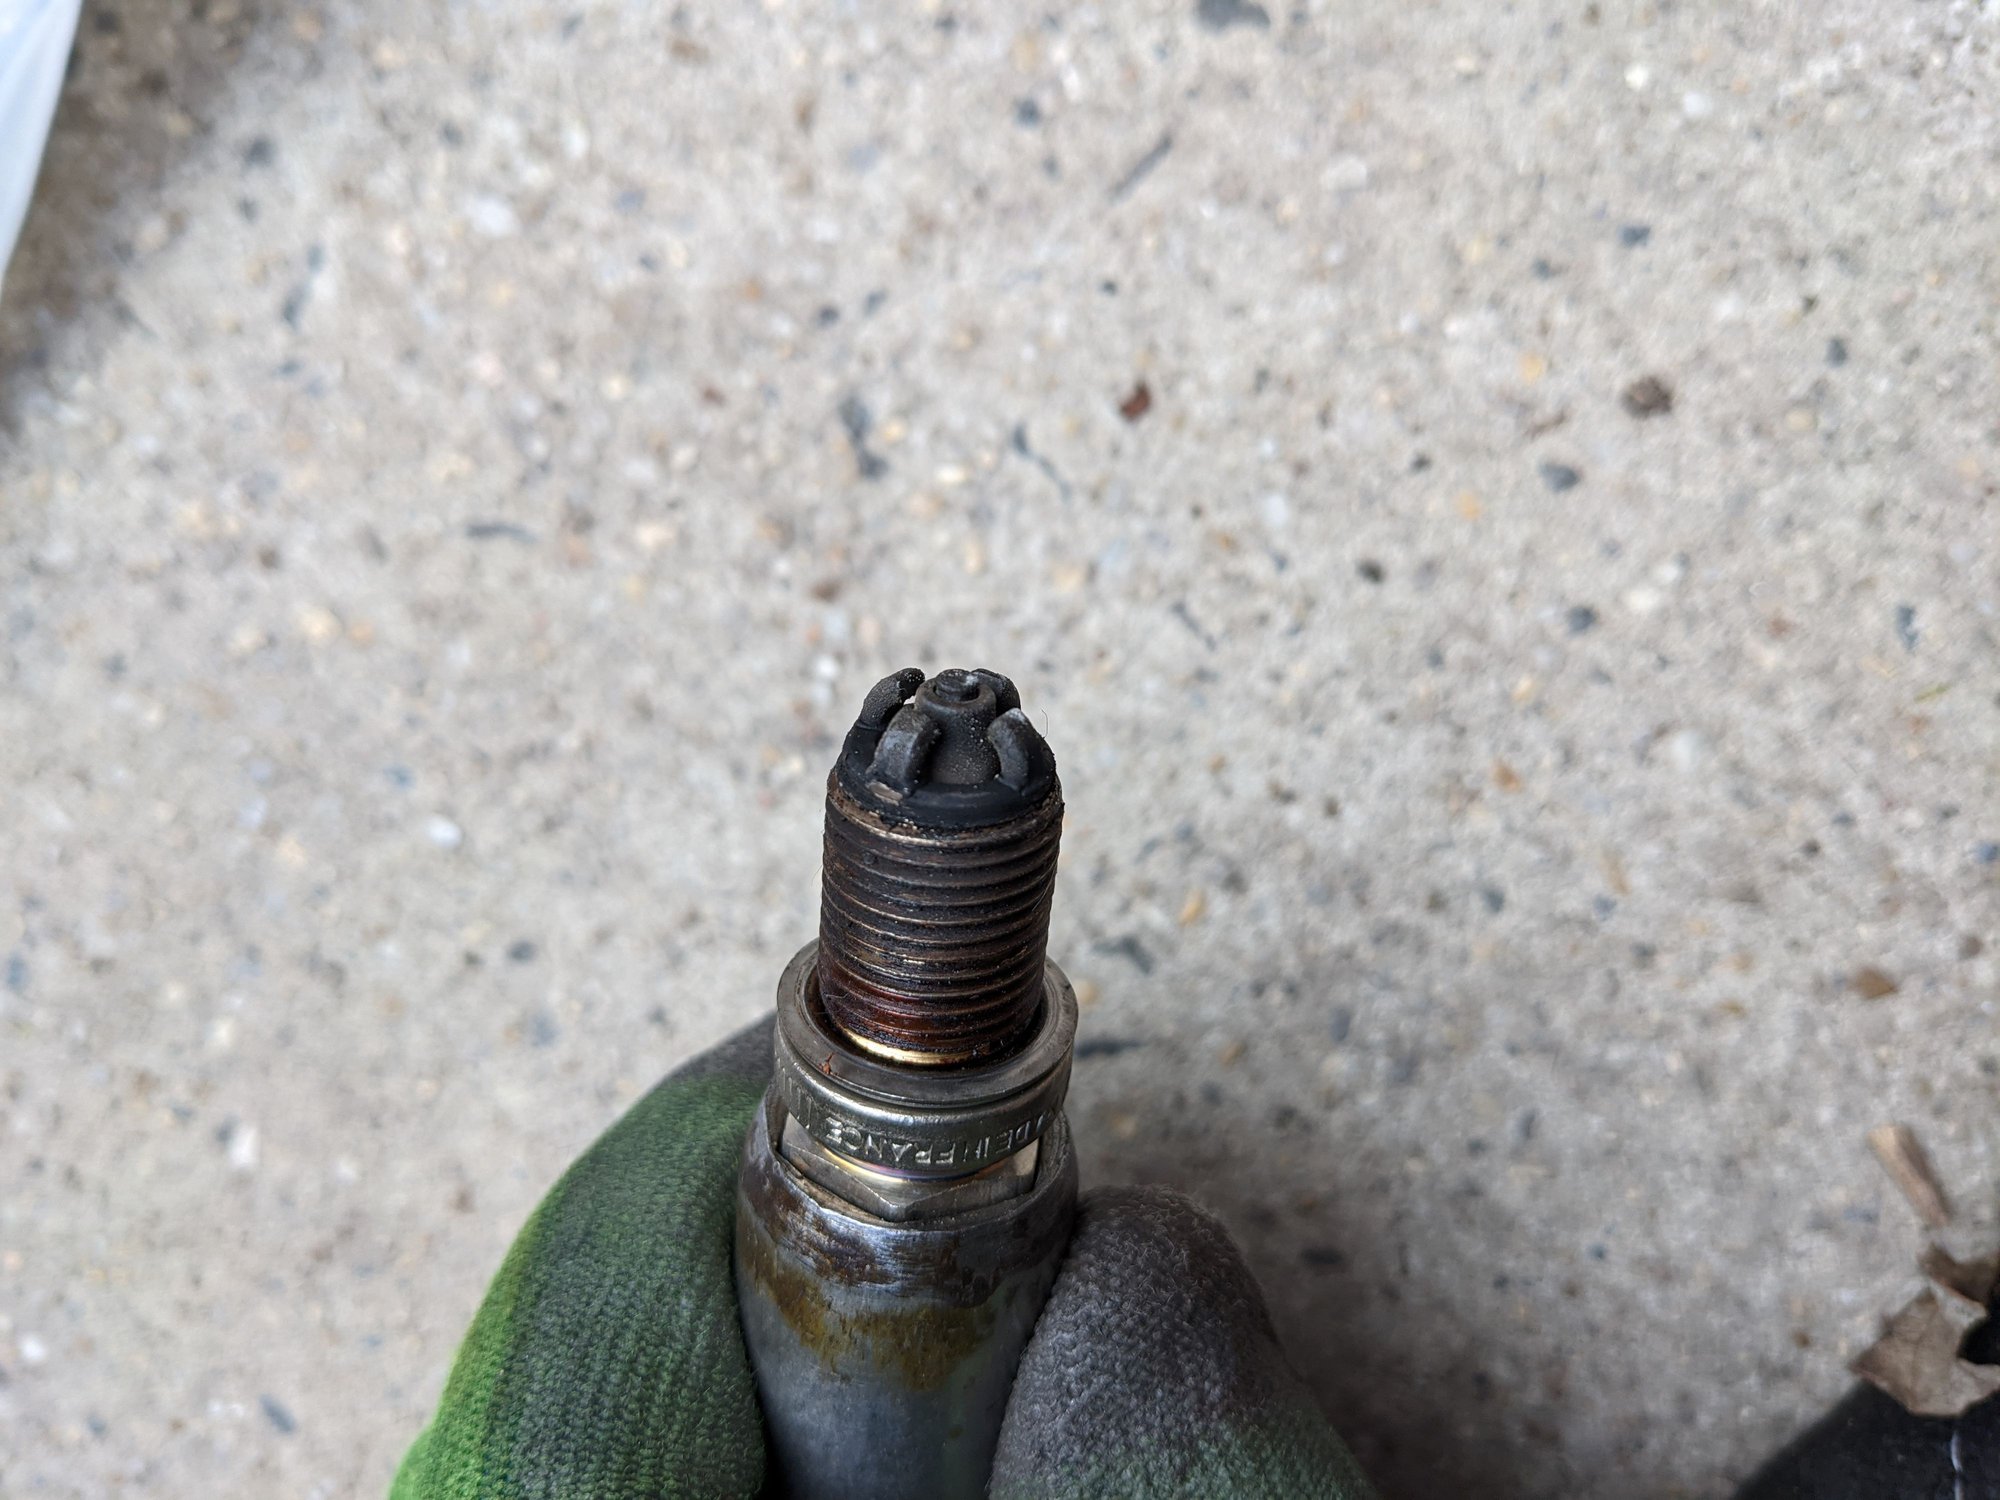
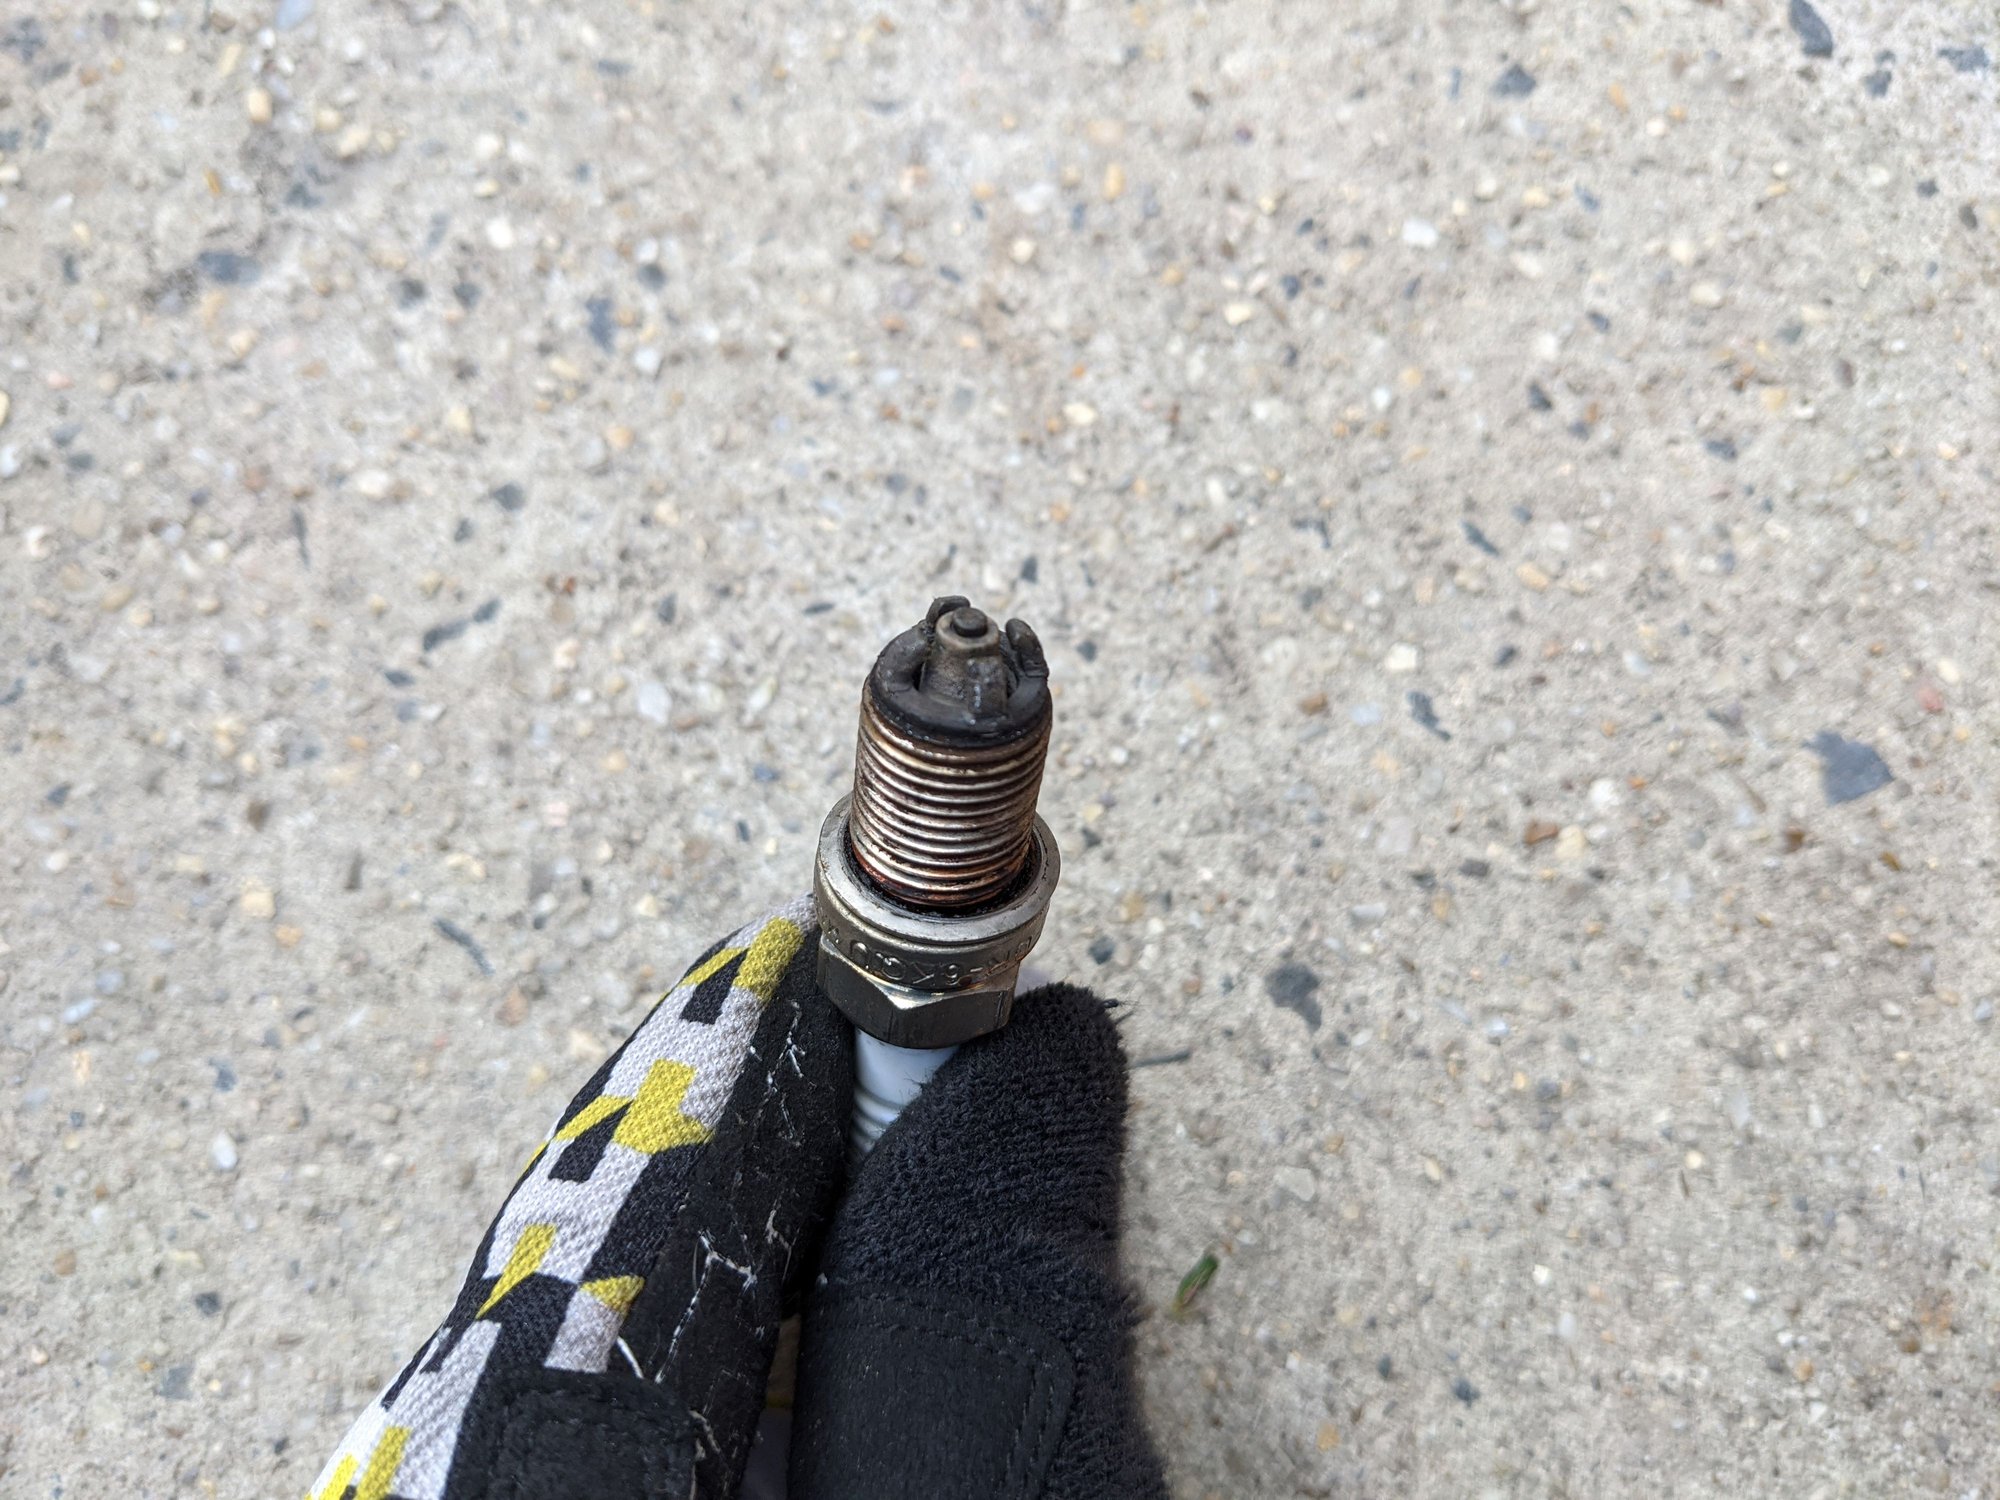
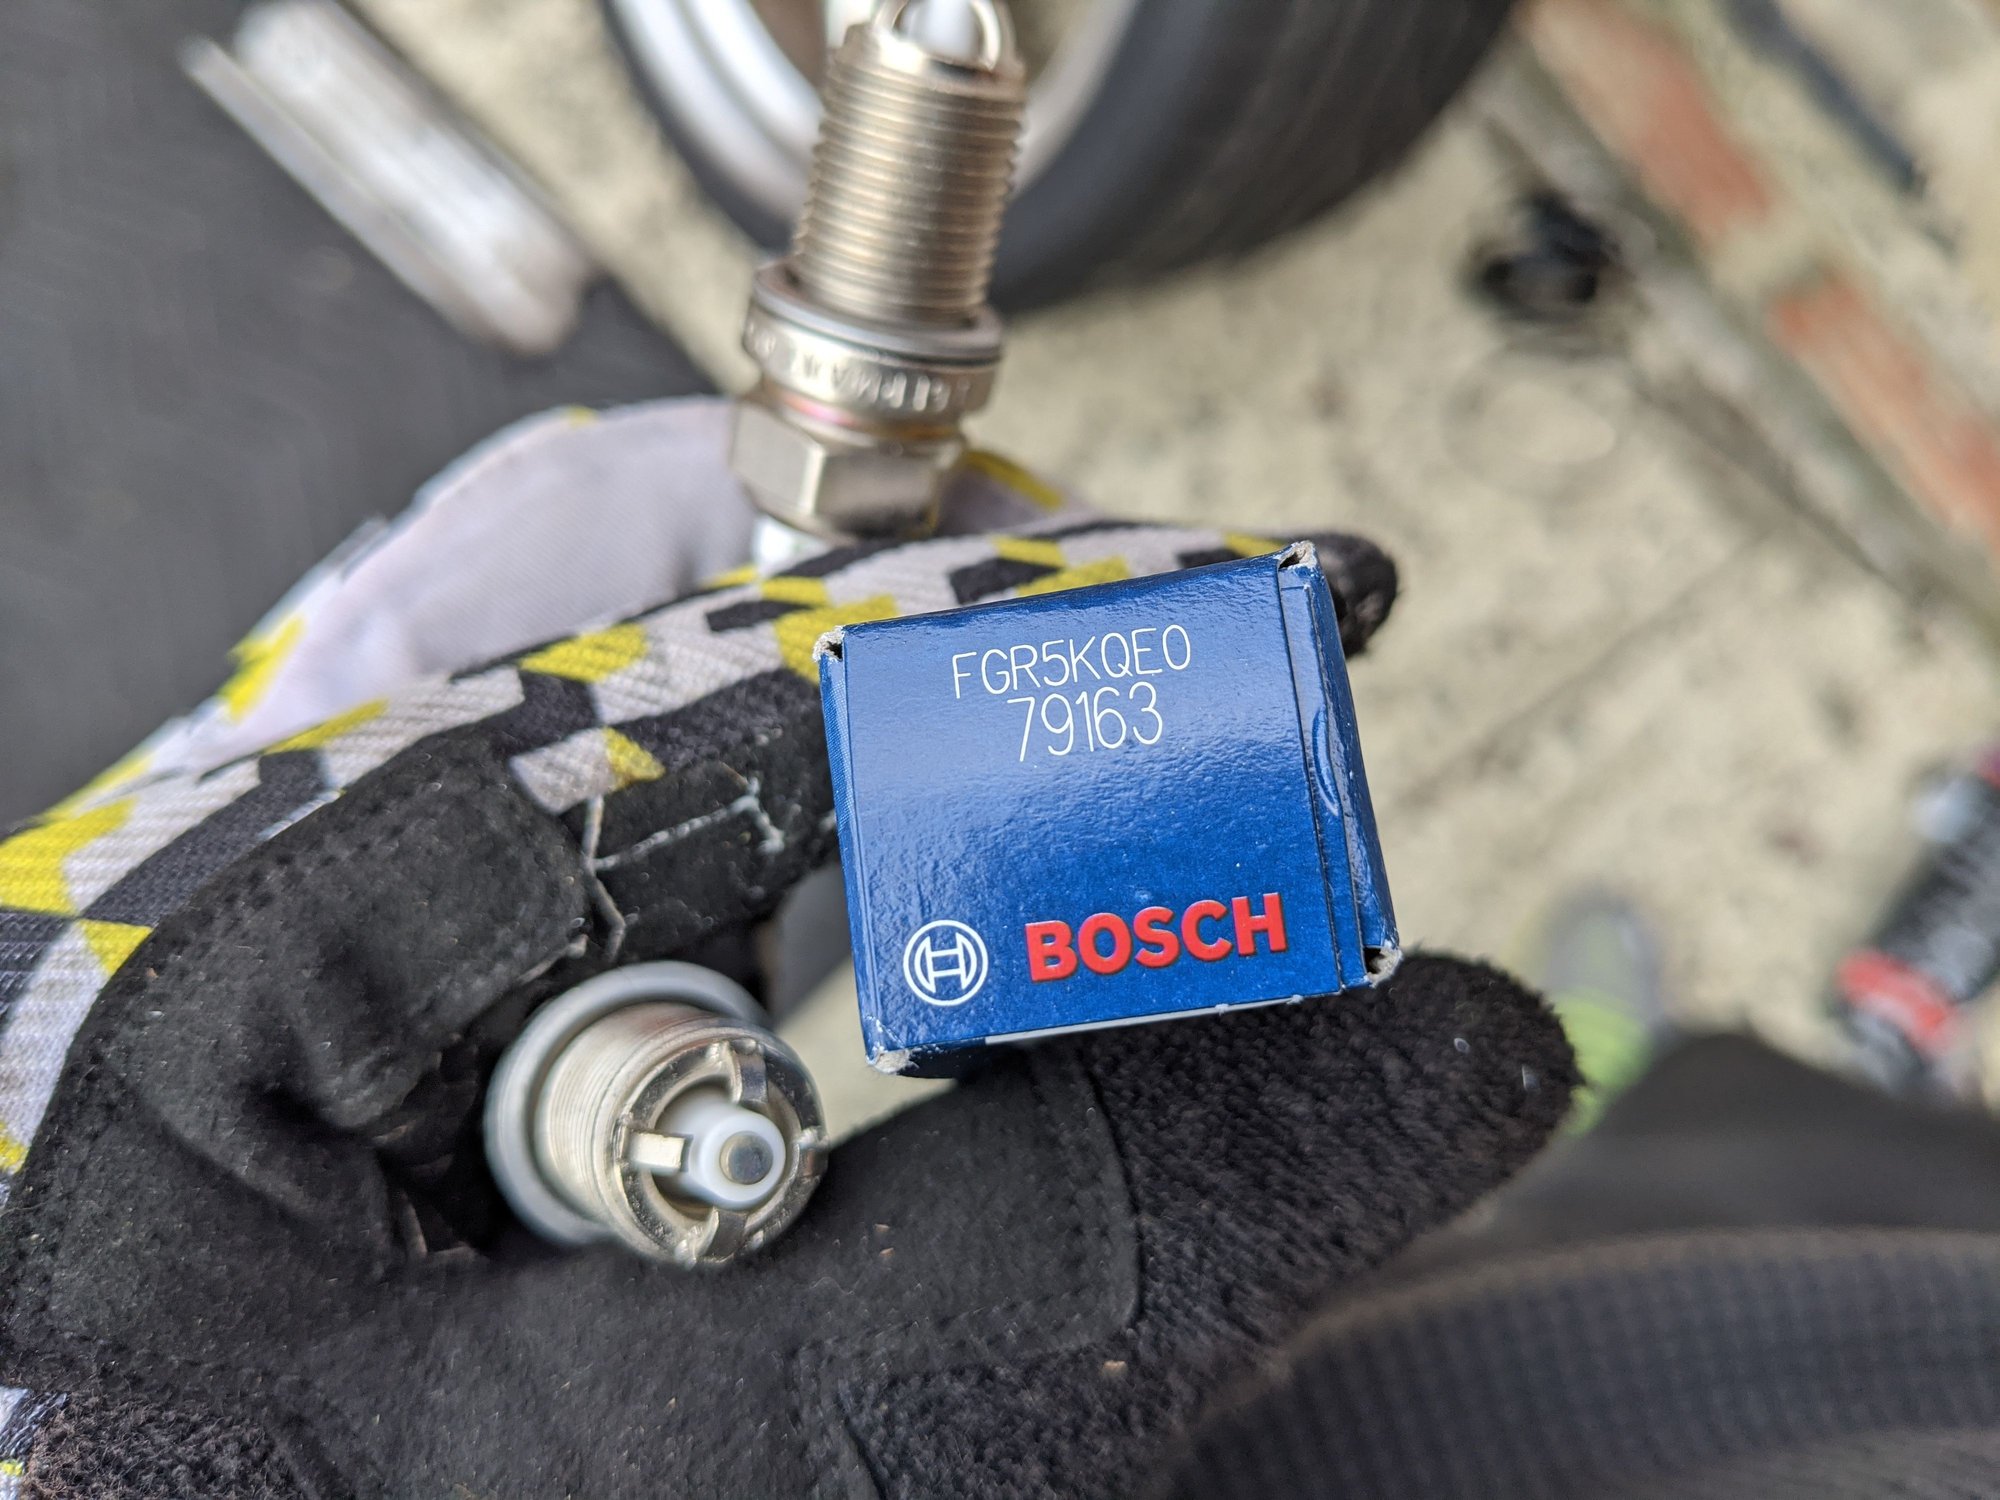
Here is what the old Beru plugs looked like. I did not find any oil on the plugs and they just looked old and covered in carbon deposits. They definitely seen some miles.
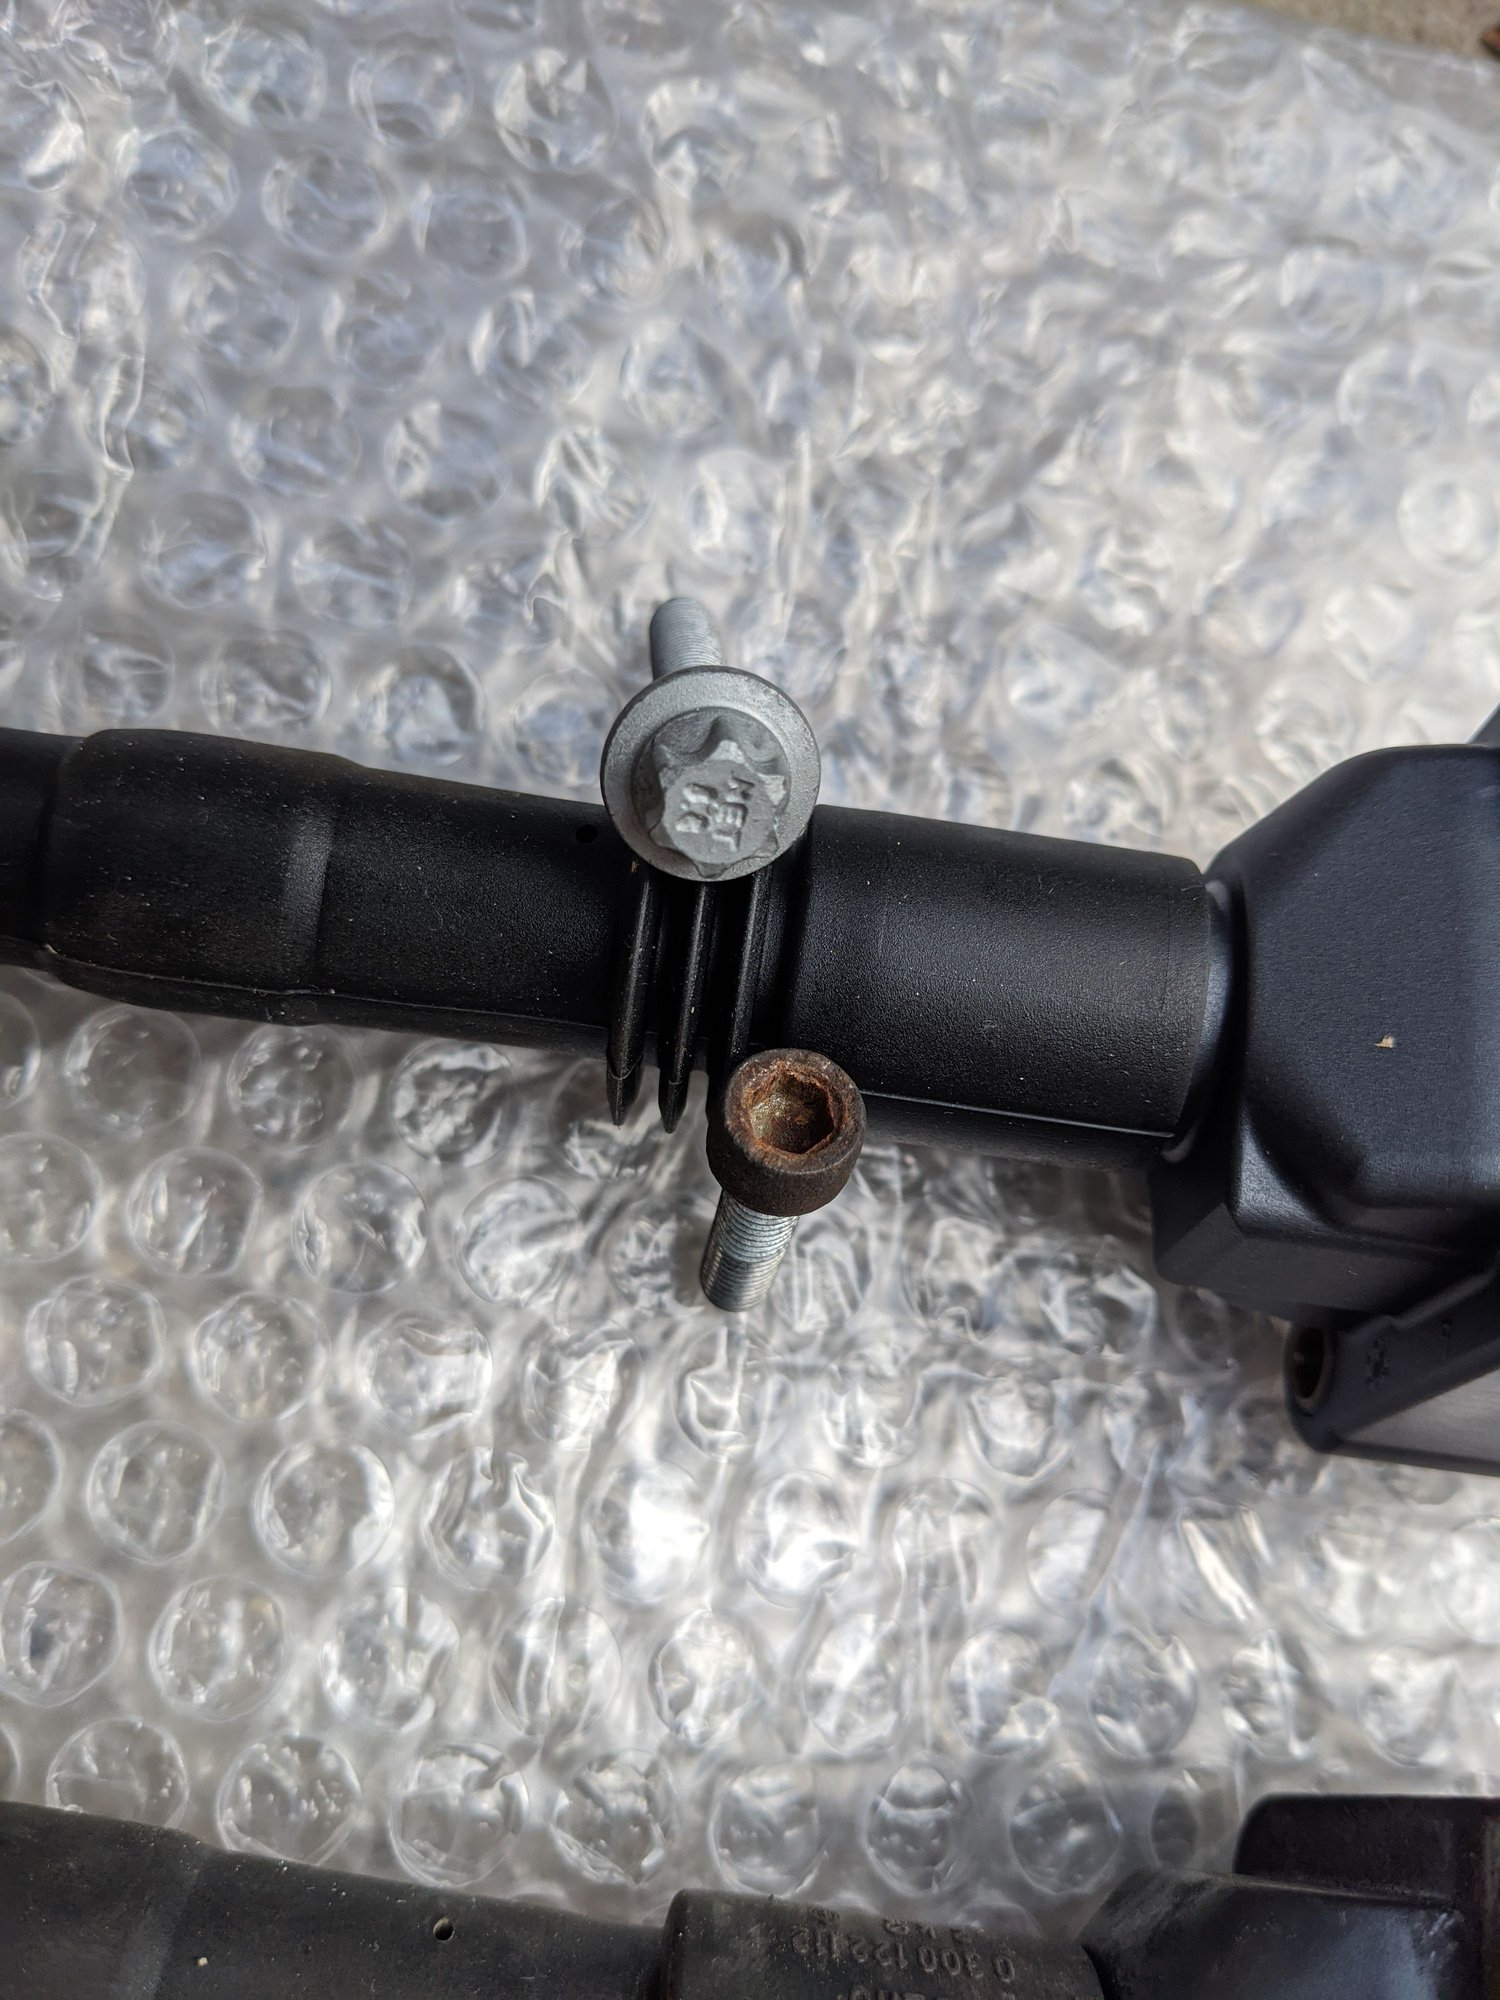
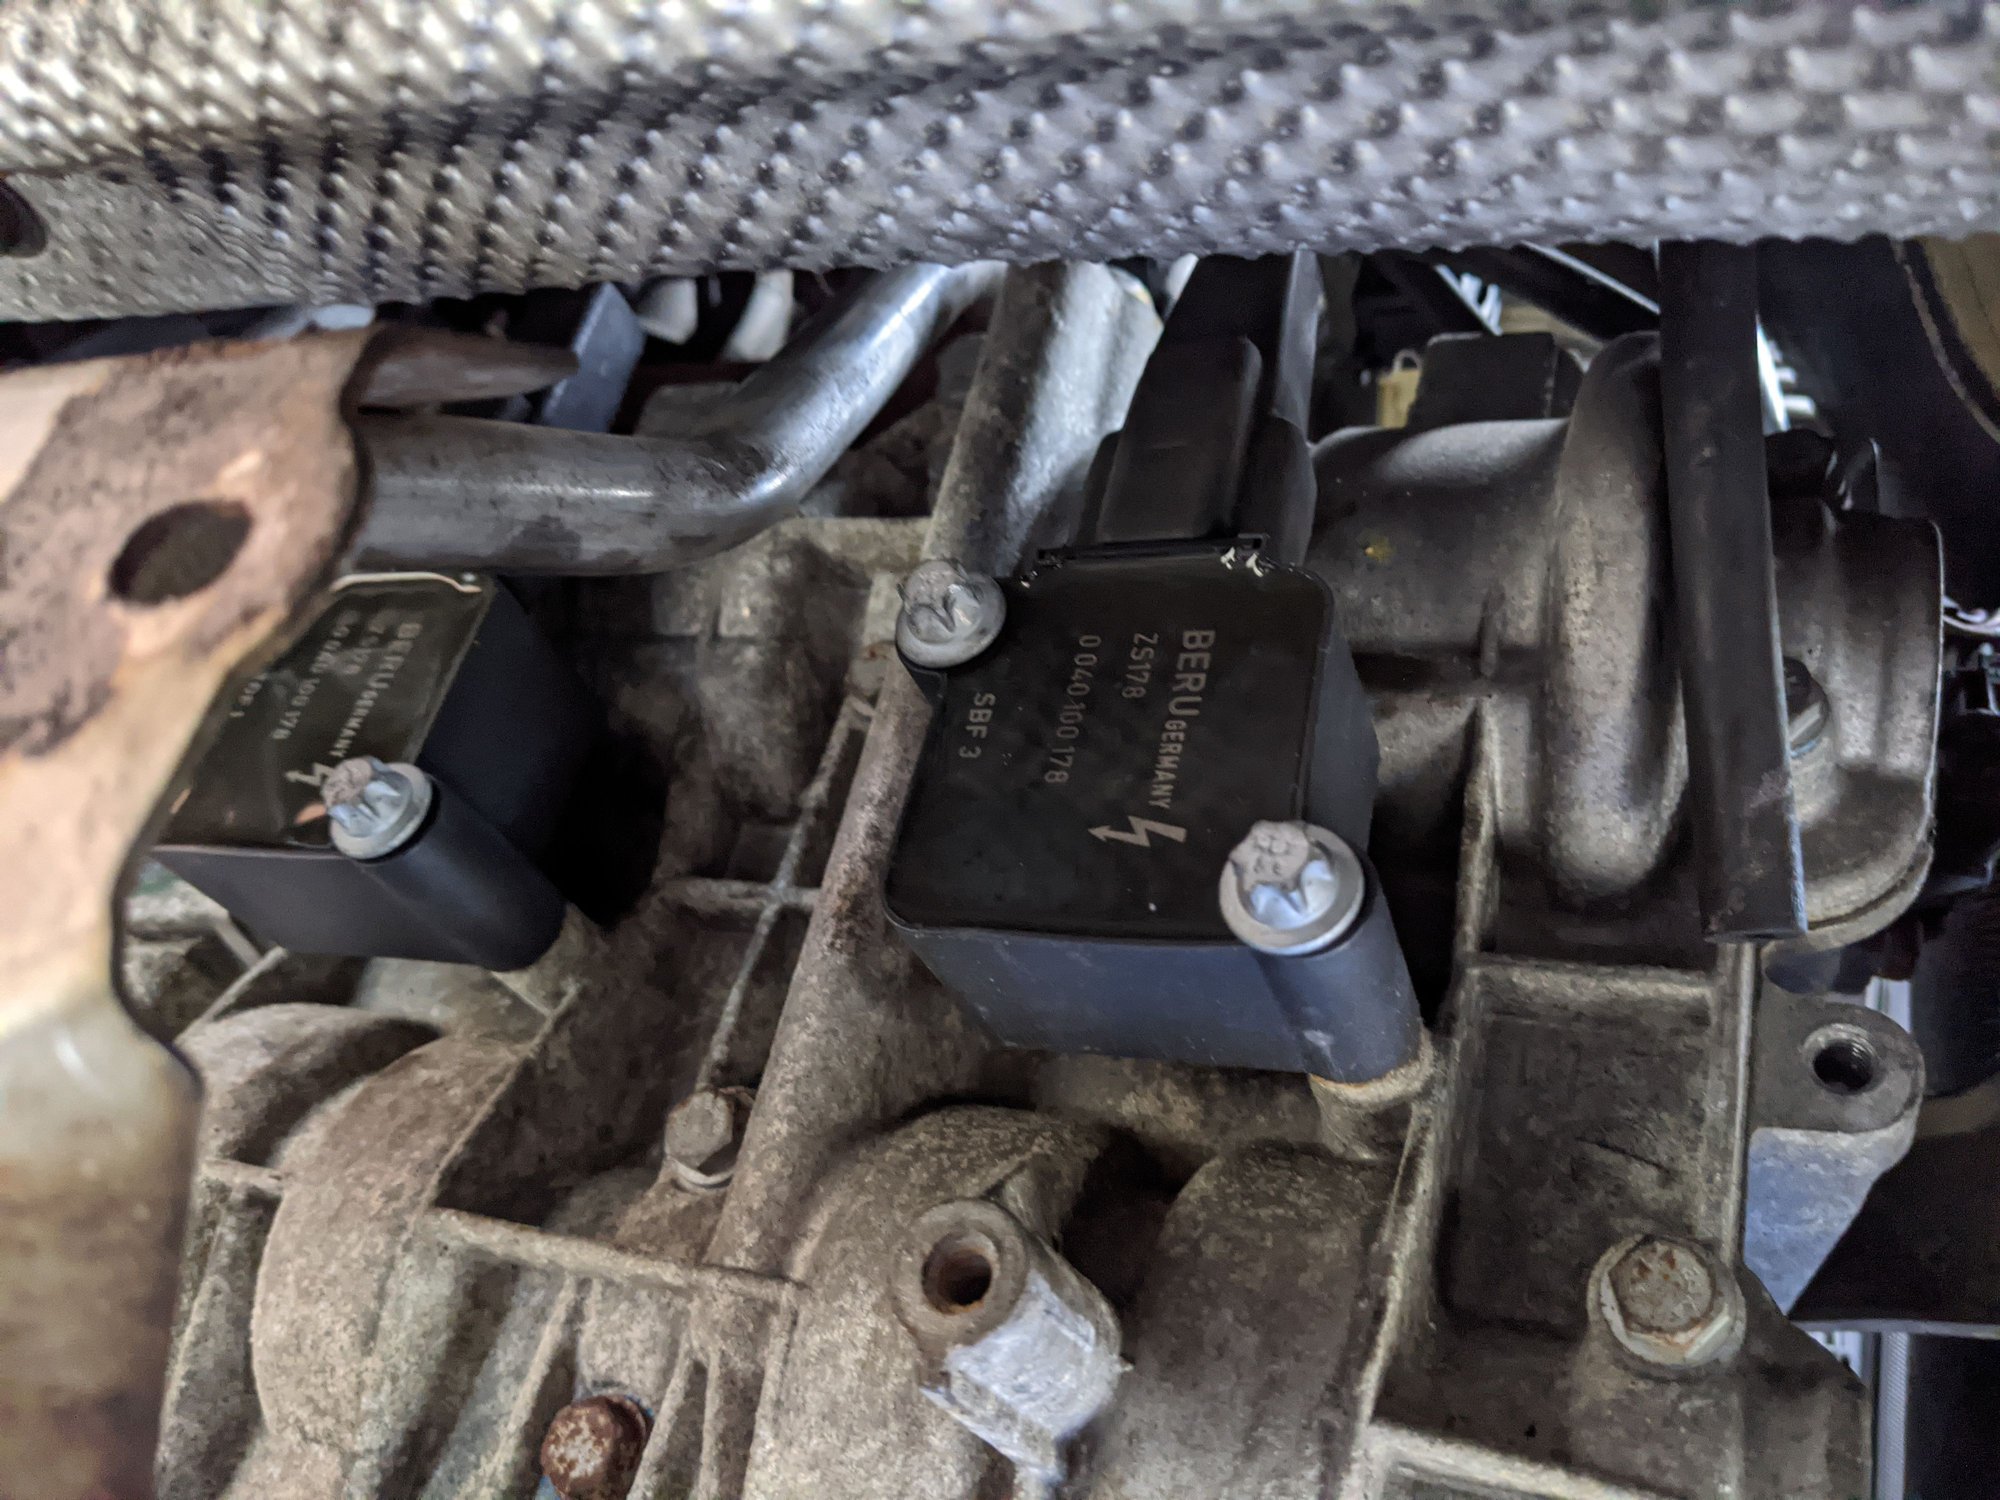
The original coils seemed ok with no cracks but since I'm already here..... Also new longer bolts came with the coils.
New Bosh plugs went in
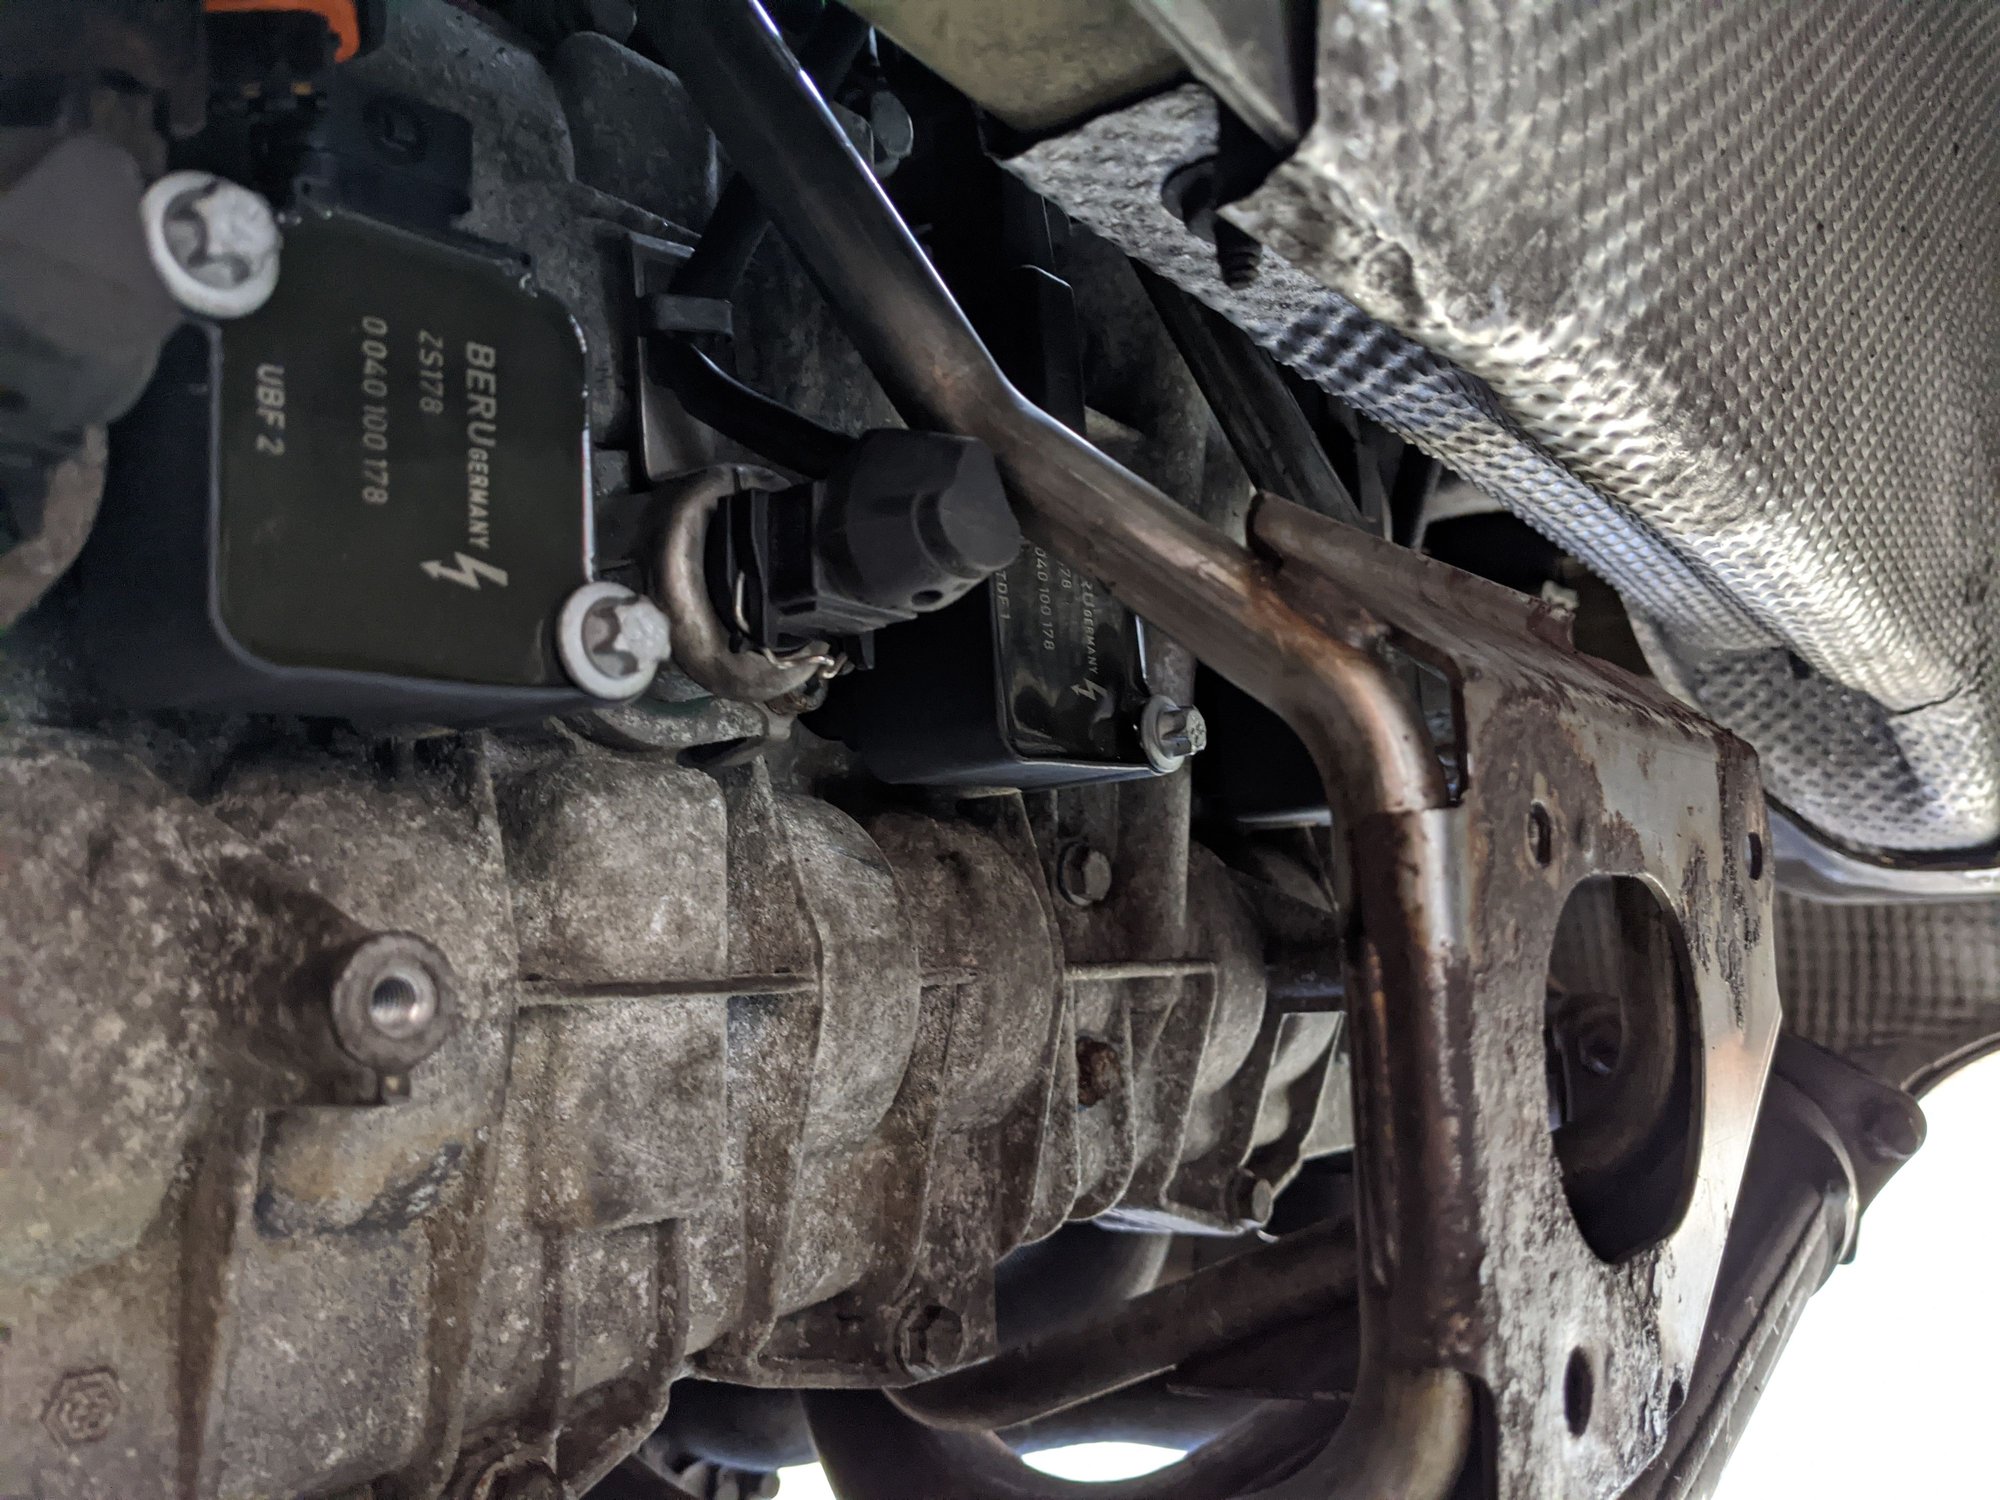
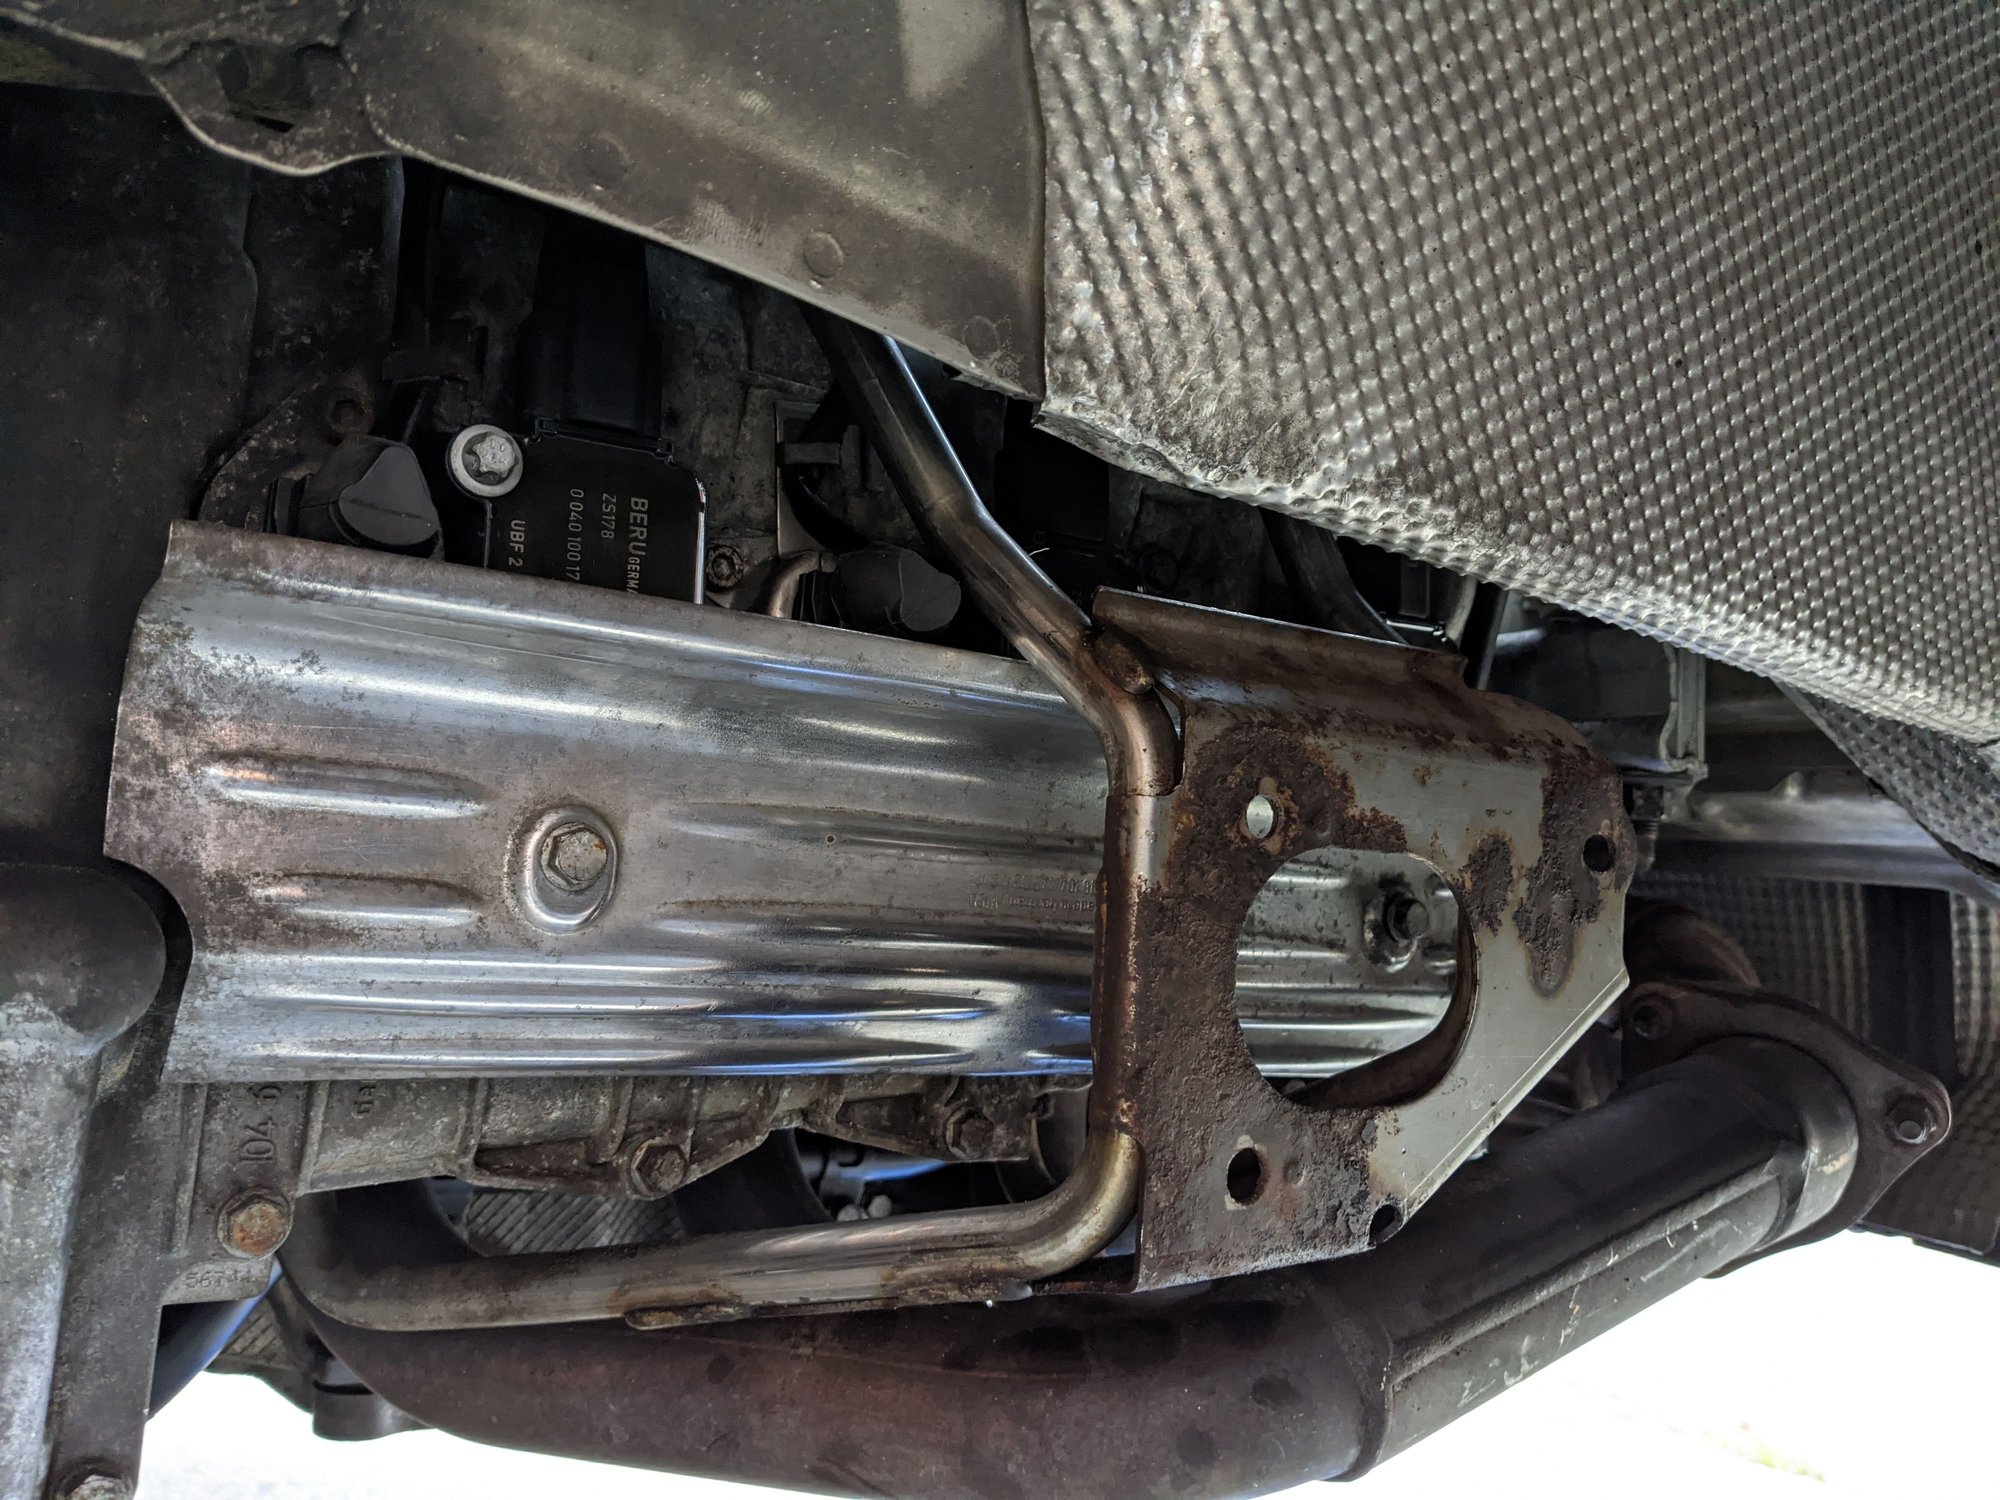
It all came together pretty easily but I will say this, whoever says they can do this whole job without removing the mufflers has hands the size of a 5yo and can bend them in ways that are not natural. There is no way I was able to remove the furthest back coil and plug on both banks without pulling the mufflers. Luckily, that wasn't too bad after soaking all bolts with some PB Blaster. Nothing broke and I had a pleasant surprise. Looks like one of the past owners did the Fister/Gundo mod! Didn't look too pretty but the car sounds fantastic. Also, the stock heat shields clear the new coils just fine.
I'd love to remove all that rust on those mounting brackets. Any tips other then just grinding it away with a drill and some sort of attachment? I'd probably want to replace the bolts holding the mufflers in place as rust got them too. They all came loose but they are not getting any better.
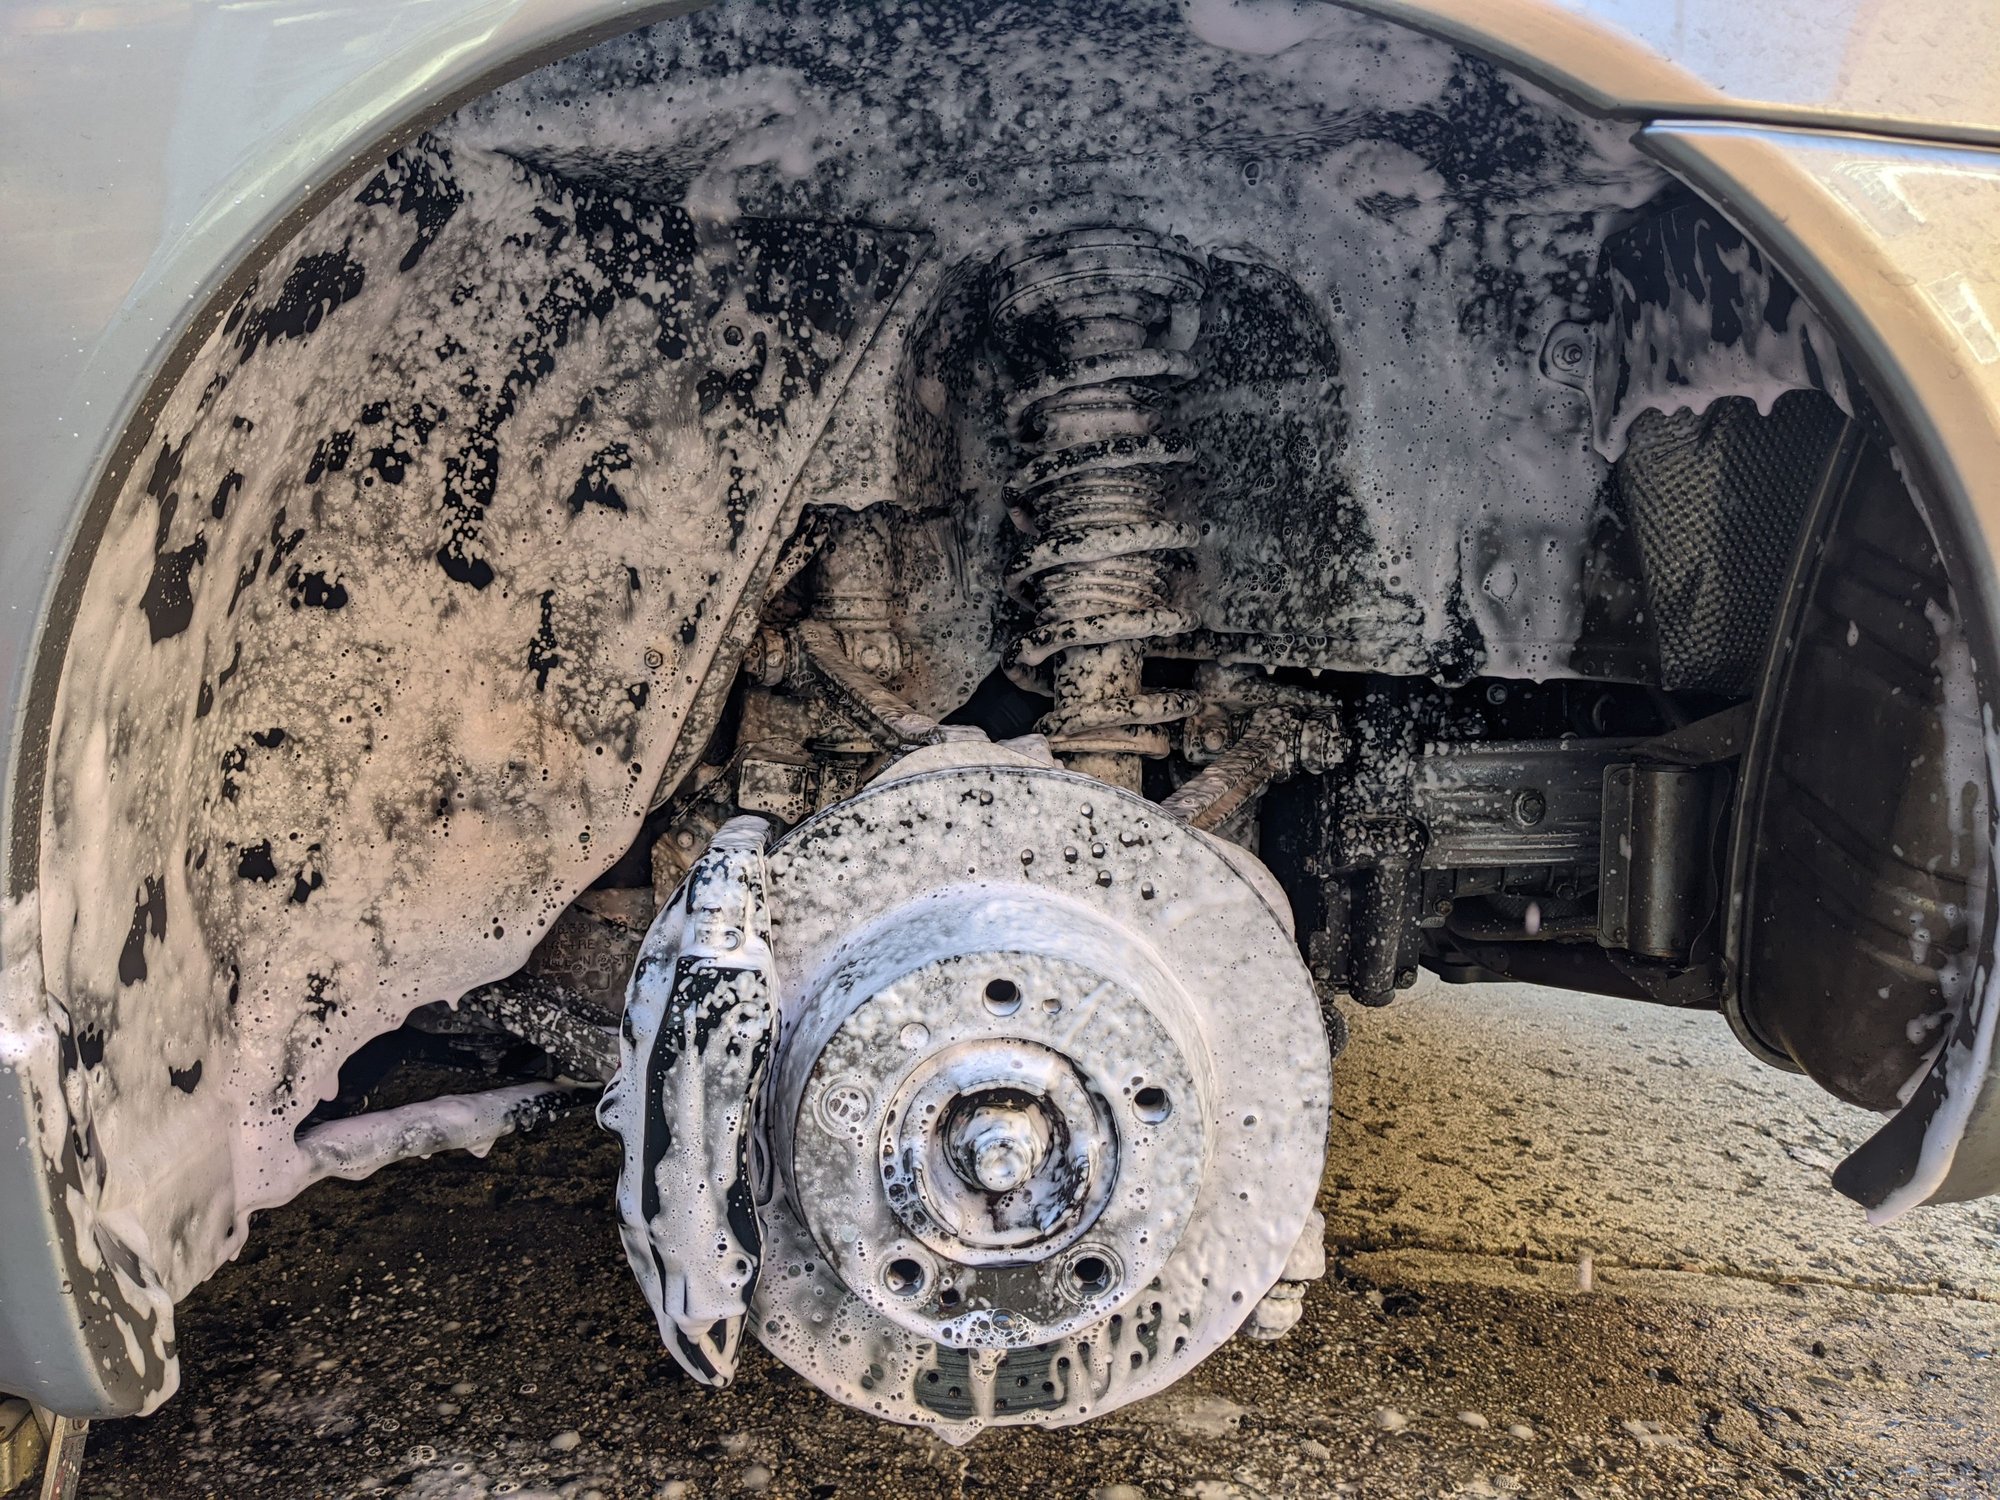
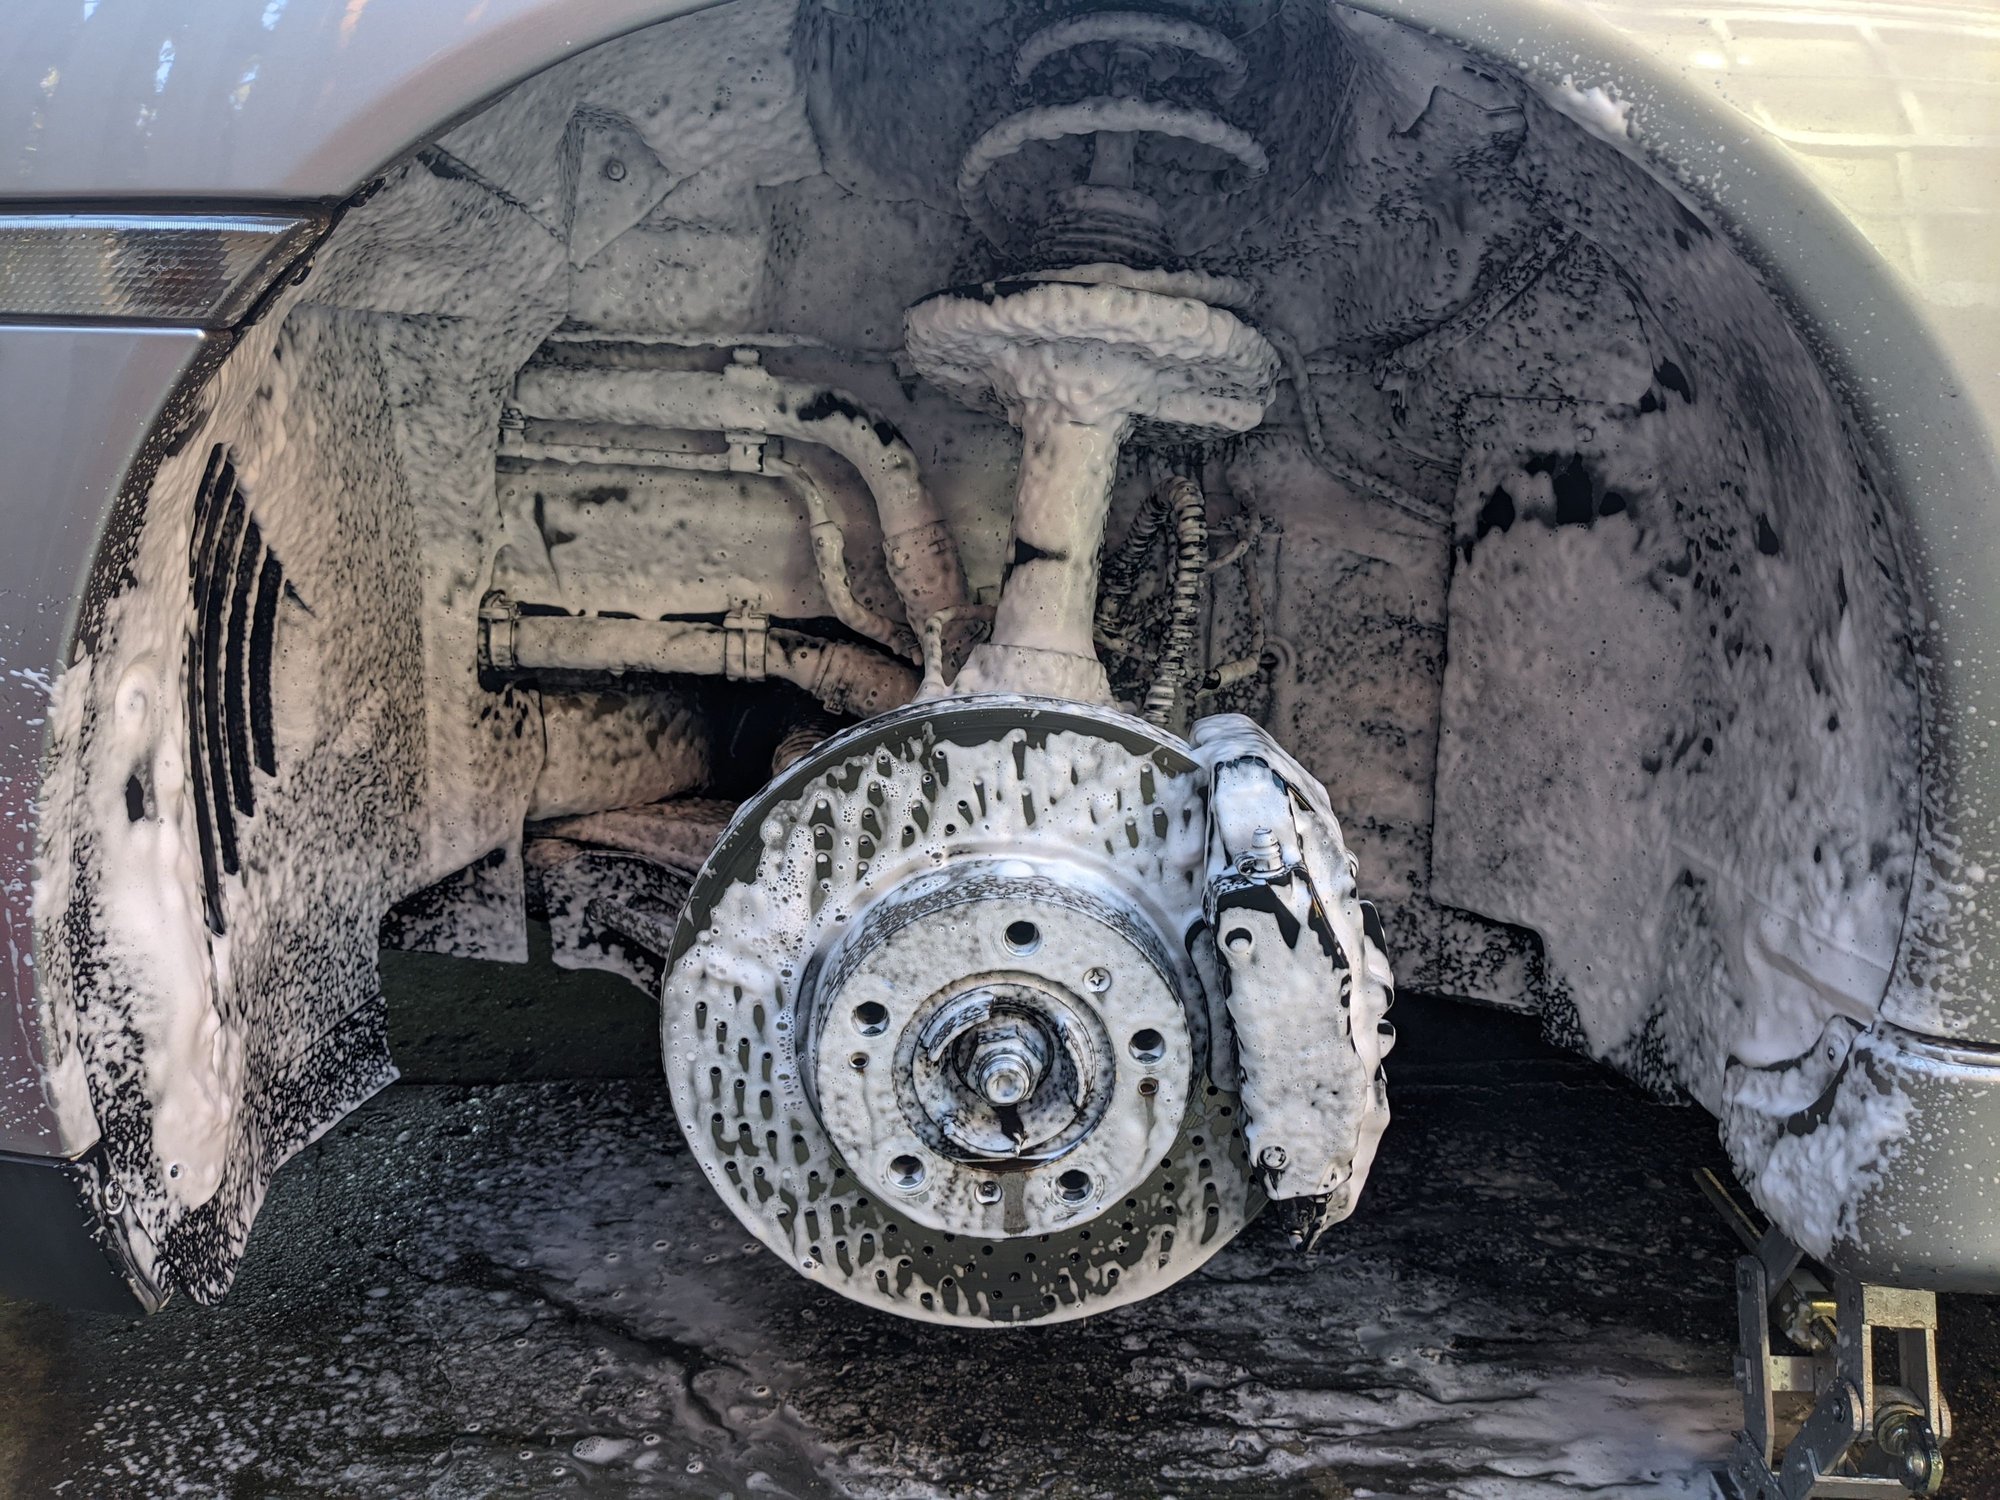
Wheels off cleaning - Come spring, the car will receive a full 3 stage paint correction and ceramic coating and with limited space and time it will have to wait till then. In mean time it's gotten a regular clay bar and wash but since I like to let my OCD run wild sometimes I decided to take advantage of the 70's in November and give the wheel wells some love. Cue IK foamer, Brake Buster, wheel cleaner with iron remover and a power washer.... This and a six-pack made for a stupidly satisfying afternoon.
I'm testing a particular tire shine on the insides and will report back with some after photos once I see how it does over some miles.
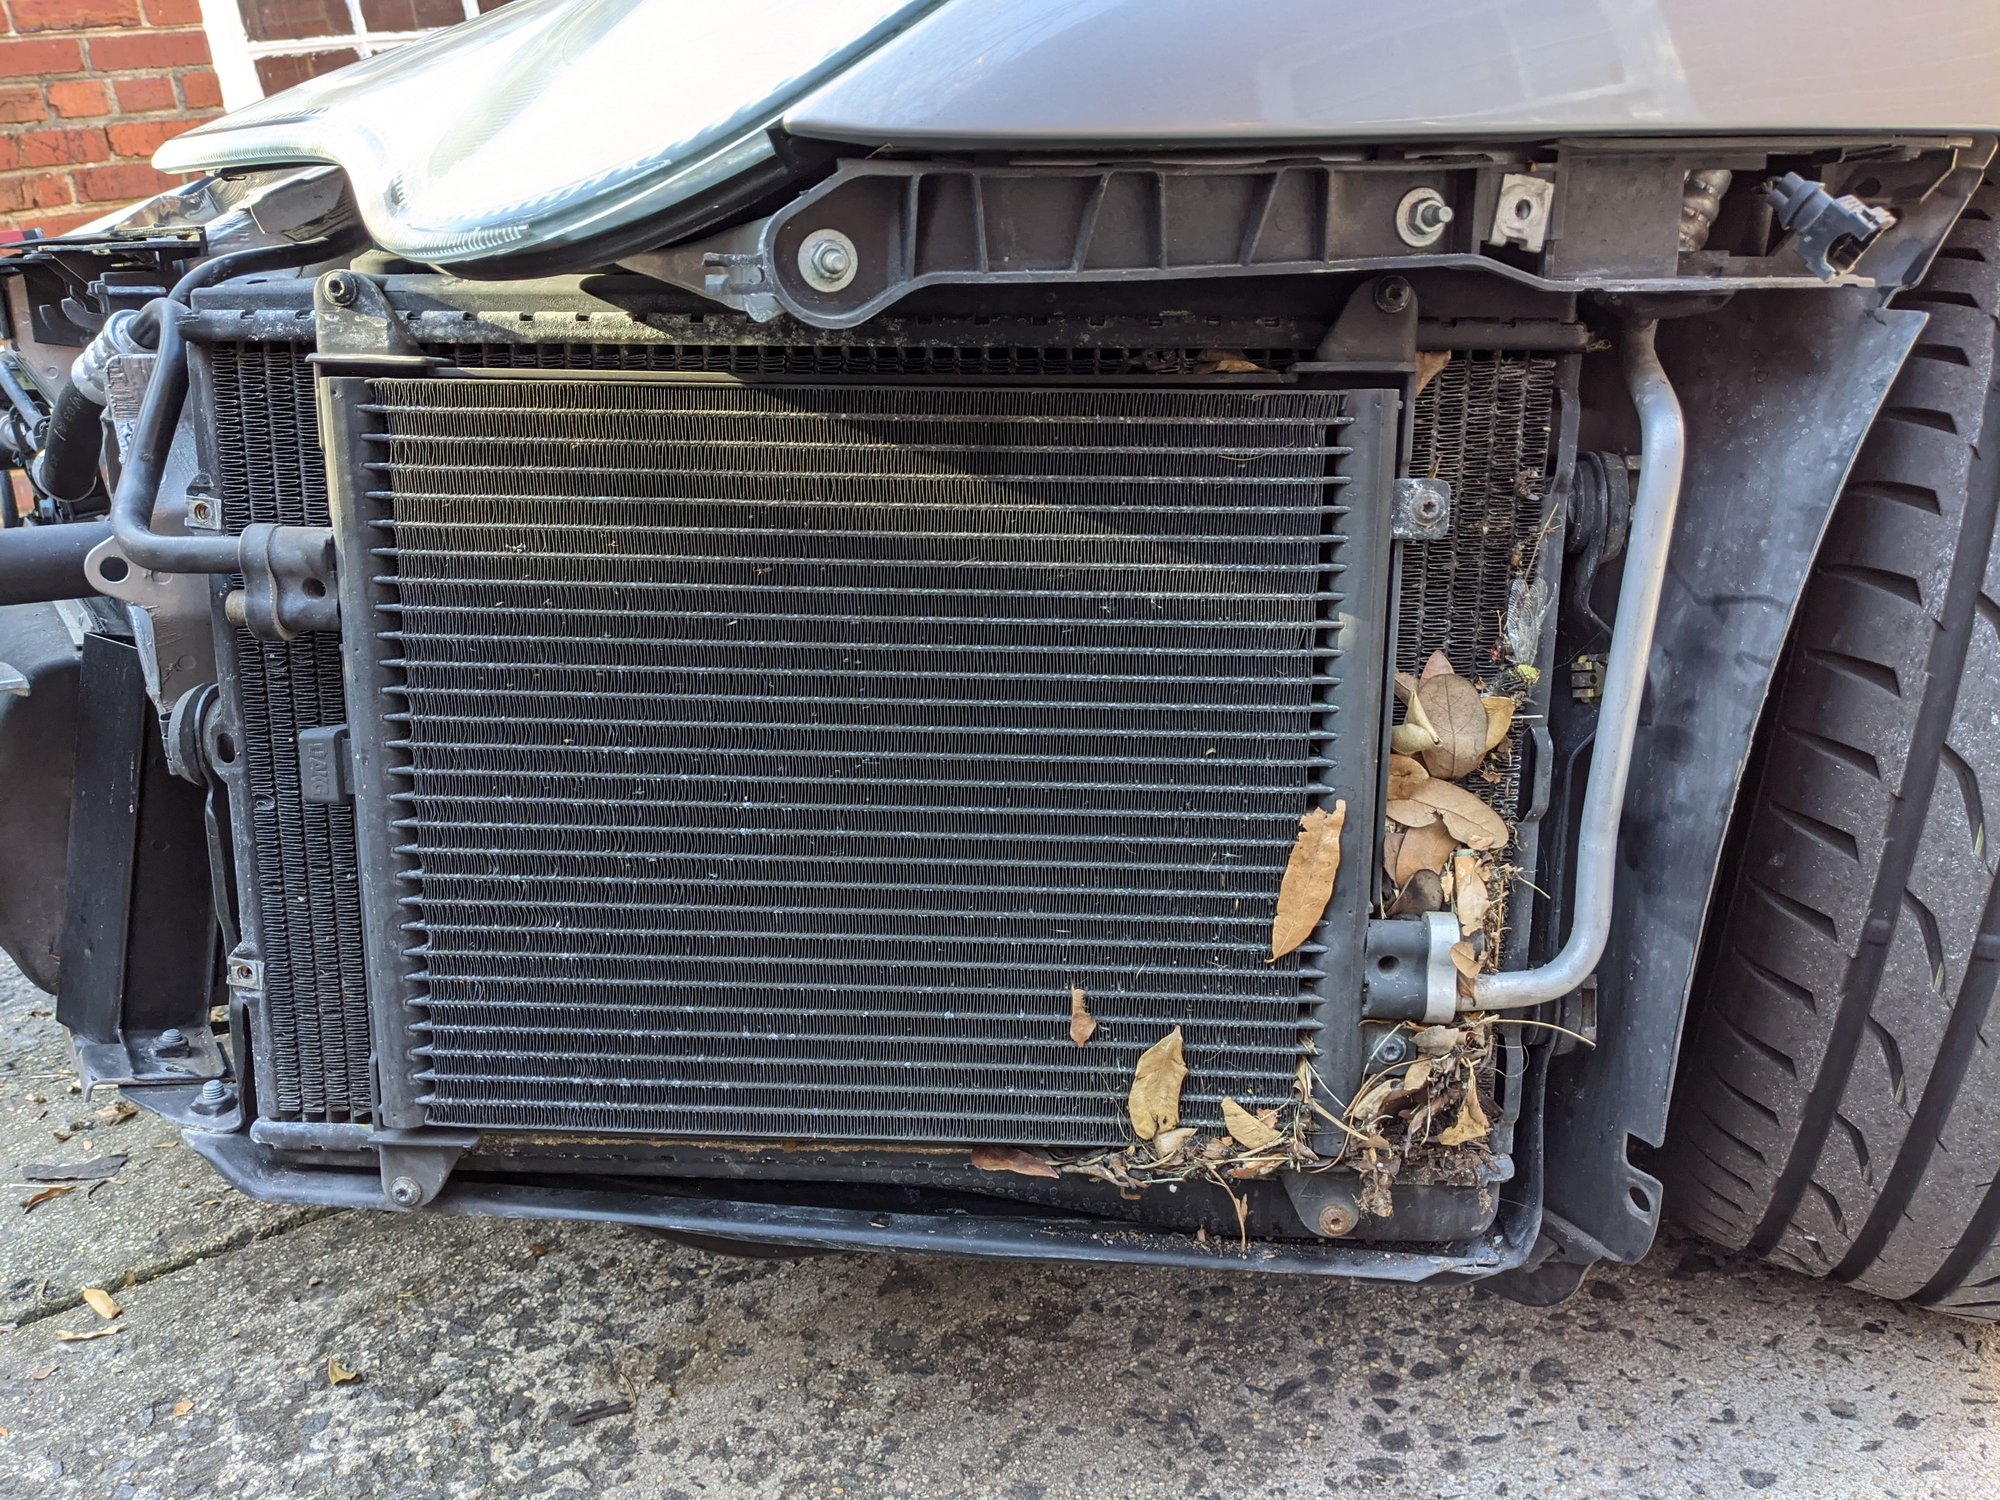
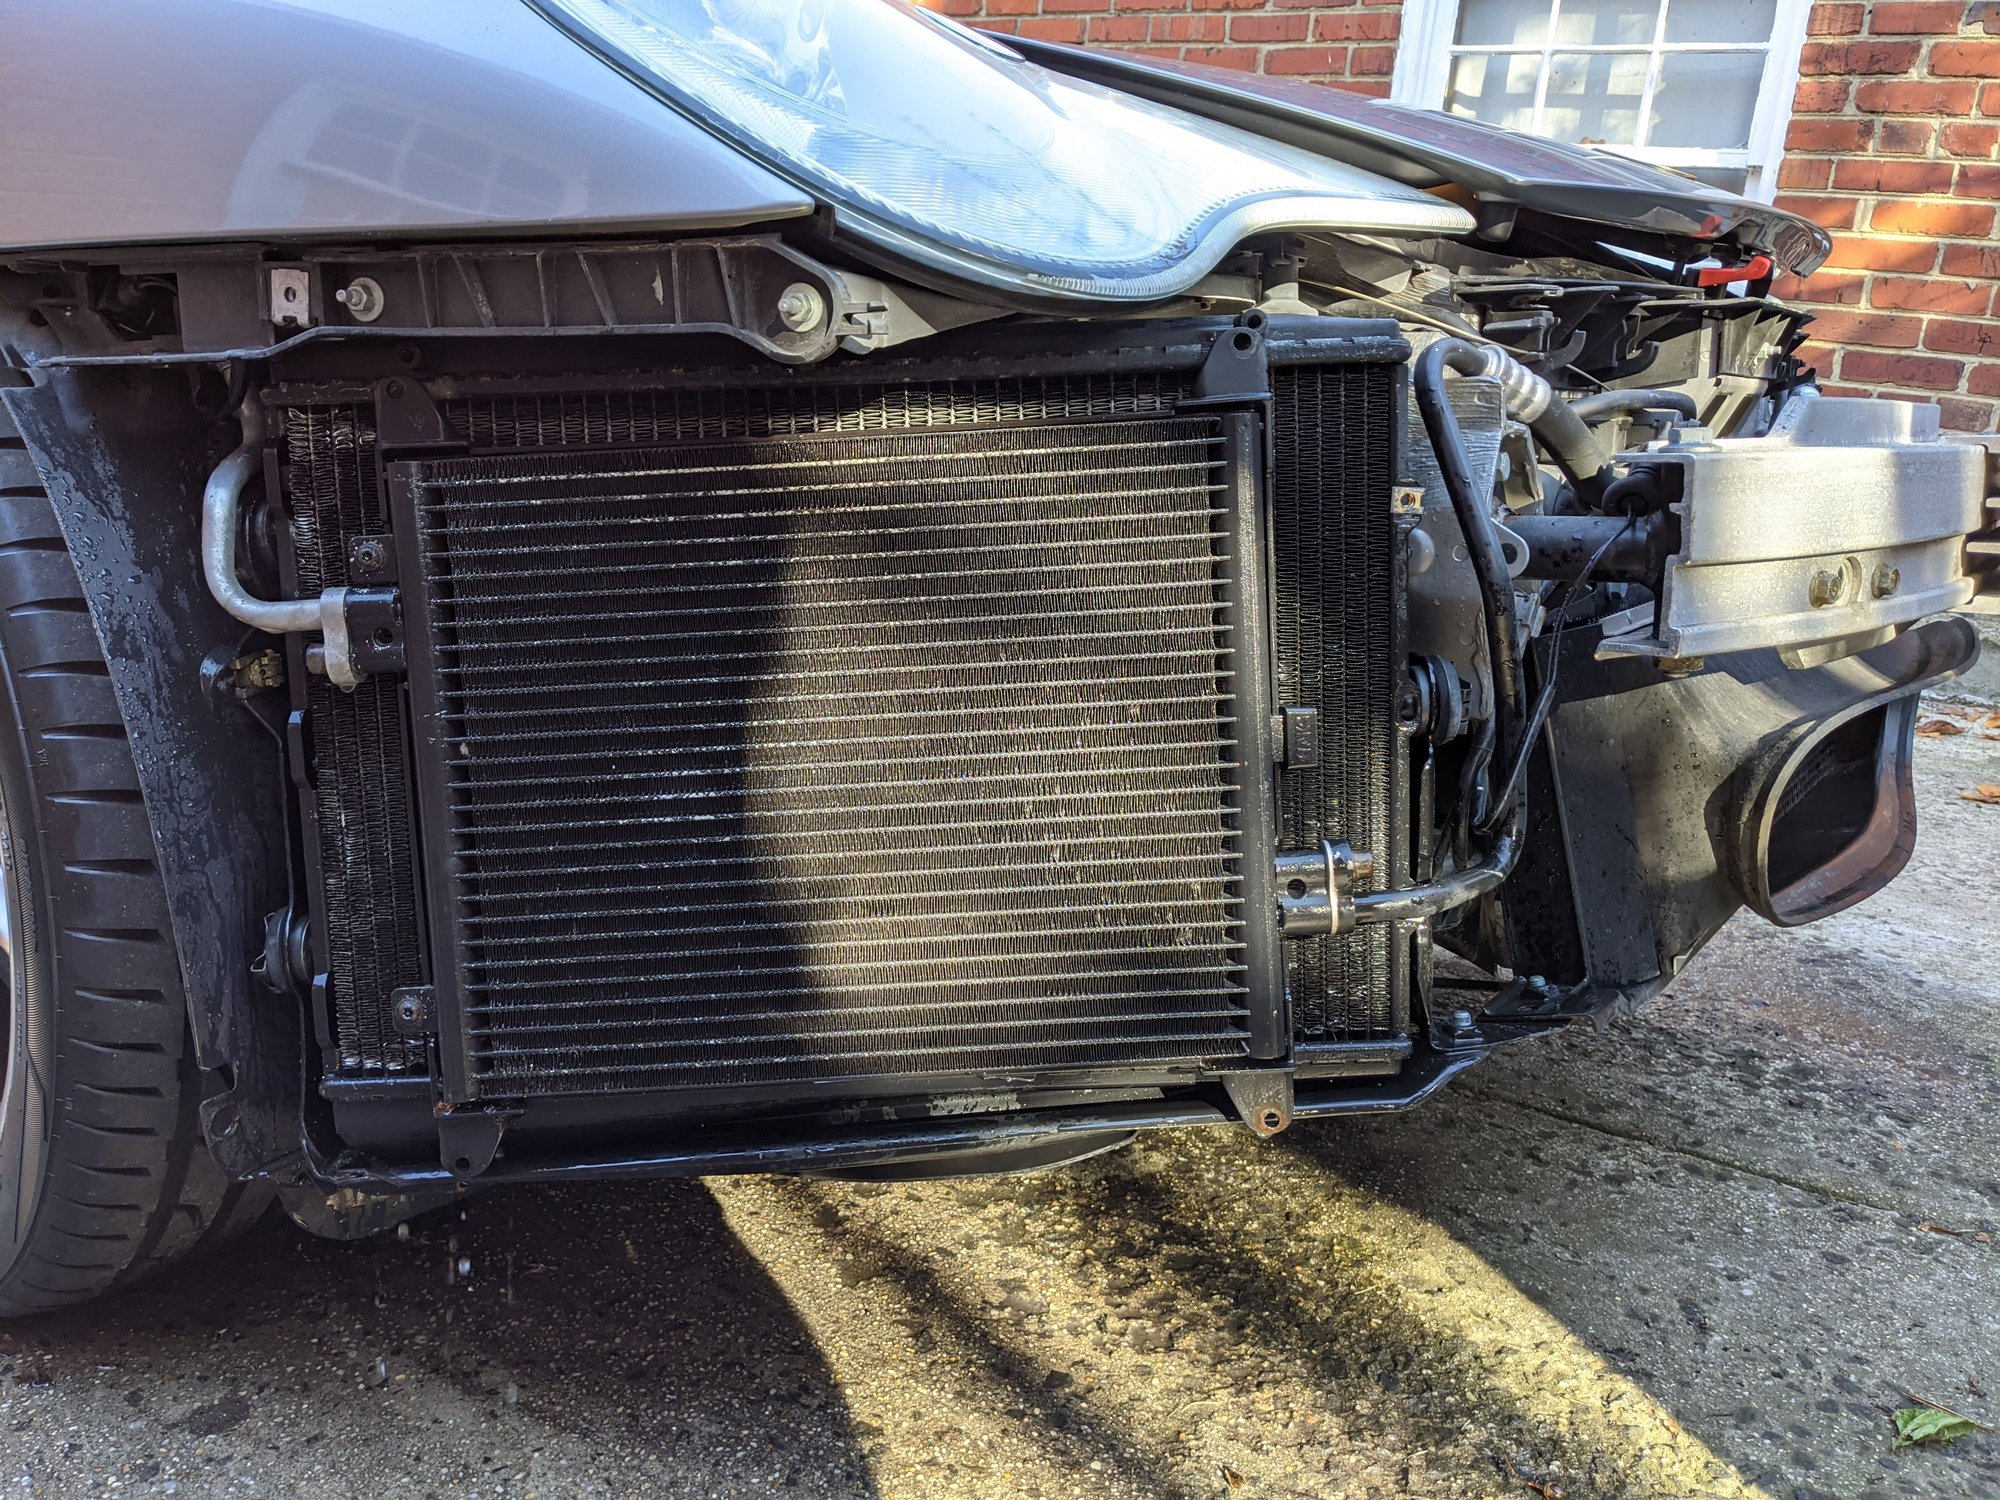
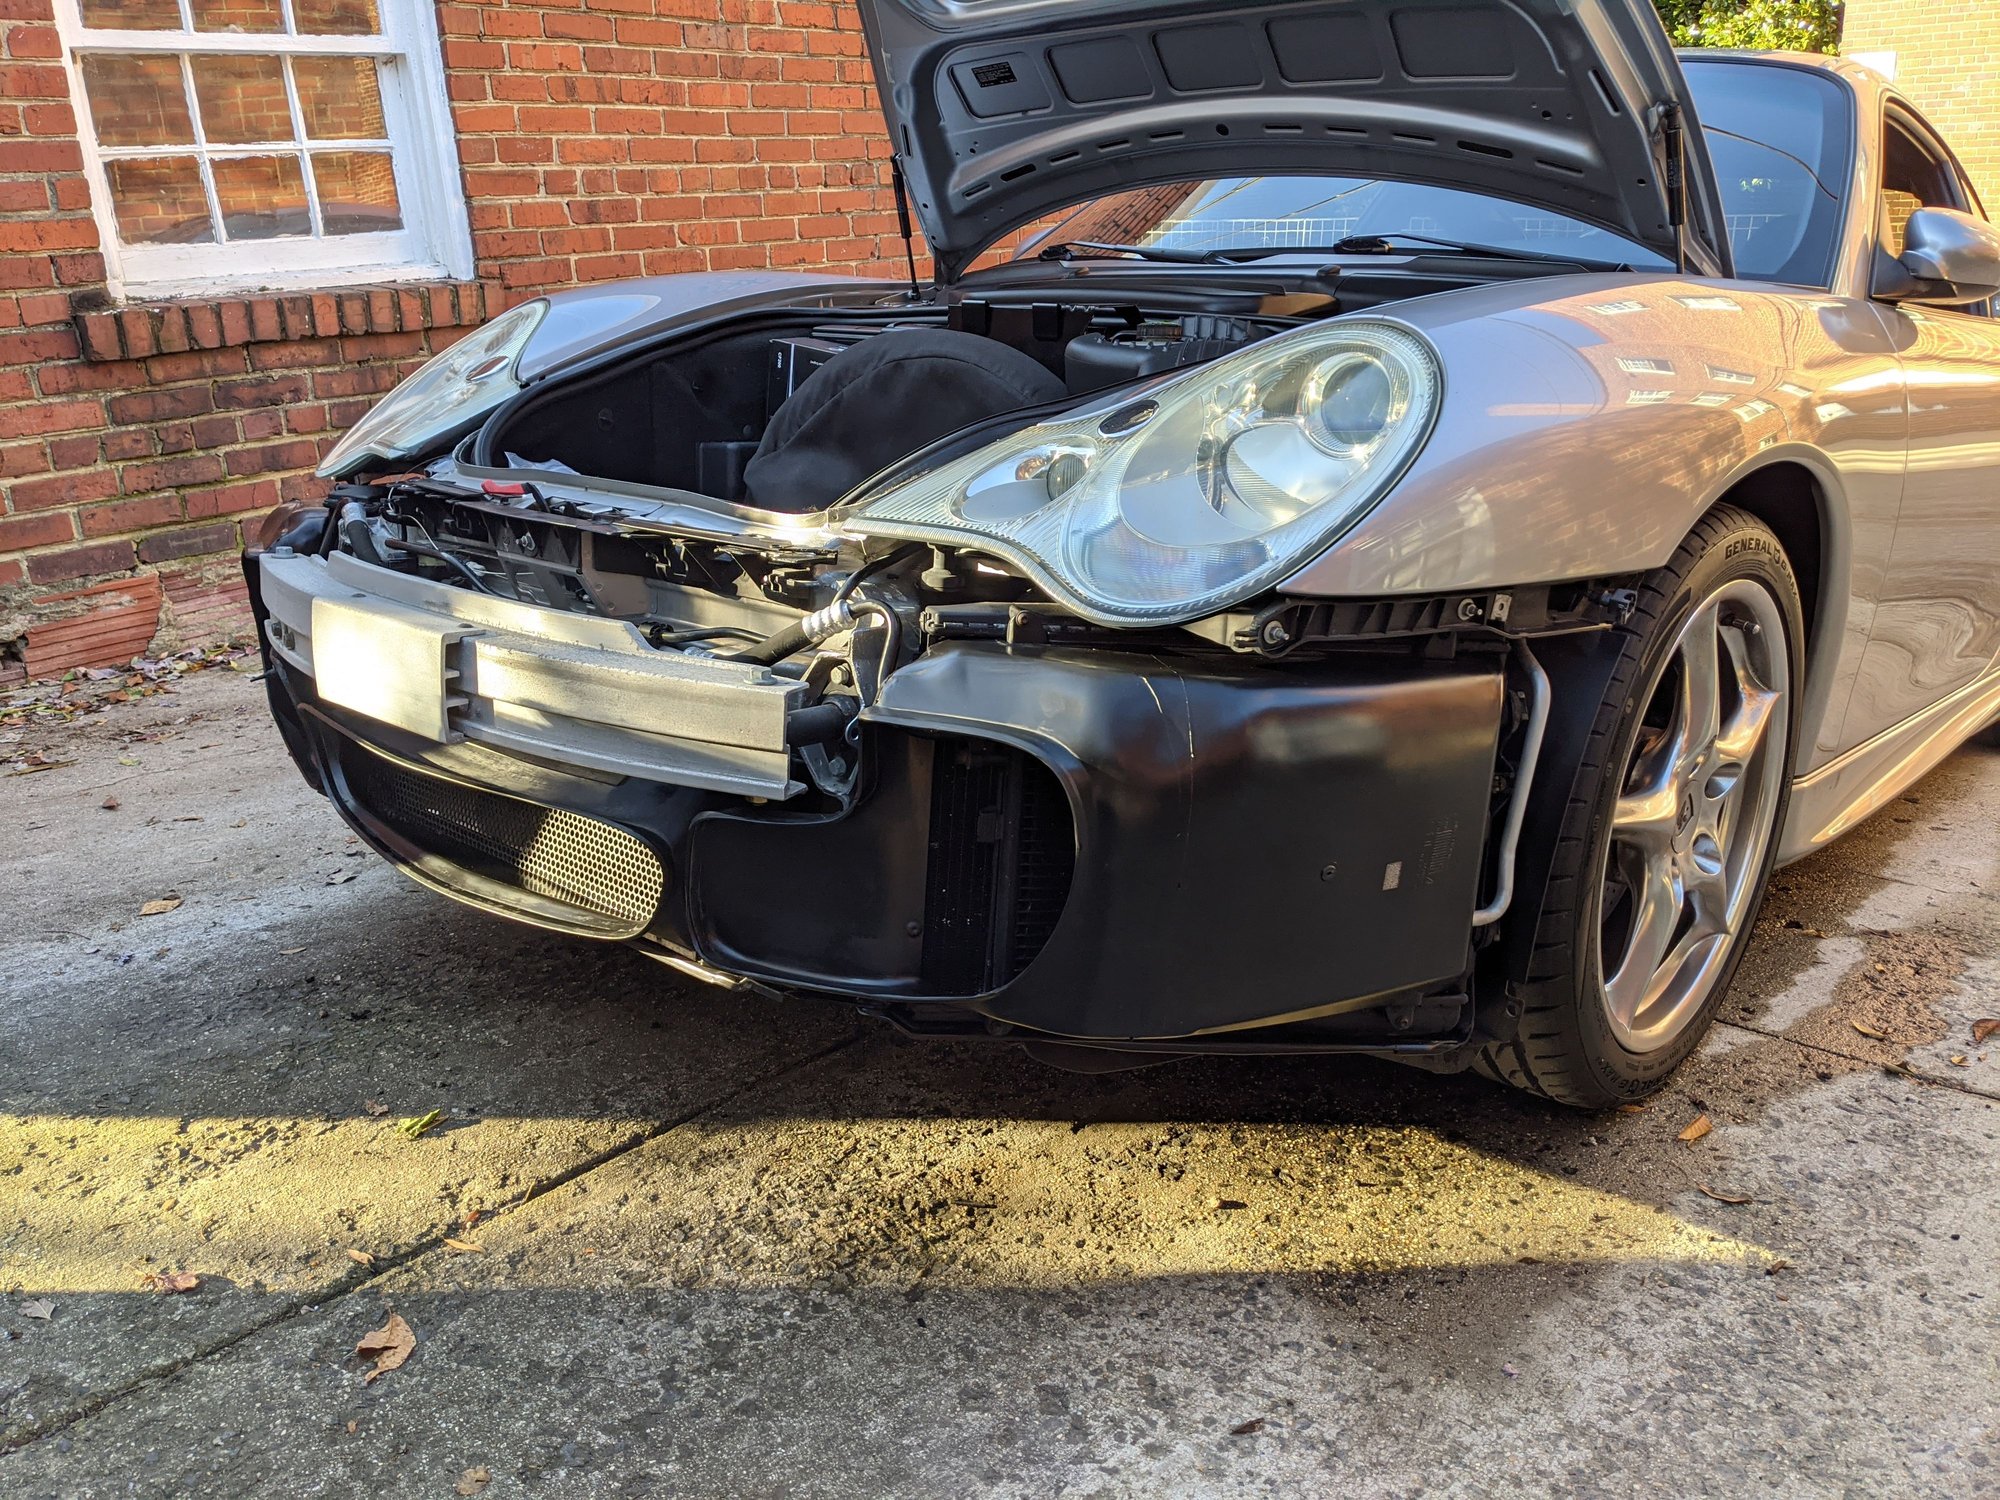
Radiator & Condenser cleaning - if you live in a place with seasons you probably had to do this at some point and if you did not it's probably time. The idea is that as the junk that flies in through the vents gets trapped and wet it will expand and contract with temps up and down and cause rust and eventually have the radiators fail. I learned that the 40 Jahre cars came with Turbo radiators so that's pretty cool.
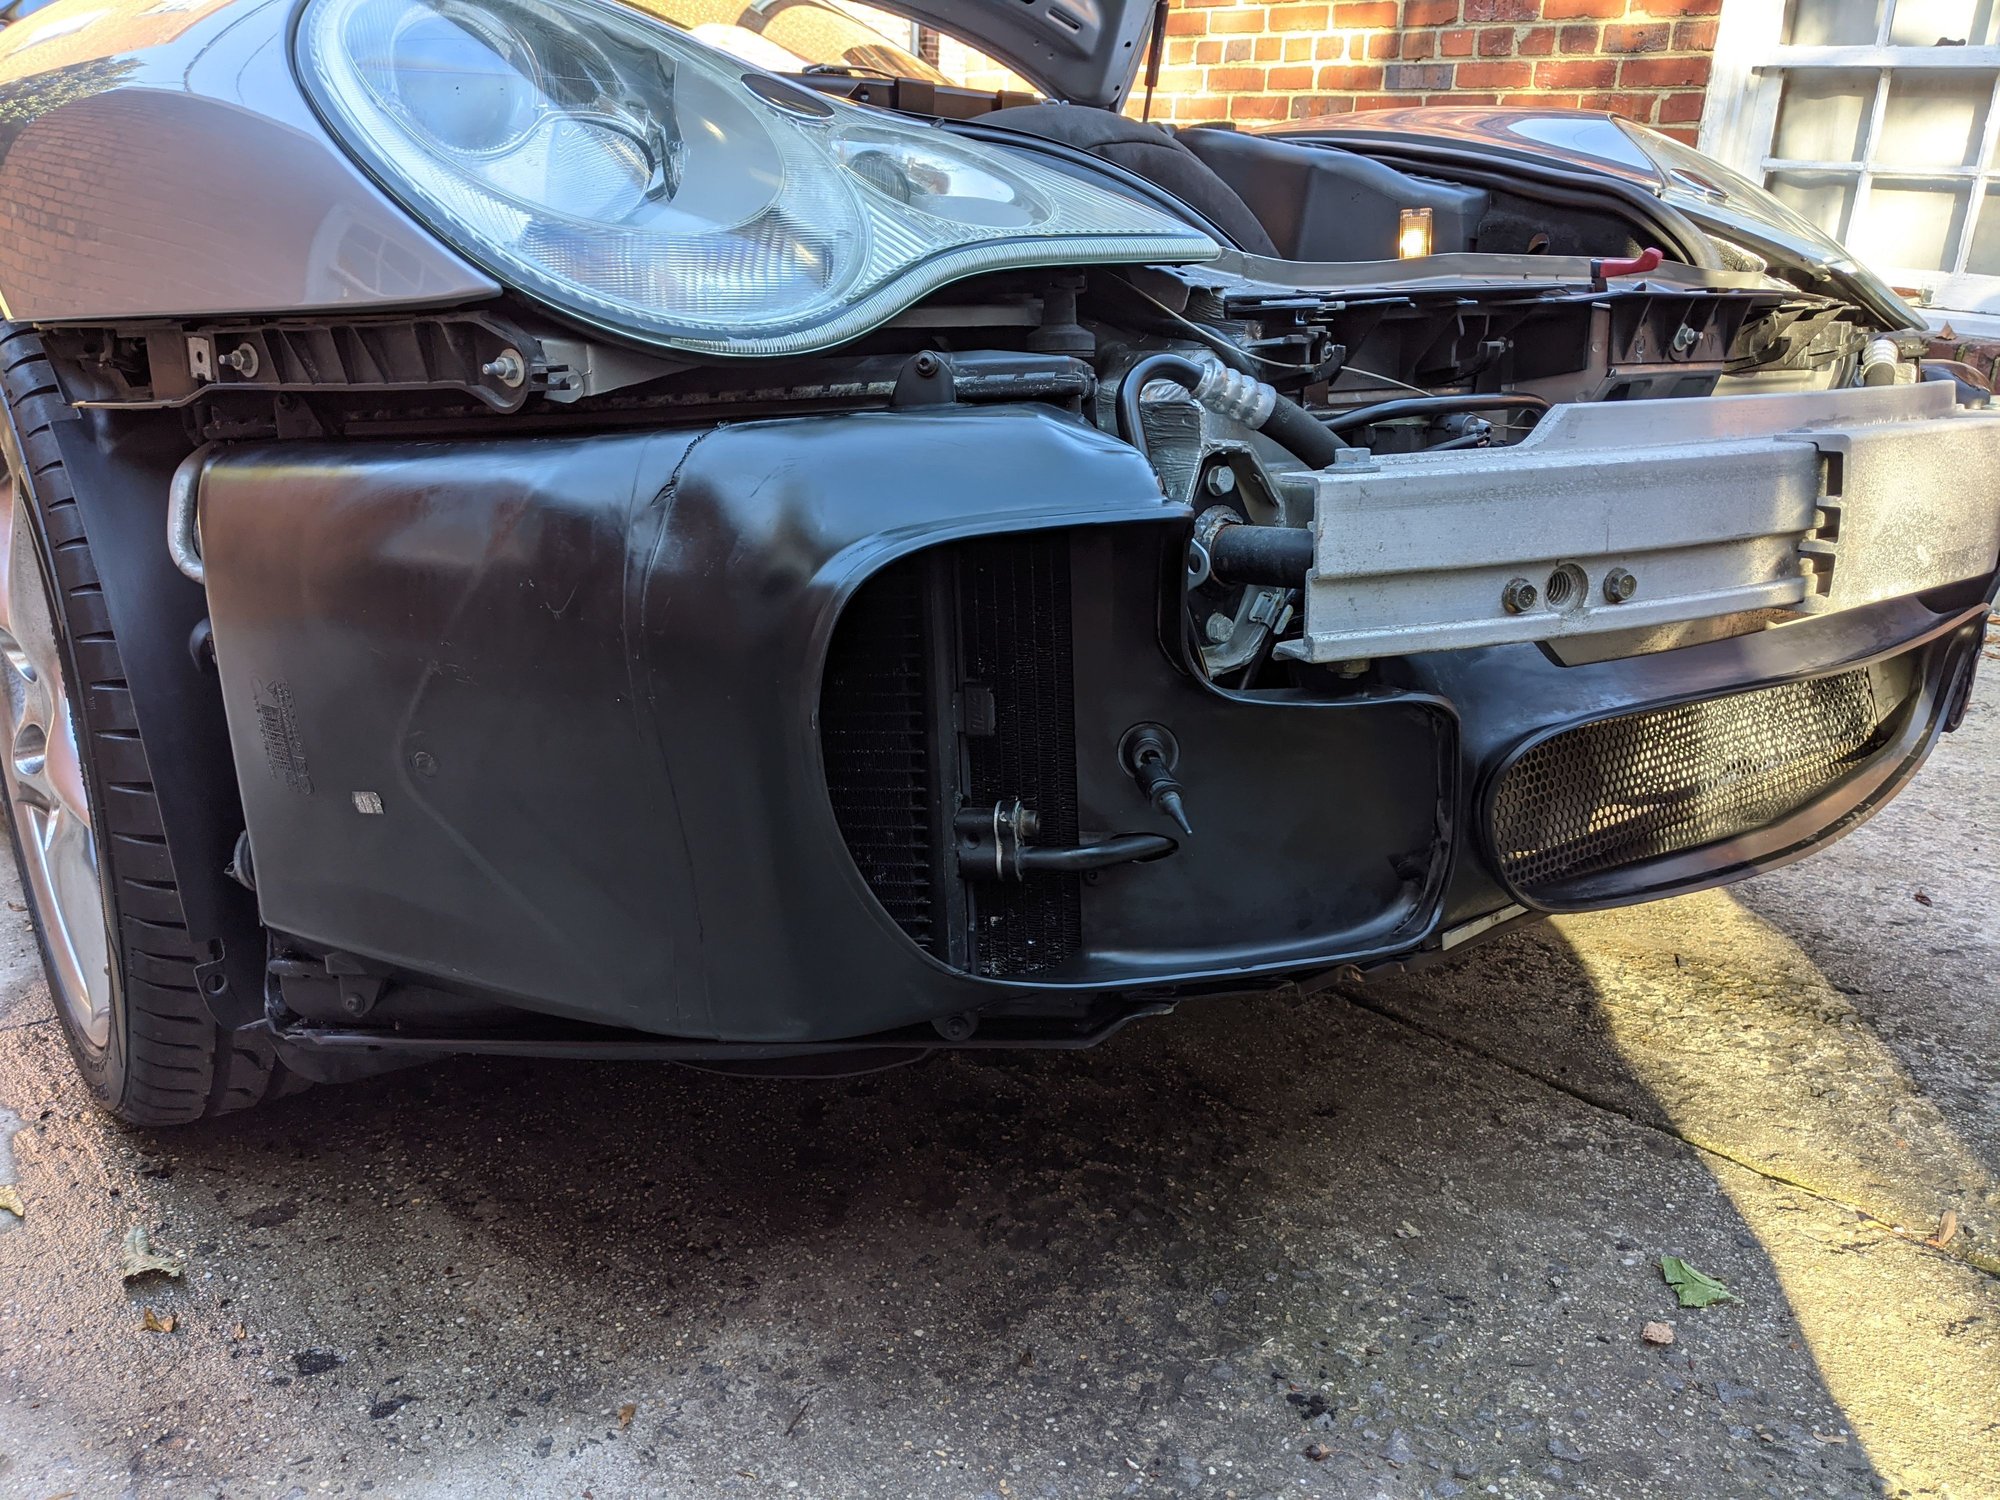
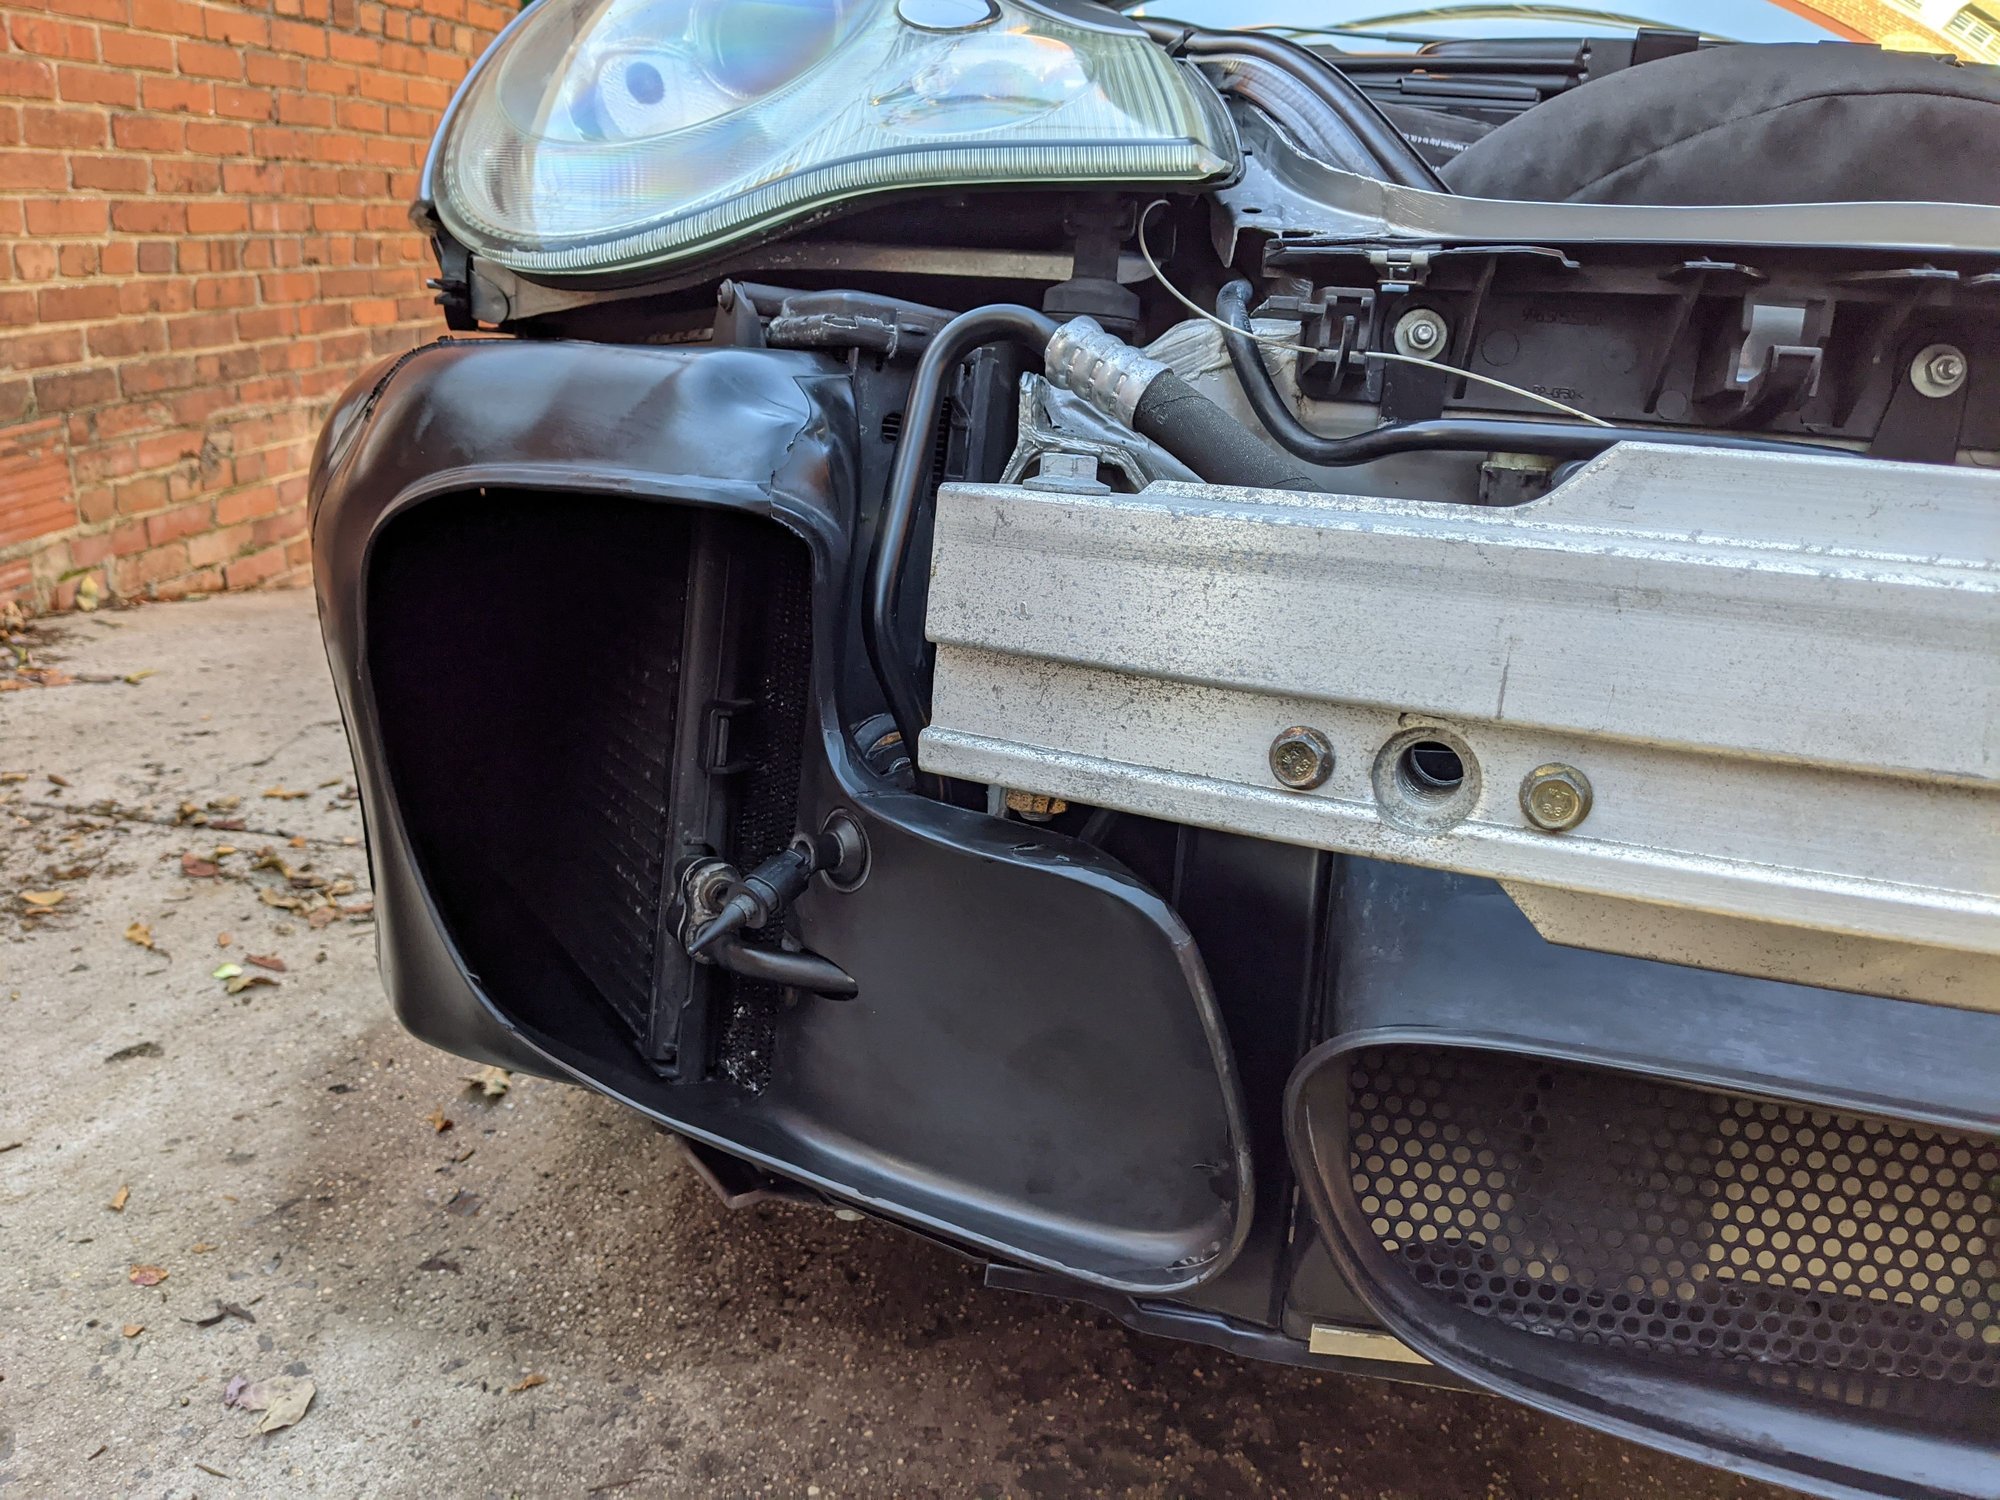
Pulling the bumper was pretty easy but you need to watch for the wheel liners and some parts as it's old plastic and can crack on you. Here is what I was greeted with on both sides:
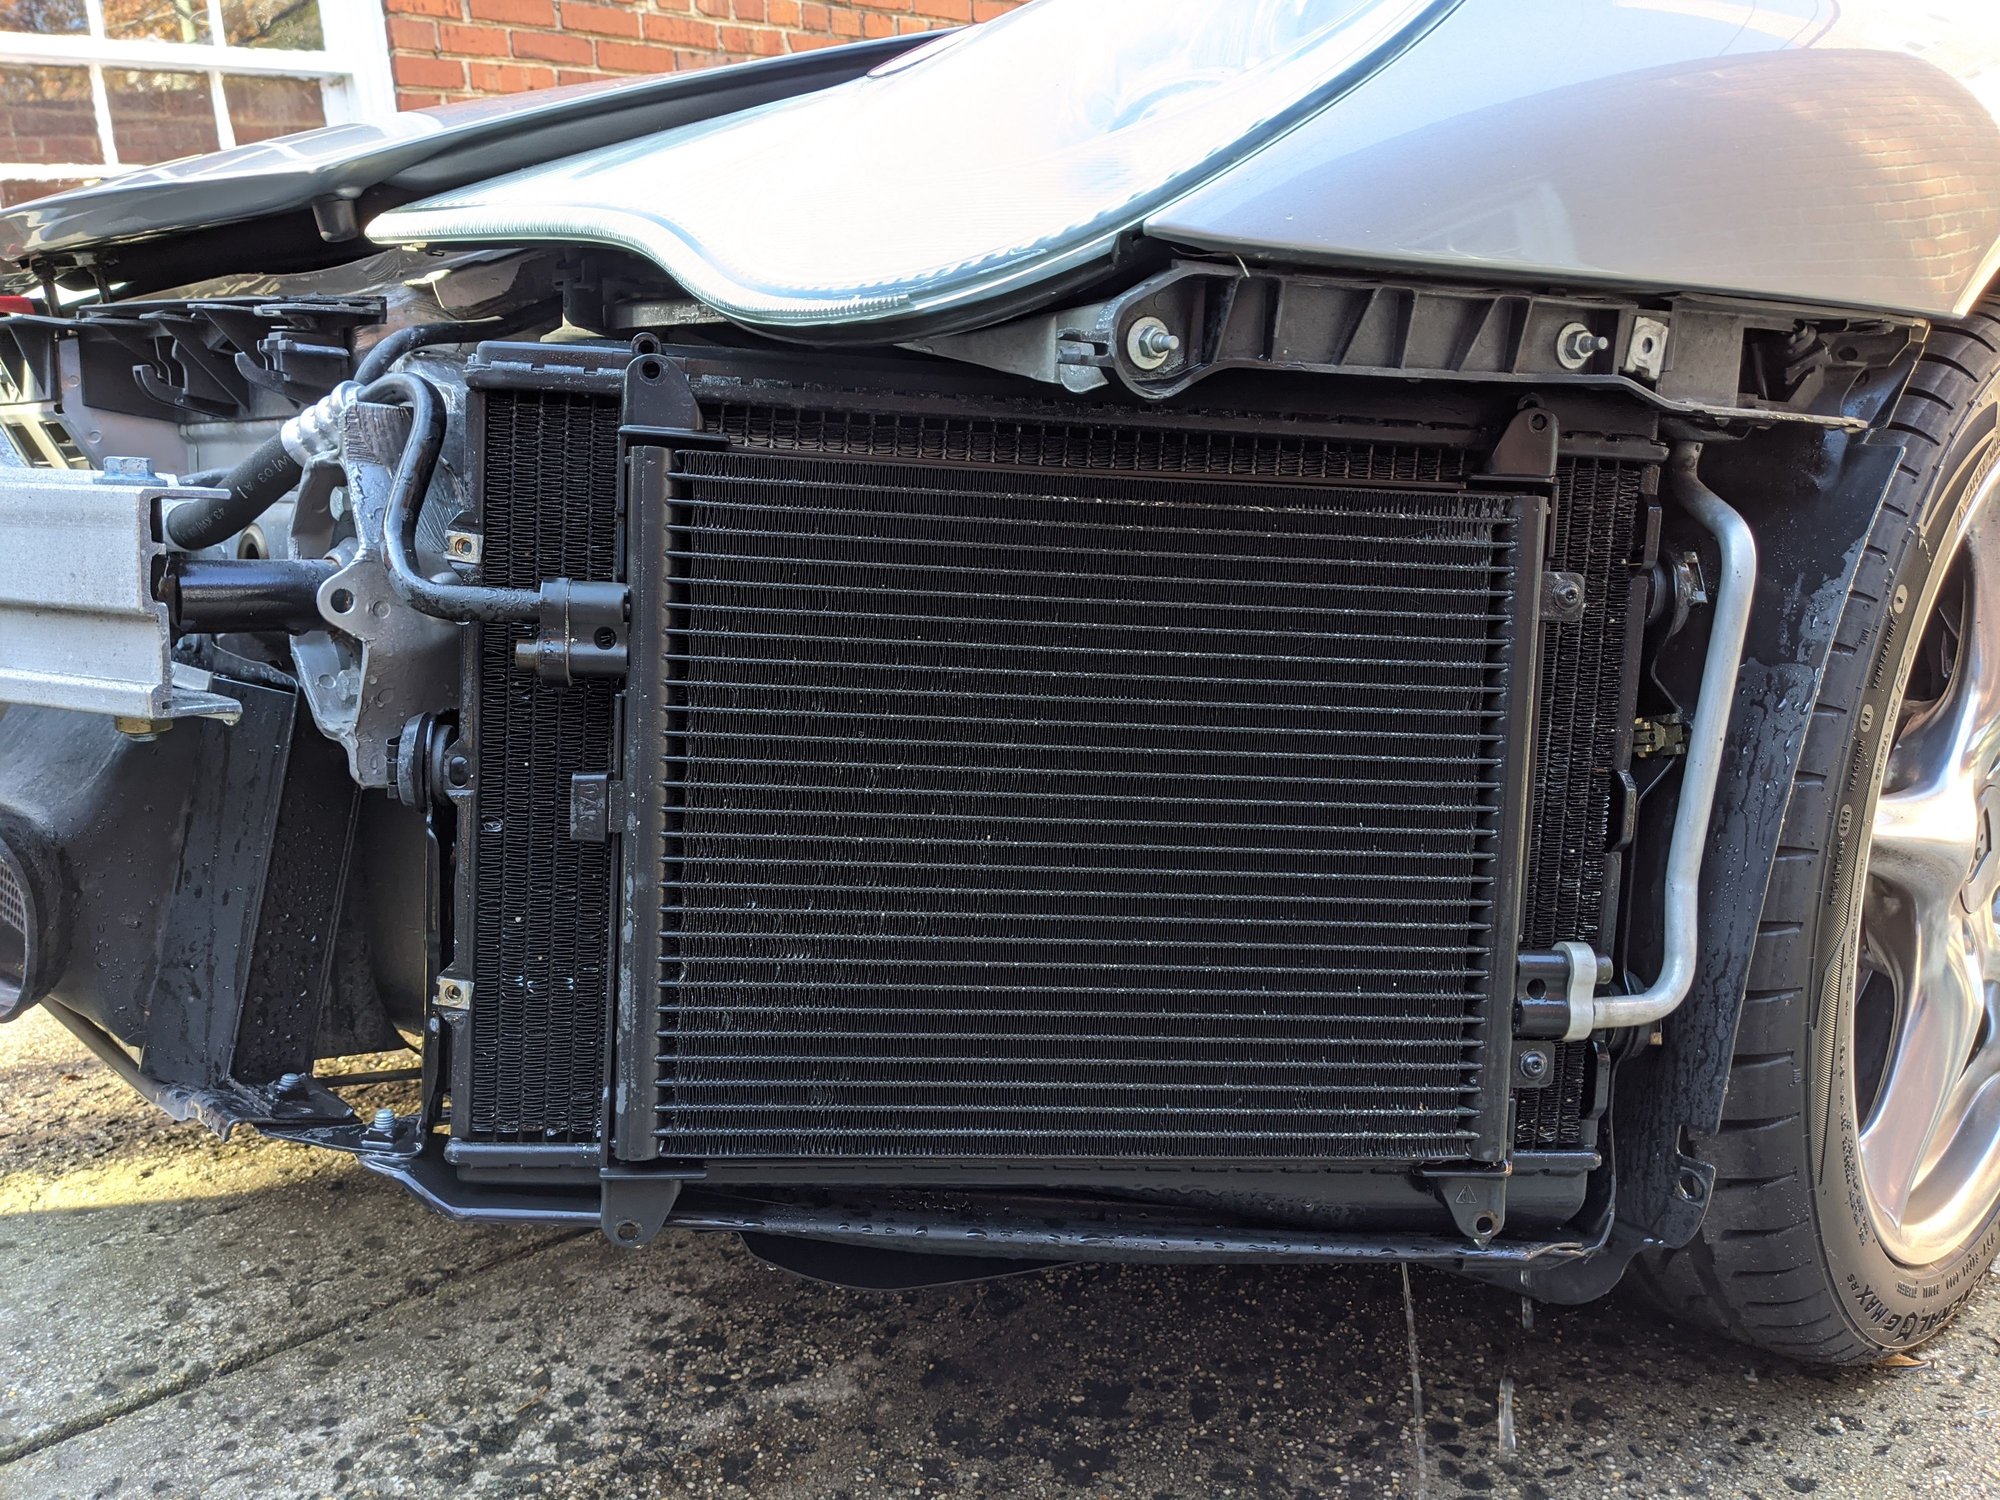
I don't have a compressor which would have been great here but started with a stiff bristle brush and got most of the junk out. I separated the condensers and gently lifted them away to get better access. Radiators were in good shape. After that I user a power washer and a 40 degree nozzle to wash and blow out stuff stuck in the fins. Everything cleaned out pretty well.
I also took and cleaned the plastic covers that direct the air at the radiators. Nothing dirty that can be easily cleaned goes back on this car!
Last but not least, I wanted to do something to prevent this mess from reoccurring as much as possible. I decided to fabricate something from a steel mesh. There is a seller out there that has these available all ready to be installed but at $250 I thought I'd give this a try myself first. Total parts for the 2 pieces of black gutter guard and a small hot glue gun was less than $15 from Home Depot Racing Because of limited daylight I only had the time to do the center vent, which somewhat ironically doesn't lead to anything as there is no center radiator there . I basically did what Nakai does in those crazy RWB builds. I think it came out good. I removed the stock black plastic piece - it pops out easily.
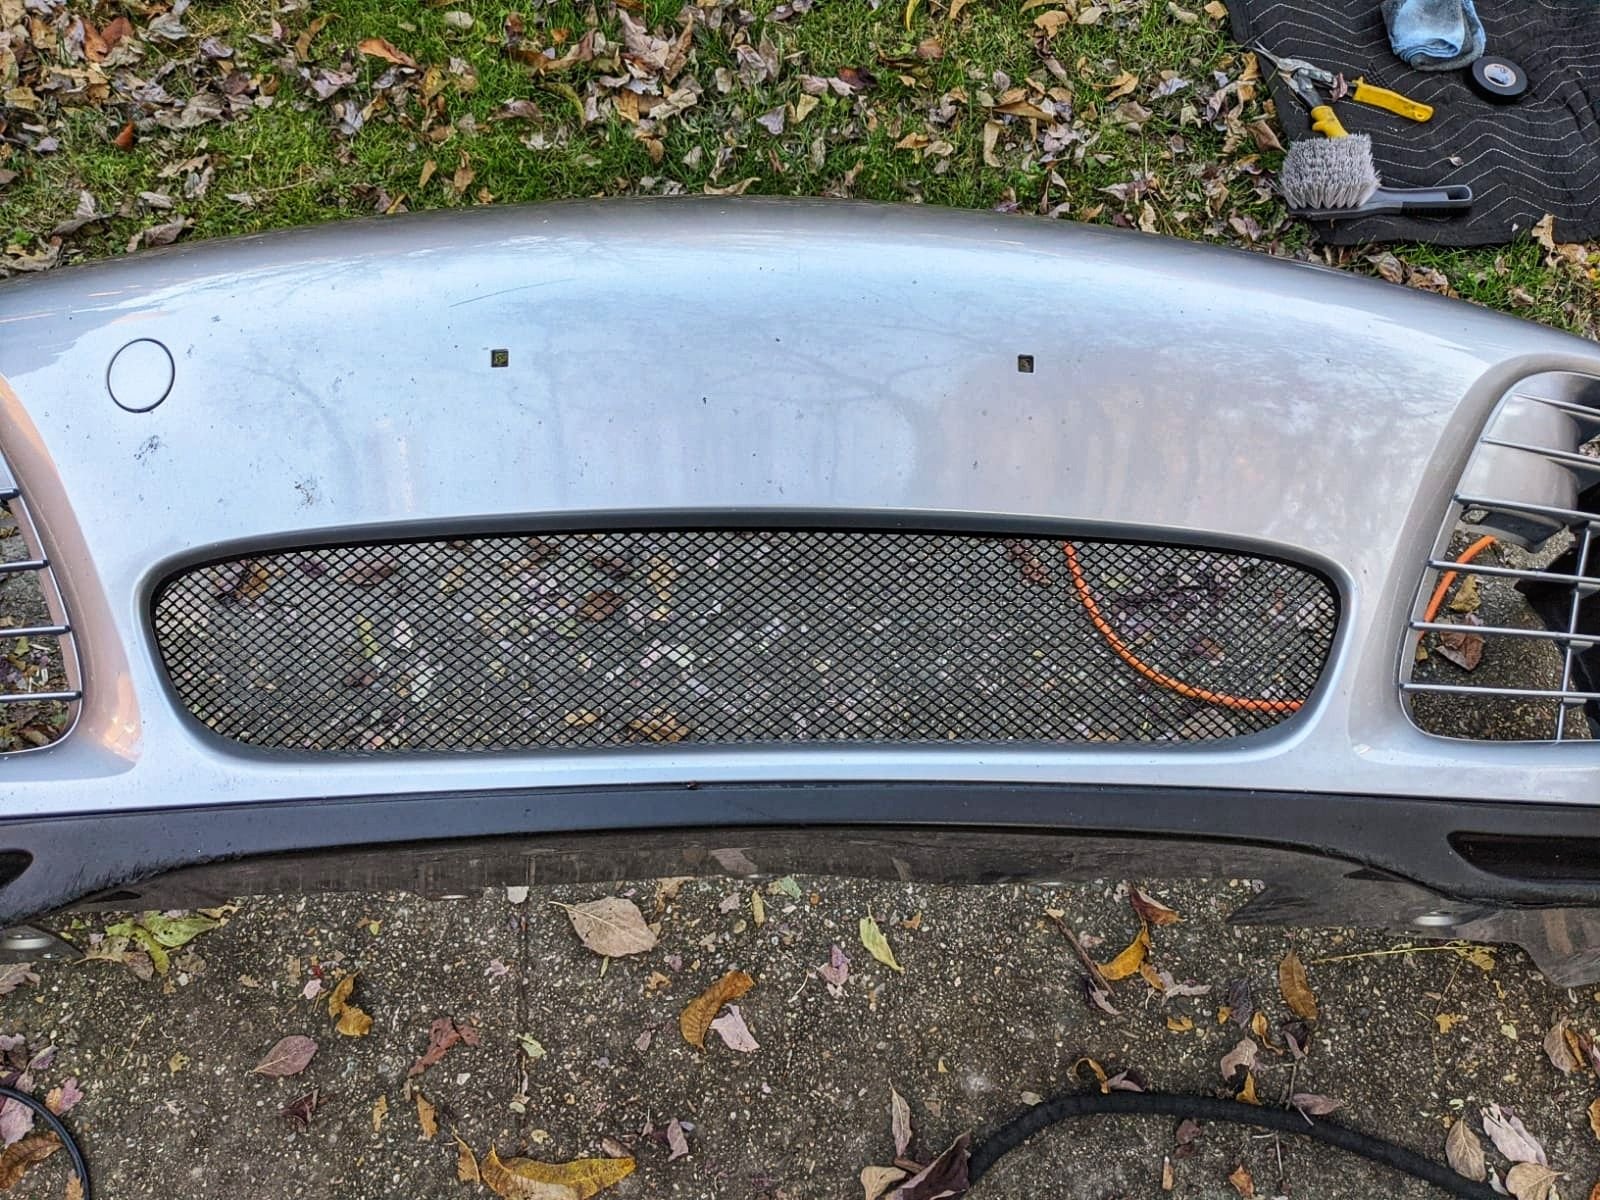
I'm a bit undecided about the side vents. I may try to remove the silver grilles and do the same, mesh only, sort of like a modern GT car or keep them in place and use the mesh behind them. I'll give it a go to see what it looks like. I've read somewhere that these mesh pieces may have a negative effect on cooling. Would love some feedback here. This is what's used on GT3 and GT4 cars out of factory so I'm not sure how valid that claim is. I also don't track my car so I do not generate as much heat as I would going full gas for 40 minutes over multiple sessions. Also, I feel like a bunch of junk in the radiators has a far greater negative effect than this may have but I'm open to suggestions!
for comparison - I used the Rennline Grilles and painted the AE bumper grilles black
trying to add a layer of depth to it
after market front lip - an eBay special
Thanks for sharing this! I do like the bit of contrast it brings and I've been looking at various lips that are available as mine has seen better days.
Thanks for sharing this! I do like the bit of contrast it brings and I've been looking at various lips that are available as mine has seen better days.
same look with a painted lip - here's a tip, looks cool but the paint doesn't stay on
I used an adhesion primer but no flex additive in the paint
Small big update. Had a pleasure of experiencing one of the joys of owning a 996, aka my first big bill
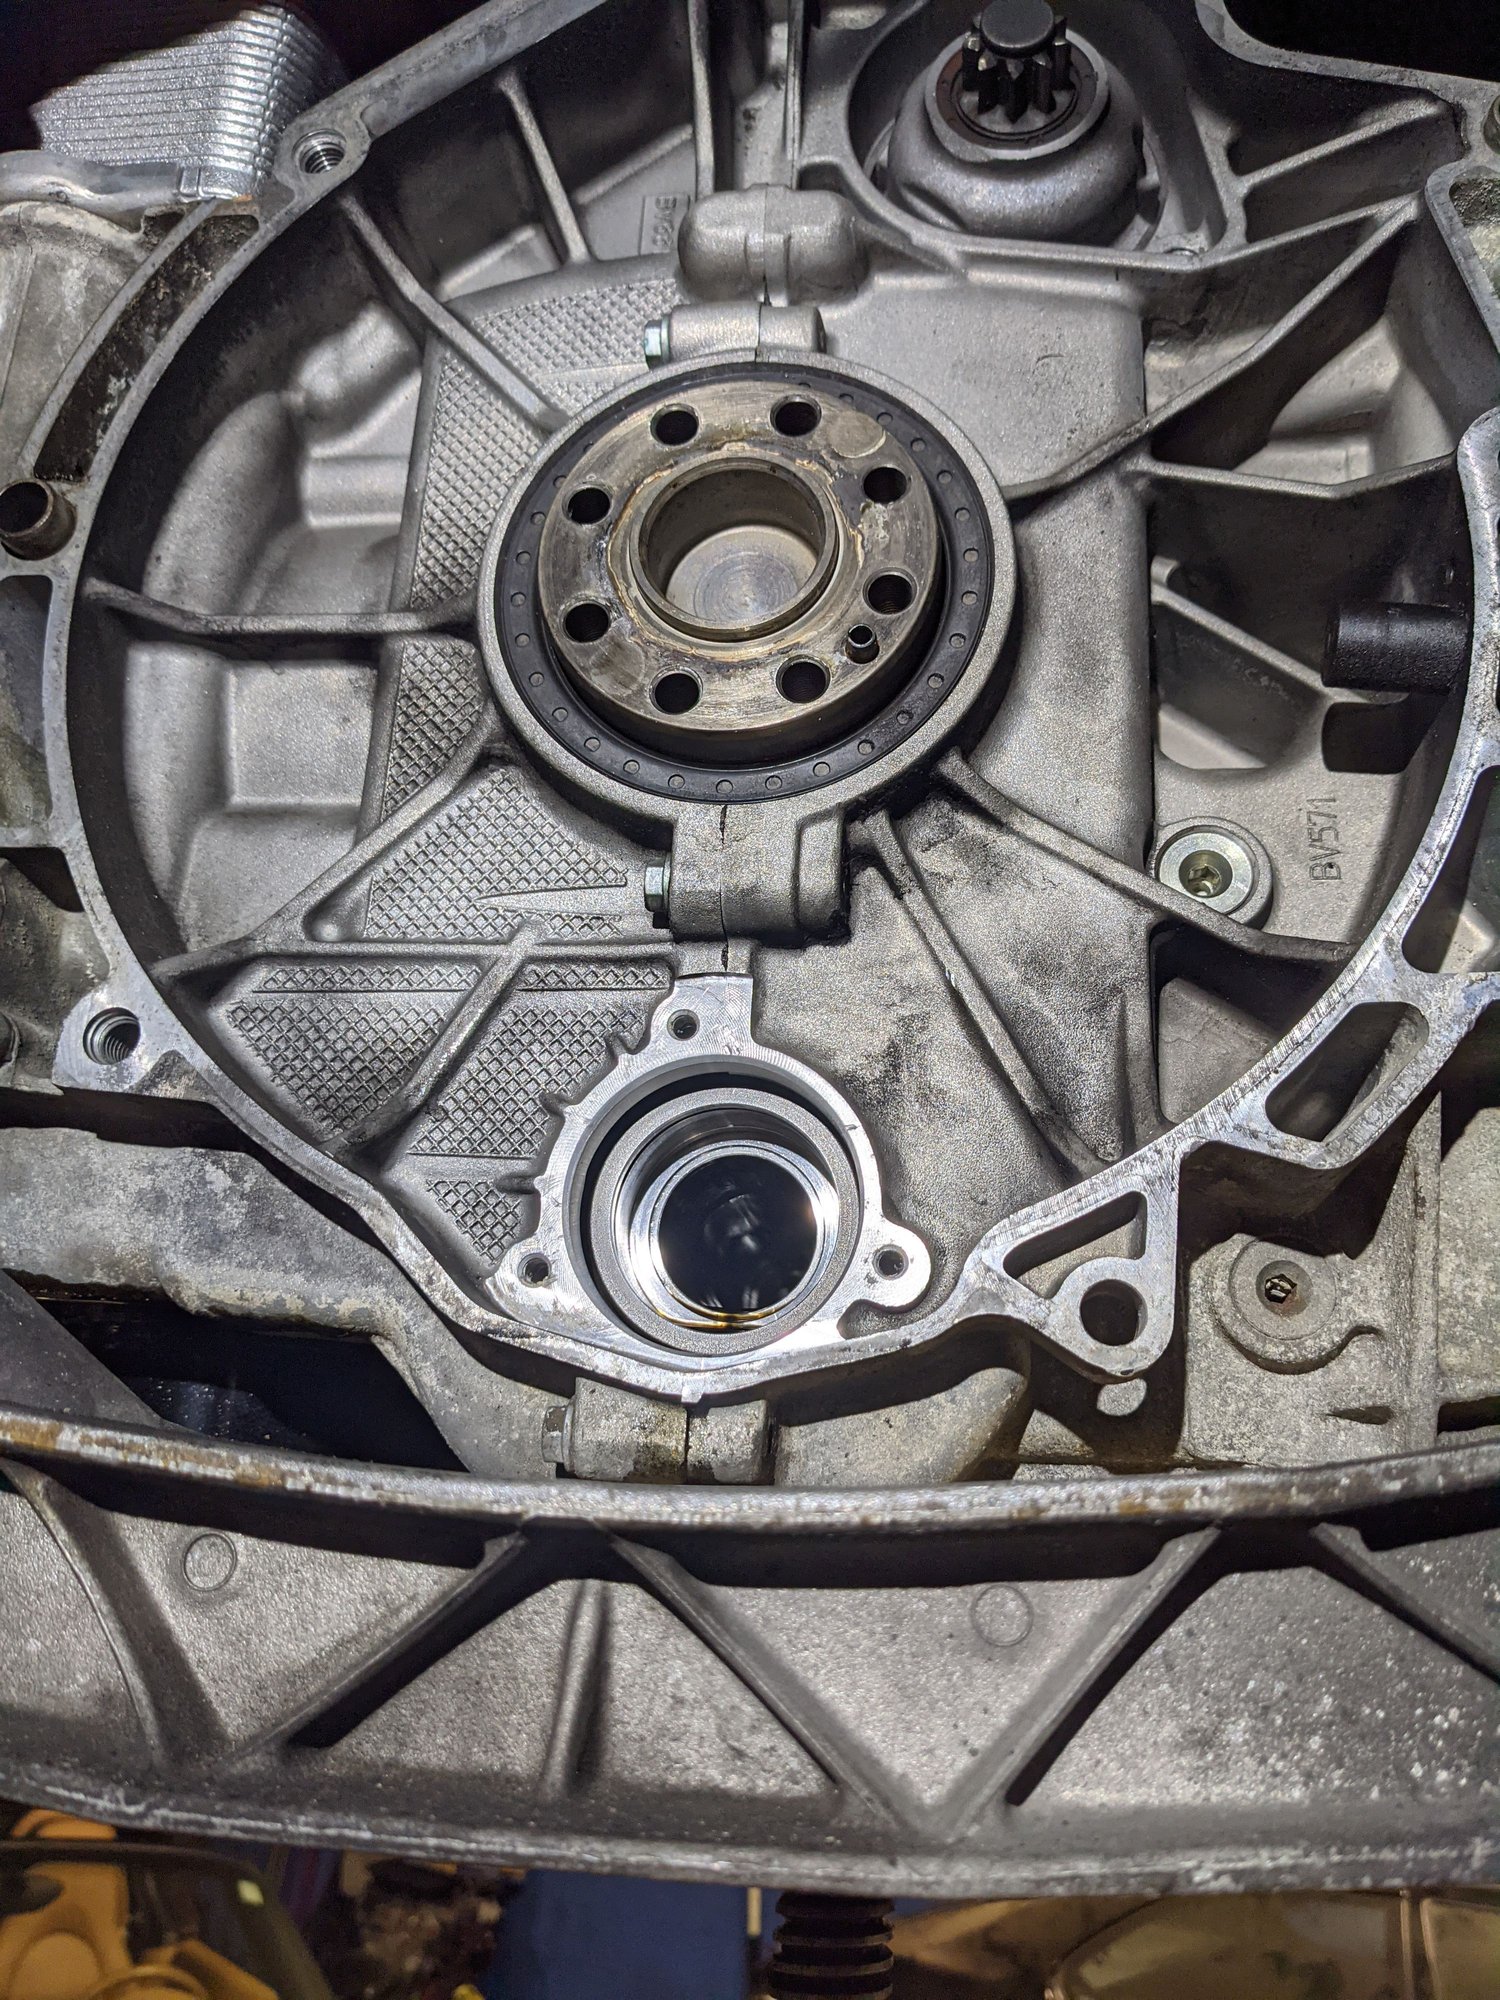
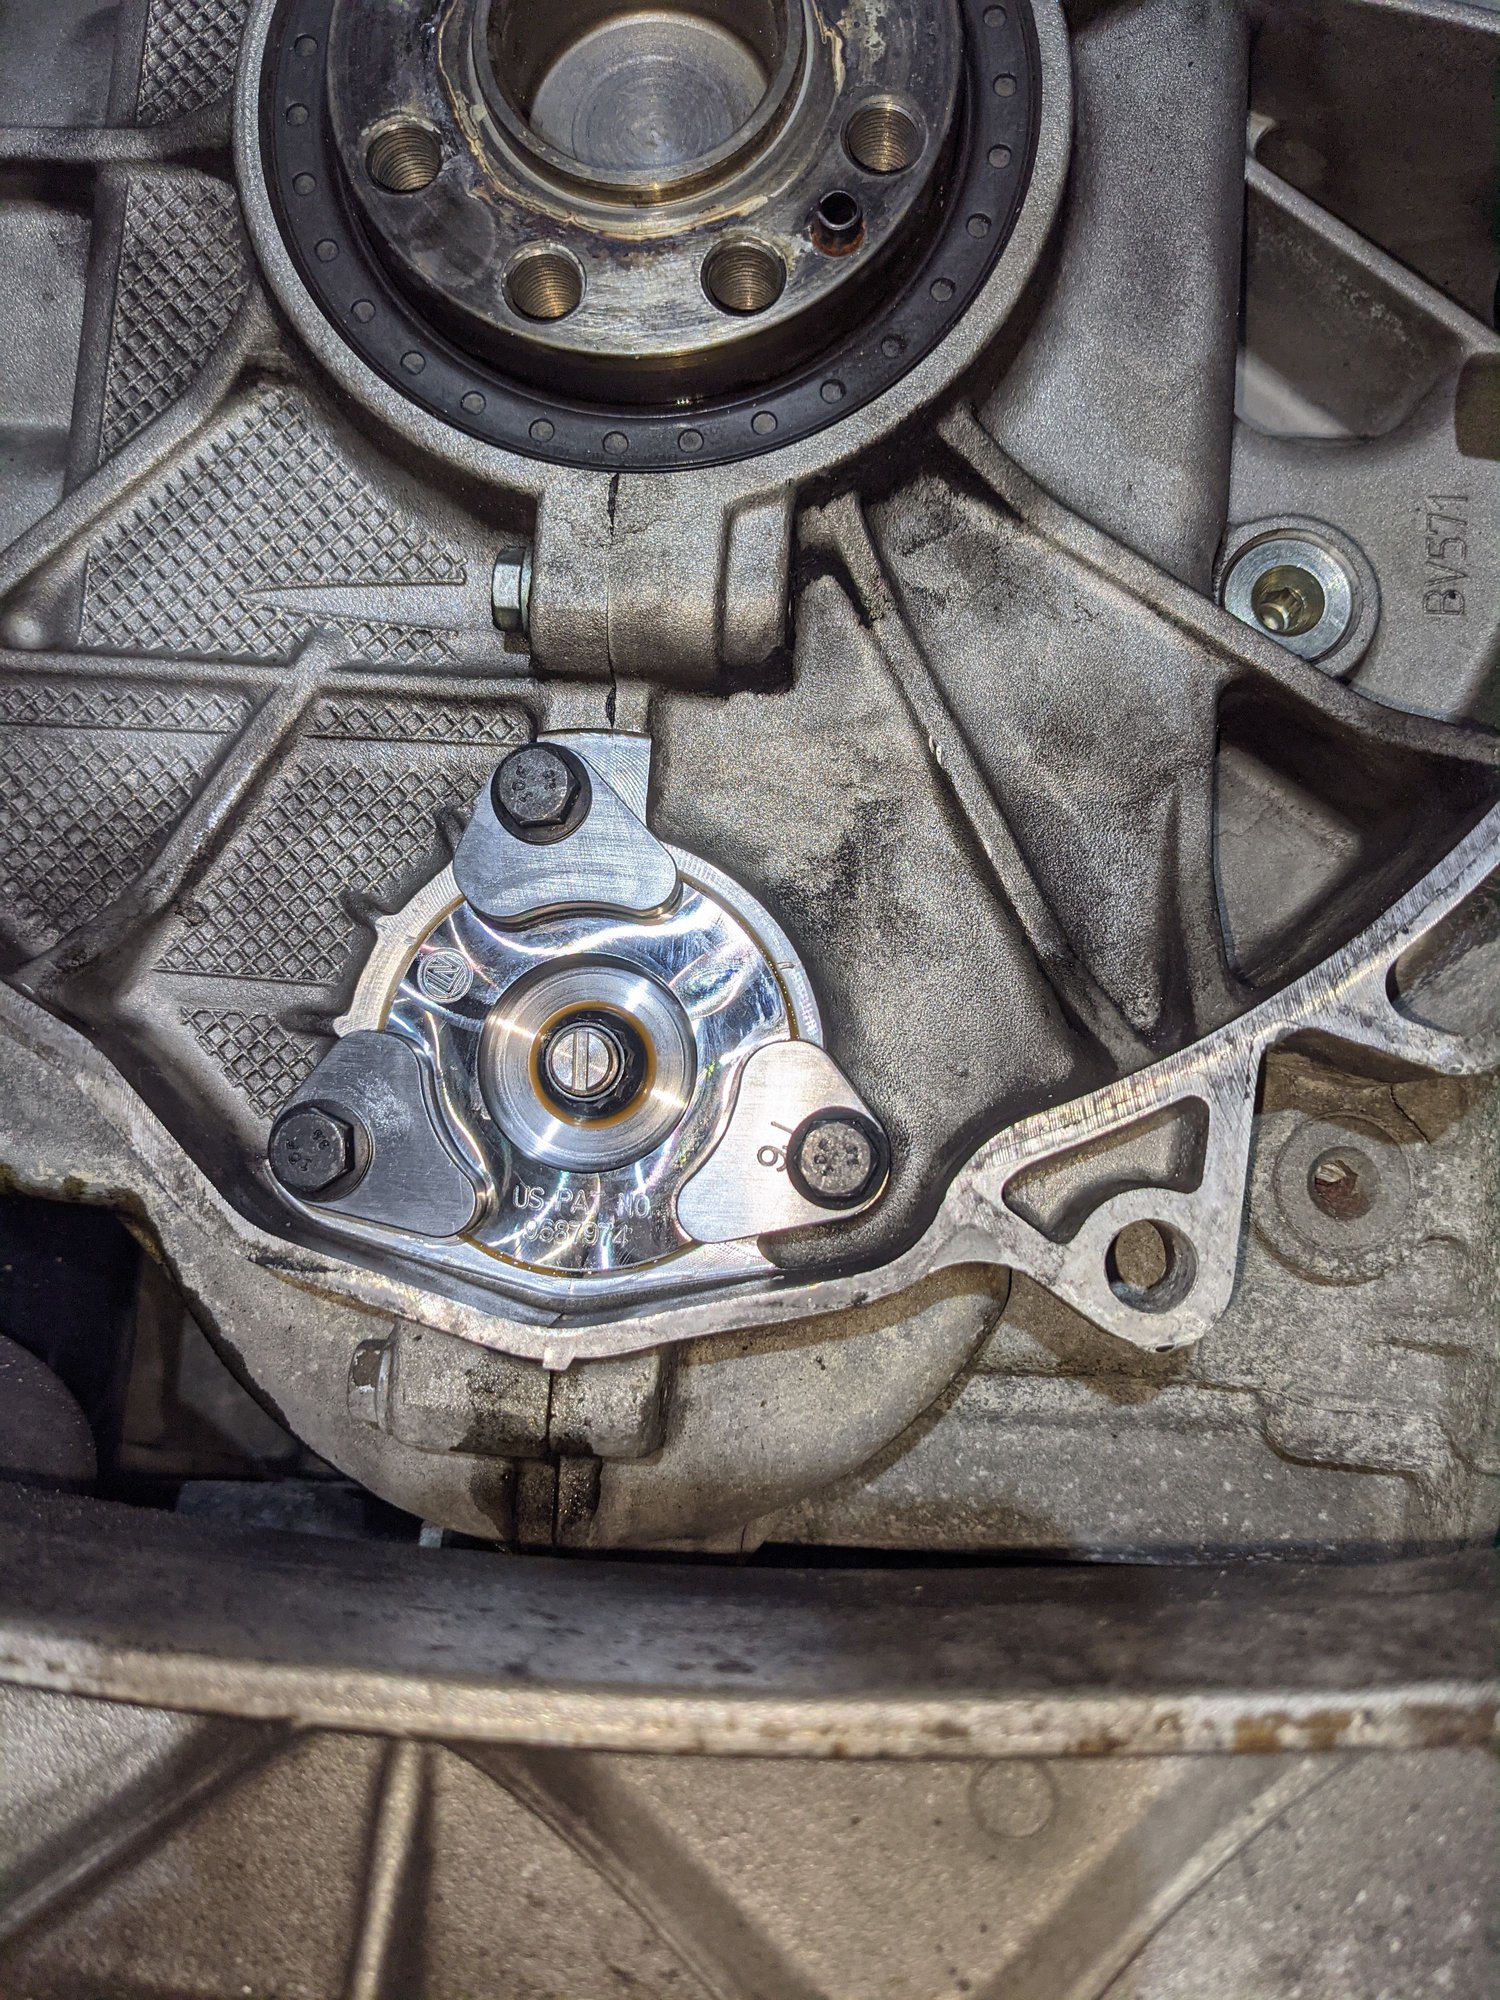
I have installed a new clutch power spring and the clutch started to feel light again. I knew the clutch was towards the end of its life and somewhat coincidently started to slip pretty badly on my way home for Thanksgiving. I tried accelerating coming out of a corner, maybe half throttle, and the revs went up but the car did not go faster. At that point I just took it super easy and made it home with 0 issues. Soon after I booked the car for a new clutch, flywheel (if needed, which I did), IMS and RMS. Went with the OEM clutch/flywheel and RMS. I was told the one in there was not leaking at all, just some very minor moisture but we replaced it with the newest revision. IMS was replaced with the LN Retrofit.
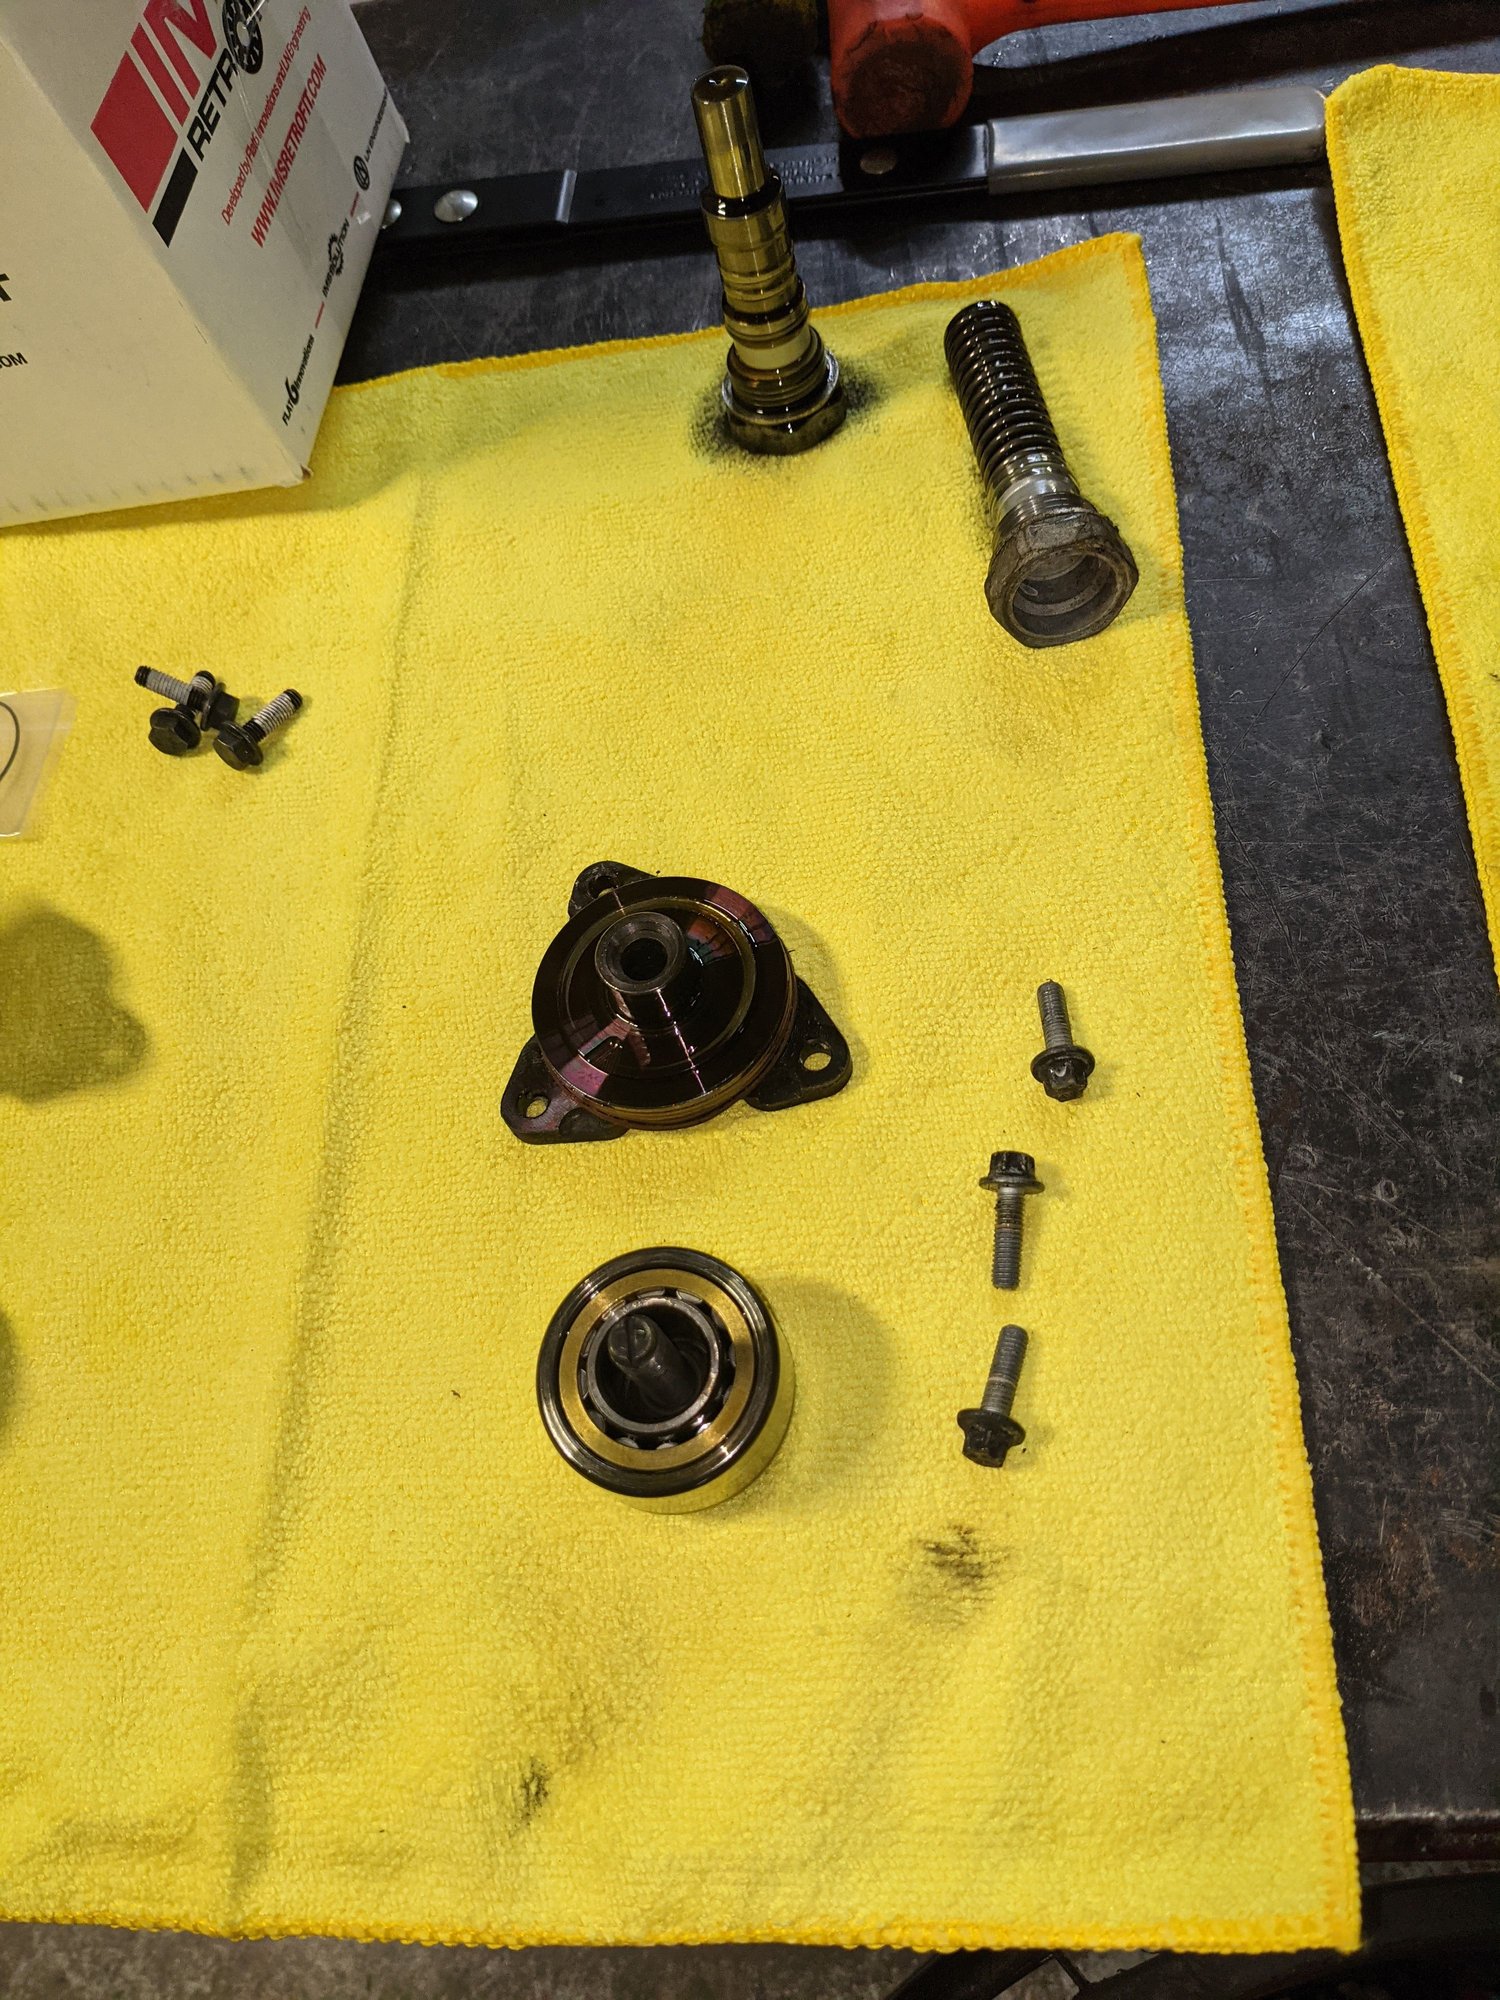
Old IMS bearing out. The car had the EPS bearing installed. No leaks at all.
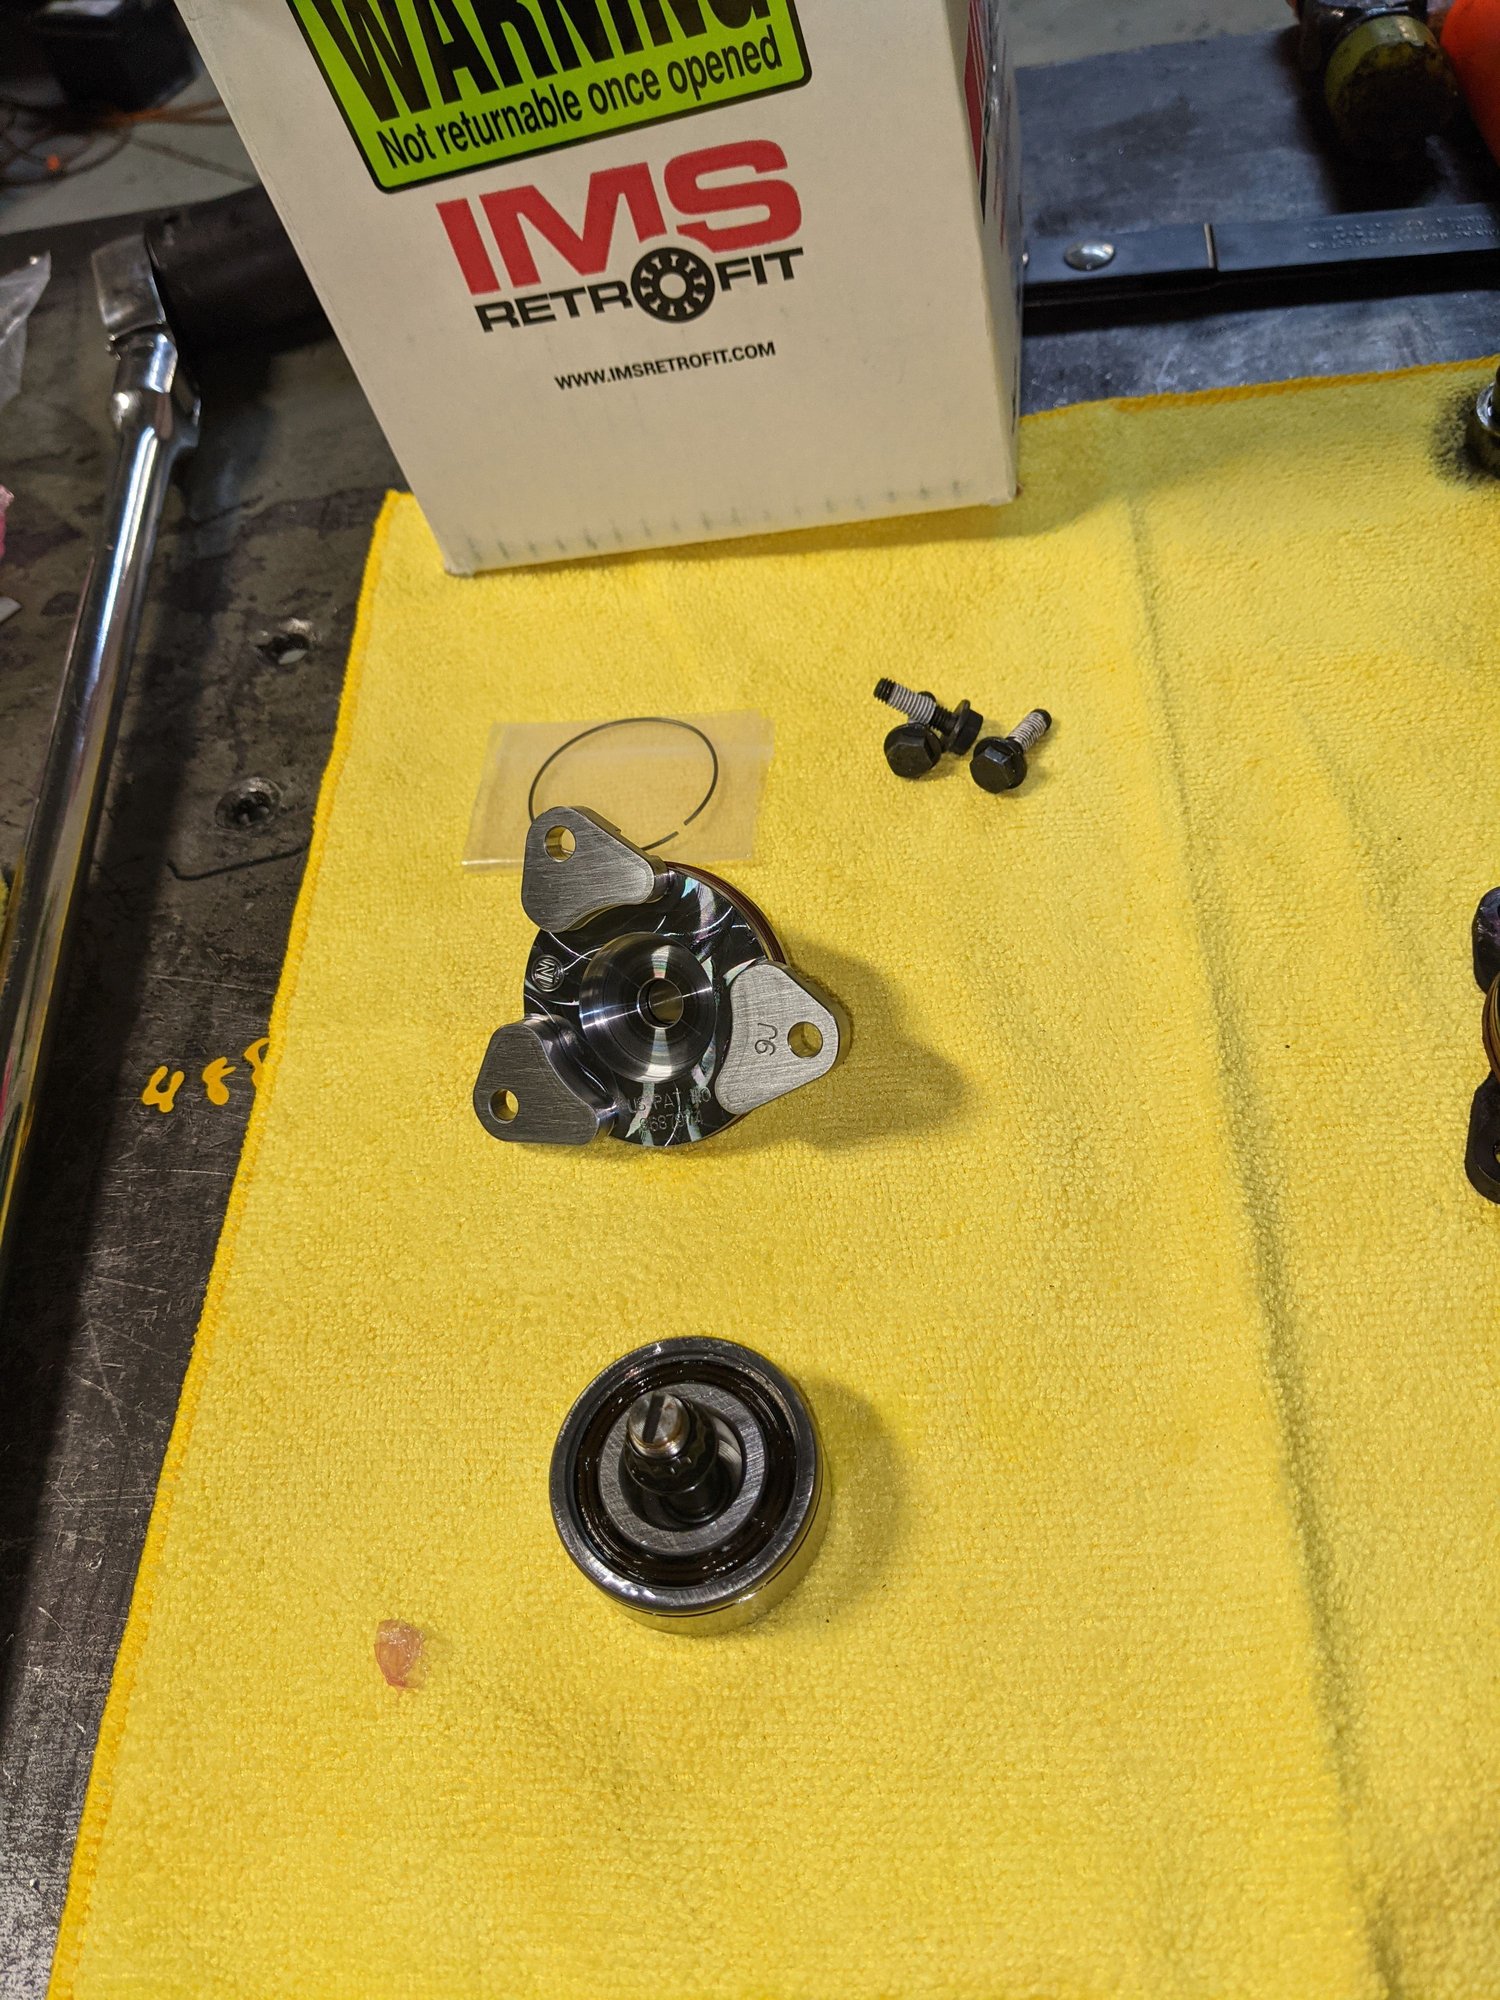
New LN IMS unit
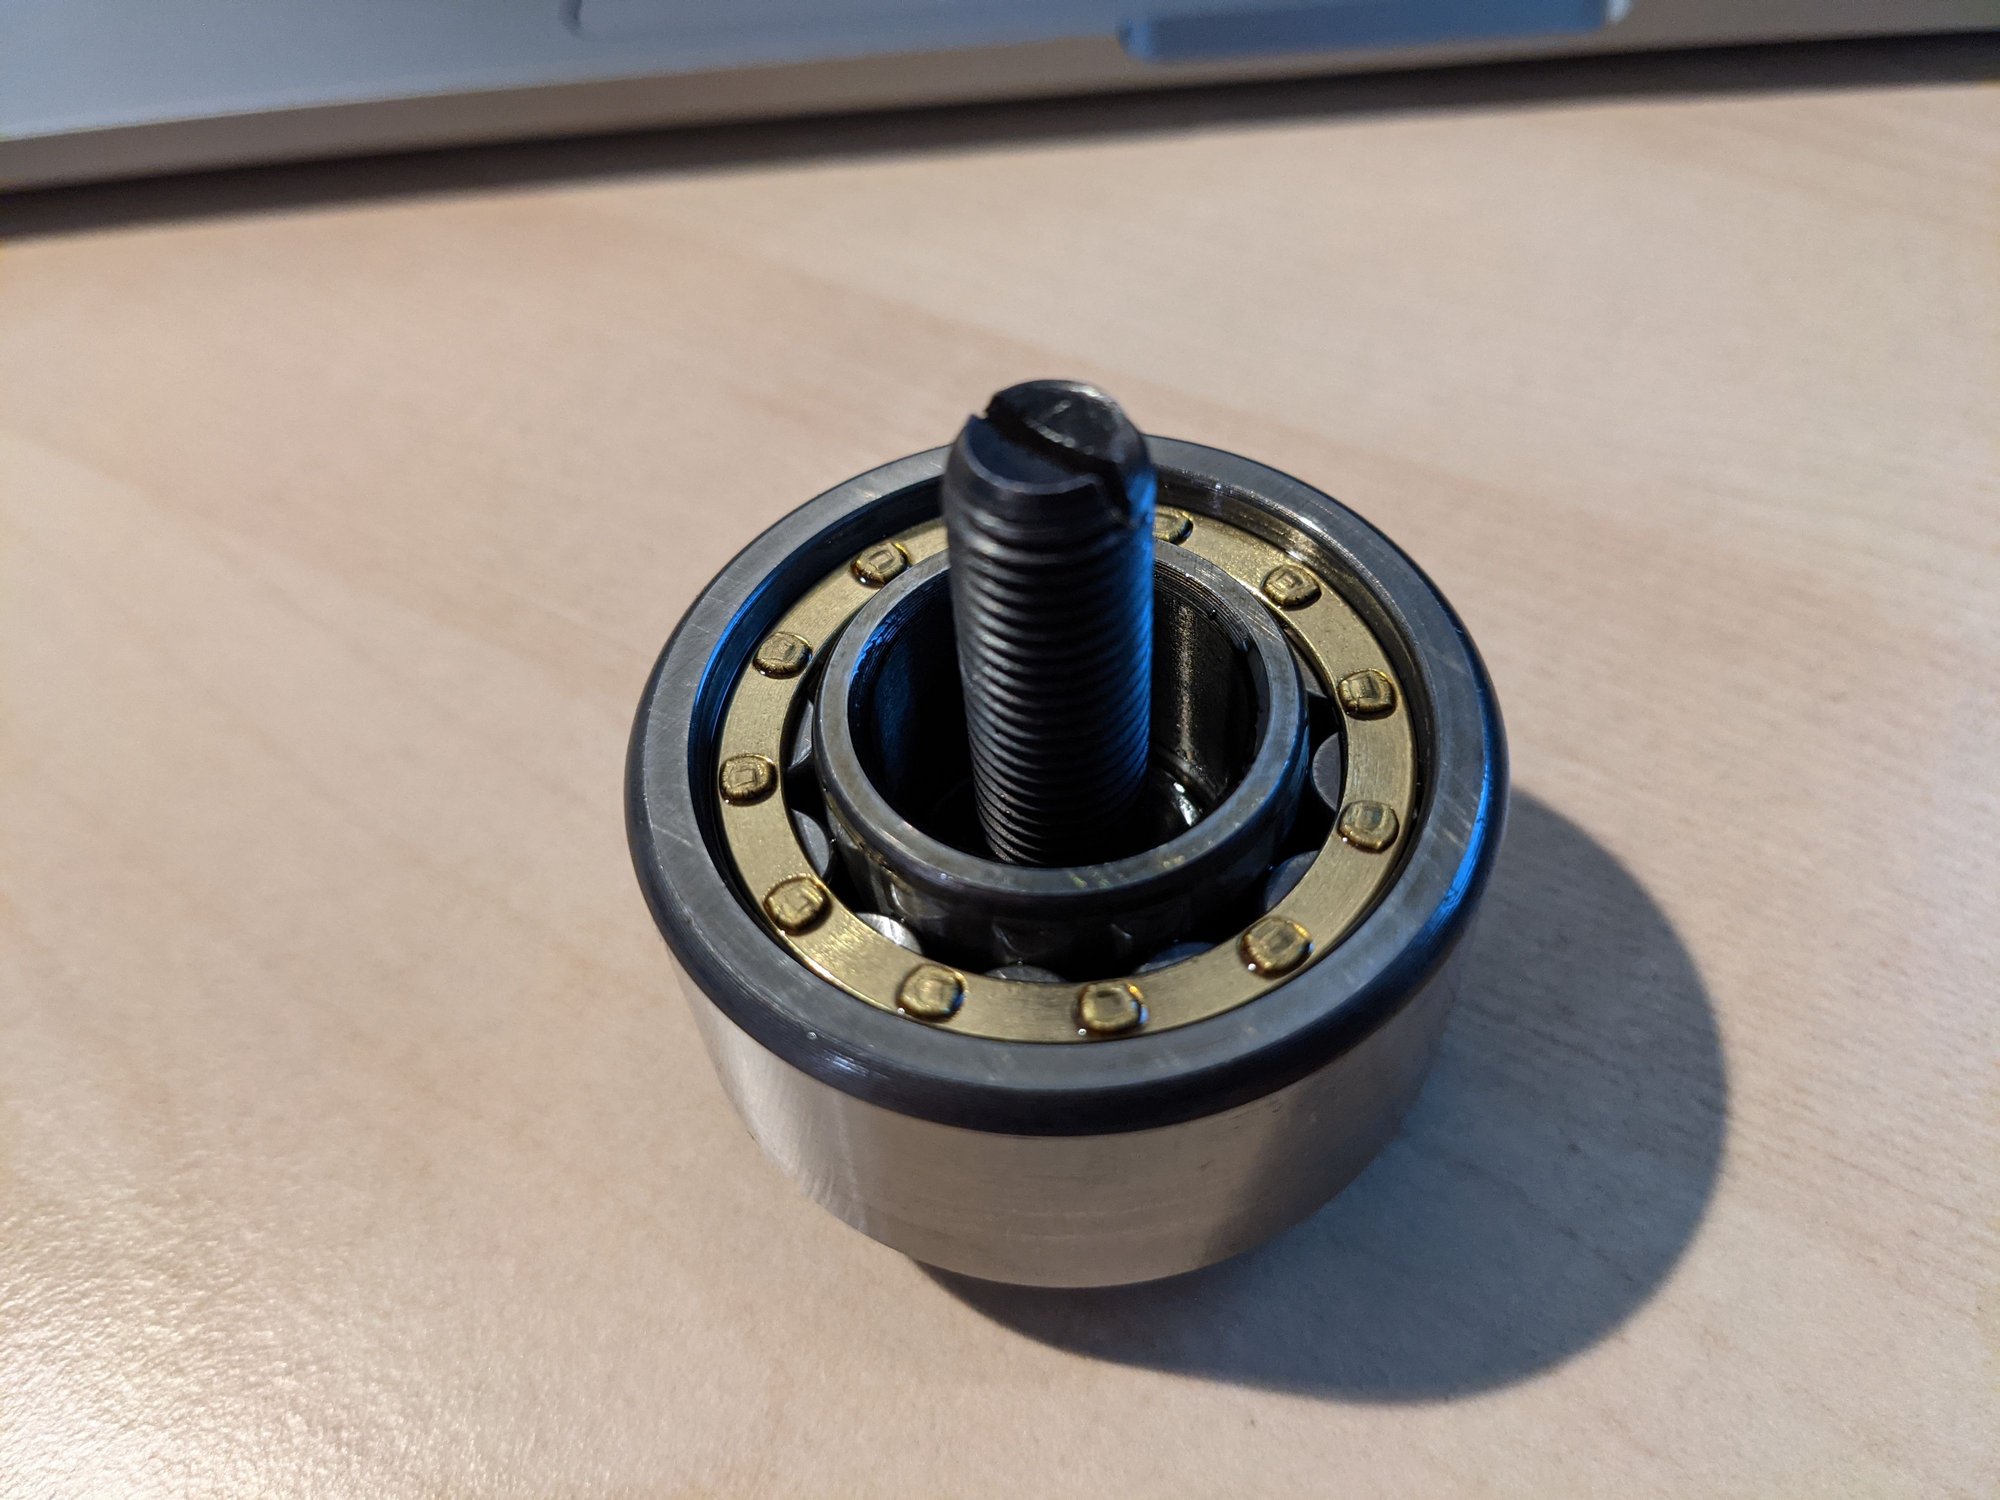
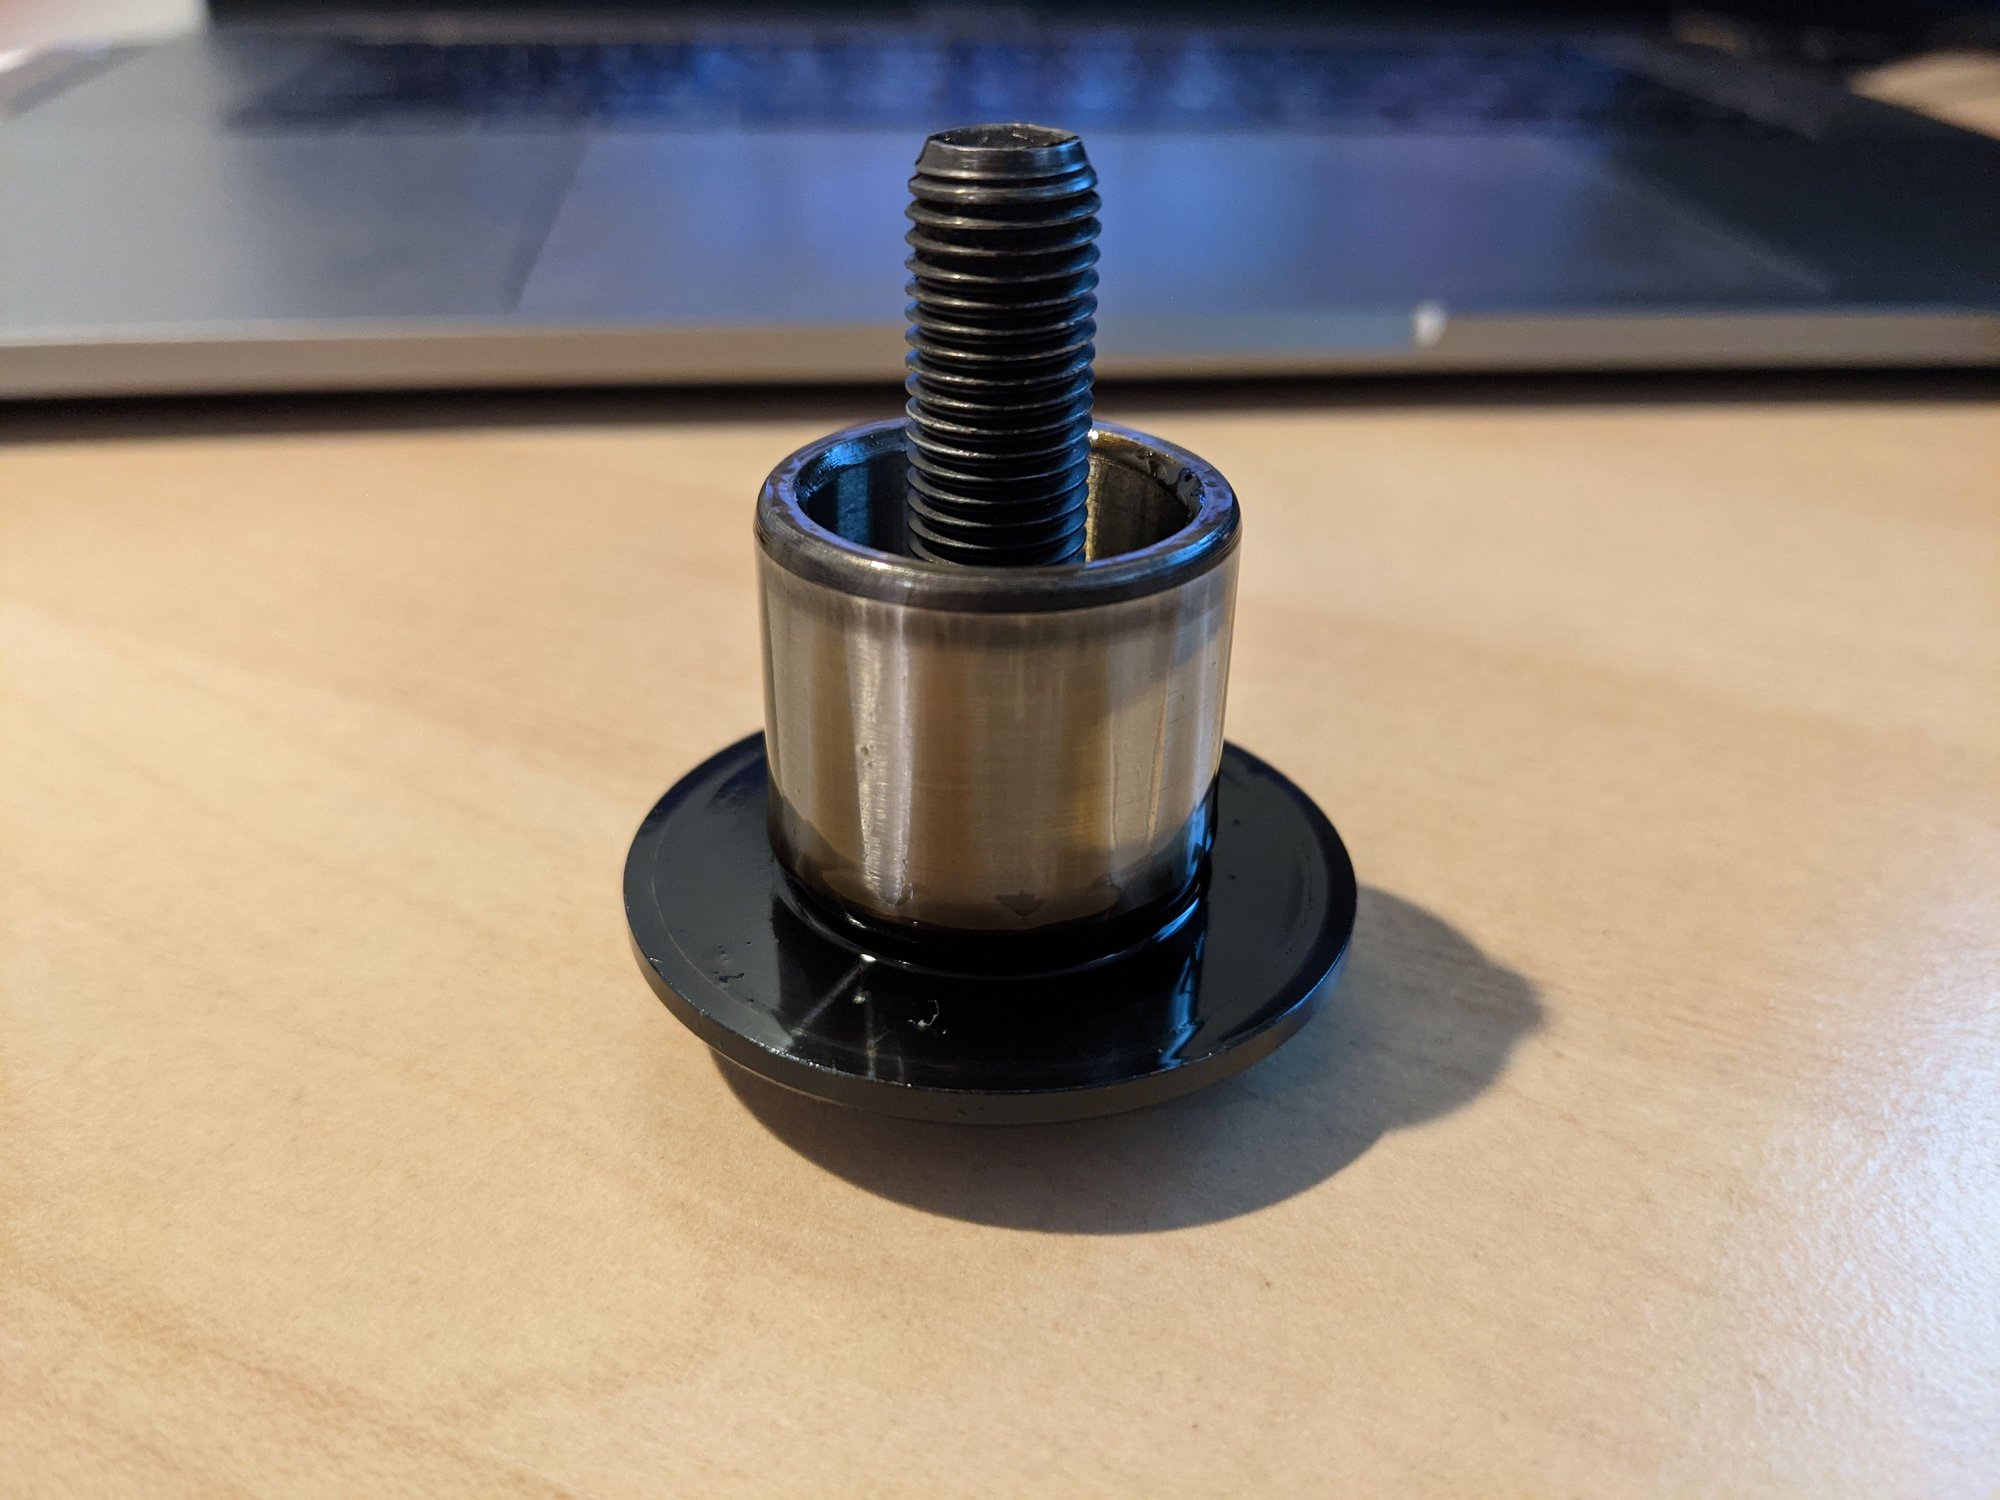
The bearing came out easily. The cam deviation that was checked prior was something around 0.43 and -0.52
LN bearing installed!
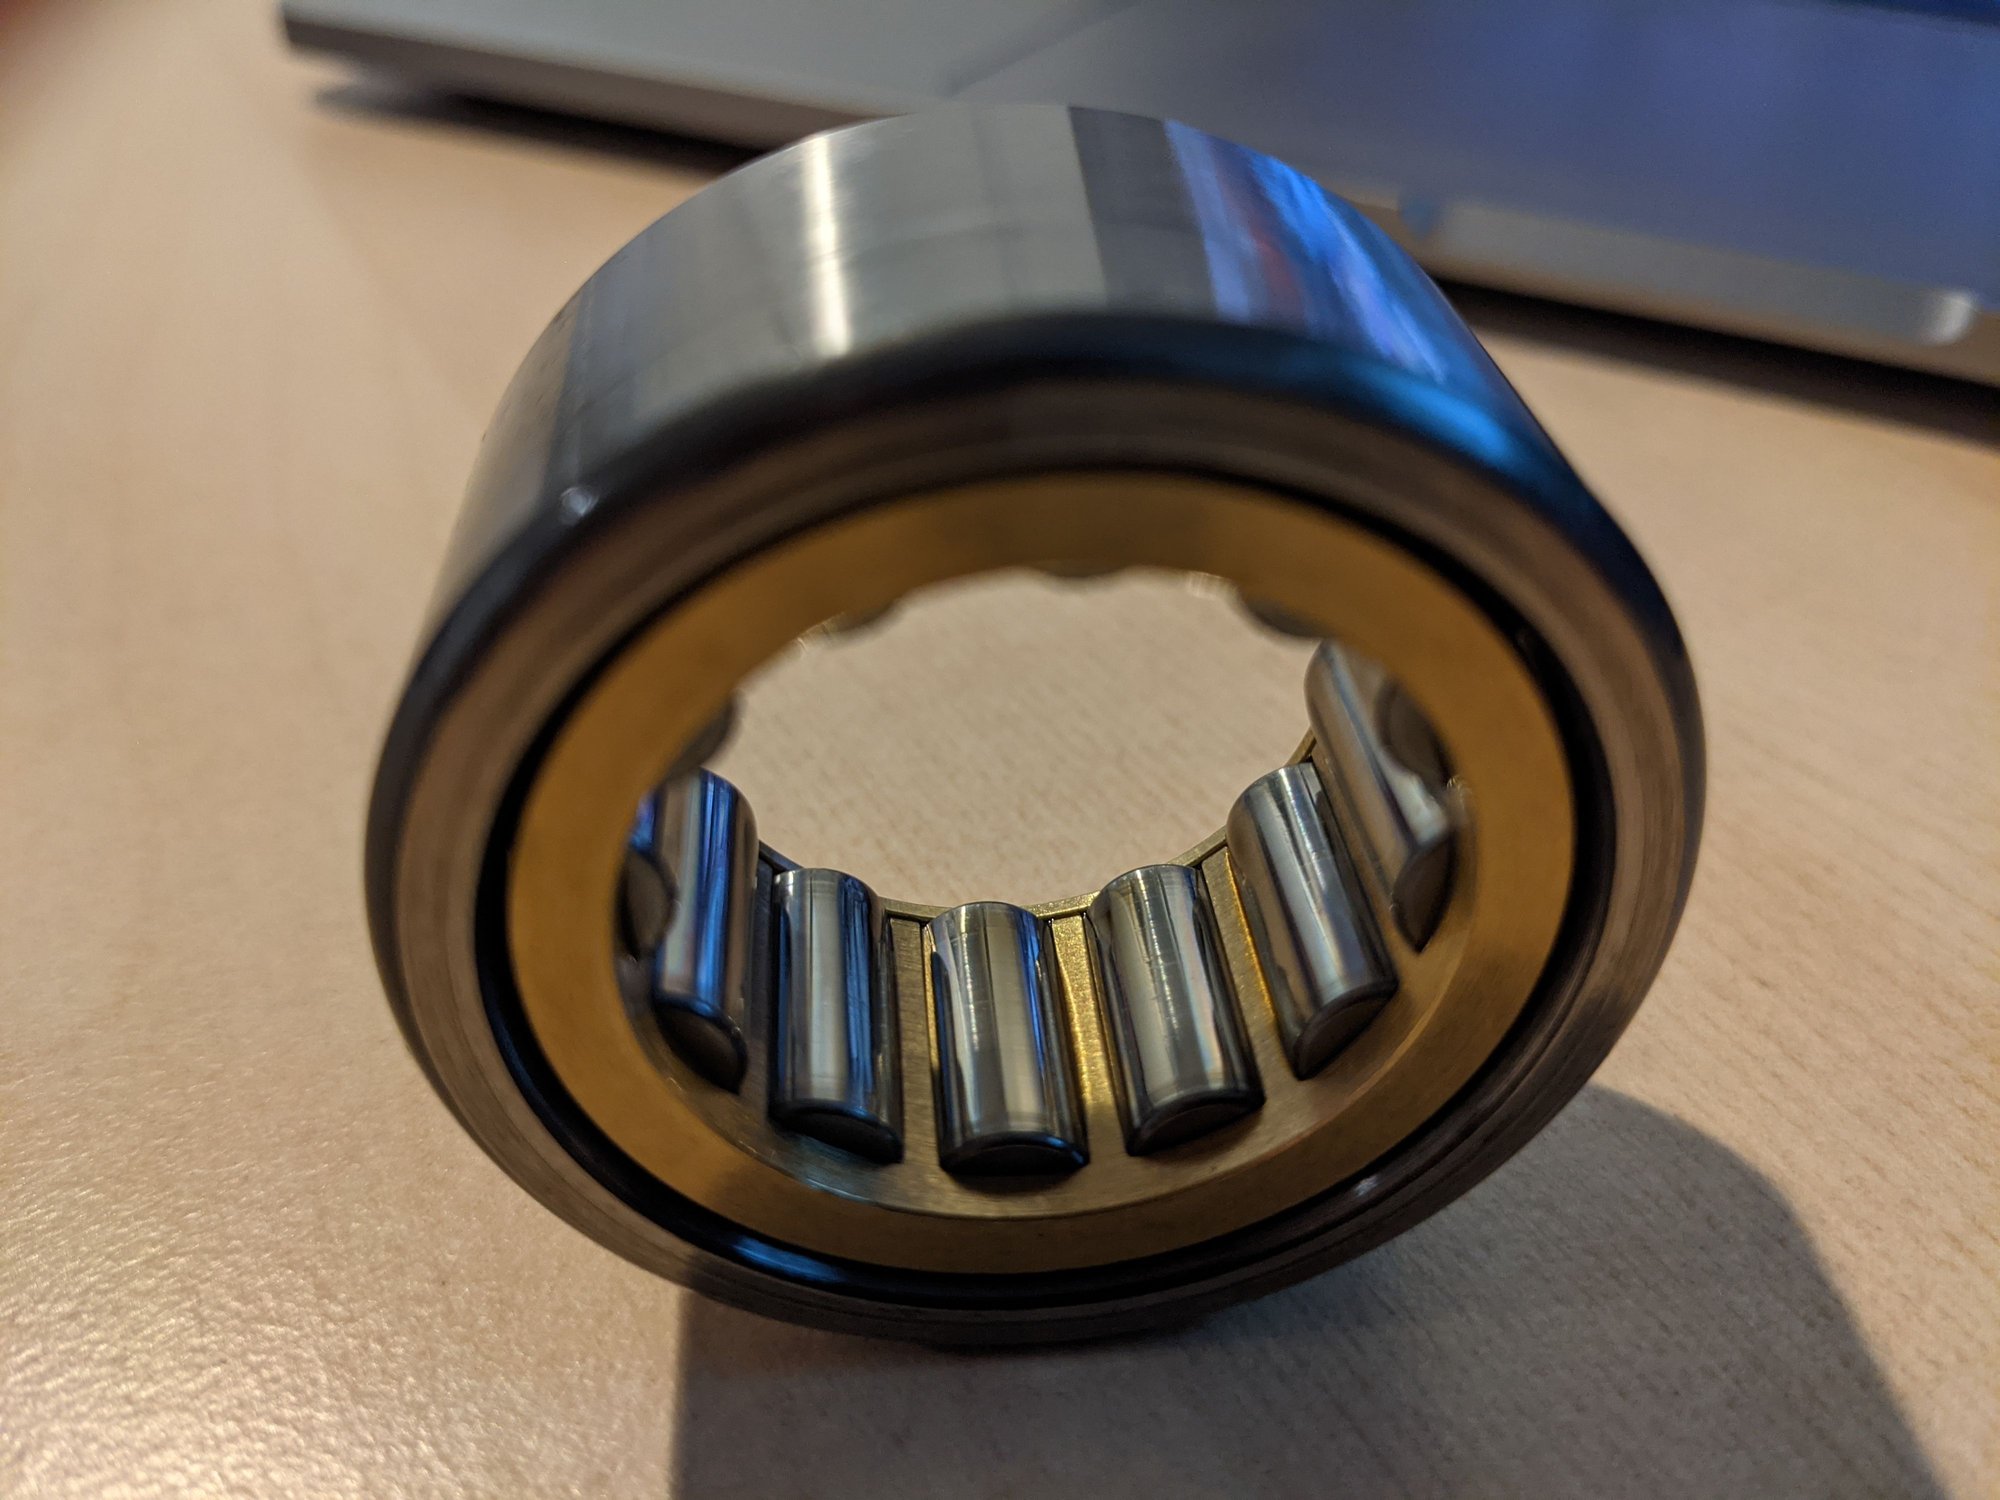
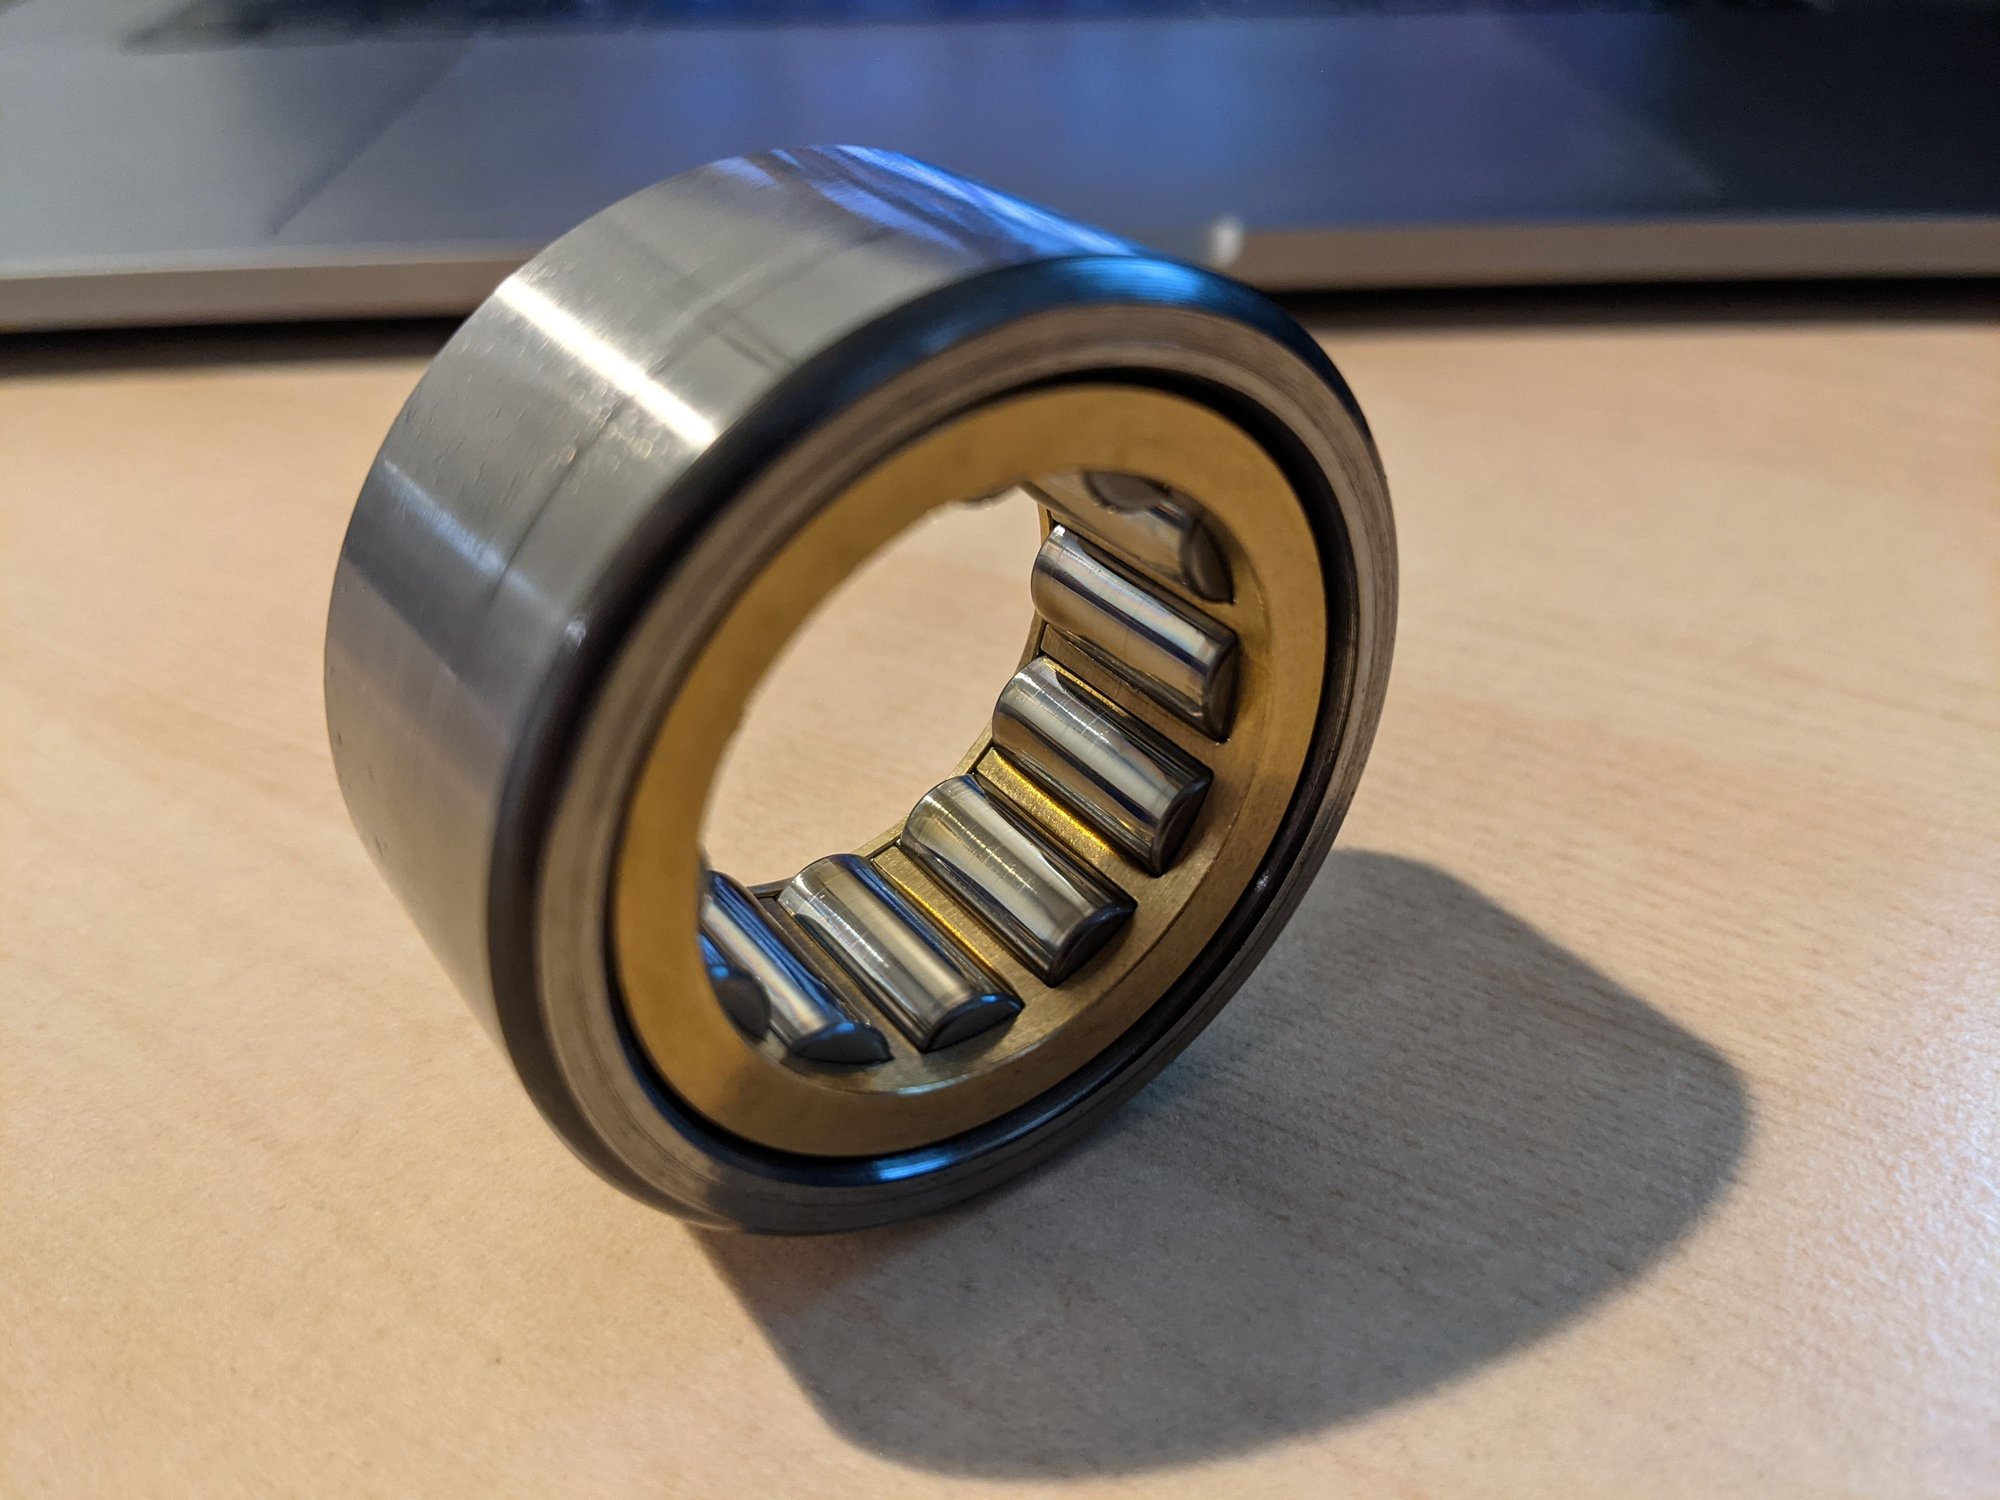
The EPS IMS was in the car for 10 years and looked perfect when it came out. Spun buttery smooth and didn't leak at all and got no grooves anywhere. The mechanic and I were pretty impressed. It technically could have been left in place but since we already had the LN one in the shop we put that in. It's a cylindrical bearing with thrust control, per EPS. Take that for what it's worth, the bearing looked impressive after 10 years and almost 60k miles. Below are some close up photos:
Because it's part of the process, the car had a fresh oil service with Driven DT40 and upgrade to the spin-on filter.
I've also had a random CEL come up. Durametric tells me it's P0442 Porsche fault code 97 - Tank vent system (minor leak). I've already replaced the gas cap. Not until I read the Pelican article did I notice that I sometimes hear a faint whistling noise as if you blew over a top of a bottle neck. This seems to be pointing to Fuel Tank Bleeder Valve. Seems like an easy job but the damn thing is $150 - $200 We shall see soon!
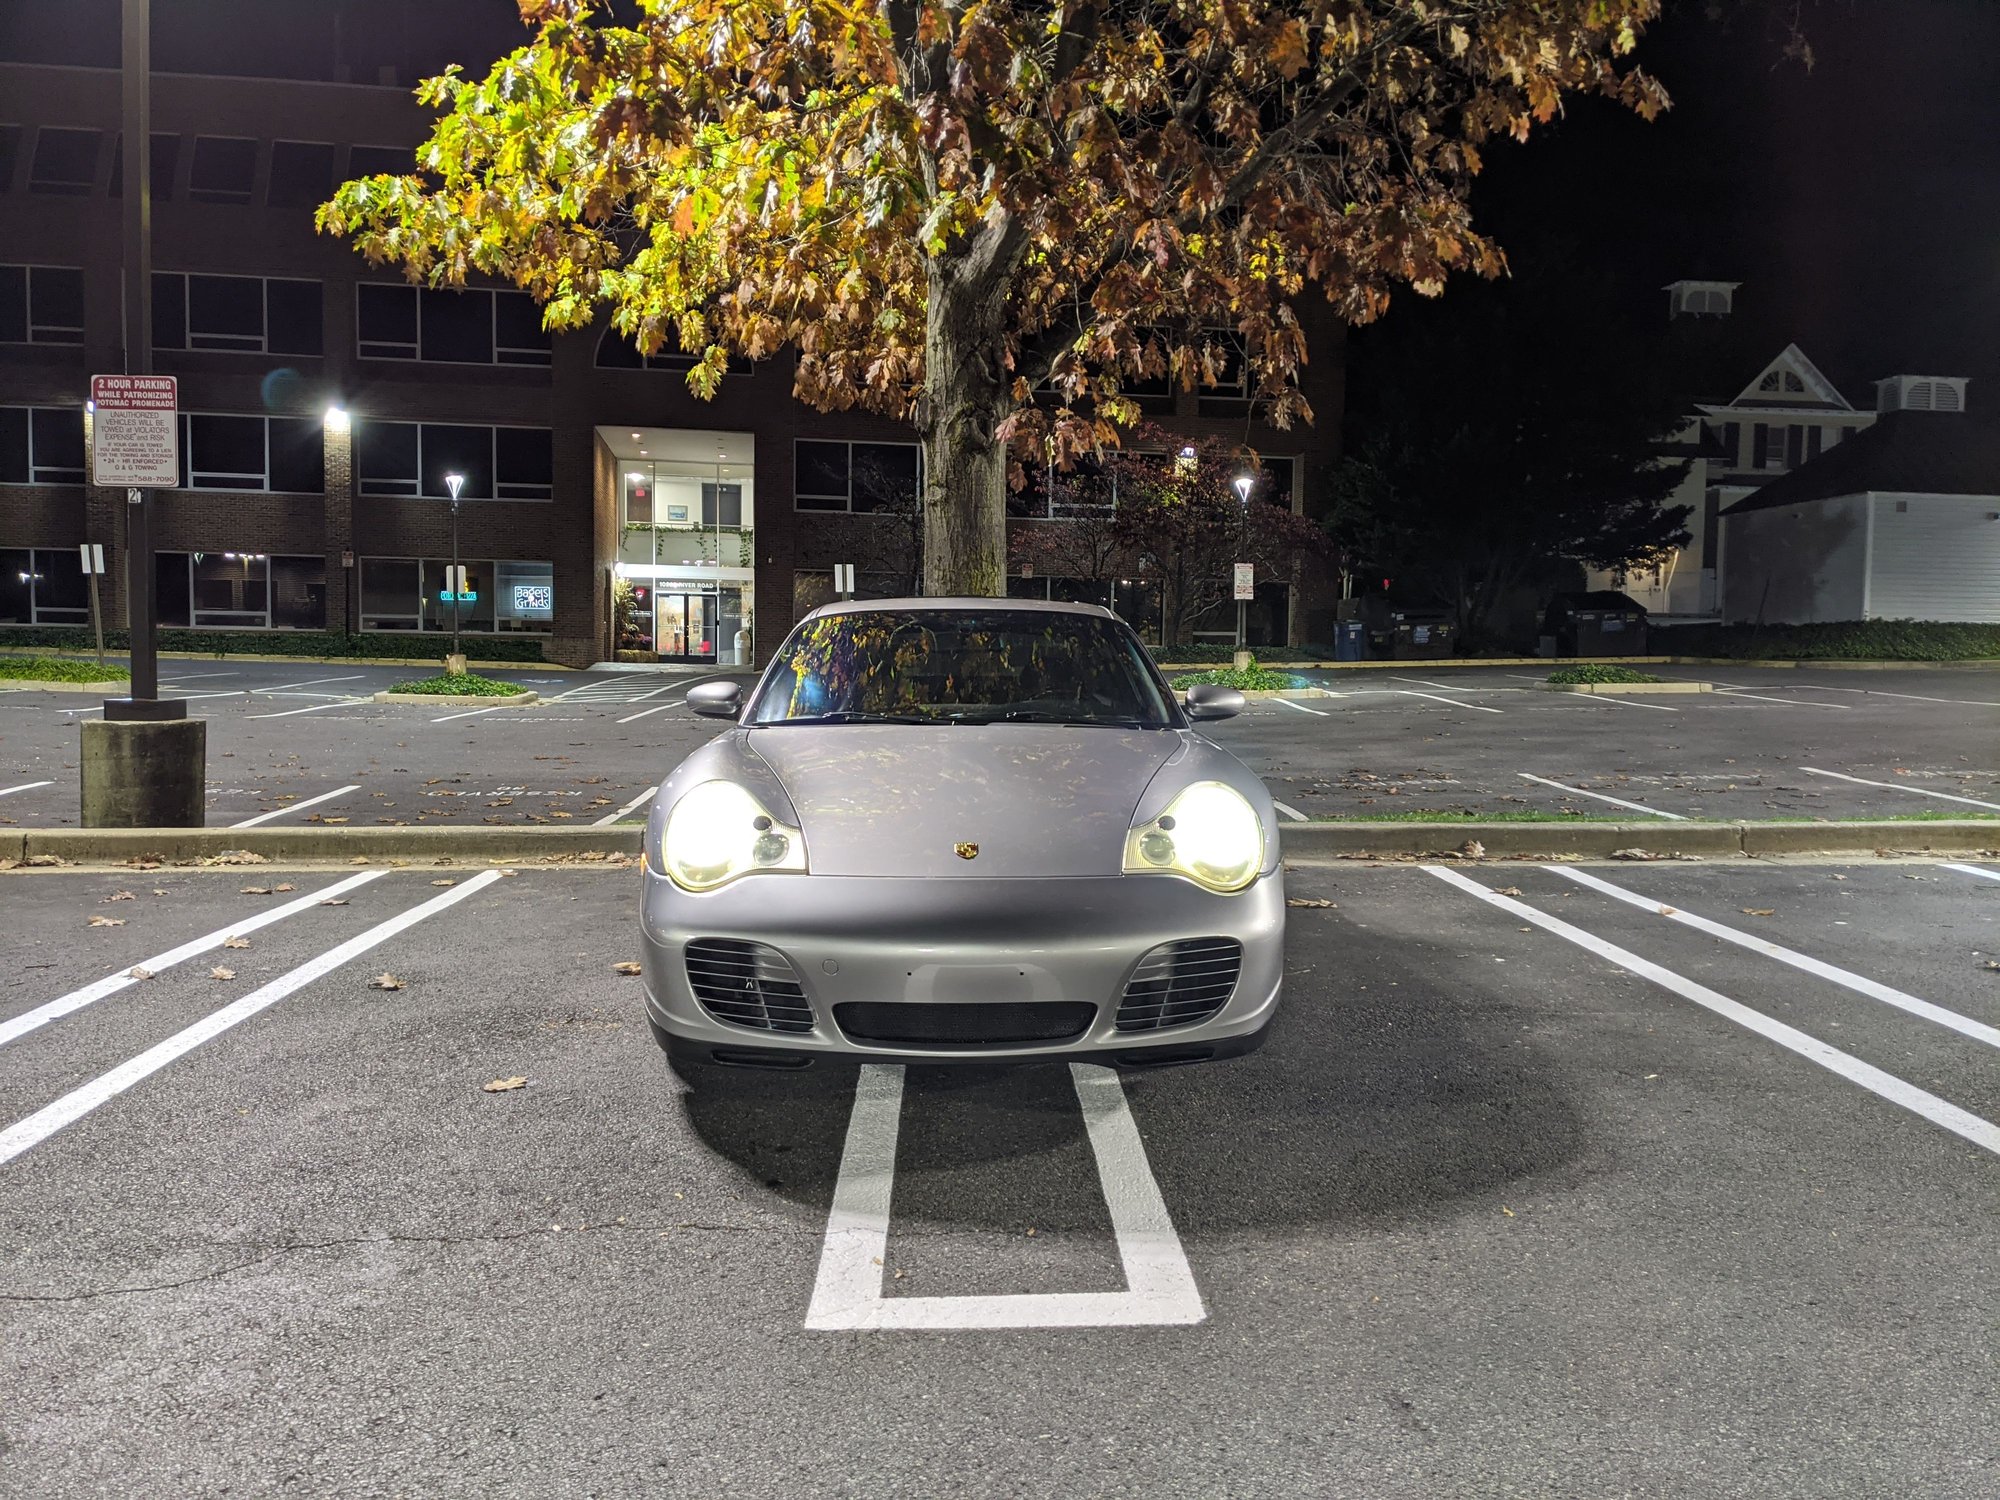
Besides that, gave the car a wash and went to a track for an intro to track session, lead/follow type of set up. Good times!

 10-21-2020, 08:03 PM


 Because of limited daylight I only had the time to do the center vent, which somewhat ironically doesn't lead to anything as there is no center radiator there
  . I basically did what Nakai does in those crazy RWB builds. I think it came out good. I removed the stock black plastic piece - it pops out easily.
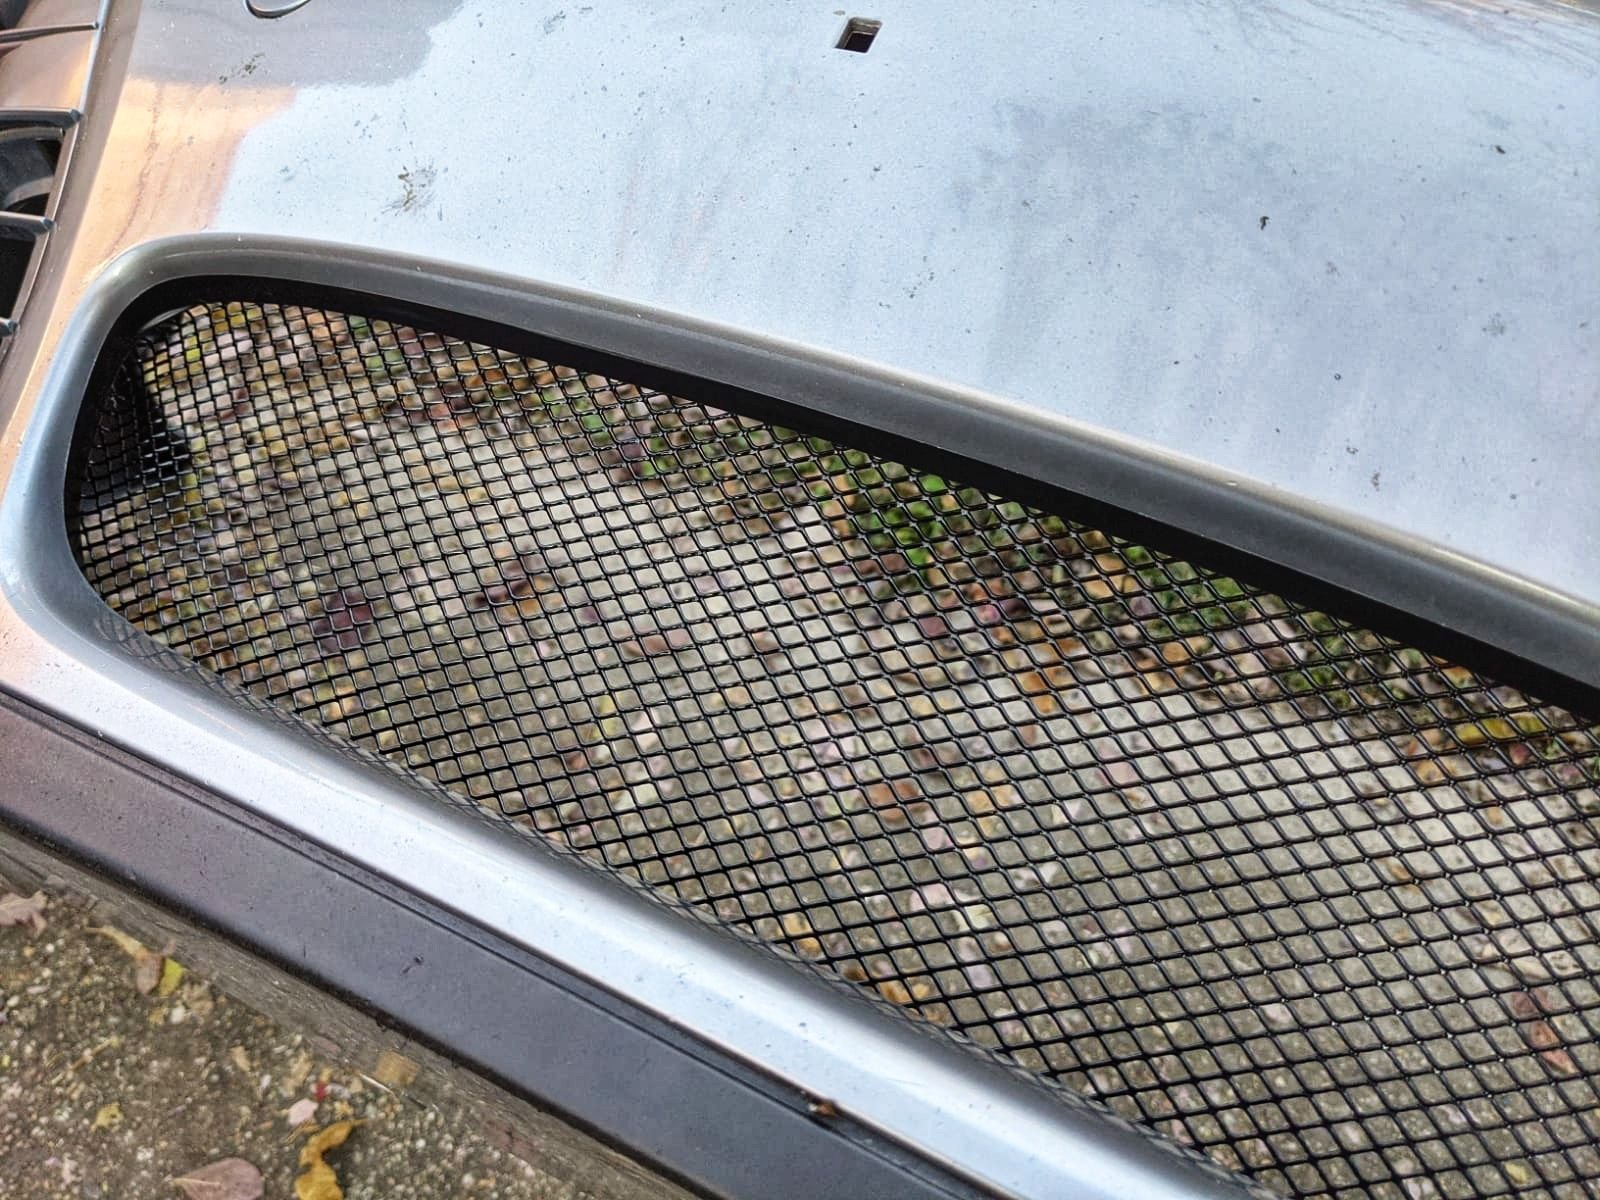


 We shall see soon!