When you click on links to various merchants on this site and make a purchase, this can result in this site earning a commission. Affiliate programs and affiliations include, but are not limited to, the eBay Partner Network.
I did this work last fall but just getting around to posting here. Hopefully it will help anyone interested in doing this.
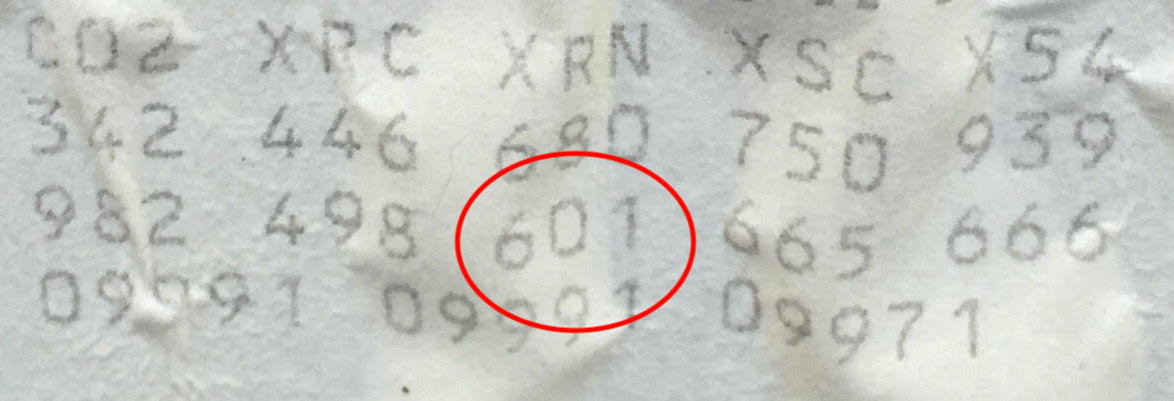
Despite the fact that my 04 C4S has option code 601 (Litronic Xenon Headlights), there is no ballast assembly to be found and the bulbs are regular H7 Halogens. I don't know if the PO removed them or what, but at any rate, the lights are anemic and make it really difficult to see the road at night.
Tools Needed:
1" wood drill bit
Dremel tool with drum sander
Hot glue gun
Heat gun
3M double-sided tape
Misc size heat shrink tubing
Project time: ~3hrs total
Difficulty: 4 / 10
Total Project Cost: ~$200
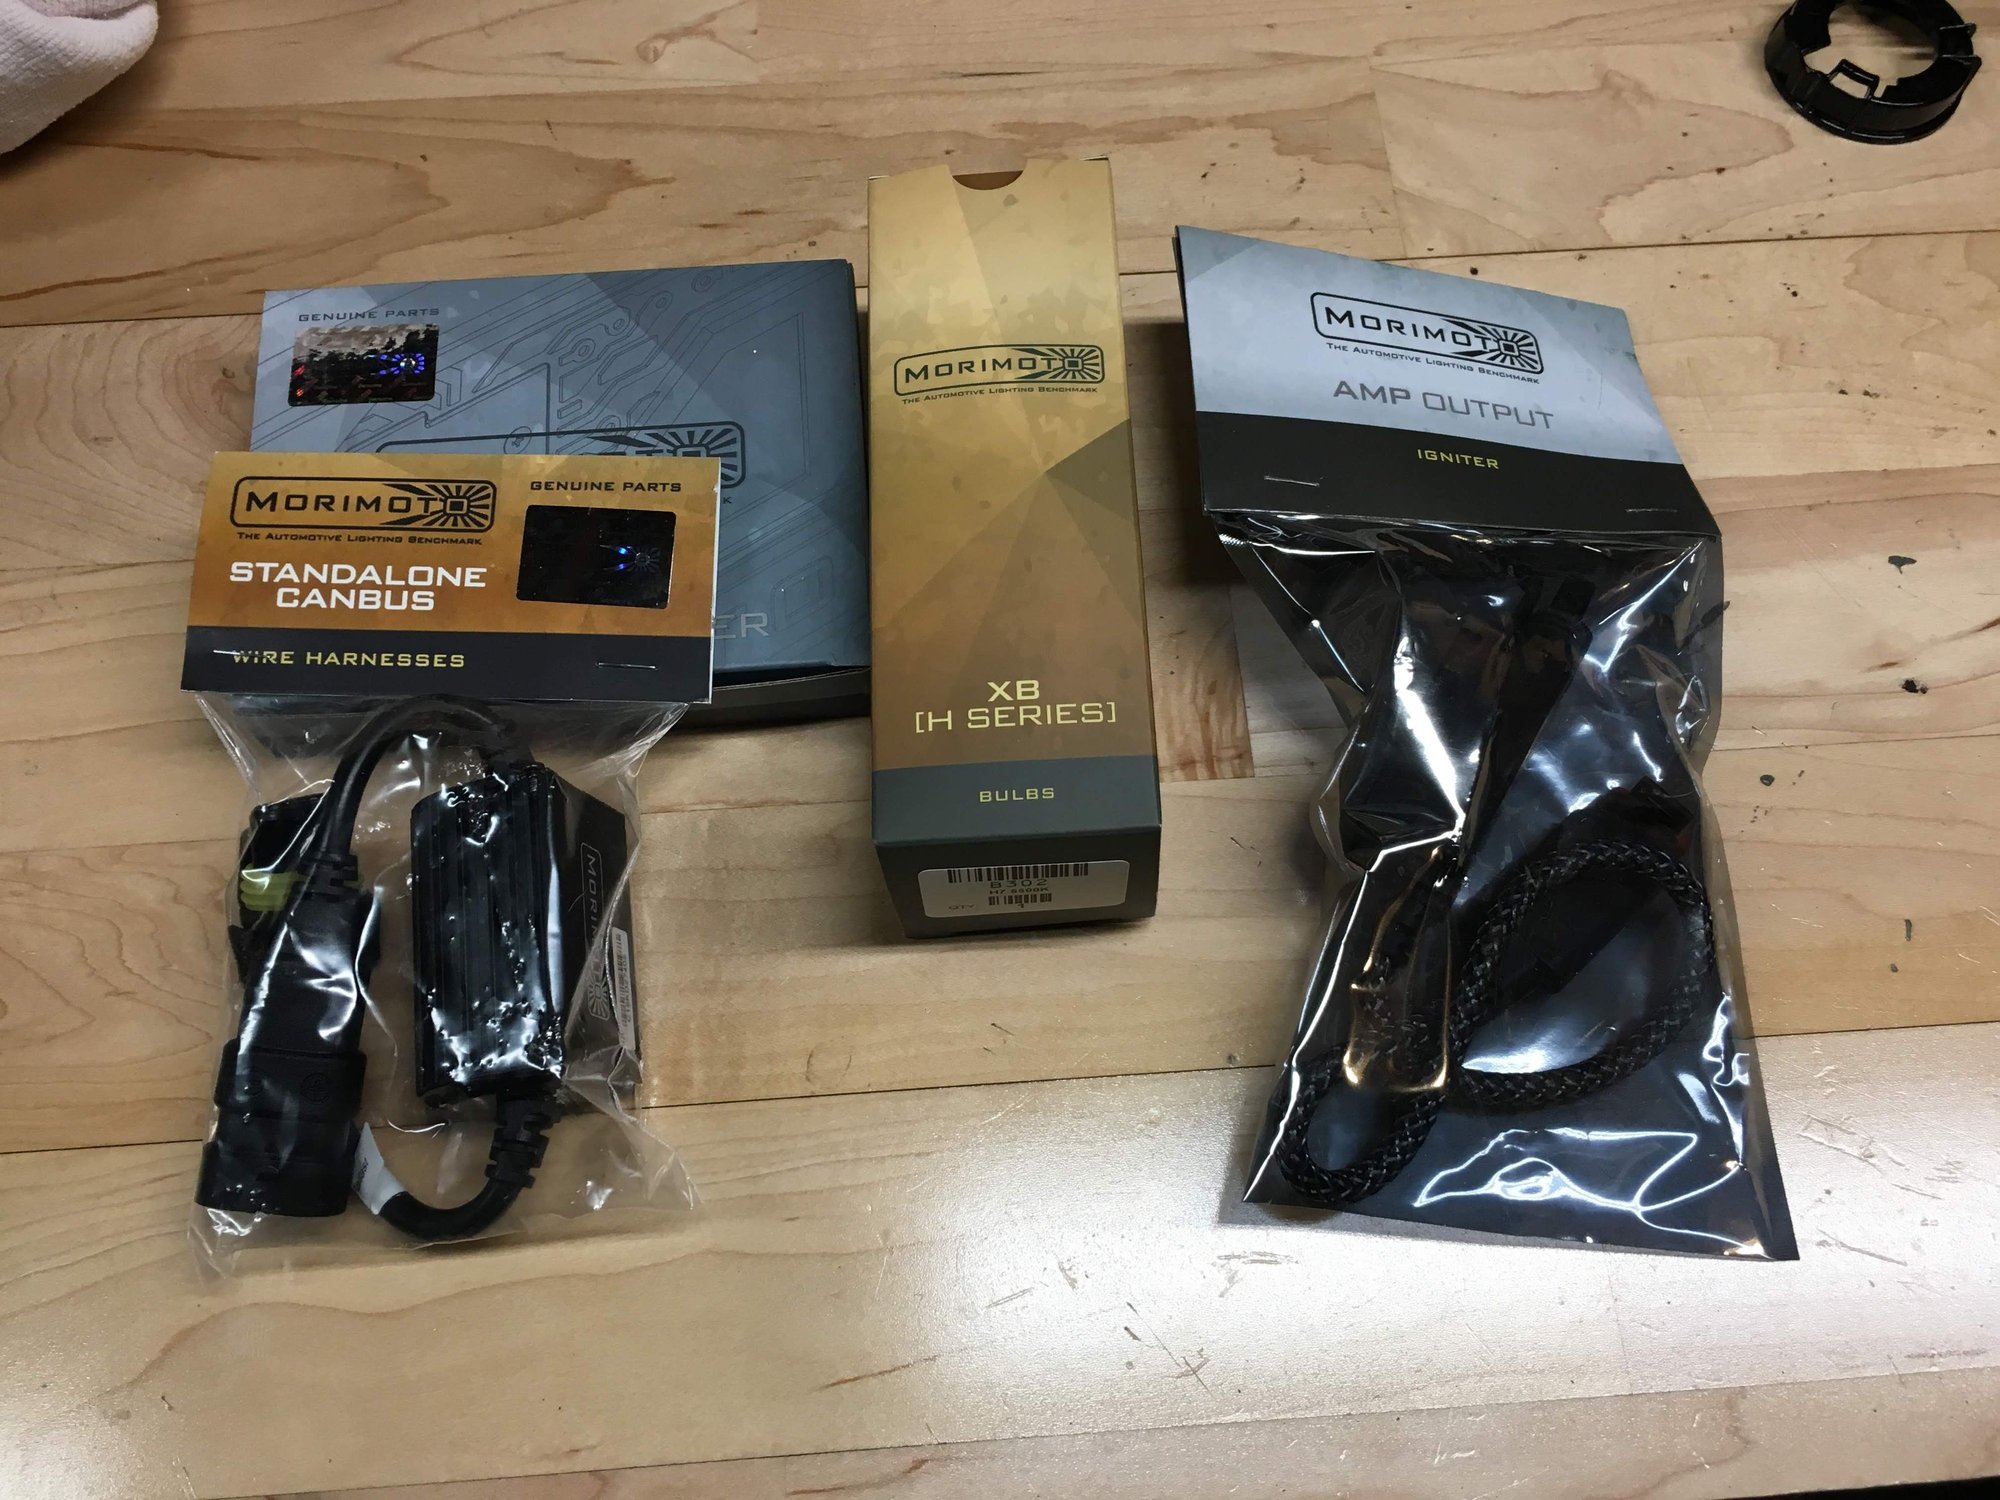
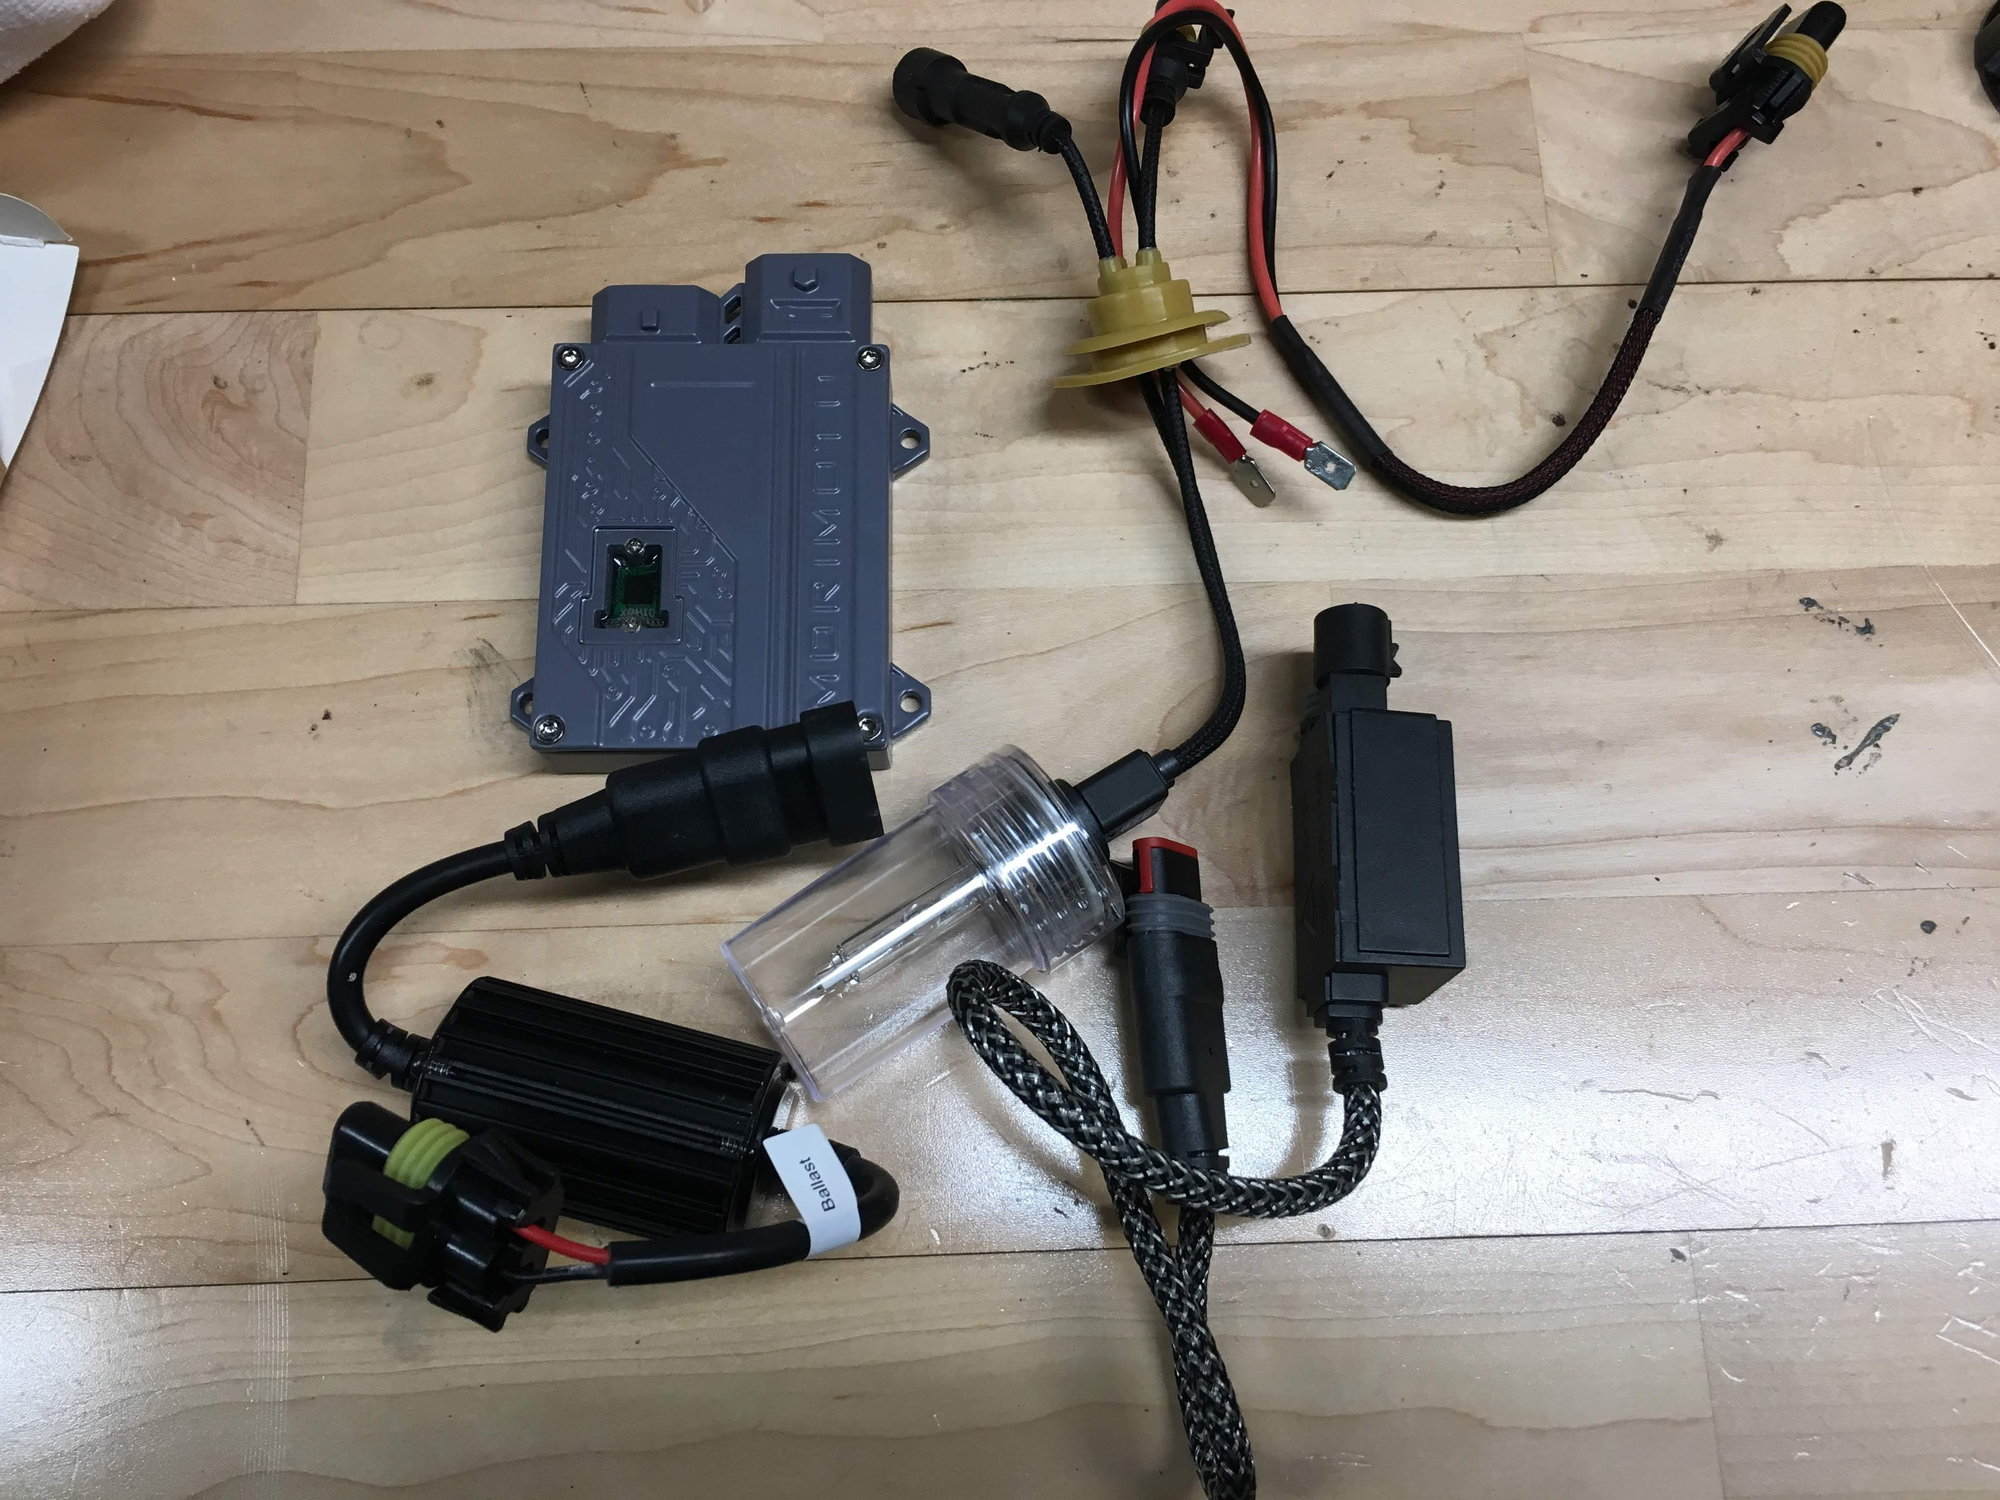
Parts needed
Ballast, bulb and various connectors
Procedure
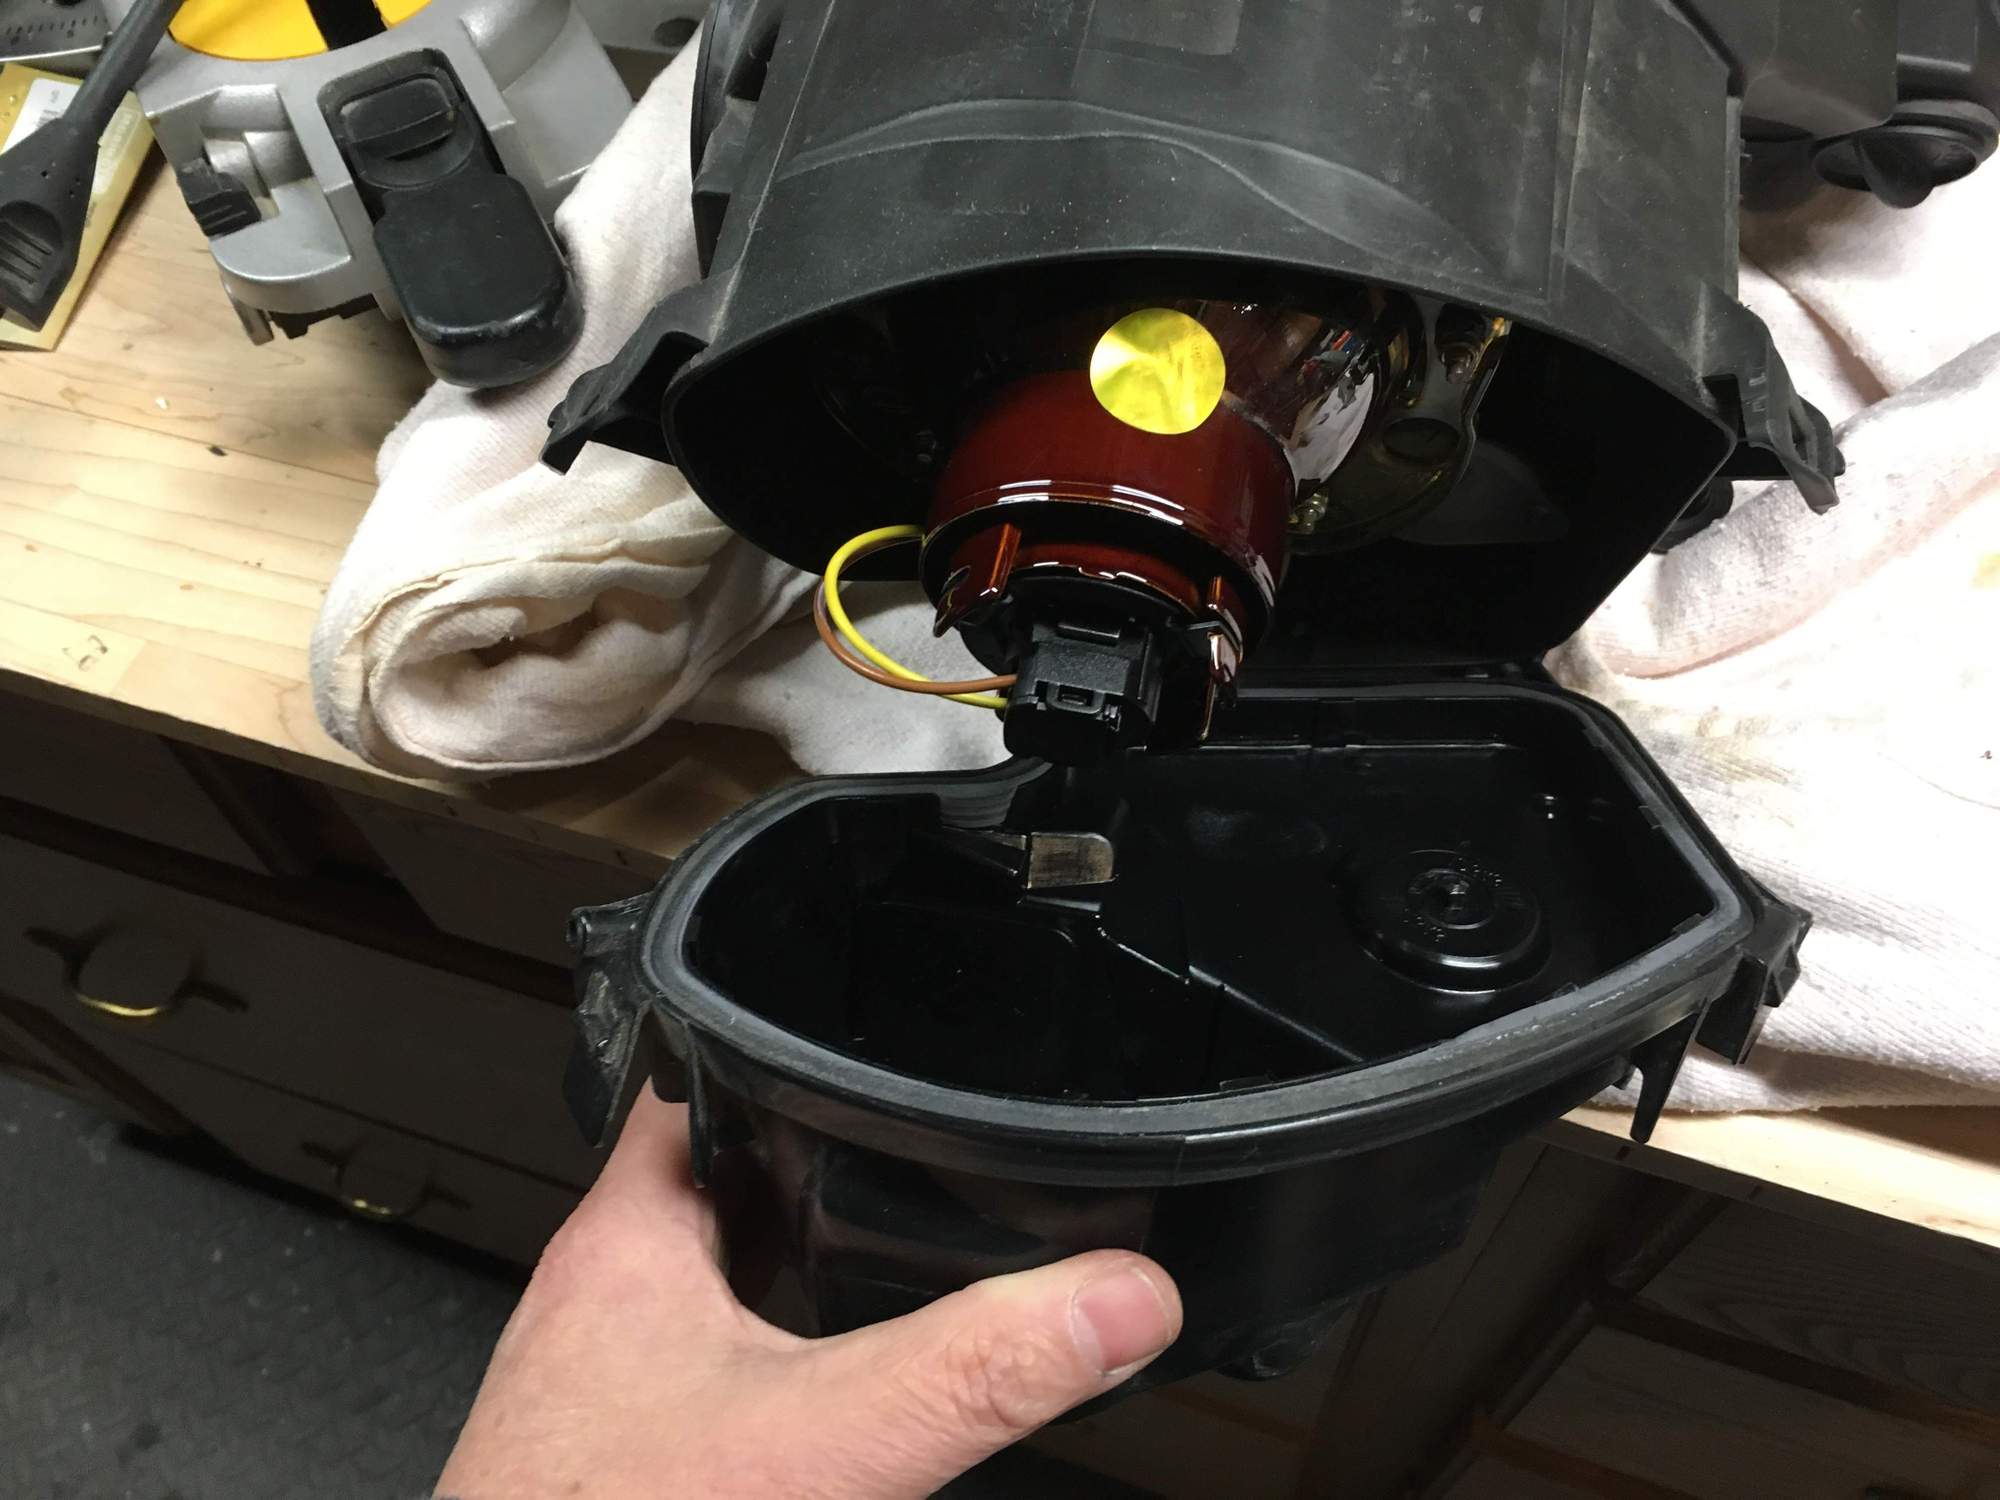
After removing the headlight assembly from the vehicle, remove the back cover.
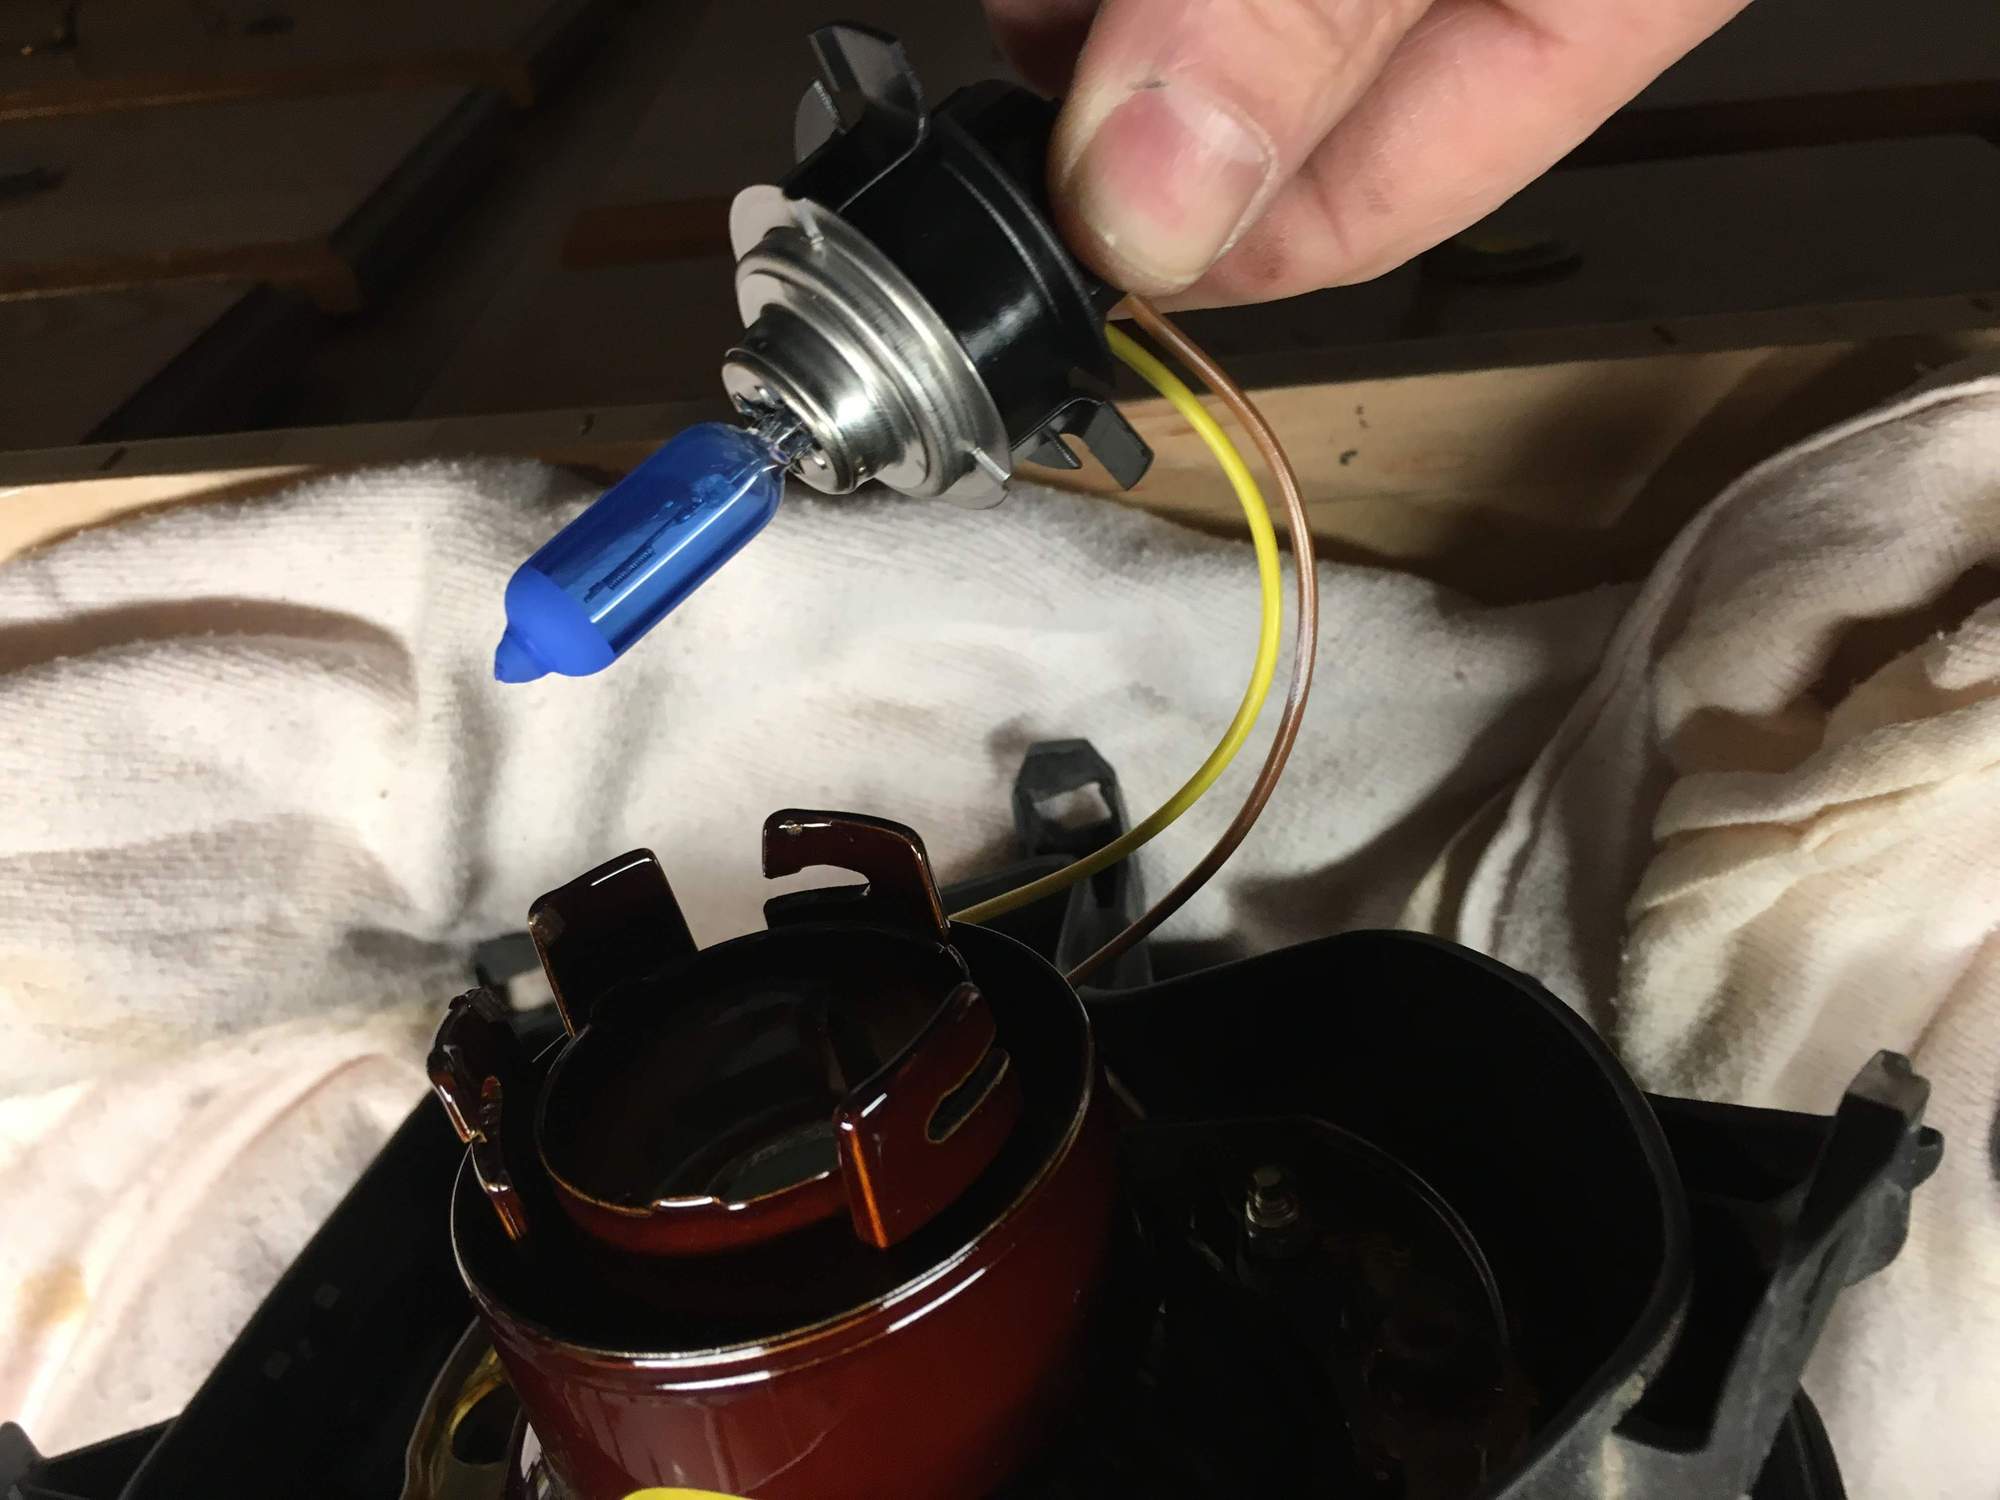
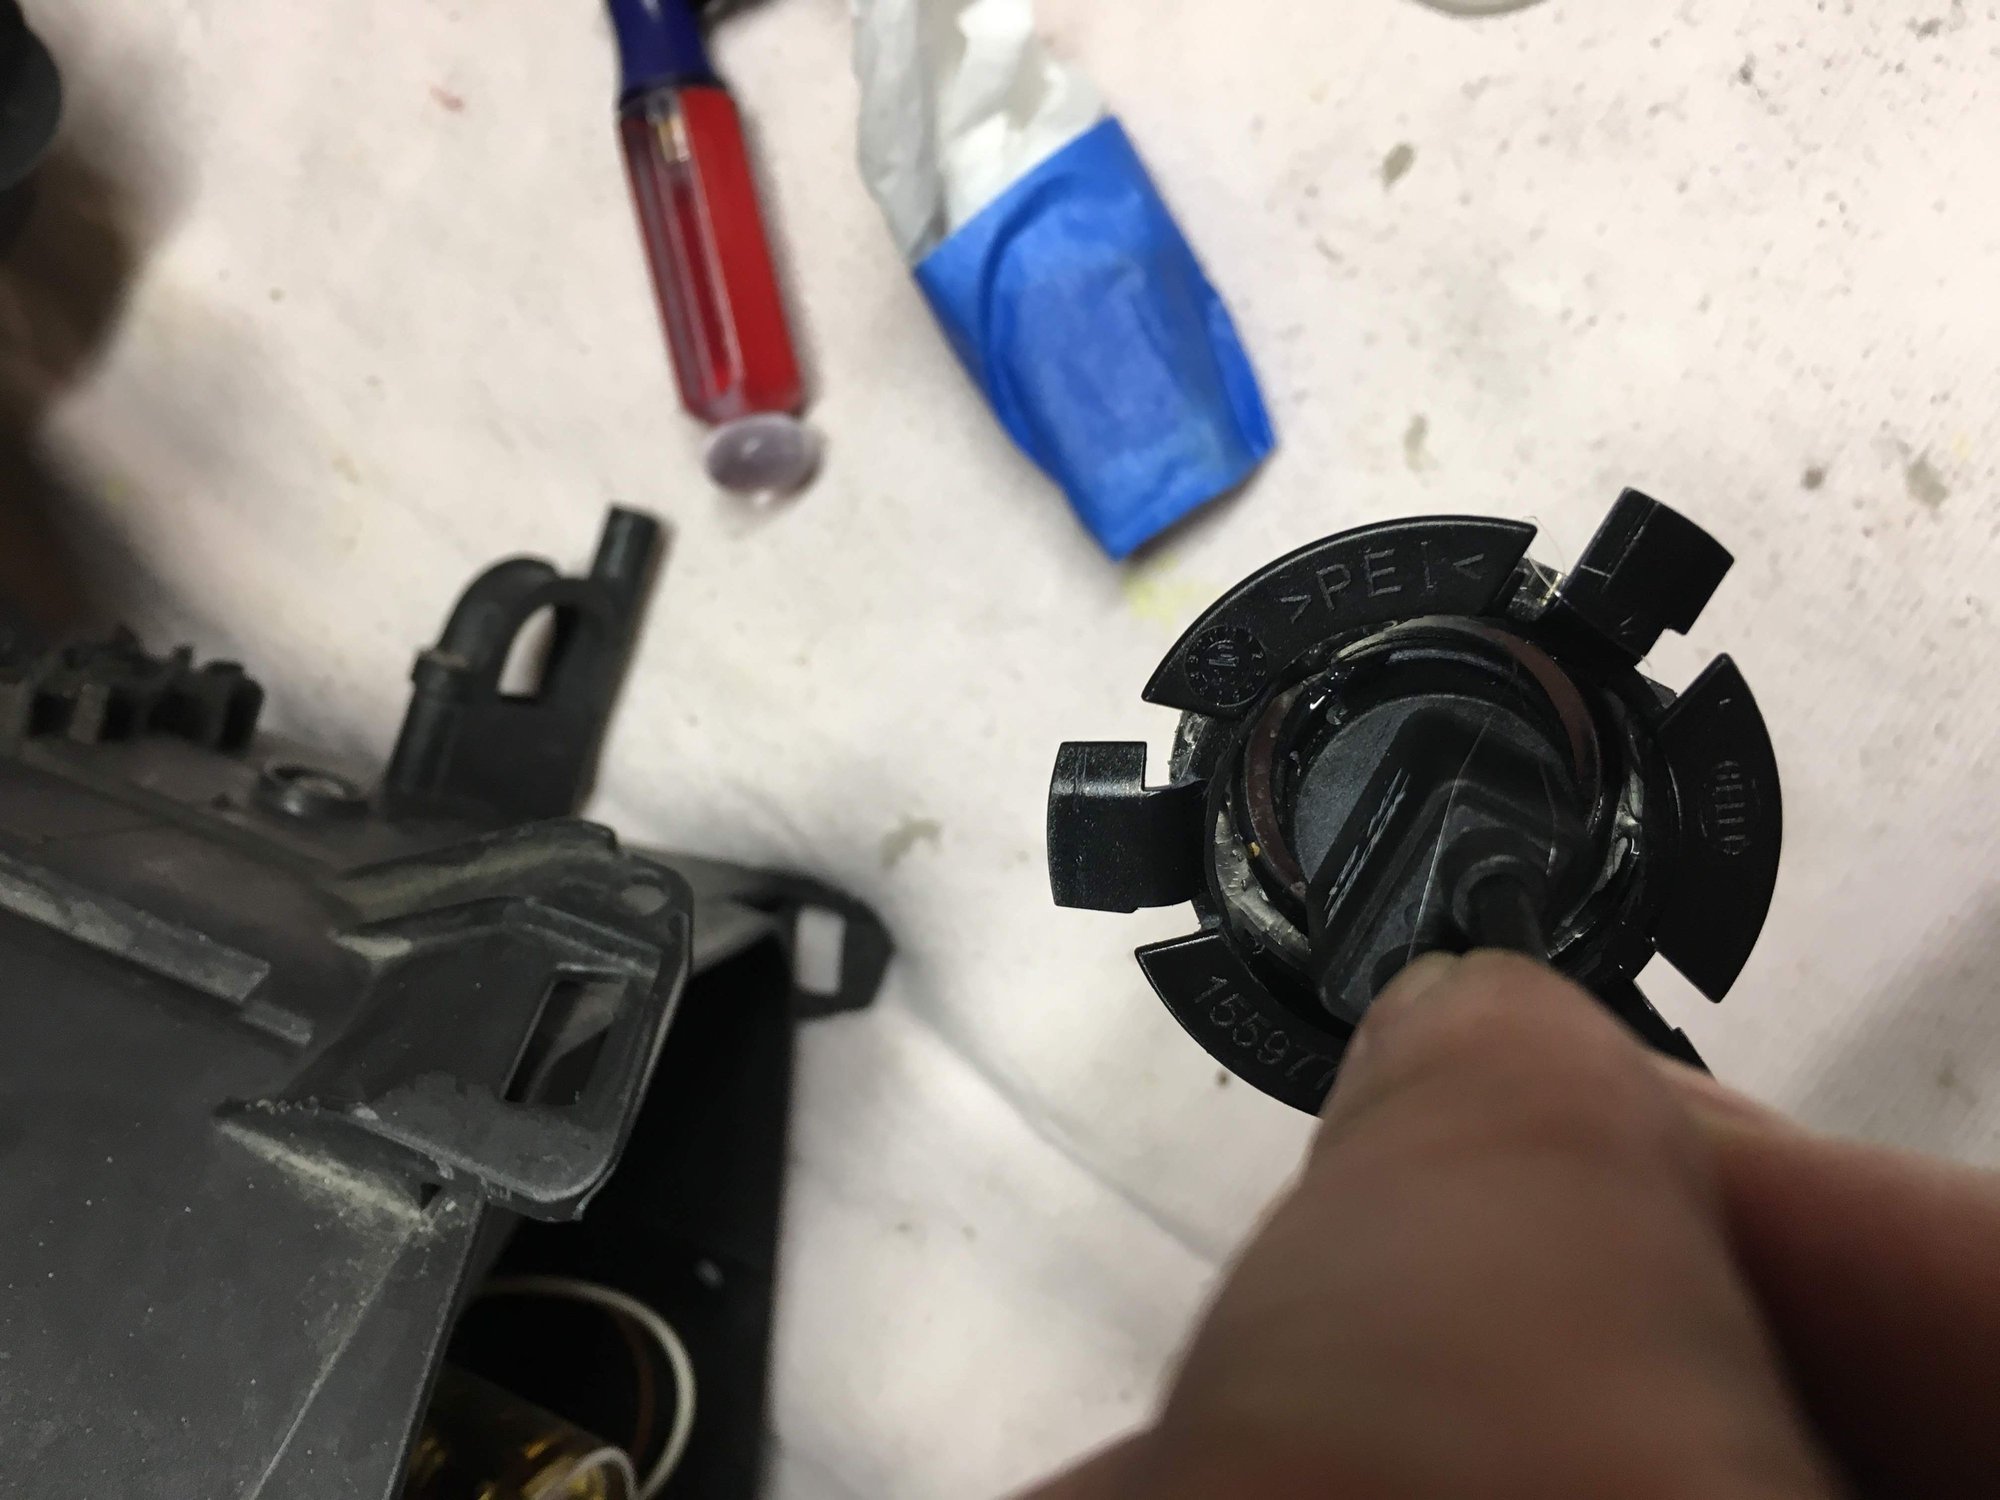
Twist to remove the bulb assembly from the ceramic housing.
Unplug the Hu7 bulb from the 3-tabbed fixture.
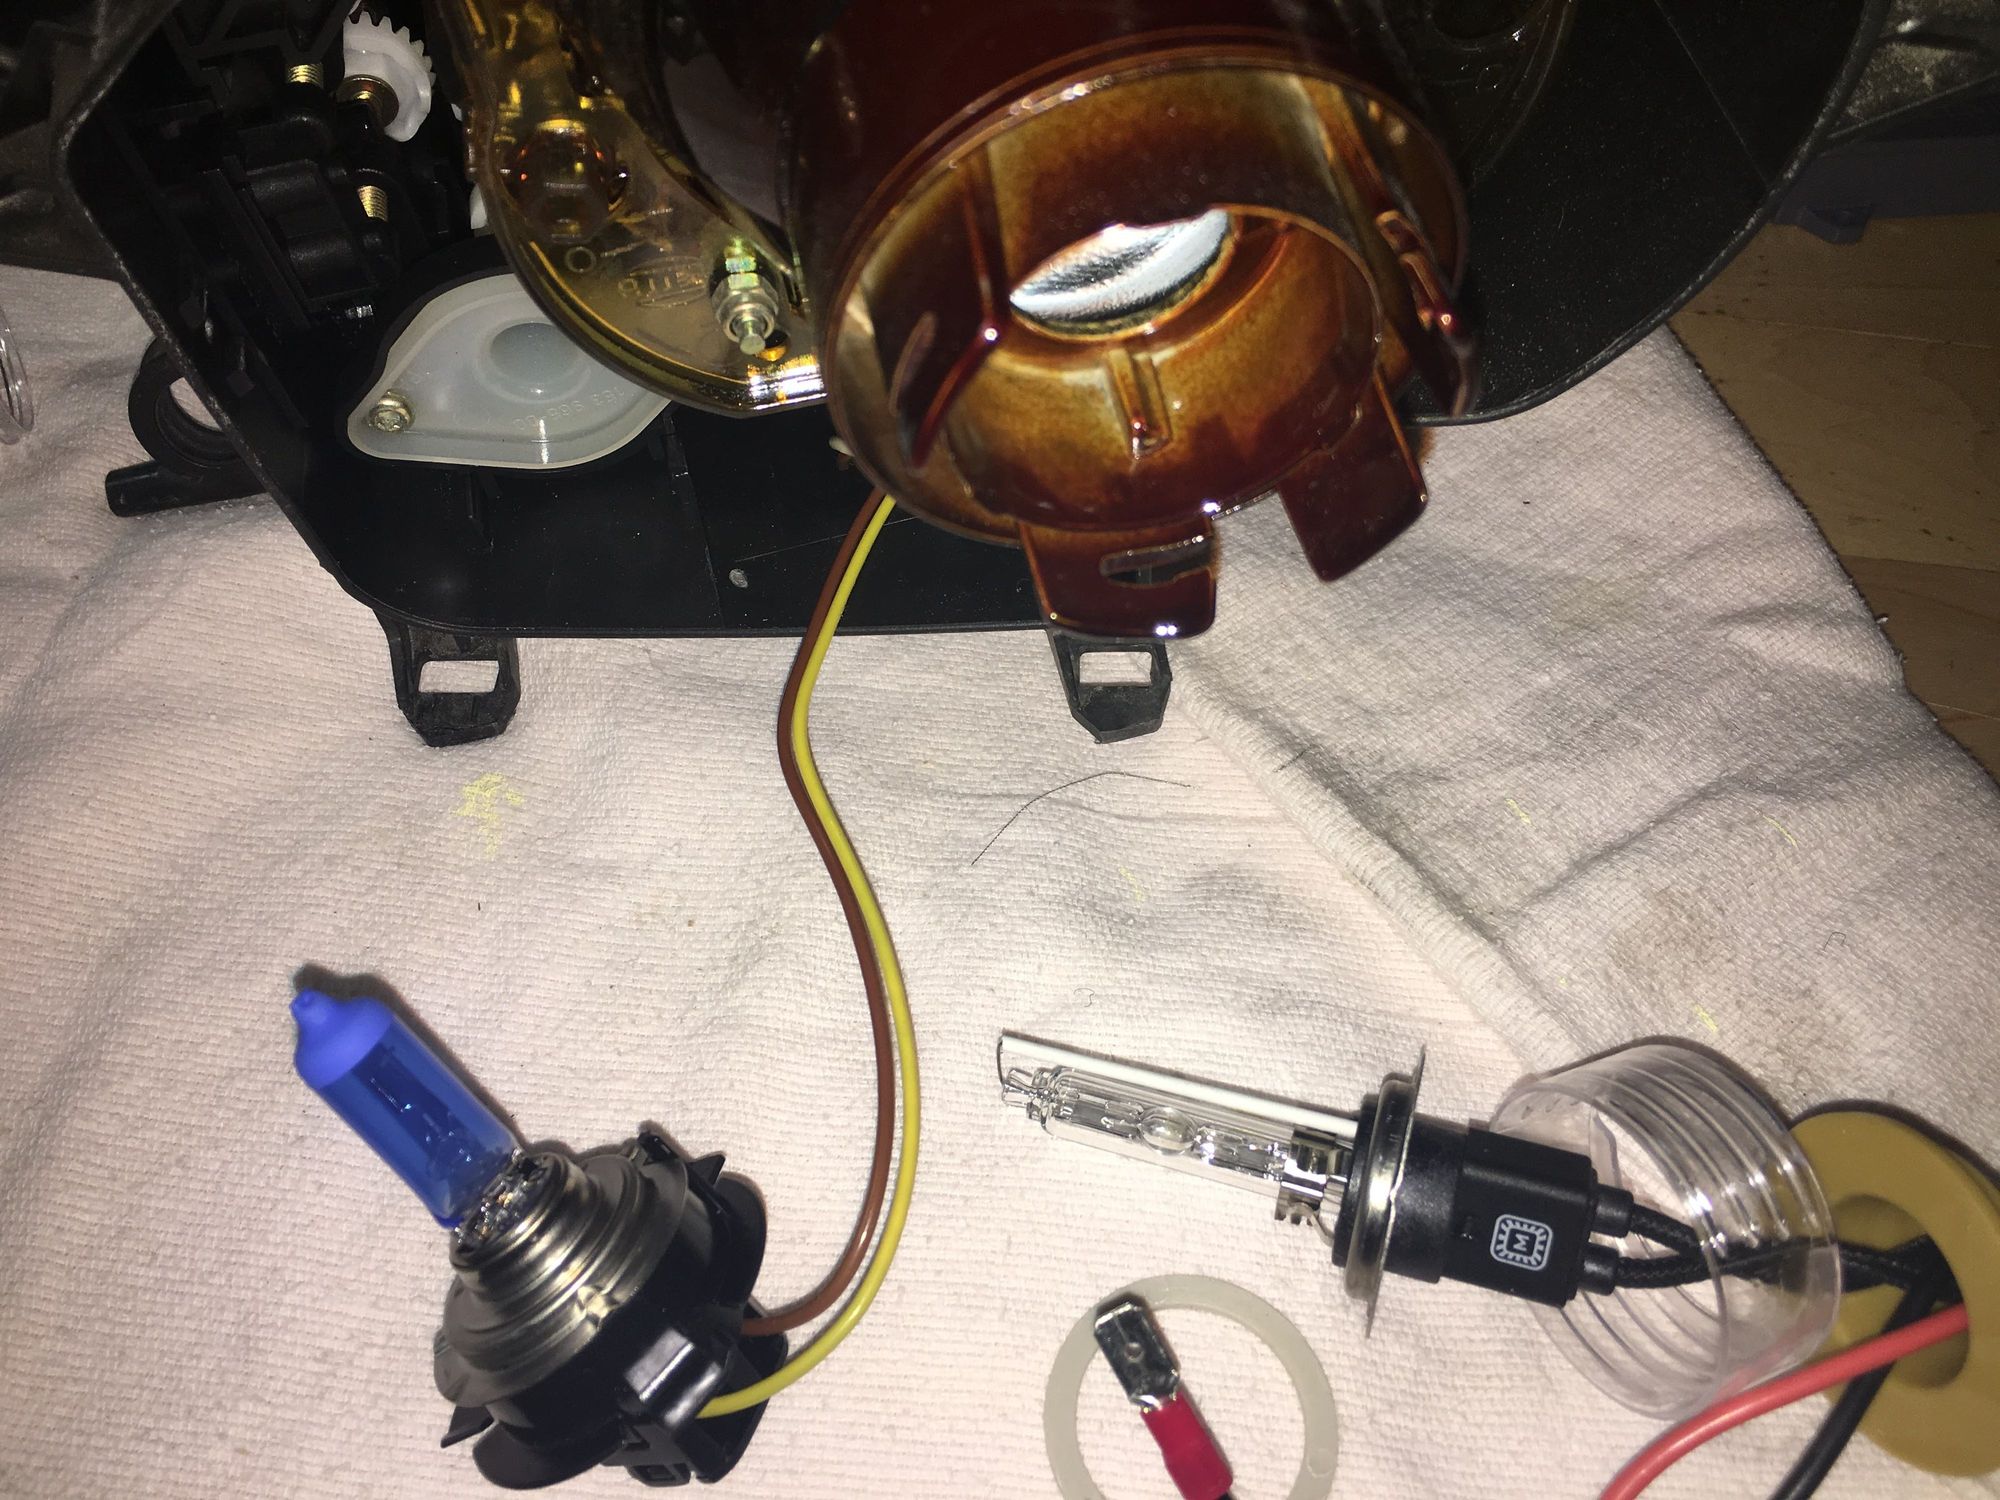
Here you can see the new HID Xenon bulb. Comparing it to the original there is an immediate problem: it is not going to fit in either the ceramic housing nor the 3-tabbed fixture the H7 bulb sits in.
Modifying the fixture In order to get the new bulb to fit it needs to modified so that it will fit into the 3-tabbed fixture, and then be twist-locked into the ceramic housing.
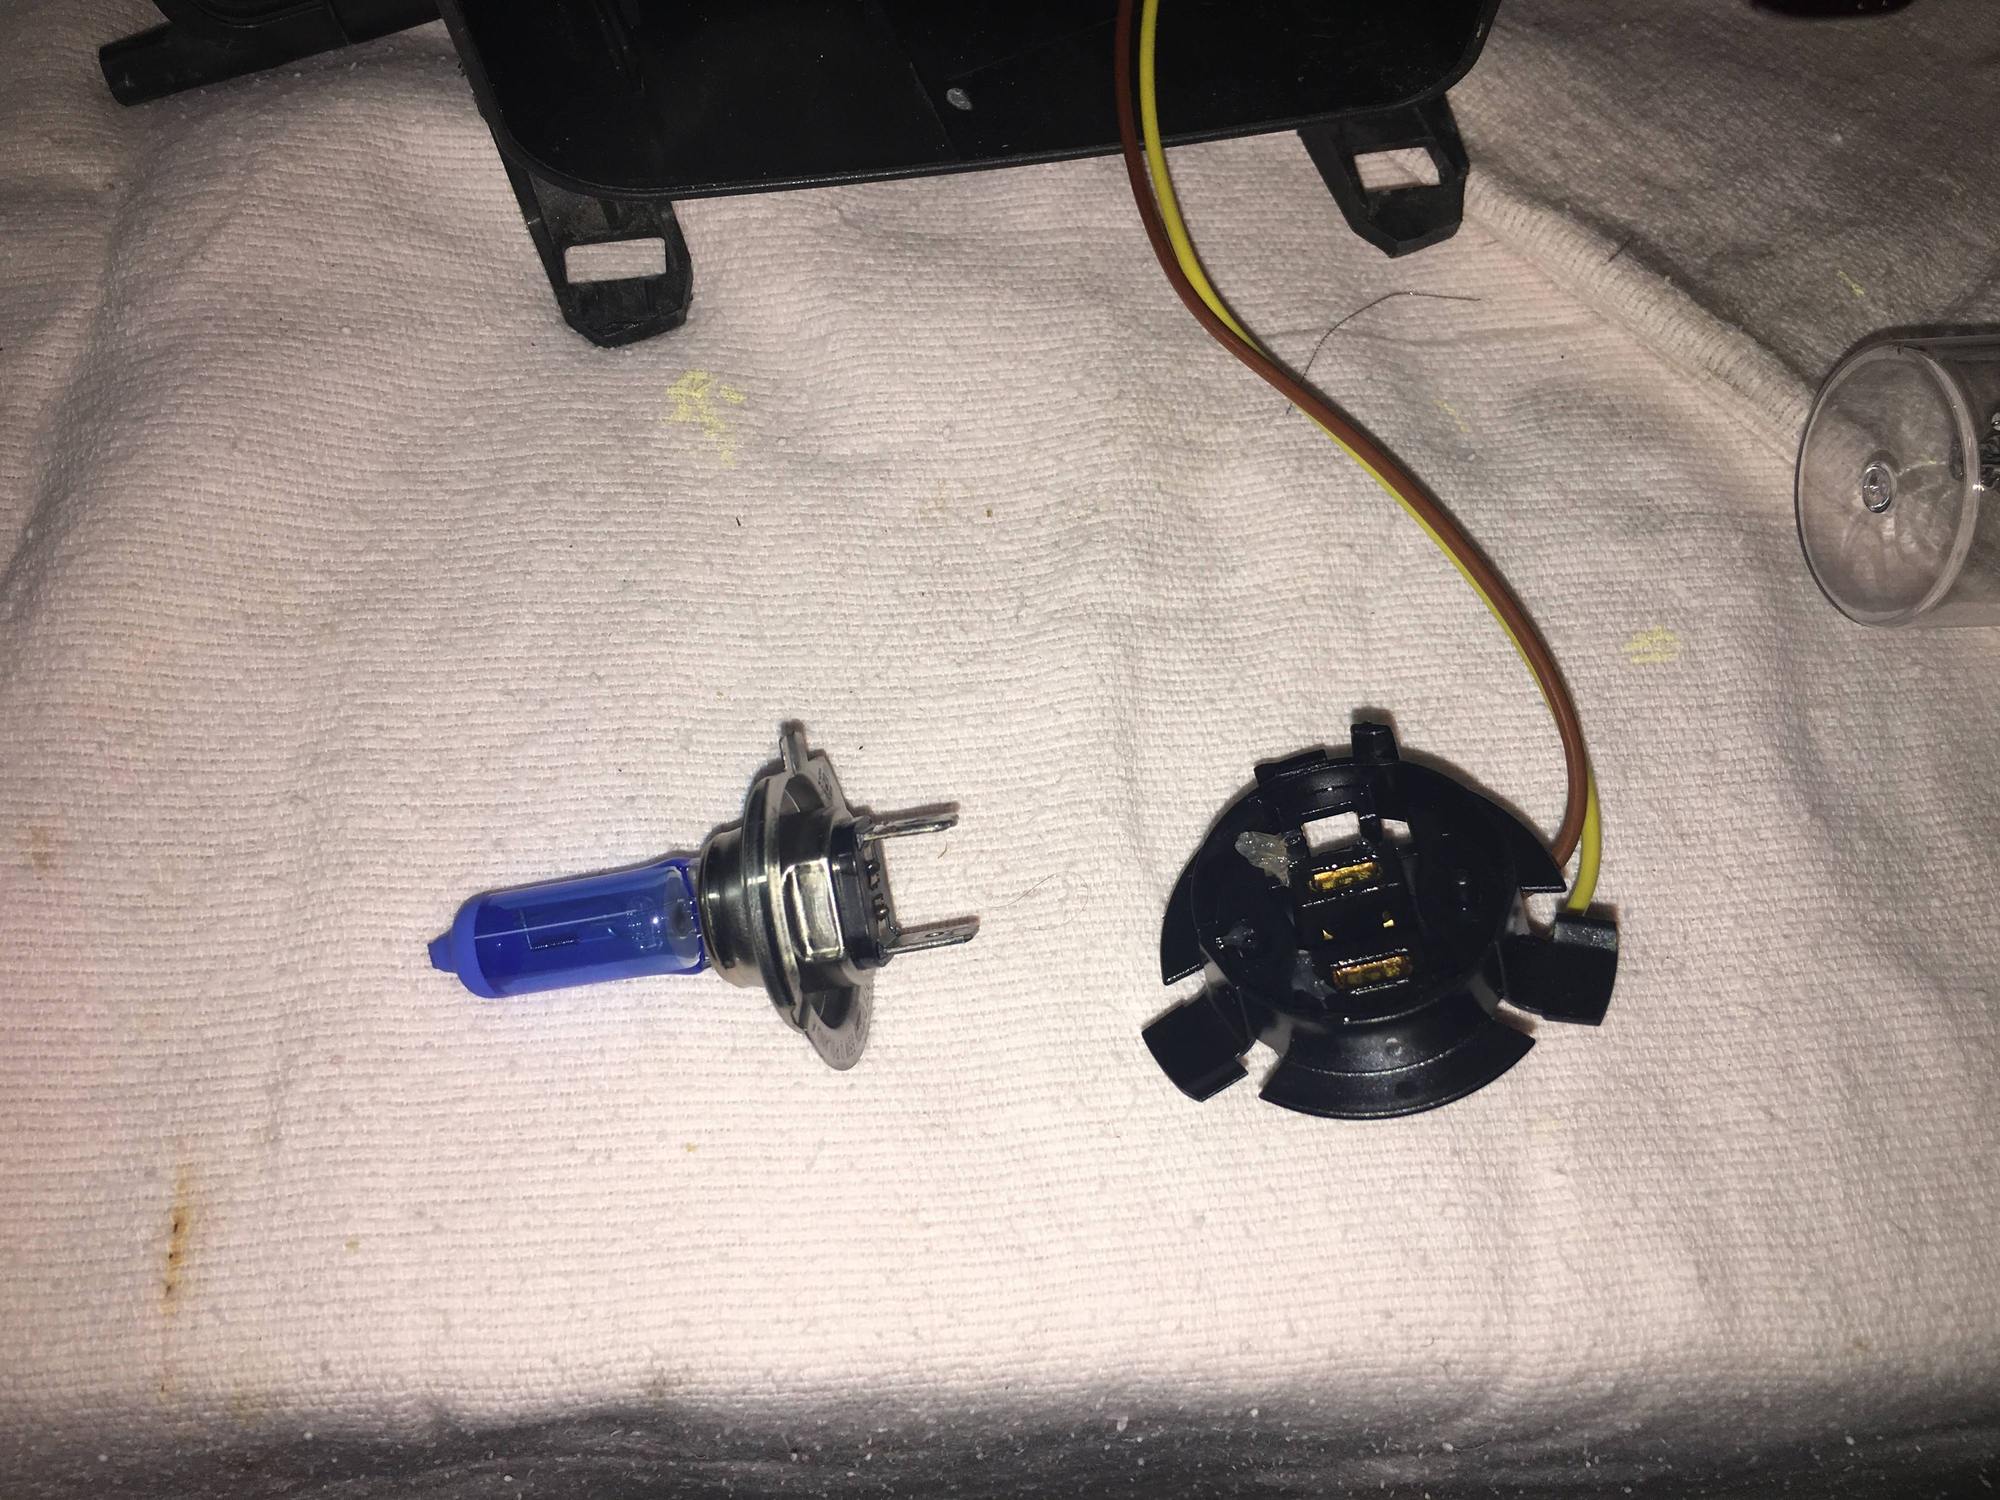
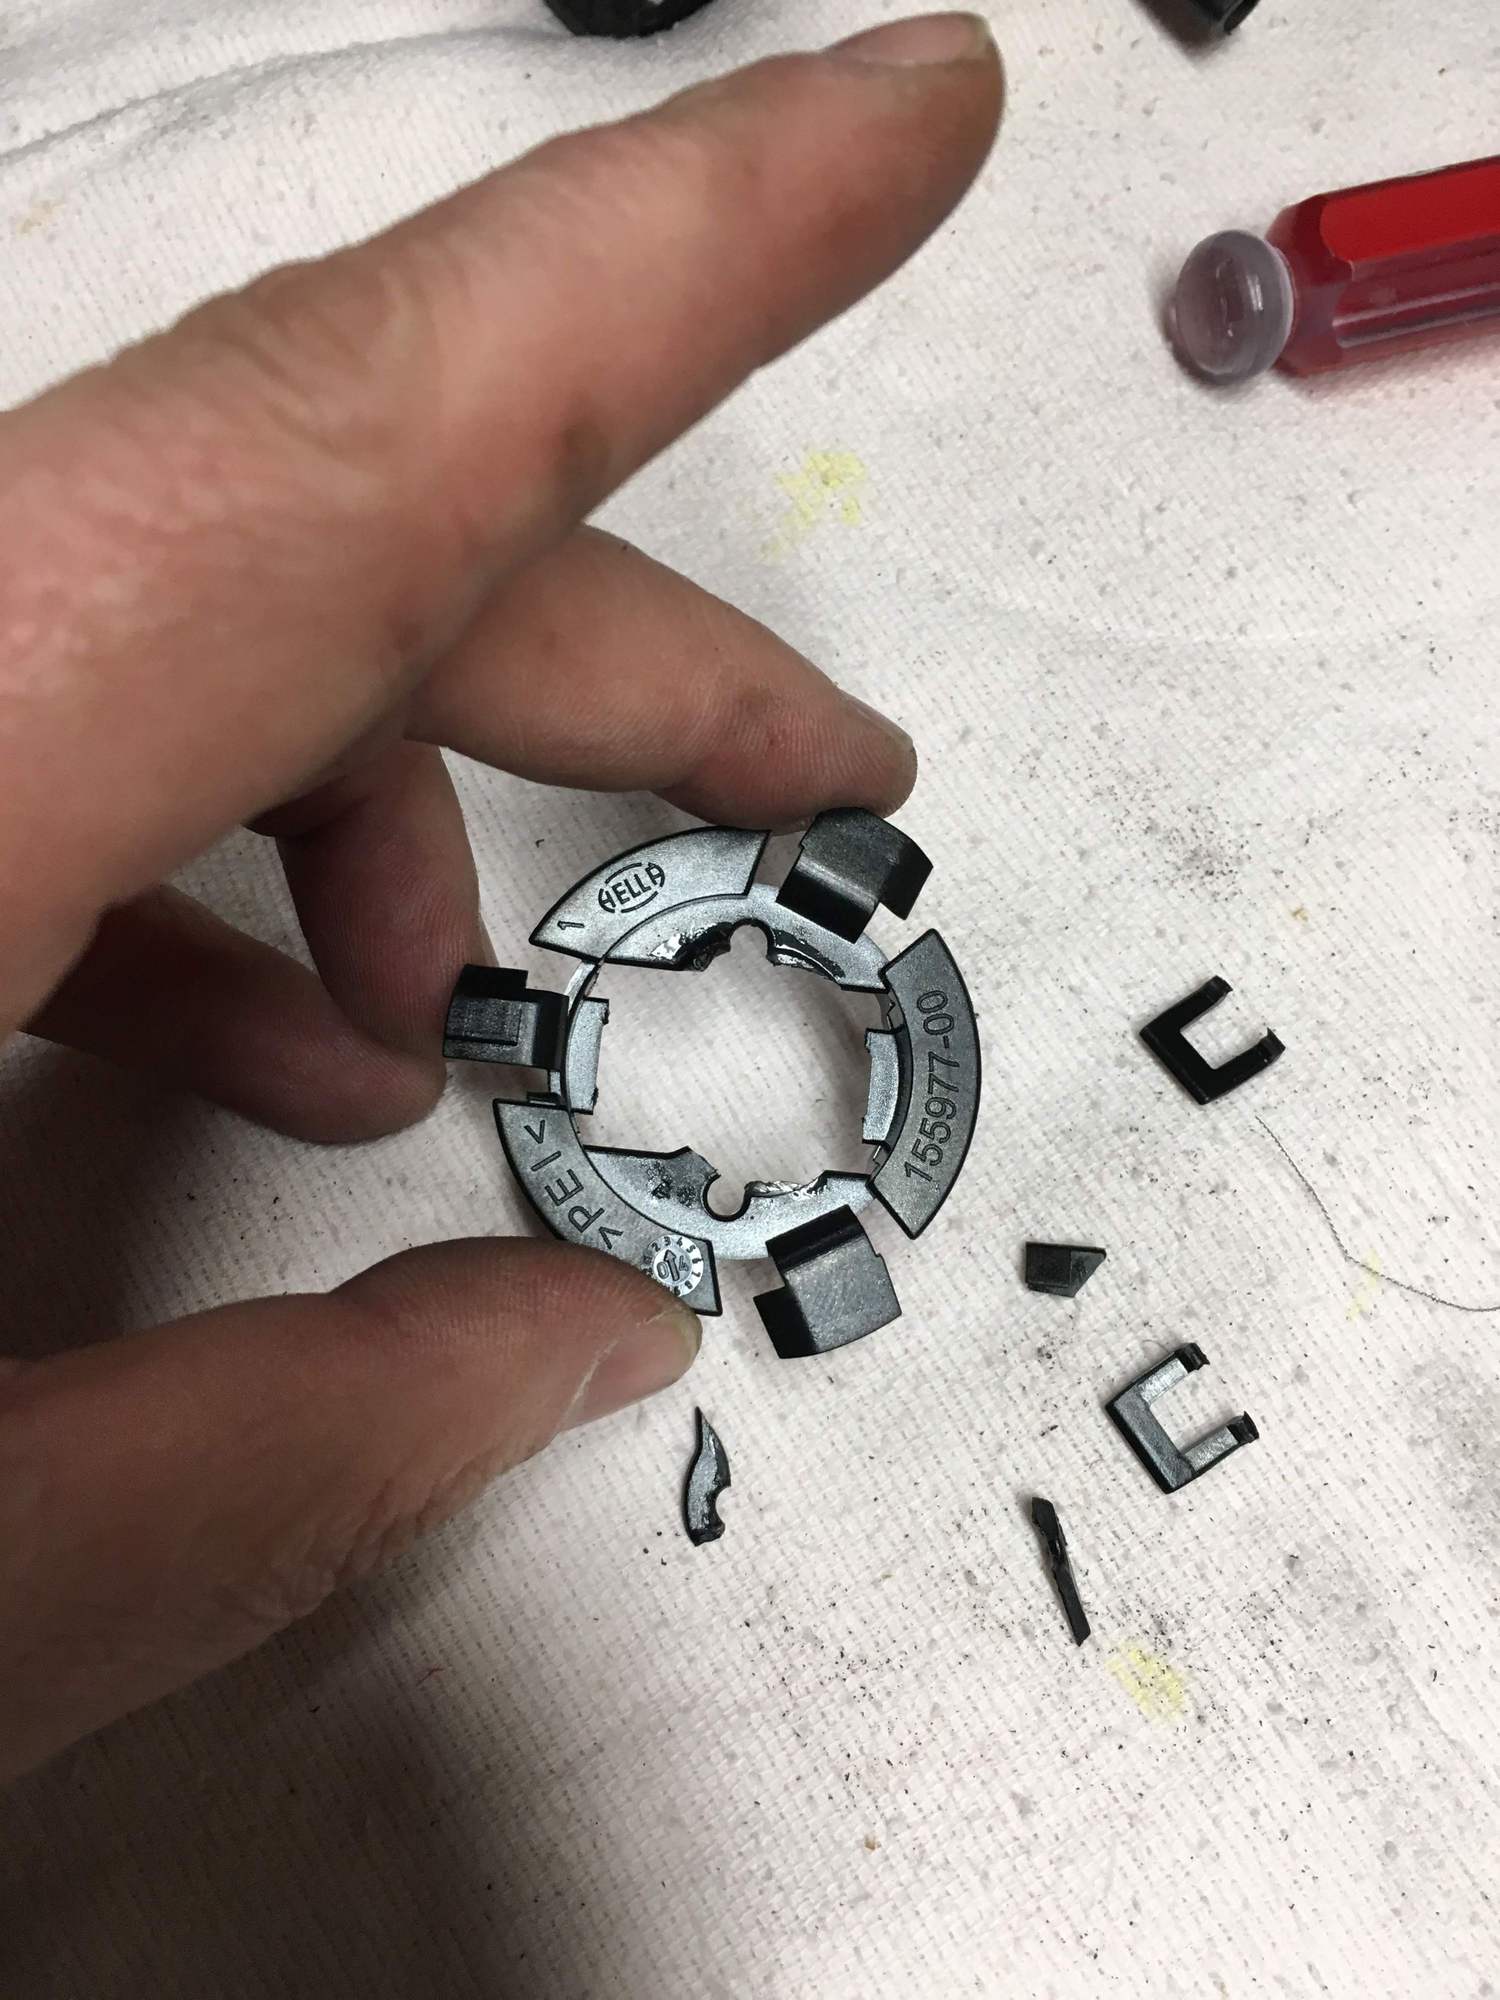
First thing to do is open the tabs and remove the square housing around the wires. They just snap open and you can remove the housing.
The wiring bracket pops right out, leaving the 3-tabbed fixture.
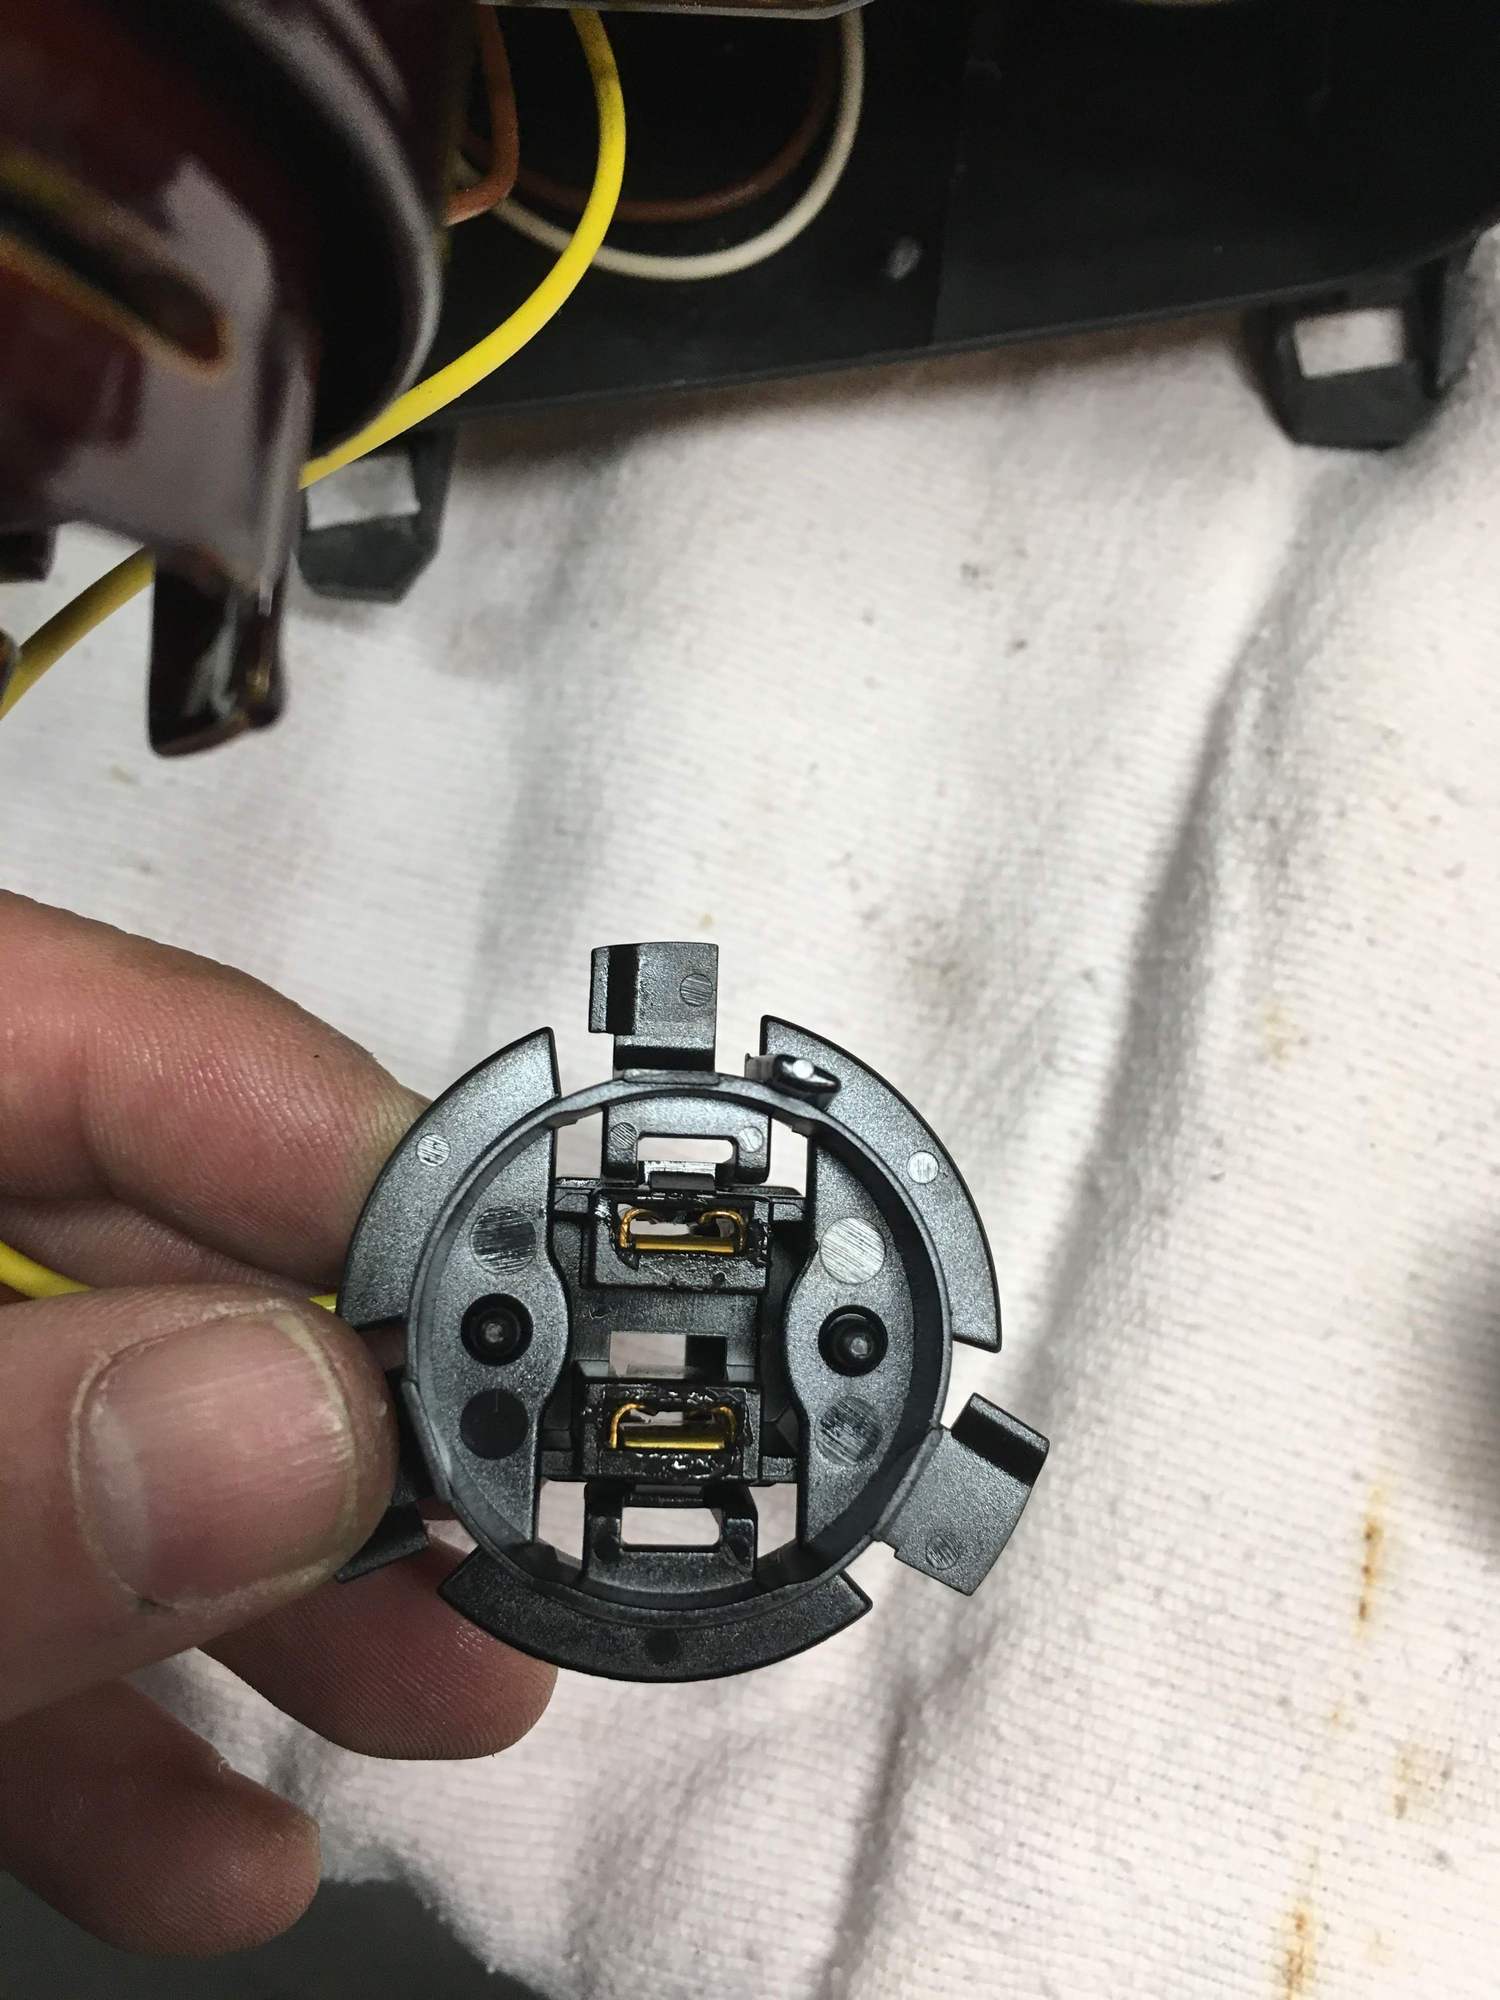
Unfortunately, we have to modify this bracket to fit the new HID bulb onto it. The base of the bulb will get glued onto the 3-tabbed bracket so that the entire thing will seat and twist lock into the ceramic housing. Essentially, we need to remove all the interior material of the bracket so that the new bulb will fit though it and can be glued onto it.
First step here is to break (I know) the plastic tabs off by hand (or use pliers).
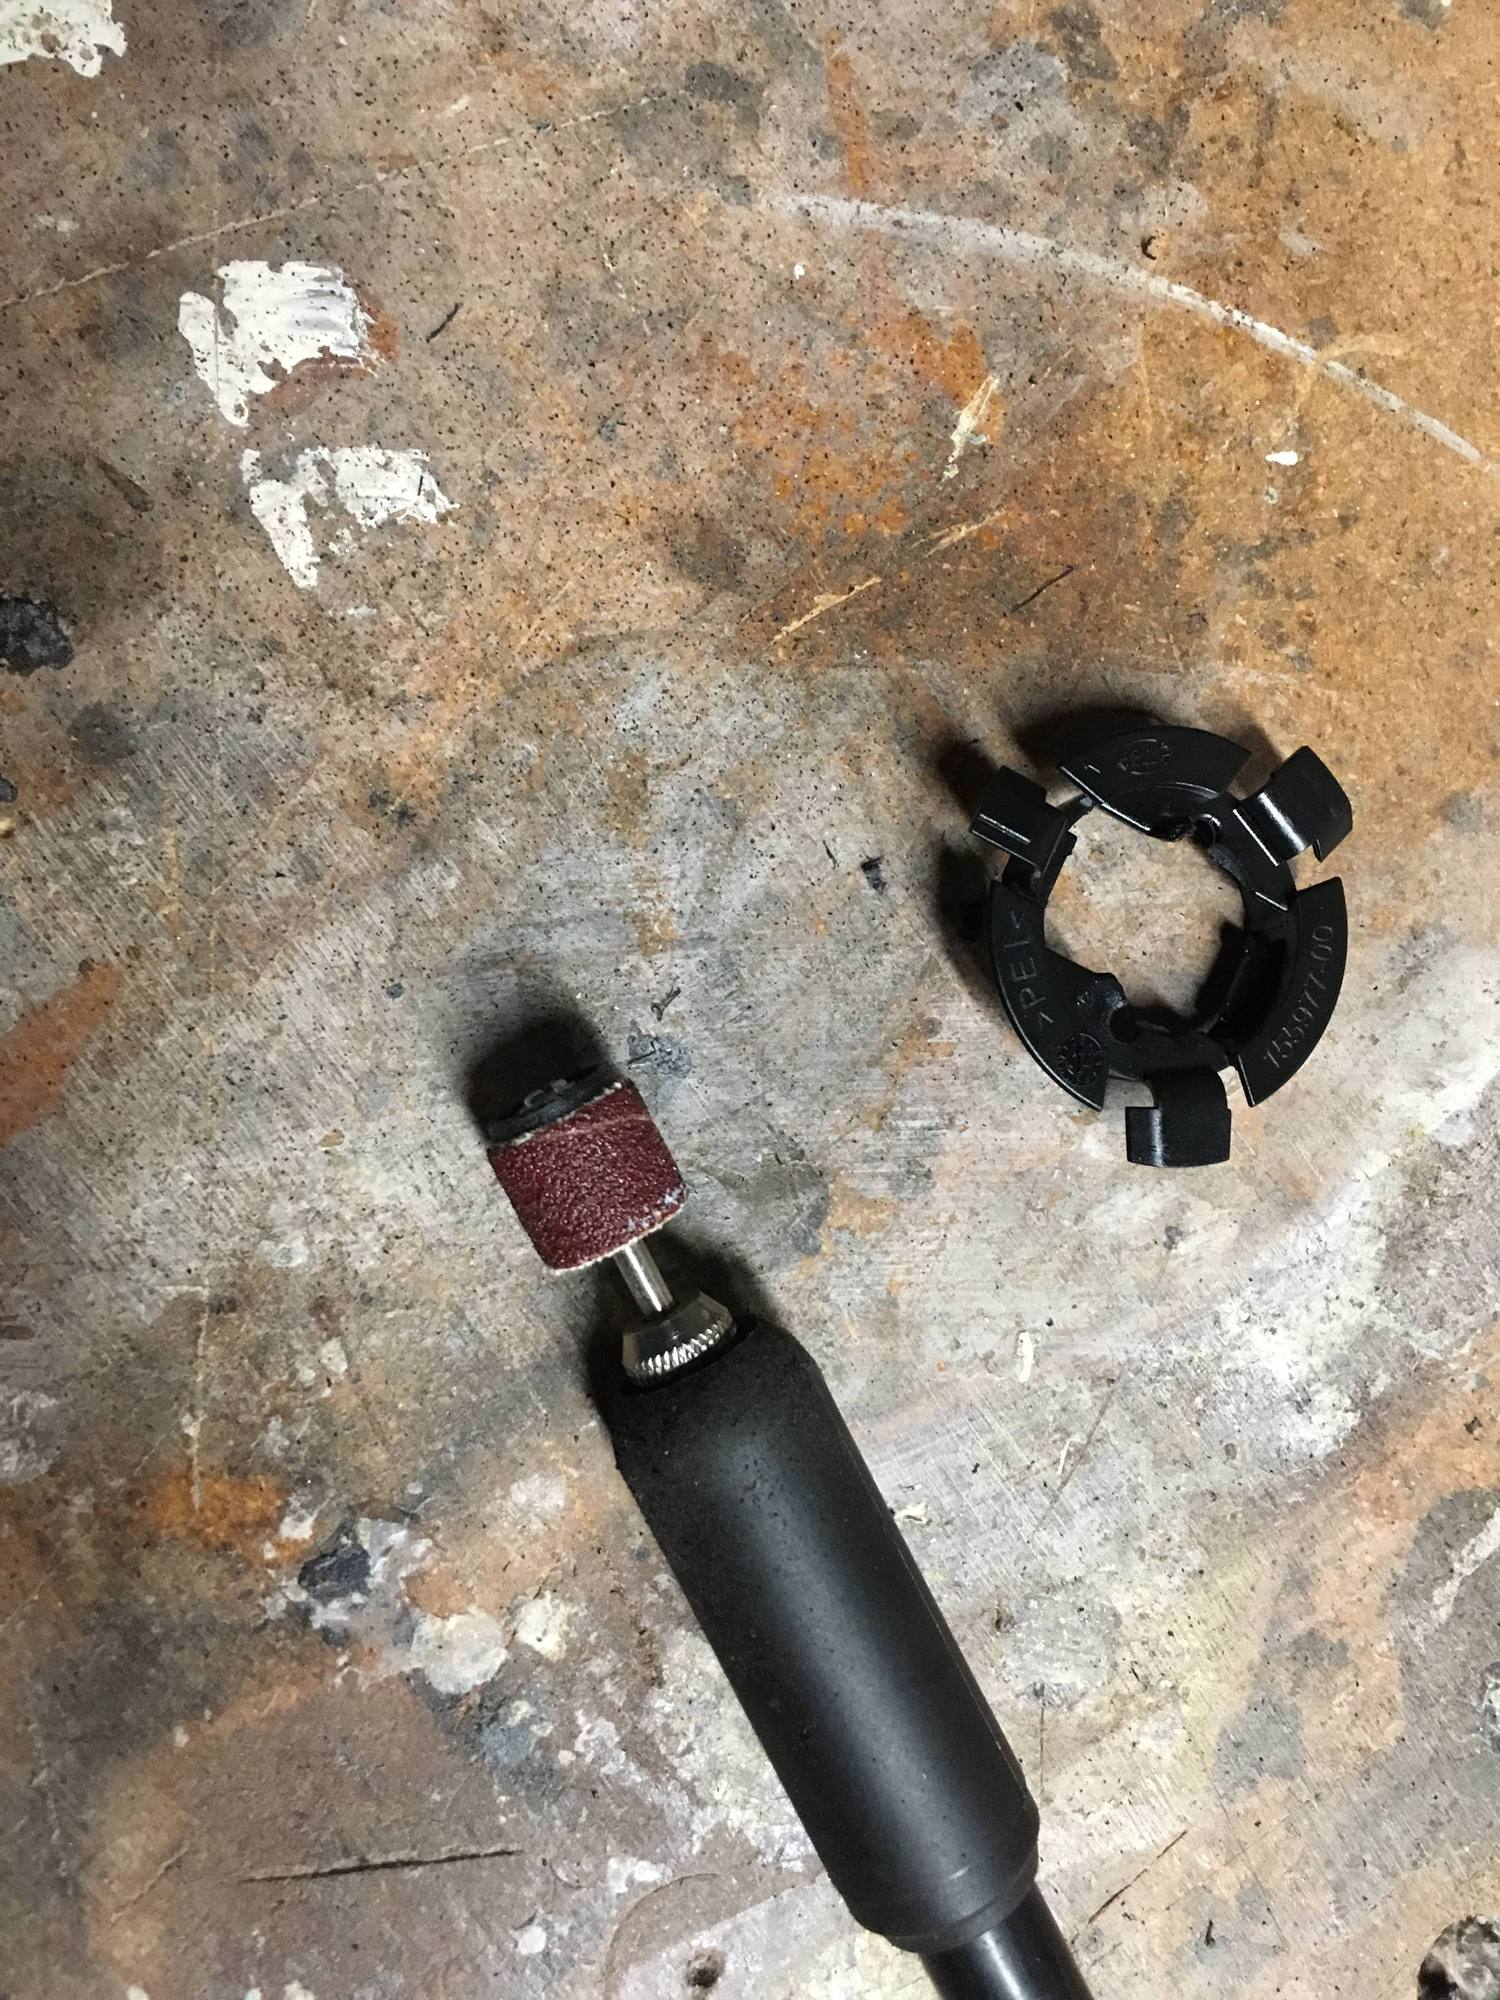
Now use the Dremel tool to sand away the rest of the material.
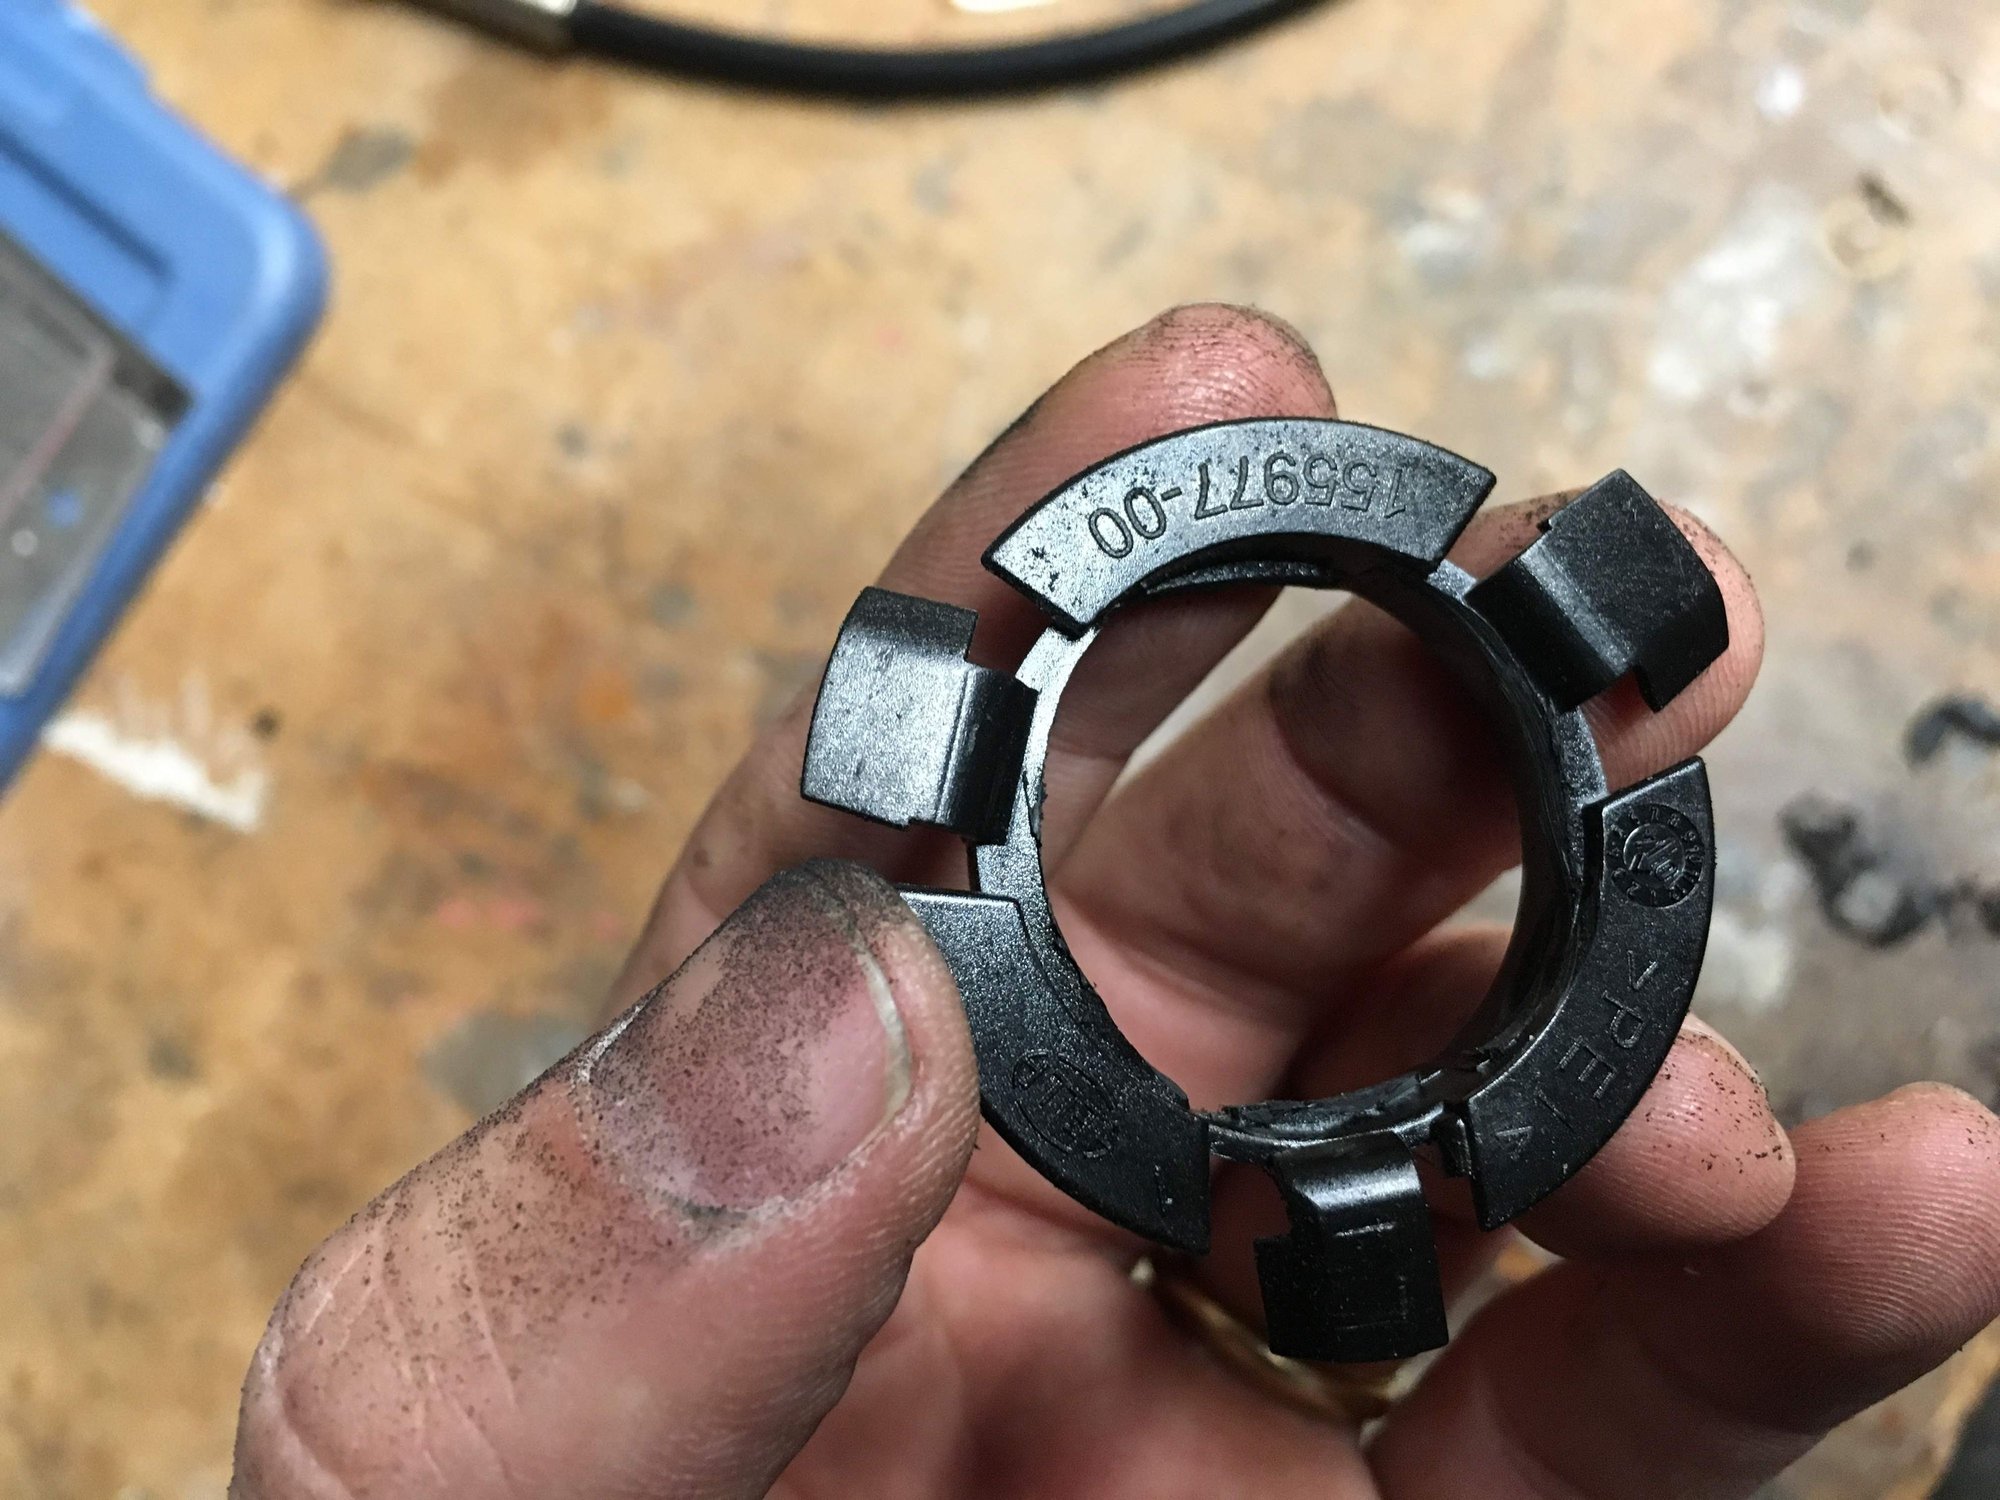
This is what the bracket looks like when you are done. We are looking at the bottom where the wires from the bulb will come out. The bulb will sit flat on the other side and will be secured with hot glue.
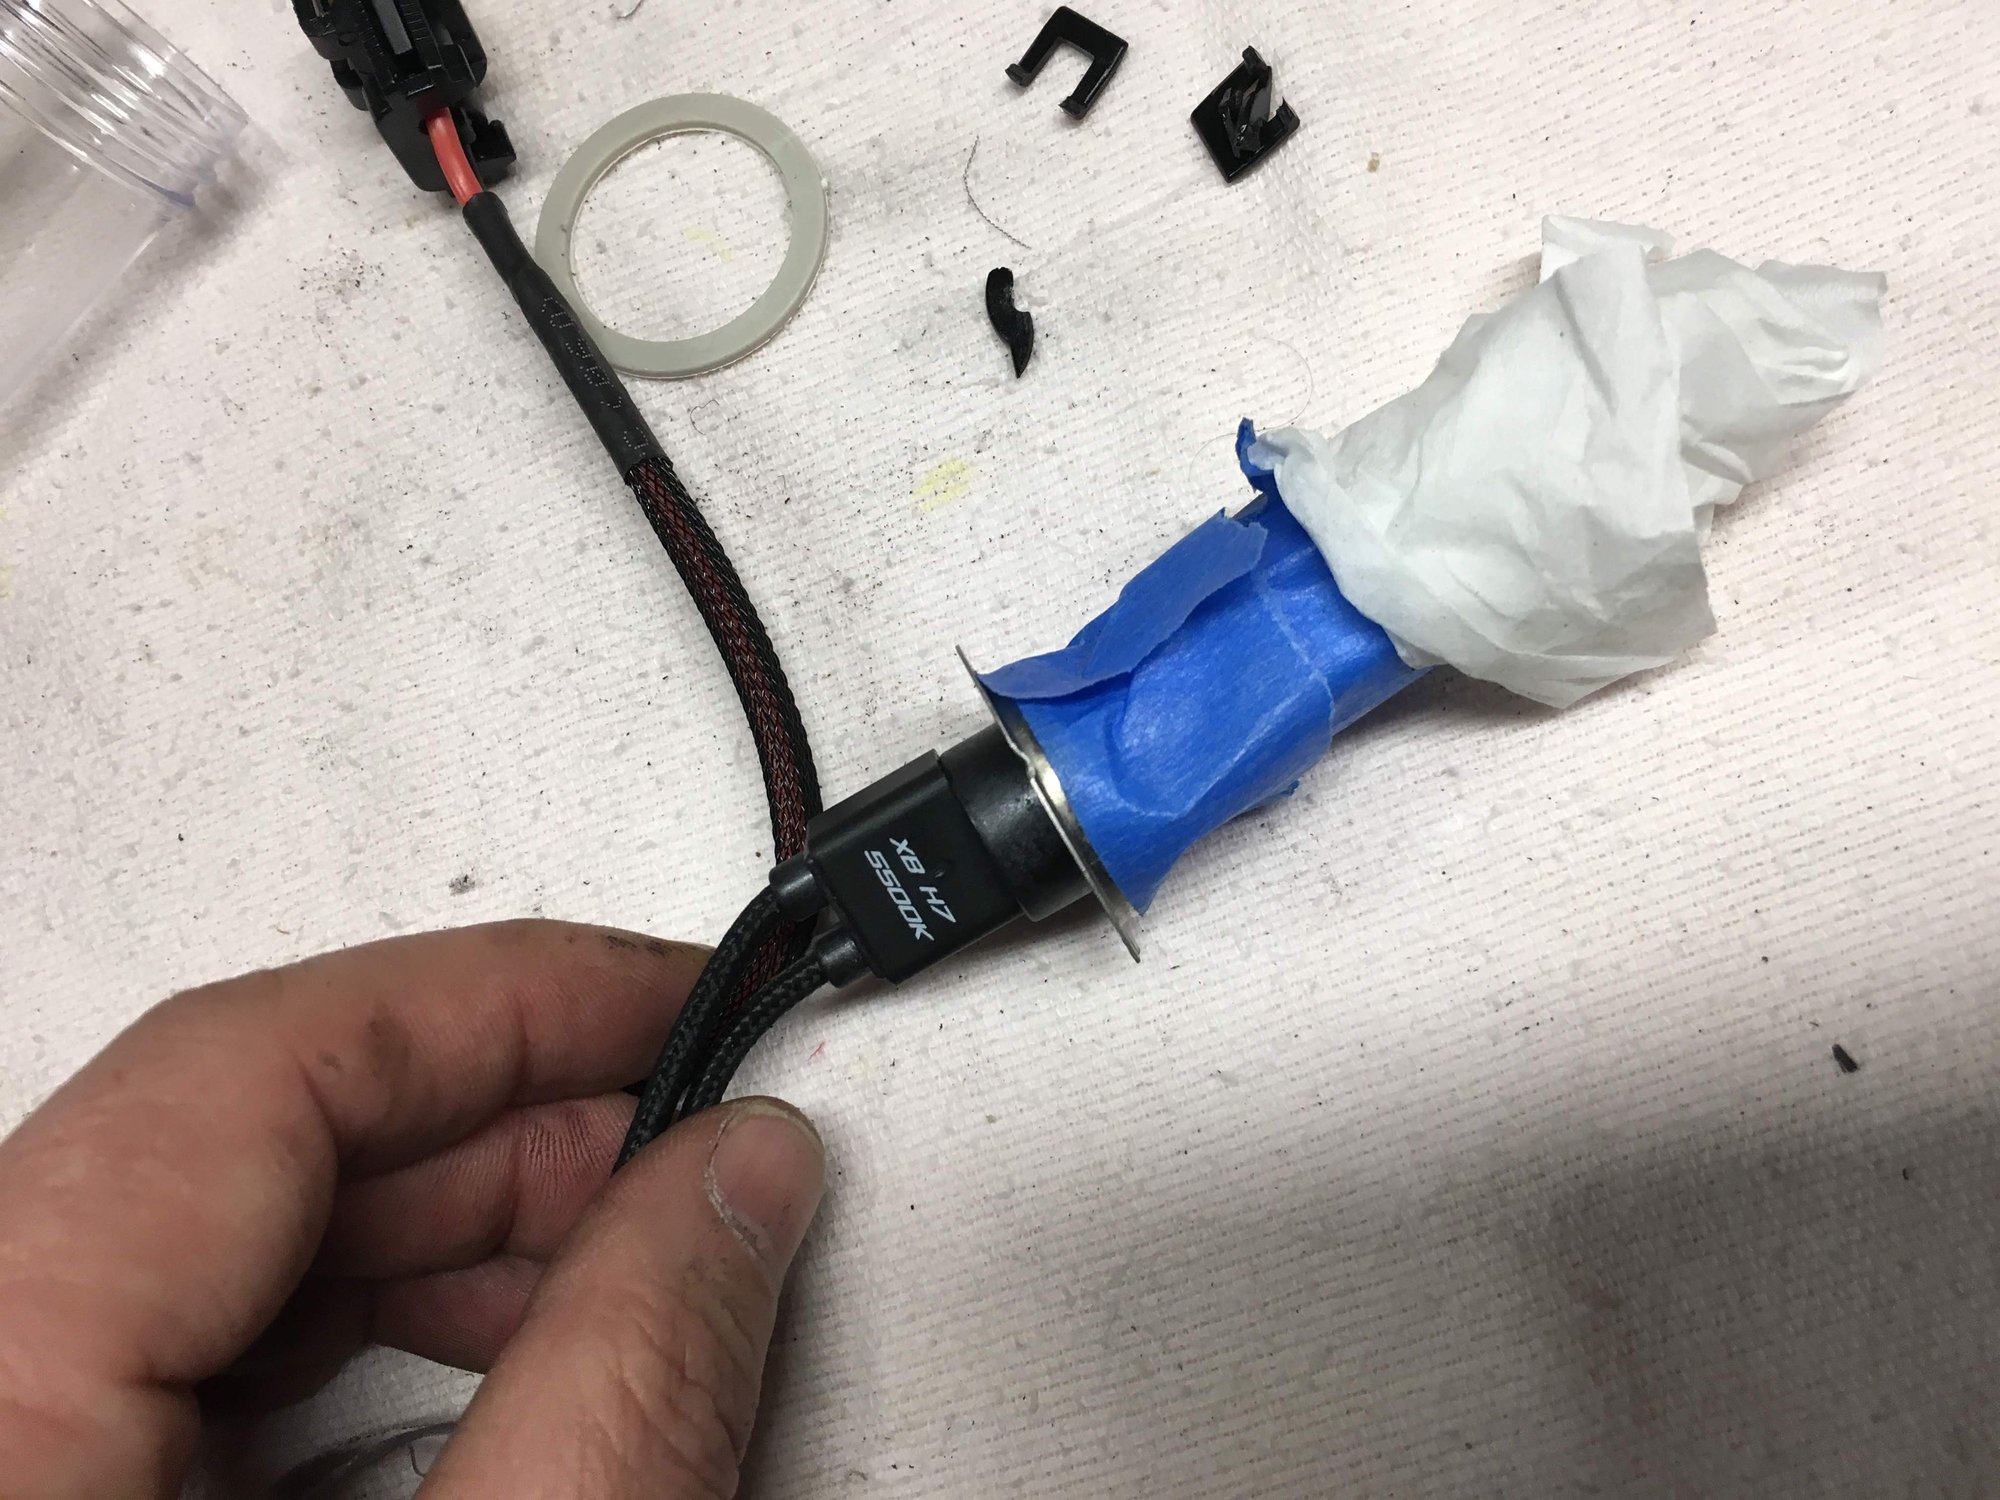
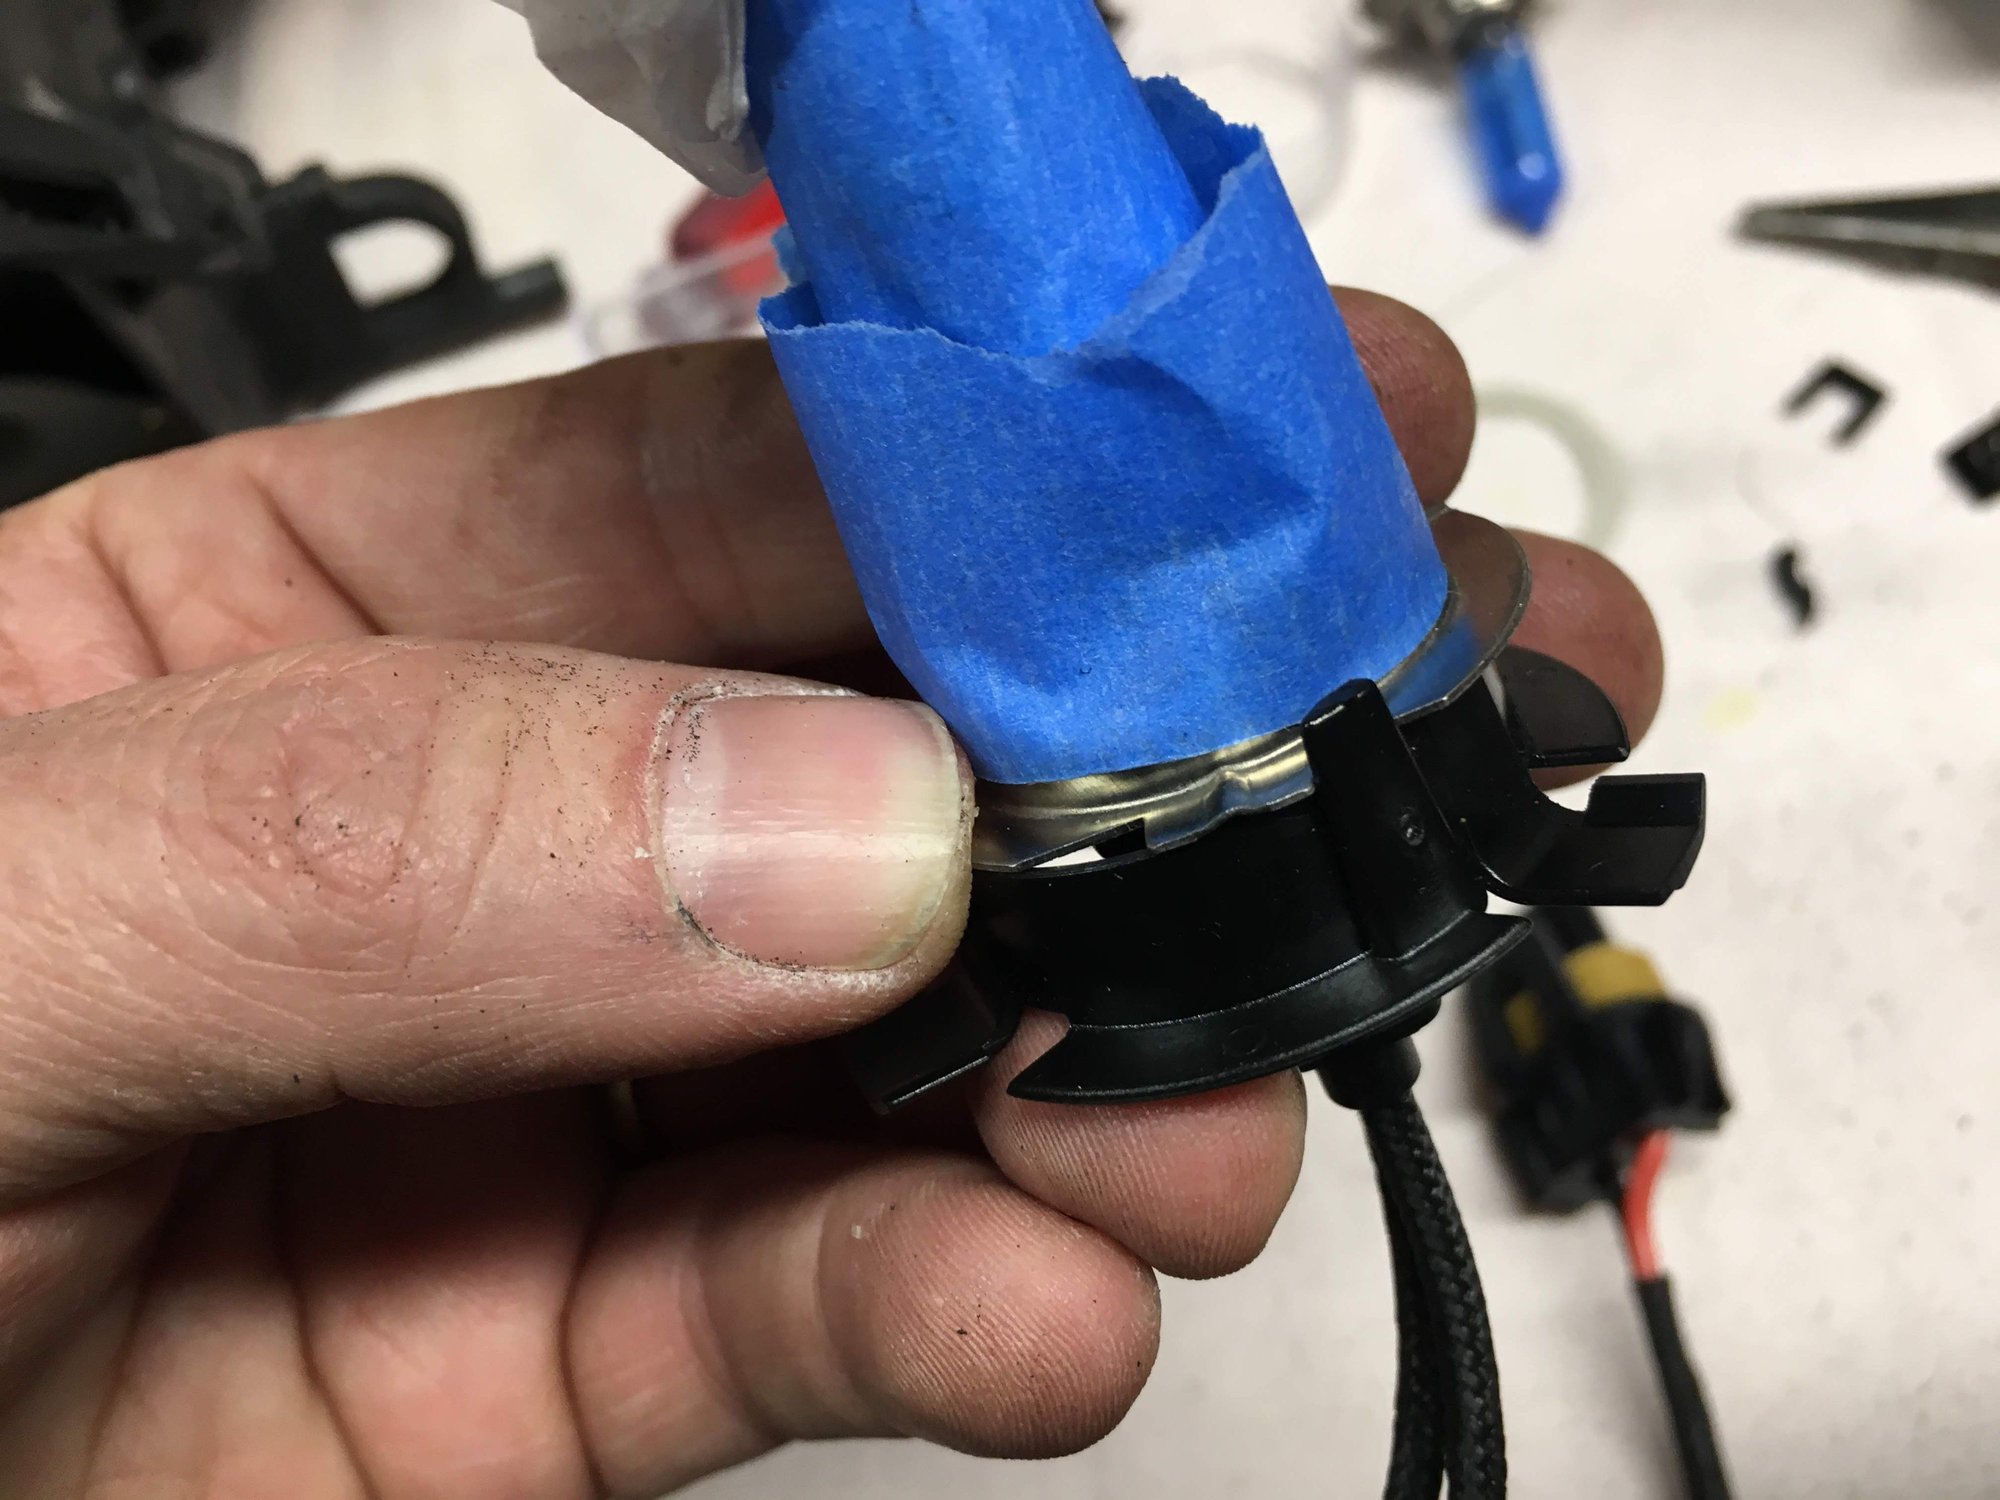
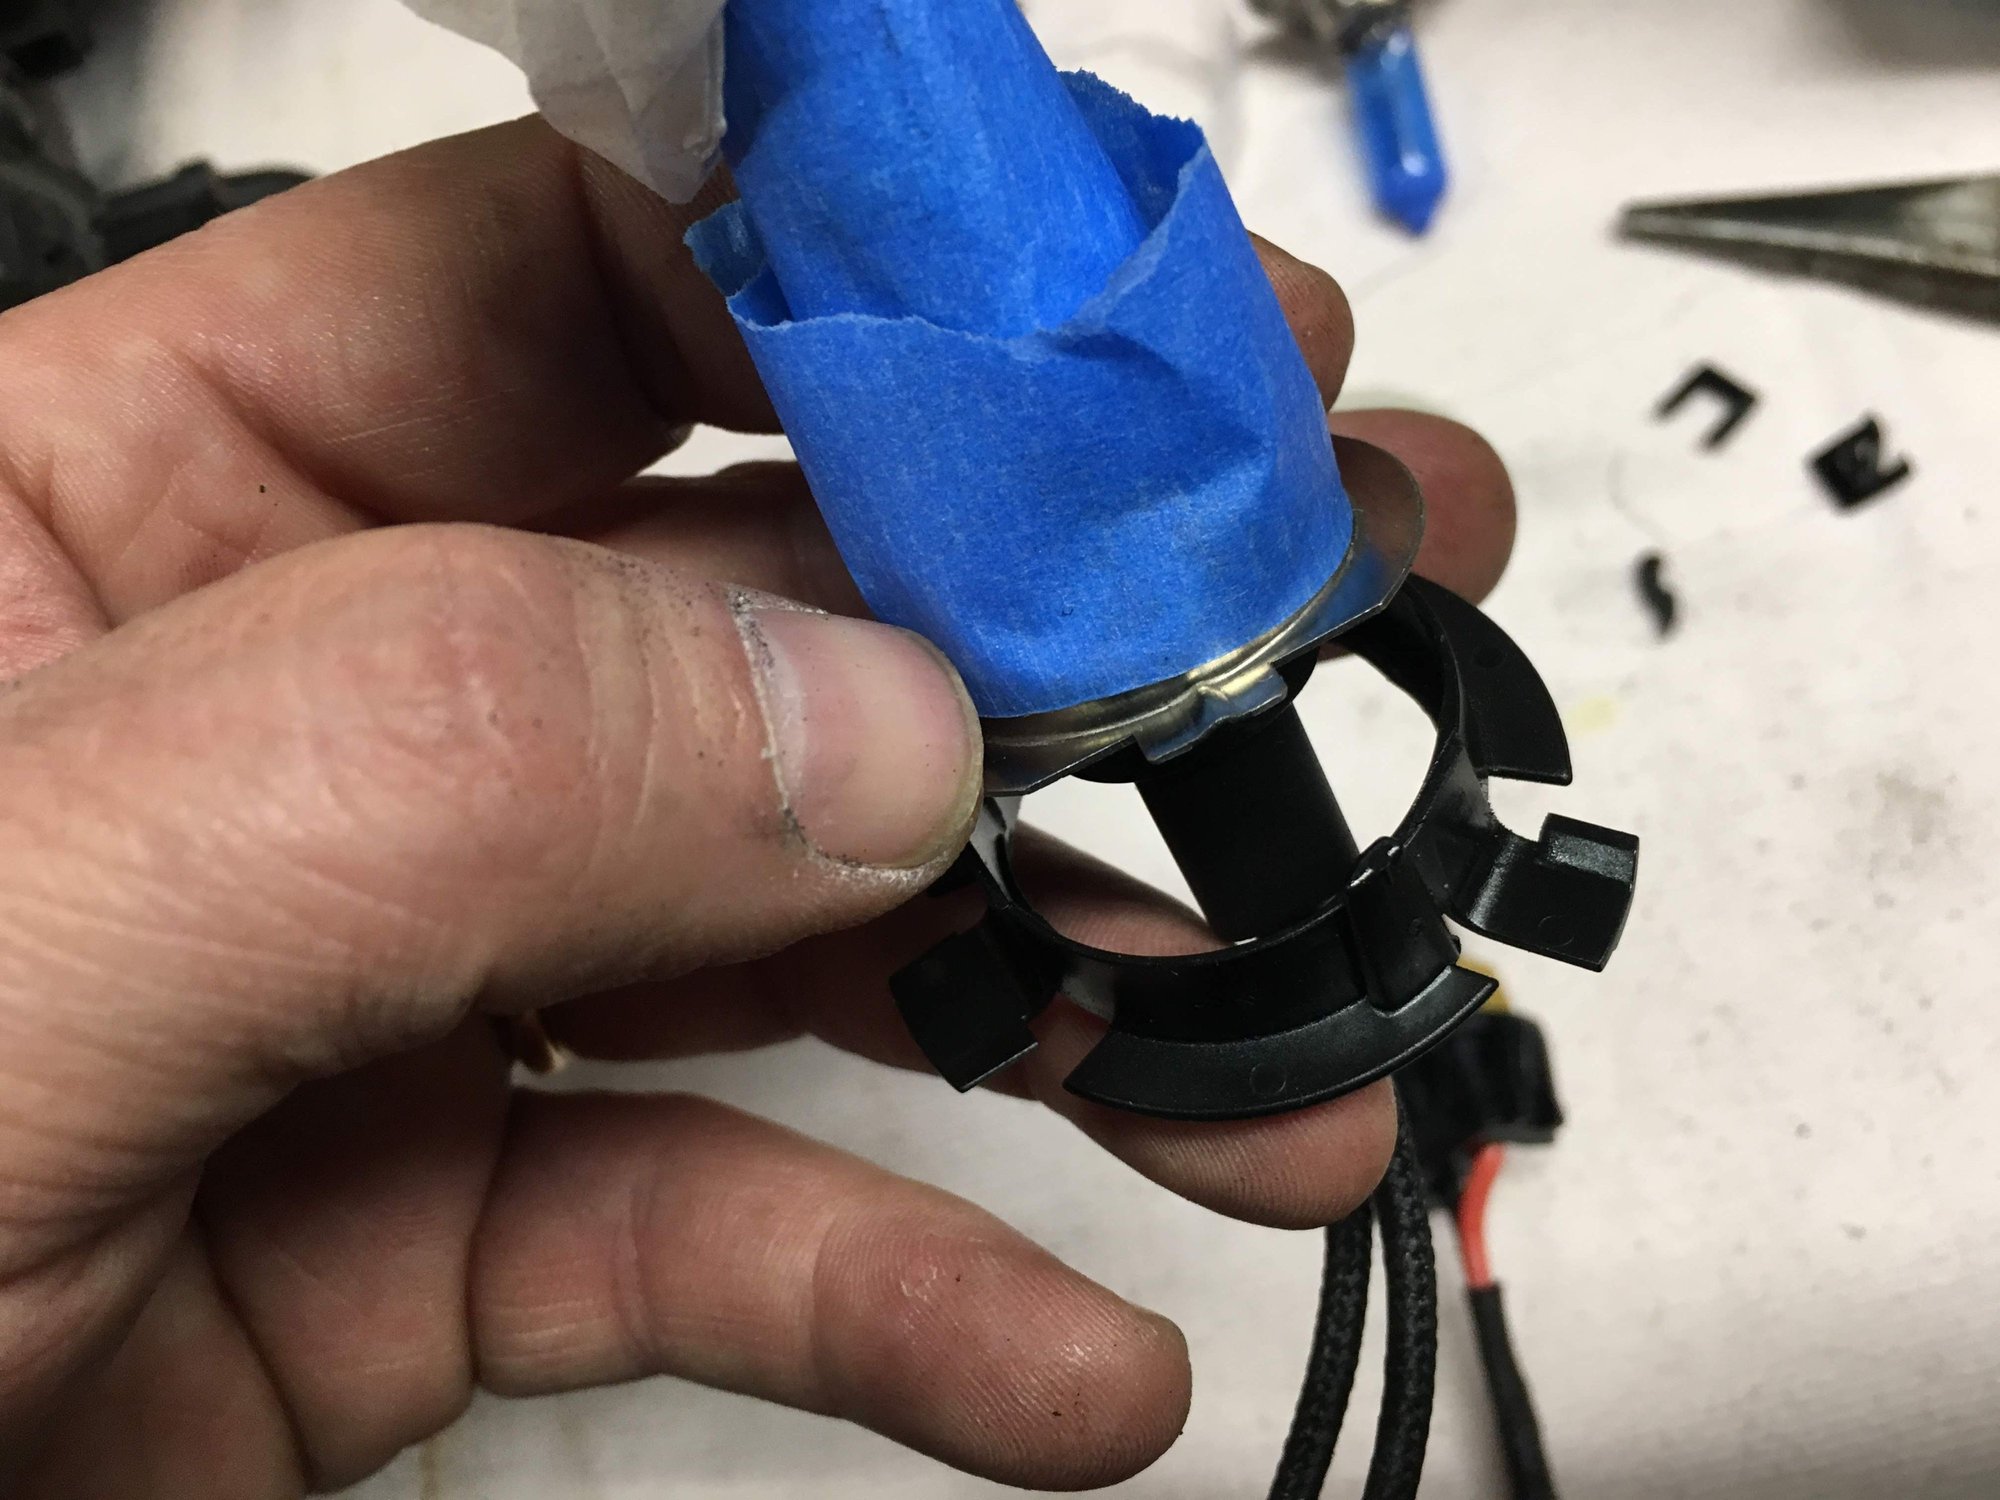
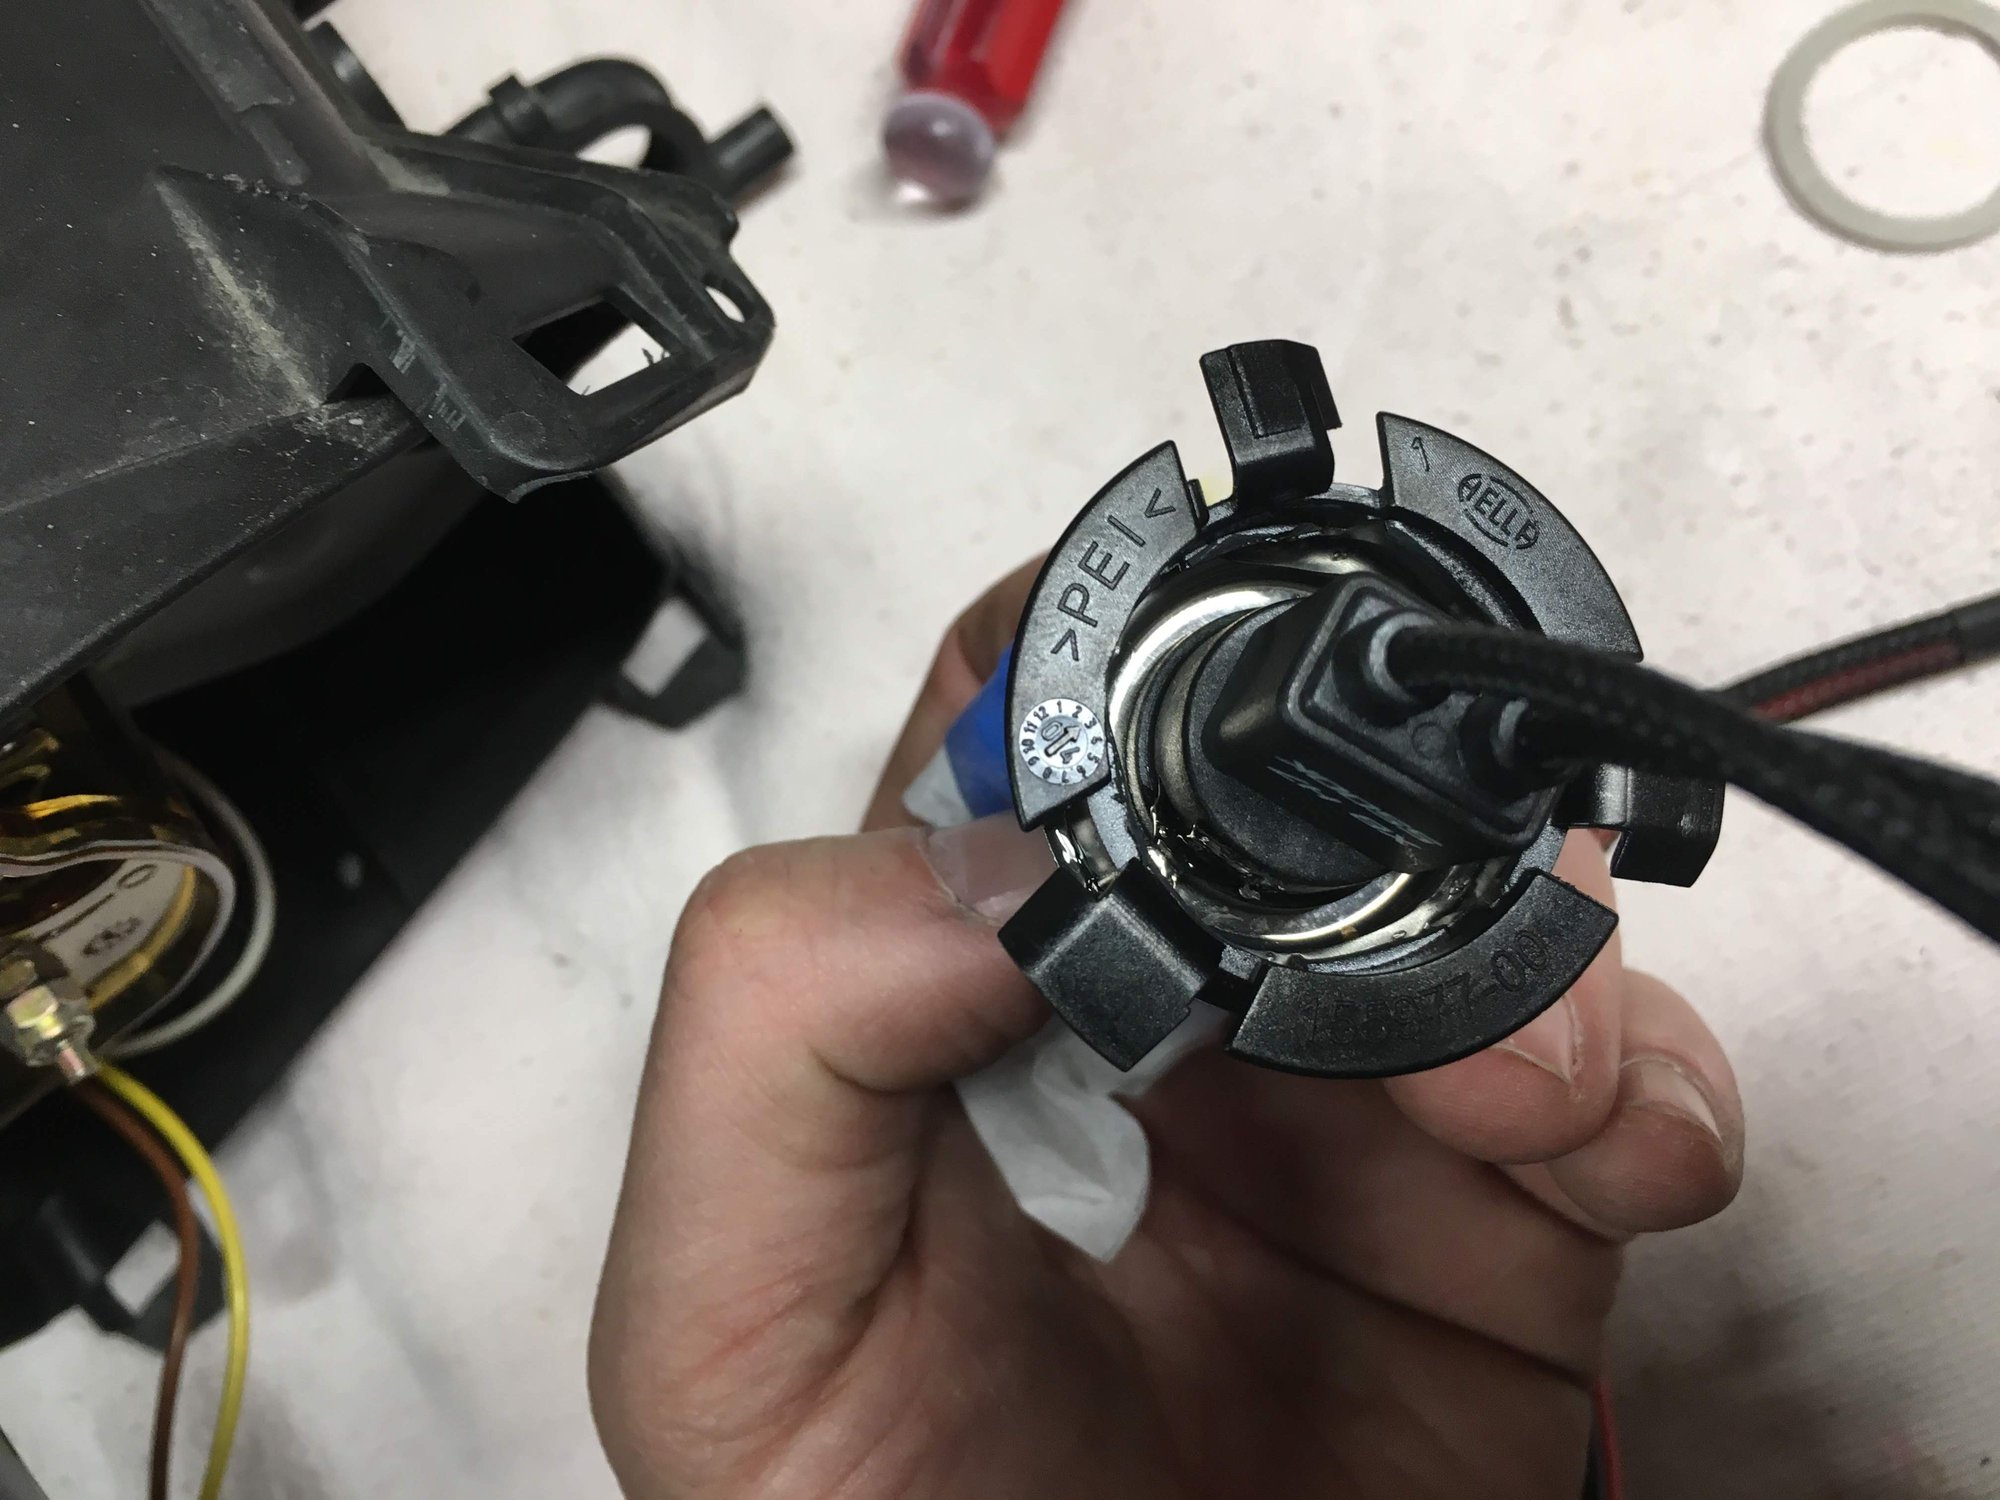
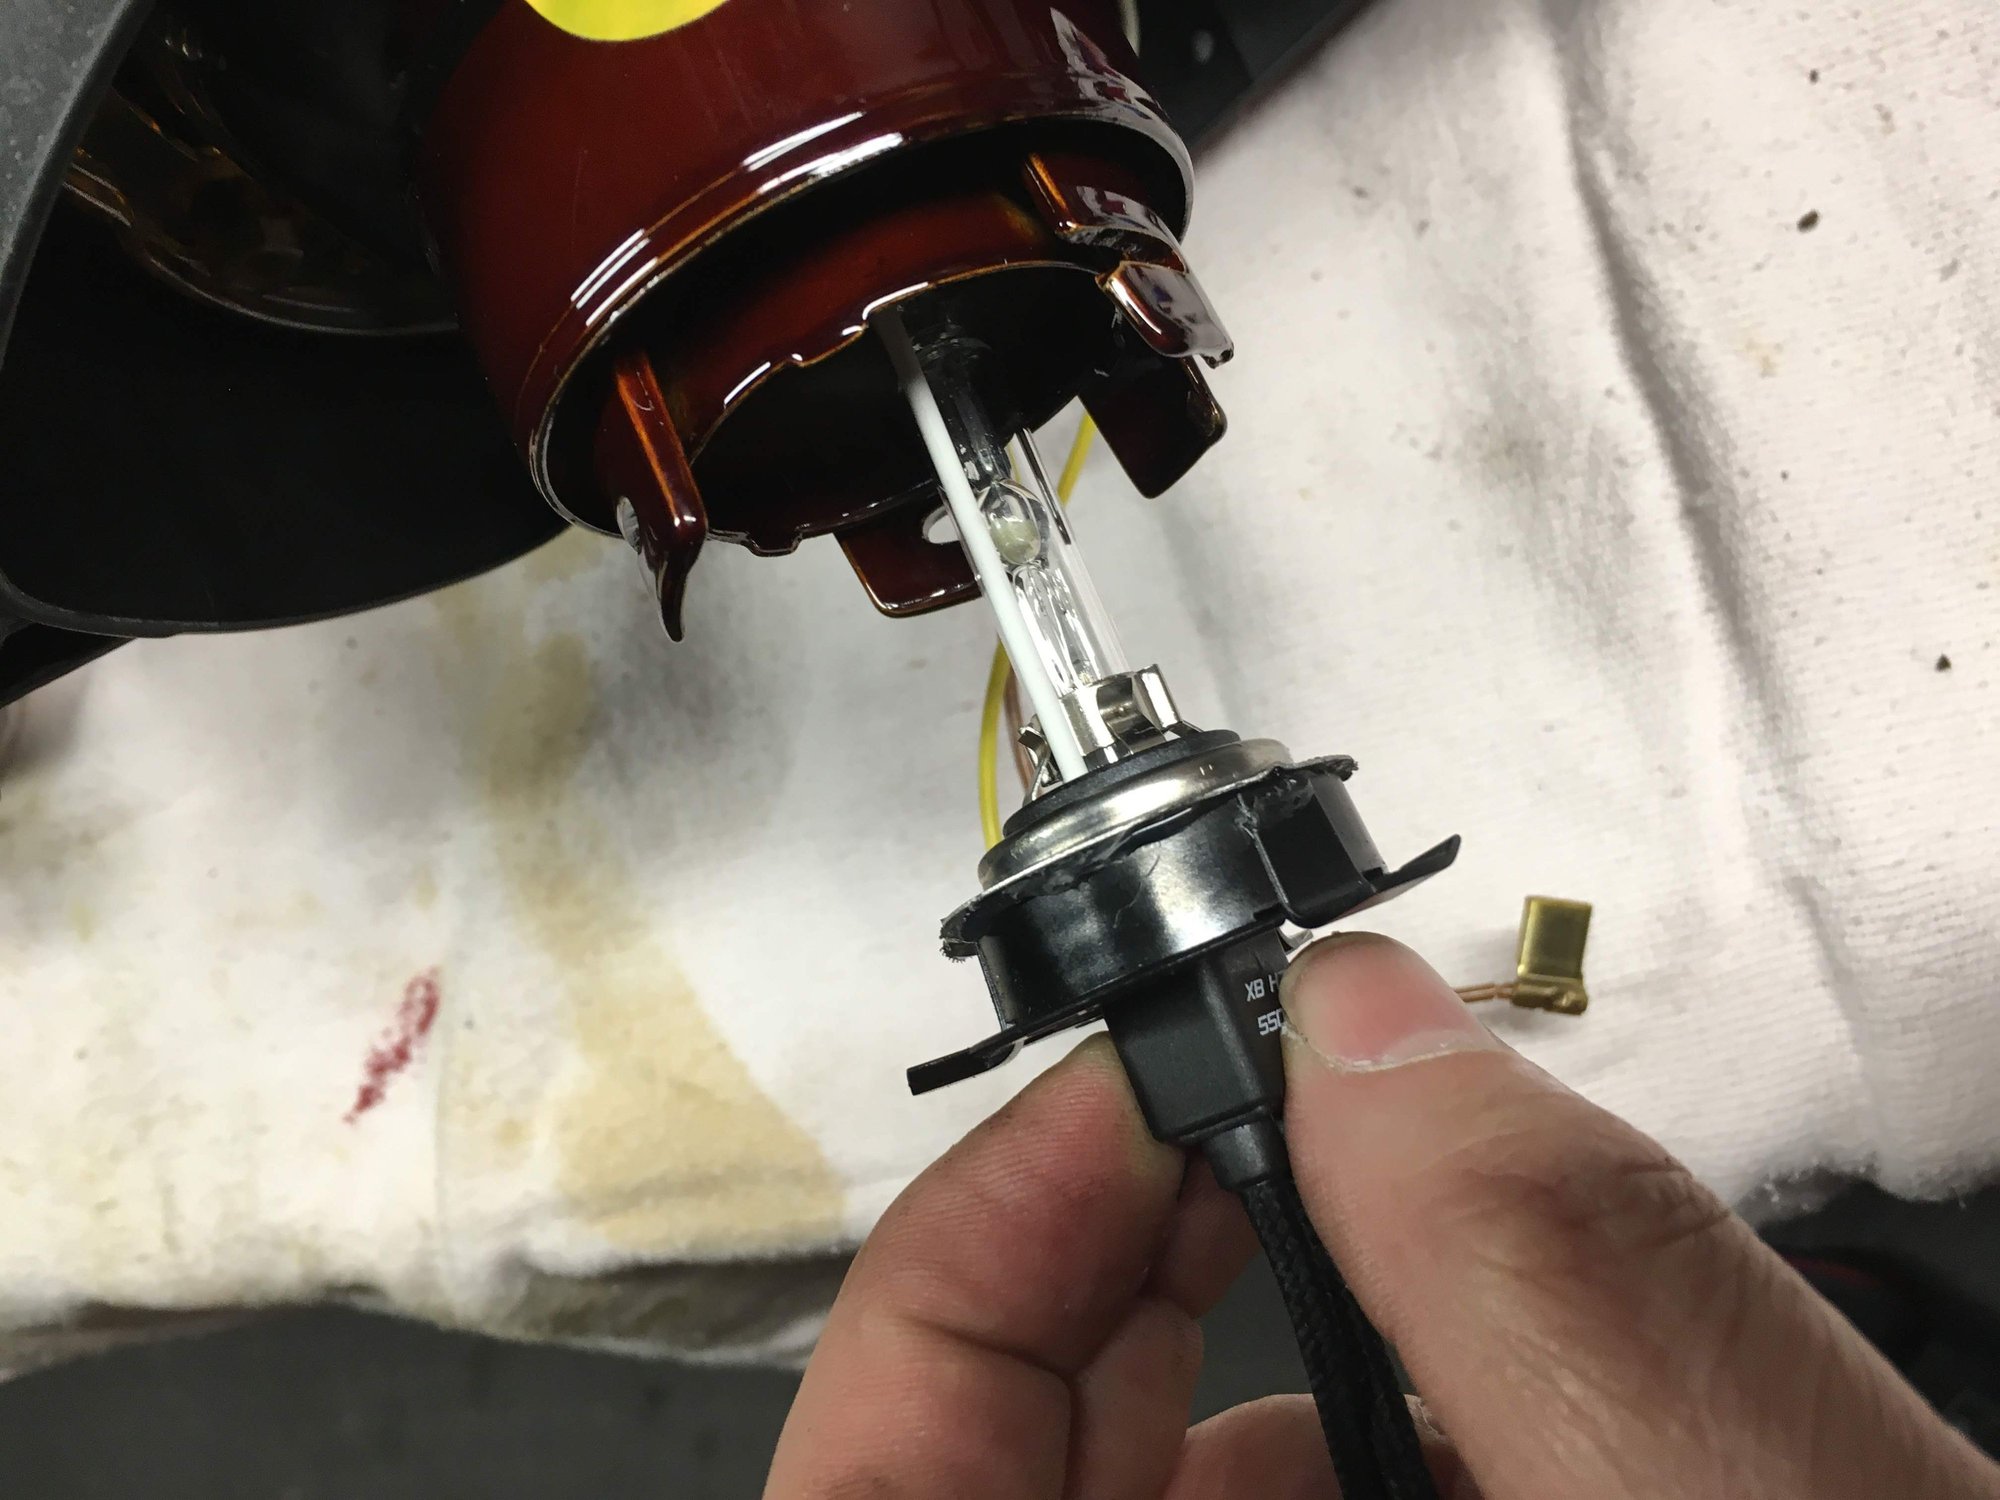
Remove the bulb from the packaging. Careful not to touch the bulb. I taped the bulb with tissue paper to protect it during this procedure. Feed the wire from the bottom of the bulb through the tabbed fixture. Test fit the bulb onto the fixture. Notice the alignment of the tab on the bulb housing and the registration key in the fixture. The bulb does need to be oriented properly - check the instructions that came with it, but basically the wire goes up. Here you can see where the bulb fits onto the tabbed fixture. Get out the hot glue gun and apply glue to around the bottom of the bulb (the metal ring, which sits on the rim of that fixture) Getting ready for gluing. Here you can see the bulb has been glued onto the fixture, with the tab aligned to the register. Bottom view of the bulb attached. You can see some glue in there. The glue holds the bulb very well and firmly in the fixture. Another bottom view of the bulb glued into the fixture. Now you can see how the bulb and fixture will fit nicely into the ceramic hub. Note the bulb alignment with the wire up.
Twisting to the right locks the bulb securely in place in the housing.
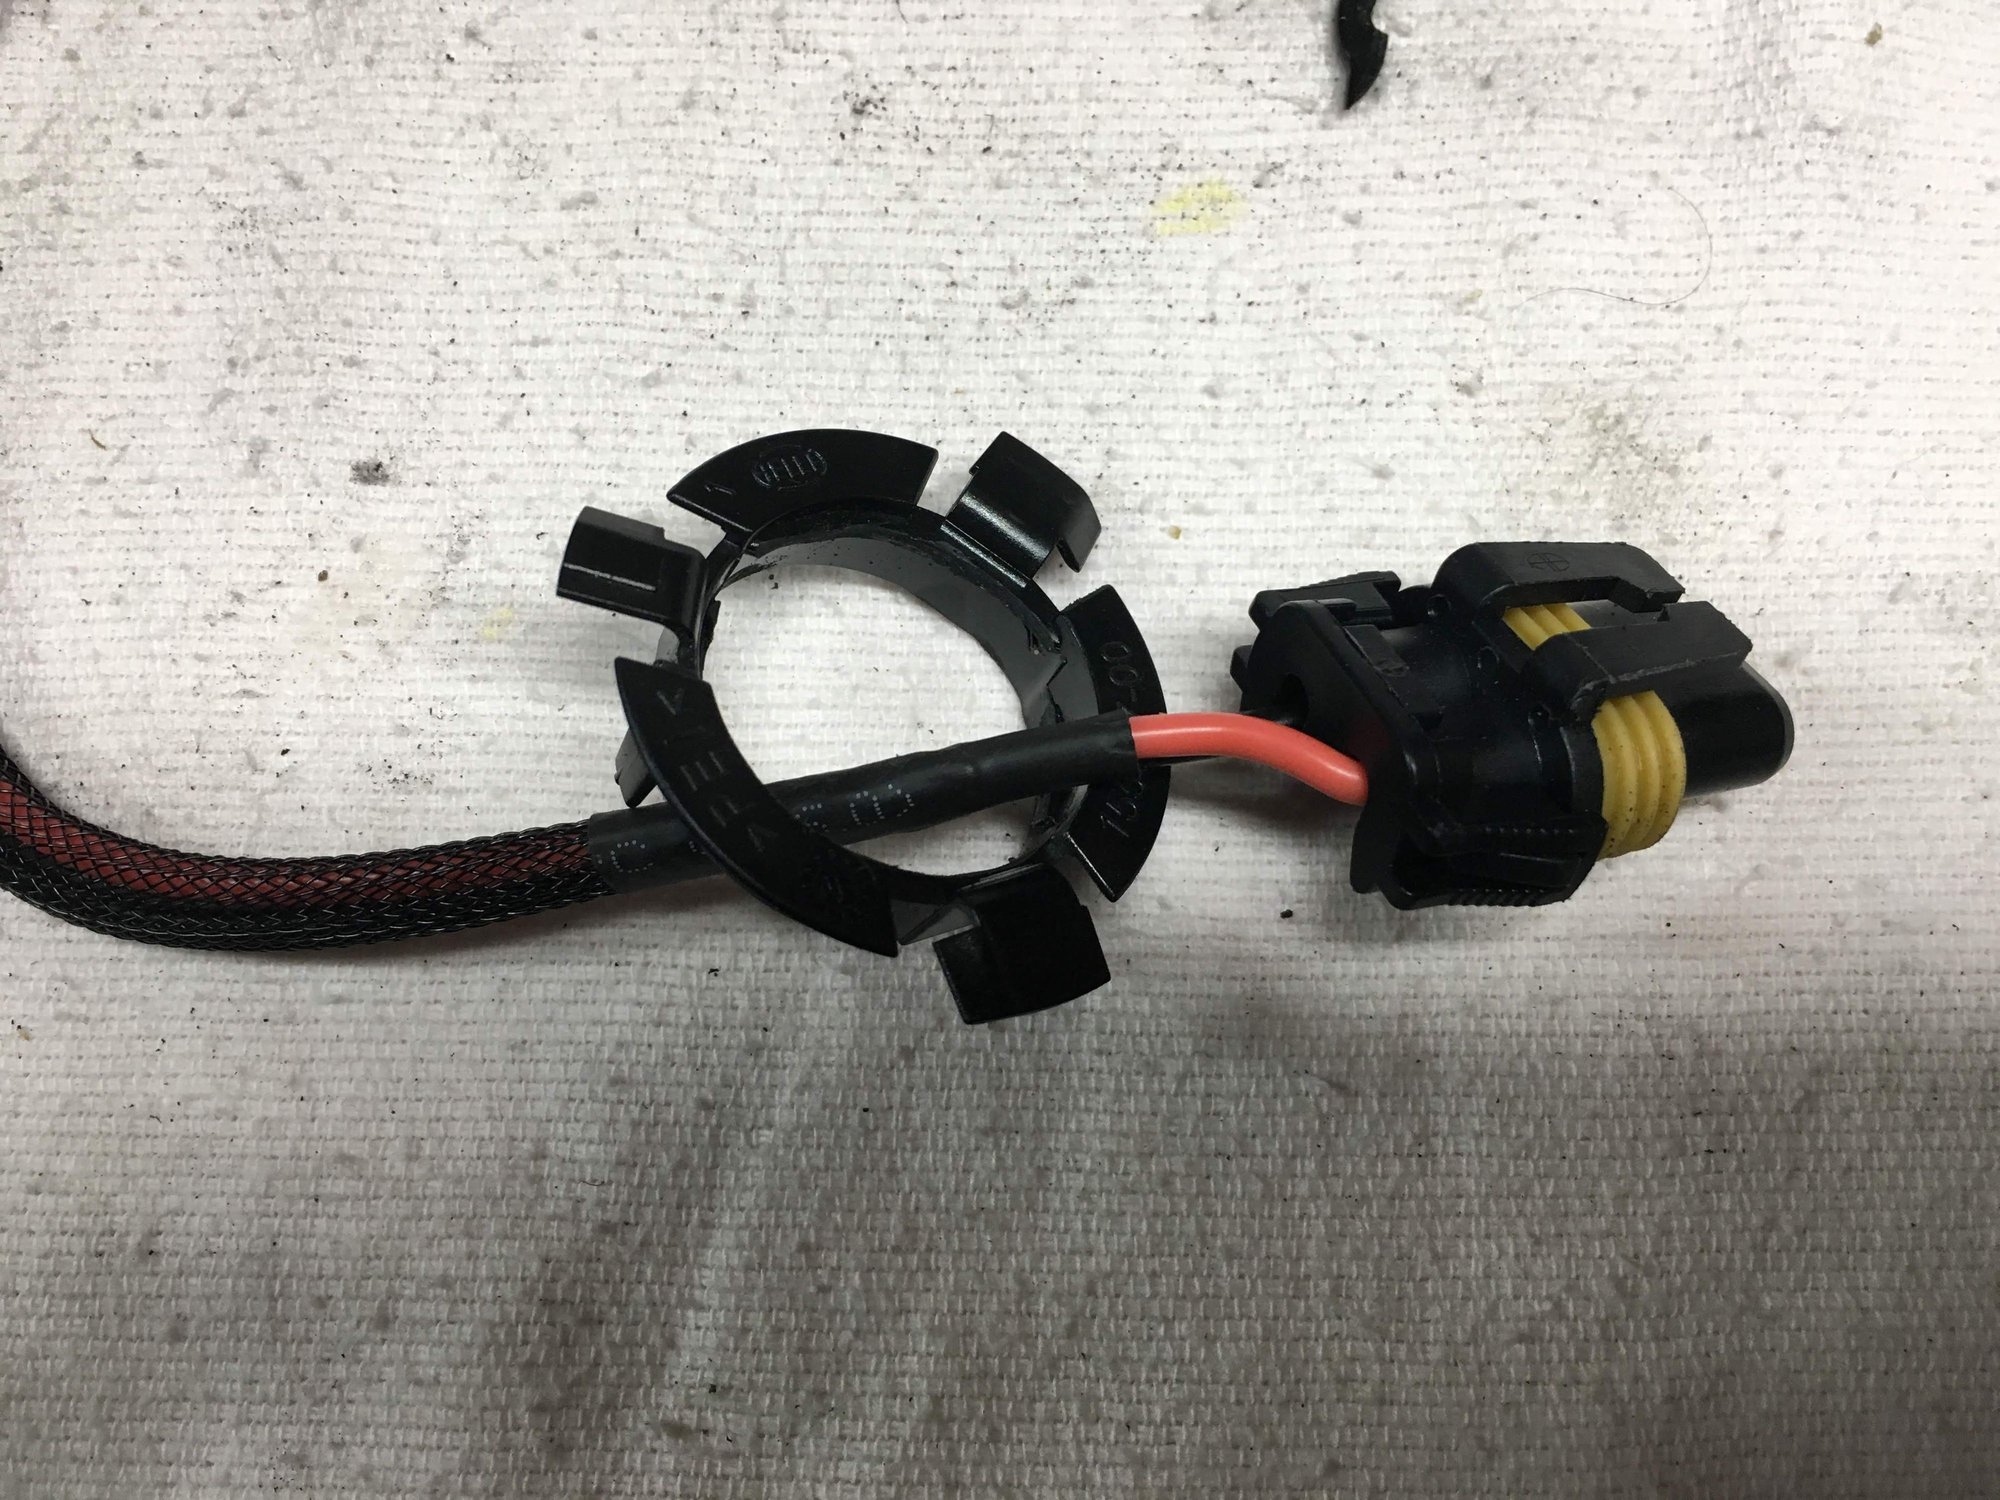
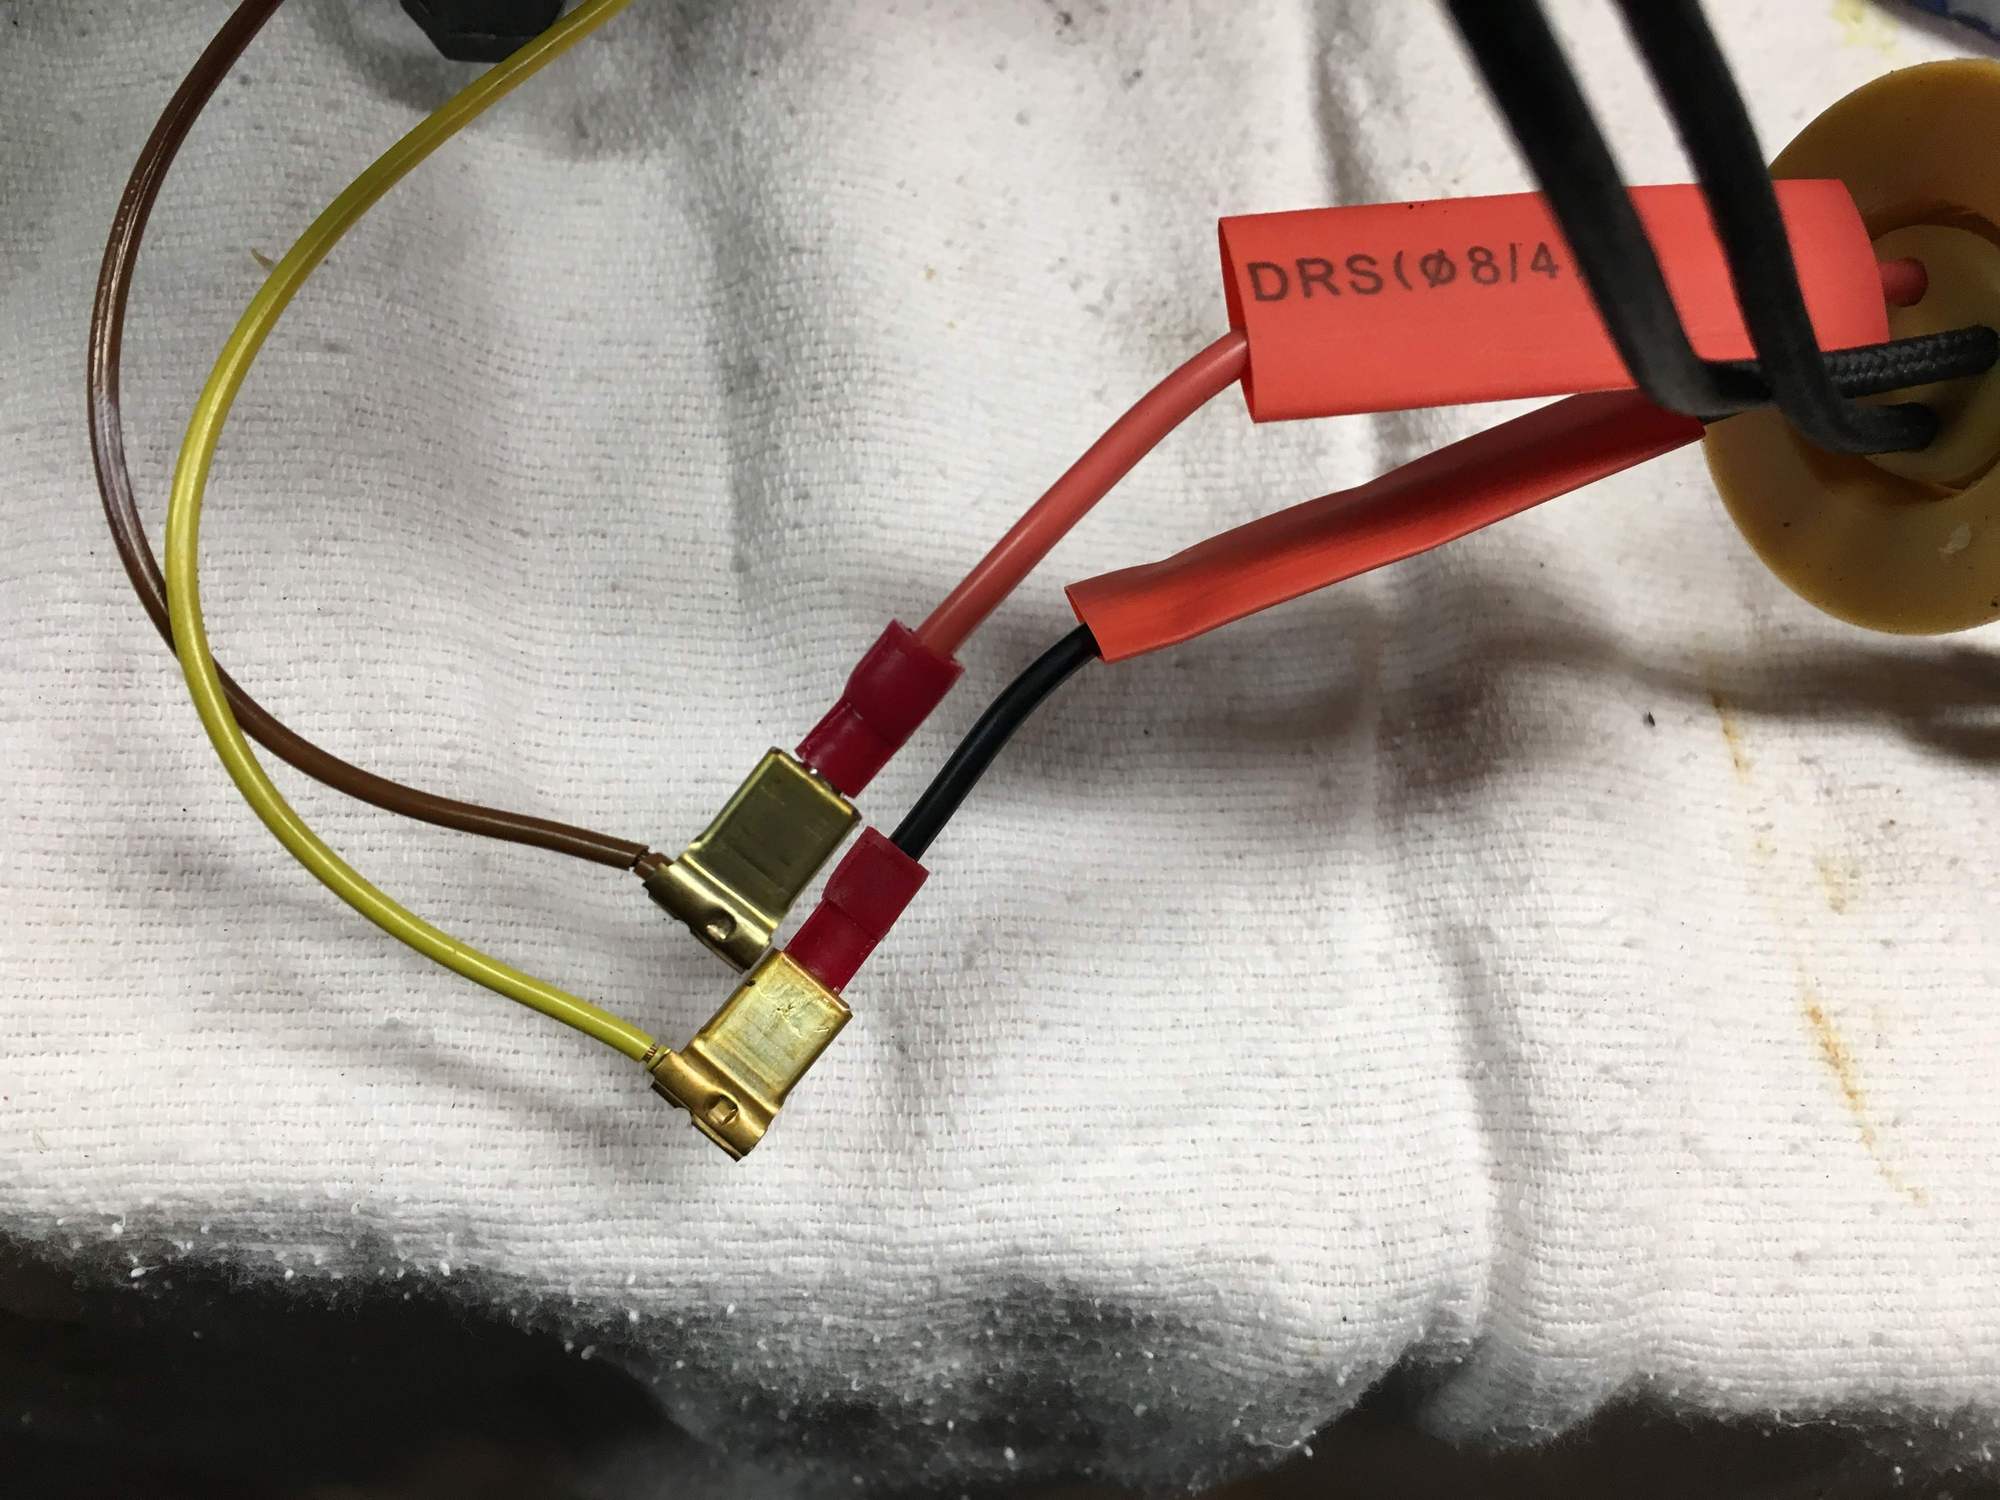
Now take the wires from the original H7 bulb and attach to the new bulb wires. Remember to put the heat shrink tubing on before attaching the wires.
Another view of the wires connecting the new bulb.
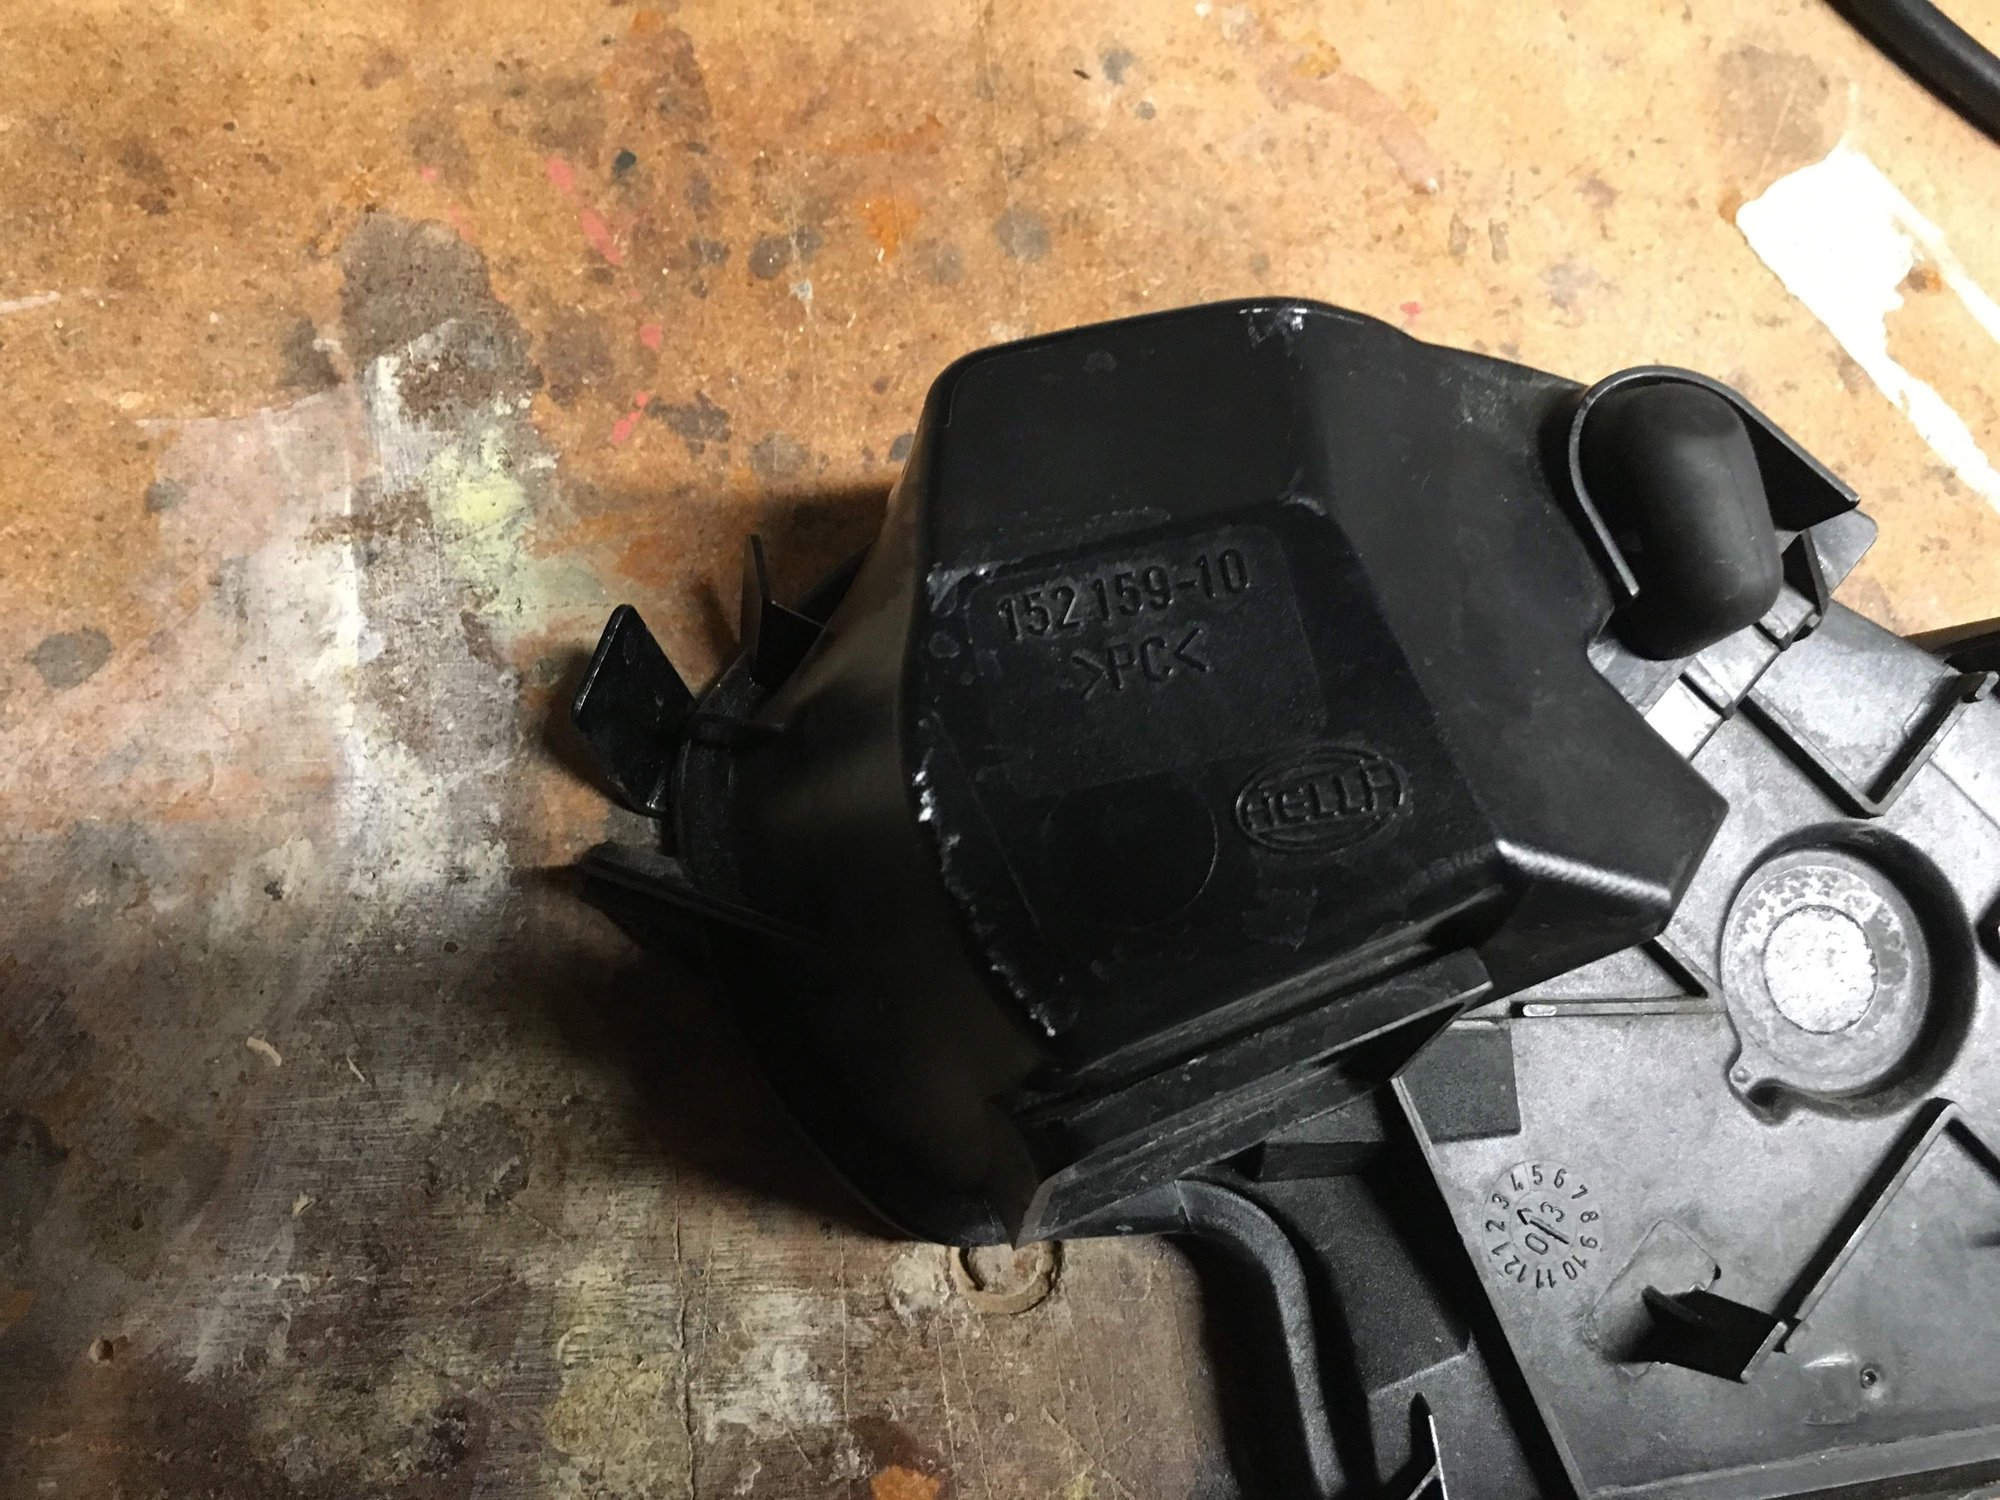
Next we need to attach the ballast to the outside of the headlight, on the back of the cover that we removed.
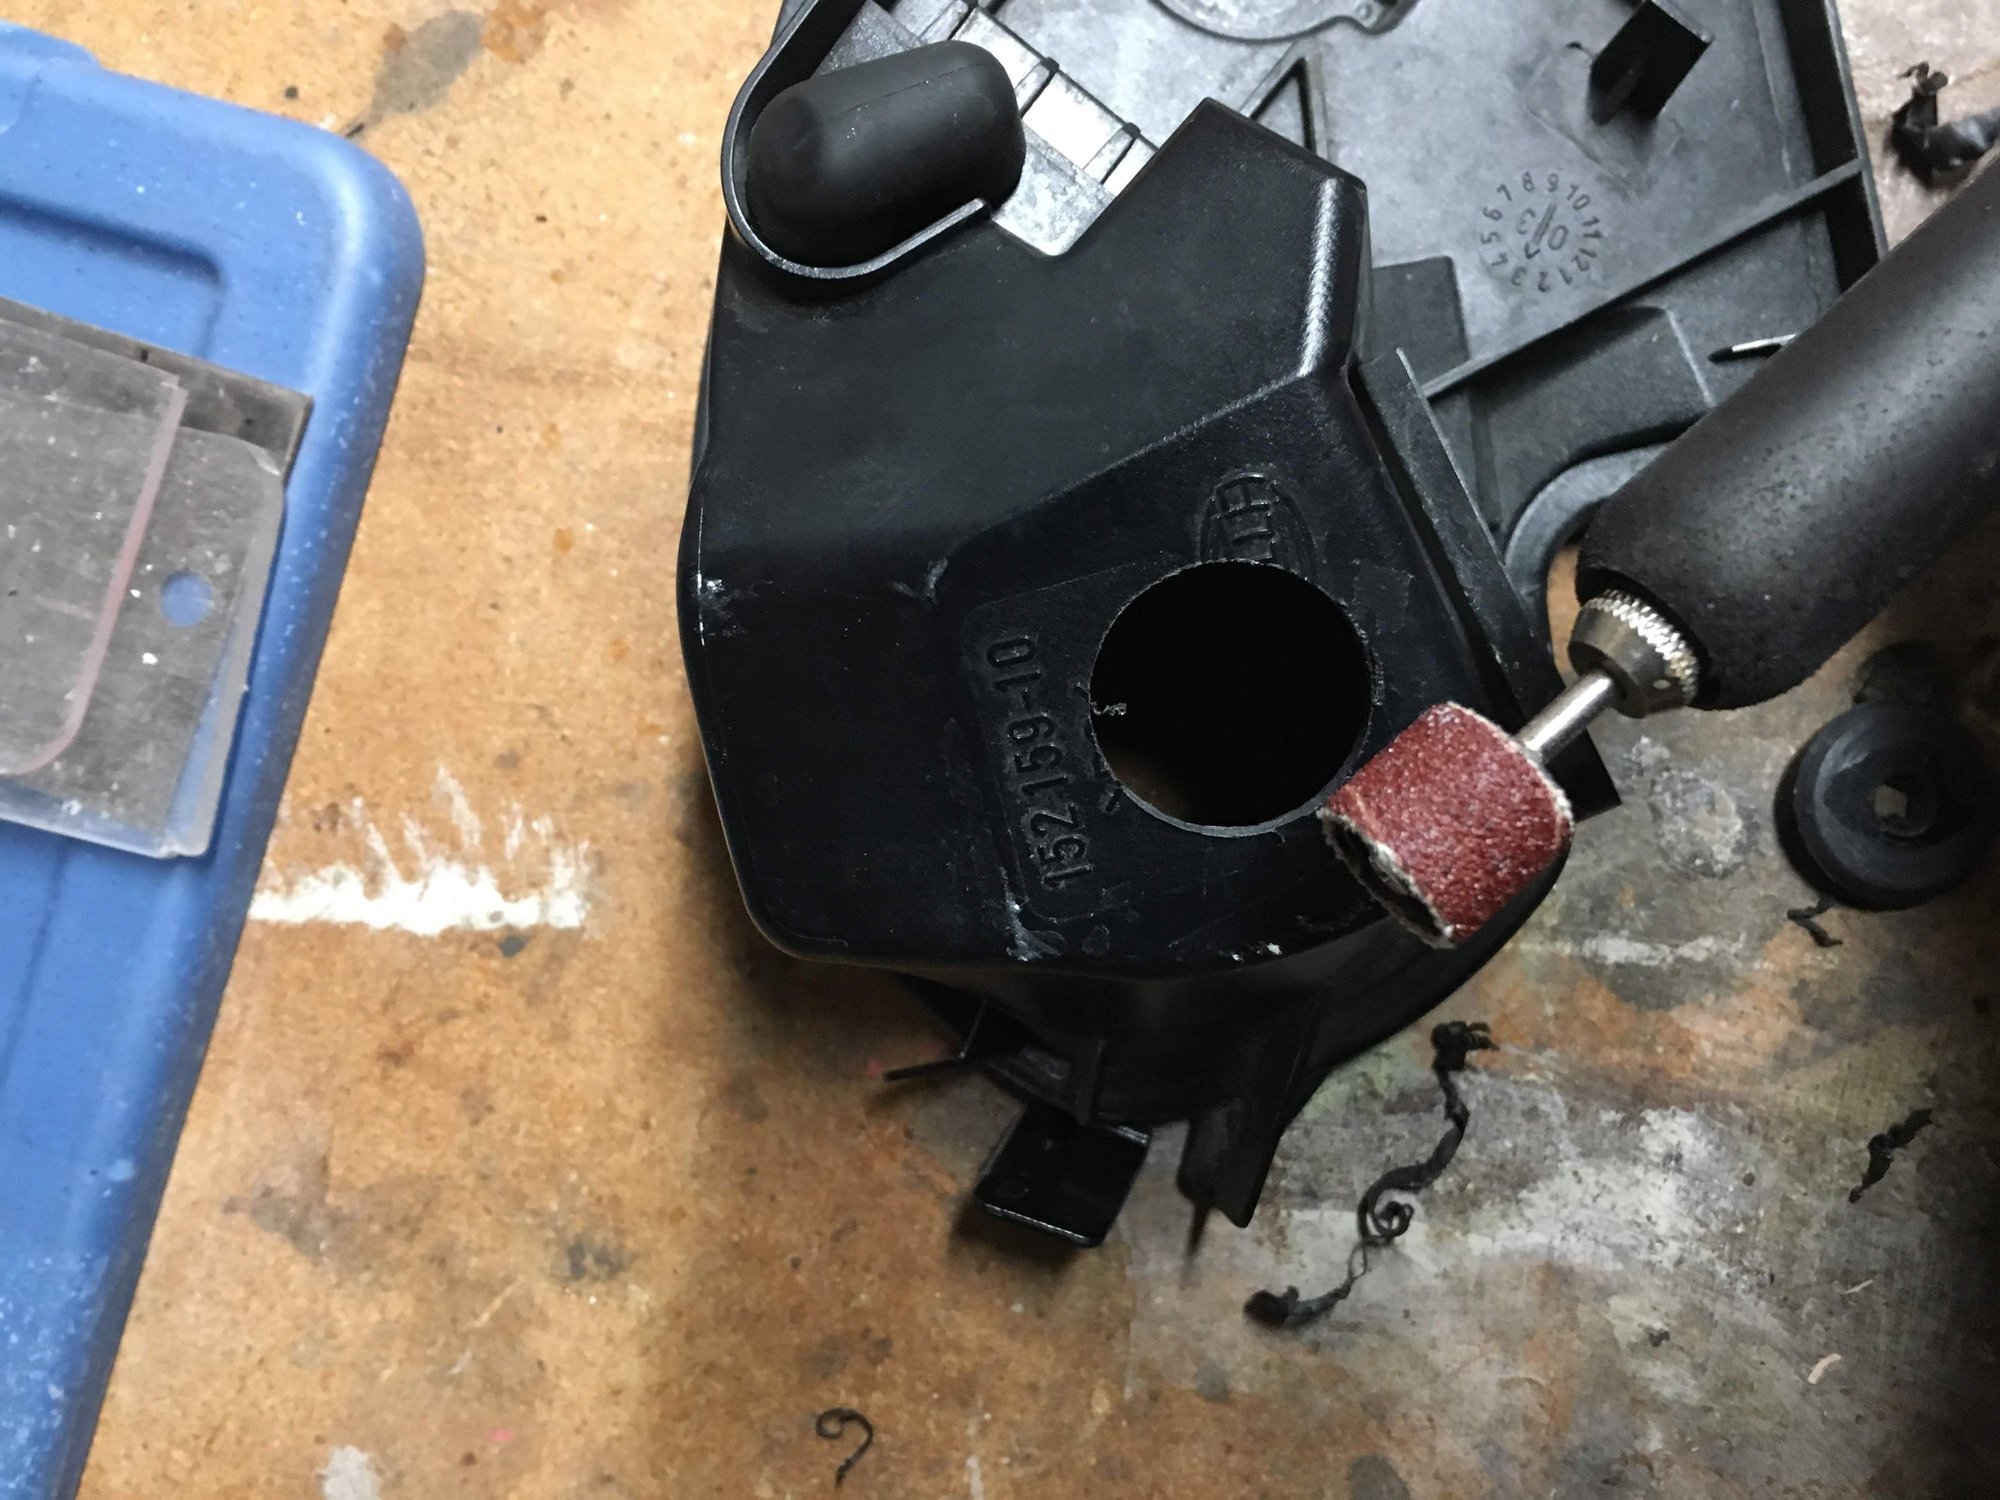
Drill a hole in the back cover so that the wires from the new bulb can feed through the cover and connect to the ballast. Use the Dremel tool to de-burr and widen the hole in order to fit the connector through it.
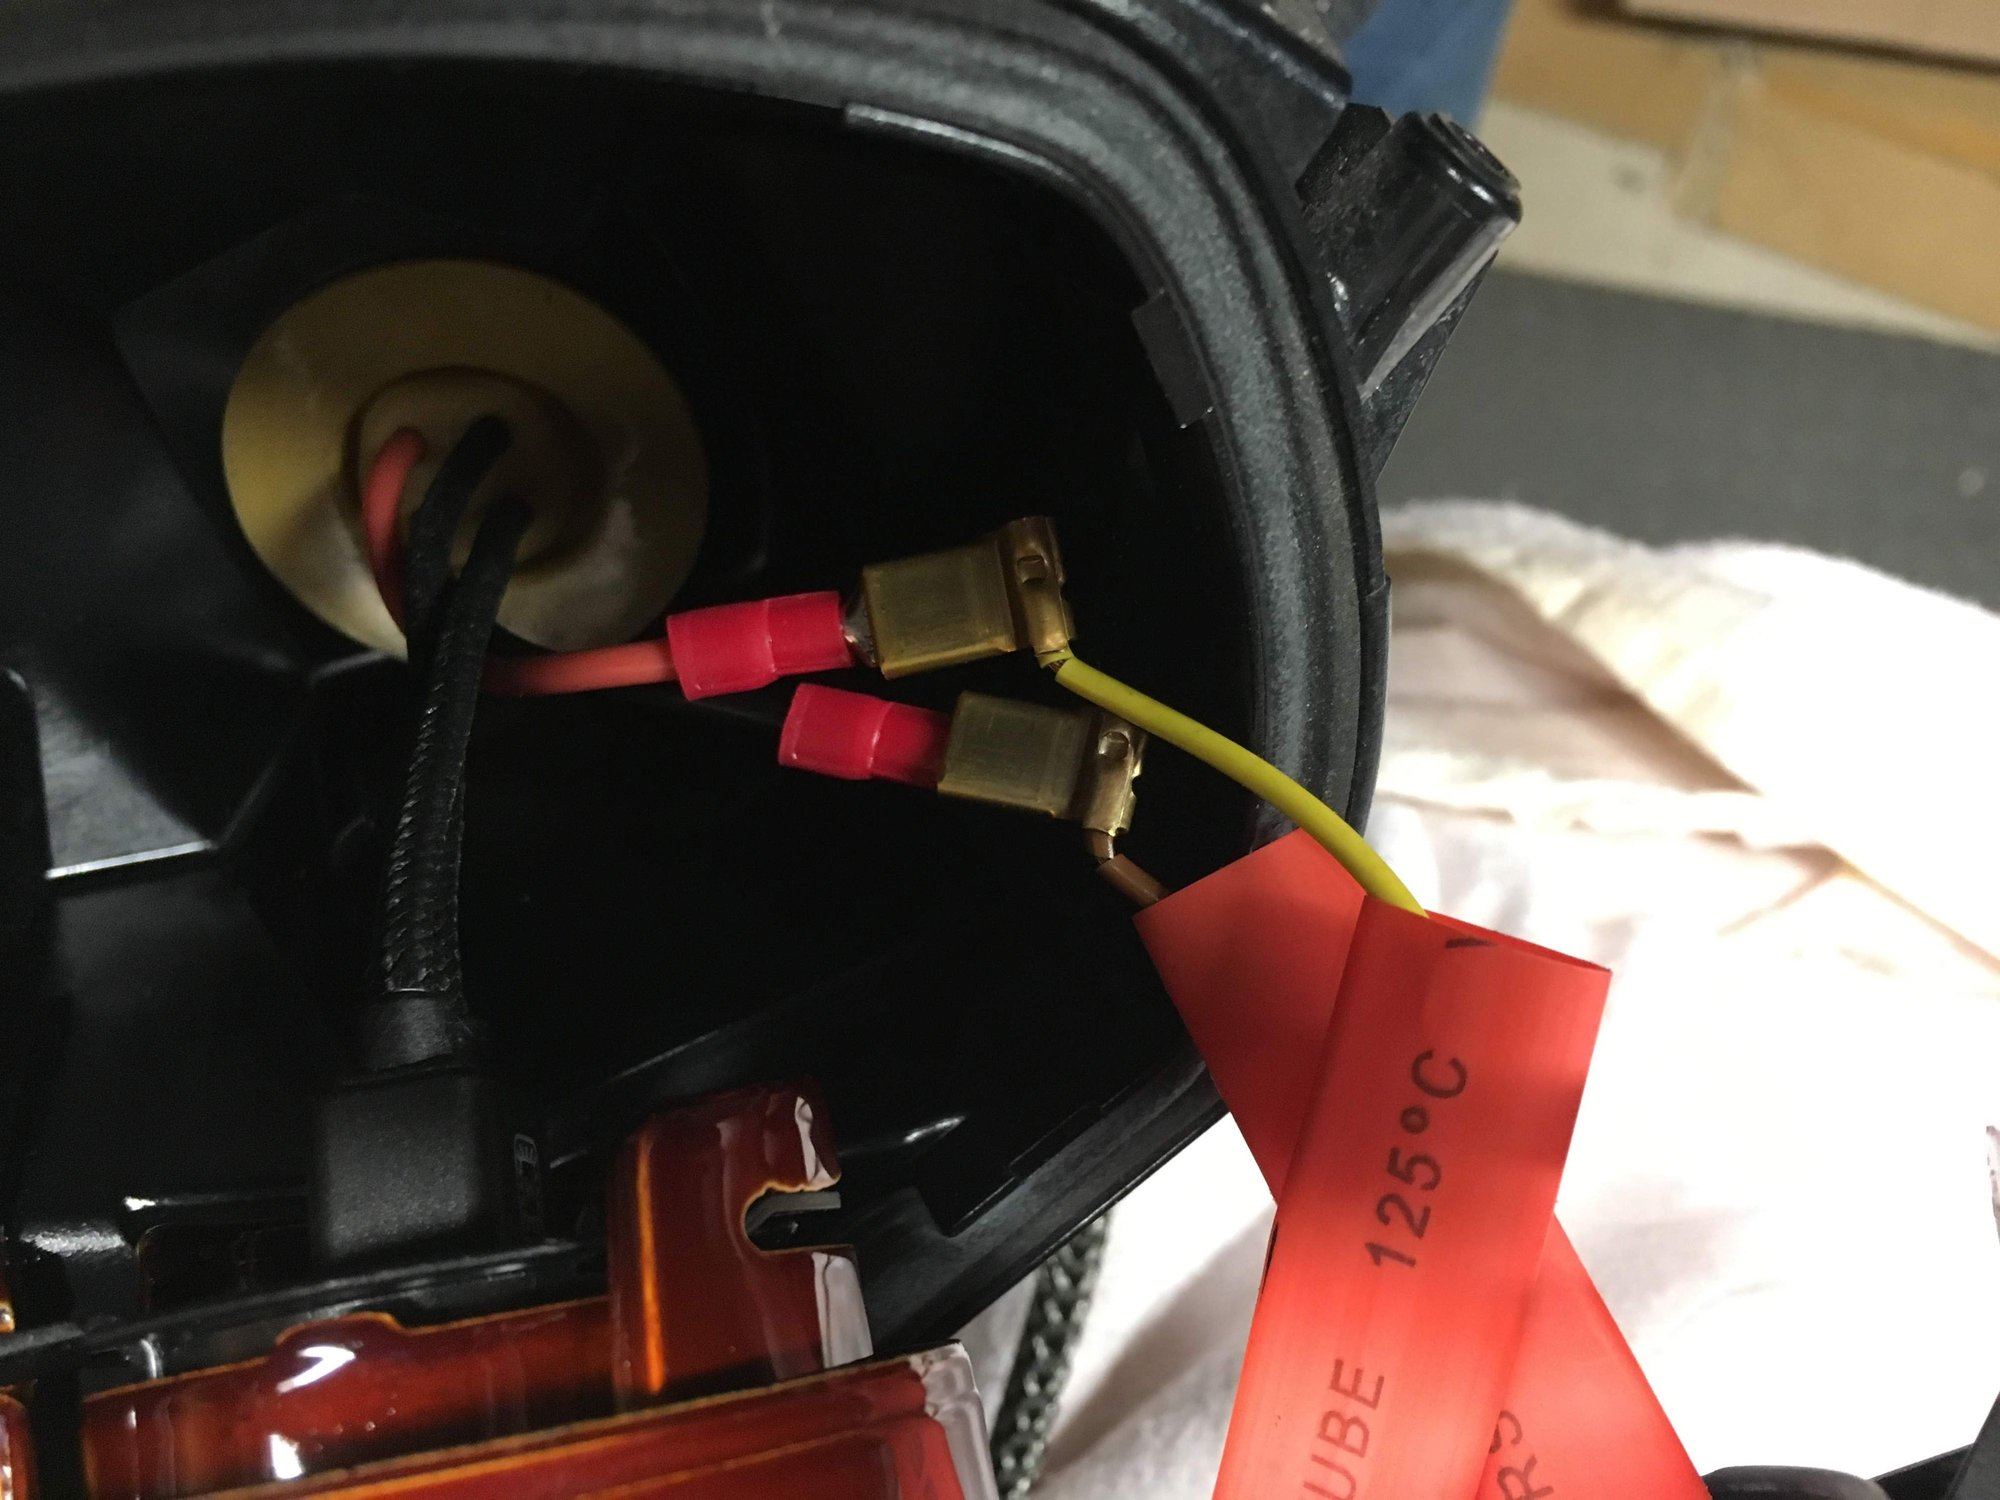
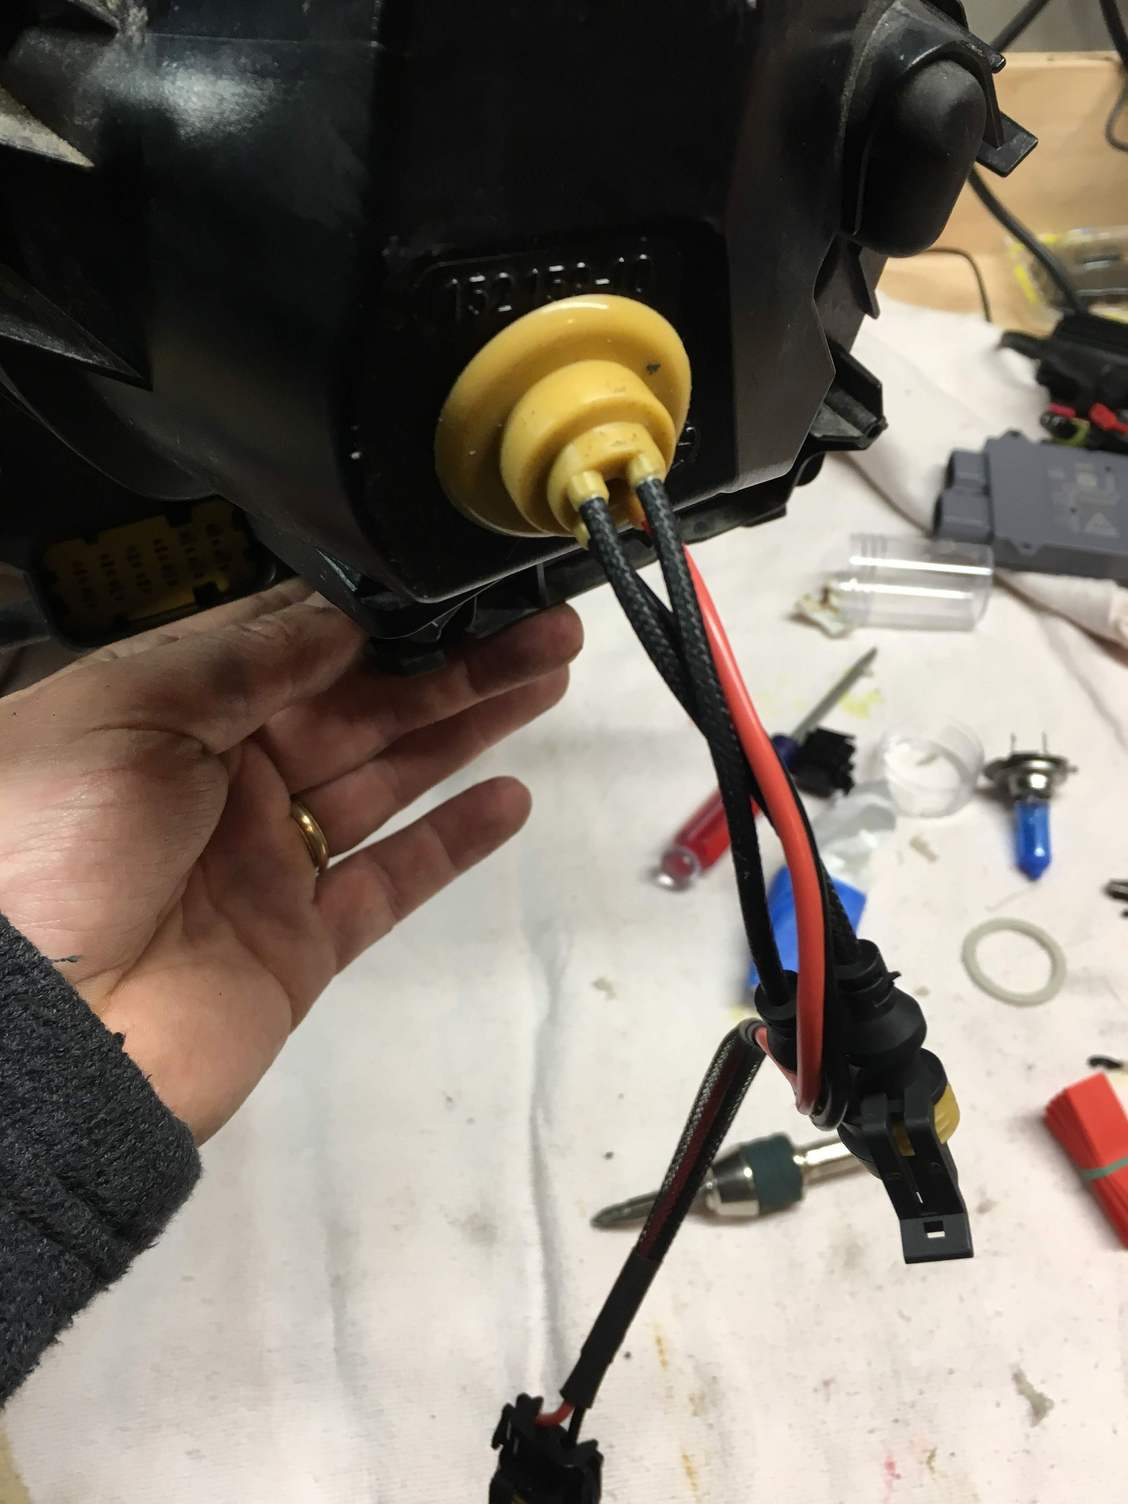
Now the wires fit through and the rubber plug secures the hole from moisture.
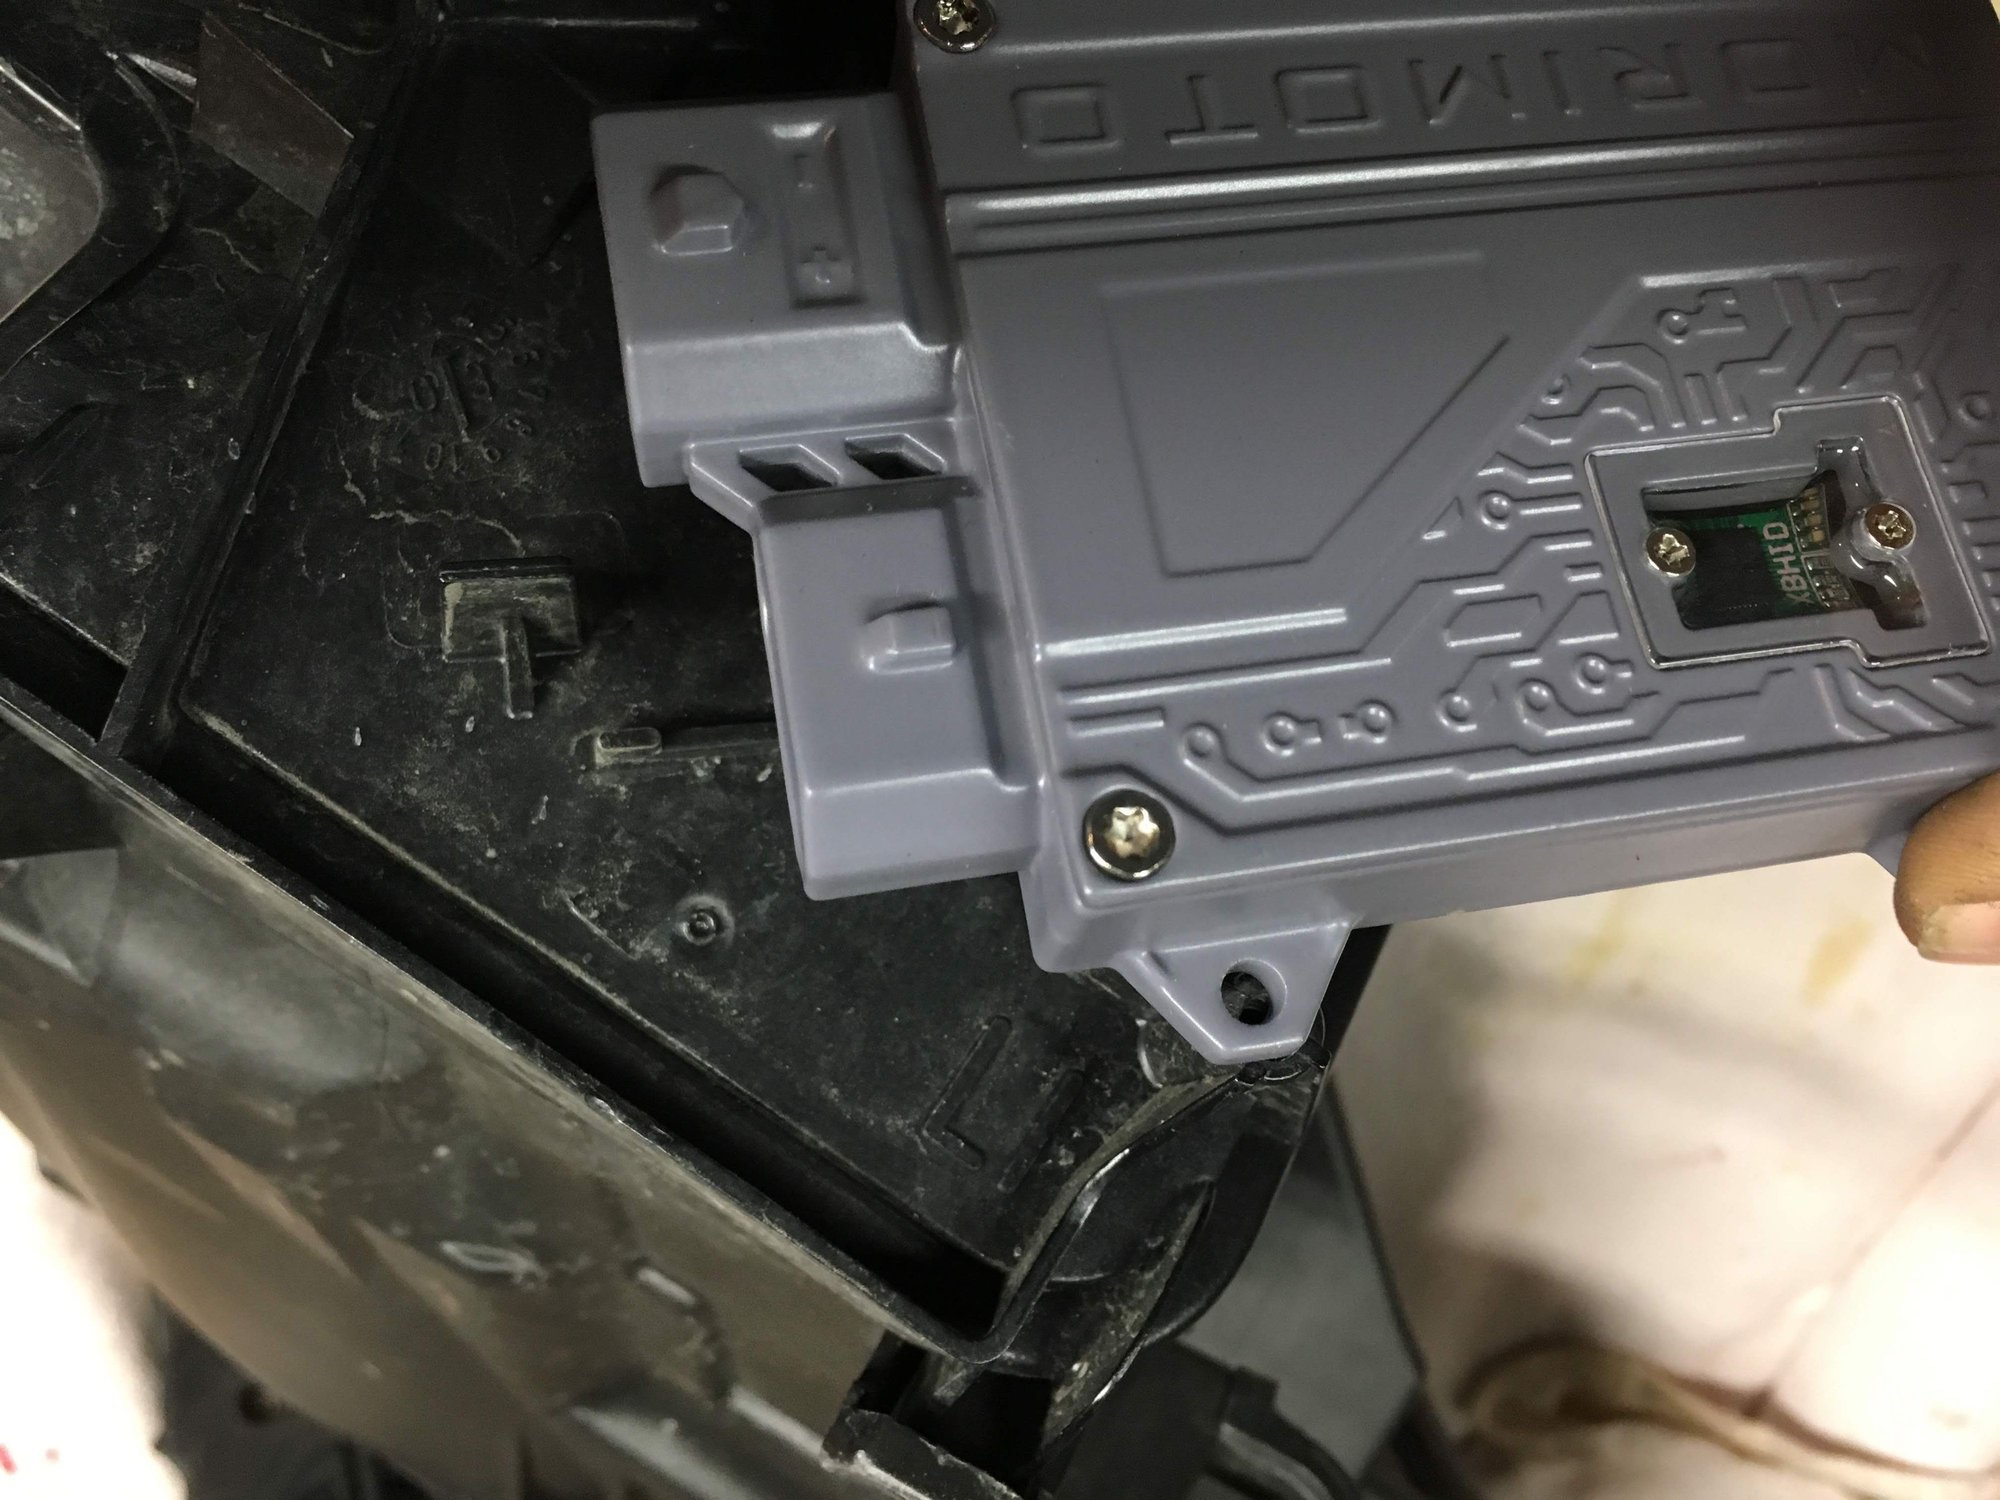
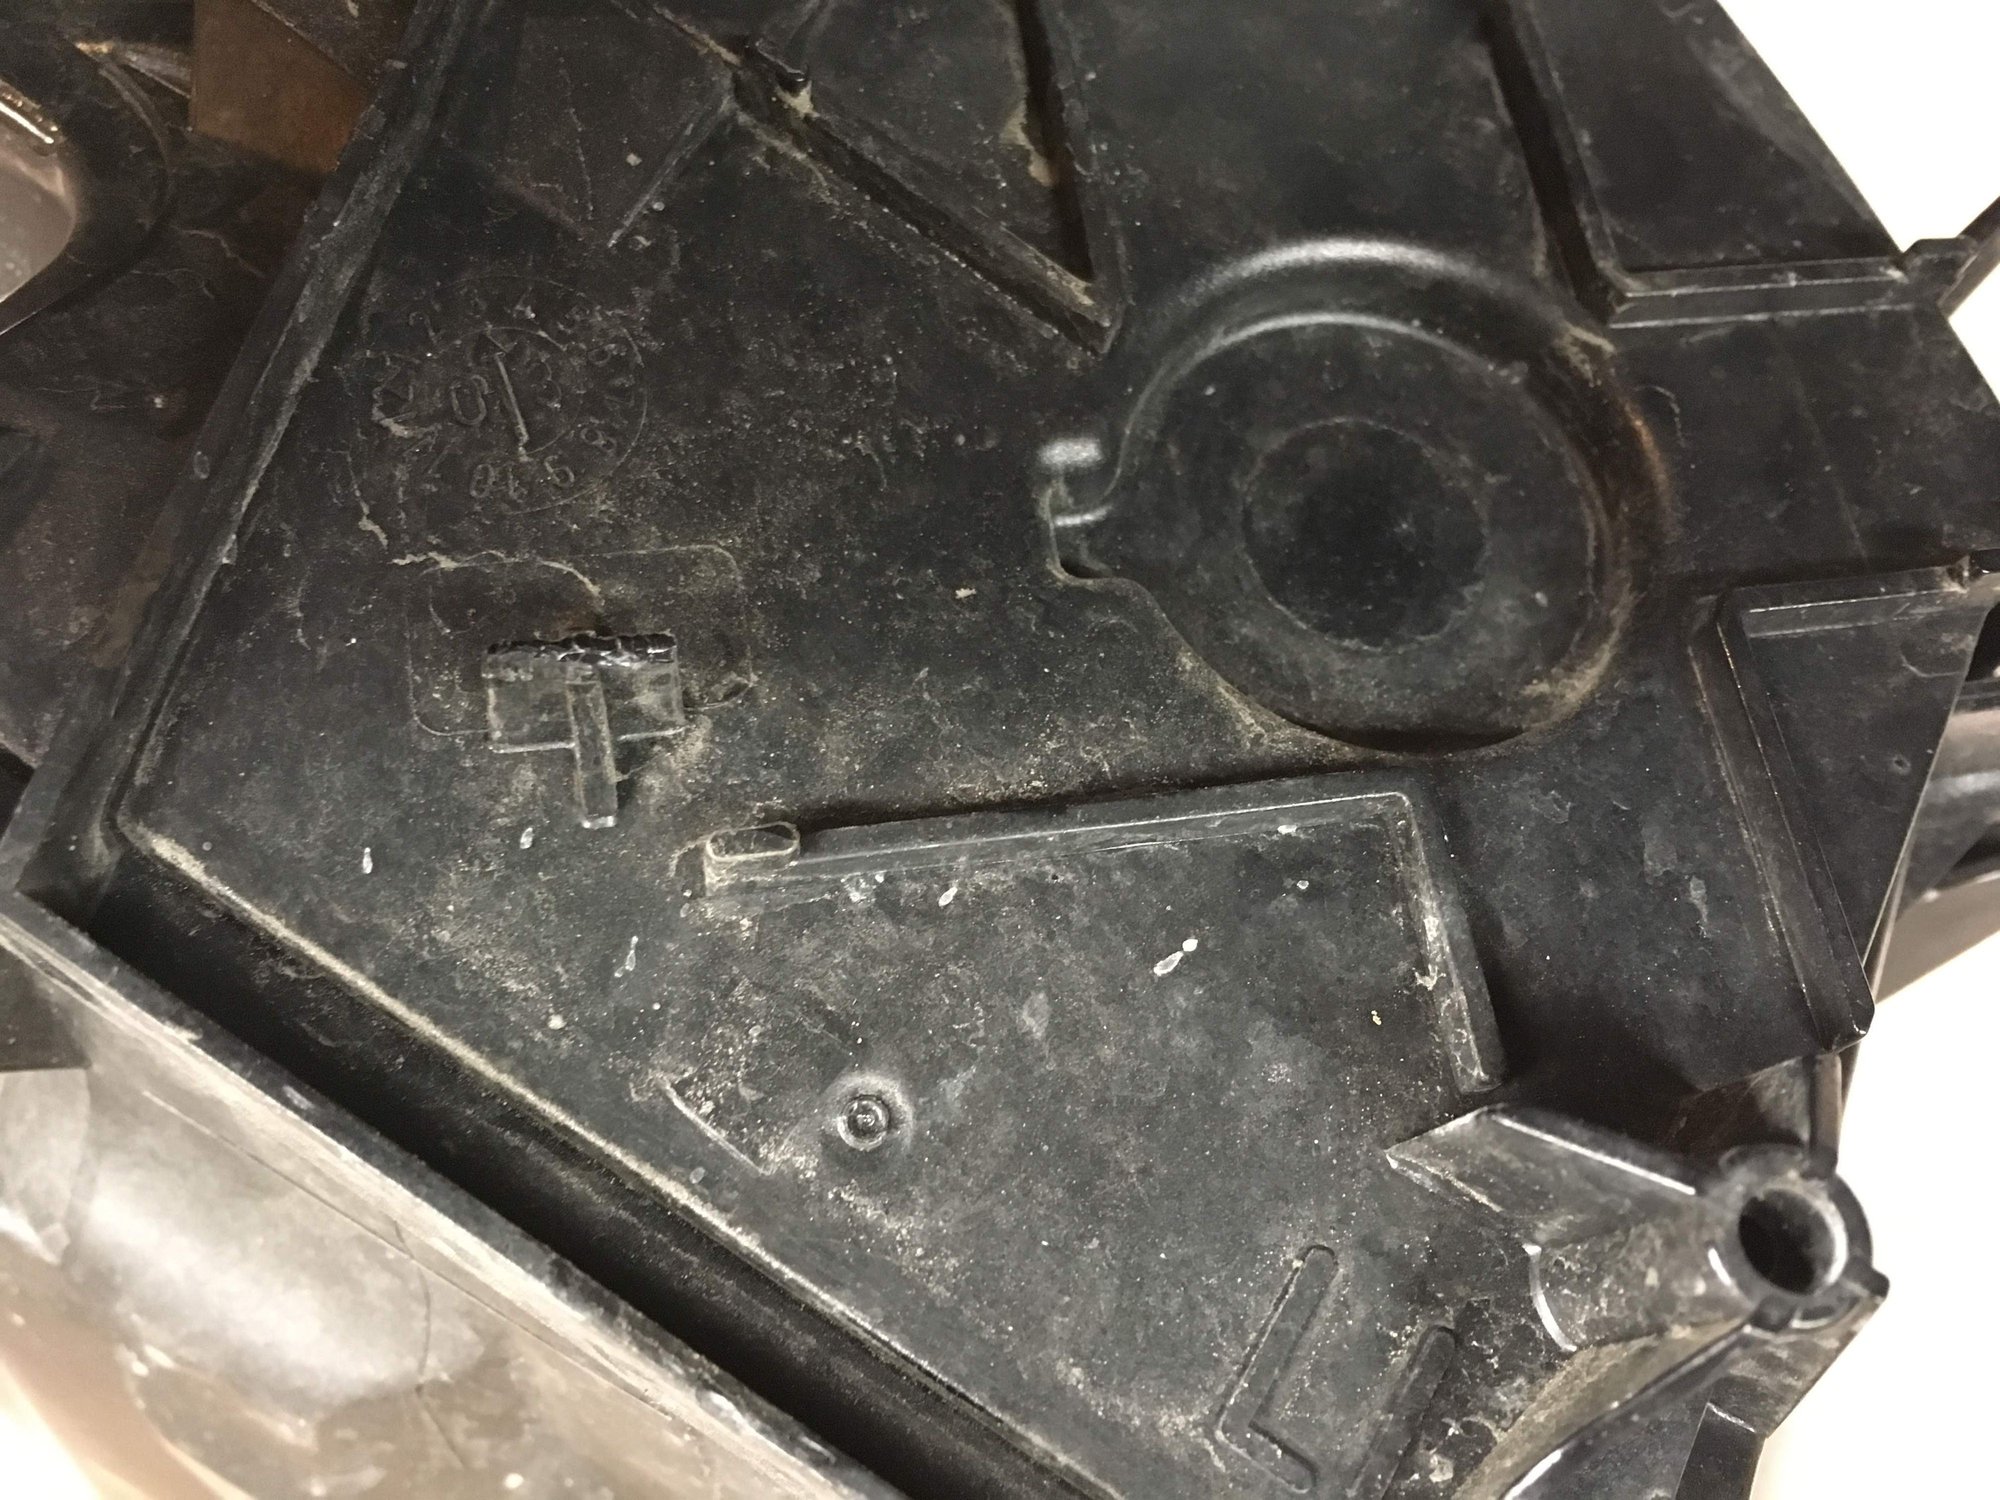
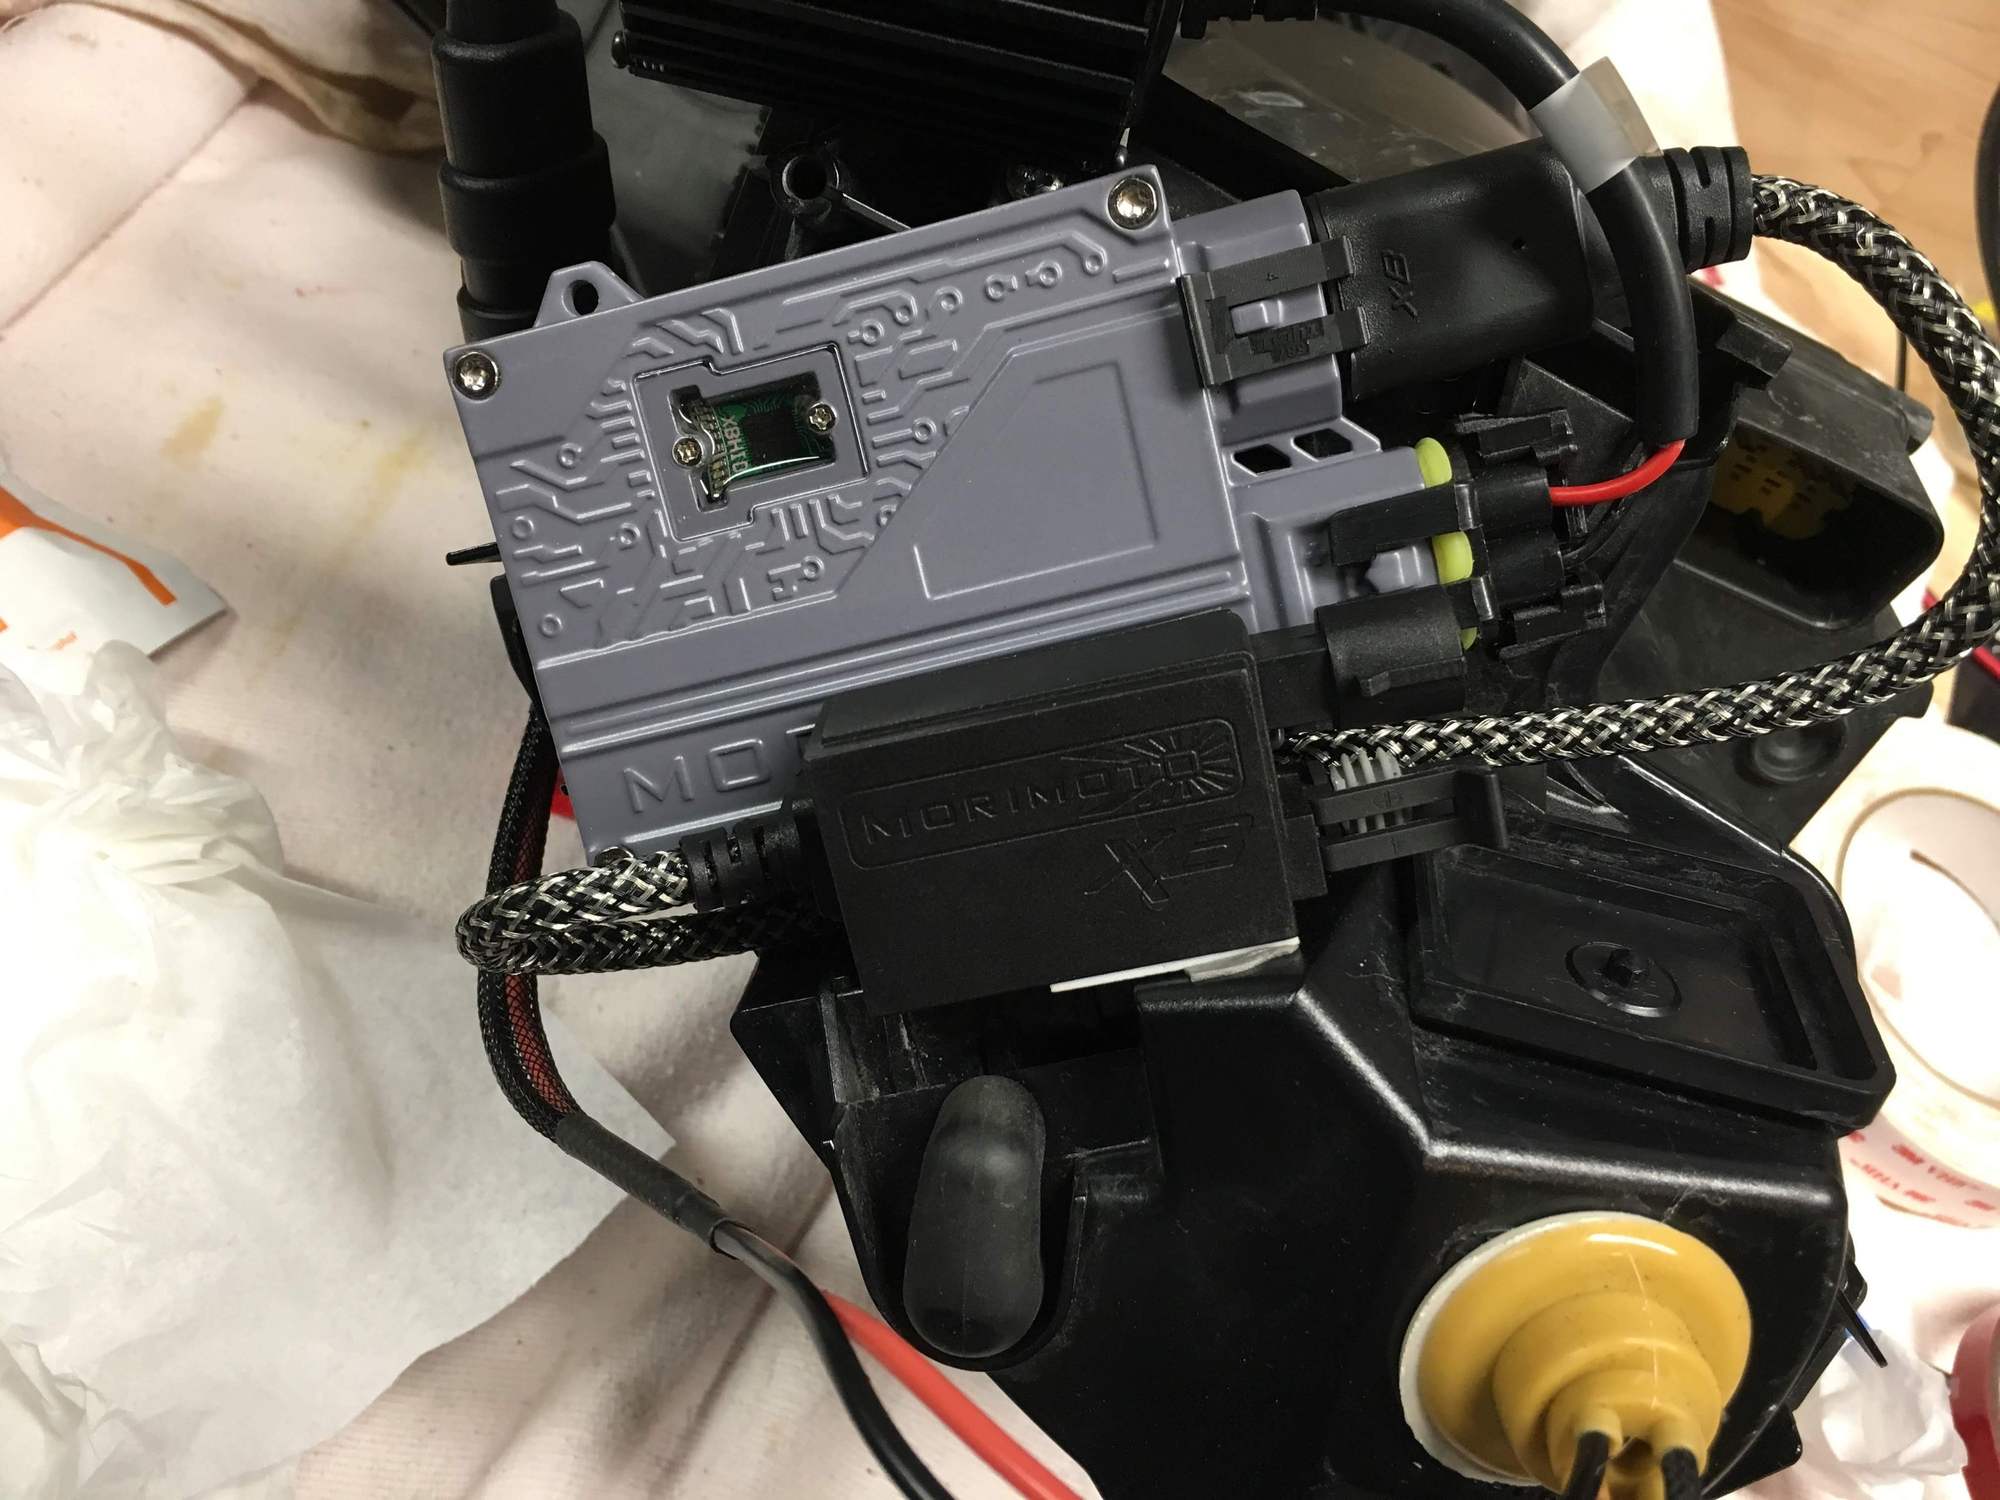
We will attach the ballast to this location and plug the wires into it.
The ballast will fit perfectly into this area.
First the little tab needs to be broken off so that it will fit flat. I used a pair of plier and broke off the tip of the tab.
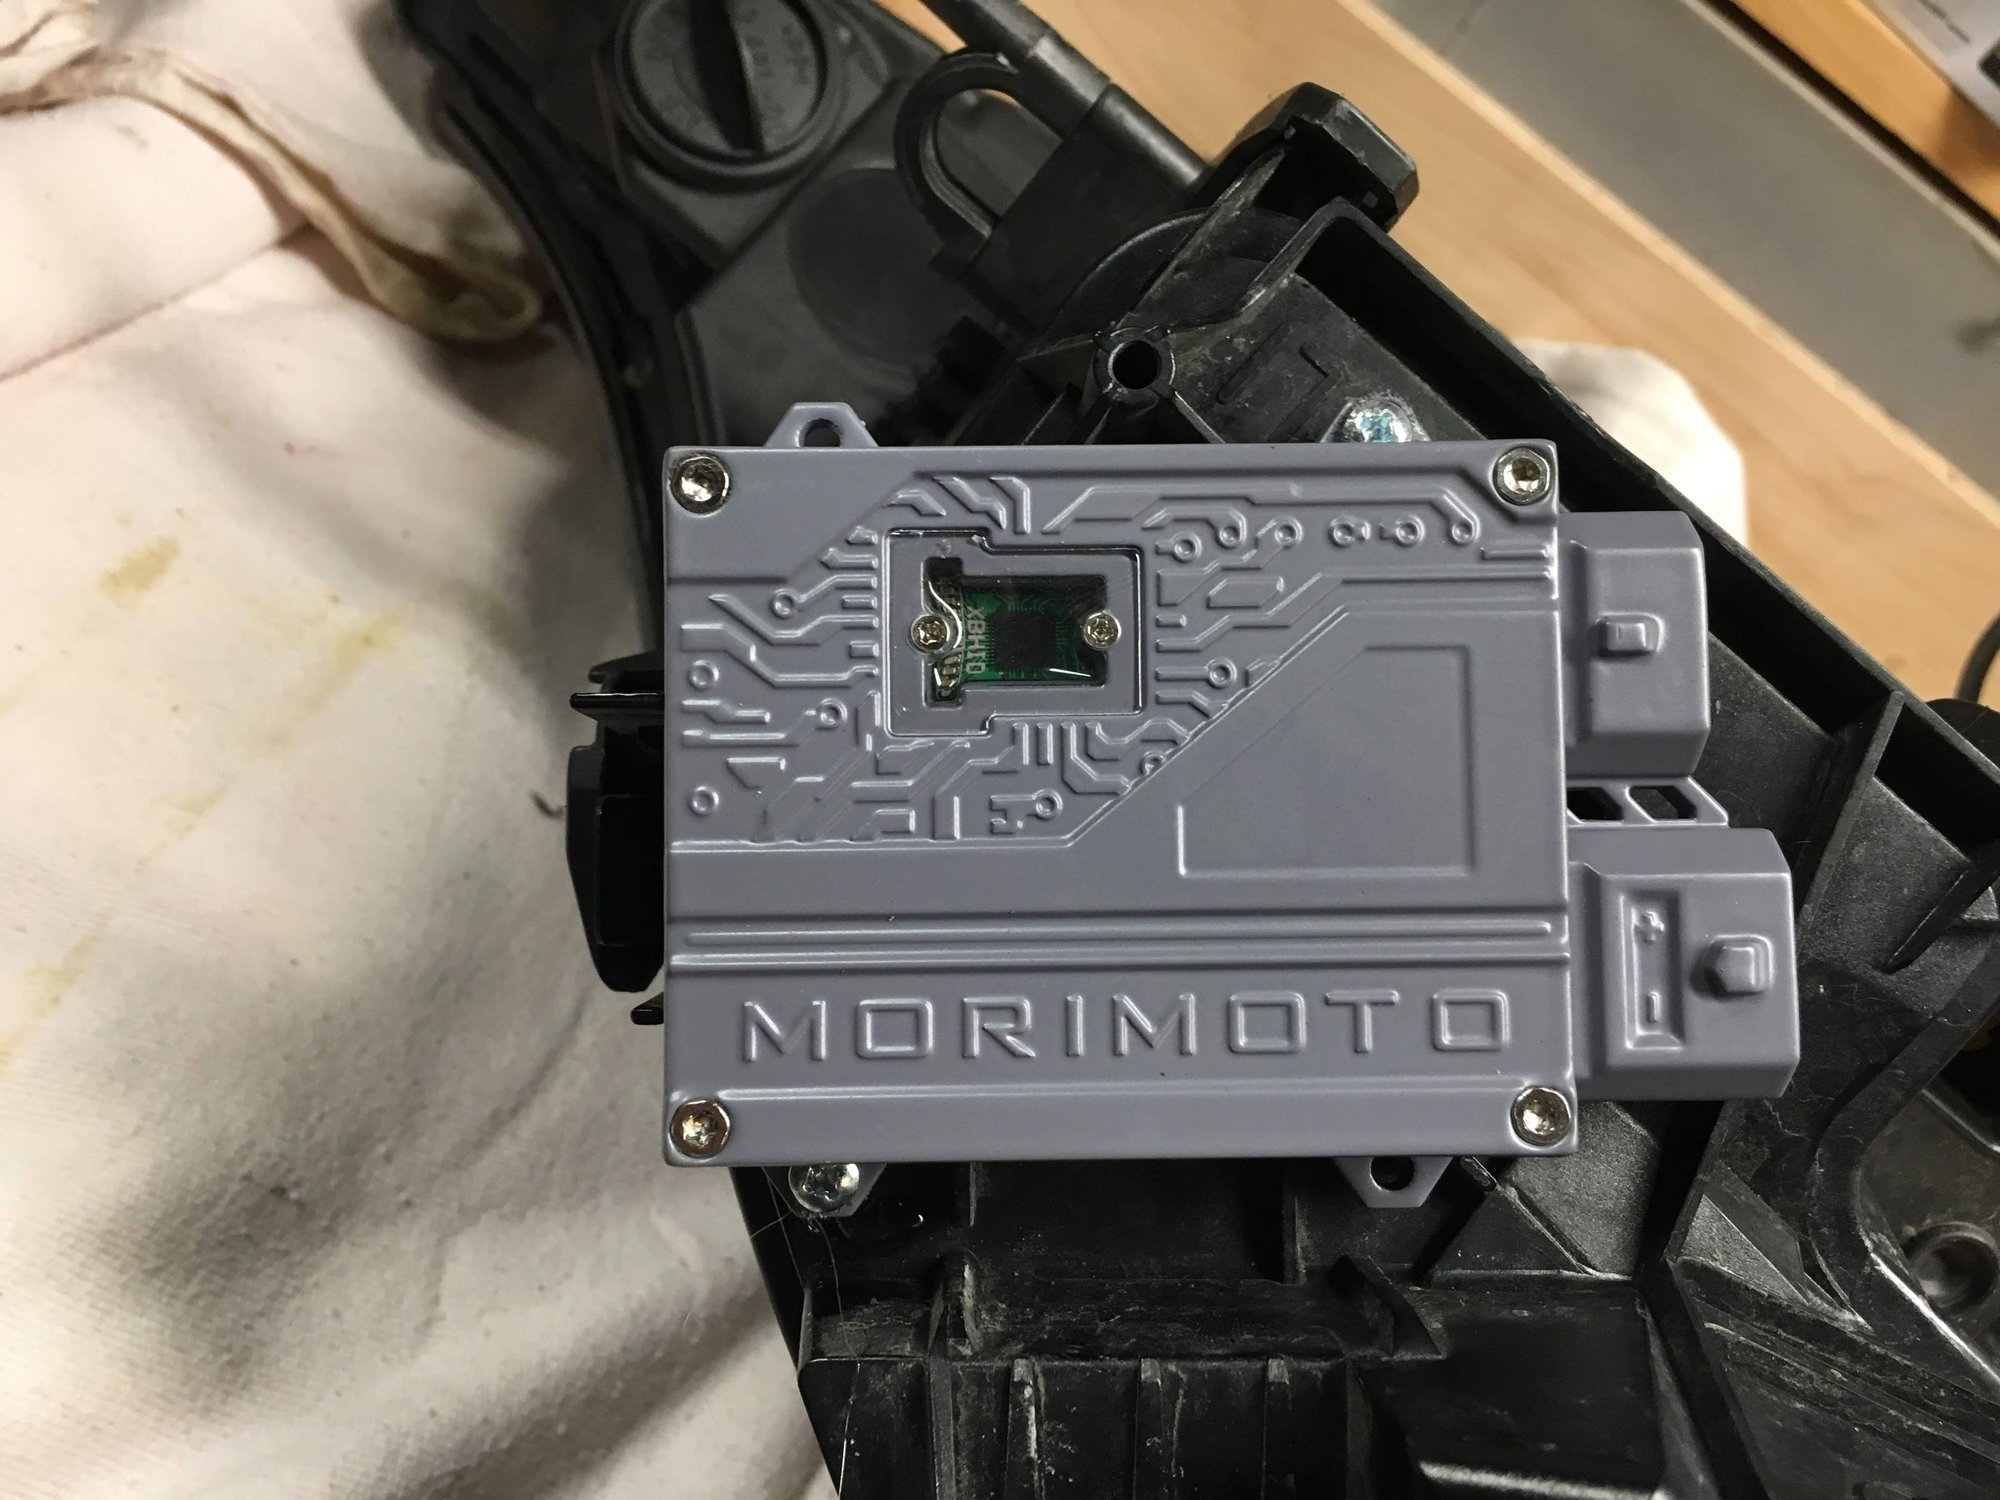
After breaking off the tab the ballast fits perfectly, like it was made for it.
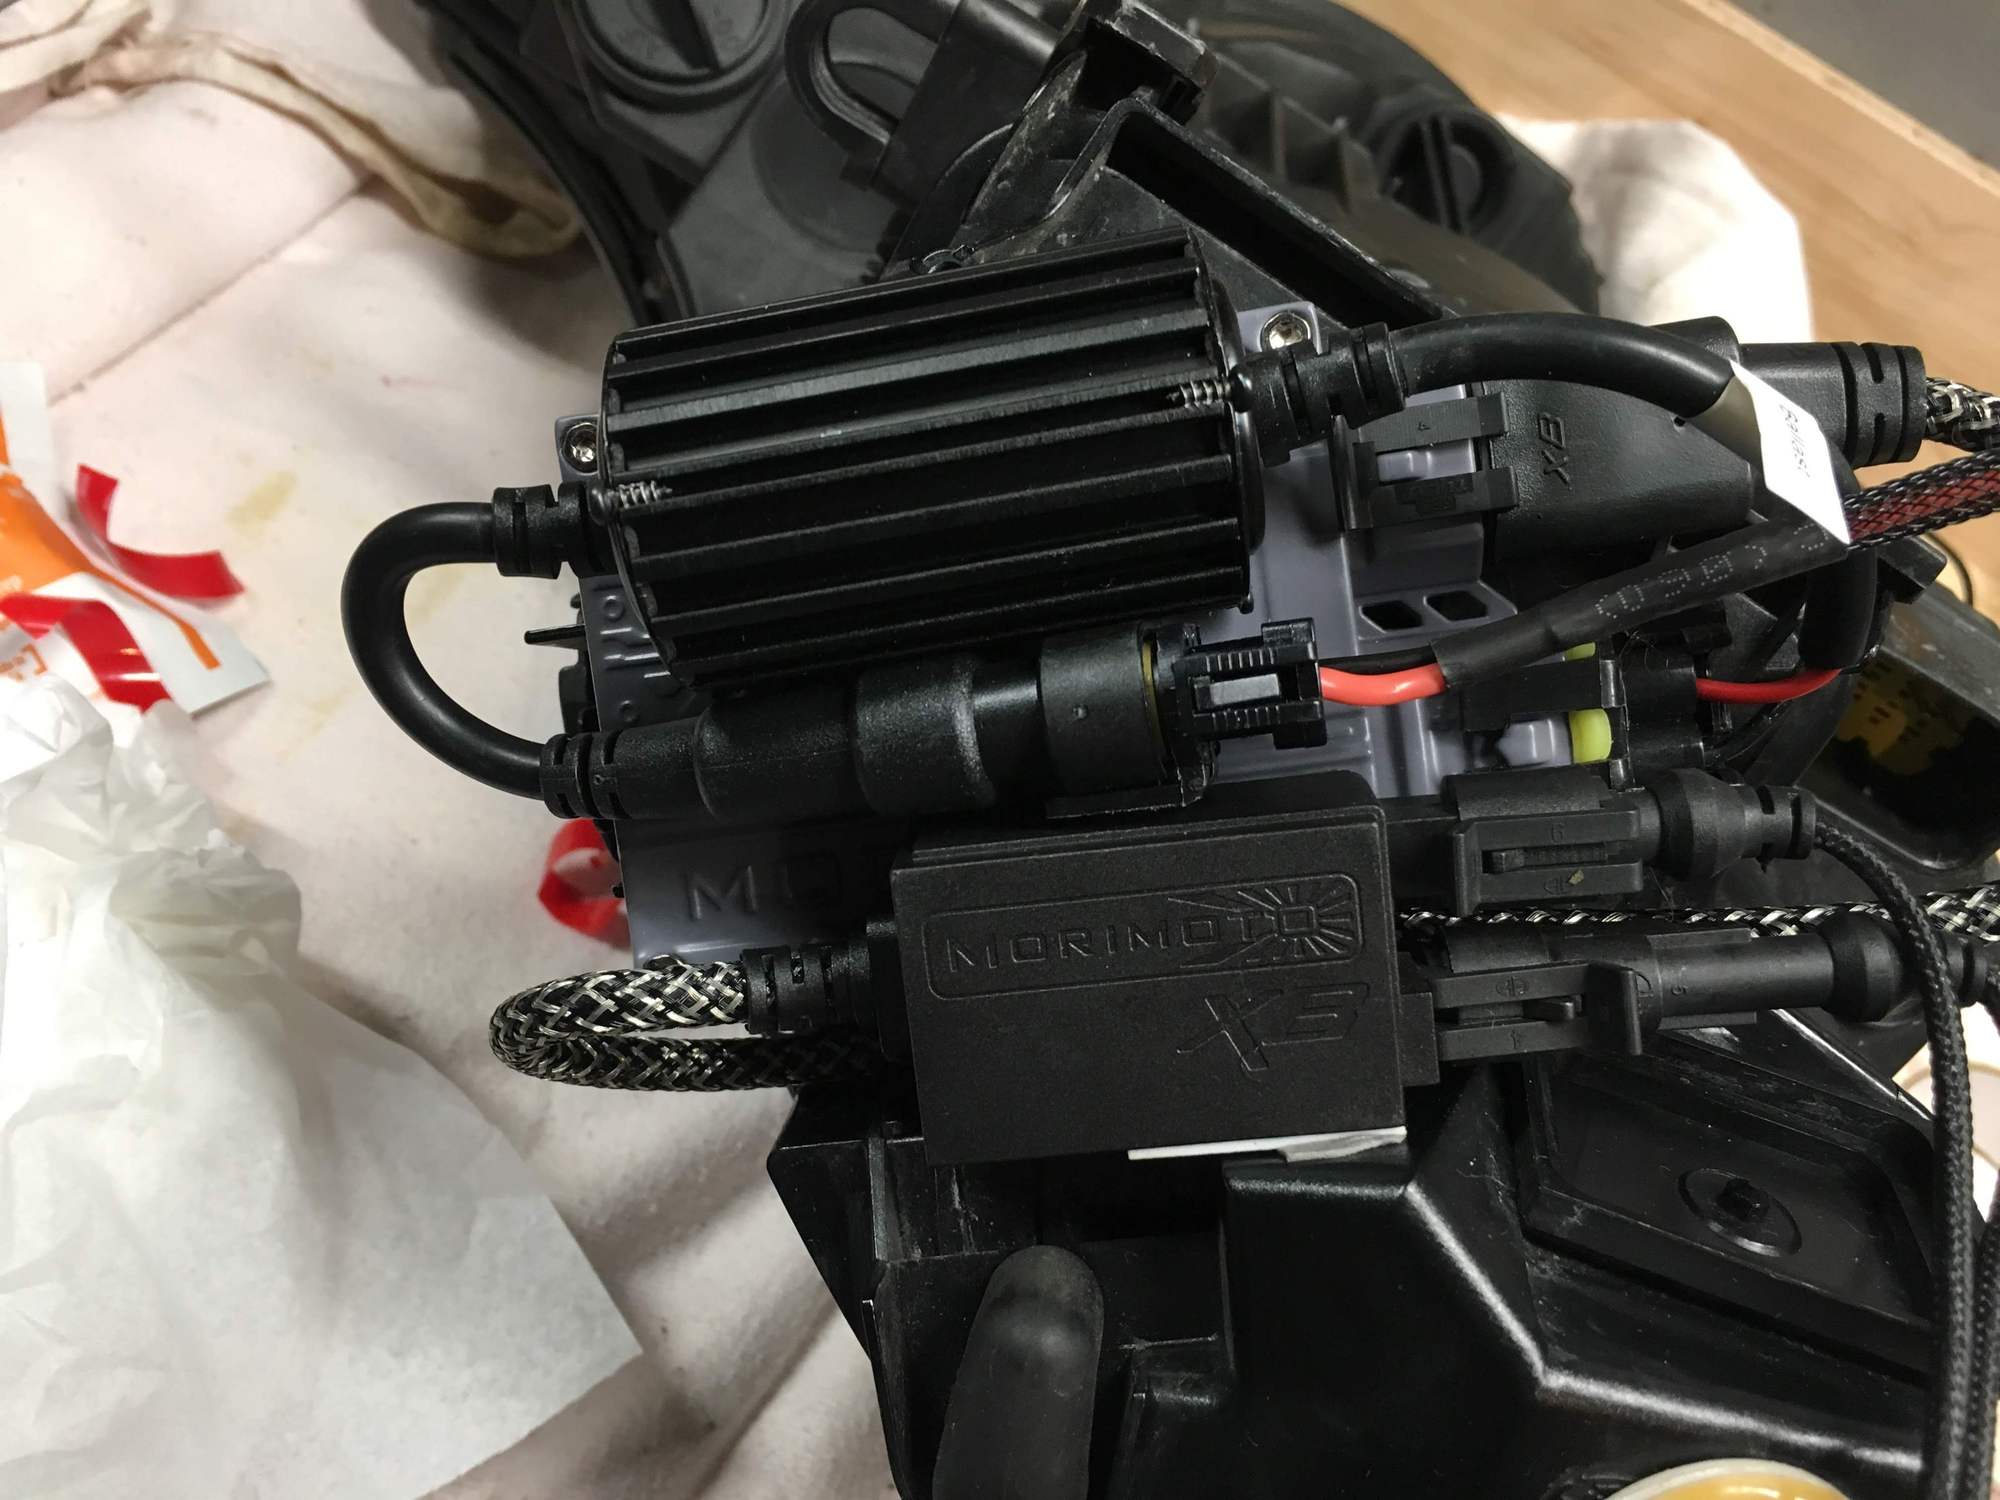
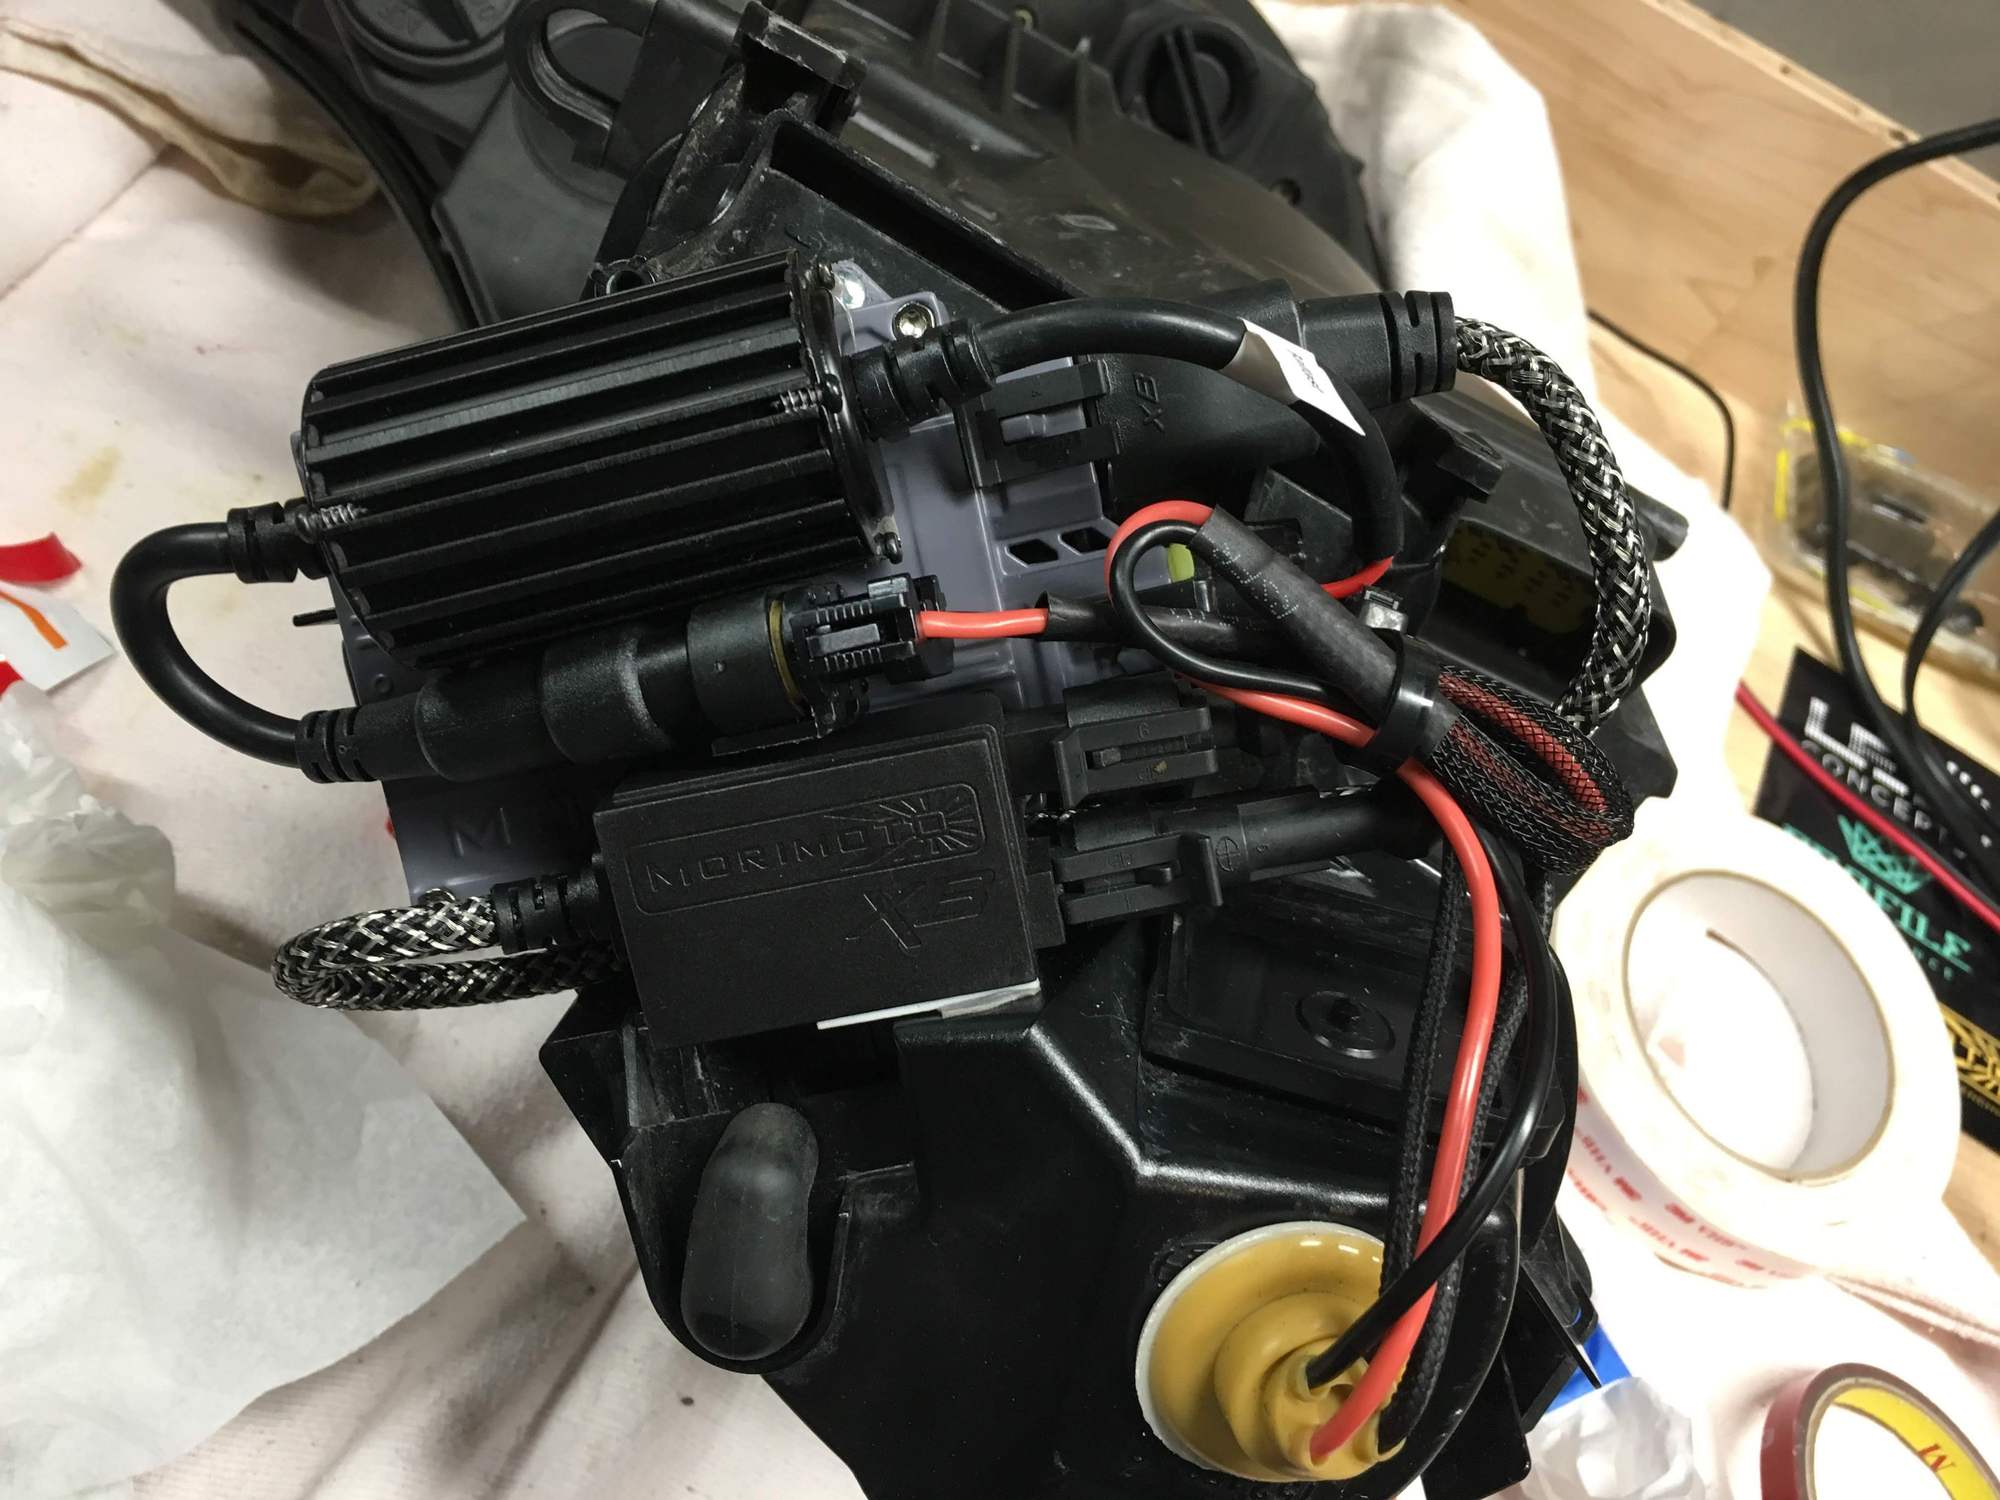
Two metal sheet screws securely attach the ballast to the housing.
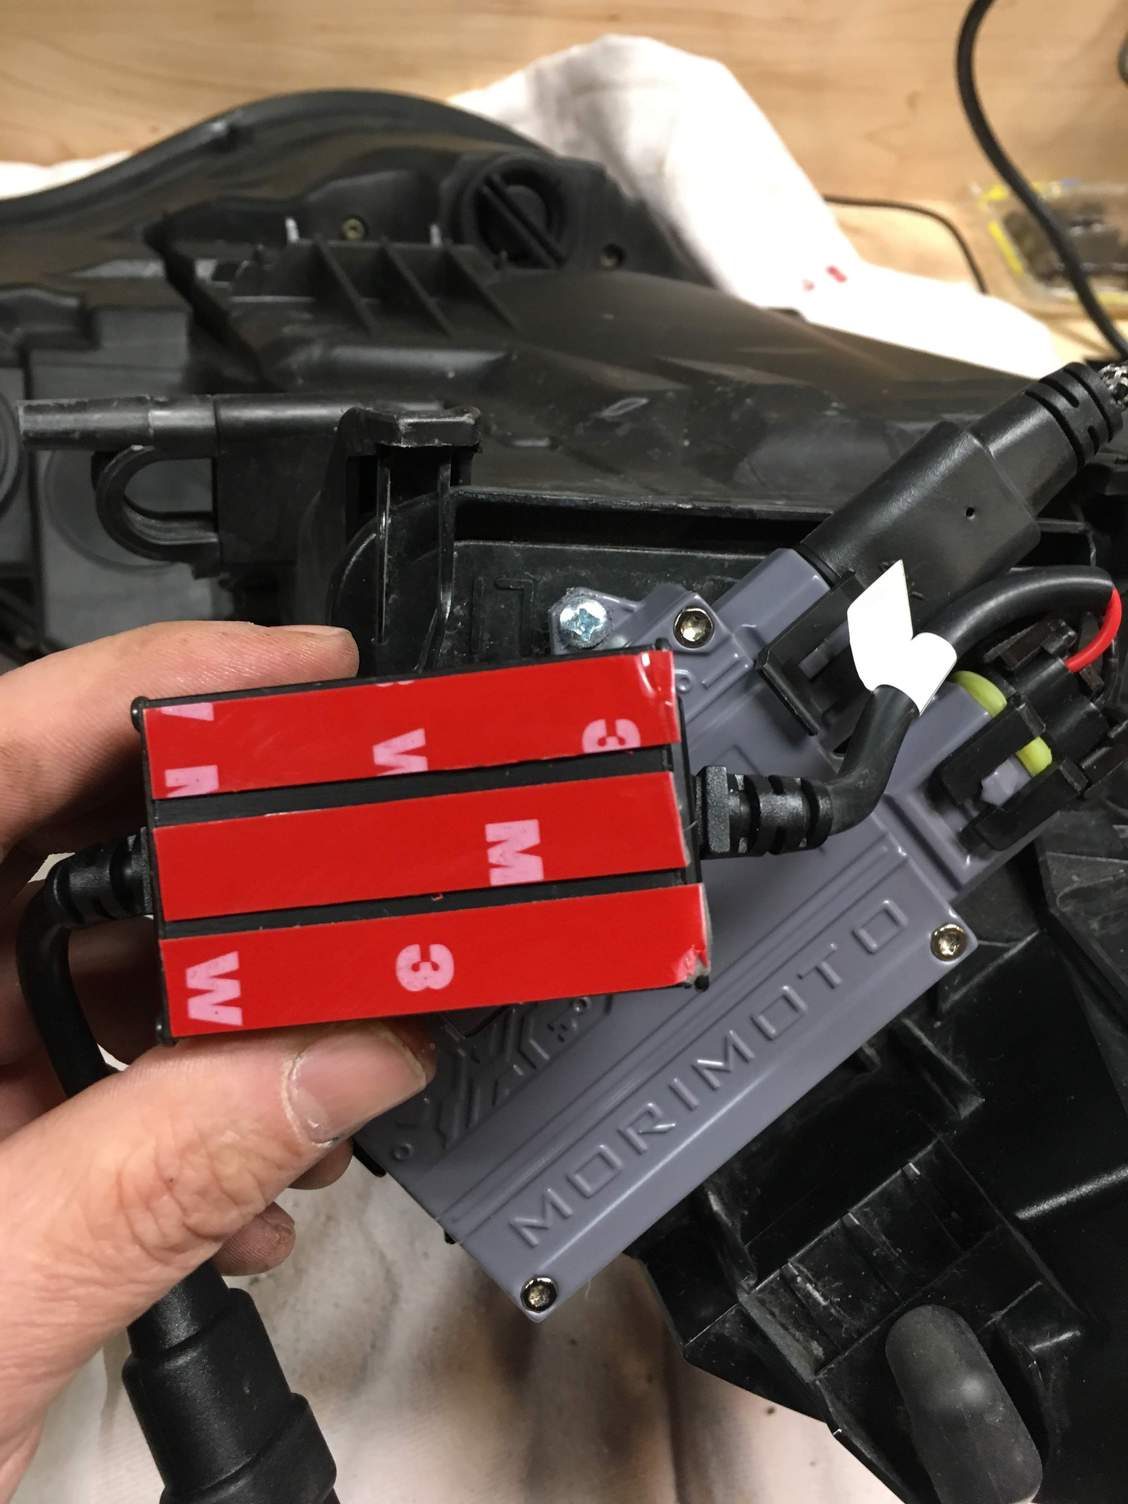
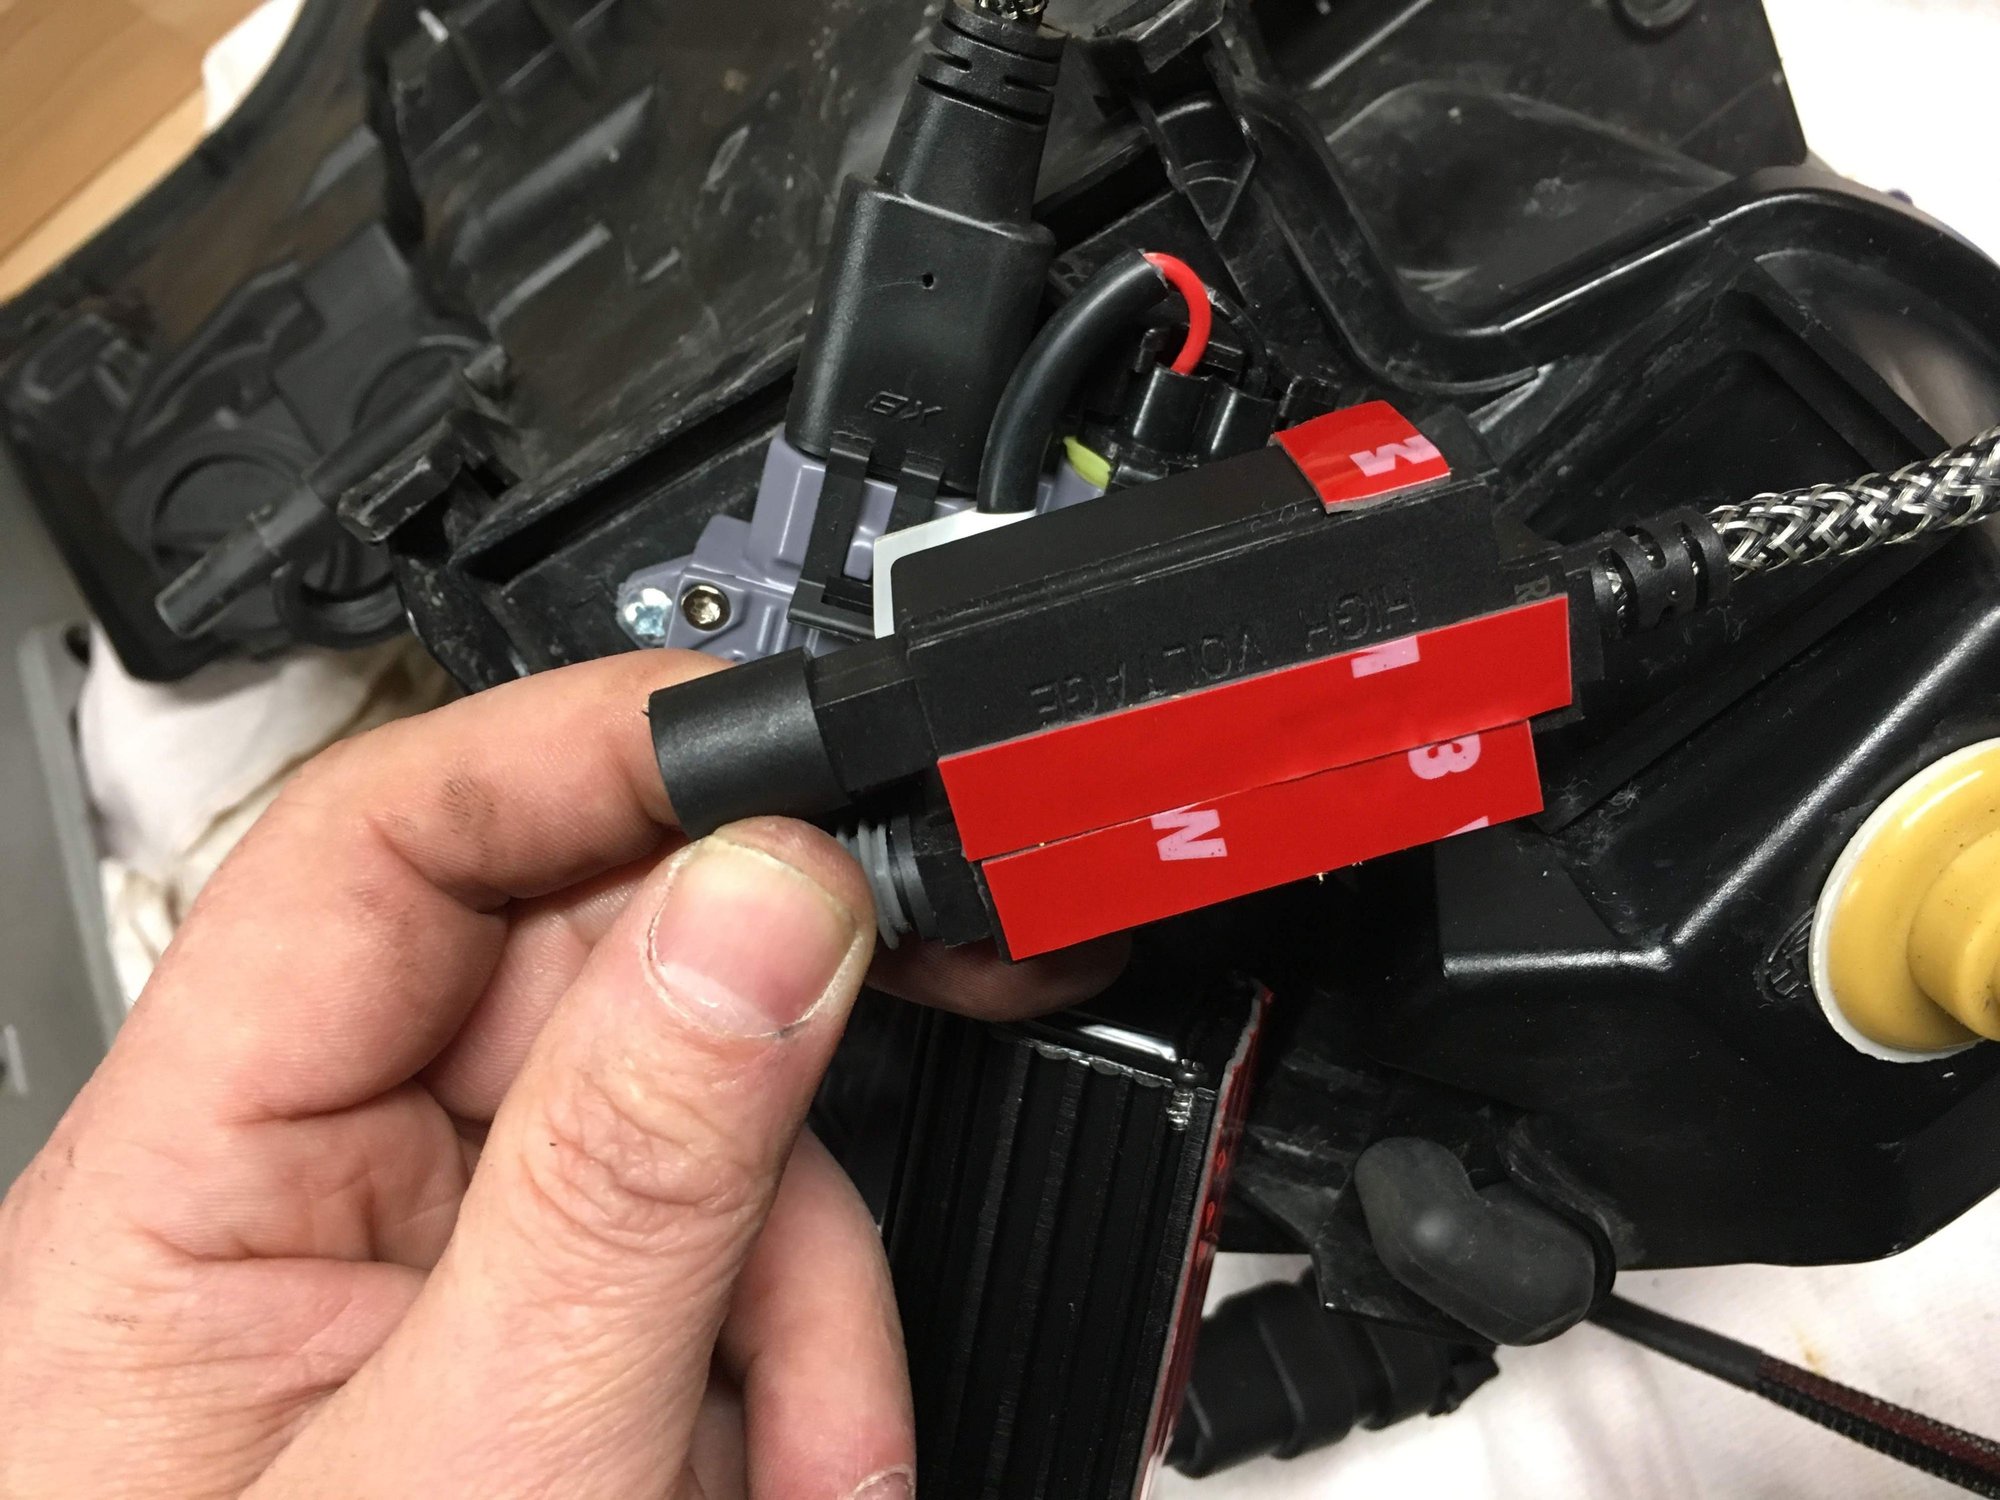
The rest of this is securing the canbus and heat-sink to the housing. Attach 3M double sided tape to the back of the heat-sink. Also attach 3M tape to the connector. Here you can see where the connector will be secured with the tape to the housing and ballast. Another shot of the connector. And the heat sink is attached to the top of the ballast. Remember to use alcohol wipes before attaching these. Finally, wrap up the wires neatly and with zip ties. I fit them in between the various parts to make it all compact and neat fitting.
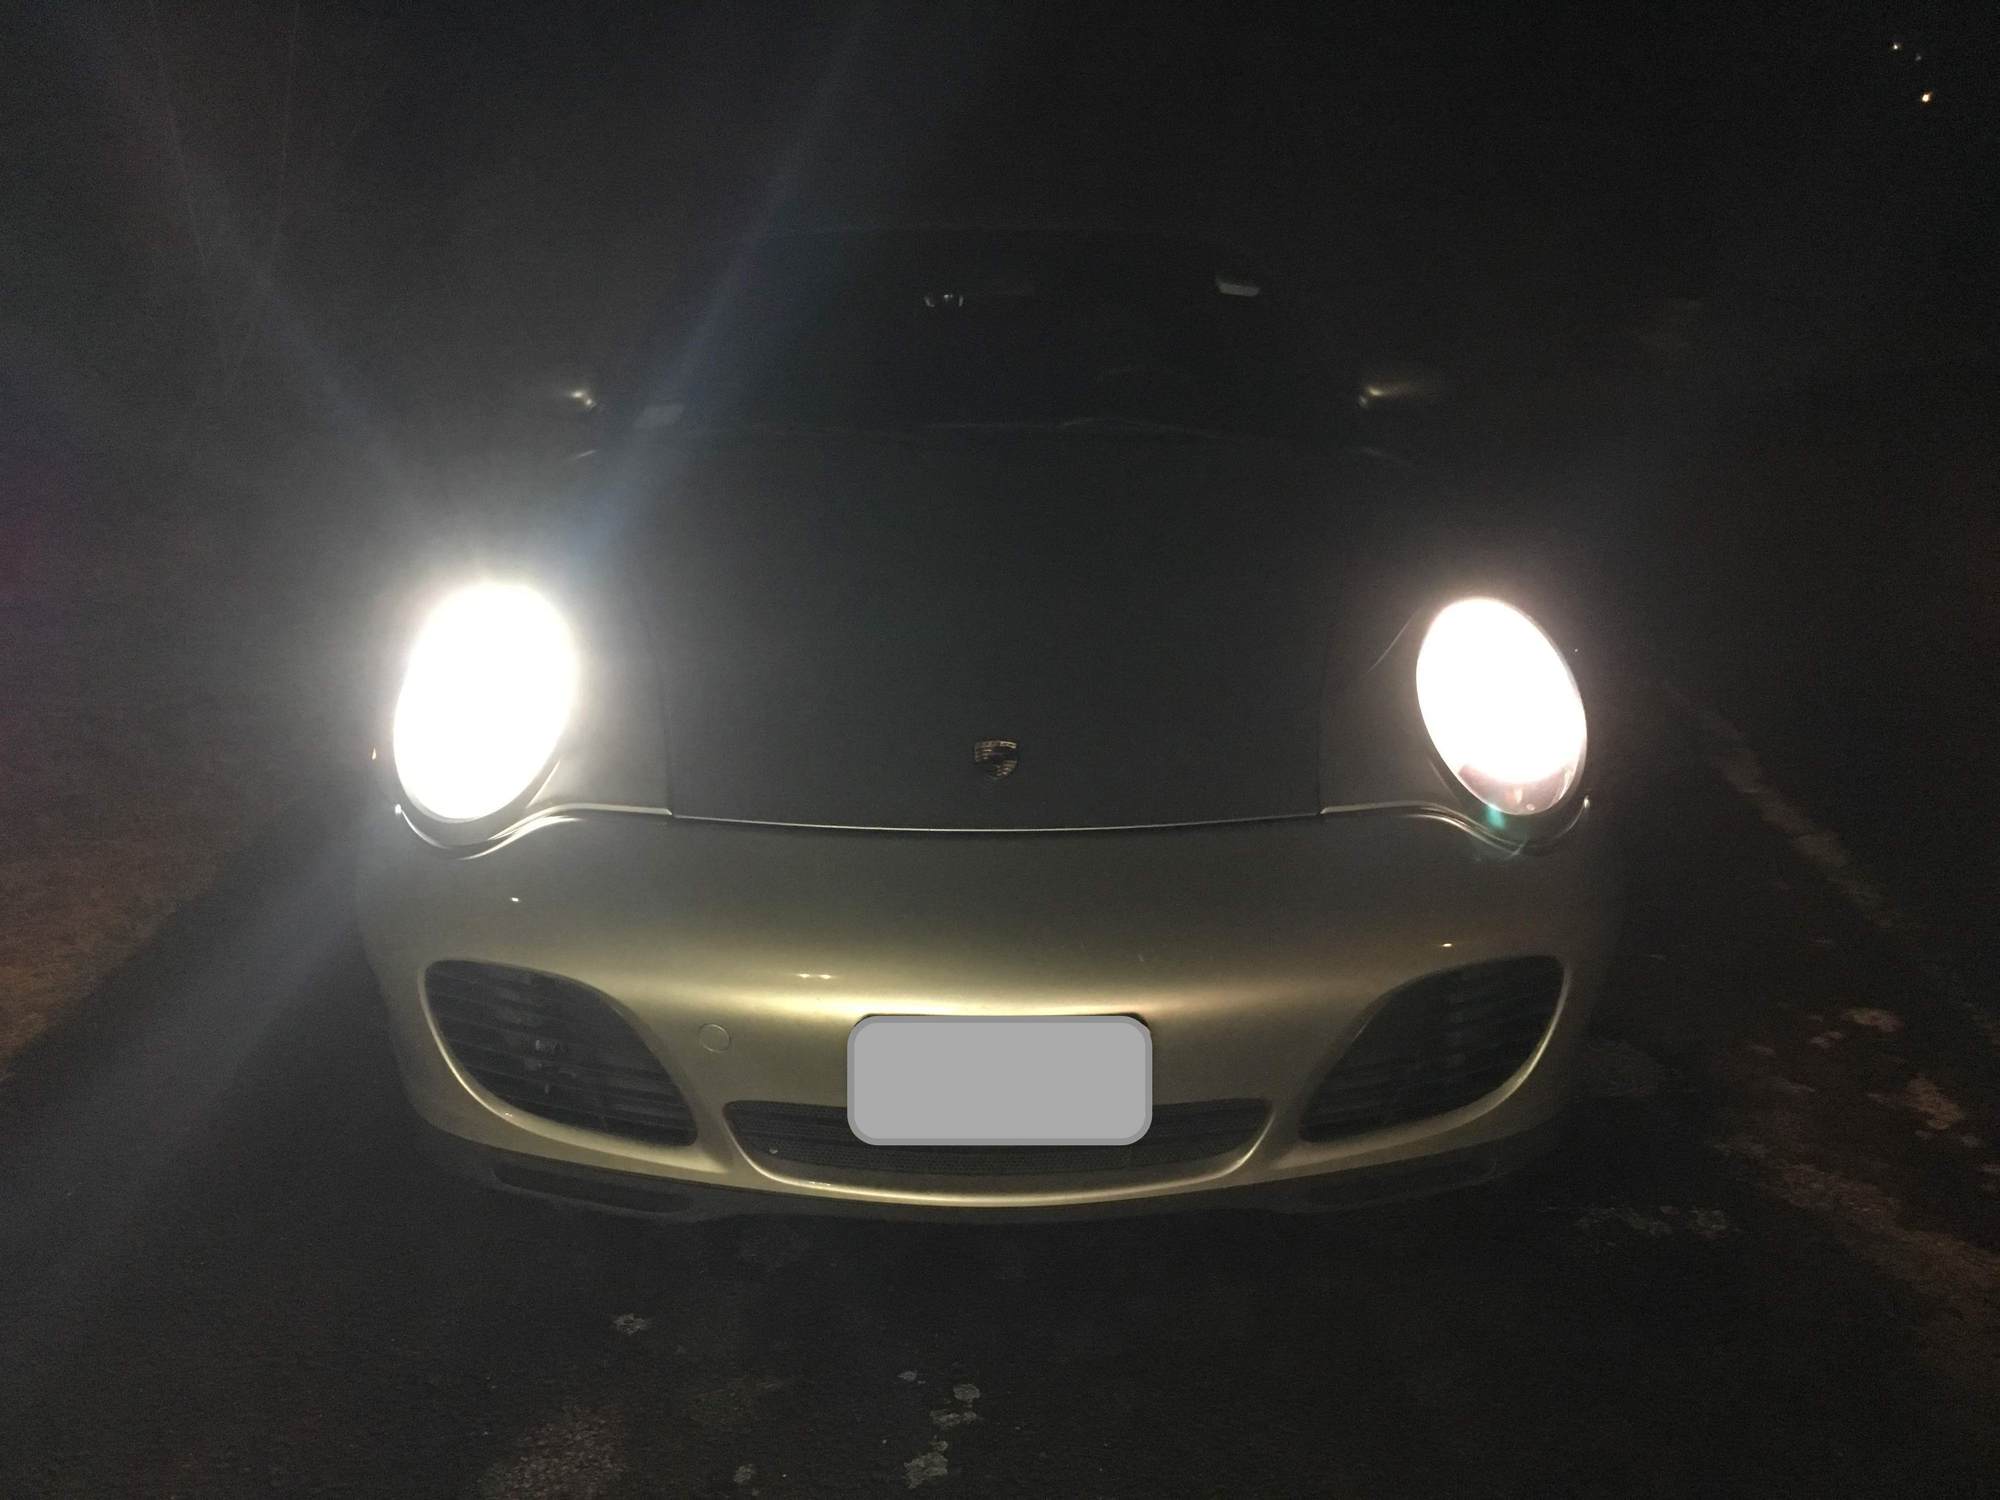
The Result
There is a very noticeable difference in the light output!
New bulb is on the right. You can see the nice cutoff and a big difference in brightness. Hard to tell from this photo but much brighter. New bulb on the left (passenger). Driver side original
Passenger side new Xenons
There is a very noticeable difference in light output and I highly recommend anyone with Halogens to upgrade their lights.
I did this last fall and have now had then on the car for over 6 months with no issues. Driven through rain and lots of bumpy roads, lights have held securely with no issues.
Nice! My C4S came standard with halogens so I don't recall if the housing is the same. I'll need to take a look and see if I can use this DIY to upgrade as well. I have LEDs in there now which were a vast improvement.
That can't be great for oncoming drivers with all that glare. So you put an HID bulb into a projector meant for an H7 bulb? Sorry but that's not a safe way to do a retrofit. You're also going to destroy your projector bowls with the added heat with enough hours. I mean I don't want to knock your ingenuity and hard work but I'm surprised it worked at all as far as creating a usable beam. For anyone wanting to retro their lights, changing out the projector with one suited for HID's by opening up the headlights are really the only safe way to go.......
I'm an electrical engineer and did a bit of research into this. The cutoffs are exactly the same, look at the line on the garage - no blinding glare for oncoming drivers. Also halogens lamps run hotter than xenons at the same wattage.
I'm an electrical engineer and did a bit of research into this. The cutoffs are exactly the same, look at the line on the garage - no blinding glare for oncoming drivers. Also halogens lamps run hotter than xenons at the same wattage.
Correct, the only thing we won't have is the self leveling that the HIDs have from the factory. The halogen projectors have a distinct cutoff.
I did an upgrade but to an H7 LED replacement. Install required a small rewrite that I did with spade connectors so I could go back to the Xenons but I like the modern look and they actually appear brighter than the Xenons.
I did an upgrade but to an H7 LED replacement. Install required a small rewrite that I did with spade connectors so I could go back to the Xenons but I like the modern look and they actually appear brighter than the Xenons.
I think I remember your thread/write-up, but a link would be nice
Followed these great instructions on the Morimoto Elite kit. Everything is pretty accurate, except I didn’t have to break the tabs on the retaining clips. I made enough space with a Dremel to slide all the connectors through.
On my newer kit, the internal power comes from a plug now rather than the floating spade connectors. Beware that polarity is correct all the way out to the igniter. It is labeled on the control boxes, and I was surprised to find that the brown power lead went to the + eventually.
You'll have to look around, but I found a couple places that sell H7-HID adapter rings..
The H7 support seems to be a standard sort of.. I found a pair that were specifically to adapt a
thin HID bulbs to a H7 hole..
Halogen housings don't have a cap for the bulb, they assume your using the H11
whitch has the end of the bulb opaqued so light has to reflect out the front to prevent
the "dazzle" point in the center of the light as viewed by oncoming traffic.
You cant see the glare on the wall,, only when viewing the bulb as a oncoming driver..
Has anyone retrofitted a double xenon projector into these headlights, not just the bulb? I've searched the forum but can't seem to find an example of such retrofit.

 06-12-2019, 02:56 PM