When you click on links to various merchants on this site and make a purchase, this can result in this site earning a commission. Affiliate programs and affiliations include, but are not limited to, the eBay Partner Network.
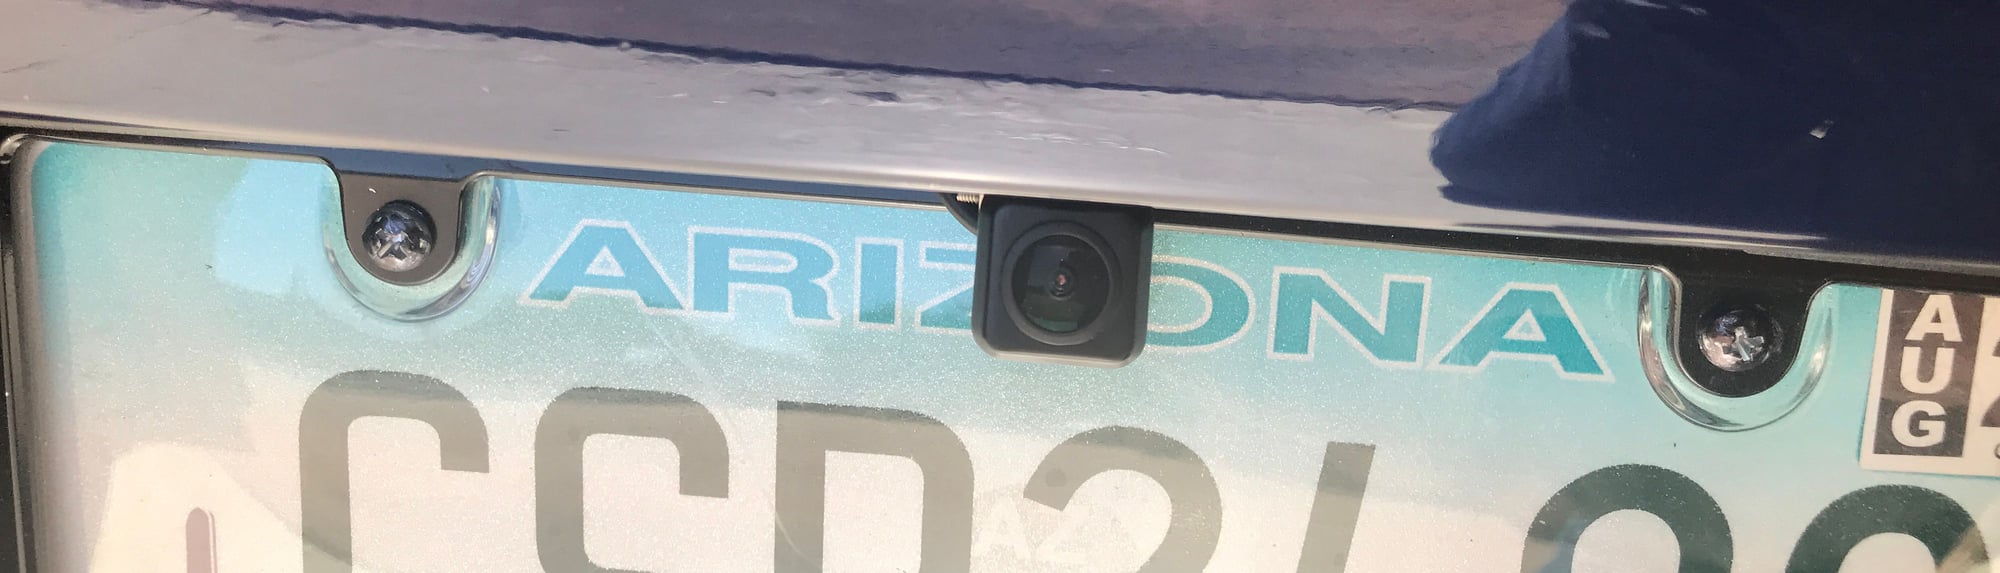
I am using the one cai-store.com sells for $149. I am not sure o the brand, but it seems to provide a nice picture. It comes with a drill bit that makes the perfect hole of the camera just above the license plate. The camera is a snug fit so it won't be moving around while driving over bumps etc.
Great job! I'm sure it helps when backing up. It can be really hard backing in the car with such poor rear visibility.
Looking for a suggestion for a flush mounted camera like the one from CAI, but that isn't $150. Don't suppose anyone could chime in with what they have?
Not exactly flush mounted, but I went with the Pioneer ND-BC8 - it's about $130 CAD from Crutchfield.ca. It has a sticker that allows you to mount to the underside of the bumper and then I ran the cable through the license plate light. Avoids making a hole in your bumper in case you wish to remove it and it works great with my Kenwood head unit. One bit of advice - it can be difficult to feed the cable through the second rubber grommet, so make sure your hole is large enough. I pulled the plastic fitting off the cable doing mine and ended up having to buy another one...
My concern with a flush mount (even though they look better) is that the angle is not adjustable, and I'll be staring at asphalt instead of behind the car due to the low point on the bumper it has to be attached to.
Jim, I recently installed an Audiovox ACA800 backup camera from Crutchfield ($69.99) that comes mounted in a license plate frame. It's not adjustable but shows a nice wide color picture and everything behind me. When I removed the existing black plastic license plate mount, I found a hole in the bumper cover so I just fed the wire through it, then to the right-side tail lamp. I ran the camera cable and the power wire from the right tail light, through the big grommet explained above, then into the top storage area, then under the right rear side panels, under the passenger door sill, and onward to a Pioneer 4500 audio unit. As explained above, raise the convertible top part way to place the wire so it won't interfere. I think it's easier to remove the passenger sill than the driver's side sill because there are no switches, just watch out for the plastic bolts. To get the Backup camera to automatically display when I shifted into reverse, I had to remove the console to splice into a wire at the hand brake switch. It's a very rewarding project.
I'm in the middle of this same project - thanks to all on the thread. Right now I'm trying to route the cable through the car.
For me, the key to removing the trim piece along the bottom edge of the rear window was pushing it a bit upwards. I had pry tools under it and only realised after a while that it needed to also be lifted up. At that point it flew off with some enthusiasm and I banged my head on the window, but I might have myself to blame for some of that.
I've drilled through the second grommet ahead of the rear tail light - after failing to successfully poke my poking-ziptie up there, I thought that, in the dark, I'd get out the snake camera that I inexplicably decided I needed one evening in 2014. I was going to put that through the hole and see if I could see the light from the now-removed speaker housing.
I couldn't see any light, but I recorded the video the camera took and it would appear that my car is full of wool. Is this what it really looks like in there?
I installed one about 8 months ago in my coupe and it was a pain but well worth the trouble. It should be similar to your cab. I have the kenwood ddx9903 that has the front and back camera input as well. It's also nice the hit the "camera" button on the deck and view the camera without having to be in reverse. I bought a nice high resolution with "night vision" backup camera. I really enjoy not having to twist and strain to see out the rear, plus my rear wing just so ever slightly obstructs the rear view mirror. Anyway it's especially great on a cold rainy night in the pacific northwest when the rear window is fogged and i don't have to wait for the rear defrost to clear the window. It's one of those things that you could live without but after having it you would never do without. The camera does get dirty pretty easily so i've gotten into the habit of wiping my camera lense regularly.
If you remove the drivers side rear tail light you'll see a large wire grommet leading into the cabin. I also removed the rear bumper to install the camera just above the license plate. I removed the interior trims and with a long enough flexible rod i was able to poke my way through from the rear tail light area into the rear cabin. From there i removed the sill plate and brought the wires up to the fuse panel area. It's also possible to go through the center console and follow along the shifter cables and hook up the camera lead wire to the reverse switch on the transmission. But i didn't want to bring the rca wire this way which would have required running the cable along the engine bay. If you run your cables through the sill like i did just make sure you read up on properly removing the sill plate. There's couple hidden screws that attachs the sill plate that you want to be aware off.
There are two 5mm hex bolts holding the sill plate.
There are two 5mm hex bolts holding the sill plate.
I am tackling this project in an amber-lensed 996 with the cable hood releases. It appears I have three hex bolt covers and one of them is an absolute bear to get the wrench into anywhere that I can get enough torque to break it loose. I'm thinking about just taking the driver seat out and running the wires under the carpet rather than fighting the blasted sill plate any longer.
Has anybody tried putting one in with the Center rear brake light?
Only down side would be if you have the popup rear wing it might get in the way if the wing is manually up..
I am tackling this project in an amber-lensed 996 with the cable hood releases. It appears I have three hex bolt covers and one of them is an absolute bear to get the wrench into anywhere that I can get enough torque to break it loose. I'm thinking about just taking the driver seat out and running the wires under the carpet rather than fighting the blasted sill plate any longer.
Anyone had a similar experience?
Can be really tight if they've never been removed. Take the seat out - will give you more space/leverage. Don't take the hex bolts all the way out - just loosen enough to slide the sill cover upwards.
I ran the backup Camera on an Alpine Double Din that I installed. Make sure to leave some slack in the line when you pull the line through the grommet from the tail light to the back seat access. At the beginning mine was too tight and it interfered with the shell coming down and closing, luckily I had a bunch of extra slack and was able to move it out of the way so it didn't impinge.
What do you do about the wired backup camera when you have to remove the bumper? Is seems most wired cameras have a long cable attached to them and don't have any way to quickly disconnect the camera when you have to pull off the bumper.
 09-03-2018, 11:41 AM