When you click on links to various merchants on this site and make a purchase, this can result in this site earning a commission. Affiliate programs and affiliations include, but are not limited to, the eBay Partner Network.
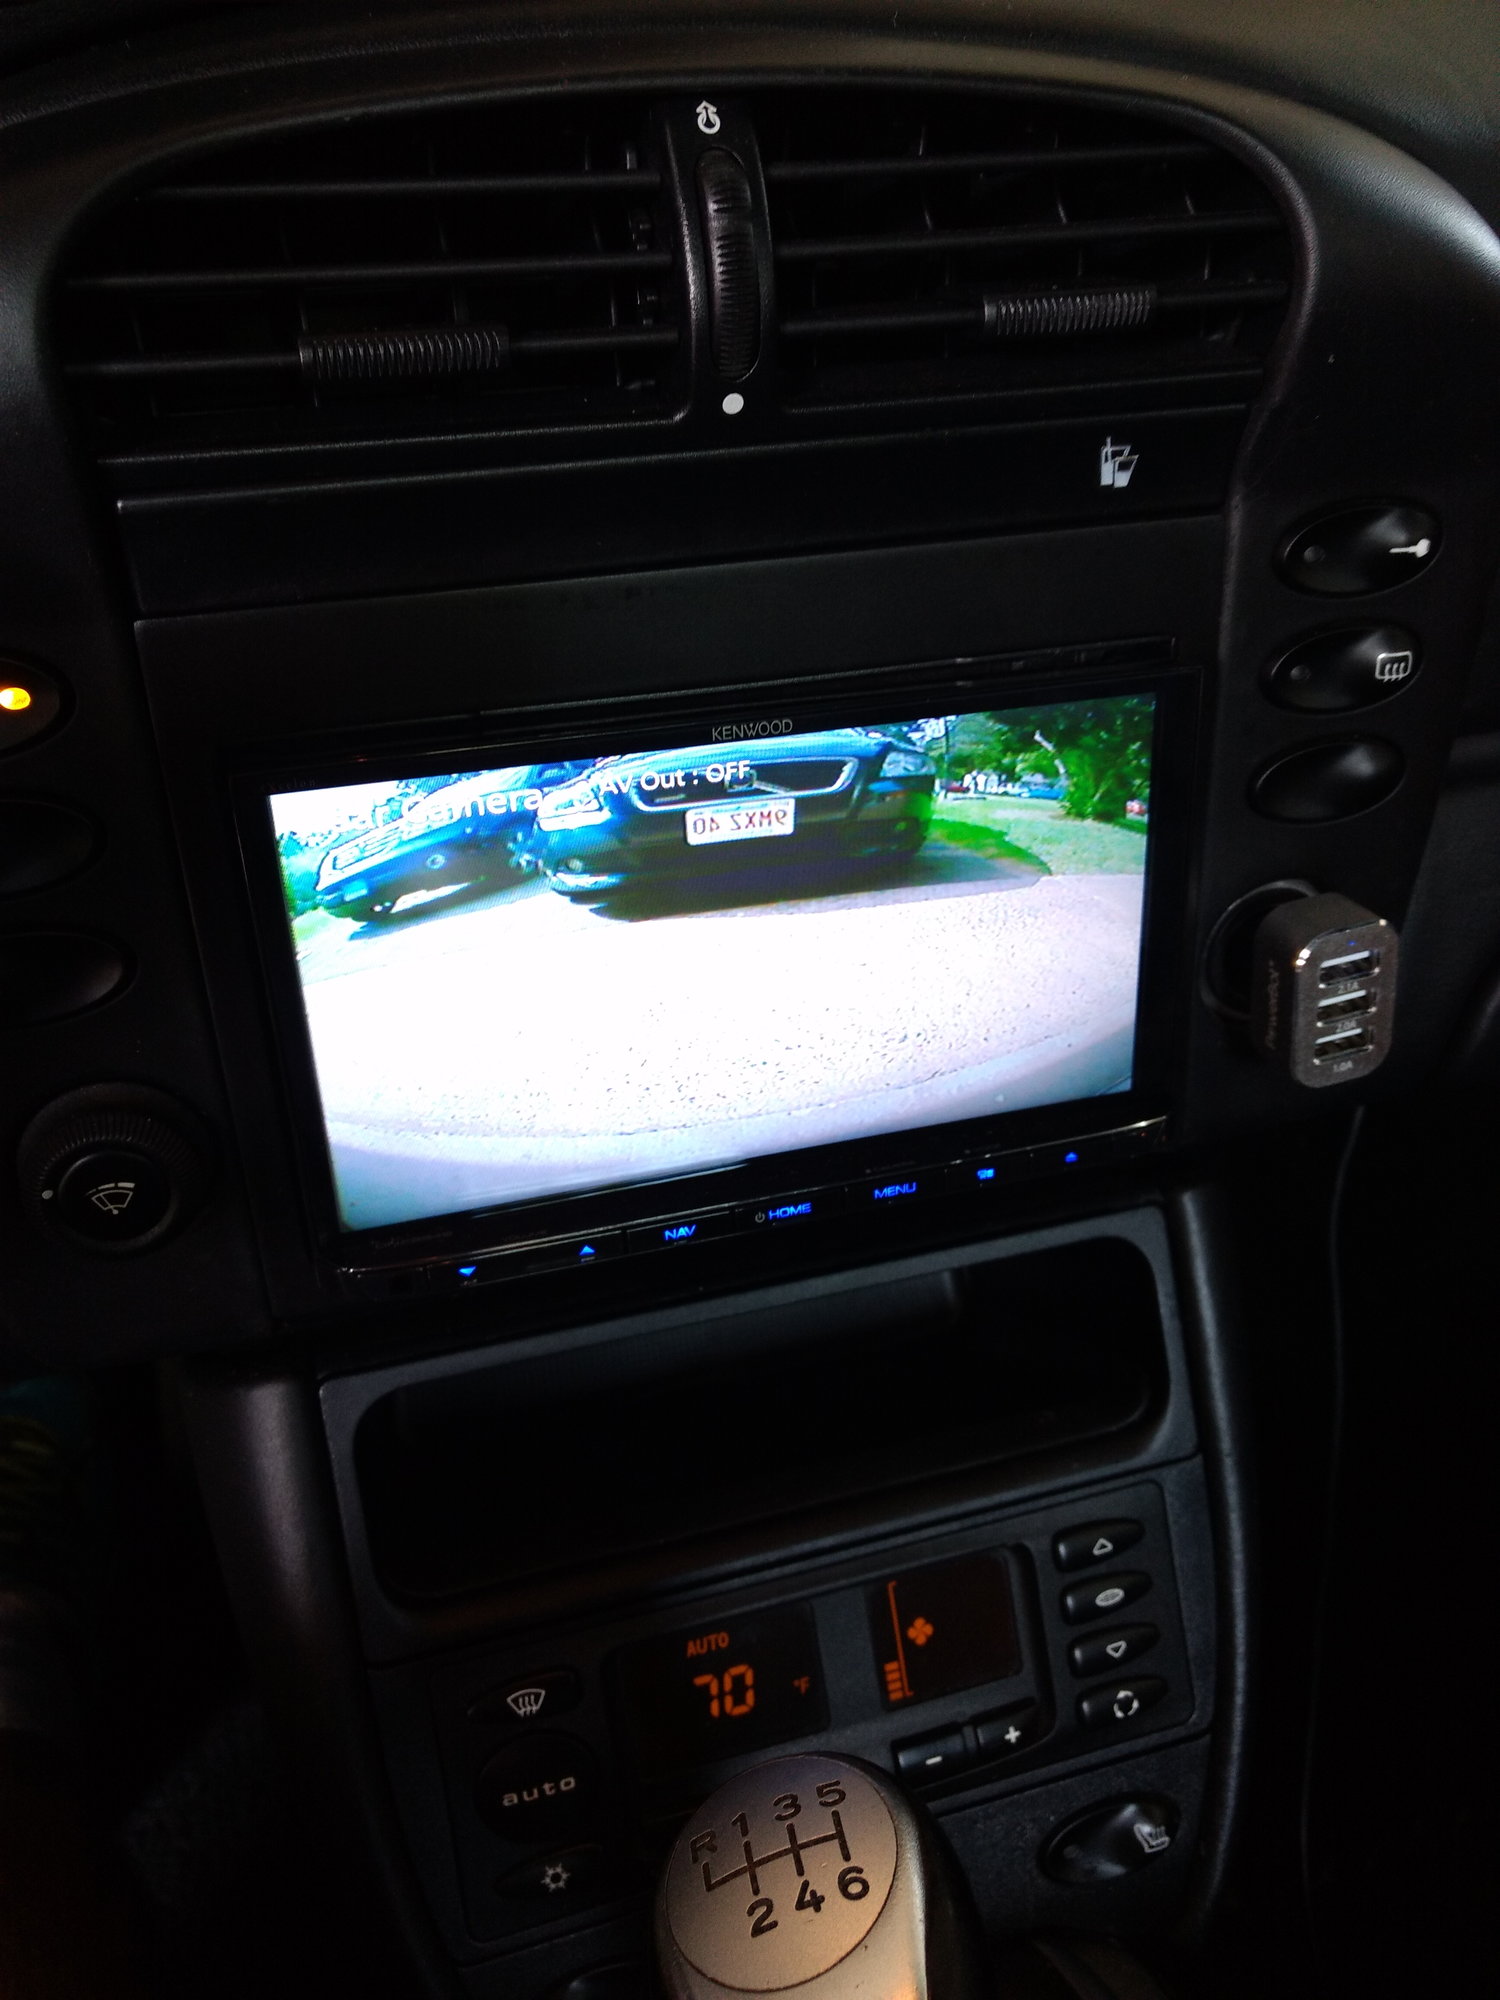
I hope this is the right forum to post this question (newbie). I just installed a Kenwood double din using one of those MOST analog/digital converter boxes. Works great so far - very happy with this setup! Finally after 14 years owning the car I found a solution at a reasonable cost.
Now to my question, has anyone installed a backup camera in a 996 convertible? I found some youtube videos but nothing detailed enough. If it is not too difficult I would like to give it a try. Also, if it is not too difficult I have a cheap camera that I would like to use for the front. Yes,I have some tight parking space in my garage and at work why I think it would be worthwhile doing.
To be honest I can live without it but since the new HU supports front/back cameras - why not :-)
I installed one about 8 months ago in my coupe and it was a pain but well worth the trouble. It should be similar to your cab. I have the kenwood ddx9903 that has the front and back camera input as well. It's also nice the hit the "camera" button on the deck and view the camera without having to be in reverse. I bought a nice high resolution with "night vision" backup camera. I really enjoy not having to twist and strain to see out the rear, plus my rear wing just so ever slightly obstructs the rear view mirror. Anyway it's especially great on a cold rainy night in the pacific northwest when the rear window is fogged and i don't have to wait for the rear defrost to clear the window. It's one of those things that you could live without but after having it you would never do without. The camera does get dirty pretty easily so i've gotten into the habit of wiping my camera lense regularly.
If you remove the drivers side rear tail light you'll see a large wire grommet leading into the cabin. I also removed the rear bumper to install the camera just above the license plate. I removed the interior trims and with a long enough flexible rod i was able to poke my way through from the rear tail light area into the rear cabin. From there i removed the sill plate and brought the wires up to the fuse panel area. It's also possible to go through the center console and follow along the shifter cables and hook up the camera lead wire to the reverse switch on the transmission. But i didn't want to bring the rca wire this way which would have required running the cable along the engine bay. If you run your cables through the sill like i did just make sure you read up on properly removing the sill plate. There's couple hidden screws that attachs the sill plate that you want to be aware off.
Thanks mlee2122, that is very helpful. Do you mind sharing what camera you got? I'm also in the pacific northwest and can definitely appreciate the use night vision a cold rainy night :-)
I was reading somewhere to pull the wire through the passenger side rear tail light not having to take off the rear bumper and possibly tug it along the passenger side not having to go through the sill? Has anyone done that? It sounds like you did it the right way and I'm just trying to be lazy. I appreciate your input, I should probably go through the trouble and do it the same way for the ddx9906.
No need to remove the bumper, fishing the wire is a pain but all well worth it.
911 Backup Camera Installation
Installing a backup camera in Porsche 911s involves running a camera cable that contains both power for the camera as well as video signal. This cable is included in your kit. Along with this camera cable you will need to also tag the reverse positive circuit at the left tail light and run that circuit forward in the car along with the camera cable to the radio.
Tools needed :
Power Drill
Long 3/8 Drill Bit
Long Plastic Zip Tie
Wire strippers/cutters
Solder & Iron
Electrical Tape
Step 1
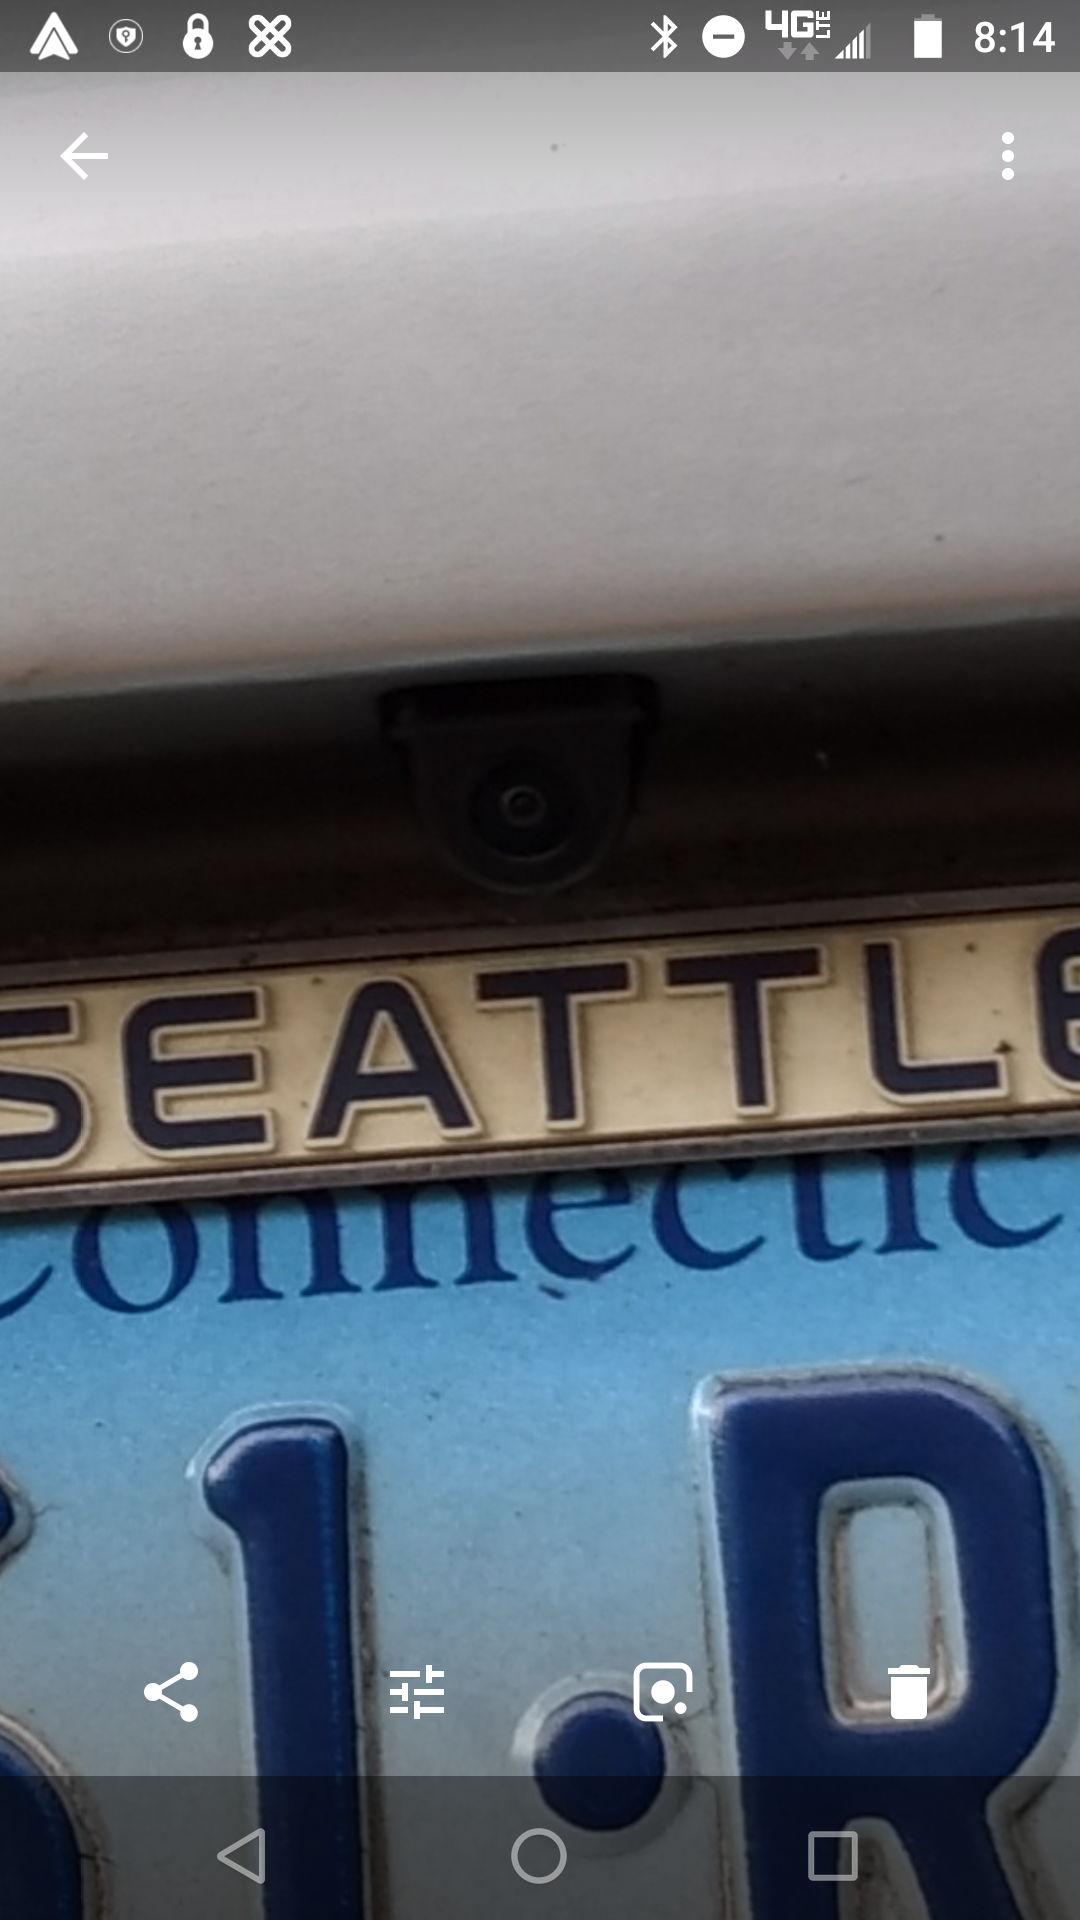
Use the supplied hole saw with a power drill to drill a mounting hole for your camera directly above the licence plate. When used correctly this hole saw will make the perfect size hole that will allow your camera to snap into place without having to use any fasteners from the back side of the bumper cover. This means that you will not have to take the bumper cover off of the car.
Step 2
Locate the large rubber grommet inside the engine compartment left of the hood latch when looking into the engine compartment from behind the car. Run the camera cable through the hole that you drilled and through this large grommet. Use a long zip tie to fish the cable through.
Step 2
Remove the left tail light. Remove the single 10mm bolt and slide the tail light back. Unplug the tail light assembly and set aside. Identify the positive reverse wire. This wire is Black with a blue stripe on 996 models and will go to 12 volts positive when the vehicle is in reverse. Run this wire along side the camera cable up to the radio of the car. The reverse wire will connect to the radio's reverse input, allowing the radio display to automatically switch to reverse video when the car is put into reverse.
Step 3
Behind the tail light you will find a rubber grommet that leads into the interior of the car. Pull this grommet out and pass your wires through it. A few inches behind this grommet you will find a second grommet. This grommet is larger and has several wires running through it. You won't be able to reach this second grommet directly. Insert a 3/8 in paddle bit or long drill bit and drill a hole into the grommet.
Warning!
Be very careful not to damage any of the factory wiring that is already in this grommet. The grommet has a soft spot in the right hand upper corner. This is a void in the back side of the grommet for running wire. Poke the grommet with your drill bit and feel for this soft spot. Make your hole there.
Step 4
Remove the left rear speaker. The speaker is held in place by two Torx screws. Feed the camera cable and reverse wire through the grommet from the tail light with a large zip tie. Feed the zip tie back to the speaker opening and pull from there.
Cabriolet note: the halfway point between the tail light grommet and the left rear speaker is the top storage cavity. Raise your convertible top part-way so that you can access the liner of the top storage area and you should be able to reach the wire coming from the tail light grommet and feed it further to reach the left rear speaker opening.
Coupe note: remove the trim at the very rear of the interior, below the rear window-it snaps in place-pull it toward you to remove. This allows access to the area behind the tail light and can help to route the wire from that area forward to the speaker opening.
Caution!
The left rear seat belt ratcheting mechanism is near where the wires will be entering the car. Make sure that your wires do not interfere with the seat belts operation.
Step 5
Remove the left door sill panel. There are two hidden 5mm Allen type bolts in the side of the sill panel. These bolts are covered by small round plastic covers. Remove the covers and insert your Allen wrench. The carpet behind the sill panel sometimes gets in the way so you may have to work the Allen wrench past it. The Allen bolts are about 2 inches back inside the panel.
Only loosen the Allen bolts. There is no need to take them all the way out. Once They have been loosened, pull the sill panel up and unplug the trunk and hood release switches.
Step 6
Remove the left side kick panel and run the cables below the fuse box, under the carpet past the clutch, brake, and gas pedals to the radio.
Step 7
Connect the red wire in the camera cable to the red wire in the radio harness (radio side). Connect the black wire to the black wire in the radio harness. Connect the reverse wire to the radio's reverse input (violet/white for Kenwood, orange/white for Alpine).
Testing
Once your radio is in, test to make sure that the image is proper from left to right and that the image appears when the car is put into reverse.
I bought a Kenwood from cai-store.com last week. I got the unit and antennas done in 3-4 hours. Very happy with how that worked out.
This morning in I am tackling the backup camera. The instructions above are what I am using. My issue is that once I fish that long tie wrap into the large grommet at the back, I can't seem to find where it comes into he back of the car. I am thinking I need to remove more trim pieces to further this effort. Some of the trim at the back of the car seems reluctant to pop off. Taking a break from it to mow the lawn.
Btw, the tech support is very good and I'll probably ask Rod at car-store for some help with what I am doing on Monday.
Feel free to give me some guidance for those of you who have beat this thing. lol
Last edited by USNA1970; 09-01-2018 at 11:44 AM.
Reason: spelling
How are you going to make this work with the 996? It's my understanding that backup camera systems work in conjunction with the steering angle sensor and backup RF sensors that are installed on the rear bumper skin. I'm sure many people just have a rear camera with no graphic overlay/sensors that gives the driver more precise distance readings of near objects, but I'm curious how you're going to integrate it into a 15+ year old car. Are you installing bumper sensors? Does it connect to the car's computer in some way?
You need to remove the trim under the driver rear window, THen with a flashlight and long zip tie you can see where it comes in from the taillight grommet. SUGGESTION run the cables under the rear seats to the center tunnel along the shifter hand brake area. Just attach them along the passenger side of the tunnel to make sure they do not interfere with the shifter. Much better than the door sill! and goes right to the back of the radio. I did this project tyears ago and plan on doing it in the next couple weeks to my "new" one!
Thanks, I was thinking I was not removing enough trim parts. That trim piece just snaps off? I pulled hard it it would not give.
I already removed the right rear speaker and the sill piece next to the driver seat. It looks like I can get the wires through there pretty well and then I just remove the fuze box cover and snake it under the clutch, brake gas etc.
For now, I need to get that driver rear trim to come free.
Nutty professor, my system will just be a rear camera, no sensors etc. just eyes in the back.
Last edited by USNA1970; 09-01-2018 at 11:43 AM.
Reason: spelling
I got this done today. Once I figured out how to remove the large piece of trim around the rear speaker, everything else was pretty easy. I would go down the driver side and past the fuze panel by left foot. It is not hard at all.
The key was removing that screw by the driver seatbelt that allows you to pull that trim off. Once I got that trim off, I could see the rear seatbelt. That is where you will see your zip tie poking through.
I did mine a few months ago, and one thing I wish I had done was put the top in the service position, you will have much better access once through the rear section which was a real pain to route through, also as you have everything apart in the dash if you are so inclined put in a front camera, That was easy compared to the rear and your Kenwood should be set up for both with a separate RCA plug for the front (clearly labeled)
i went with the easy way out and got a wireless video transmitter. only had to wire the receiver up by the head unit and hook up the reverse light power. whole thing maybe took 30 mins? quality was initially bad because i left the transmitter on the driver side of the engine bay which was close to the alternator that created a ton of static. after i moved it to the passenger side, quality has been decent. for both the camera and the transmitter i just ordered the best seller on amazon.
Curious as to what backup cameras you guys are using?
I am using the one cai-store.com sells for $149. I am not sure o the brand, but it seems to provide a nice picture. It comes with a drill bit that makes the perfect hole of the camera just above the license plate. The camera is a snug fit so it won't be moving around while driving over bumps etc.
 05-30-2018, 08:33 PM


 Installing a backup camera in Porsche 911s involves running a camera cable that contains both power for the camera as well as video signal. This cable is included in your kit. Along with this camera cable you will need to also tag the reverse positive circuit at the left tail light and run that circuit forward in the car along with the camera cable to the radio.
 Locate the large rubber grommet inside the engine compartment left of the hood latch when looking into the engine compartment from behind the car. Run the camera cable through the hole that you drilled and through this large grommet. Use a long zip tie to fish the cable through.
 Remove the left tail light. Remove the single 10mm bolt and slide the tail light back. Unplug the tail light assembly and set aside. Identify the positive reverse wire. This wire is Black with a blue stripe on 996 models and will go to 12 volts positive when the vehicle is in reverse. Run this wire along side the camera cable up to the radio of the car. The reverse wire will connect to the radio's reverse input, allowing the radio display to automatically switch to reverse video when the car is put into reverse.
 Behind the tail light you will find a rubber grommet that leads into the interior of the car. Pull this grommet out and pass your wires through it. A few inches behind this grommet you will find a second grommet. This grommet is larger and has several wires running through it. You won't be able to reach this second grommet directly. Insert a 3/8 in paddle bit or long drill bit and drill a hole into the grommet.
  Installing a backup camera in Porsche 911s involves running a camera cable that contains both power for the camera as well as video signal. This cable is included in your kit. Along with this camera cable you will need to also tag the reverse positive circuit at the left tail light and run that circuit forward in the car along with the camera cable to the radio.
 Locate the large rubber grommet inside the engine compartment left of the hood latch when looking into the engine compartment from behind the car. Run the camera cable through the hole that you drilled and through this large grommet. Use a long zip tie to fish the cable through.
 Remove the left tail light. Remove the single 10mm bolt and slide the tail light back. Unplug the tail light assembly and set aside. Identify the positive reverse wire. This wire is Black with a blue stripe on 996 models and will go to 12 volts positive when the vehicle is in reverse. Run this wire along side the camera cable up to the radio of the car. The reverse wire will connect to the radio's reverse input, allowing the radio display to automatically switch to reverse video when the car is put into reverse.
 Behind the tail light you will find a rubber grommet that leads into the interior of the car. Pull this grommet out and pass your wires through it. A few inches behind this grommet you will find a second grommet. This grommet is larger and has several wires running through it. You won't be able to reach this second grommet directly. Insert a 3/8 in paddle bit or long drill bit and drill a hole into the grommet.