When you click on links to various merchants on this site and make a purchase, this can result in this site earning a commission. Affiliate programs and affiliations include, but are not limited to, the eBay Partner Network.
Excellent write up! Learned some along the way...hope I never need to do this!
Chris
Thanks Chris, I actually enjoy working on the car its the paying for the parts that gives me heartburn
Originally Posted by Quadcammer
Those injectors were fine before, and their fine now. Cheap peace of mind.
Yes, I can only imagine that they are very difficult to work on with the engine in the car. There was a small risk that the misfire that triggered all this work could have been injector related, this proves it wasn't. As you say cheap peace of mind not only that they are now matched but also worth it to replace the 14yr old O rings. I haven't checked but I would place a bet that 2 Porsche O rings per injector would be more than the $22 that WhitchHunter charged for the refurb.
Last edited by D6lc; 05-31-2018 at 01:08 PM.
Reason: typo
brass wire brushes work excellent to remove silicone from the sealing surfaces.
Those injectors were fine before, and their fine now. Cheap peace of mind.
I still think the cleaning is very worthwhile, as far as I know the ECU can only do gross adjustments of fuel across banks of cylinders, it can't index individual injectors and tune them. The most important thing is to have groups of injectors on each bank with very similar flow, this way when the ECU tunes that bank you can be sure they all follow so fuel to air ratio is good.
If a bank has outliers that cylinder may run continually rich or lean.
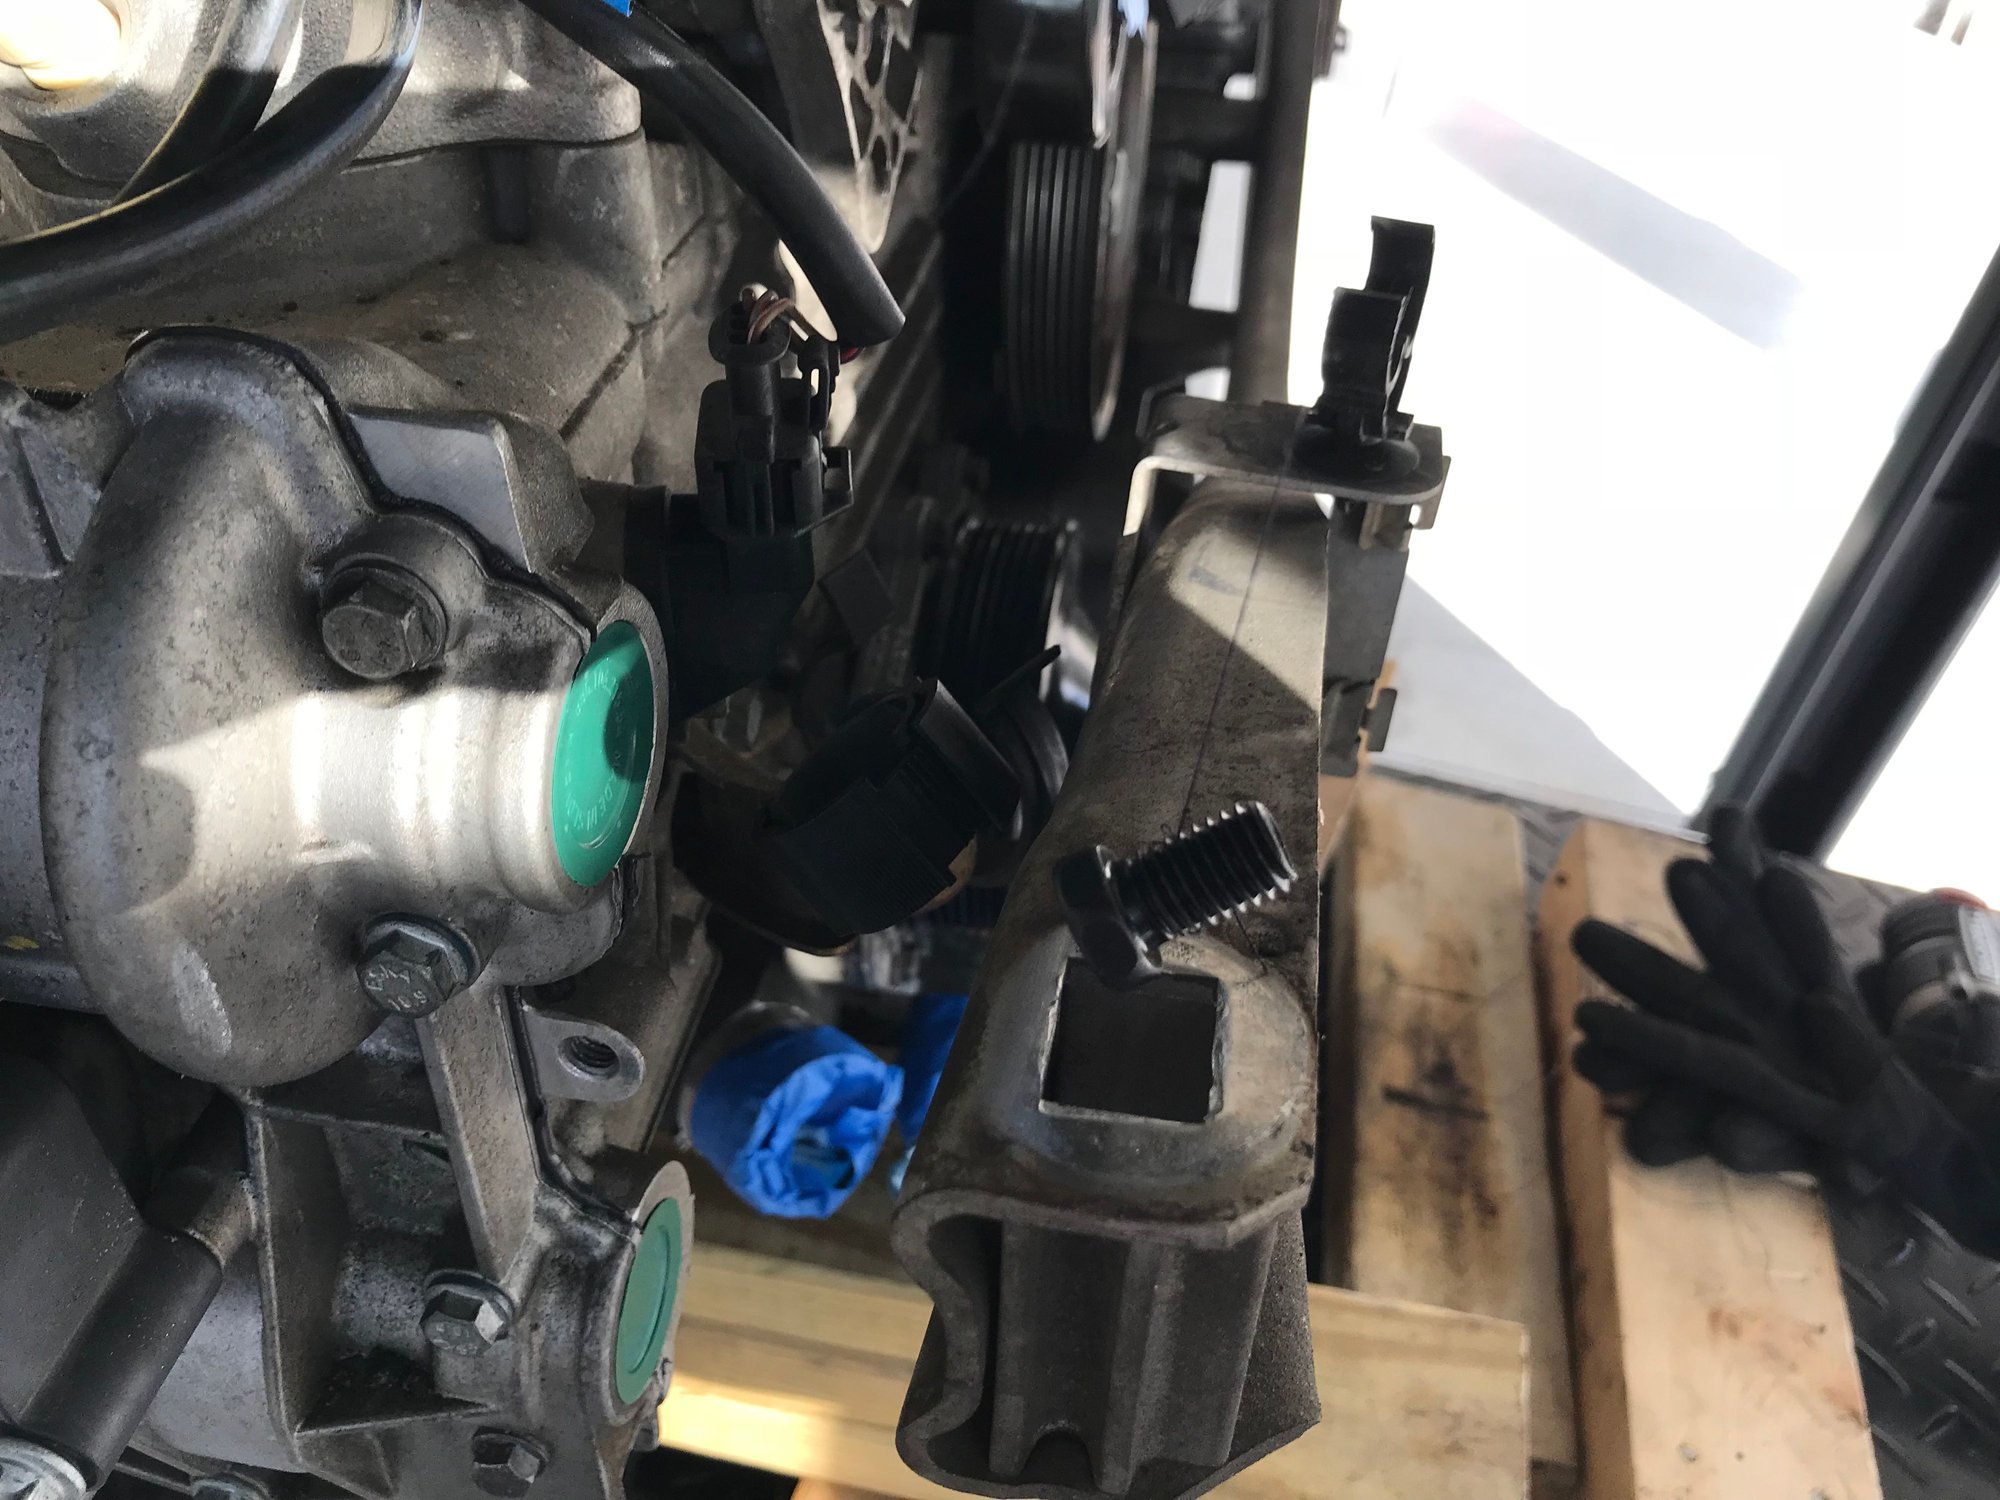
Whilst not originally planned, whilst the engine is out decided to replace the oil cooler O rings
Glad I did, whilst I didn't have any leaking years of heat and compression had taken their toll,
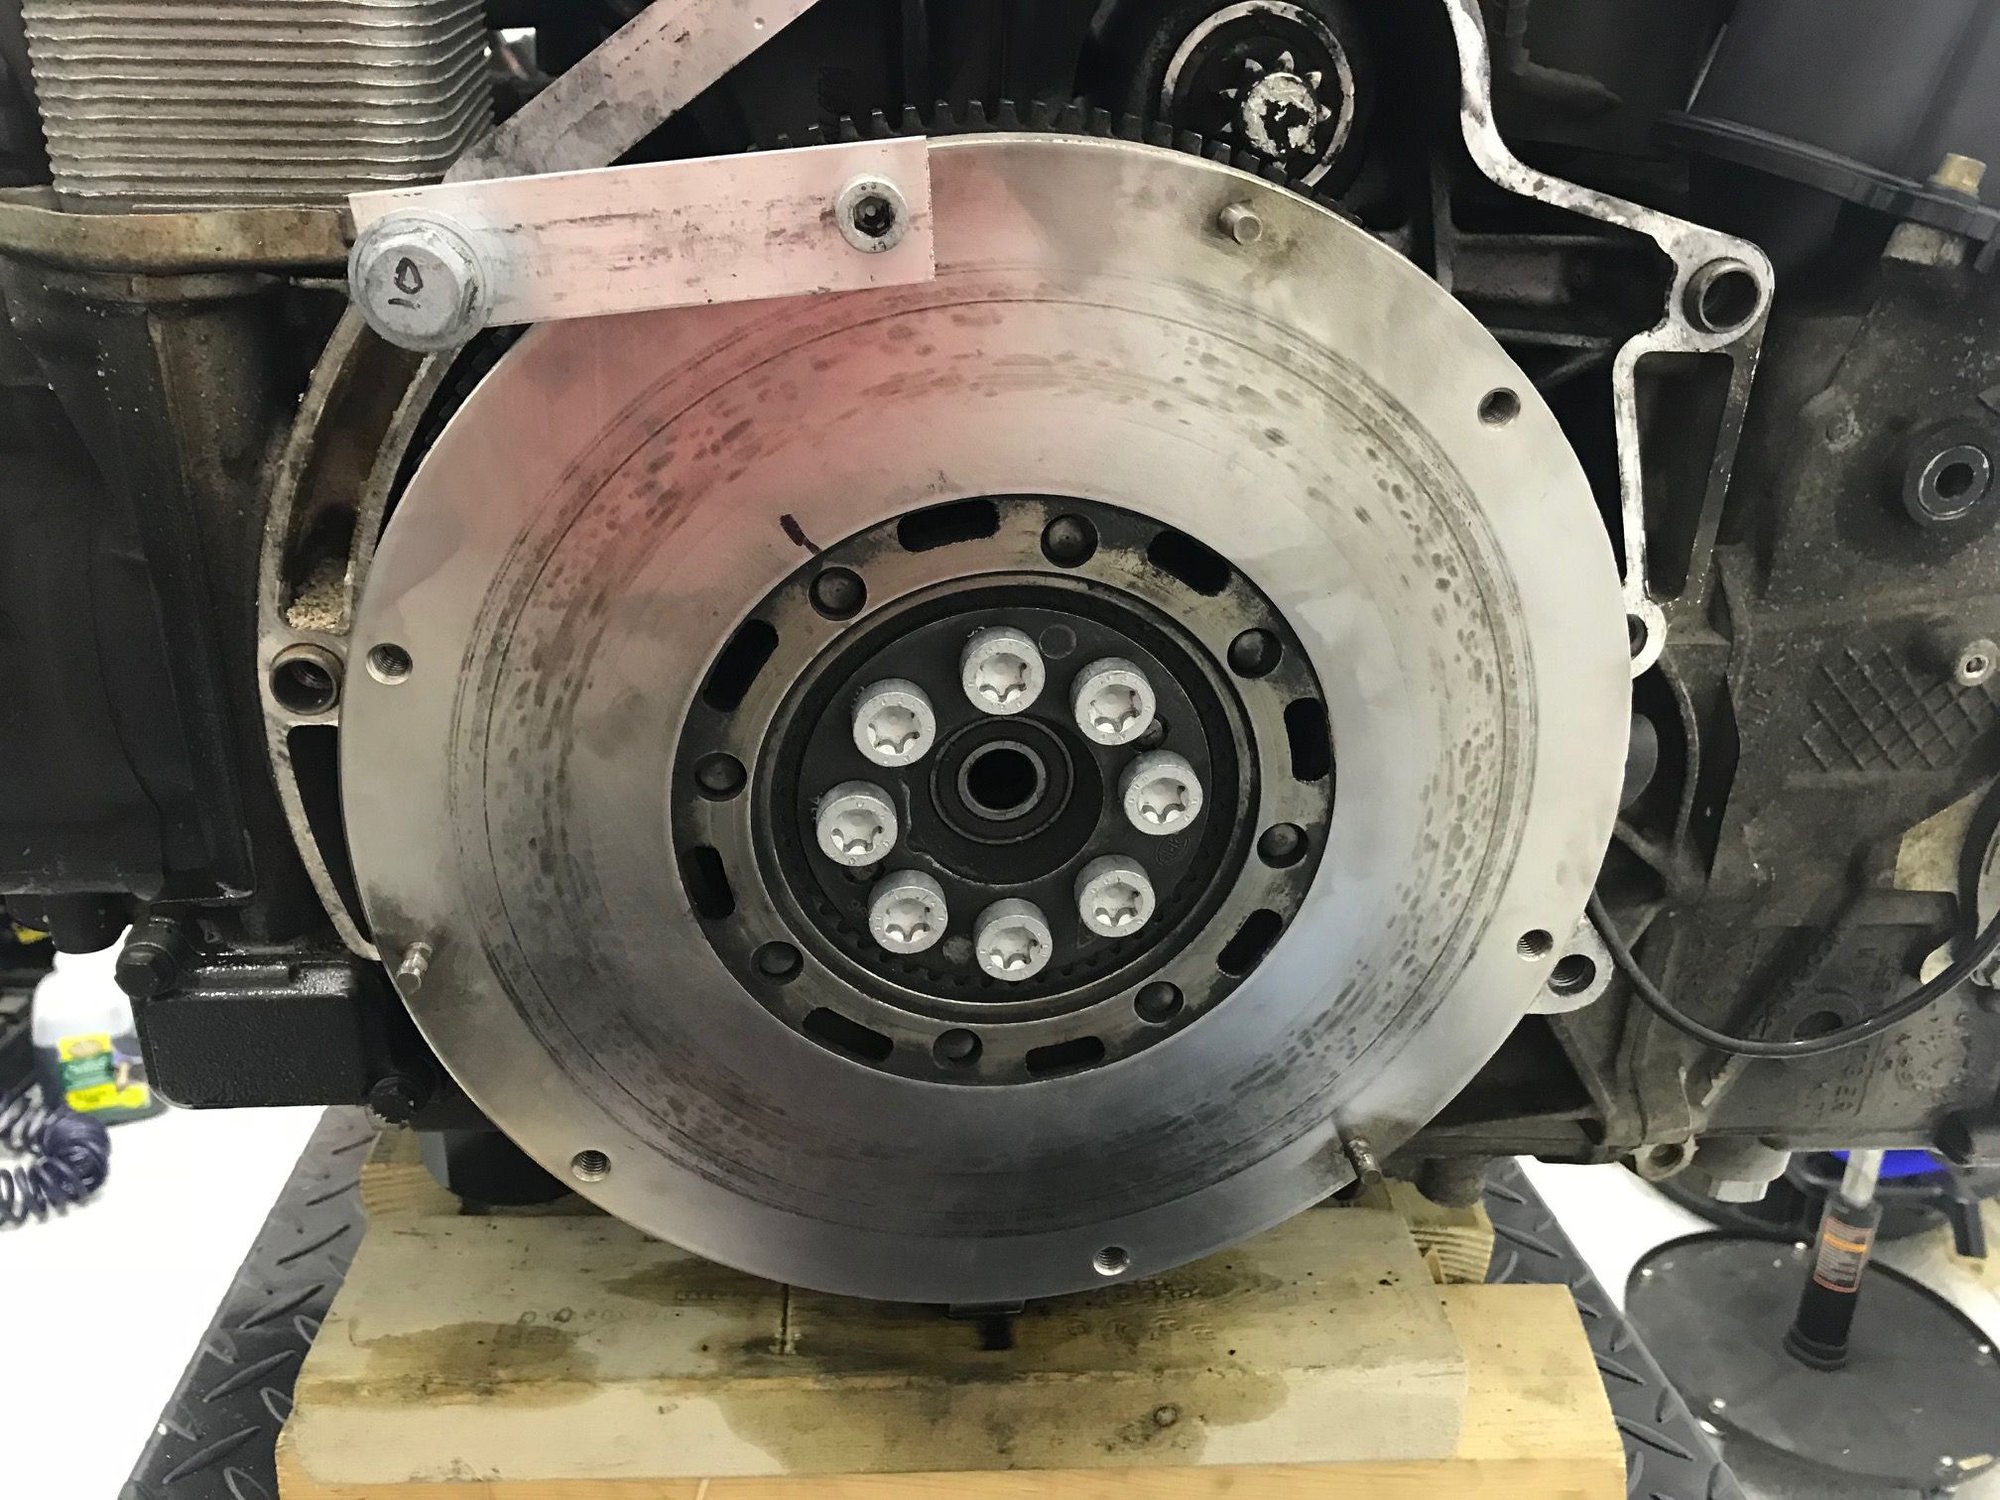
Clutch was is perfect condition, replaced by the PO ~3,500 miles ago. Lightly cleaned up the flywheel with a 120 pad. Simple plate to hold it in place to torque up the new flywheel bolts, they are 1 time use stretch bolts.
Disc and pressure plate on next. With the transmission on a scissor jack and up to the right height I expected it to slide on with some jiggling. But for the life of me I couldn't get it on with muscle alone (not that I have any of that). Some mechanical leverage was my next choice. I lined the tranny up to the right height and exactly parallel to the engine I could push it in all but 1 1/2 inches, next place the mounting bolts in place and gradually tightened them 1/2 each from side to side. It tightened up really easy and you could tell nothing was binding up.
All torqued up and ready to go into the car starting tomorrow.
Cheers, your a man after my own heart with the MC's in your signature. Picked up its big brother the Jap import RZV500 that I'm trying to restore in between messing with the 996. I didn't get my # right however on theDucati front as mines a 916
Cheers, your a man after my own heart with the MC's in your signature. Picked up its big brother the Jap import RZV500 that I'm trying to restore in between messing with the 996. I didn't get my # right however on theDucati front as mines a 916
Always drooled for an rz500 or a Gamma 500! You know what they say, "great minds.." lol. More likely we have issues, albeit good ones
Nice, reminds me of the old days when I had a Daytona 500 (scary bike) I wish I never sold it but after almost getting T-boned by a lost tourist looking at a map and driving!
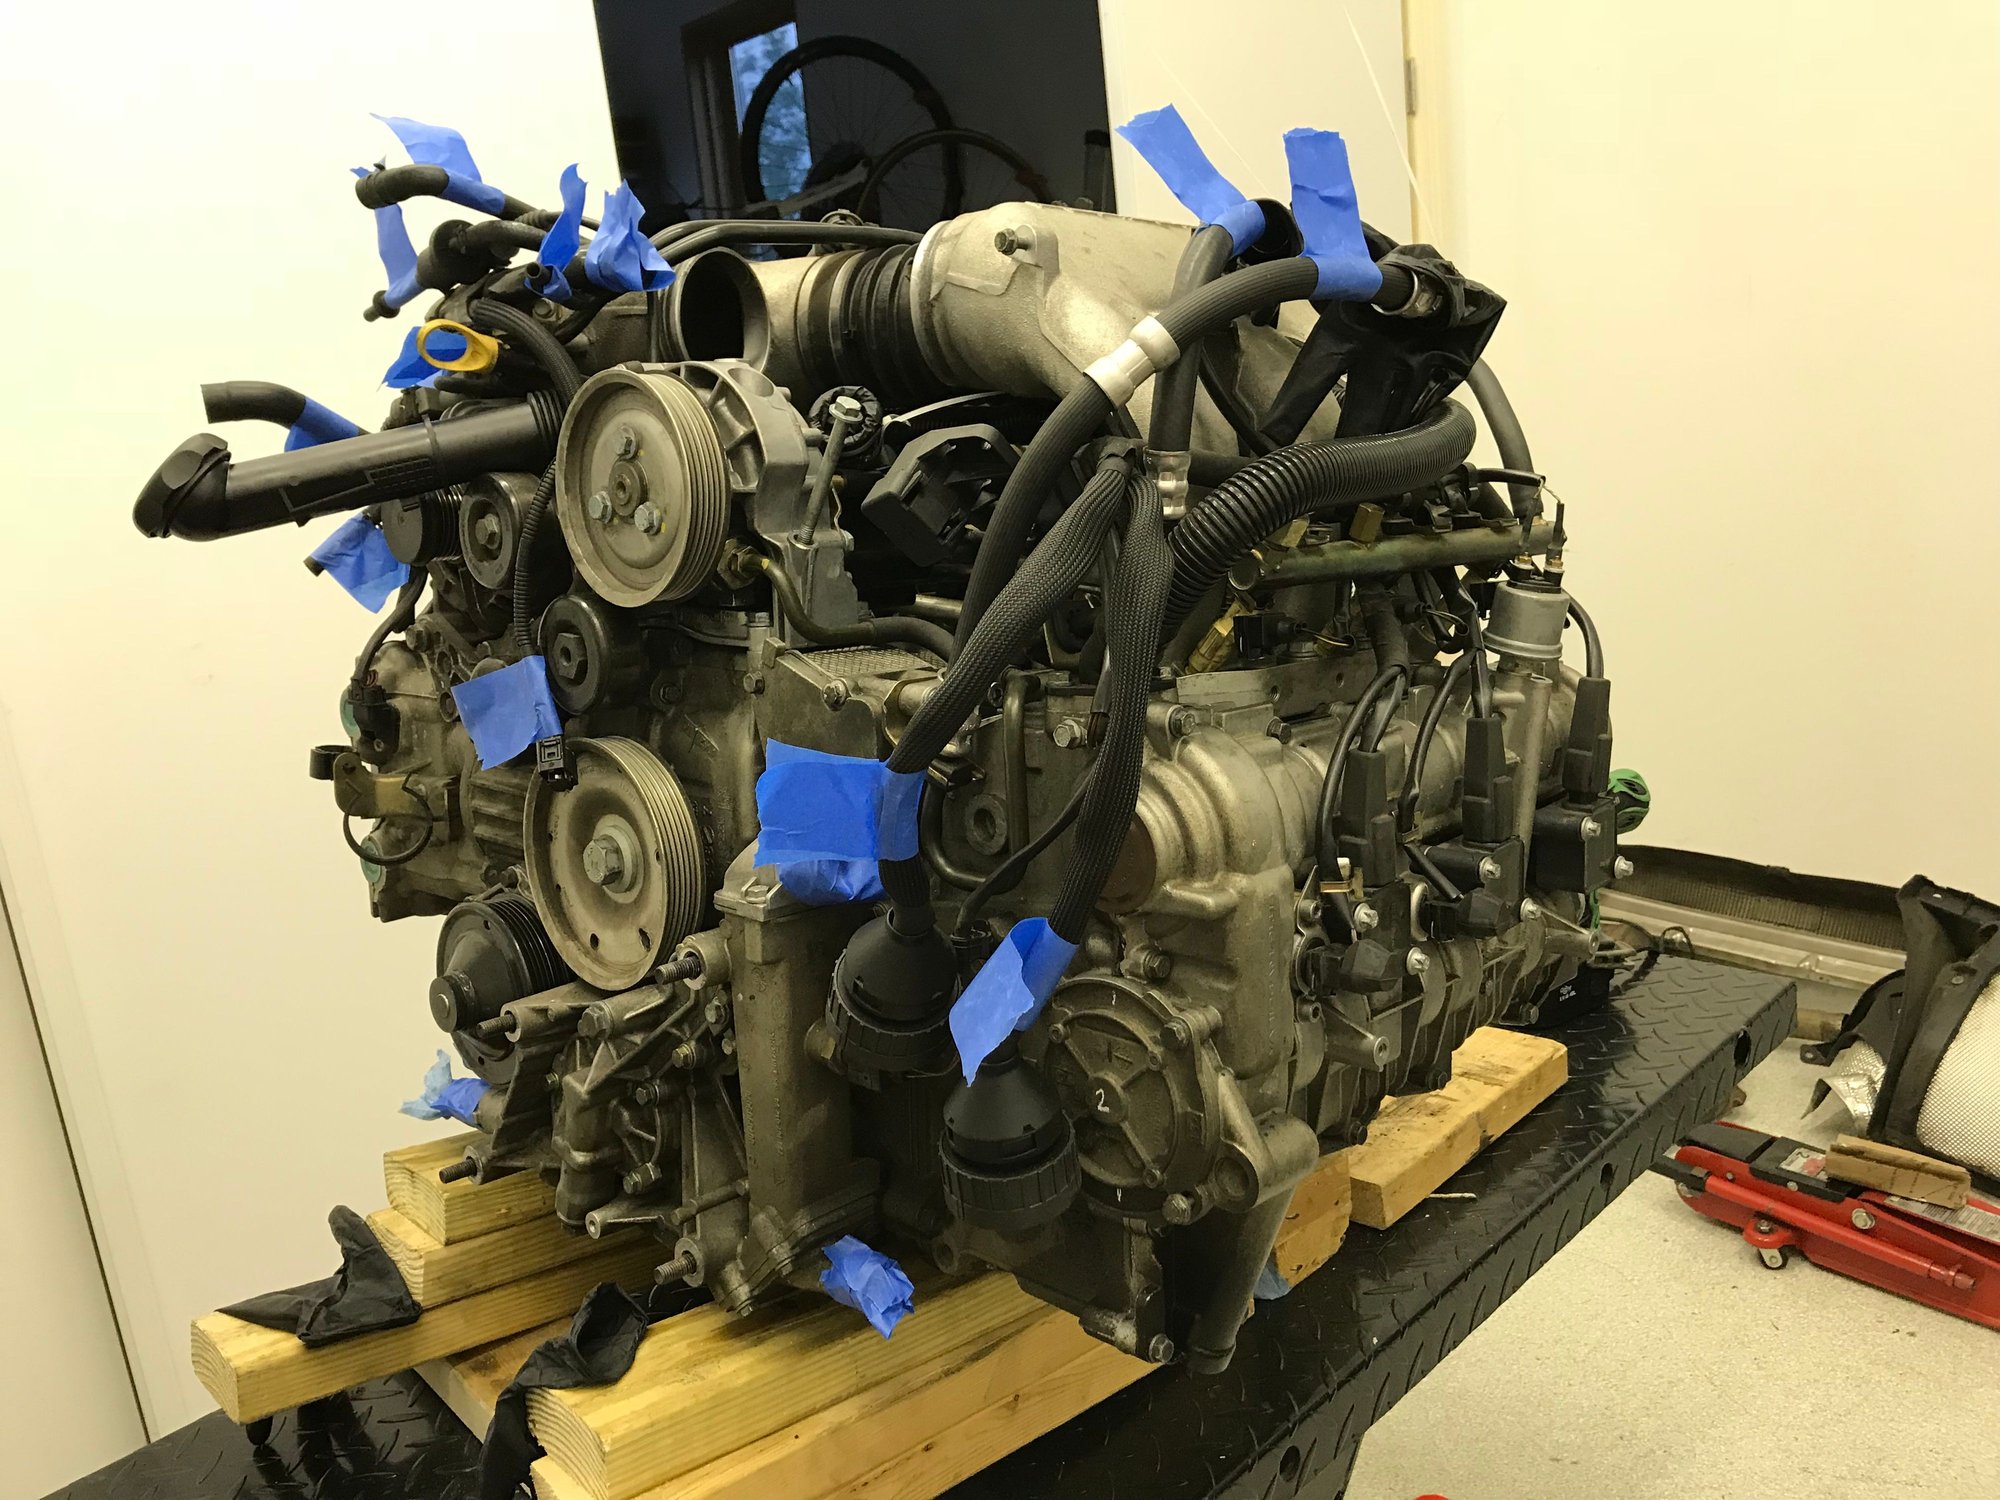
Wheeled the engine under the car around 9.30 yesterday morning, and had it running by 6pm
Some items took longer than expected, but overall it all went together pretty well without too many issues. First think I had to do was line up the engine under the car, in my enthusiasm to pull the engine out I didnt mark the stand position on the floor, a couple of drop lines from teh mounting bolts fixed that.
With the engine raised to within around 3-4 inches of the mounting you can pretty much reconnect everything, I must say the painters tape on every connection made remembering everything thing to hook much easier.
Couple of tips, this one more for removing the AC condenser, the 2 front bolts are easy, the rear is blind but the easiest way to get at it is with a long extension through the temp sensor bung on the bank 2 manifold, then with the plenum removed you can feel the bolt with your left hand
Fitting the plenum, push the rubbers past teh edge of the plenum, it makes it easier to get in place, then you can slide the rubbers back out.
By 1pm it was bolted up in place, still alot of work to go
The clutch slave cylinder proved to be a bit of a PITA, I ended up draining the fluid out of it so that I could depress the plunger and mount it up, then needed to bleed it. Not the end of the world but time consuming.
Fitting the headers on your own is fun to say the least, one tip is use a bit of painters tape to hold the manifold gasket in place, then one you get a bolt in place to hold it you can pull the tape out. You also have to fit the LH header first, I wrestled with the RH side only to find this out and have to remove it
The remainder of the time was refitting, reconnecting and refilling.
Firing it up for the first time was a bit worrying, it took a fair few turns to fire. which made me start questioning if I screwed something up. But it did fire and ran fine, I did the LN recommended, start and shut off 5x. Once it was idling I did the worried leak search under the car but nothing, 4-5 bar oil pressure and no warning lights. After a minute of running I shut it off, did another search under the car for any issues. Then topped up and check the oil, water & PS fluid.
Finally before calling it a night ran the car for a few miles, again all good no issues, no CEL's time for a beer and call it a night.
Hopefully today I'll be able to finish it up, refit the bumpers and undertrays. Then take it for a longer run.
Last edited by D6lc; 06-03-2018 at 09:38 AM.
Reason: typo
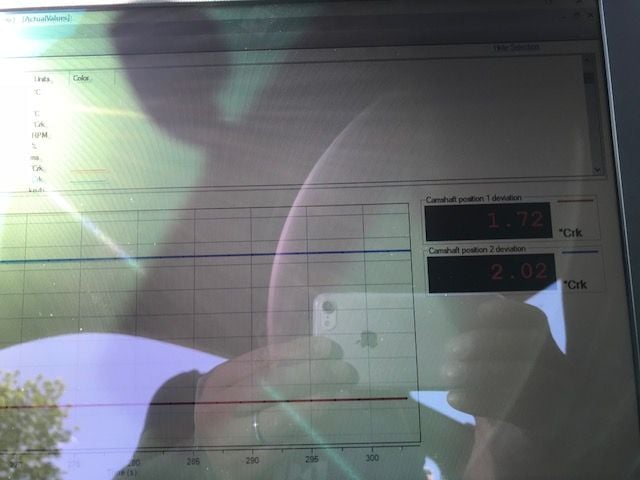
Thanks guys, hopefully it will encourage others to give it a go, is not too difficult with basic tools. Glad to say that there were no leaks under the car this morning. finished off fitting the rear bumper and undertrays. Took the car for a 15 mile run, ran it to over 4k RPM to ensure the variocam triggers and happy taht there were no CELs. On getting home I ran the Durametric to check the Cam variation and its running at 1.72 & 2.02, well within specifications but honestly I was expecting it to be better.
The car runs great and I am very pleased with it. Going to take it easy for 500 miles then dump the oil and filter + drop the sump and make sure everything is cleaned up. After that I will get it hot and run it hard which used to trigger the misfire and CEL.
Total it cost me $2,694, $2,641 in parts, + $323 for the Injectors, LN low temp thermostat, oil, PS fluid and 5900 sealer. I'm sure it would have been a $6k job at a dealer. I could have done the intake lifters on the misfiring cylinders only for $500-600. But I think if your going to do a job do it properly.

 05-30-2018, 11:20 PM