When you click on links to various merchants on this site and make a purchase, this can result in this site earning a commission. Affiliate programs and affiliations include, but are not limited to, the eBay Partner Network.
Hello, picked up a 1999 996 a few weeks ago, and am going over it figuring out things that need attention.
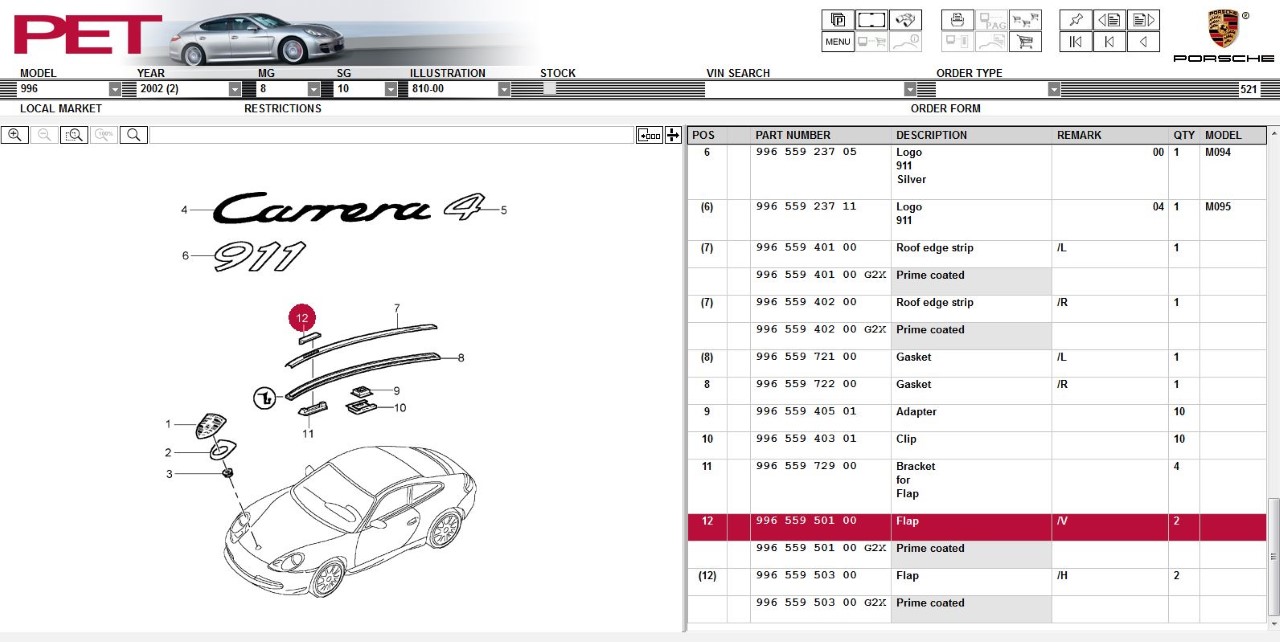
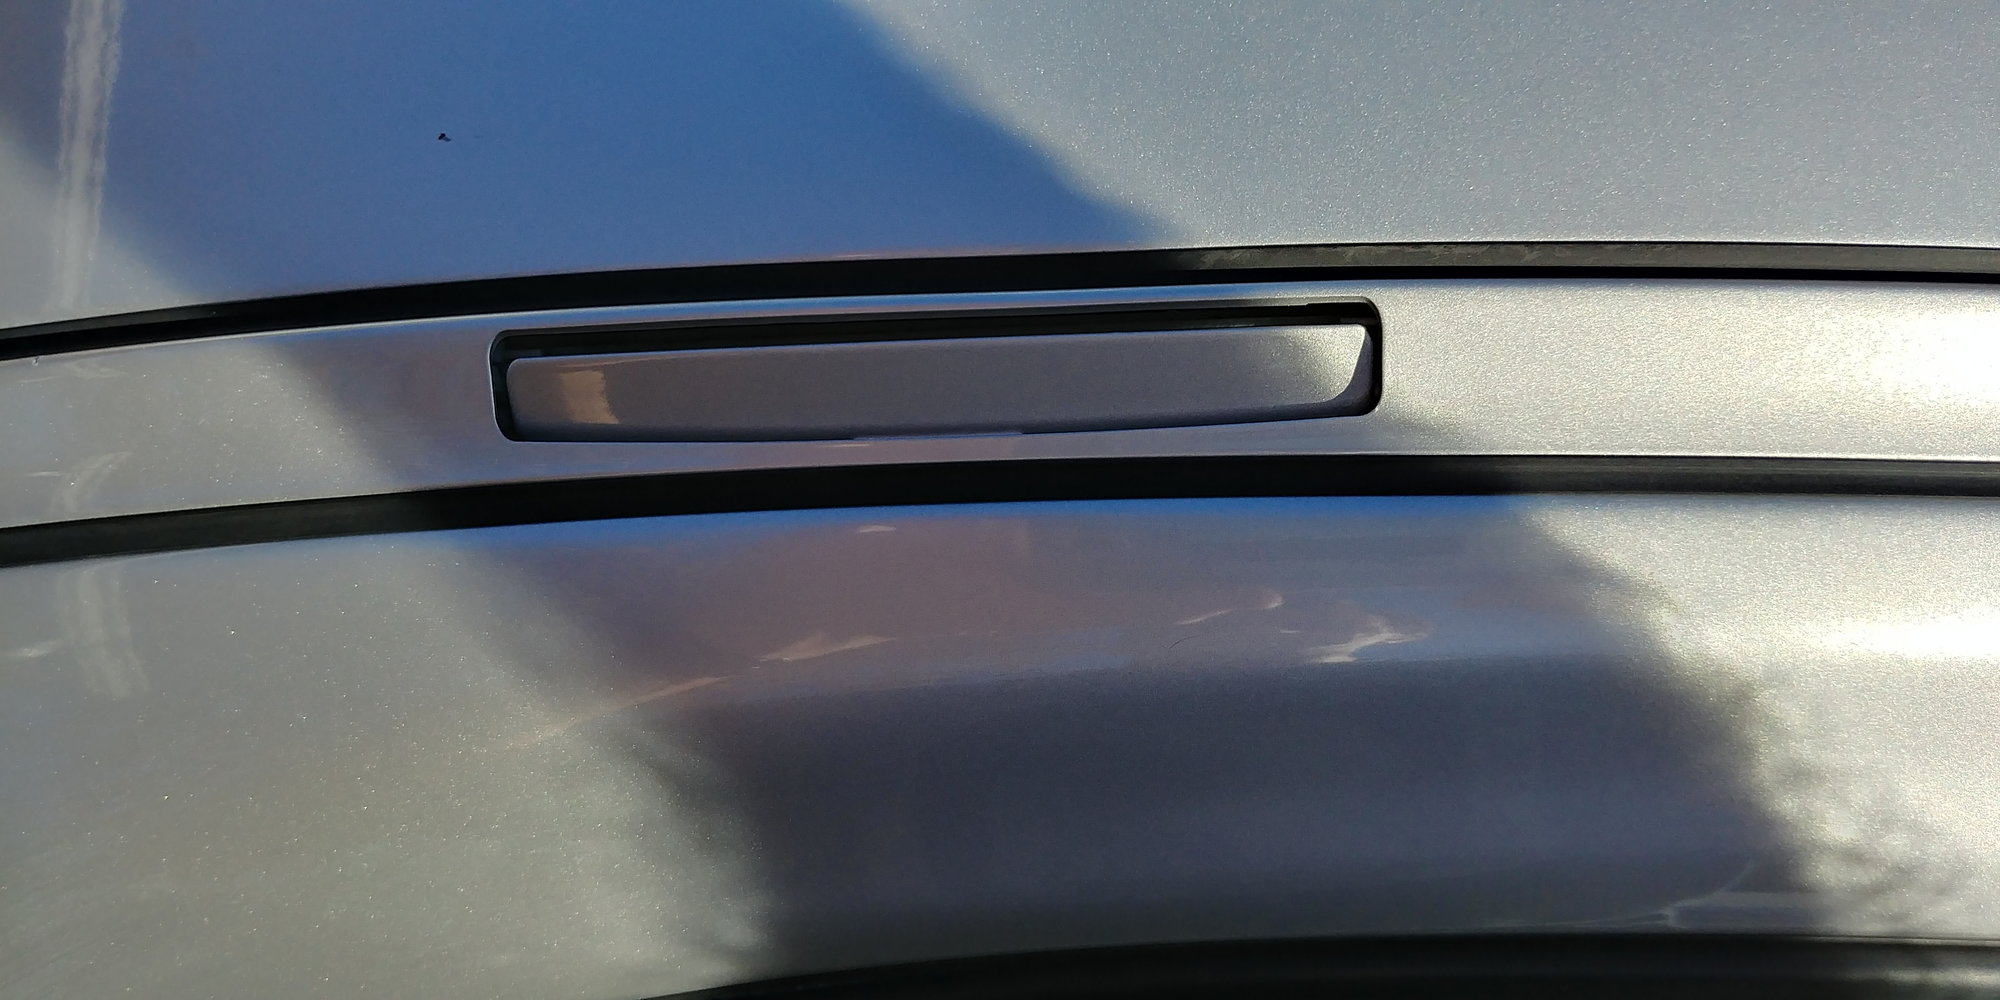
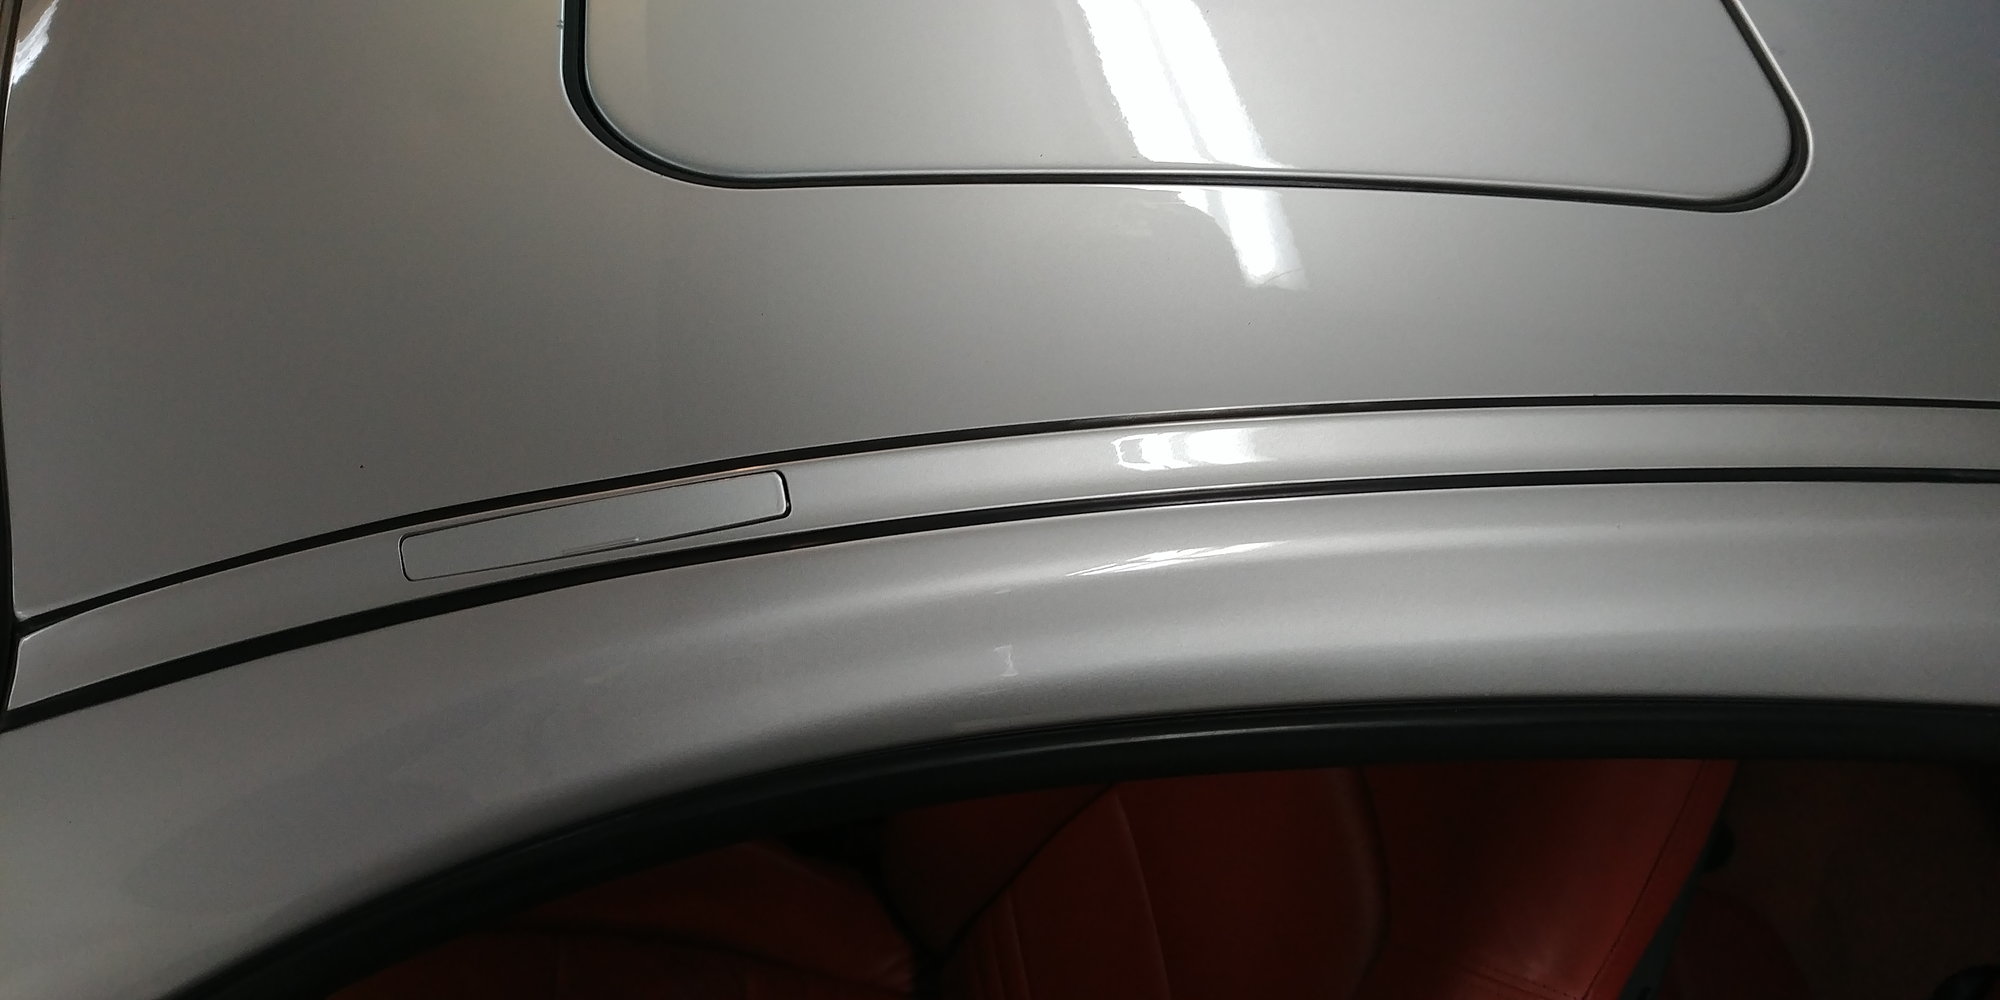
one problem i have are the 4 holes in the roof where a roof rack would go. the flip open panels on them are broken. the hing piece is old brittle plastic after enough years and have given up! I believe i have figured out what pieces i need.
The flap its self #12 still seems to be good on all of them
i believe i need part #11 for each of the 4 spots.
and i assume #9 & #10 are pieces that help secure the rest of that trim strip the flaps are actually in the center of? so i should not need those.
that being said, in all of my searching i didnt not come across anything showing how to remove #7, the roof edge strip that runs the length of the roof on both sides. I'm fairly mechanically inclined so im sure i can figure it out. but id rather not bust a mounting tab or something while trying to remove it if there are some pics or a vid showing things better and i could just go into it already knowing how its secured! plus, i obviously have to order the parts, so id rather just order once and have everything!
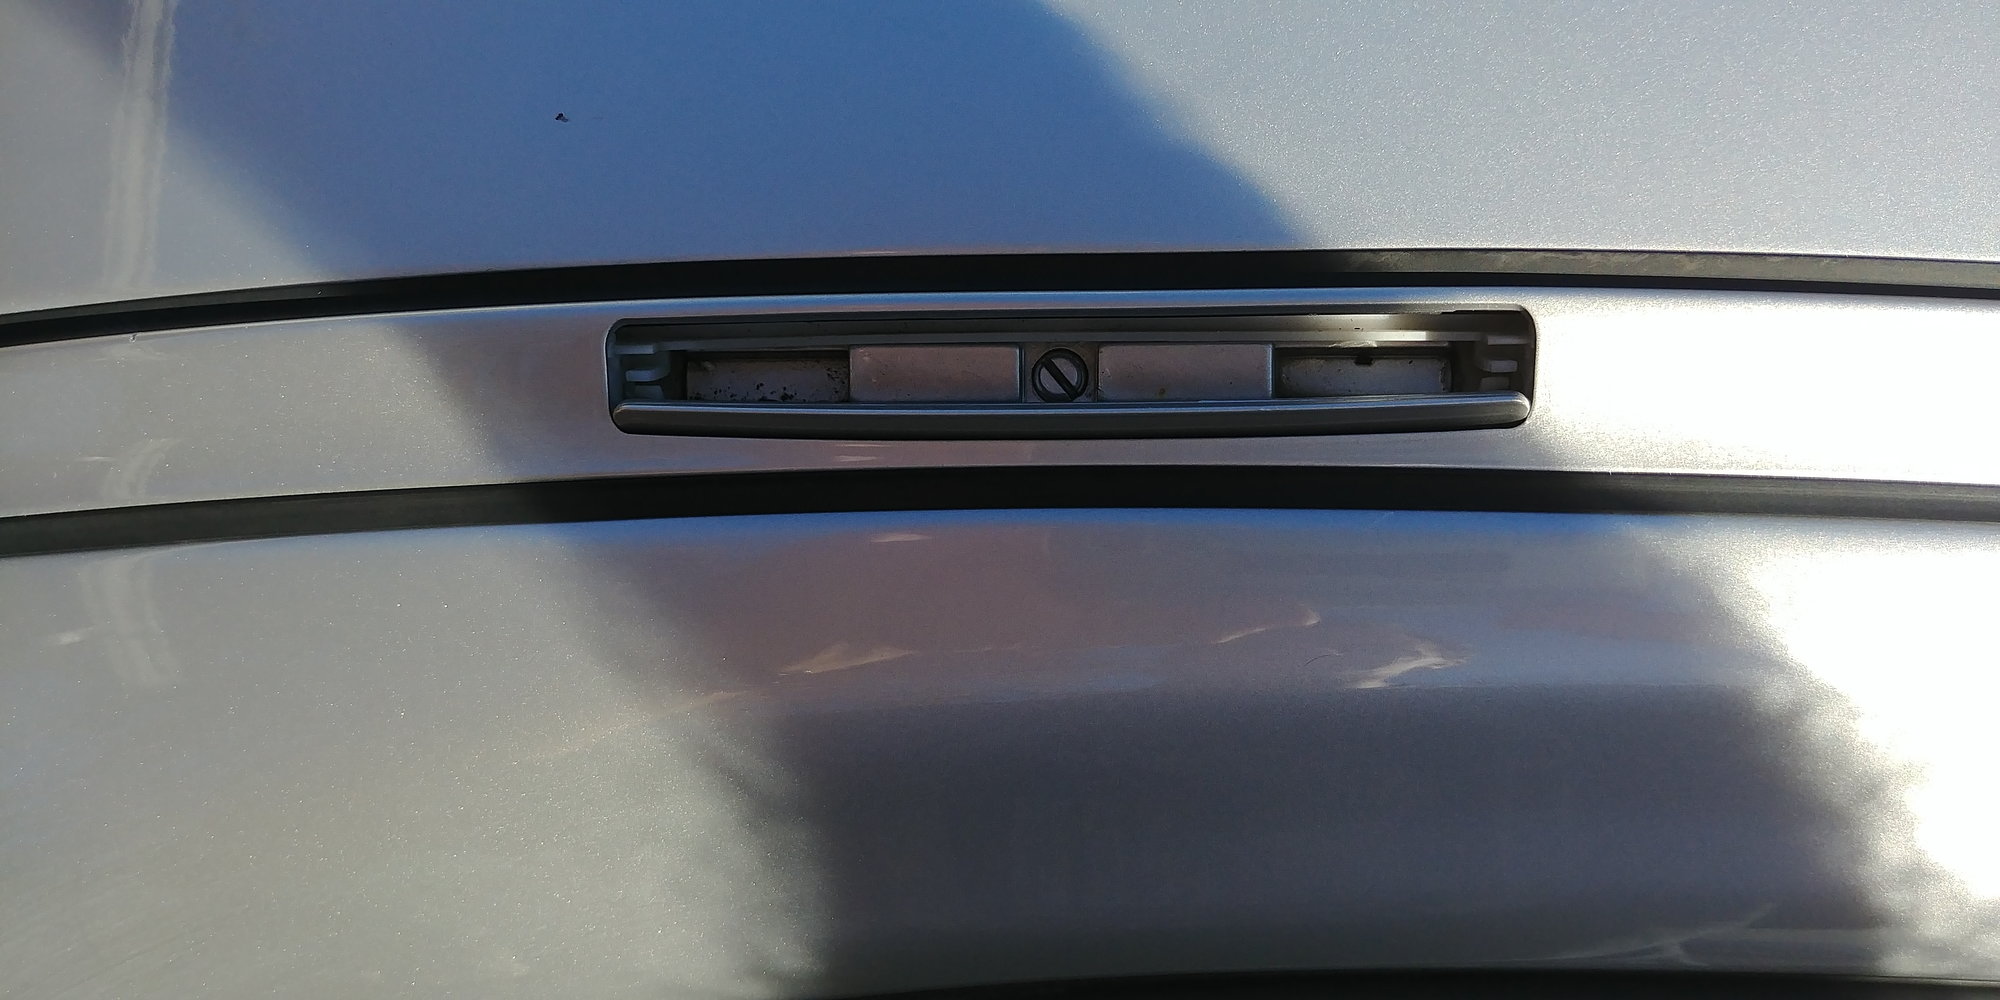
I have the same issue with mine. The metal trap doors are good with the nubs sticking out on both ends. The white plastic holders under the trap doors are brittle and degrading. You have to install the trap doors from underneath with the new plastic holders. I haven't purchased the plastic holders yet, but I did lift one of the metal strips up that runs over the roof. It appears that it is a snug fit that sticks under the rubber window trims at both ends and it will completely lift out. The other two parts you mentioned that are held down with screws are the metal tabs that the roof rack clamps to.
I appreciate the insight on that. It's not as though its some huge deal, but i have to see them everytime i go to get in the car... its annoying lol. Plus i would rather fix them before i lose one of those flaps while im going down the road and have to buy some and paint them.
I did those on mine when I first got it (one of them wouldn't stay down). Good luck getting those screws out - I wasn't able to on mine. As it turned out I didn't have to though. The whitish plastic pieces just clipped in. I don't remember exactly what I did or how I did it, but it turned out to be very simple and I think the parts were less than $20...
I just got my car and one of the trap doors was partially opened. I tried to close it better and of course now it's fully opened and won't close. The white assembly inside seems to be sitting lower than it should.
Do I need to remove that full trim strip? If so, how?
Can I just reposition the thing? Nothing looks cracked or broken, just too low to allow the door flap to close.
No you don�t have to remove the strip. I just popped that white lactic piece out (#11) and popped the new one in... I thought the the screw had to come out but it didn�t have to (and it didn�t...)... good luck
That screw seals the hole so crud doesn't get into it so you can mount the roof rack feet. It's a soft plastic screw and retains nothing. That plastic trim piece ("roof edge strip #7) pops into place - pull up and it pops off.
That screw seals the hole so crud doesn't get into it so you can mount the roof rack feet. It's a soft plastic screw and retains nothing. That plastic trim piece ("roof edge strip #7) pops into place - pull up and it pops off.
Where do you lift from? Does the door flap come off with the white piece?
Where do you lift from? Does the door flap come off with the white piece?
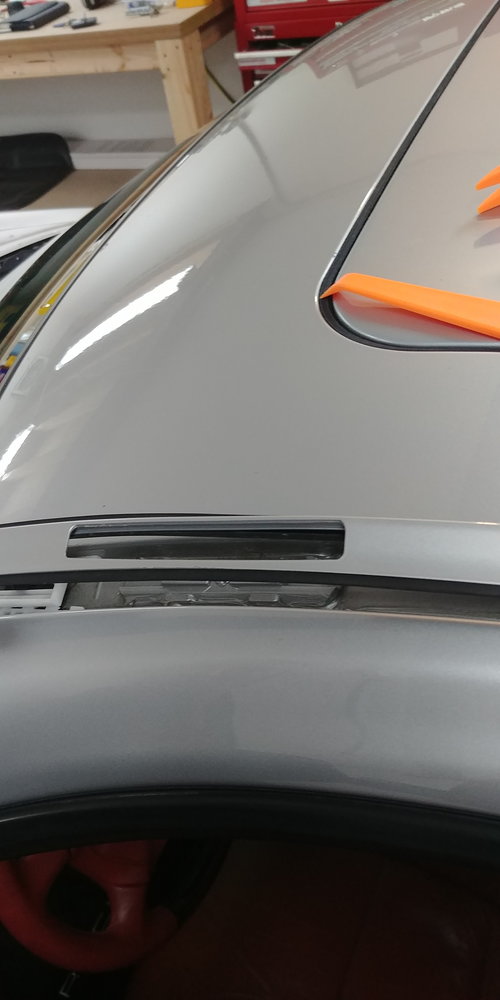
I usually remove the trim strip from the rear window weather strip area - you'll find the plastic strip can actually slide slightly, so move it forward which exposes more of the rear to elevate and pop up from the rear to the front. The replaceable plastic retainer clips may break as they're old, but they are fairly robust.
No you don�t have to remove the strip. I just popped that white lactic piece out (#11) and popped the new one in... I thought the the screw had to come out but it didn�t have to (and it didn�t...)... good luck
I was talking about the white rectangle inside. How do you pull that out? And how does the trap door connect?
I removed trim per shop manual instructions, which is to pry front first, then along outside edge. I tried to work with it half way up but it was easier to fully remove it, plus clean inside there. Getting it to snap on wasn't so easy, but it went.
plastic trim removal tools really help. Also, if you read the directions, it says to press/pry along outside edge to release each clip. Everyone, including the dealer, said these clips always break upon removal. Well, not if you pry as directed. The clips don't go in or out in a straight up/down movement, but rather more like a 45* angle from inside to outside. If you examine the clips once moulding is out, you'll see what I mean. Just take it slow.
Last edited by AdamIsAdam; 12-03-2017 at 05:56 PM.

 07-20-2017, 06:28 PM