When you click on links to various merchants on this site and make a purchase, this can result in this site earning a commission. Affiliate programs and affiliations include, but are not limited to, the eBay Partner Network.
A note on the locking ring below the drop link bracket. I talked with Steve Weiner yesterday over email to ask his opinion on it. He says he does recommend adding the locking ring below the bracket, even on a street car.
I don't know how critical it is, but I'm in the process of sourcing these so I can do it as part of my install. I figure its better to do it at install time vs having to take it all apart and redo it later.
I also asked him if he felt there were any additional miscellaneous parts necessary (nuts, bolts, etc) when doing control arms and shocks and he said no. So while it can't hurt to get new nuts, Steve at least feels its not necessary.
Figured I'd share what I leaned in the hope that helps all those following this really useful thread.
A note on the locking ring below the drop link bracket. I talked with Steve Weiner yesterday over email to ask his opinion on it. He says he does recommend adding the locking ring below the bracket, even on a street car.
I would ask him exactly which lock ring he's using under bracket & when the last time he installed one was.. the ones provided w/ PSS10 won't work, look closely at the pictures in post 37 & the reason should be clear.
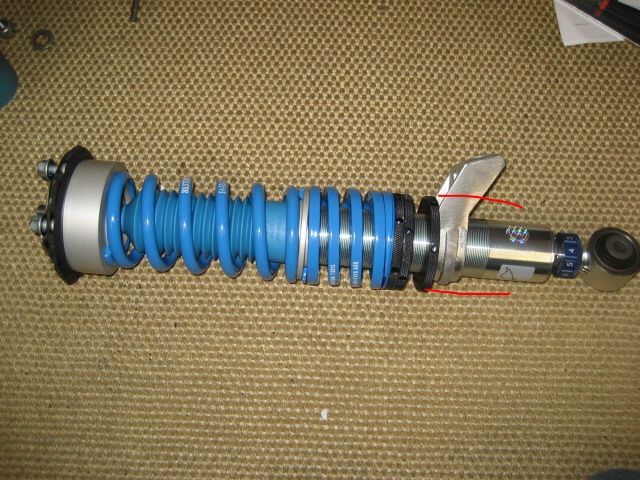
It looks to me like there is room below the bracket, once its set to the appropriate height. I'm assuming its another ring exactly like the three that are above the bracket in that picture. Is there something I'm missing?
I've asked him to send me a couple on Monday, so I'll report back when I know more.
The OD of the locking ring is greater than the area where it needs to sit, against bottom of drop link perch. A sleeve type spacer (to lower locking ring away from bottom of perch) may work. Here you can see OD of Blk locking ring would not reach bottom of perch (to secure it) before hitting downward arm of perch.
Perusing other threads it seems like some people are using a double collar above the drop link perch, I'm not seeing anyone putting one beneath. Perhaps Steve misunderstood my question, so I'll clear it up when I talk to him next.
Regarding the drop link mount. Couldn't you leave it loose, and spin it where it needs be, once the top is in place? Spin it where it needs to be, then mount bottom of strut into carrier? Just a thought, great job and pics.
Absolutely. If was more experienced at this, I could probably just eyeball it one on the car.
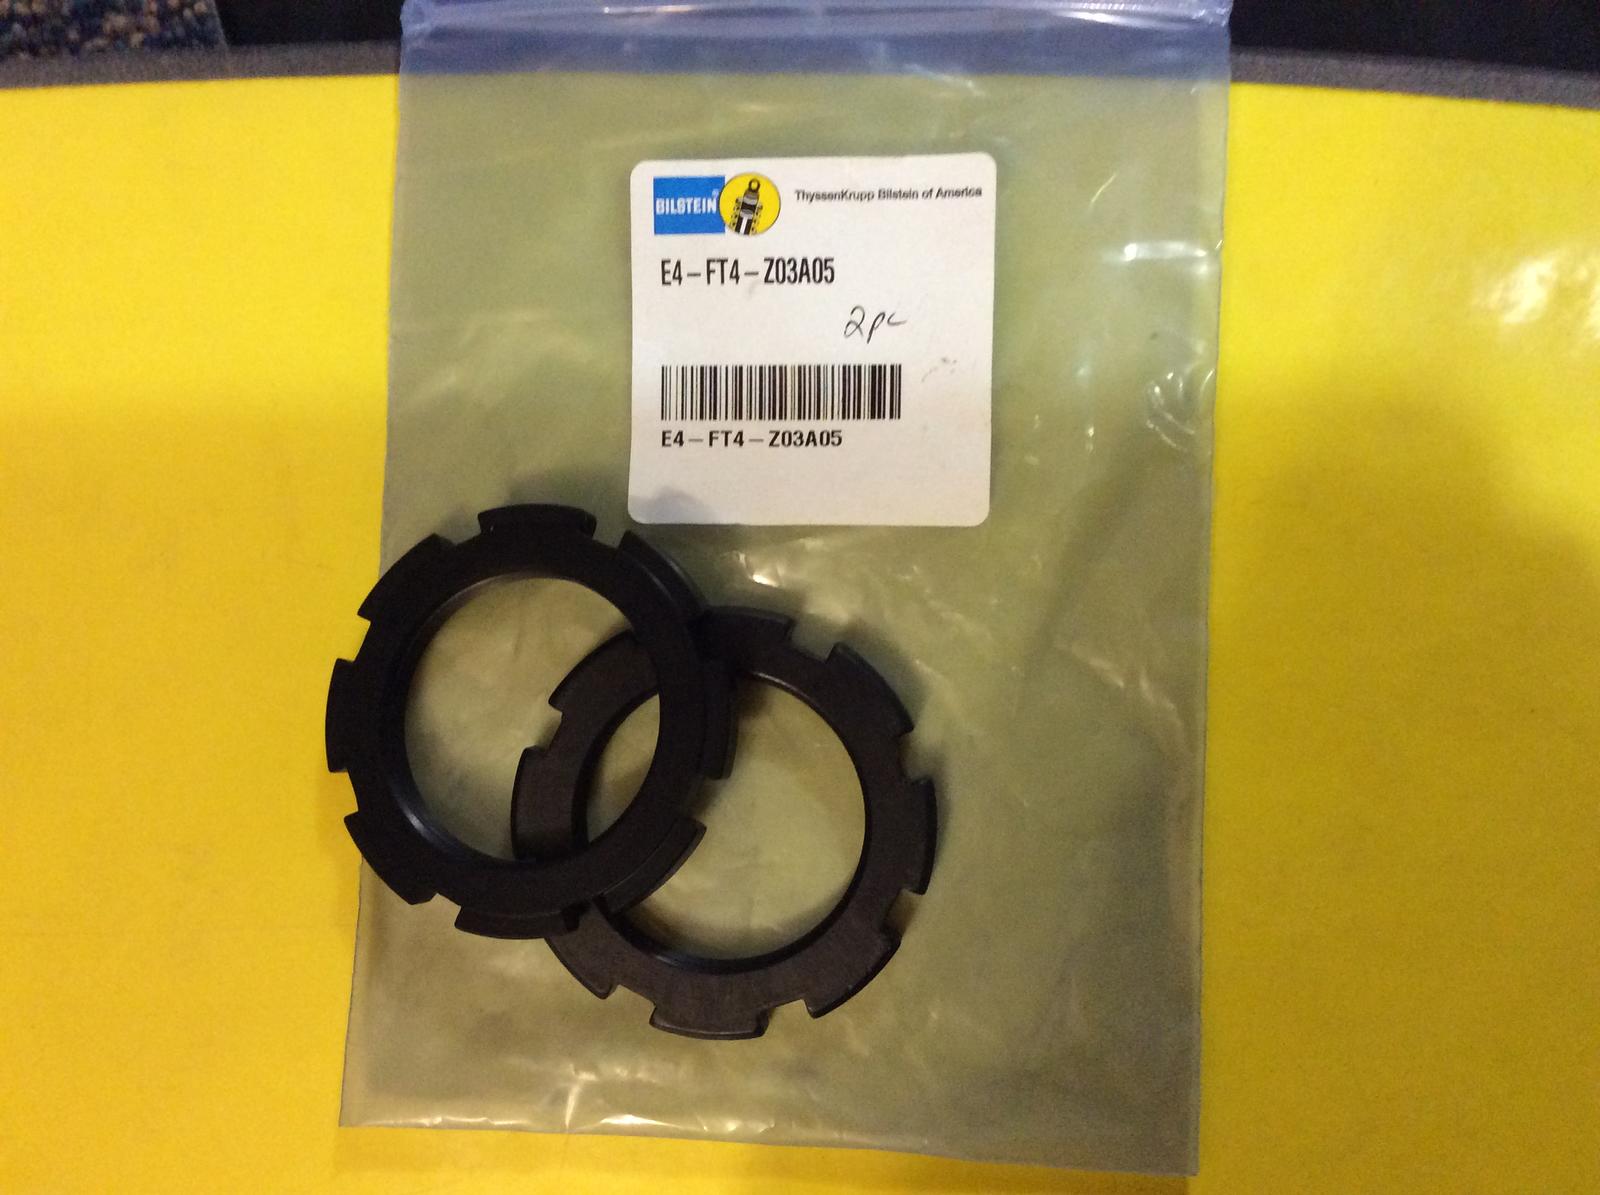
My contribution for today...bottom lock ring was supplied by my friend. I have no idea who makes it...my apologies in advance.
On a different note I am operating without any manuals, and I am sure if I poked around a bit I could find the answer...but why not add it to this thread: What are the proper torque values for the top hats?
The experience of the OP, along with this thread, will help myself, along with countless others. So don't sell yourself short. :-)
I ordered these a while ago, to secure my perches. They never moved, so I was in no hurry to pull EVERYTHING apart, to do it. I believe they are what is needed. Verify with Bilstein, before you order. Aloha
Richard
My contribution for today...bottom lock ring was supplied by my friend. I have no idea who makes it...my apologies in advance.
On a different note I am operating without any manuals, and I am sure if I poked around a bit I could find the answer...but why not add it to this thread: What are the proper torque values for the top hats?
That locking ring looks to be the exact same one as was on my front old B6s (HD).
F18drvr - is there any rubbing at all between the outside edge of the bottom lock ring and drop link mount? Mine seems to have a very tiny amount of rubbing, think much less than 1mm.
If you sell the old ones and ocmacman won't take them I would be interested, too
I'll be replacing my HD shocks with RoW springs in the next month or two as well. So if anyone is interested in the stuff I'm pulling off the car, let me know.
While waiting for the missing rubber ring from Bilstein, I did make some progress. I removed those "custom" zip ties and replaced them with the proper clips. These new clips should save me 1-2 seconds per lap.
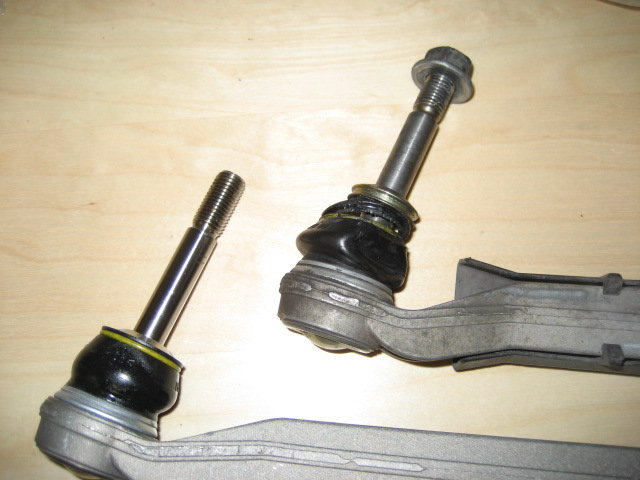
Also, the new toe links arrived. Baby steps, but making progress in the right direction now.

 12-17-2016, 11:16 AM