When you click on links to various merchants on this site and make a purchase, this can result in this site earning a commission. Affiliate programs and affiliations include, but are not limited to, the eBay Partner Network.
I haven't yet but I've been meaning to. Have you been?
Went to a BMW club DE there last May, great little course, max speeds were about 160-170 with much shorter straights than Race City (before it closed) where I would be doing 240kph into turn 1. However, some very interesting technical corners, like turn 6 where the "obvious" line takes you off-camber midway through the corner and then all hell breaks loose... Took me much of the first day to figure out a good way through that one and the instructor said I was a quick study.
Reckon it would take a while to get bored there. The drawback is the 3 hour trip each way from Calgary, so I haven't done Track Junkies yet. Pathetic that Calgary's racetrack is gone, when the city refused to renew the lease so they could turn it into a landfill. On a summer saturday, waiting at the light to exit my neighborhood, the cross-traffic is like this: ferrari, porsche, lambo, lambo, porsche, porsche, toyota, lotus, wrx sti, ferrari, vw, bentley, lambo, porsche... Guess our testosterone-saturated young men will just have to do their racing on the streets since there's nowhere else to go.
Apologies for thread hijack. I don't get out much these days...
Last edited by bcameron59; 01-09-2016 at 01:44 AM.
Unfortunately neither of those link seem to be working, ebay one is expired and rennlist link says "the requested page was not found"
Edit: thanks for fixing links!
Unfortunately the eBay link appears to have gone dead. There were some great photos there of the vinyl cover including a shot from behind depicting all of the plastic retaining tabs.
Have a look at this thread from pstraub with some great photos at post 26, and a great explanation of the removal process from 600RR at post #40. I'm getting the itch to do this, but need to find another wheel. https://rennlist.com/forums/993-foru...r-crest-3.html
Would they recover airbags too? Are airbags a pain to recover? I have the plastic/leatherette airbag cover and thinking that a full leather airbag cover with double stitching and silver crest would be a nice addition to my parts bin.
Would they recover airbags too? Are airbags a pain to recover? I have the plastic/leatherette airbag cover and thinking that a full leather airbag cover with double stitching and silver crest would be a nice addition to my parts bin.
yes, they recover airbags, although i elected not to.
FWIW I have had carsdream recover a few of my steering wheel. They do a great job but I haven't used them for carbon work or airbag recovering.
Carbon- whilst their work looks good the carbon weave it's not at all factory looking and if I wanted a non factory look I'd just get a carbon raid wheel.
Airbag - they certainly do the best work that I've seen but you can tell that they are not original. I'm not convinced I'd be happy with something I see everyday that didn't look perfect. That being said its almost impossible to find leather airbags these days so maybe Carsdream is the best option.
FYI, Carsdream will be charging 50 Euro for airbag recovery in smooth leather or 75 Euro if any indents that need to be made in leather (like words or recession for the shield).
For anyone on the fence, the SW and airbag removal is VERY easy. Removing the airbag cover is the easiest part. The crest is easy to remove and replace with anew one. While it is true that SW crests are not available, the 356 hood badge is identical in size, although the connecting post is a bit higher (which means drilling a small hole in the airbag cover). I installed new crests and secured them with "nuts" of the type used on the 993 hood crest.
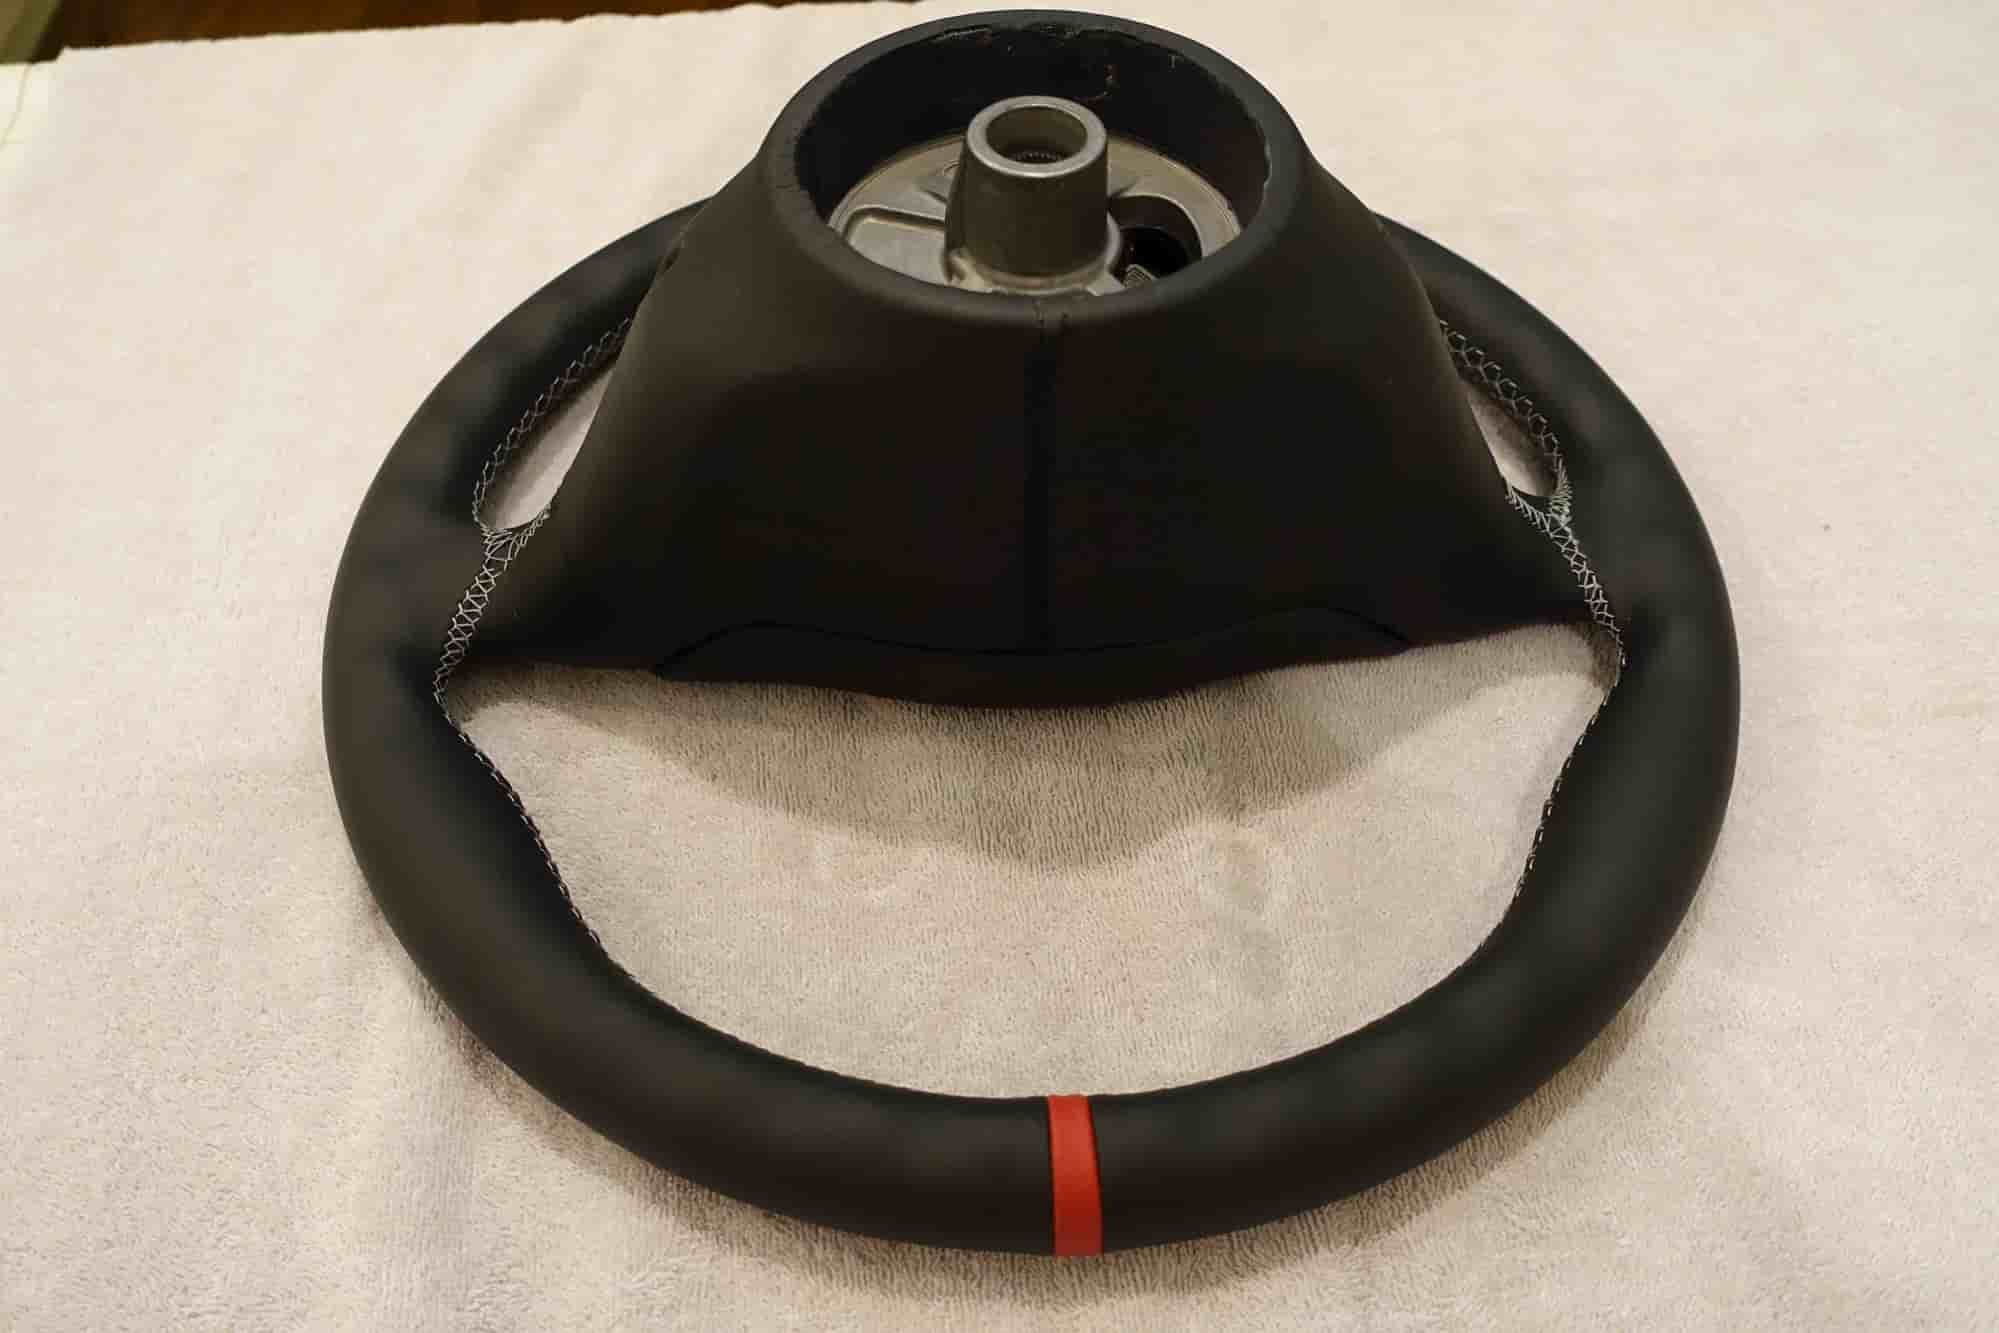
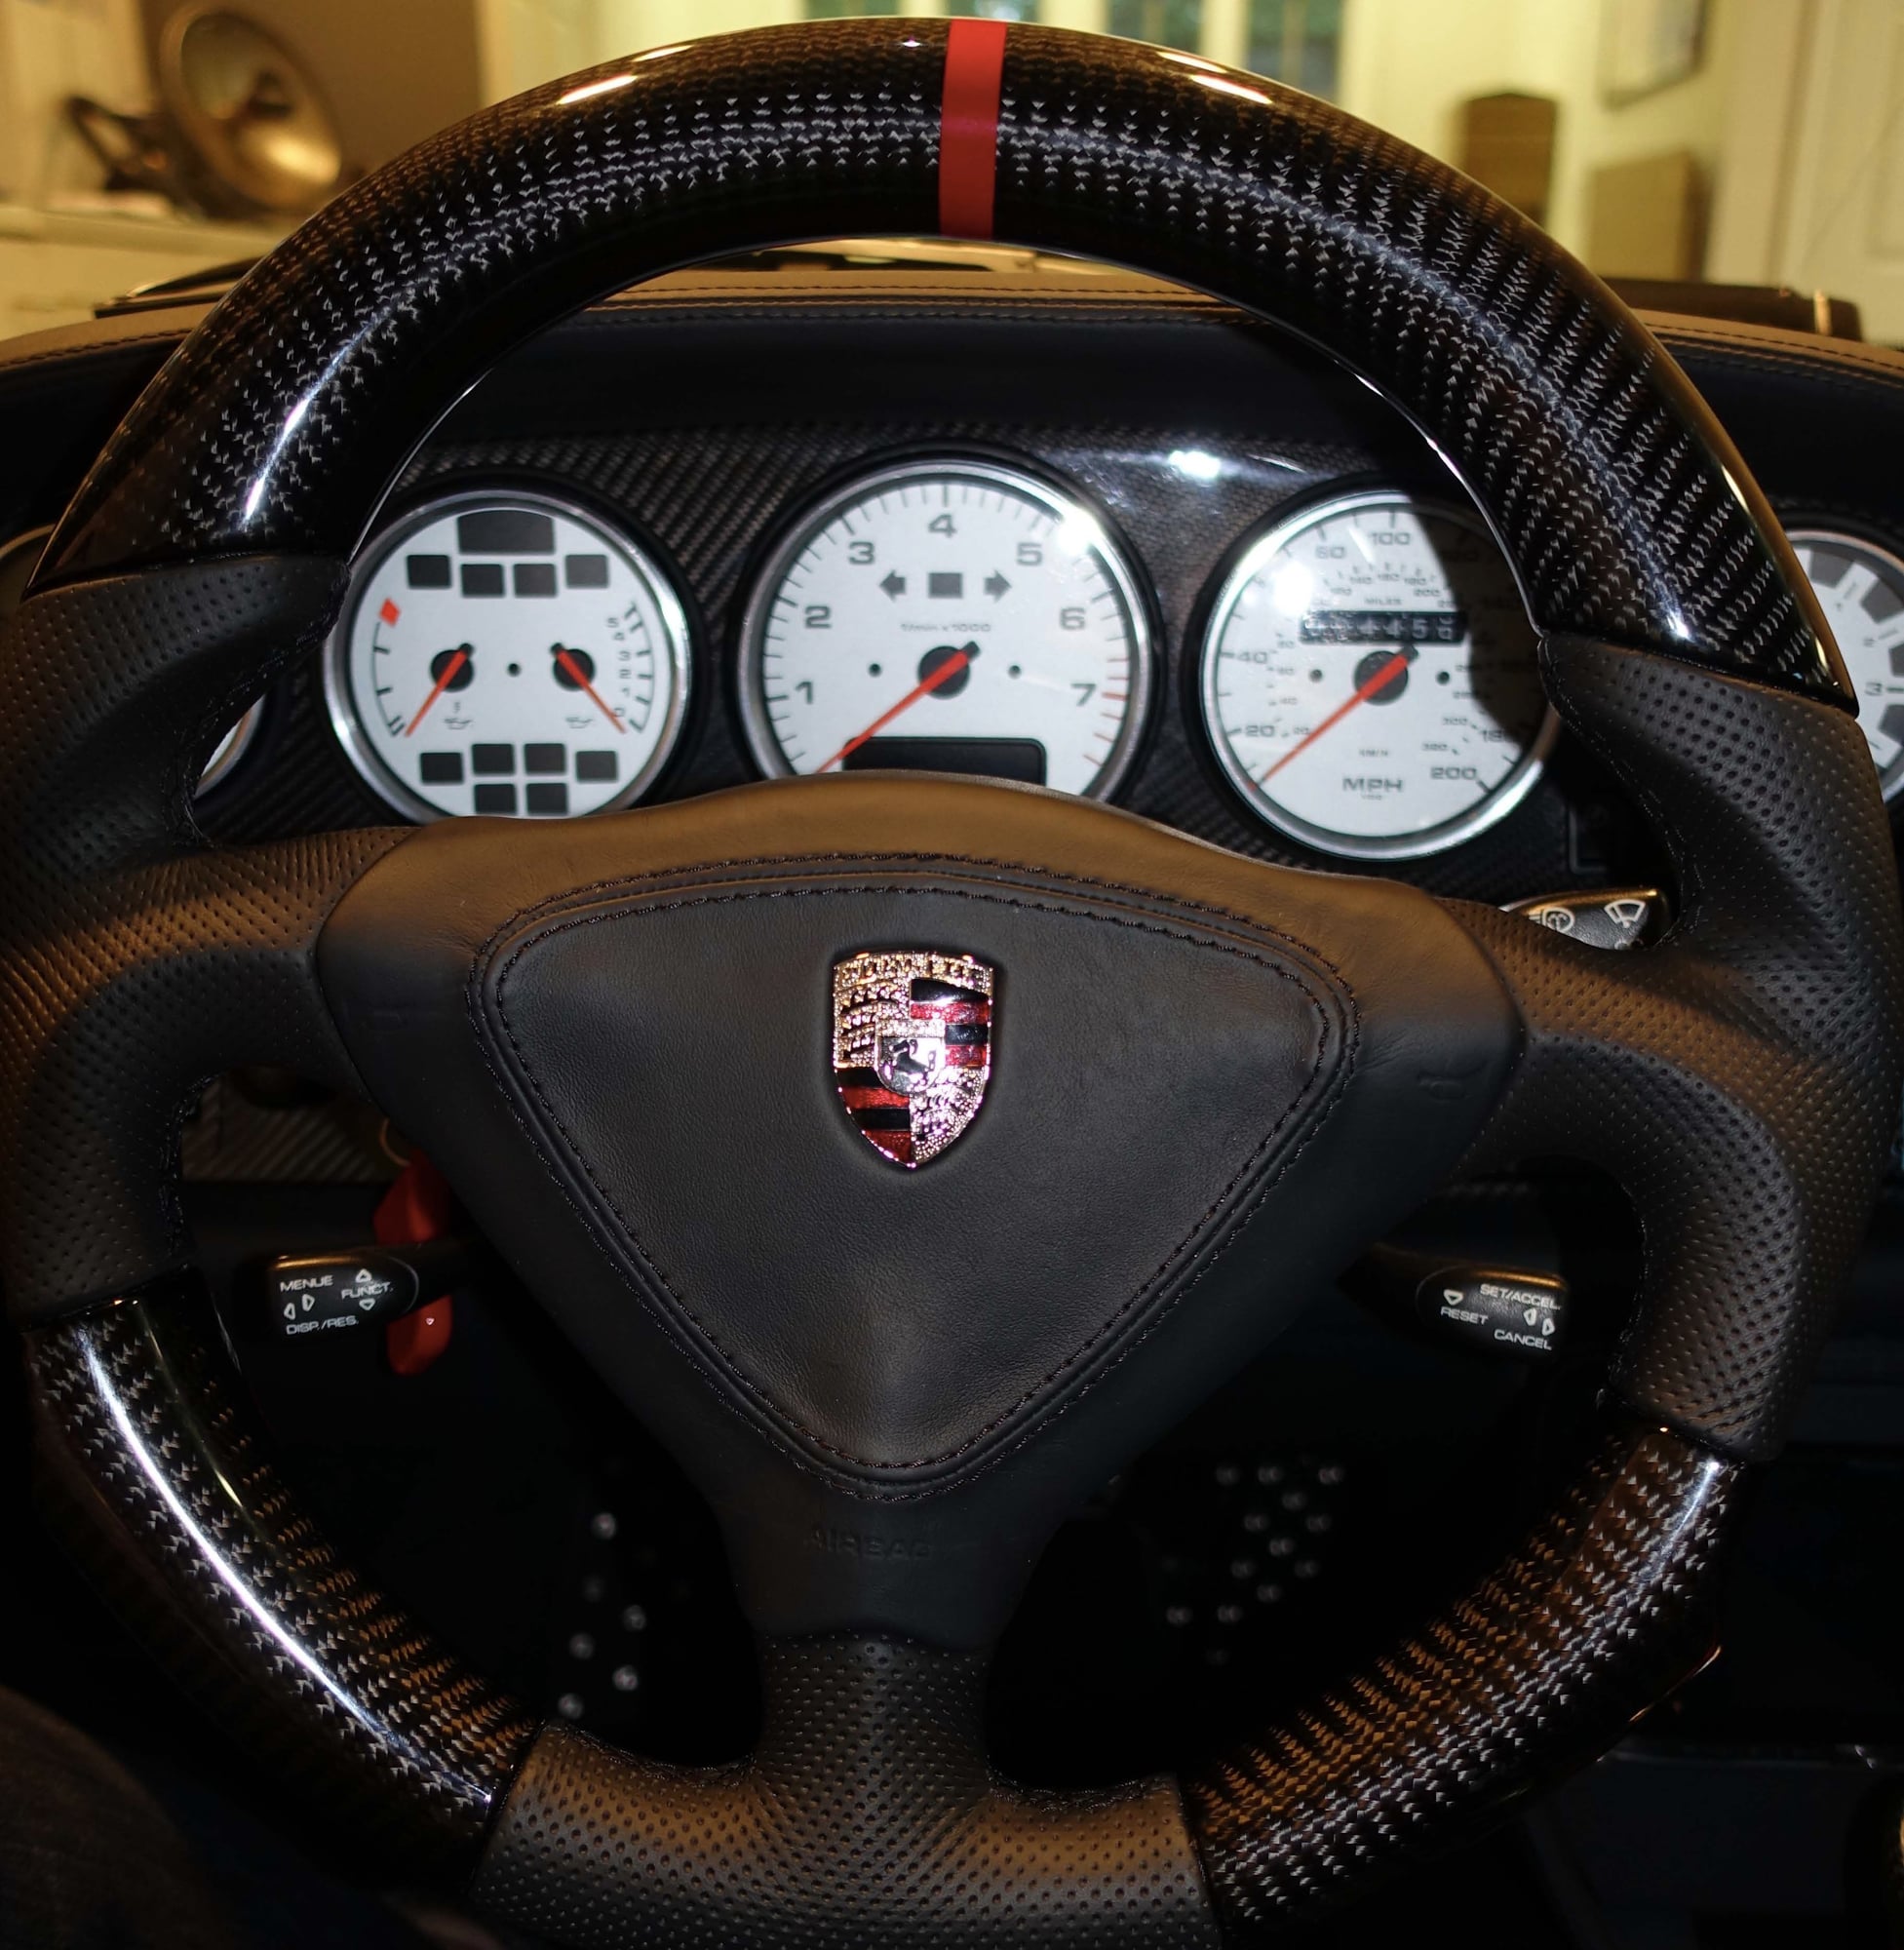
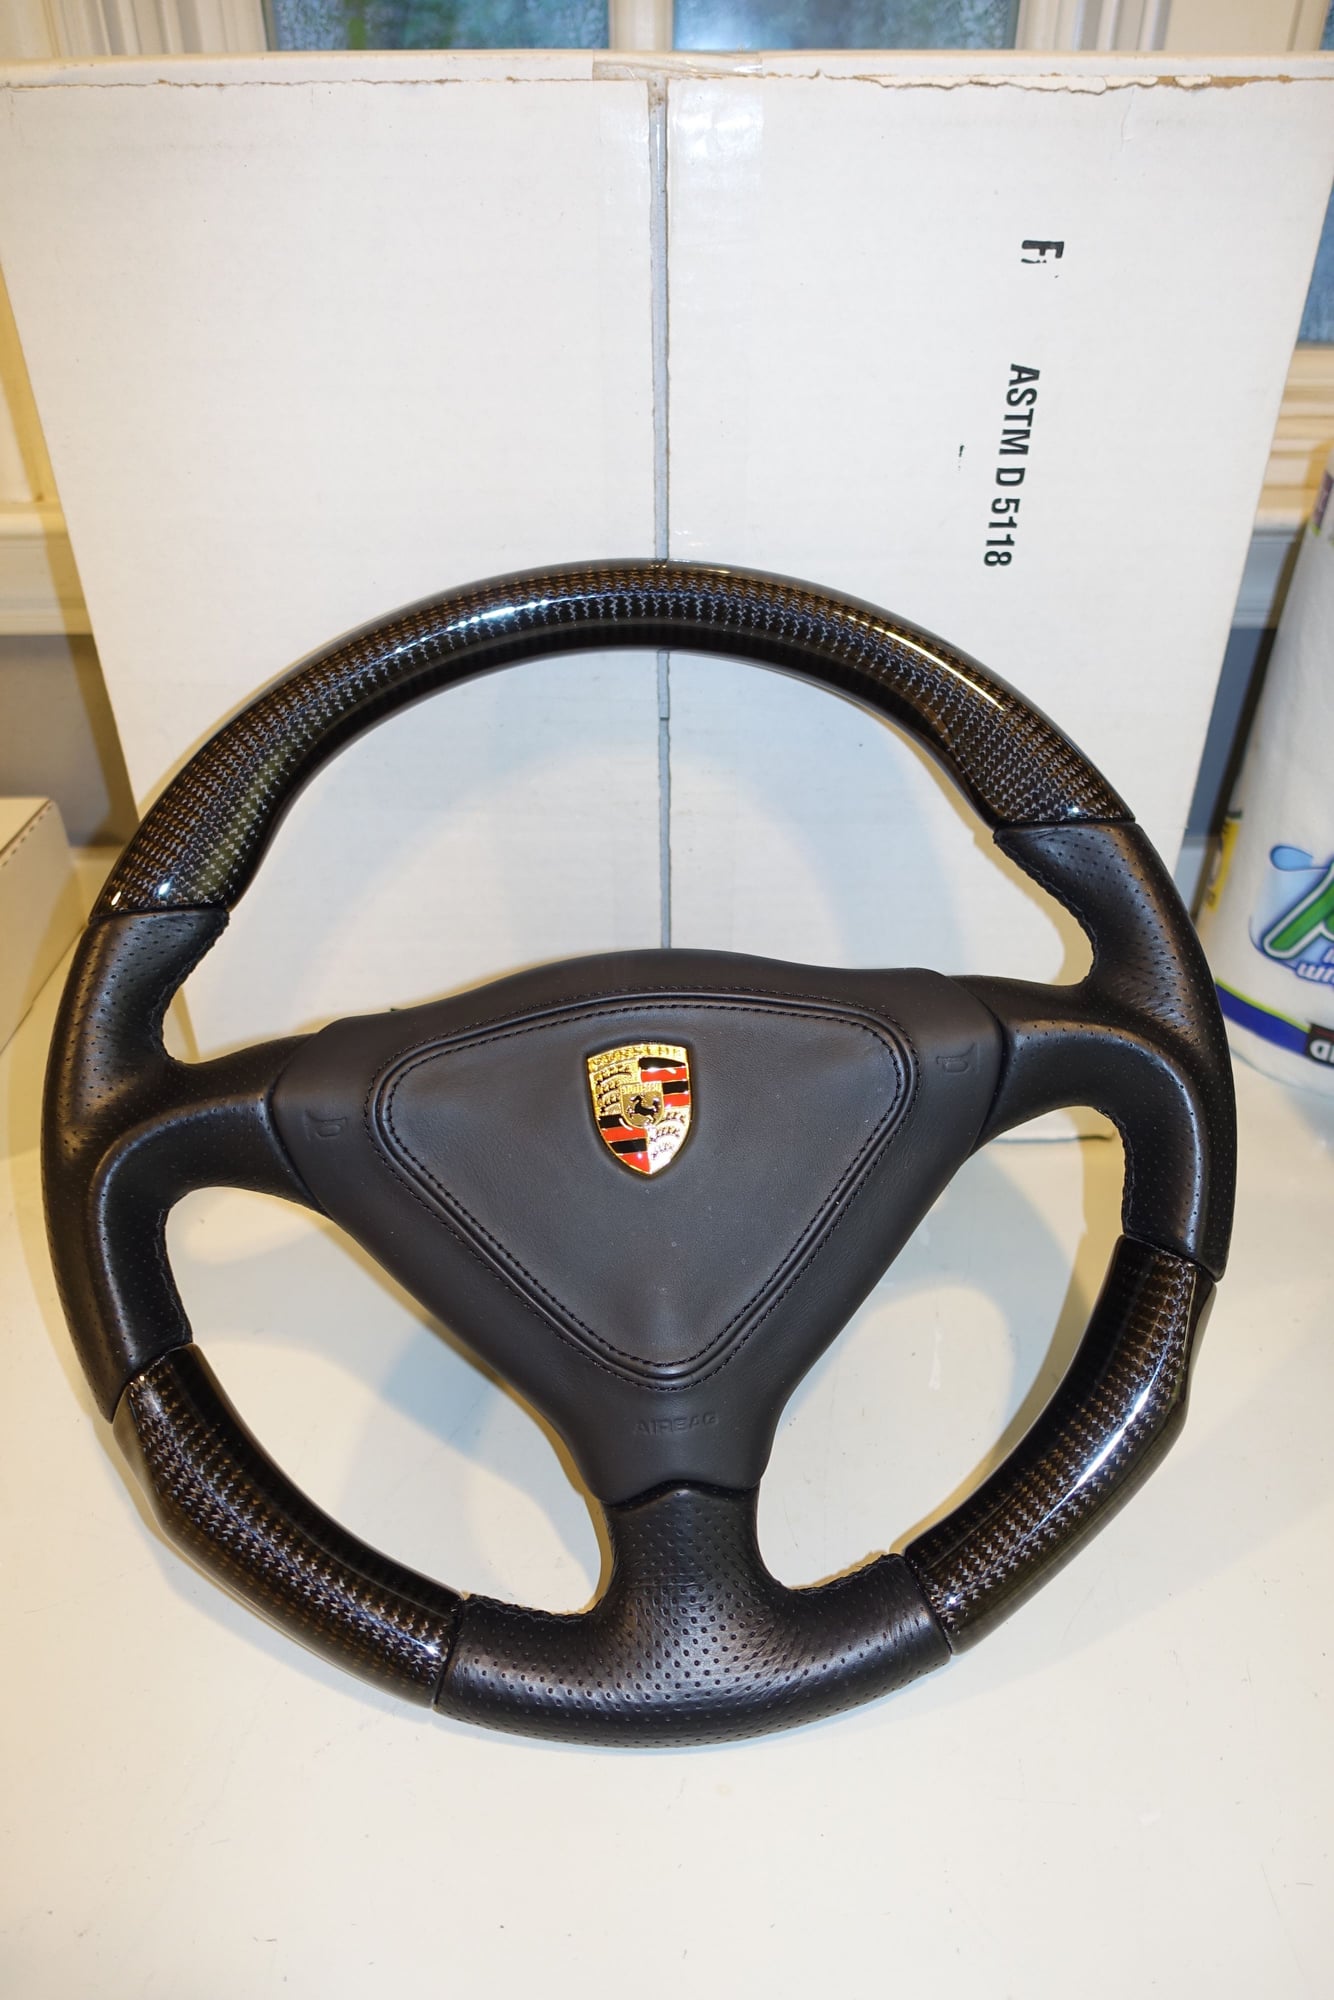
These are Carsdream I have had done:
First 3 are all leather with red strip and deviated stitching. 4th is oversize CF with red strip in my TT that I am in the process o0f replacing with a similar one with smaller circumference.. 5th is CF with no strip at top. 6th is an OEM for comparison. I believe that everyone who has used them is pleased with the results.
If anyone is interested I have several OEM all leather (including airbag) SWs from Gert (Carnewal, the 6th example above) that I have replaced. Will sell for about one-half the cost. The ones I have include Tip versions for anyone wanting to add SW-head unit controls (I can control volume and scan with the two controls).
10mm socket
flat head screwdriver
Thick pieces of card stock. Postcard thickness or a piece of paper folded several times.
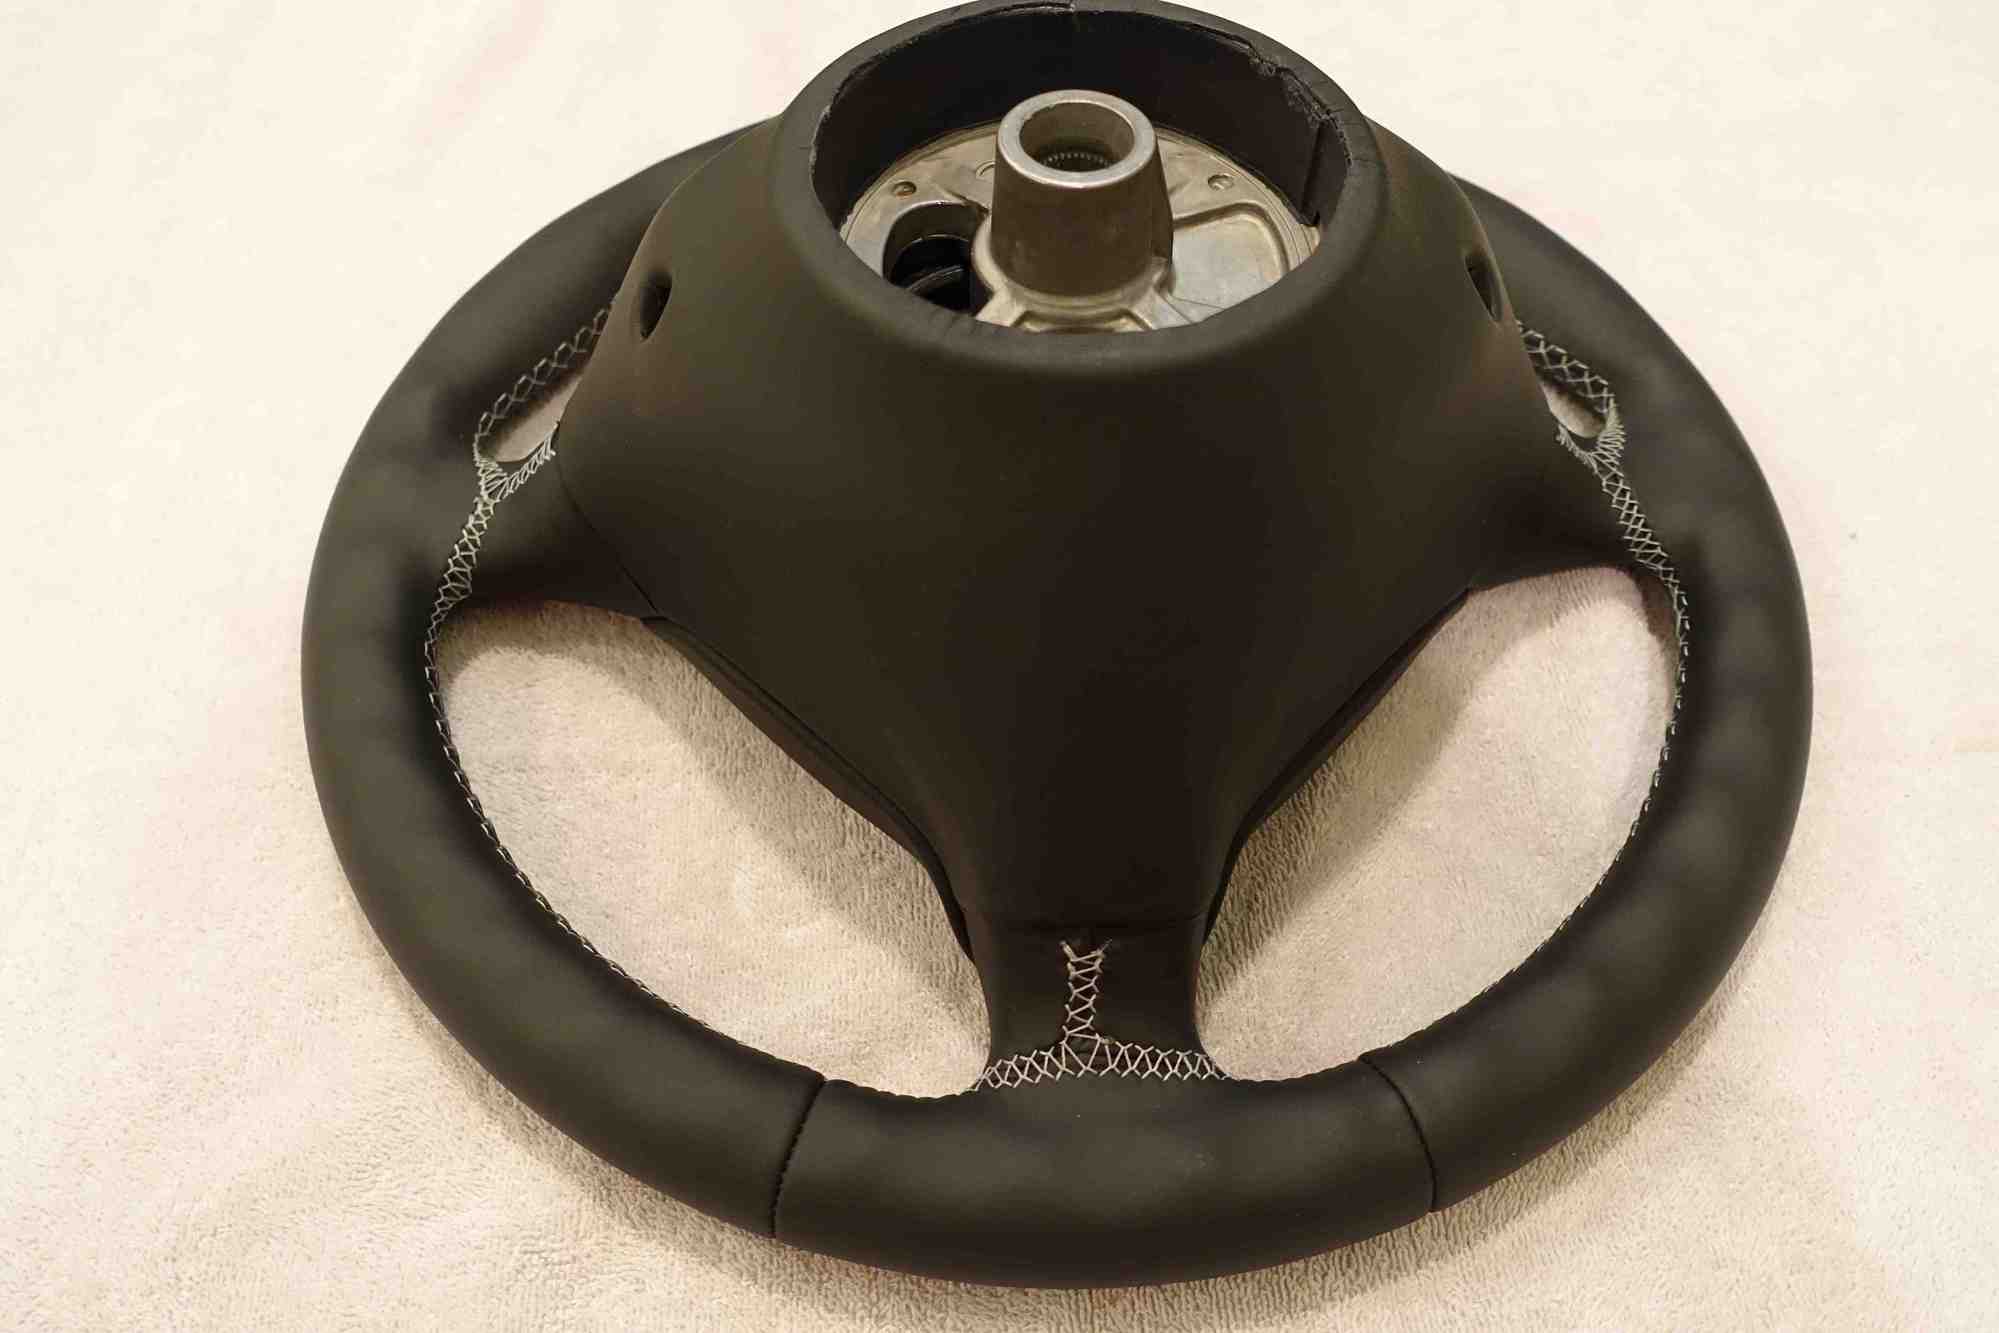
1. remove 4 X 10mm nuts.
2. remove the puck and underside cover cover.
3. use the flat head screw to pop the tabs on each side. Use the folded paper to keep the airbag cover and the airbag separated. I did not use it so it would pop back in sometimes.
Took about 5 minutes for both. Sore the parts and wait for the SW to come back for reassembly.
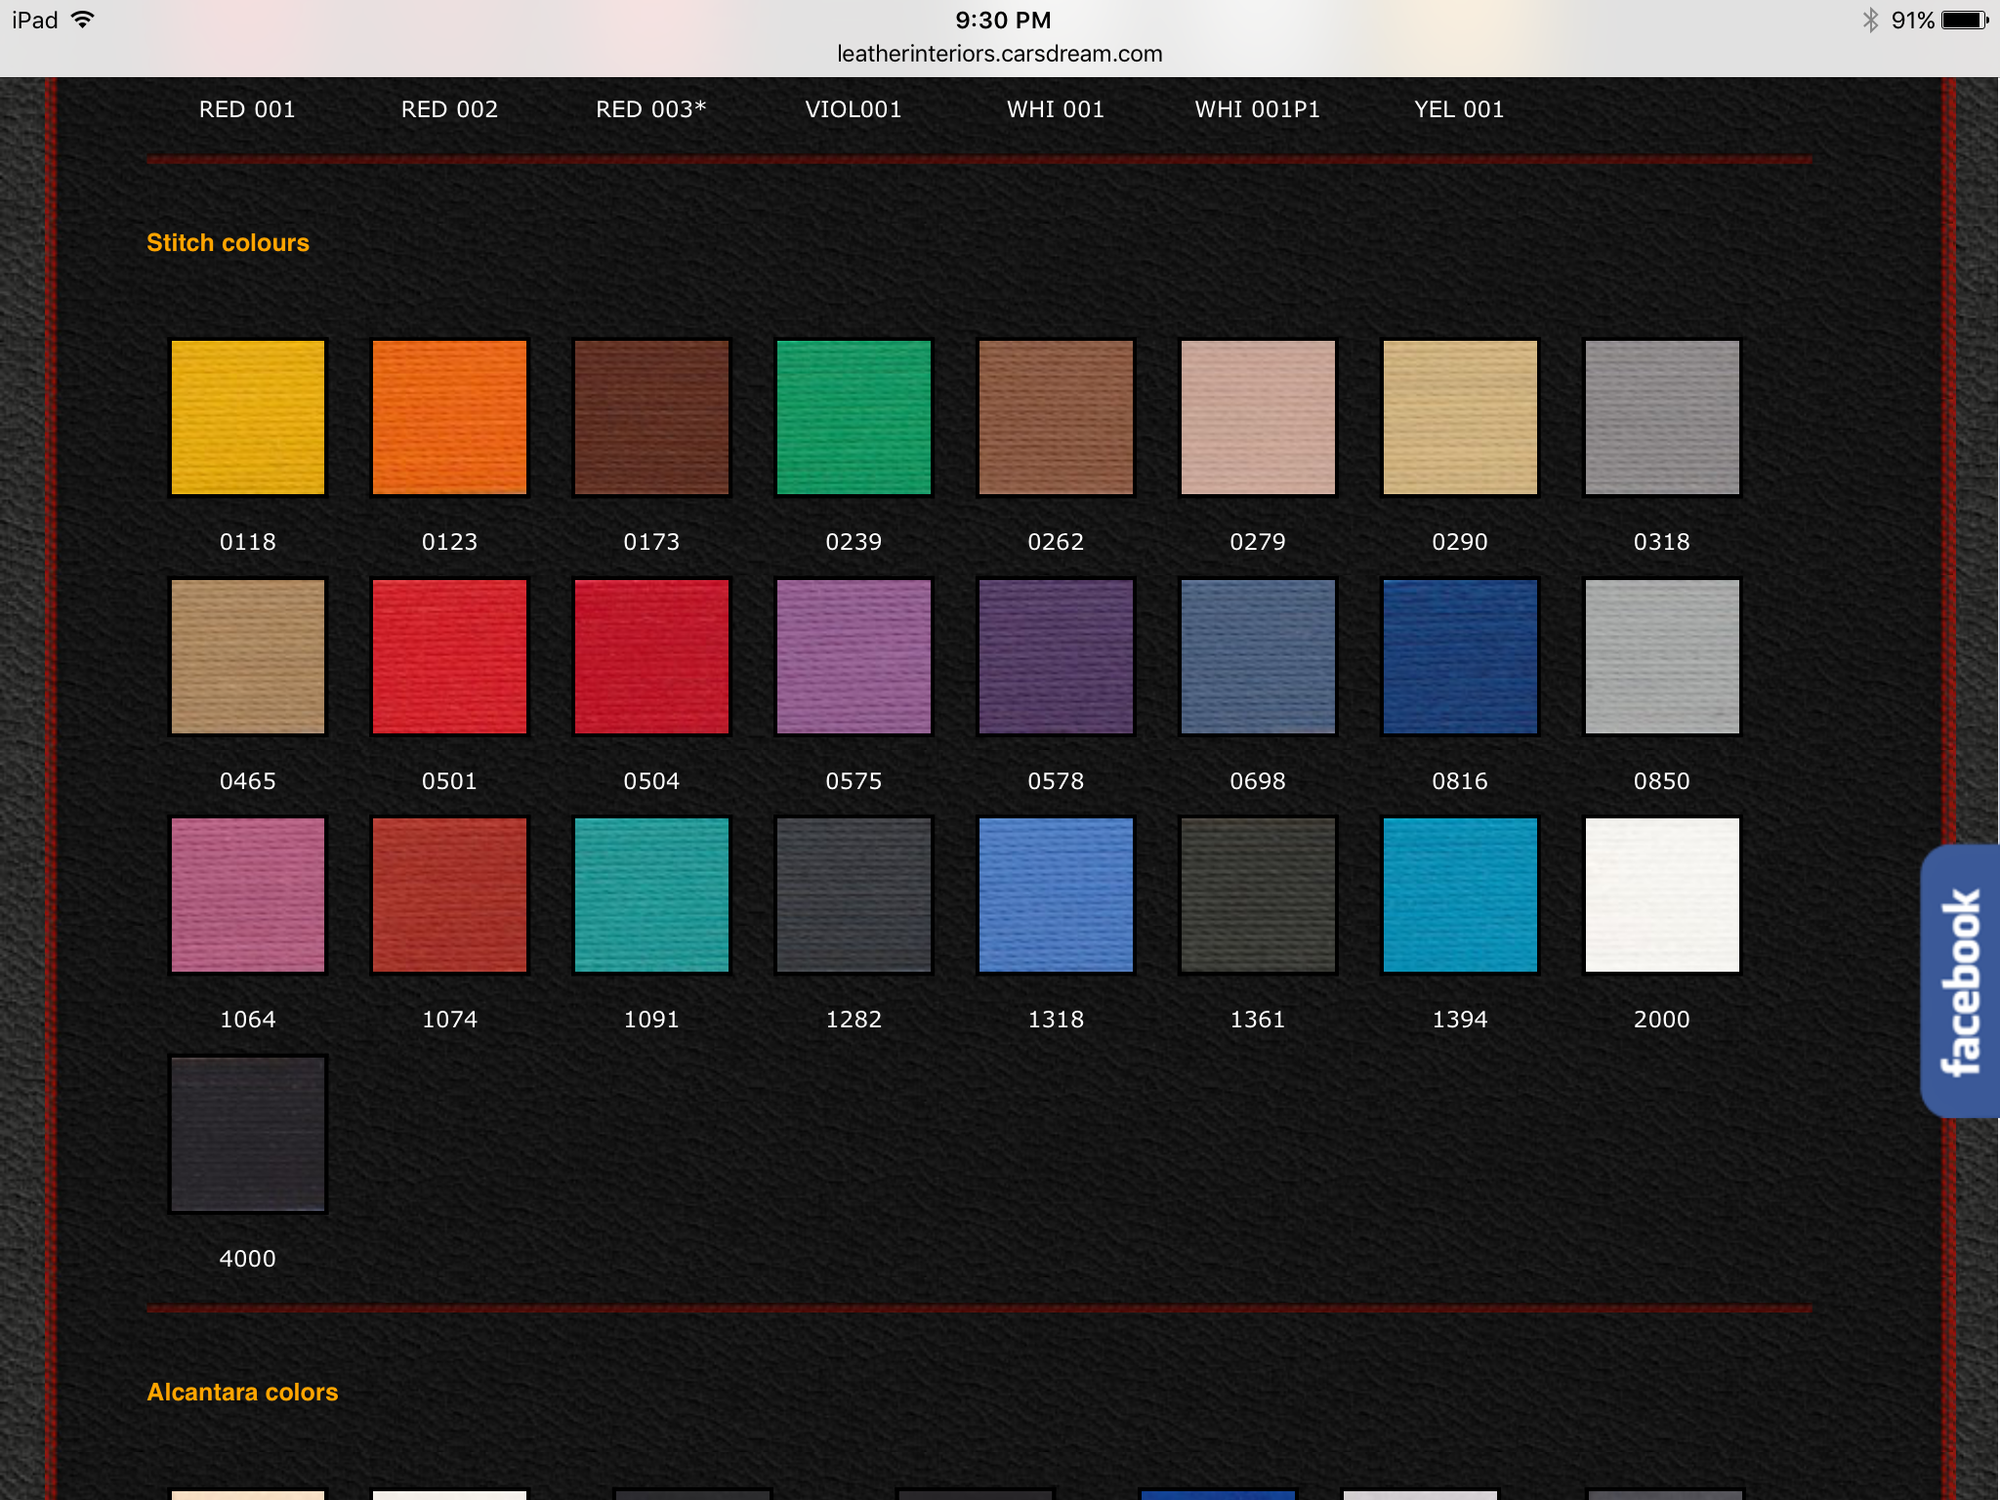
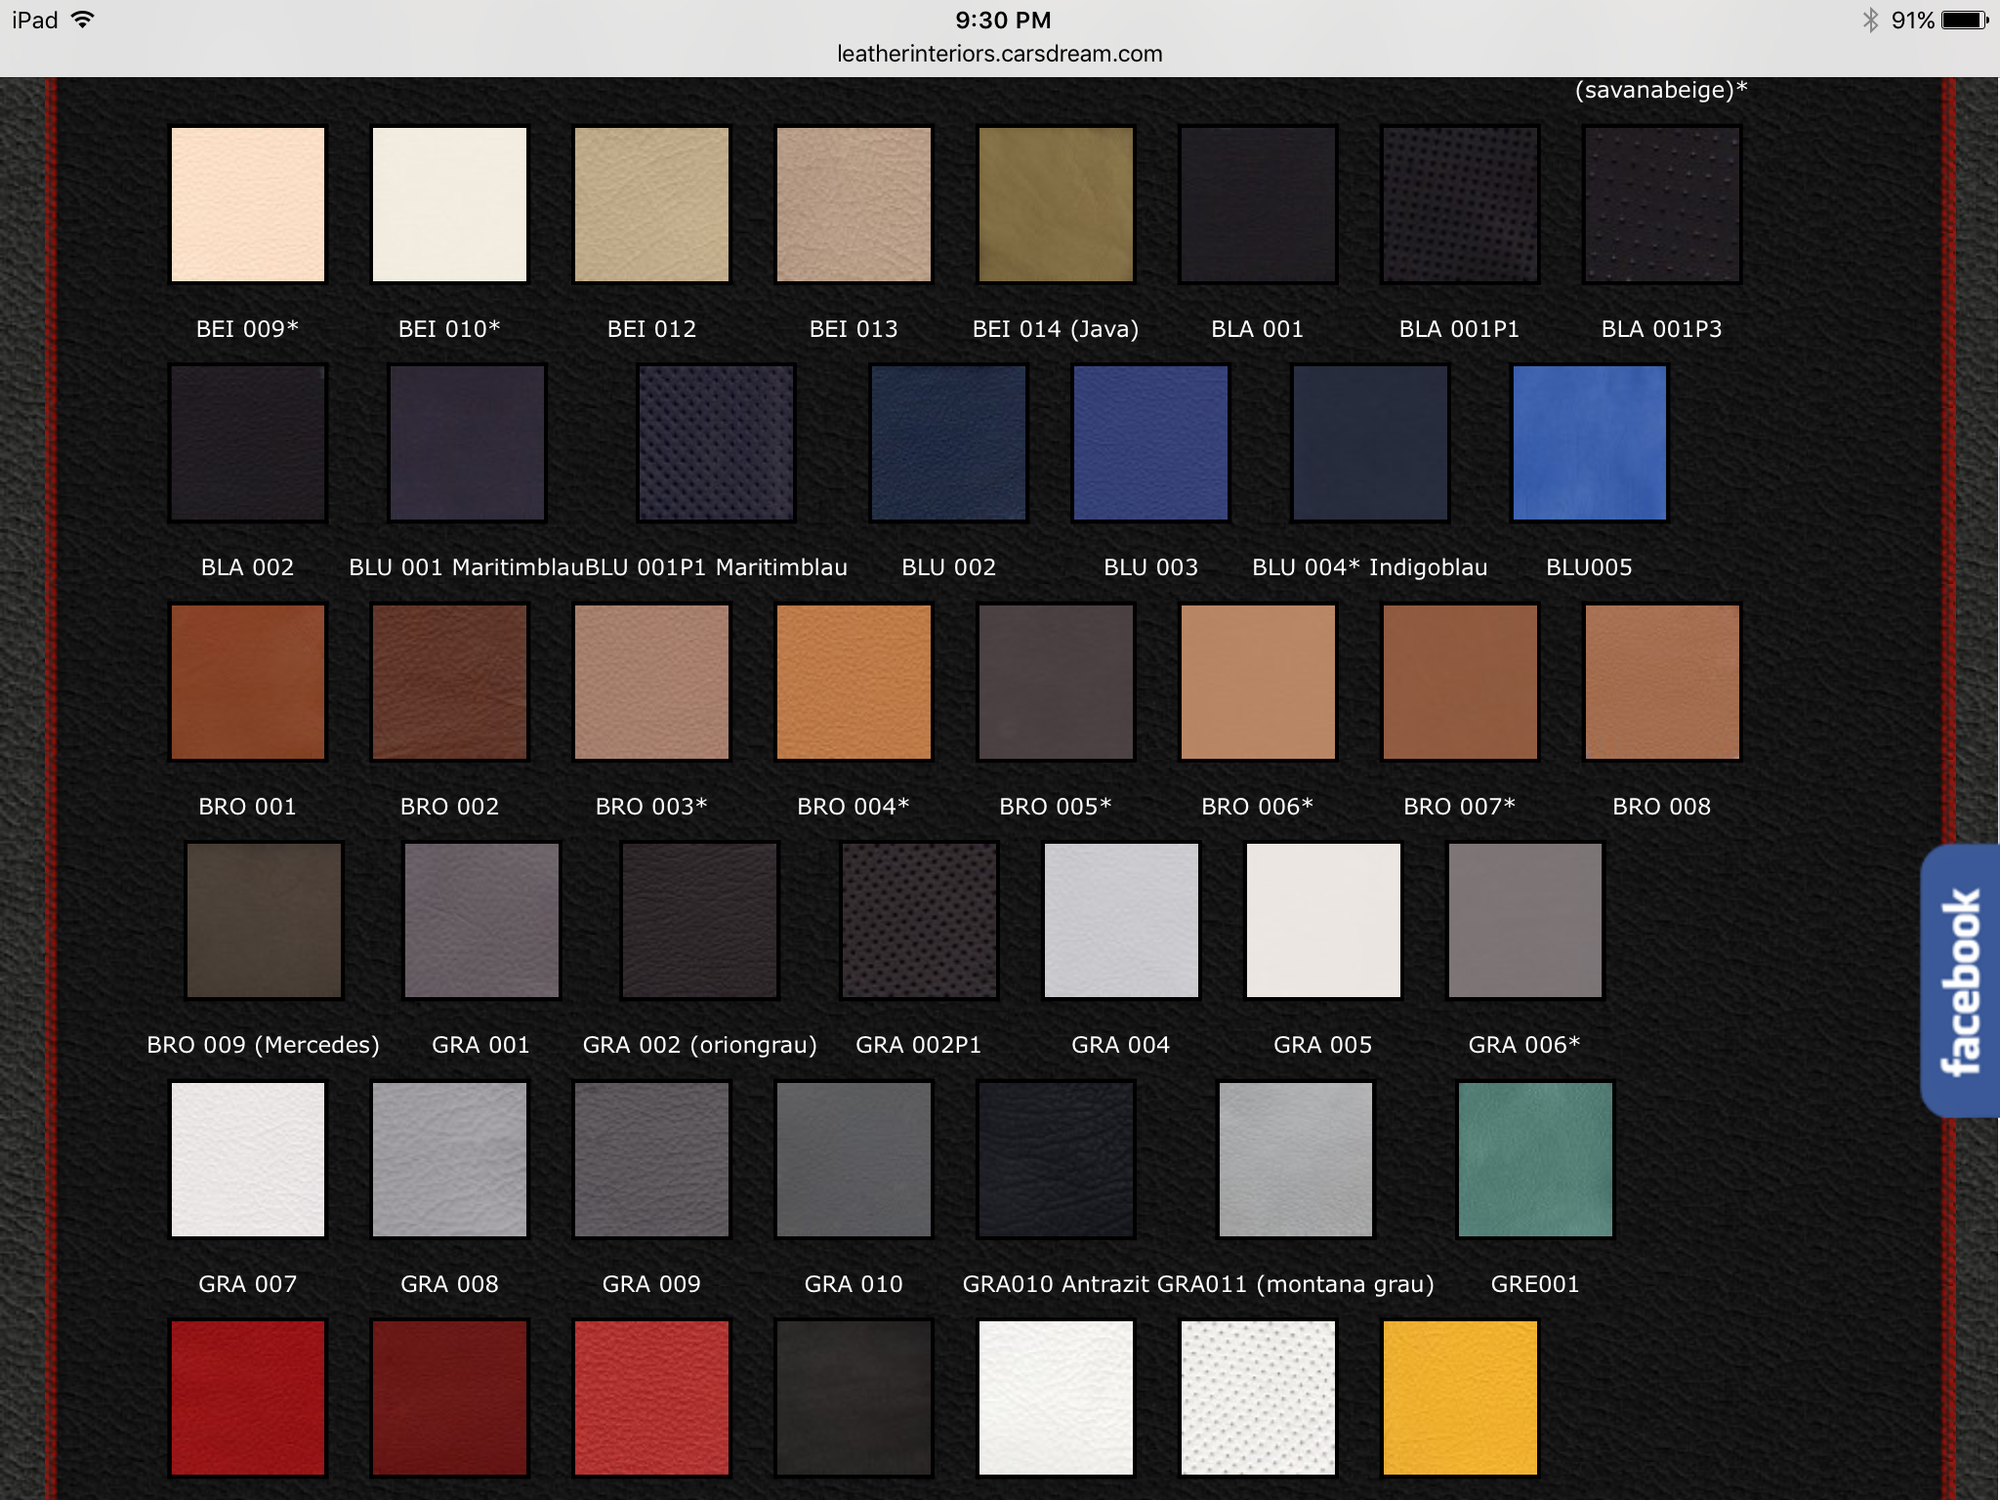
600rr, wheels look good. On first one w deviated stitching do you recall what color stitching that is and what red leather stripe at noon. See attached from their site.
10mm socket
flat head screwdriver
Thick pieces of card stock. Postcard thickness or a piece of paper folded several times.
1. remove 4 X 10mm nuts.
2. remove the puck and underside cover cover.
3. use the flat head screw to pop the tabs on each side. Use the folded paper to keep the airbag cover and the airbag separated. I did not use it so it would pop back in sometimes.
Took about 5 minutes for both. Sore the parts and wait for the SW to come back for reassembly.
Very good explanation. Any difference for a 4 spoke SW ?
10mm socket
flat head screwdriver
Thick pieces of card stock. Postcard thickness or a piece of paper folded several times.
1. remove 4 X 10mm nuts.
2. remove the puck and underside cover cover.
3. use the flat head screw to pop the tabs on each side. Use the folded paper to keep the airbag cover and the airbag separated. I did not use it so it would pop back in sometimes.
Took about 5 minutes for both. Sore the parts and wait for the SW to come back for reassembly.
Wow great job! took a bit of courage. worthy of its own thread. theres a lot of threads asking this question but ive never seen photos and a breakdown. good work!
Wow great job! took a bit of courage. worthy of its own thread. theres a lot of threads asking this question but ive never seen photos and a breakdown. good work!
+993. Thanks for taking the time to post the pics and process Chao. Thanks also to pstraub, 600RR and others who have helped explain the process of removing the airbag cover.


 01-09-2016, 01:28 AM