When you click on links to various merchants on this site and make a purchase, this can result in this site earning a commission. Affiliate programs and affiliations include, but are not limited to, the eBay Partner Network.
The photos for this DIY were originally put up online using Google Picasa Web Albums.
Those links are or will be broken soon as Google is migrating users from Picasa to Photos.
So I have updated the photo links so they now work in the pdf files and removed them from
the body of the post.
-bruce
In this post I describe how to check and change the AC & Oil fan series resistors.
There are many postings on this forum and elsewhere that address this
procedure, but what I hope to do is to edit down the subject matter to something
more concise and manageable and yet add to the existing information with the aid
of photos and a specific materials and tools list that will give you all the info you
need to perform this DIY before you start.
Special acknowledgements to pcarworkshop and Tore Bergvill and the many RL
forum members that have contributed to this subject.
Part 1 describes how to check the series resistors.
Part 2 describes how to change the AC fan series resistor.
Part 3 describes how to change the Oil fan series resistor.
I followed your part 1 steps and the only part out of range was resistance for oil resistor was 0.9 ohms and for air resistor was 1.1. Both are higher than the 0.6-0.8 normal range but certainly not an open circuit.
Every other step was right in range and low/high speeds working fine. Given that my air fan doesn't turn on when i start engine and turn on air conditioning, what do you think is the problem? Tried switching relays too, still no fan.
Some great information above. I followed the info below from BobbyT, will be a snap if I ever have to replace them again, plus they're out of the weather and should last longer.
" I left the failed original resisters in situ, and mounted new OEM resistors accessible from the headlight opening. This was almost ten years ago, and the resistors still look new and test within spec. No need to remove the bumper or anything other than headlights to do this. Here is how:
1. Remove the headlight.
2. Locate the ballast resistor wiring harness--it is fastened to the outer wall of the luggage bay with a black plastic loop.
3. Pull gently on this harness to unplug it from the ballast resistor.
4. Install the new ballast resistor in a suitable location. I use one of the fender bolts. Remove it from inside the boot, and drill the hole out slightly to accept a 25X6mm bolt. Secure the bolt with a nut and lockwasher. Insert a locknut into the recess in the resistor, and spin it hand-tight onto the bolt. Plug the resistor into the wiring harness. Reinstall the headlight, and you are done.
I did the same resistor relocation on a friend's 993 a couple of months later. His are still working too.
__________________
BobbyT #050110-5596
AKA bob@pelicanparts.com"
Curious question on the oil fan (passenger side). If the entire front bumper is off the car, does the entire fan assembly still need removed? Or is the resistor easily accessible from the front (sans bumper)?
Curious question on the oil fan (passenger side). If the entire front bumper is off the car, does the entire fan assembly still need removed? Or is the resistor easily accessible from the front (sans bumper)?
With the bumper cover off the resistor is accessible without unbolting or moving the fan assembly.
With the bumper cover off the resistor is accessible without unbolting or moving the fan assembly.
Thanks for the reply. Other�s have I spoken to indicated the same. My car is in getting the driver�s door check repaired so they pulled the door, fender, and bumper ... perfect opportunity to get these done.
Thanks for the reply. Other�s have I spoken to indicated the same. My car is in getting the driver�s door check repaired so they pulled the door, fender, and bumper ... perfect opportunity to get these done.
Good plan. If they have never been done the P OEM replacement resistors are more robust than the originals.
Some great information above. I followed the info below from BobbyT, will be a snap if I ever have to replace them again, plus they're out of the weather and should last longer.
" I left the failed original resisters in situ, and mounted new OEM resistors accessible from the headlight opening. This was almost ten years ago, and the resistors still look new and test within spec. No need to remove the bumper or anything other than headlights to do this. Here is how:
1. Remove the headlight.
2. Locate the ballast resistor wiring harness--it is fastened to the outer wall of the luggage bay with a black plastic loop.
3. Pull gently on this harness to unplug it from the ballast resistor.
4. Install the new ballast resistor in a suitable location. I use one of the fender bolts. Remove it from inside the boot, and drill the hole out slightly to accept a 25X6mm bolt. Secure the bolt with a nut and lockwasher. Insert a locknut into the recess in the resistor, and spin it hand-tight onto the bolt. Plug the resistor into the wiring harness. Reinstall the headlight, and you are done.
I did the same resistor relocation on a friend's 993 a couple of months later. His are still working too.
__________________
BobbyT #050110-5596
AKA bob@pelicanparts.com"
Greg - can you post a photo of where you mounted them. Thanks
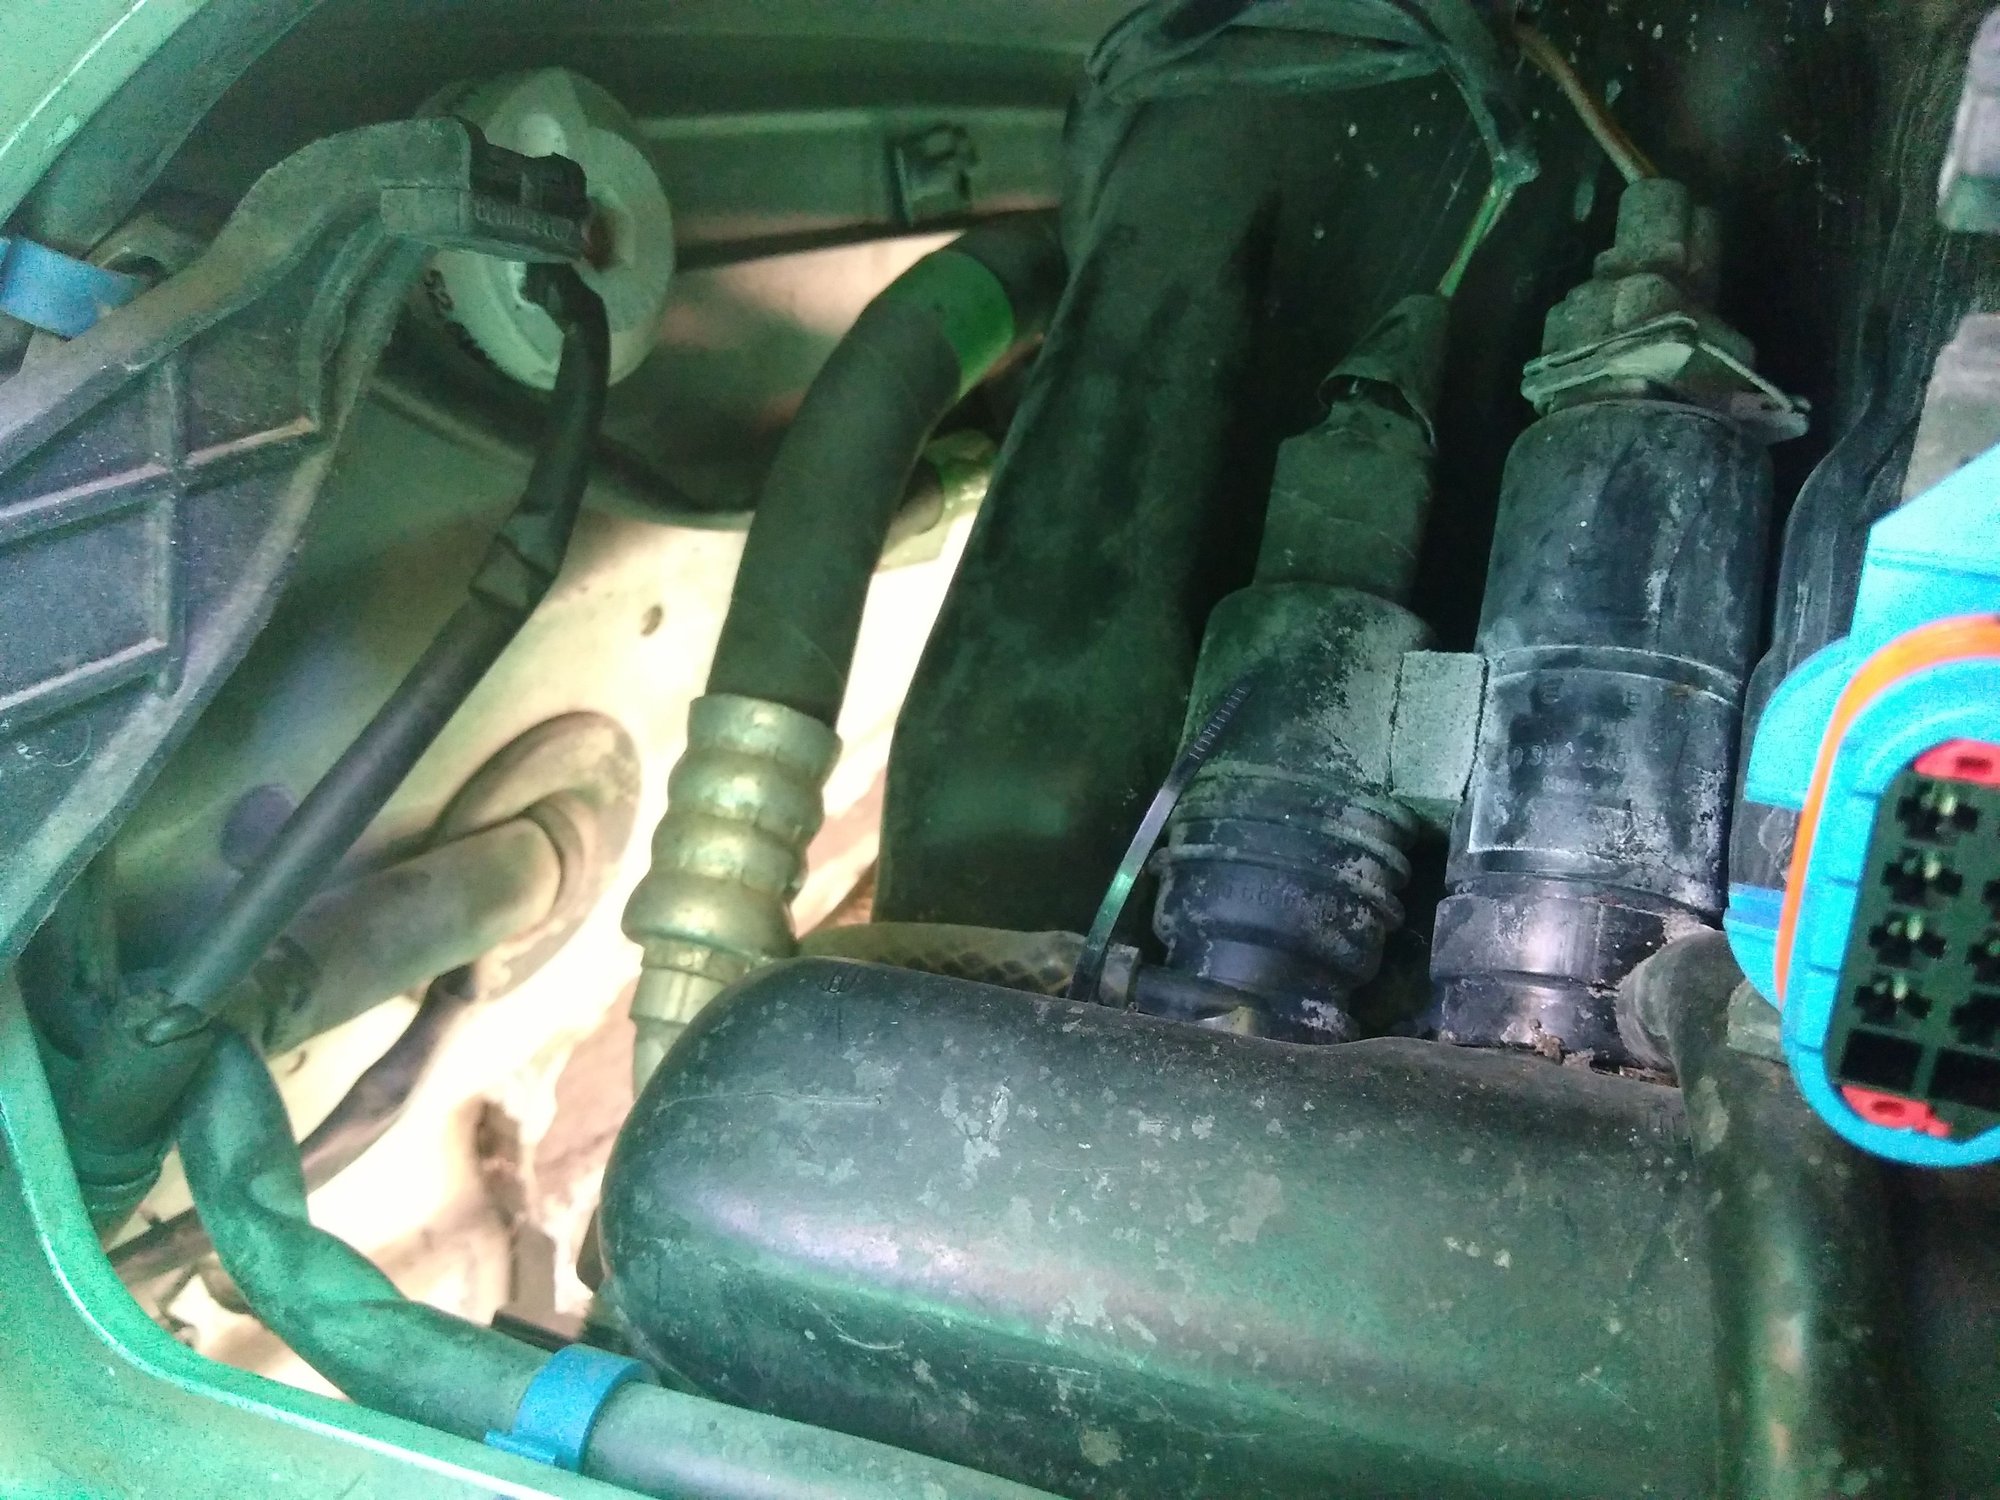
Pictures are pretty self explanatory. From memory I think you'll need a longer bolt. If you're going change your resistors don't forget to get some of that heat conductive paste from an electrical shop to smear on the metal piece the back of the resistor sits on.
Right hand side, aircon, you can see it at the top left behind the headlight mounting bracket. This is the mounting bolt seen from inside the frunk, left side, oil cooler. I replaced both while I was at it.


 03-14-2016, 03:38 PM