
Max Jax install complete...almost.

Thread Starter
Racer
Joined: Apr 2011
Posts: 437
Likes: 0
From: Alexandria Ont.
Finally got the Max Jax install finished, or so I thought...went to connect the new extended hydraulic lines and realized I had completely forgotten to put the 90 degree connectors at the column ends. Still have the original straight units so the hyd hose sticks up a bit making a very convenient 'tripping' point. Argggggg....
And the only way to change them out is to do it at the top of a step ladder...or at least higher than the reservoir, otherwise the fluid filled line tends to empty its contents all over you and the floor .
.
Anyone have another method") ?
?
Jim
And the only way to change them out is to do it at the top of a step ladder...or at least higher than the reservoir, otherwise the fluid filled line tends to empty its contents all over you and the floor
. Anyone have another method
?Jim


Racer
Joined: Dec 2010
Posts: 272
Likes: 0
From: King of Prussia Pa Area
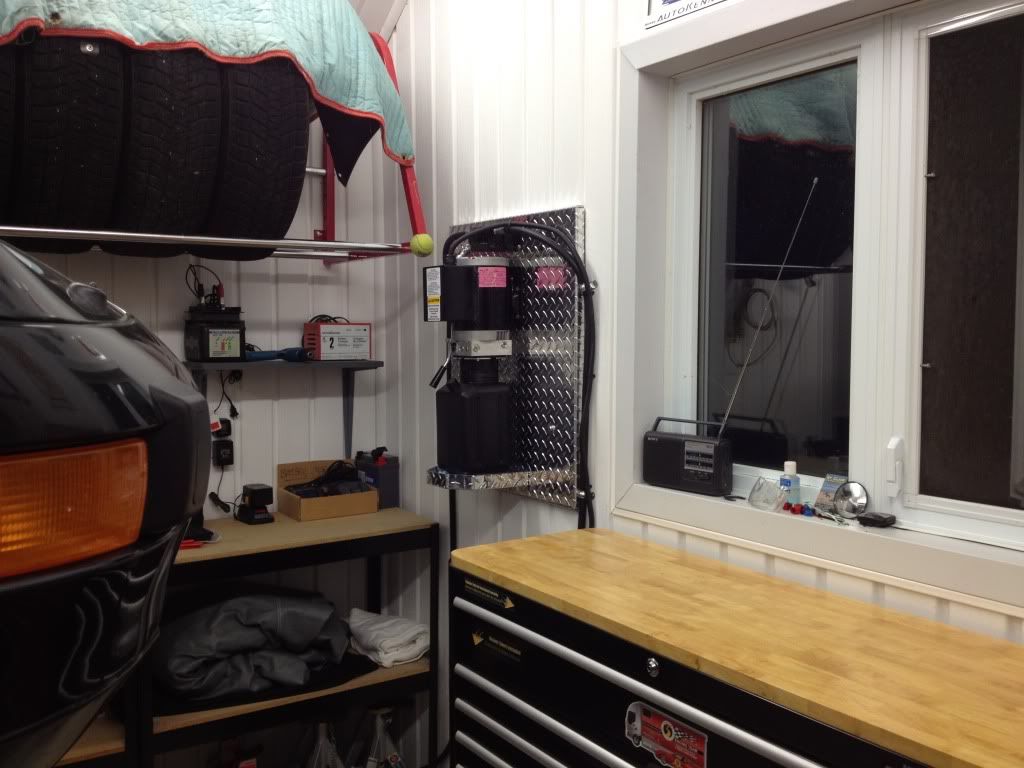
I just had mine delivered, it has been unpacked but that is all. I like the way you mounted the pump on the wall did you have to extend the hose?
How deep was your concrete floor?
How far apart did you place the posts, will you be servicing any other vehicles besides your 993
any thing I shoud be aware of when installing
How deep was your concrete floor?
How far apart did you place the posts, will you be servicing any other vehicles besides your 993
any thing I shoud be aware of when installing
Thread Starter
Racer
Joined: Apr 2011
Posts: 437
Likes: 0
From: Alexandria Ont.
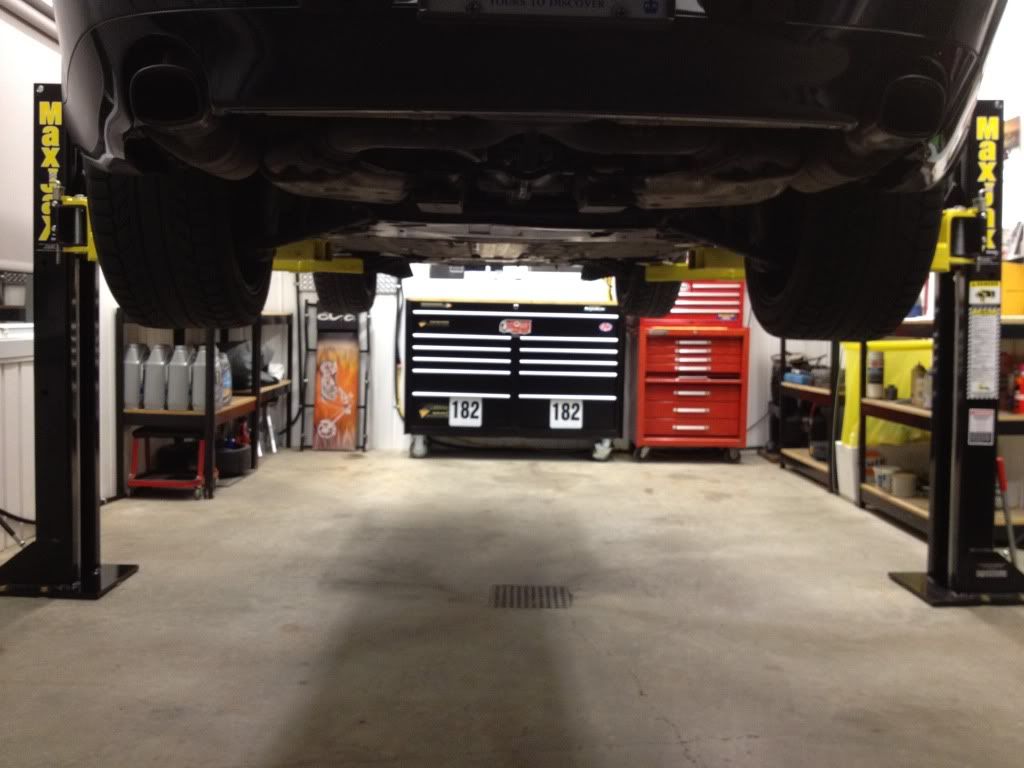
The garage is 14'x22' with the top of the vaulted ceiling at 13'. The ceiling above the Max Jax columns is 9.5', and they are set at 131.5" apart, measured at the back of the base.
The floor is 6" of 8,200psi steel mesh concrete, with compacted gravel under. There are a couple of reasons I set the bases as far apart as I did, one of which is there is a fair amount of 'slope' into the 1' square drain in the center of the floor, which means that even at 131.5" I had to use all 3 shims provided with the lift, and still have almost a quarter bubble of lean towards the centre, which is acceptable for me. Also I wanted to be able to lift the Honda CRV and my neighbours GMC 1500HD pickup, without having to climb out the window to get out. Which as a bonus, gives me lots of room for the doors on the p-car when it is in place. Since I set the columns fairly far forward in the shop I can park the car before the lift and open the p-car doors fully without worry. Which means...I can leave the columns in place if I choose to do so, which I am doing for now with no problems.
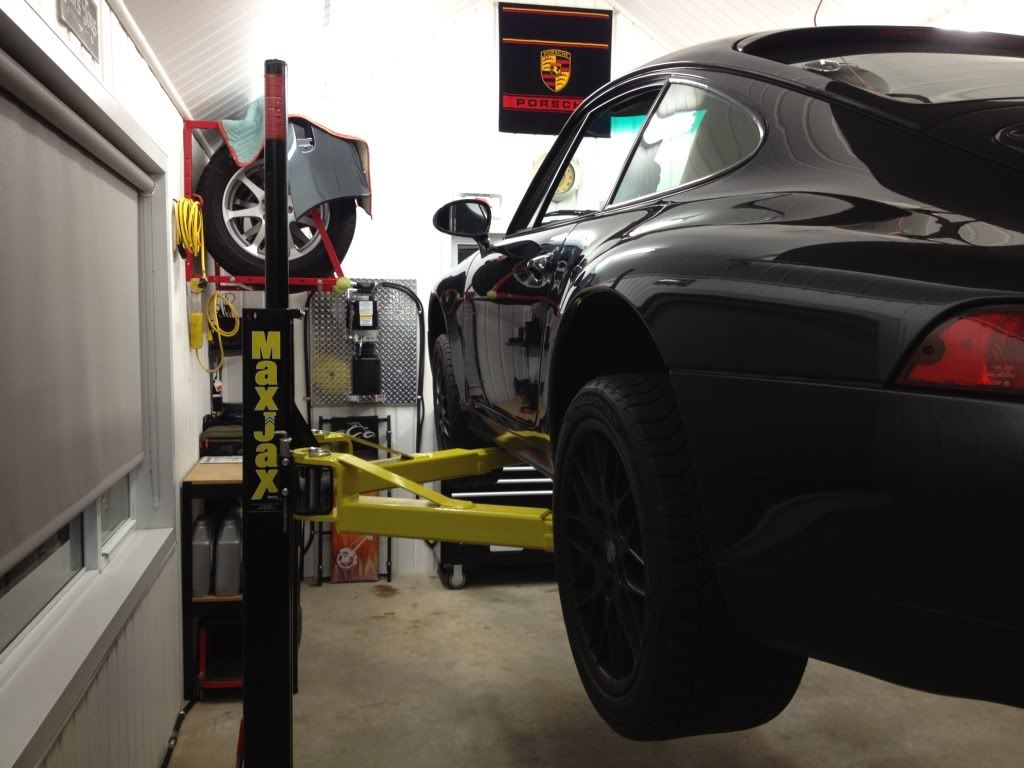
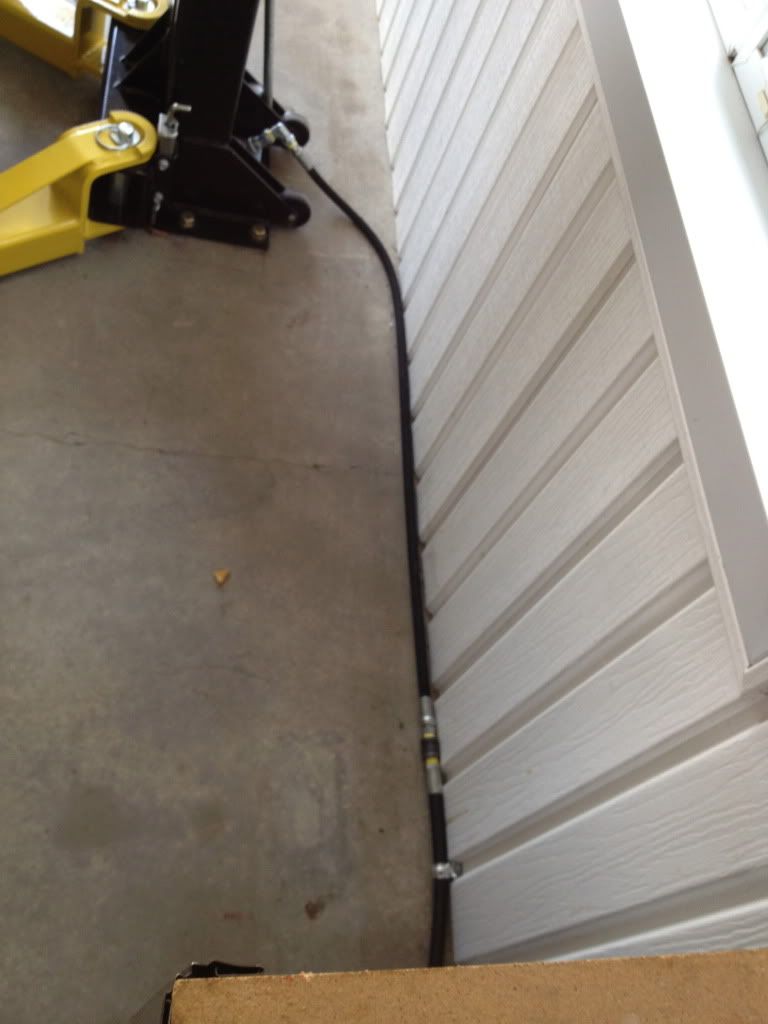
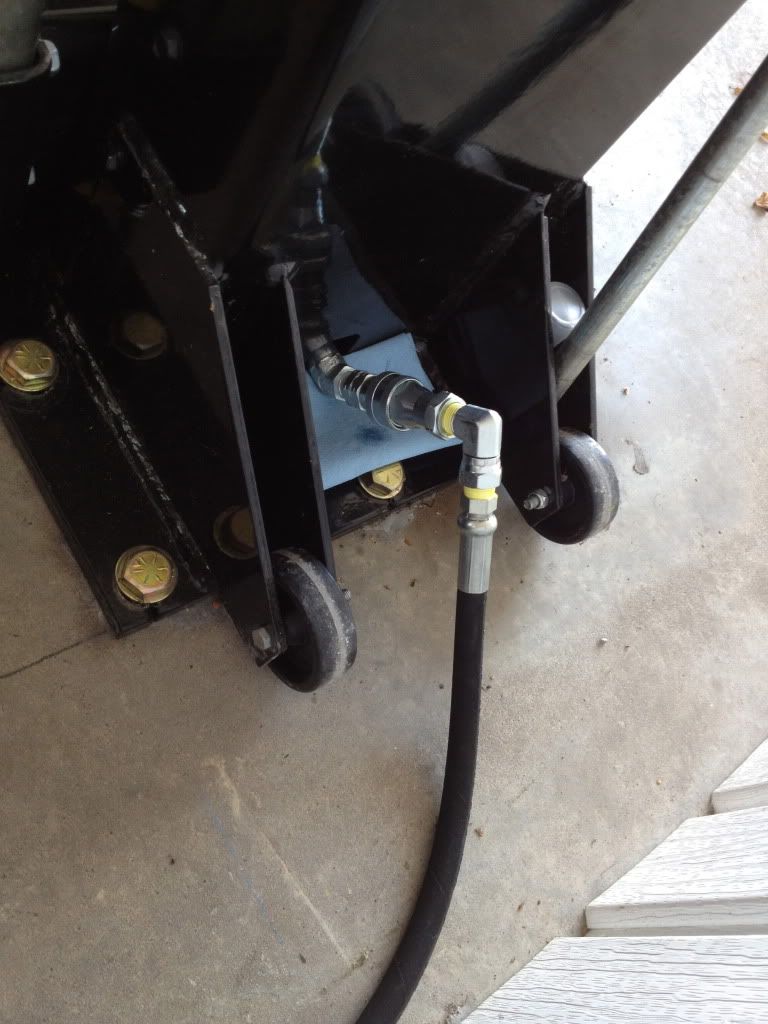
I had to extend the drivers side hose 4' and the passenger side 13.5' to follow the outside wall to the columns. And as my initial post suggests, if I had it to do again I would probably put 90 degree swivels at both ends of the hose...it would make life so much easier. Even before I did the wall mount using the system as delivered, it made coiling up the hydraulic lines a real PIA. With a swivel mount at the pump it would have been much easier. Less risk of a twisted line flipping around and dripping hyd fluid on the vehicle or worse, landing on the hood with that big quick release fitting!! GAAAG!!
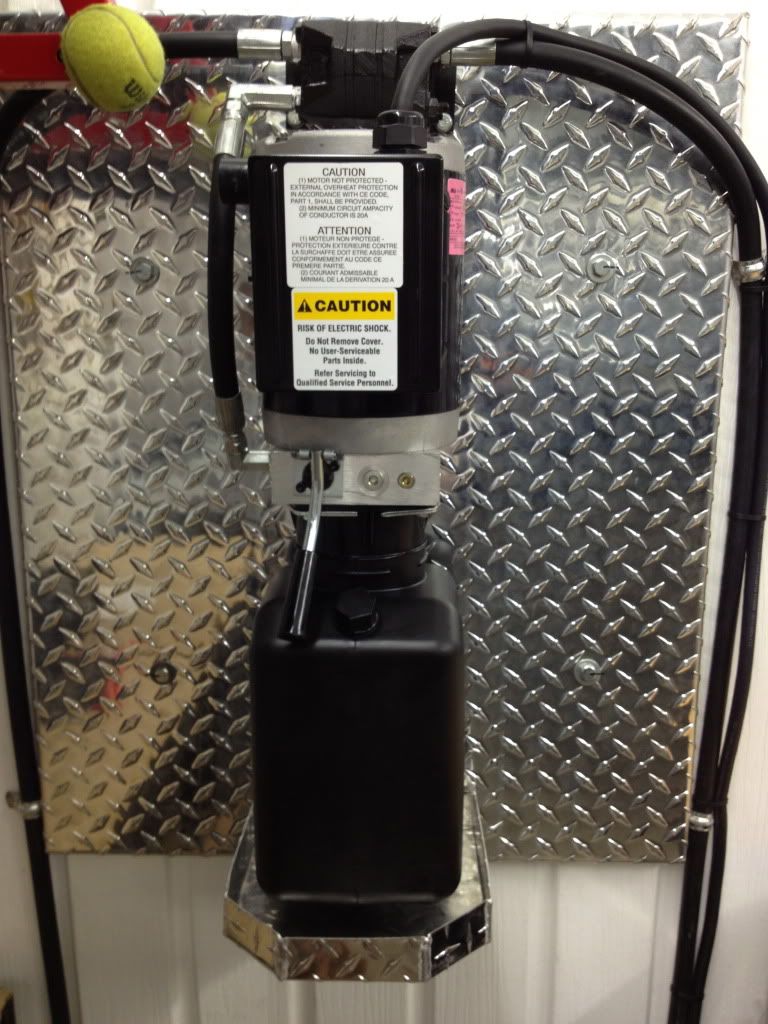
In the meantime I just finished installing the 90 degree swivel fittings and placing the hydraulic lines where I think they will be out of the way. I would like to keep the lines connected if possible, to avoid the Danmar recommendation of, 'bleeding the cylinders after each disconnect'. Not that I feel that would be necessary, just a recommendation, besides, how much air could be introduced by simply using the quick disconnect fitting...but now it shouldn't be a concern.
Drivers side
Passenger side


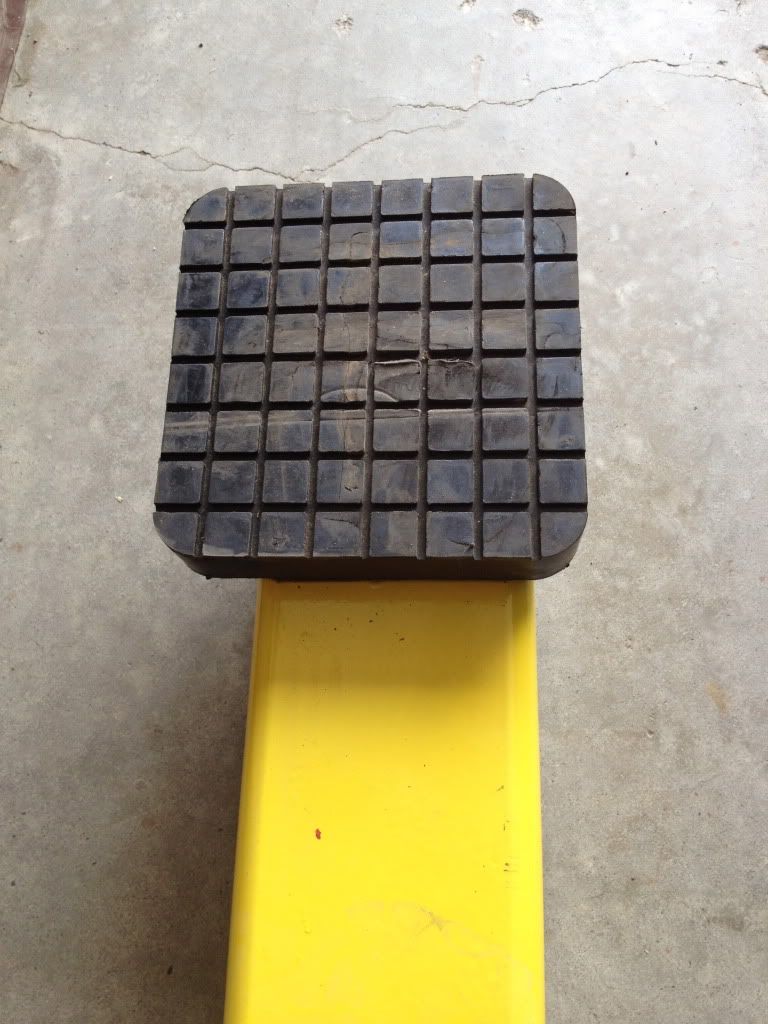
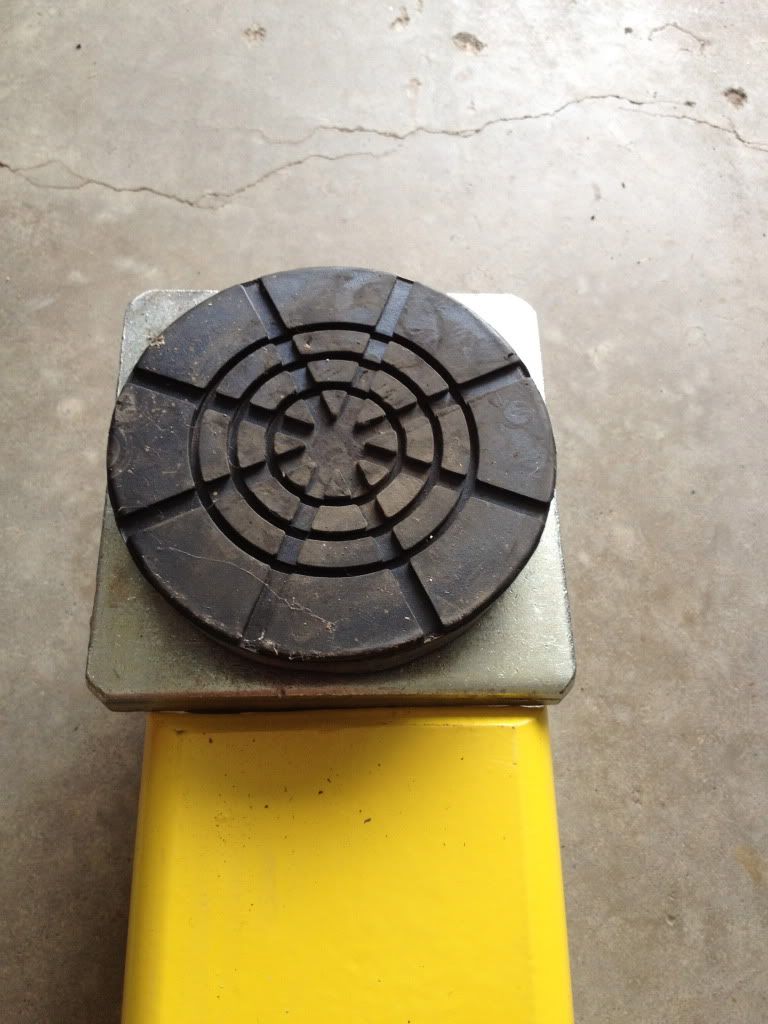
Oh, and another thing I did that seems to work really well...instead of trying to attach a 'hockey puck' to the lifting pad on the Max Jax arms, I took the pads ( which have a 1/2" rubber locating stub on the underside ), off of my Esco jackstands, drilled a 1/2" hole in the Max Jax steel pads and dropped the Esco pad in place. Now the round Esco pad fits perfectly into the jacking points on the underside of my p-car!
Max Jax arm with the original square pad, hard to locate under the car and not catch some under tray material...
Esco jackstand with original pad...

Hole drilled ( on a lathe...easier, takes 1 minute ), in the Max Jax steel pad
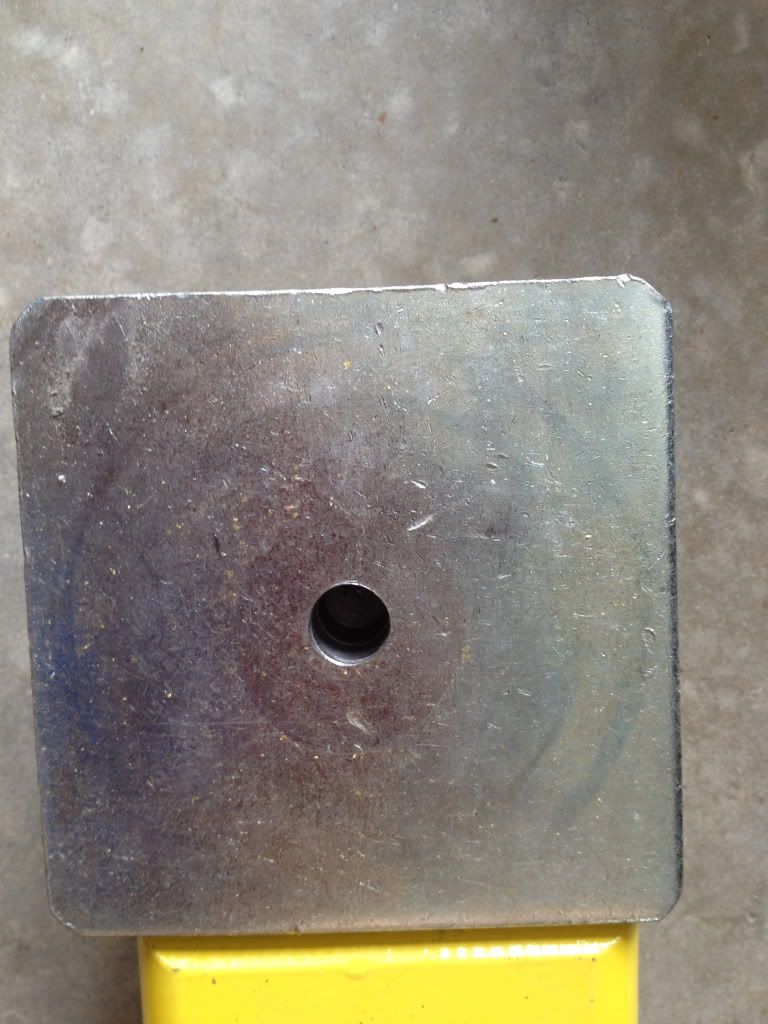
Esco pad on the Max Jax arm!
Jim
The floor is 6" of 8,200psi steel mesh concrete, with compacted gravel under. There are a couple of reasons I set the bases as far apart as I did, one of which is there is a fair amount of 'slope' into the 1' square drain in the center of the floor, which means that even at 131.5" I had to use all 3 shims provided with the lift, and still have almost a quarter bubble of lean towards the centre, which is acceptable for me. Also I wanted to be able to lift the Honda CRV and my neighbours GMC 1500HD pickup, without having to climb out the window to get out. Which as a bonus, gives me lots of room for the doors on the p-car when it is in place. Since I set the columns fairly far forward in the shop I can park the car before the lift and open the p-car doors fully without worry. Which means...I can leave the columns in place if I choose to do so, which I am doing for now with no problems.
I had to extend the drivers side hose 4' and the passenger side 13.5' to follow the outside wall to the columns. And as my initial post suggests, if I had it to do again I would probably put 90 degree swivels at both ends of the hose...it would make life so much easier. Even before I did the wall mount using the system as delivered, it made coiling up the hydraulic lines a real PIA. With a swivel mount at the pump it would have been much easier. Less risk of a twisted line flipping around and dripping hyd fluid on the vehicle or worse, landing on the hood with that big quick release fitting!! GAAAG!!
In the meantime I just finished installing the 90 degree swivel fittings and placing the hydraulic lines where I think they will be out of the way. I would like to keep the lines connected if possible, to avoid the Danmar recommendation of, 'bleeding the cylinders after each disconnect'. Not that I feel that would be necessary, just a recommendation, besides, how much air could be introduced by simply using the quick disconnect fitting...but now it shouldn't be a concern.
Drivers side
Passenger side
Oh, and another thing I did that seems to work really well...instead of trying to attach a 'hockey puck' to the lifting pad on the Max Jax arms, I took the pads ( which have a 1/2" rubber locating stub on the underside ), off of my Esco jackstands, drilled a 1/2" hole in the Max Jax steel pads and dropped the Esco pad in place. Now the round Esco pad fits perfectly into the jacking points on the underside of my p-car!
Max Jax arm with the original square pad, hard to locate under the car and not catch some under tray material...
Esco jackstand with original pad...
Hole drilled ( on a lathe...easier, takes 1 minute ), in the Max Jax steel pad
Esco pad on the Max Jax arm!
Jim
Last edited by jakfrost; Sep 6, 2012 at 04:40 PM.

Trending Topics

Thread Starter
Racer
Joined: Apr 2011
Posts: 437
Likes: 0
From: Alexandria Ont.
It would be nice to have 'stable doors' that swing out on hinges but then you loose the 'push button' activation...and the wife isn't keen on being my 'door valet'
 .
.So I would say if you can get 10' of free space then there should be room for the overhead door and your car fully raised on a Max Jax.
Jim
