When you click on links to various merchants on this site and make a purchase, this can result in this site earning a commission. Affiliate programs and affiliations include, but are not limited to, the eBay Partner Network.
Now it goes to the horizontal center of the dashboard, that's the part which extends from the left to the right nozzle and is glued to the car. This element completes the original carbon features and makes my opinion the main impression. The effort is with the 2-compenent-glue approximately 1 hour.
To glue it, I have used on my turbo Patex assembly glue, that could be bought at the hardware-store. This has the advantage, that you have plenty of time to align the parts and you can simply buy the glue. It has the disadvantage that the parts have to fix some rather time, so they remain in their position until the glue is hard.
At the Speedster I have used 2C PU glue from Foerch. Which gets hard within 2 minutes and makes the installation much faster. Disadvantage is, that you have no way to align the parts, which will be considered, especially in the area of the airbag covers. Also it's not that easily to get this glue and it is quite expensive.
If you have access to the 2C-glue gun, I would recommend this. You must always take breaks to keep the parts firmly glued until the glue sets, it consumes at least 5 nozzles. Thus, this glue will cost a total up to of � 25...
I'll start with the panel left of the steering wheel. In order to glue it, the collar of the ignition lock, the **** of the gas cap and the button off the light-switch must be released.
At the light-switch first the emblem in the middle has to be removed, this is only inserted into the rubber rim, after that you could see the three lugs which hold the button to the base. Unlock them with a small screwdriver (a bit fiddly) and remove it. The rosette of the ignition switch is screwed and can be unscrewed counterclockwise. The lock-out-release of the gas cap works through a cable, which ends at the gas-cap and is secured with a screw, dissolve it and you can simply pull the cable out.
Now you can put the right end of the carbon panel behind the steering wheel and when everything fits, you can glue the cover on the left side. On the right side it's plugged behind the steering-wheel and is also secured with the collar of the ignition lock.
And now the final, the parts right of the steering wheel.
Here we start with the screen directly to the right of the steering wheel, which is the part that surrounds the ac-control and radio. First step is to take out the switchs for the heated rear window, fog lamps, rear fog lights and cigarette lighters. The three switches could be screwed out counterclockwise. Radio and climate control panel can remain in the position they are.
Now place the panel behind the steering-wheel like on the left side, when everything fits, you can glue it. This panel is relatively sensitive, you must not worry that it break, but it could be damaged very quickly, if someone takes out the radio or the climate-control later. Both can be hooked behind the carbon, which fragmented the clearcoat. Which you can prevent, if you glue the corners very thoroughly. In future you should take some more time and patience, if you pull out radio and ac.
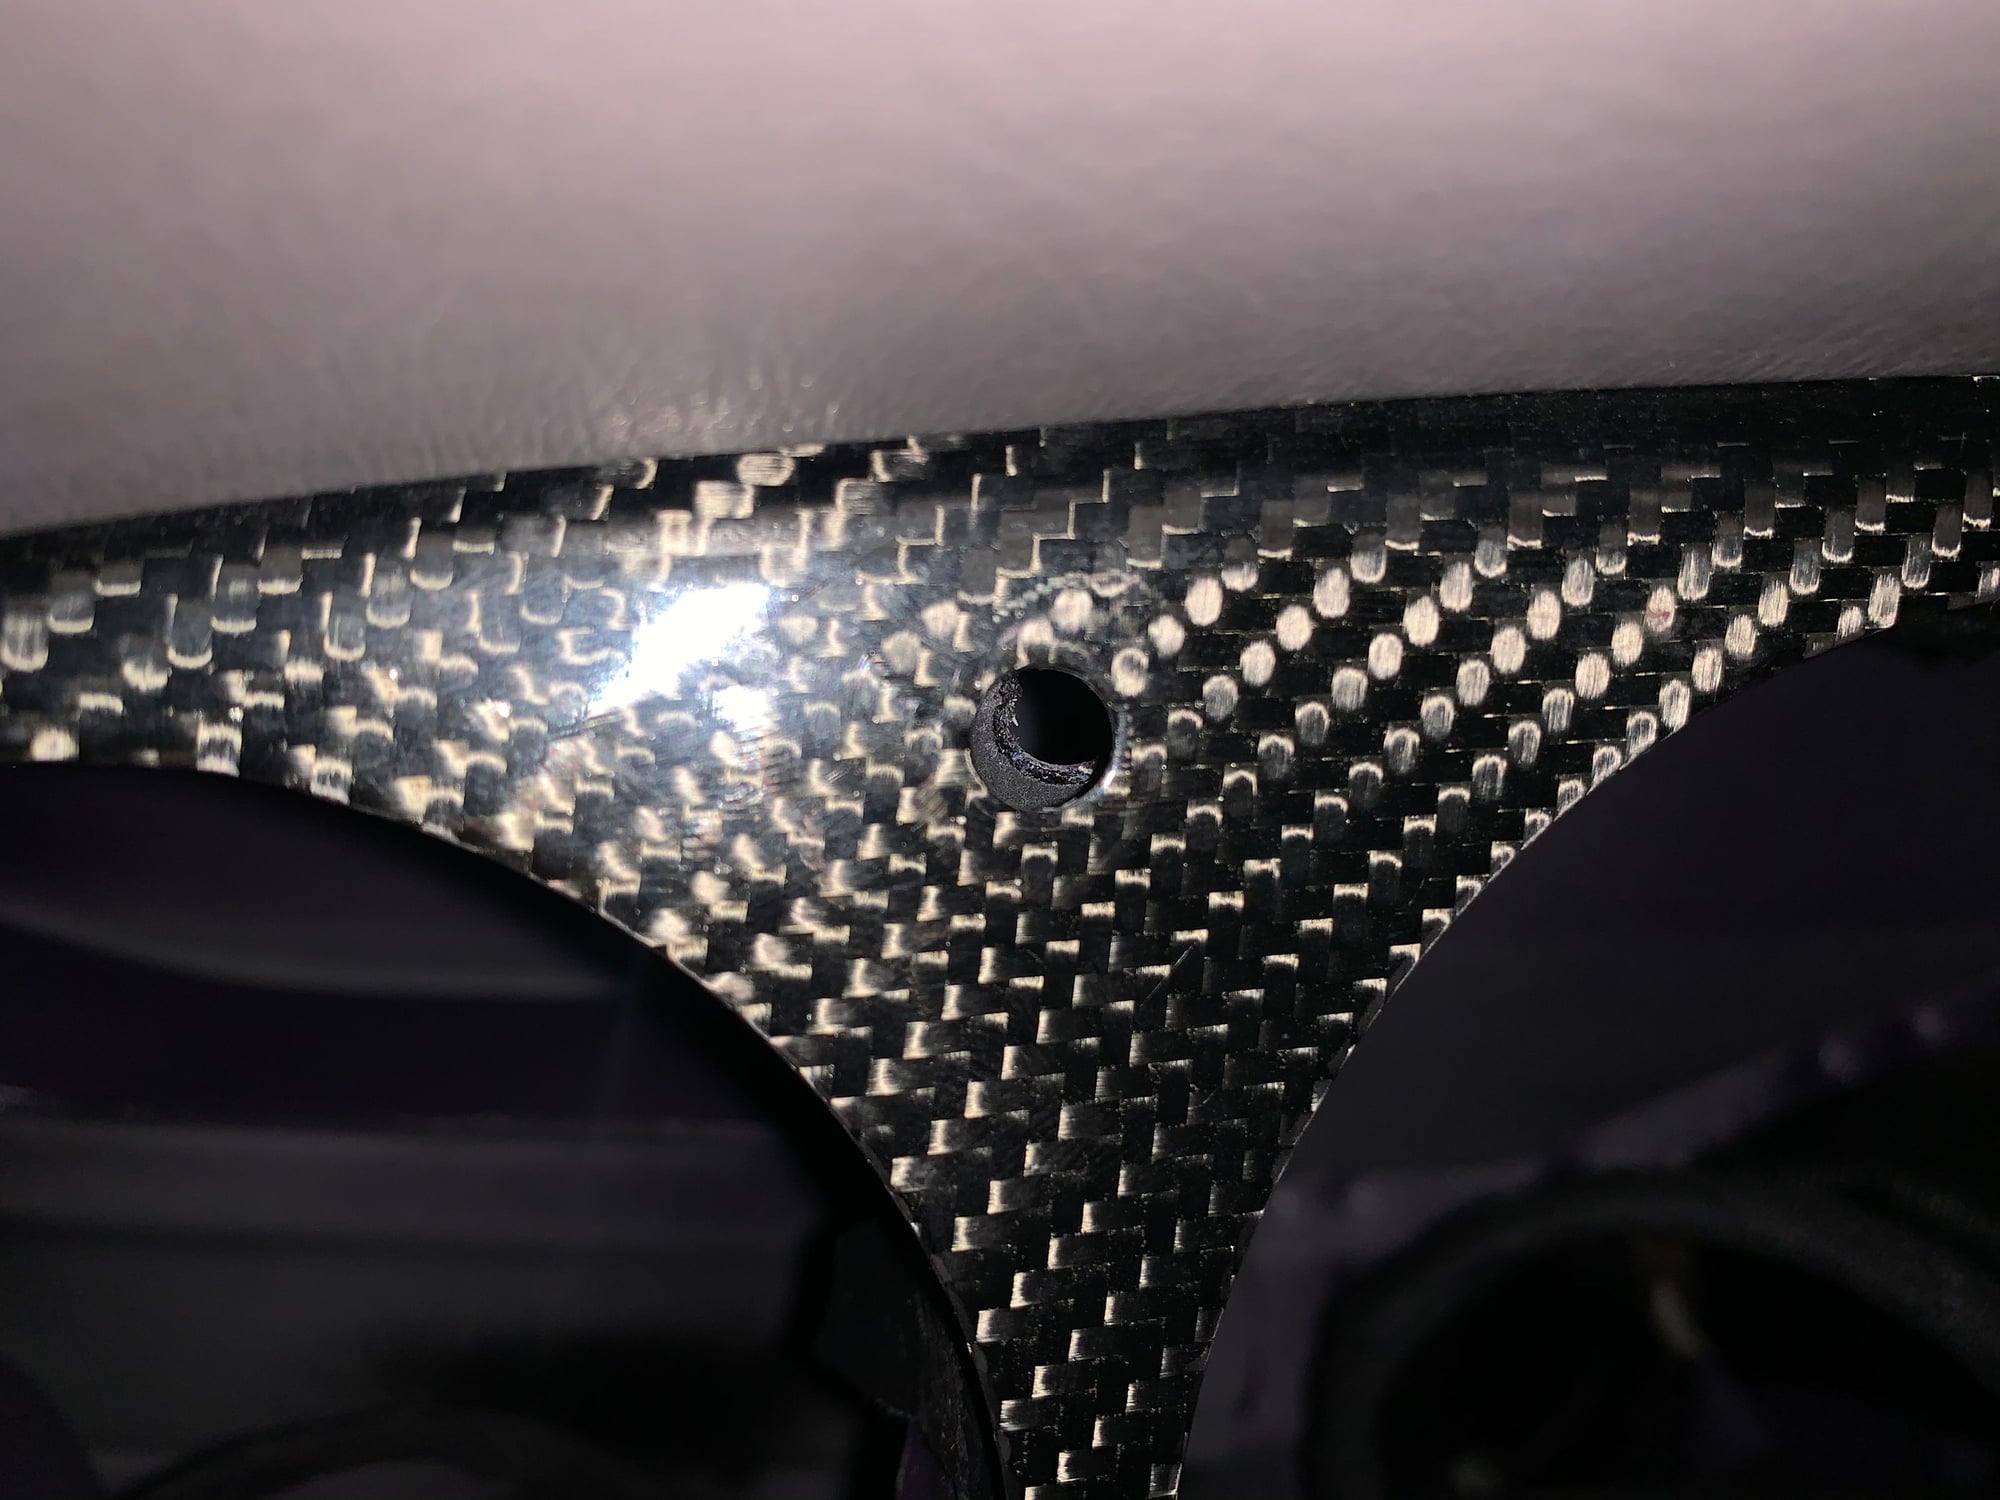
I also recommend to prepare a knife and some kitchen paper previously, if the glue squeezes out under the very thin strips, you can remove it immediately.
The first panel is now fixed and it's quite easy to align it, because it has a lot of reverence-points. I am use the bridge between the radio and climate control unit, this must be centered between the two devices .
Now the two airbag covers are next, first the narrow, upper one, than to lower, wider one. Here you must pay attention to three things. First, you should glue the panels very carefully, in case of an accident and if the airbag opens, it must be sure that the carbon doesn't fly around. Second, you must watch more to the surrounding gaps, firstly the clearance of the airbag and secondly it also should look good, especially this part is just in front of your nose. Third, this straight parts are usually a little bent, until they are glued. Here helps a fast glue, because you don't have to hold on it a long time. If you use standard glue, you should prepare a tool beforehand (!), to hold on the panel over several hours.
Finally, only the small panel above the right air-outlet is left, this is quite easy to align to the former panels and you are ready!
You did it and now you can enjoy a great carbon interior! The total time, should be managed at one quiet afternoon.
Just to cross post with a thread of mine on the 964 board in case anyone is interested, rather than leaving it carbon, I decided to get the dial surround and paint it to match the colour of my 964.
Just got a set from Marcus, great craftsmanship and excellent quality!! Happy camper now, waiting for my 993TT to come back to the shop to install these.


 04-21-2012, 04:27 PM