
Show me your perfect bumper/fender seam!!
 01-12-2012, 01:46 AM
#1
Addict
Lifetime Rennlist
Member
Lifetime Rennlist
Member
Thread Starter
Ok, the front Turbo bumper is off Scarlett, and after a frenzy of detailing (menzerna galore) I am replacing the rubber gaskets on the bumper since the existing ones are wayyyy too low - it looked like crap.
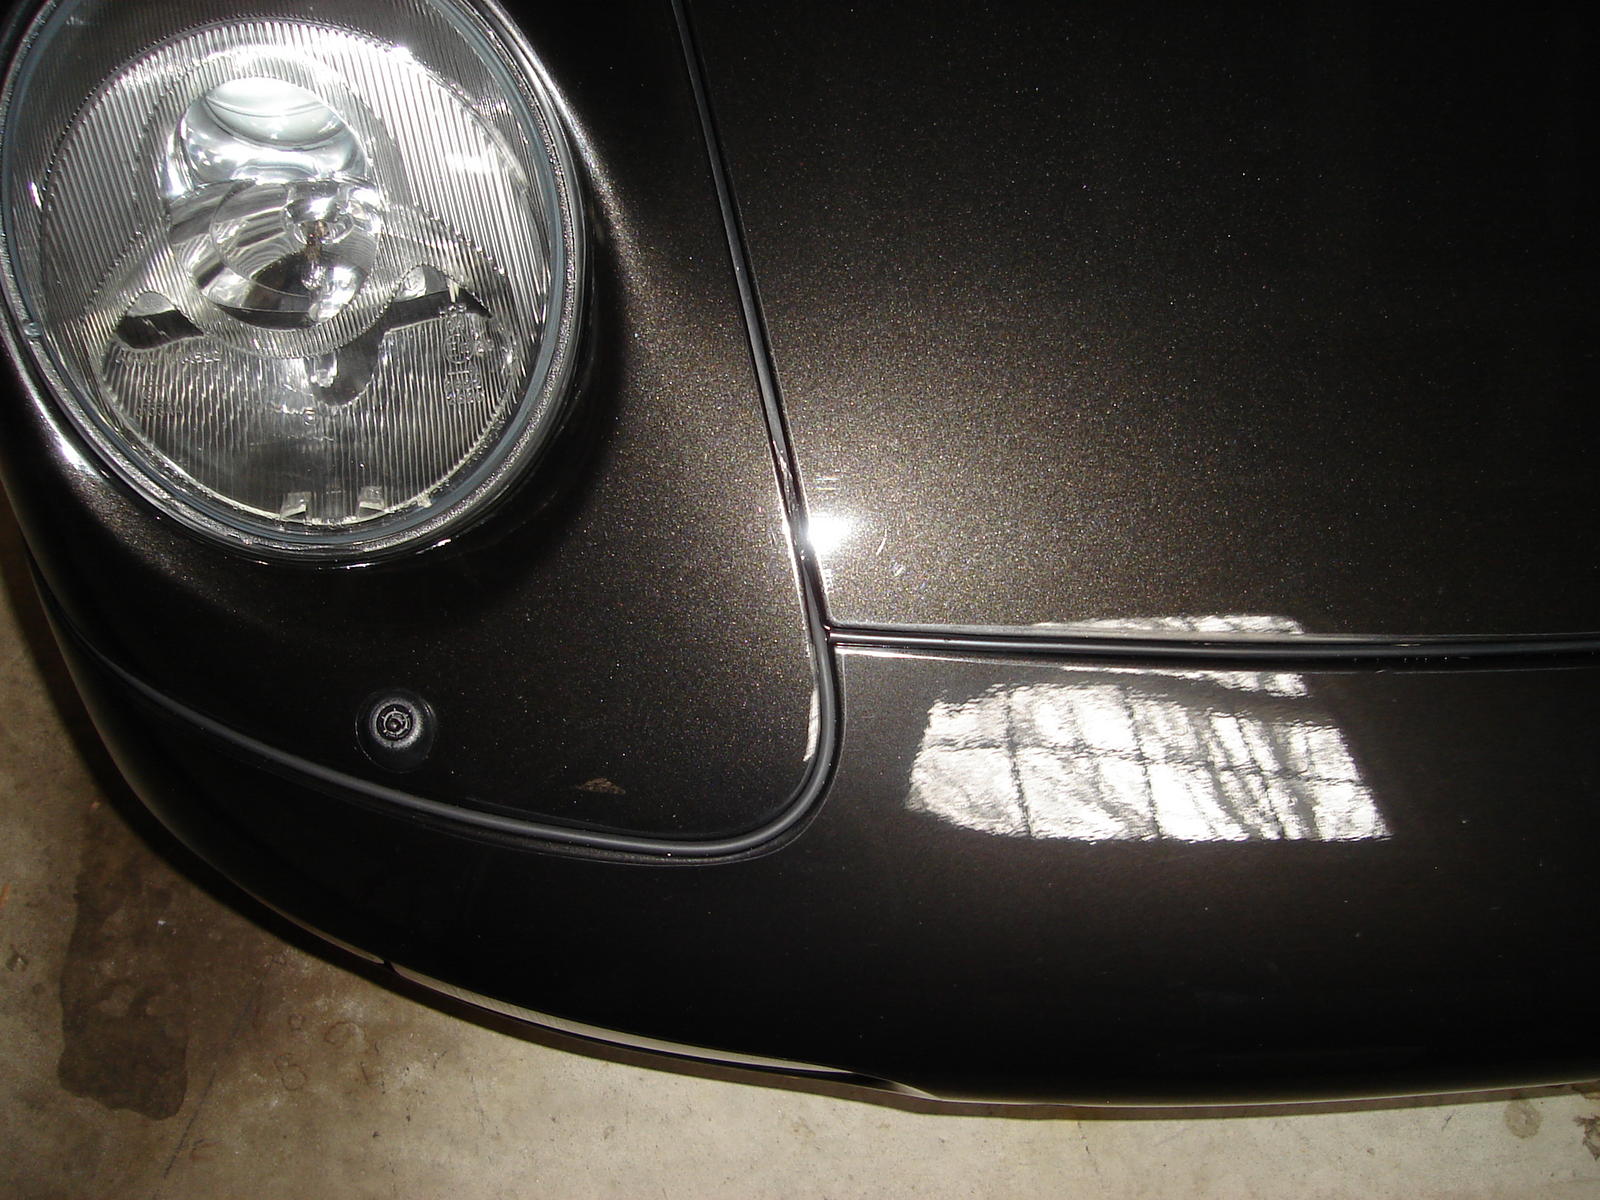
So, who has a picture of their bumper/fender seam (on the front of the car right below the headlight) that you consider "perfect"?
I am going to try to put the gasket so its flat with the top of the bumper - anyone has that?
And what does completely stock from the factory look like? My bumper was repainted, and the idiots doing the work reinstalled it poorly.
Cheers,
Mike
 01-12-2012, 06:17 AM
#3
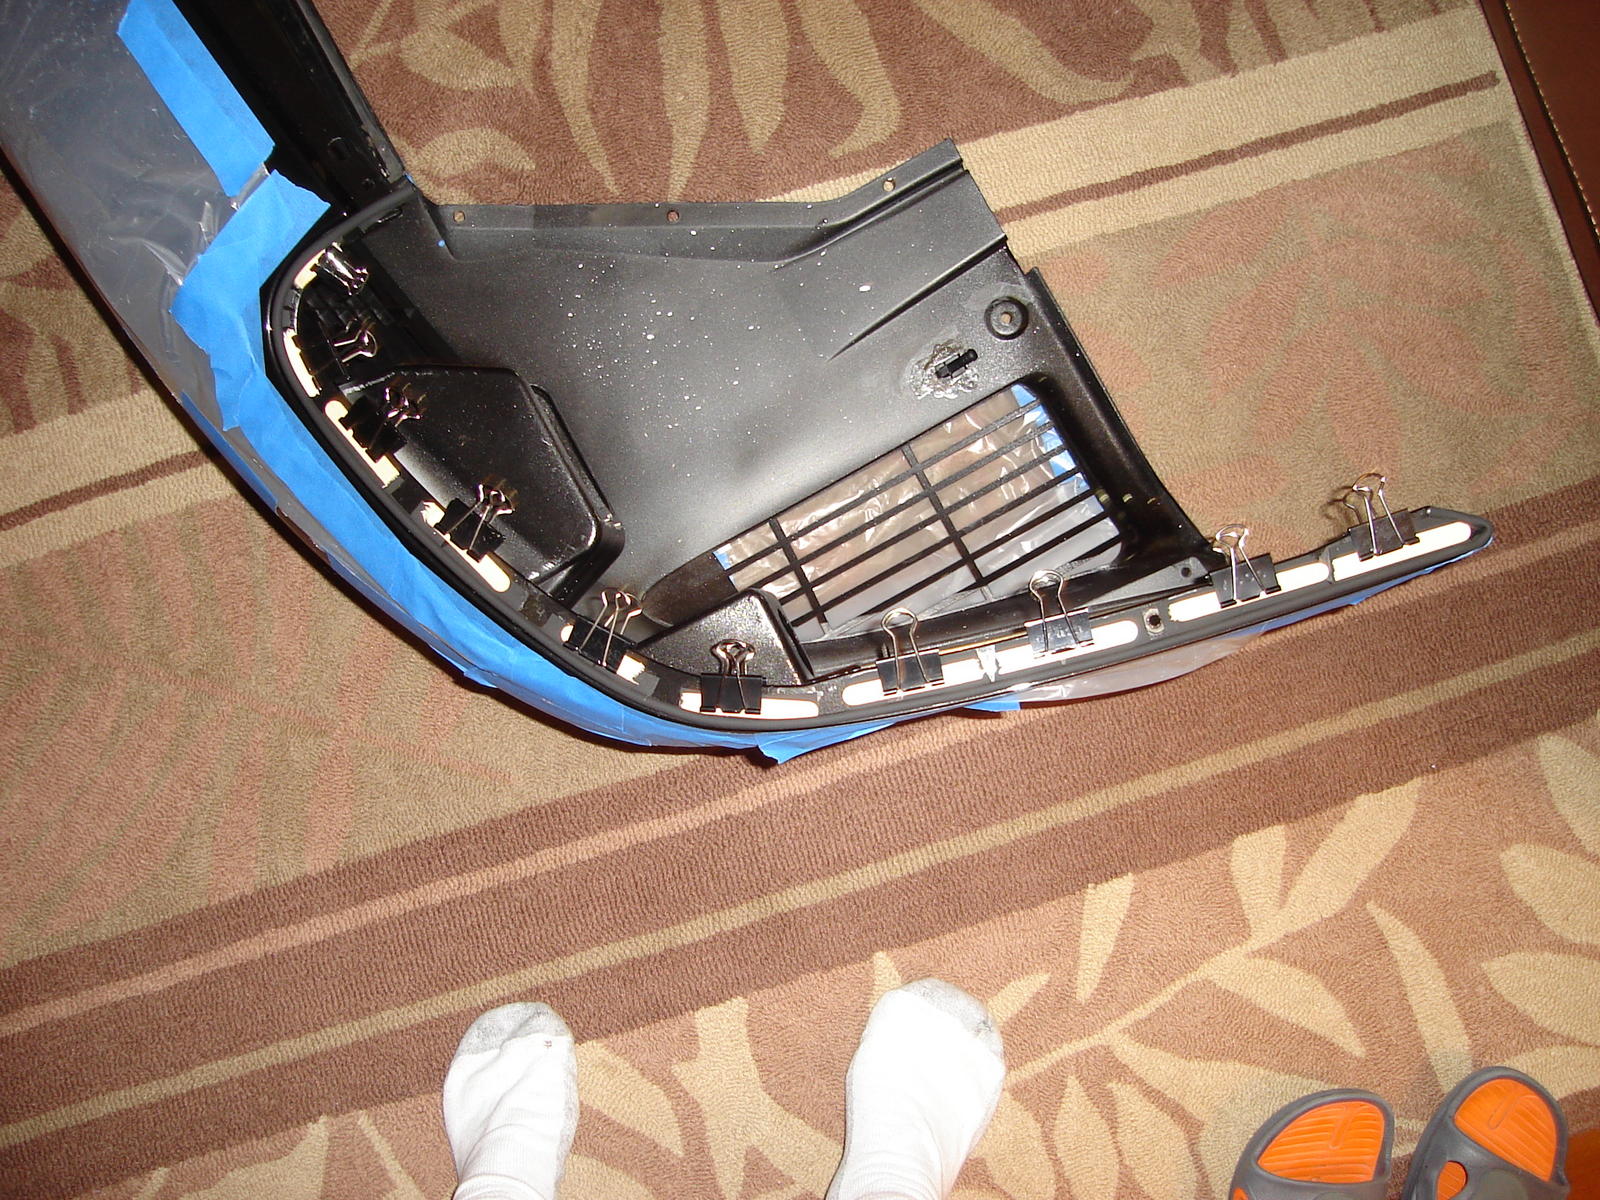
I did a dry-fit first to get the correct positioning, so the bead part of the seal would lie in the same plane as the body when mounted. I then secured it to the bumper useing popsicle sticks, spring clips and Pliobond. Others have used staples on the tabs as well.
Last edited by tommyg; 01-12-2012 at 07:12 AM.
01-12-2012, 06:29 AM
#4
Rennlist Member
it's pretty much a bead and socket arrangement...isn't it? Keeping it in place is the tough part apparently.
My vastly experienced Pcar bodyshop did a real crappy job, and not much better when I made them do it over. This winter, I plan on straightening it out.
Seems like a crap shoot at best.
Hard to believe that a new OEM euro turbo bumpercover fits even slightly differenltly than the stock did.
My vastly experienced Pcar bodyshop did a real crappy job, and not much better when I made them do it over. This winter, I plan on straightening it out.
Seems like a crap shoot at best.
Hard to believe that a new OEM euro turbo bumpercover fits even slightly differenltly than the stock did.
01-12-2012, 02:10 PM
#5
Addict
Lifetime Rennlist
Member
Lifetime Rennlist
Member
Thread Starter
Tommy, nice job. I see you tried to keep the top of the bead to the top of the bumper - which is exactly what I want to do. I also see that you put the end of the bead quite a bit past the inside end of the bumper cover - I will have to look at car and dry fit it a bit before figuring out how far to take it.
Staples are used at the factory for attaching the spots. I was going to use glue like you did, or double sided automobile trim tape (3M) to hold the trim in place. Do not like the idea of staples unless they are both stainless steel and very low profile. They also tend to pull on the seam in points, causing ripples.
Magdaddy, I have seen some pretty shoddy work in this area from the body shops, my car's bumper was repainted before I bought it, and the bead was about 1/4" below the top of the bumper - what the hell were they thinking? They also used some sort of wicked adhesive that took me an hour on each side to clean off....
Keep it coming - anyone have a stock seam they would like to show?
Cheers,
Mike
01-12-2012, 02:12 PM
#6
Addict
Lifetime Rennlist
Member
Lifetime Rennlist
Member
Thread Starter
Can't wait until the summer! 
Sorry Hans, that was not fair. Yeah, I know they will likely put it level with the bumper cover and fender, I hope. Its one of those areas that draws the eyes, so its important to get it right.
If you want to send me a picture, that would be great. I am not installing it quite yet, waiting for the correct foam pieces.
Cheers,
Mike
01-12-2012, 03:21 PM
#7
Nordschleife Master
In my experience, you can get it lined up perfectly and then staple it in and the process of stapling 'deforms' and moves the bead causing problems .. When I saw that, I thought that if the bead was a tad 'proud' when stapling began, it would end up perfectly positioned.
Trending Topics
01-12-2012, 03:33 PM
#8
Addict
Lifetime Rennlist
Member
Lifetime Rennlist
Member
Thread Starter
Yup, did one years ago with staples, and it was a royal pain. I am going to either use 3M double sided automobile trim tape, or glue this time. The double tape has a bit of thickness, but it compresses so its not likely to cause too many issues. There is not much grip zone on the inside edges of the bumper though.
01-12-2012, 07:22 PM
#9
Burning Brakes
I just did this and its a royal PITA. I took a ton of time and got it perfect only to try and mount the bumper and its such a tight fit that it came off. I ended up going and getting some 3M gasket/seal adhesive and ran a bead of that under the new gasket. It held great and the bumper gap looks 99% pefect. There is one section that is slightly raised but overall i am pleased. Ill take a pic tomorrow
01-12-2012, 07:53 PM
#10
Addict
Lifetime Rennlist
Member
Lifetime Rennlist
Member
Thread Starter
yeah, that fit between the bumper and fender is really tight and pinches the gasket. If you can post a picture, that would be appreciated. Sounds like I am not the only guy who wants to know about this stuff.
01-13-2012, 06:22 AM
#11
yeah, that fit between the bumper and fender is really tight and pinches the gasket
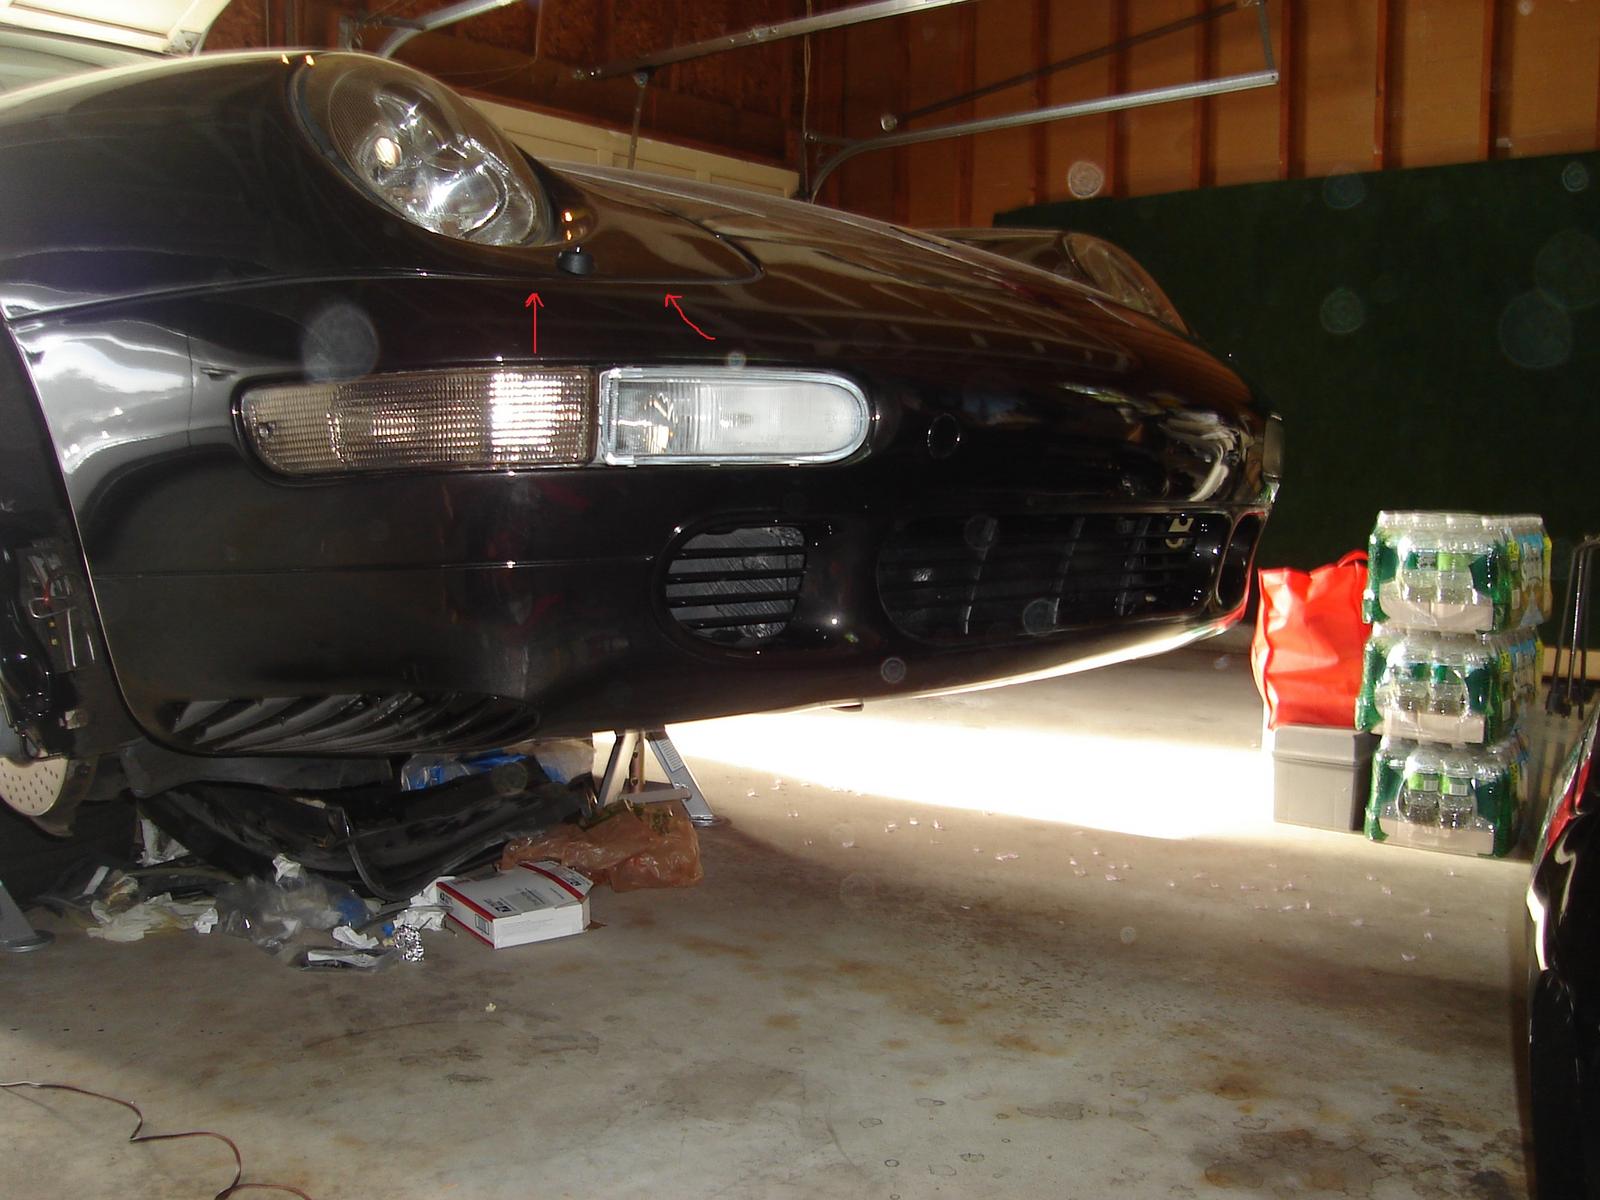
Try adjusting those metal tabs that the bumper mates with to free-up some space, that may help.
 01-13-2012, 03:57 PM
#12
Burning Brakes


BA (body repair shop) used the factory staples on a brand new seal.
I still have to see it in person but this looks very good compared to when they used the old seal.
01-13-2012, 05:40 PM
#14
Burning Brakes
06-13-2013, 08:21 PM
#15
Banned

Join Date: Aug 2011
Location: 6feet under snow of CANADA
Posts: 3,665
Likes: 0
Received 0 Likes
on
0 Posts
this is a great thread, I had been toying with this piping this past couple of days, I wanted to refresh mine as it gets tired from time to time.
takes a bit of tinkering. Staples and patients.
takes a bit of tinkering. Staples and patients.