When you click on links to various merchants on this site and make a purchase, this can result in this site earning a commission. Affiliate programs and affiliations include, but are not limited to, the eBay Partner Network.
Sunday night and the wife is out of town, which means Dave has some garage time! Here's a writeup on a minor problem that has been bugging me for a few weeks. This is really easy and goes under the category of "the writeup took longer than the job". Enjoy!
The Problem
You press your hazards / 4-way flashers switch and it disappears into the console (pic 1).
The Cause
The three switches in the upper cover are held in place by small plastic tabs. These tabs are strong enough to resist the force from pressing the lock and master caution acknowledge switches (which are only momentary), but the greater force needed to set the hazard switch, combined with 12 year old plastic causes some "tab failure" (pics 2 & 3, a bit blurry but you get the idea).
The "Right" Fix
Replace the upper switch cover: 964.552.135.01 (1DB). Cost is around $270-290 depending on source. Ouch.
DIY #1
Since I was fortunate to find the broken tab in the car underneath the switches when I first attempted this a couple weeks ago, I started by trying to epoxy the tab back in place. Unfortunately, I couldn't get a good enough bond that could withstand the force of either re-inserting the switch into the cover, or pressing the switch to activate the flashers. So I abandoned this method.
DIY #2
What finally worked for me tonight was what you see in the pictures. I removed the switch cover from the car by releasing the three switches and unplugging the connector for the panel lights. Using a 1/8" drill bit, I drilled holes into the switch cover, on either side of the "box" that holds the hazard switch in place. Using a piece of 14-gauge electrical wire, I fashioned a clasp to hold the switch in place. After a bit of adjusting to fit with some pliers I was able to snugly hold the hazard switch in place (pics 3 & 4).
It was about this time I wondered whether a bare piece of copper was the right choice for behind a switch panel, but I went ahead with this method, figuring that a) this was a likely scrap material for most people and b) I could cover it with insulating tape before buttoning everything up. Which is exactly what I did.
The result
A working hazard switch that stays in place when pressed (pic 5), and $270+ still in the car fund!
I found myself in a similar predicament with my 02 BMW 540iT. My ashtray housing (made out of a combination of clear plastic and white nylon) was destroyed by the PO trying to close it on a brick or something. I attempted to fix it with conventional epoxy, but that seemed like it was good for next to nothing other than creating a mess. I ended up using an old model glue that worked GREAT. It's actually a two part, glue and catalyst. It's called "Zap-a-Gap" and "Zip Kicker".
The "Zap-a-Gap" is really thin superglue that bonds really well, the "Zip Kicker" is the catalyst that instantly hardens the zap-a-gap. Once it's sprayed on, the glue expands slightly to fill gaps and is super strong. I've had great luck with it. No affiliation, just a satisfied customer!
If you have the piece that broke off the switch cover, you can also take a soldering iron, and melt the piece back into place. Set it in place, use the soldering iron to melt the two back together. Comes in handy in a lot of places where the plastic tabs become brittle.
When I put the car in reverse, the two plastic pieces that house the buttons come out from the console like they�re loose. I can push them back in but they seem fiddly. Am I missing a tab or something that keeps the plastic pieces surrounding the buttons secure in the console? Or is this just a common problem?
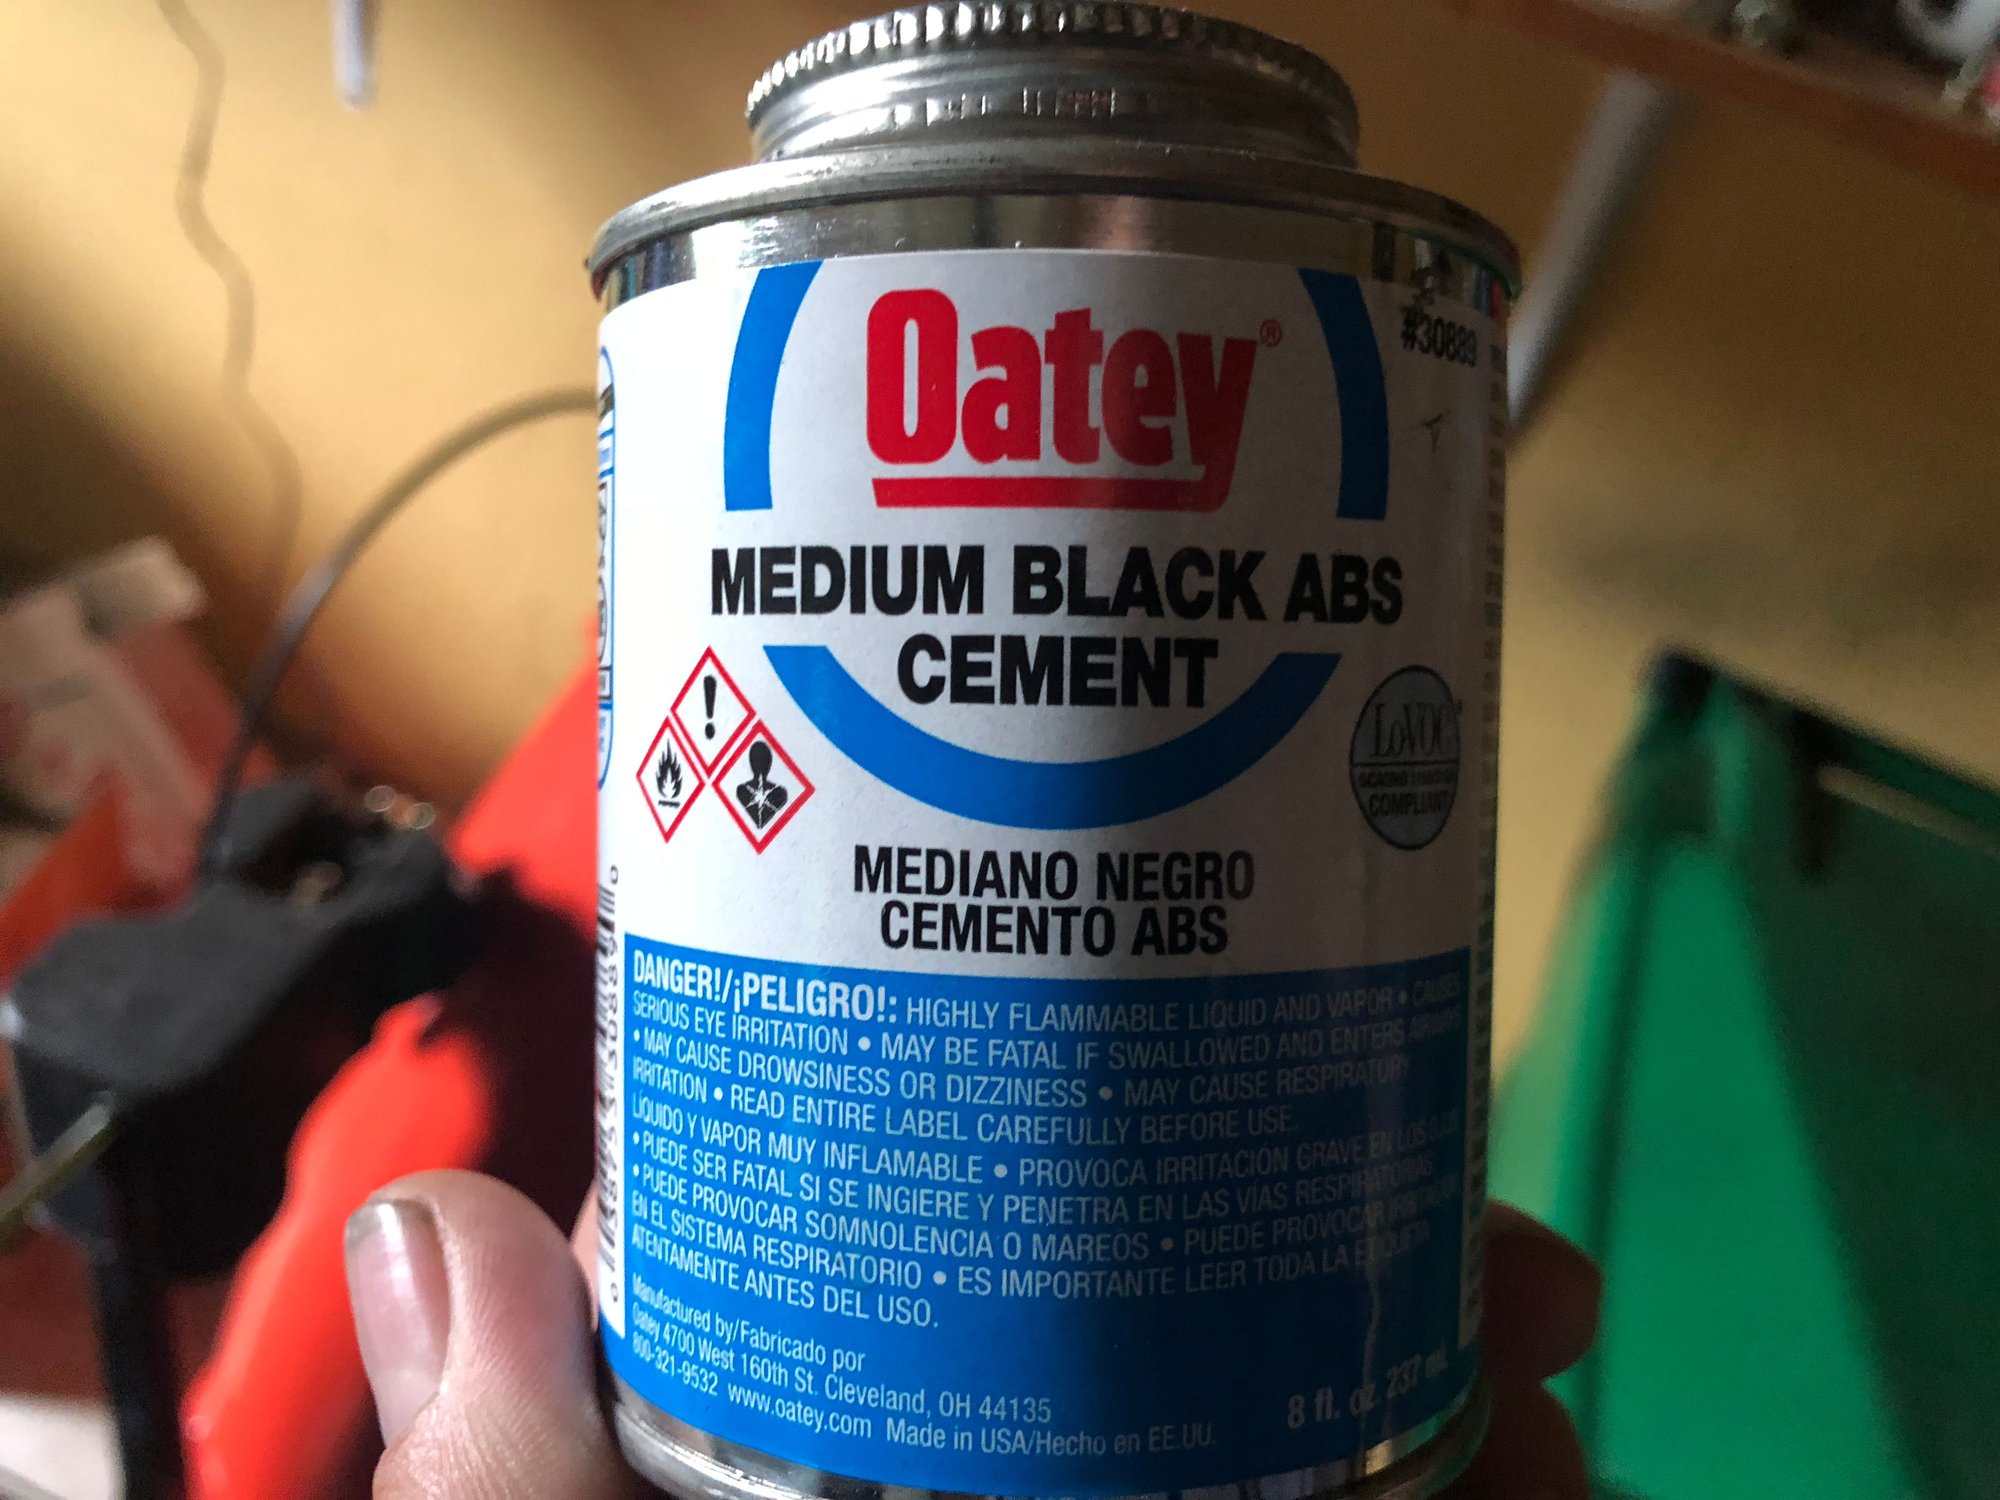
Great ingenuity there. Anytime I have a piece of broken plastic I repair it with Oatey ABS Cement. It fuses the plastic together with an incredibly strong bond. Oatey also works great on a broken door pocket, or a cracked connector.
Great ingenuity there. Anytime I have a piece of broken plastic I repair it with Oatey ABS Cement. It fuses the plastic together with an incredibly strong bond. Oatey also works great on a broken door pocket, or a cracked connector.
+1! I've fixed numerous pieces using the same. Even went as far as purchasing ABS sheets from Amazon to recreate missing sections of my 928s4 driver's door pocket internals. Simply awesome!
When I put the car in reverse, the two plastic pieces that house the buttons come out from the console like they�re loose. I can push them back in but they seem fiddly. Am I missing a tab or something that keeps the plastic pieces surrounding the buttons secure in the console? Or is this just a common problem?
My tabs are all broken off on the upper black plastic holder and the lower one. I found the metal clamps to hold them in place but there is no tab of plastic to slide the metal onto. So, to save money since the two plastic surrounds 96455213501 and 96455207100 are hundreds of dollars, I just surrounded the housings with 3M double sided "trim tape" and they stay put.
Another options is this gentleman who sells 3D printed REPAIR PARTS (to be attached with ABS glue as above) on Shapeways. I have repaired both bezels with these tabs and they work great.
Replace the upper switch cover: 964.552.135.01 (1DB). Cost is around $270-290 depending on source. Ouch.
- Dave
Just looked up prices on 964.552.135.01 today, more than a decade after the OP made his post. $748.39 at AutoAtlanta. $691.50 at Sierra Madre. $589.50 at Pelican. $680.35 at Stoddard.
Thanks for a great and useful post Dave. I finally decided, after about 5 years of having the hazard switch 'floating' in the console housing, to try to fix it today. Found your post, and it got me thinking.. I used a similar strategy, but instead of copper wiring, which concerned me a bit, I went with small zip ties.. drilled two holes, 3/16, on either side of where the broken tab holder had been... then fed the front of 1 small tie through the outside hole and across the front where the tab holder had previously been (the large end of the zip tie should be too big to fit thru, securing that end in place), and out through the other 3/16 hole. Left it loose and then managed to squeeze the hazard switch in, with some jiggling work (and some vulgar encouragement). Then I fed the front of the tie thru the back of a new zip tie, and ratcheted it down tight, pulling the zip tie across the the spot where the old tab holder was... trimmed off the excess ties. Voila! We'll see how long the cheap plastic can hold those zip ties in place, but it beats spending the $650 for a new console housing. Thanks for the inspiration.


 08-24-2008, 11:00 PM