When you click on links to various merchants on this site and make a purchase, this can result in this site earning a commission. Affiliate programs and affiliations include, but are not limited to, the eBay Partner Network.
993 4S Refresh (Restoration is a bit much) /Previously 4S/Turbo Front Bumper
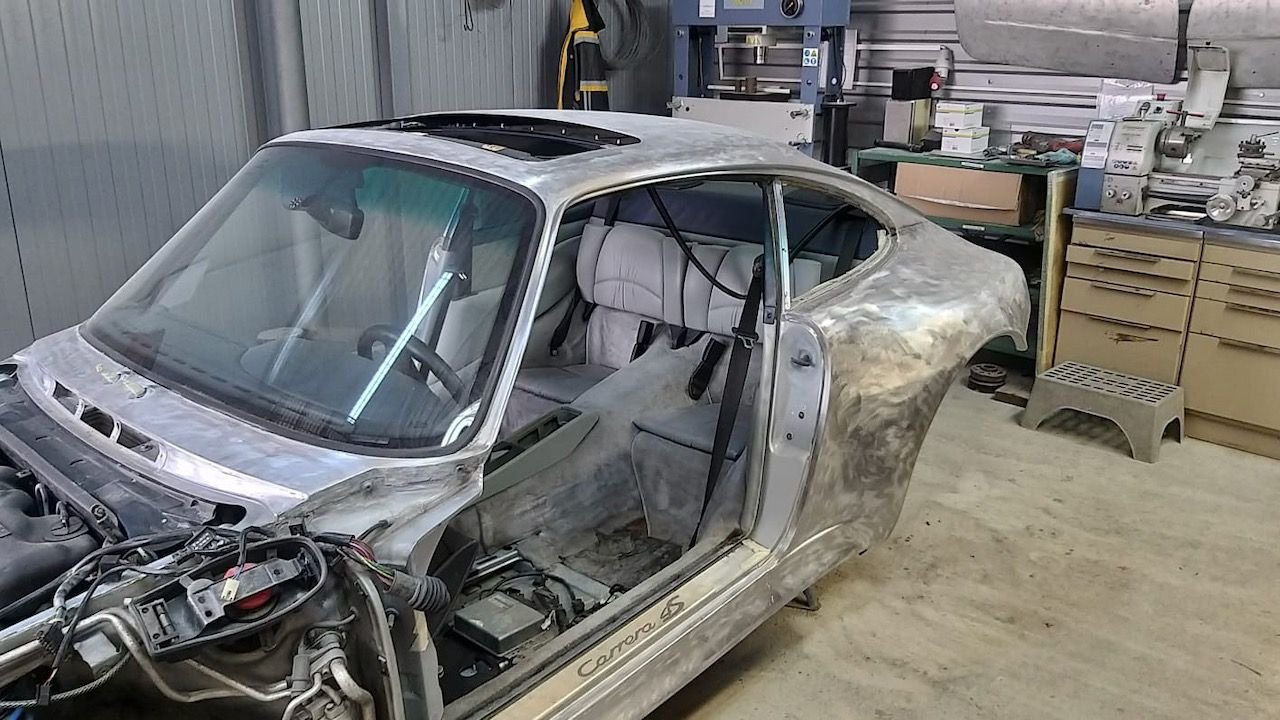
Short story: my 4S was in a very good shape, but I've always had in the back of my head the idea that it wasn't perfect. Yada, yada, yada... one thing led to another - pics below.
After having cleaned the paint off, the shop is now aligning all panels prior to painting. They have this idea that maybe the front bumper may not have been in its original position or maybe that somebody may have drilled other holes into the bumper.
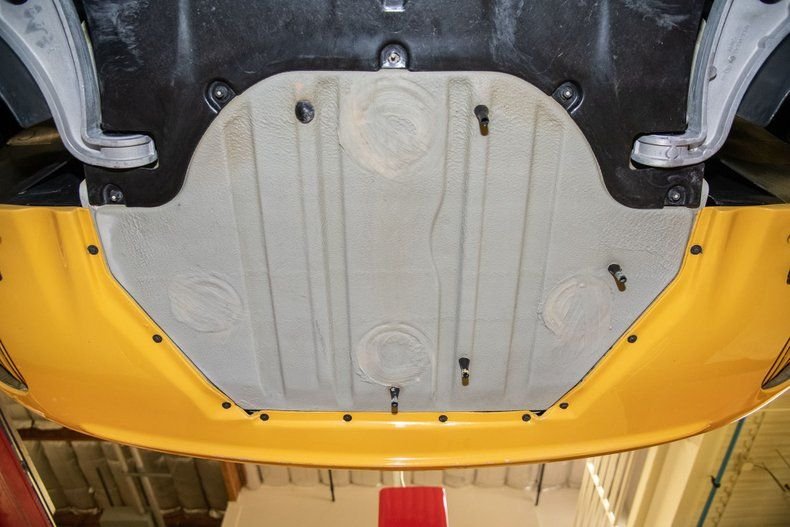
So kind request to anyone with an original 4S/Turbo bumper - could you please post some good pics of the underbody screws/mounting points (ideally RoW, but hopefully US is the same). There should be 3 on each side and 3 in the front.
I do not believe the shop is right, but I really need to make sure. However, when researching this, I must admit I realized my bumper was missing the under-bumper spoiler - position 35 in the pic below (part no. 993 505 523 02 01C for anyone keeping track). Curious if you guys still have it, btw.
Many thanks all
Last edited by uberlawyer; 10-29-2020 at 11:04 AM.
Reason: Title Change
I like what you are doing, and had done a similar bare metal appraoch myself
Some questions persist, I am noticing , not disagreeing :
why doors and front fenders out ?
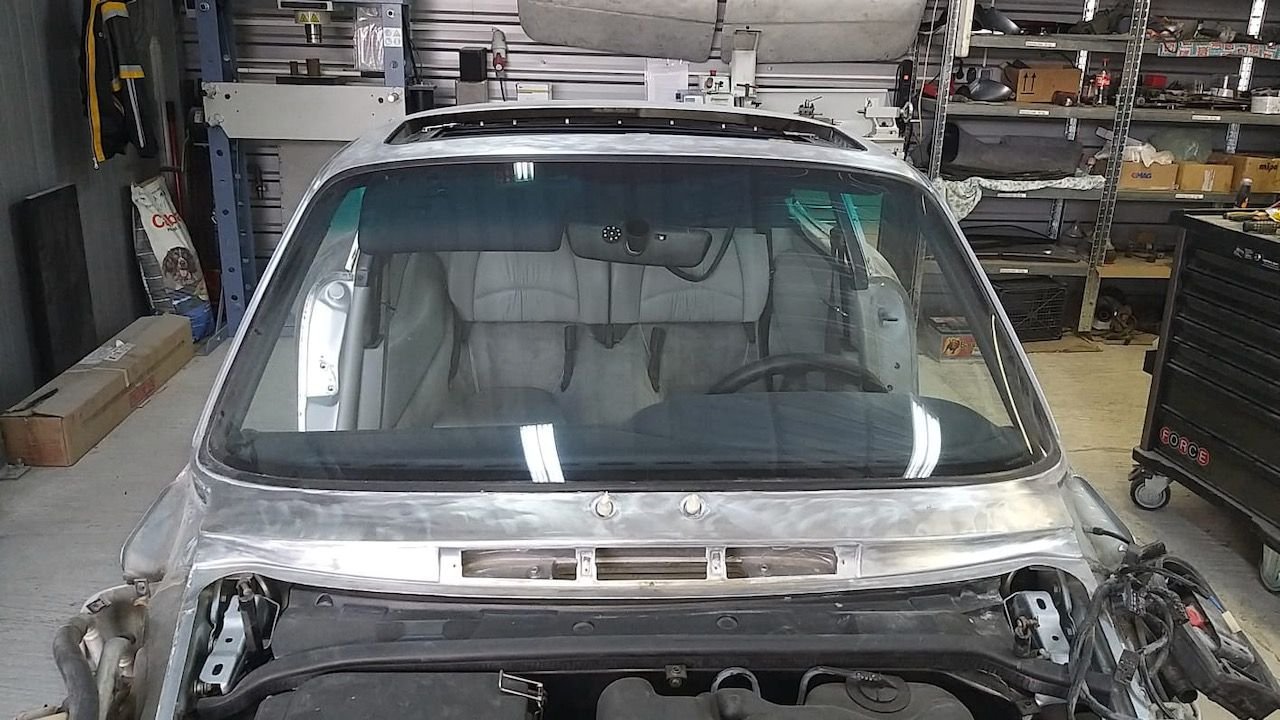
and my big advise to a rennlister, I would have taken both windshields OUT and do both windshield frames. If you can, do them and you won't ever regret
WOW,
I admire the dedication you clearly show to your creature, that I bet it was already in perfect order and very beautiful.
Seeing the car body stripped to bare zinc metal coating is impressive. I agree with geolab: this is the perfect occasion to have a look underneath the winshields frames (very sensible to rust) and set everything back to an 100% brand new configuration.
I like what you are doing, and had done a similar bare metal appraoch myself
Geolab, thank you for the link - I am fully aware of your work. I have actually already sent the link with your work to the restoration shop about 2 weeks ago. Both windshields are already out and all necessary work is being done. The first pics were just in an initial stage.
Your efforts have actually been part of the inspiration to undertake this project.
As for why the bumpers and fenders are out, I do not know. I trust the restoration shop 100%, so I assume they have their reasons. The car has had a slight accident by a previous owner, so the spare wheel well was slightly dented. Maybe this is why they took them out. In addition, these people are very thorough, so probably they want to make sure that everything aligns perfectly. At some point, the fenders have been reinstalled, as you may see from the pic with the windshield frame.
This is actually why I also need pics of the underbody screws and mounting points of the front bumper for a 4S/Turbo. Again, many thanks to anyone willing to help.
@nothingbutgt3: thank you for the advice, much appreciated
PS Front and rear seats, both door panels, armrest, door pocket covers, door pockets, central console (including gearshift gaiter and handbrake) and rear quarter panels are being retrimmed by Lakewell (this may ring a bell for those in Europe). The leather is dual-tone (Midnight Blue and Marble Gray) - only the Marble Gray is being retrimmed, as the Midnight Blue parts (dashboard, headliner and beltline) are in great condition. Carpets are also replaced by Lakewell, but the color will be changed from gray to dark blue - gray looks brilliant, but it will show any dirt spots.
Last edited by uberlawyer; 10-27-2020 at 02:59 PM.
Open to any additional advice you or anyone else may have. Btw, rust between mounting plates and rear chasis (another well known spot for rust) is also being addressed.
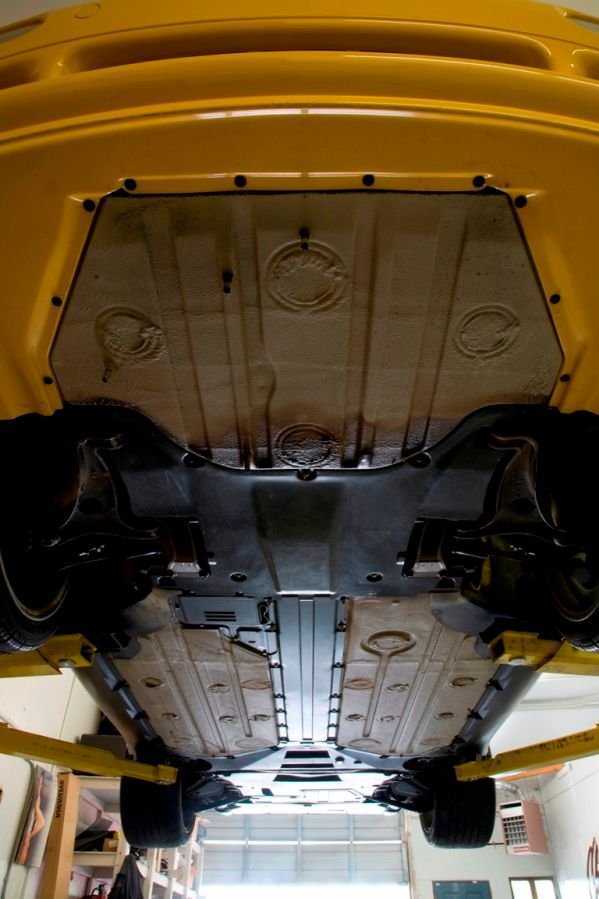
Watching these pictures I am now wondering which part of the underbody must be painted in these light grey paint, where it must be used the noise (and grey) paint, since in the wheel arches it was clearly used anti noise paint in the same paint of the car.
Do you maybe have a scheme of the underbody areas that must be painted
- grey with standard paint,
- same color of the body color
- with anti noise grey
- with anti noise coloured in the car color paint
I now asking myself this specific thing because my car was totally of a silty/muddy brown colour, and it wasn't visible any paint in the underbody. I would like to respect the original style Porsche applied the different type of paints as much as possible?
Do you maybe know the grey color code used back then by Porsche A.G.?
I would like to respect the original style Porsche applied the different type of paints as much as possible?
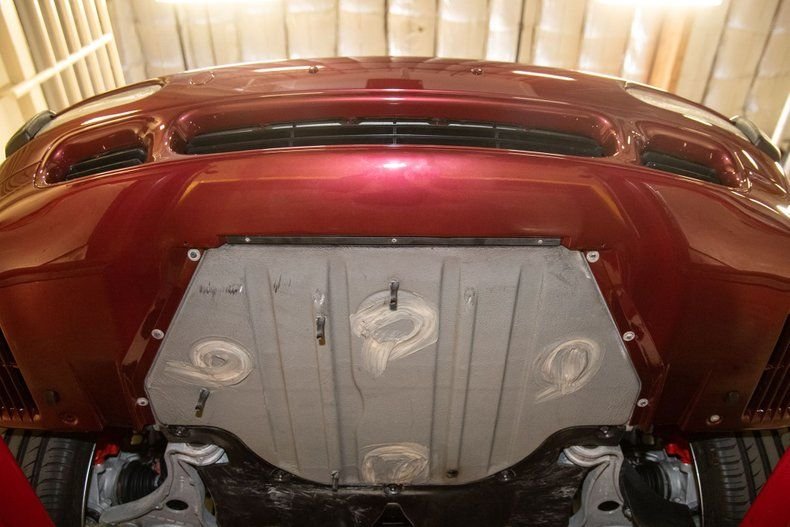
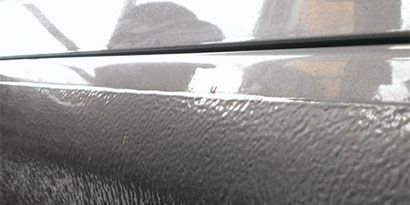
it is called stone chip coating
Porsche applied the same undercoat for all 993's either in grey or black ,
The undercoat is 3M 08879 (grey) 08868 (black) for the EU, in the USA it is not called the same
you have to purchase a small special pistol (cheap) to apply it
you could paint ON IT like on the narrow 993's
see picture
Porsche applied the same undercoat for all 993's either in grey or black ,
The undercoat is 3M 08879 (grey) 08868 (black) for the EU, in the USA it is not called the same
you have to purchase a small special pistol (cheap) to apply it
you could paint ON IT like on the narrow 993's
see picture
Thank you so much geolab, mine originally should be Grey
Looks like a labor of love and good fun! Thanks for the photos. How should I say, the project may be a wee bit out of the scope of the resources of a shade tree senior-citizen mechanic such as myself.
Andy

 10-27-2020, 05:31 AM


