When you click on links to various merchants on this site and make a purchase, this can result in this site earning a commission. Affiliate programs and affiliations include, but are not limited to, the eBay Partner Network.
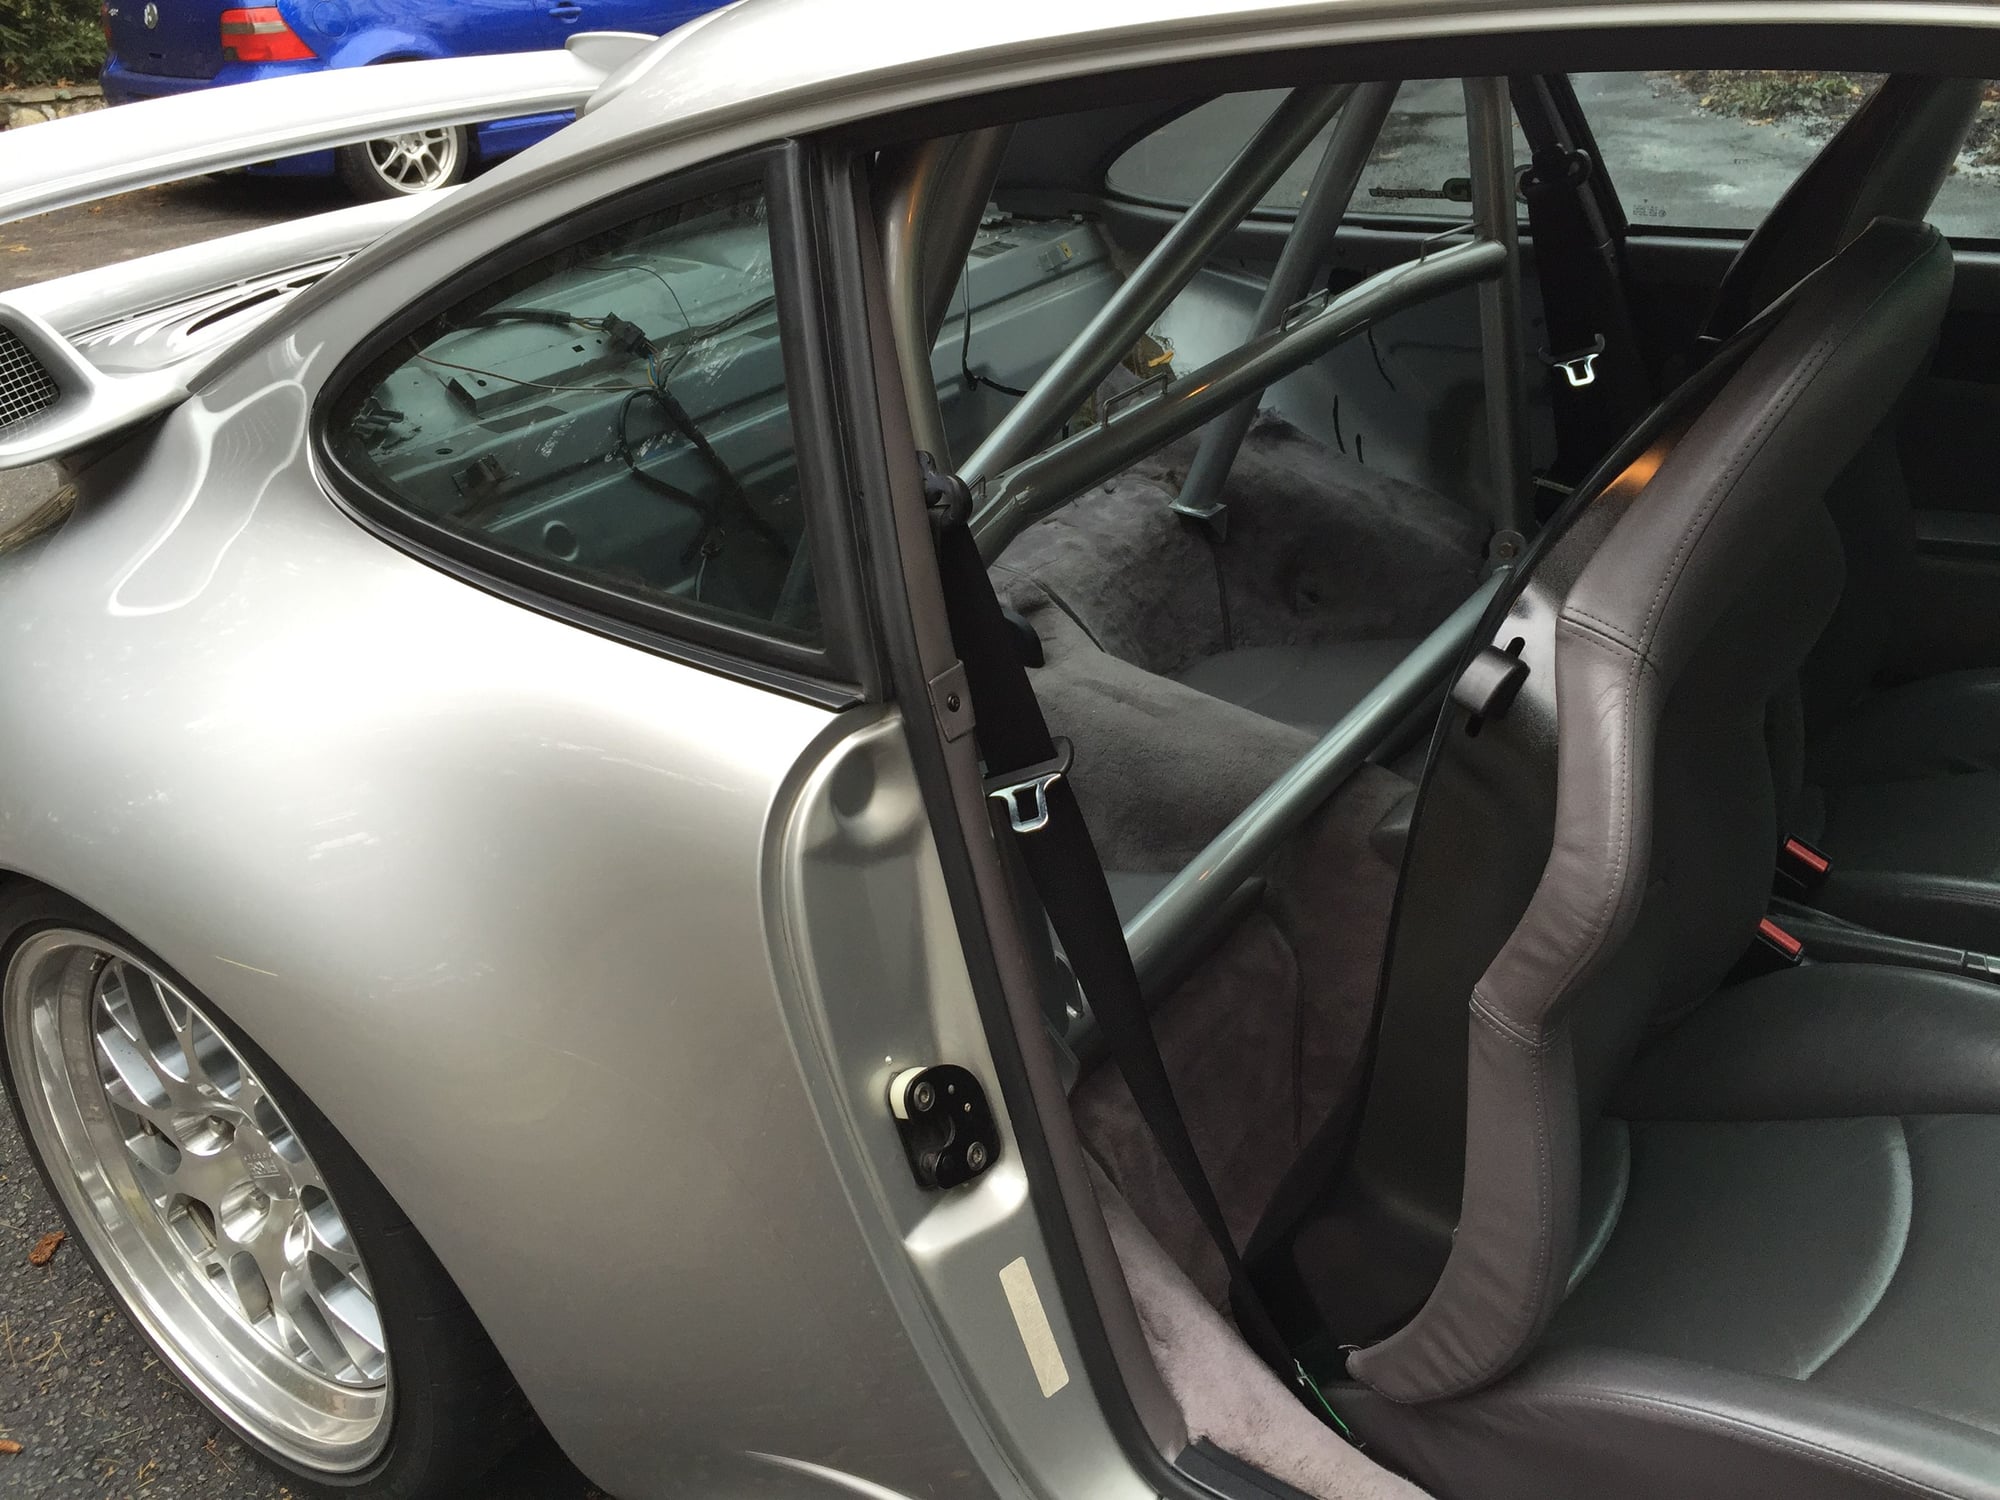
I recently installed the DAS bolt-in 964/993 roll bar in my 993 coupe. DAS makes a great bolt in roll bar, but their instructions lack details for many of the necessary steps. I found several helpful installation tips here on Rennlist, but I could not seem to find a comprehensive installation guide. I did, however find many threads expressing frustration with the install procedure, with many resorting to bottle jacks, ratchet straps and the like trying to shoe-horn the bar into place (best title goes to windydog's DAS ROLL BAR = DAS PAIN IN THE BUTT https://rennlist.com/forums/993-foru...n-the-butt.htm). Hopefully your installation will go smoother with the help of this thread... This thread could also be called the how to remove rear shelf, remove rear seat backs, remove front and rear (optional) seat belt retractors, remove interior rear quarter panel upholstery panels, remove window defrost deflector ducts and remove rear seat cushions (also optional).
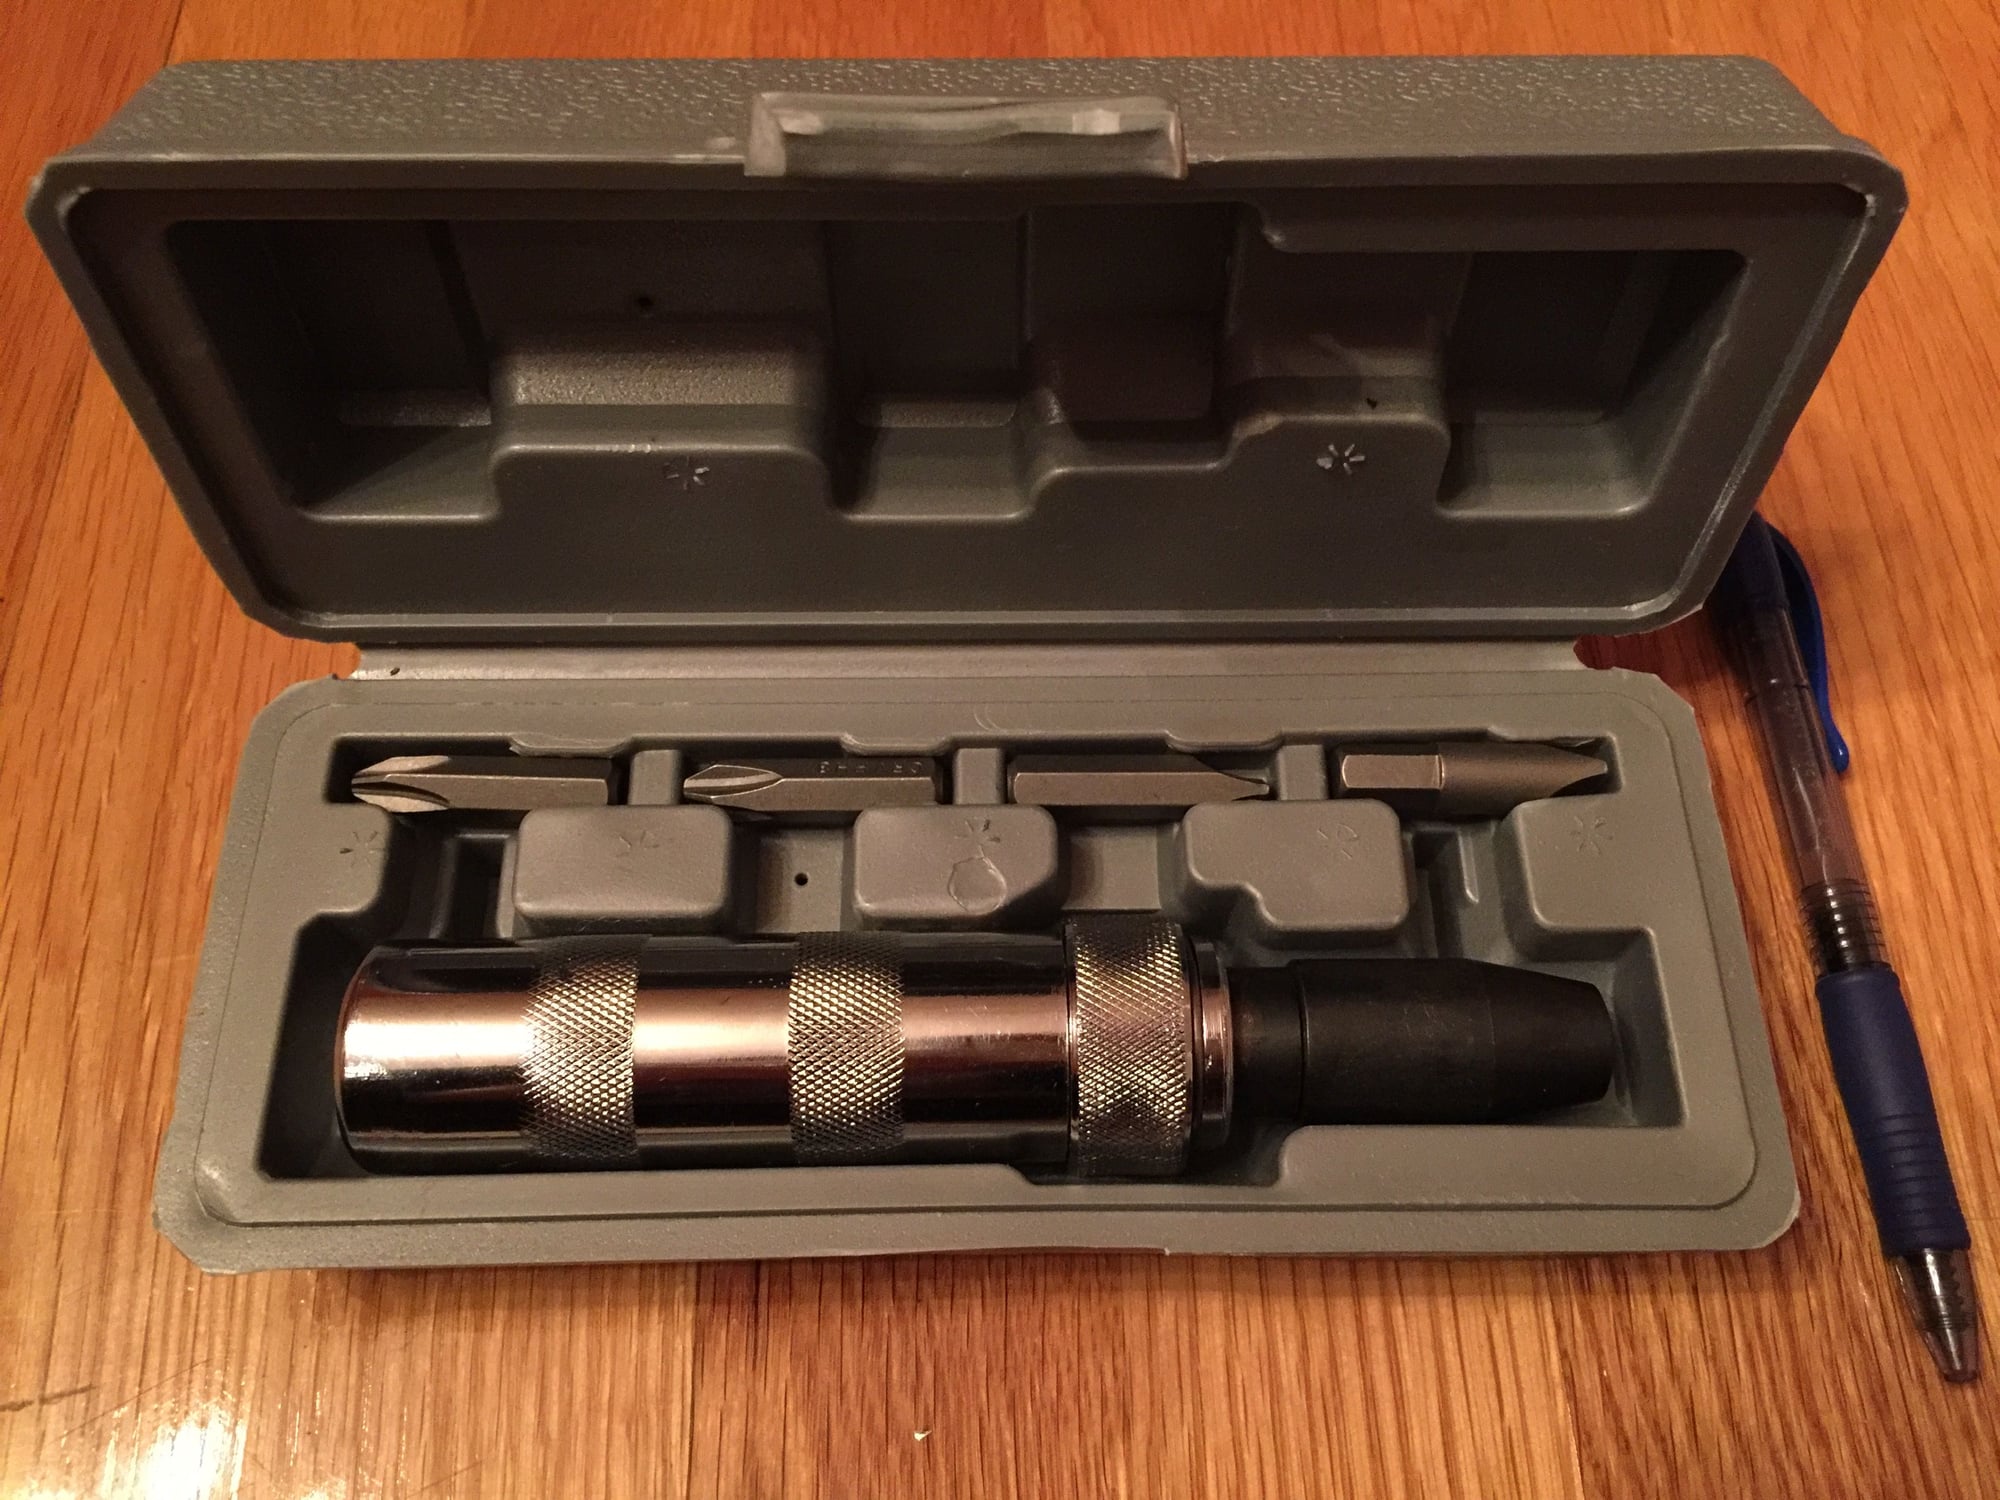
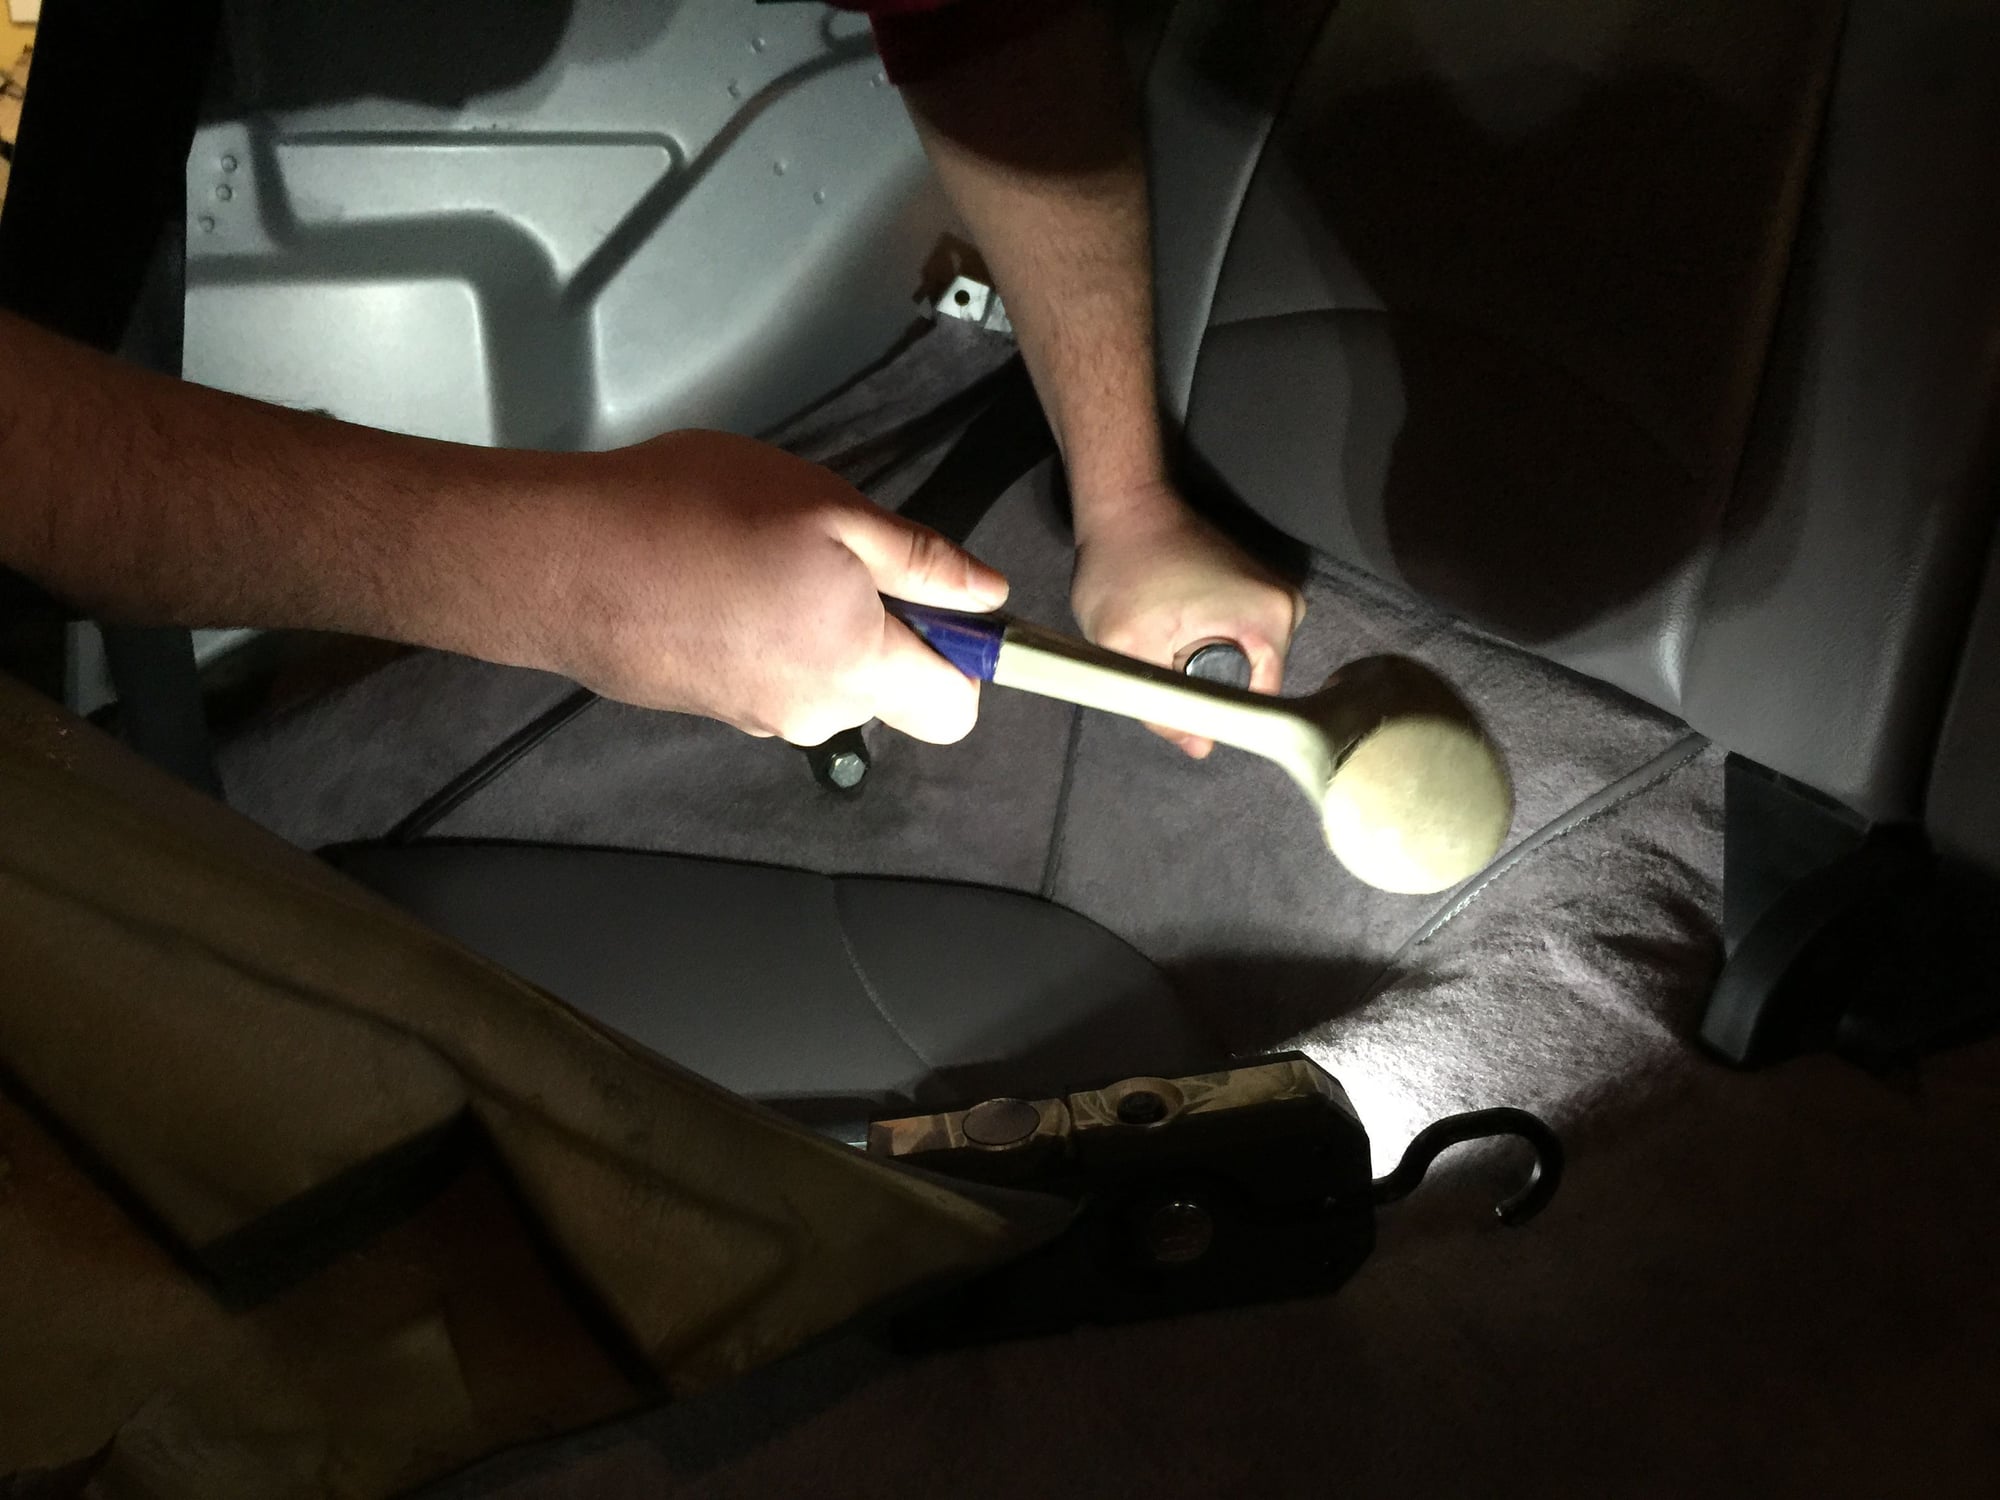
Required Tools:17 mm socket, 1/2" socket, 7/16" socket, Small phillips head screw driver, Large flat head screw driver, Small ratcheting phillips head screw driver, Impact screw driver with proper flat head bit, Club hammer, Blue loctite
A new DAS roll bar costs $1,440 plus $212 shipping. https://dassport.com/store/products....-1989-to-%2798 I sourced a used one locally for about half the price of a new bar, and saved on shipping costs with a quick road trip to CT. Additional hardware kits are available from DAS for $37.44 plus shipping. https://www.dassport.com/store/produ...7%7D993-Coupes Check to make sure you have the right hardware. My package was missing a few bolts. AClark133 had a similar experience with incomplete hardware. https://rennlist.com/forums/993-foru...-concerns.html Even if all of the existing hardware is intact and not stripped, I recommend getting a new set of hardware to be safe. Installation instructions are available in PDF format on DAS's website. https://www.dassport.com/store/pages.php?pageid=9 The instructions gloss over much of the preparatory work. DAS estimates 4 hours for the install - with the right tools and the right friend that's about right.
Whether you're planning on finishing the bar or not, test fit the bar before any finish work, blue loctite or final ratcheting. Several RL's warn that you'll need heavy duty ratchet straps, bottle jacks and spreaders/ clamps. After an initial test fit I feared I would also need some heavy equipment. But following prior advice from Boman993 and Bill V, I simply twisted the lower transverse bar angling it forward a bit and everything essentially fell right into place. https://rennlist.com/forums/993-foru...ve-them-2.html
There's no need to remove the front seats, just slide and tilt the front seats forward. But you will need to remove the rear seat backs (they will not be reused) and the interior rear quarter upholstery panels (these may be removed completely, or simply pushed to the rear with the seat belts still passing through), and the window defrost deflector ducts. The rear shelf also needs to be at least partially removed in order to to free up and remove the rear quarter panels. The DAS instructions provide no guidance on any of this, and the quarter panels, seat-backs, and seat belt retractors are all already removed in their first illustration. https://www.dassport.com/store/pages.php?pageid=9
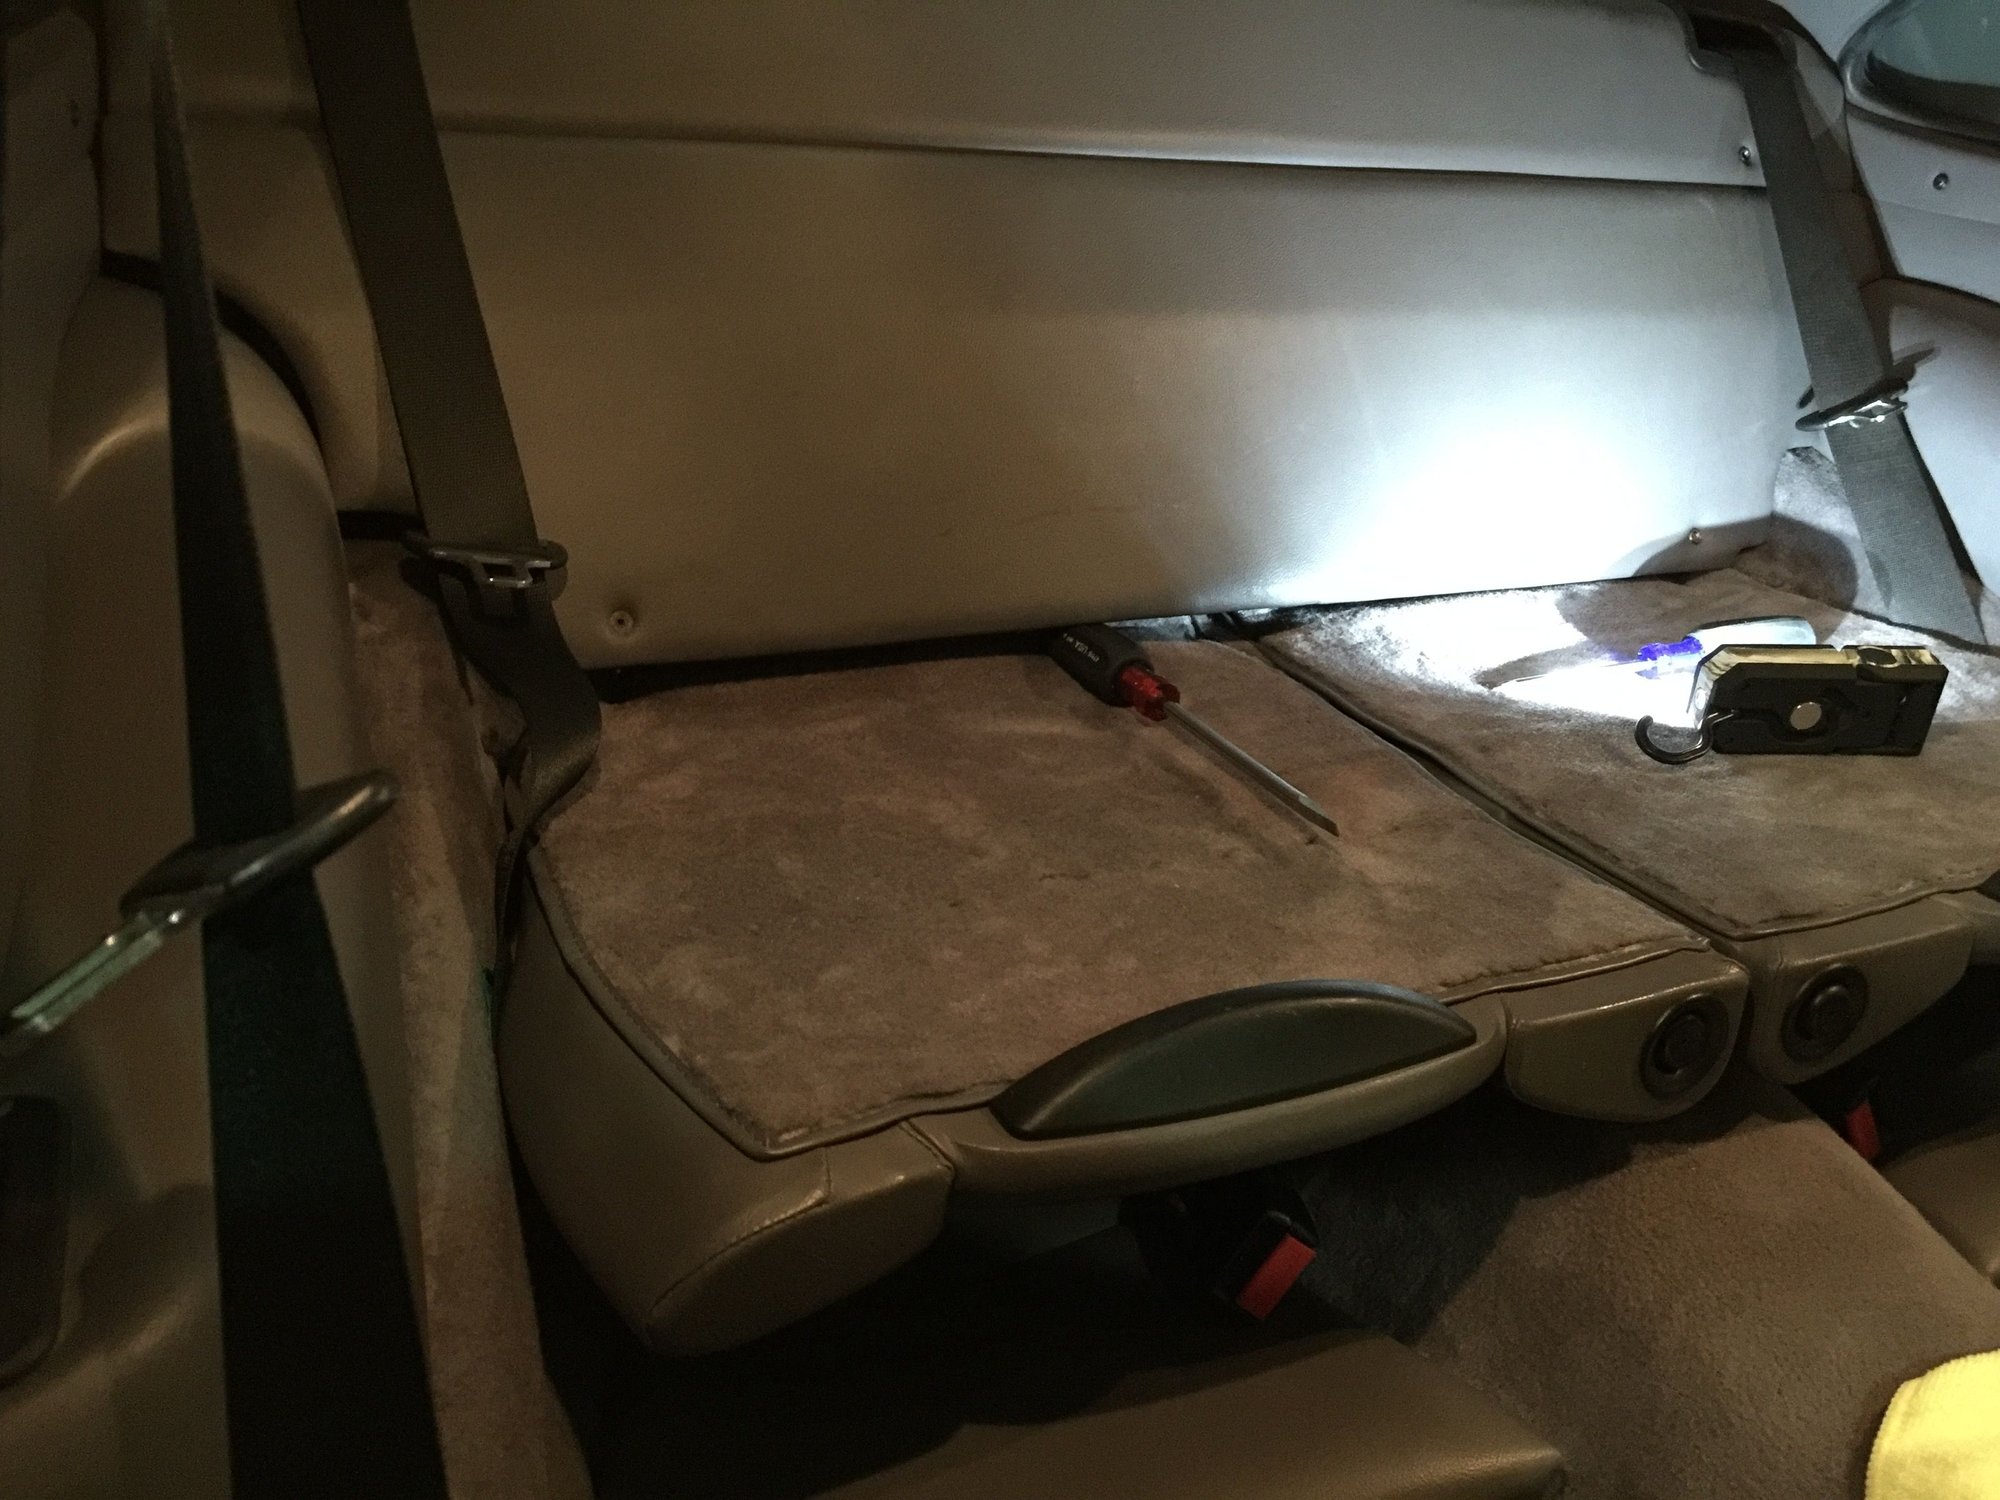
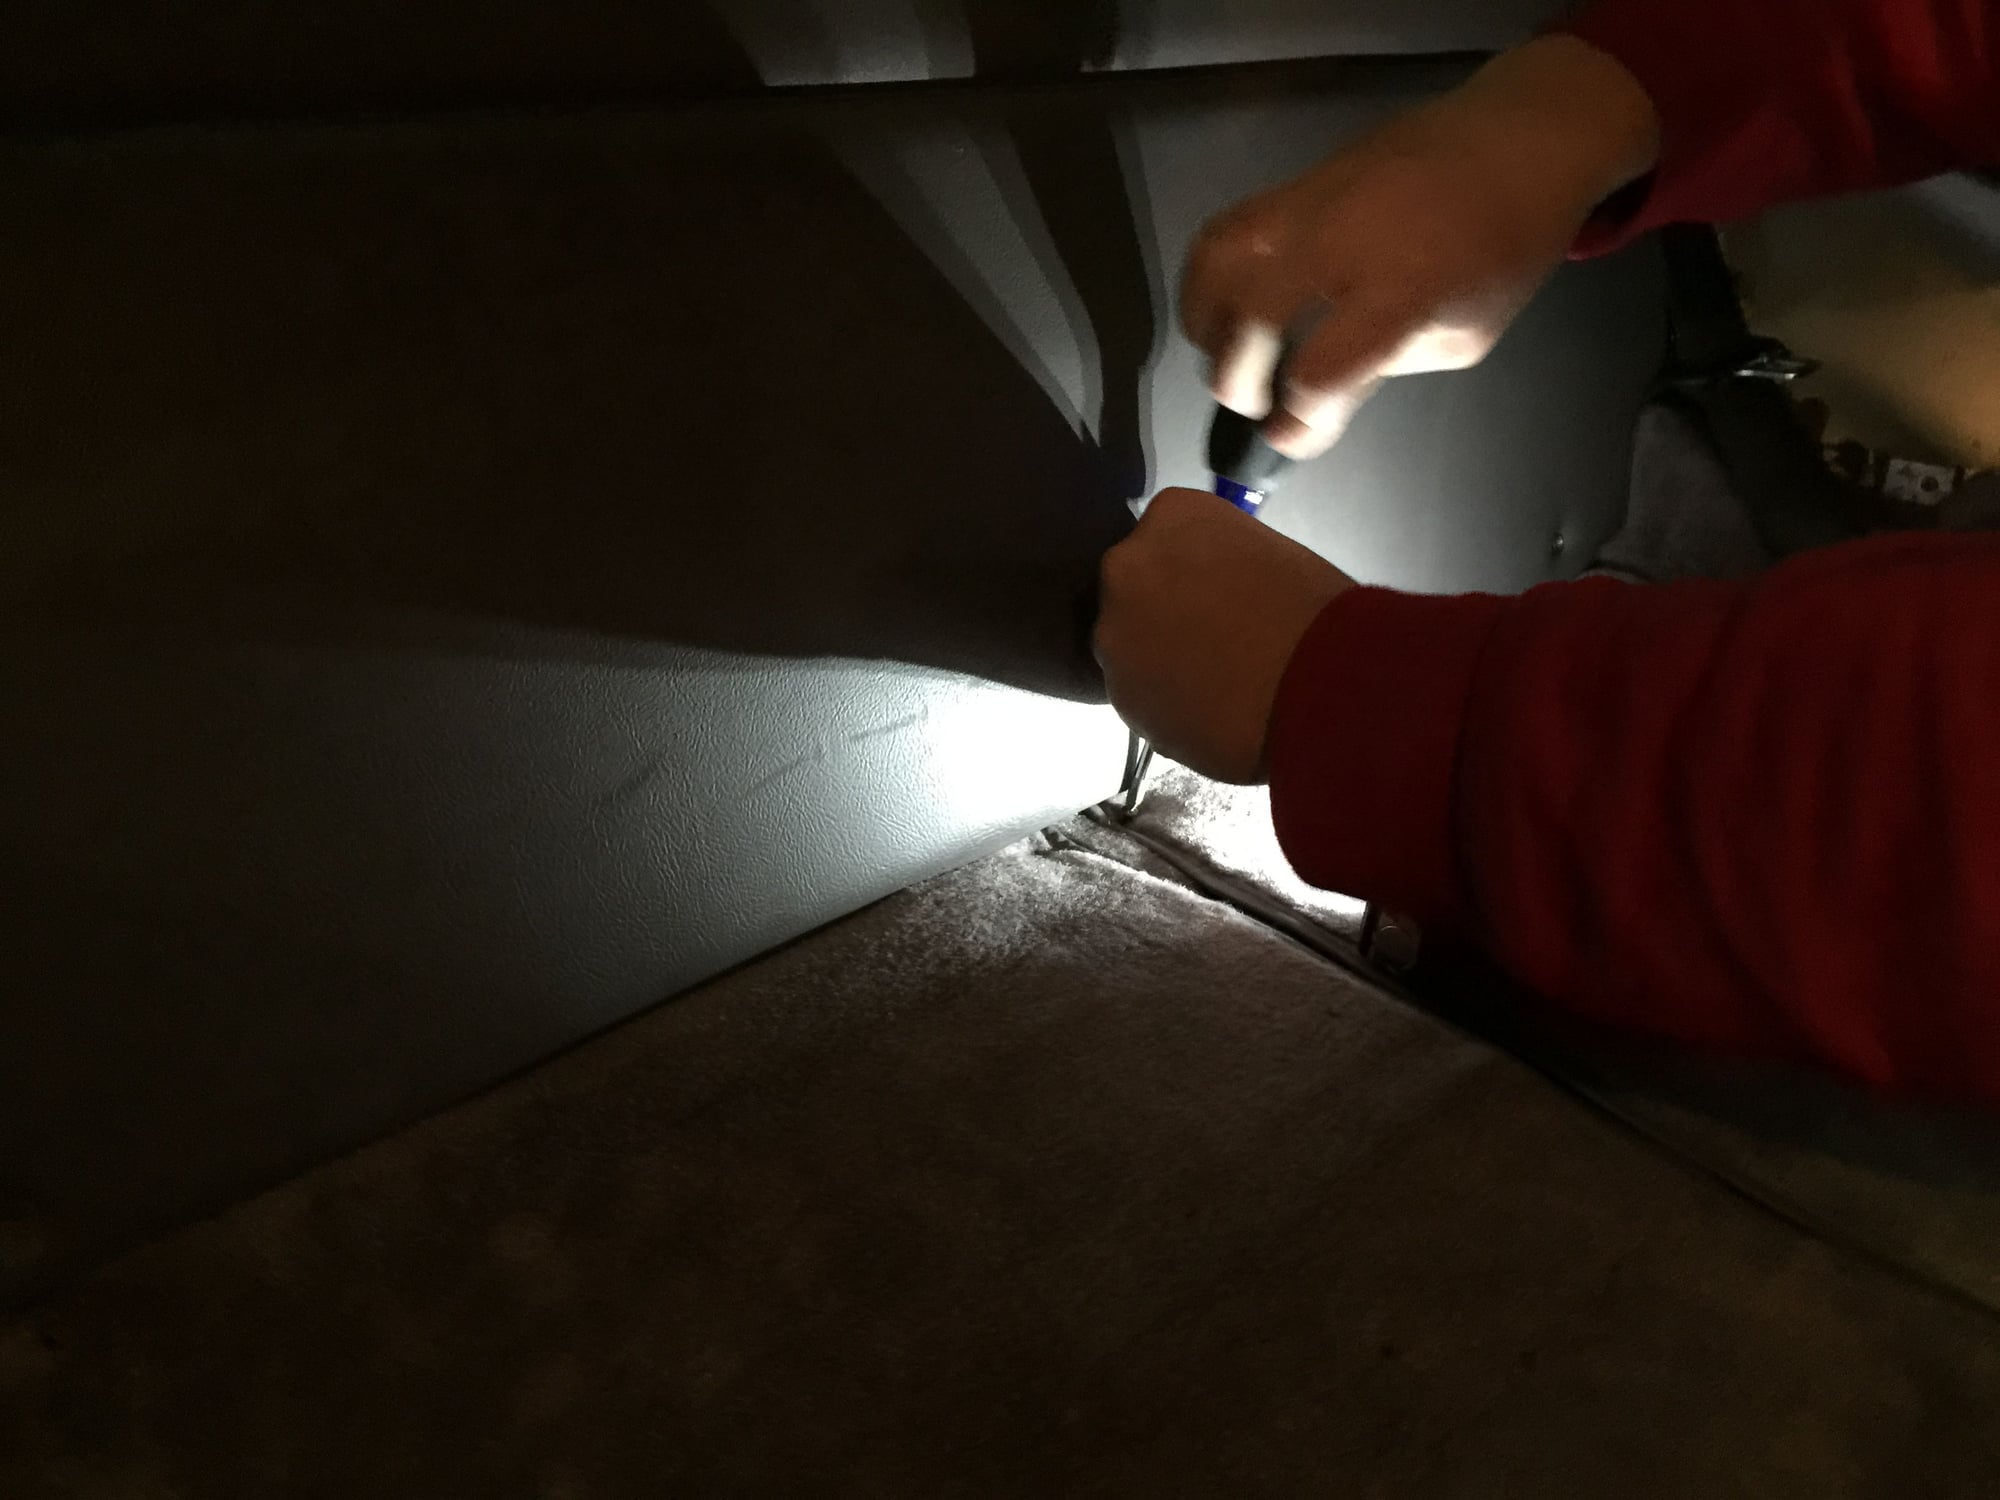
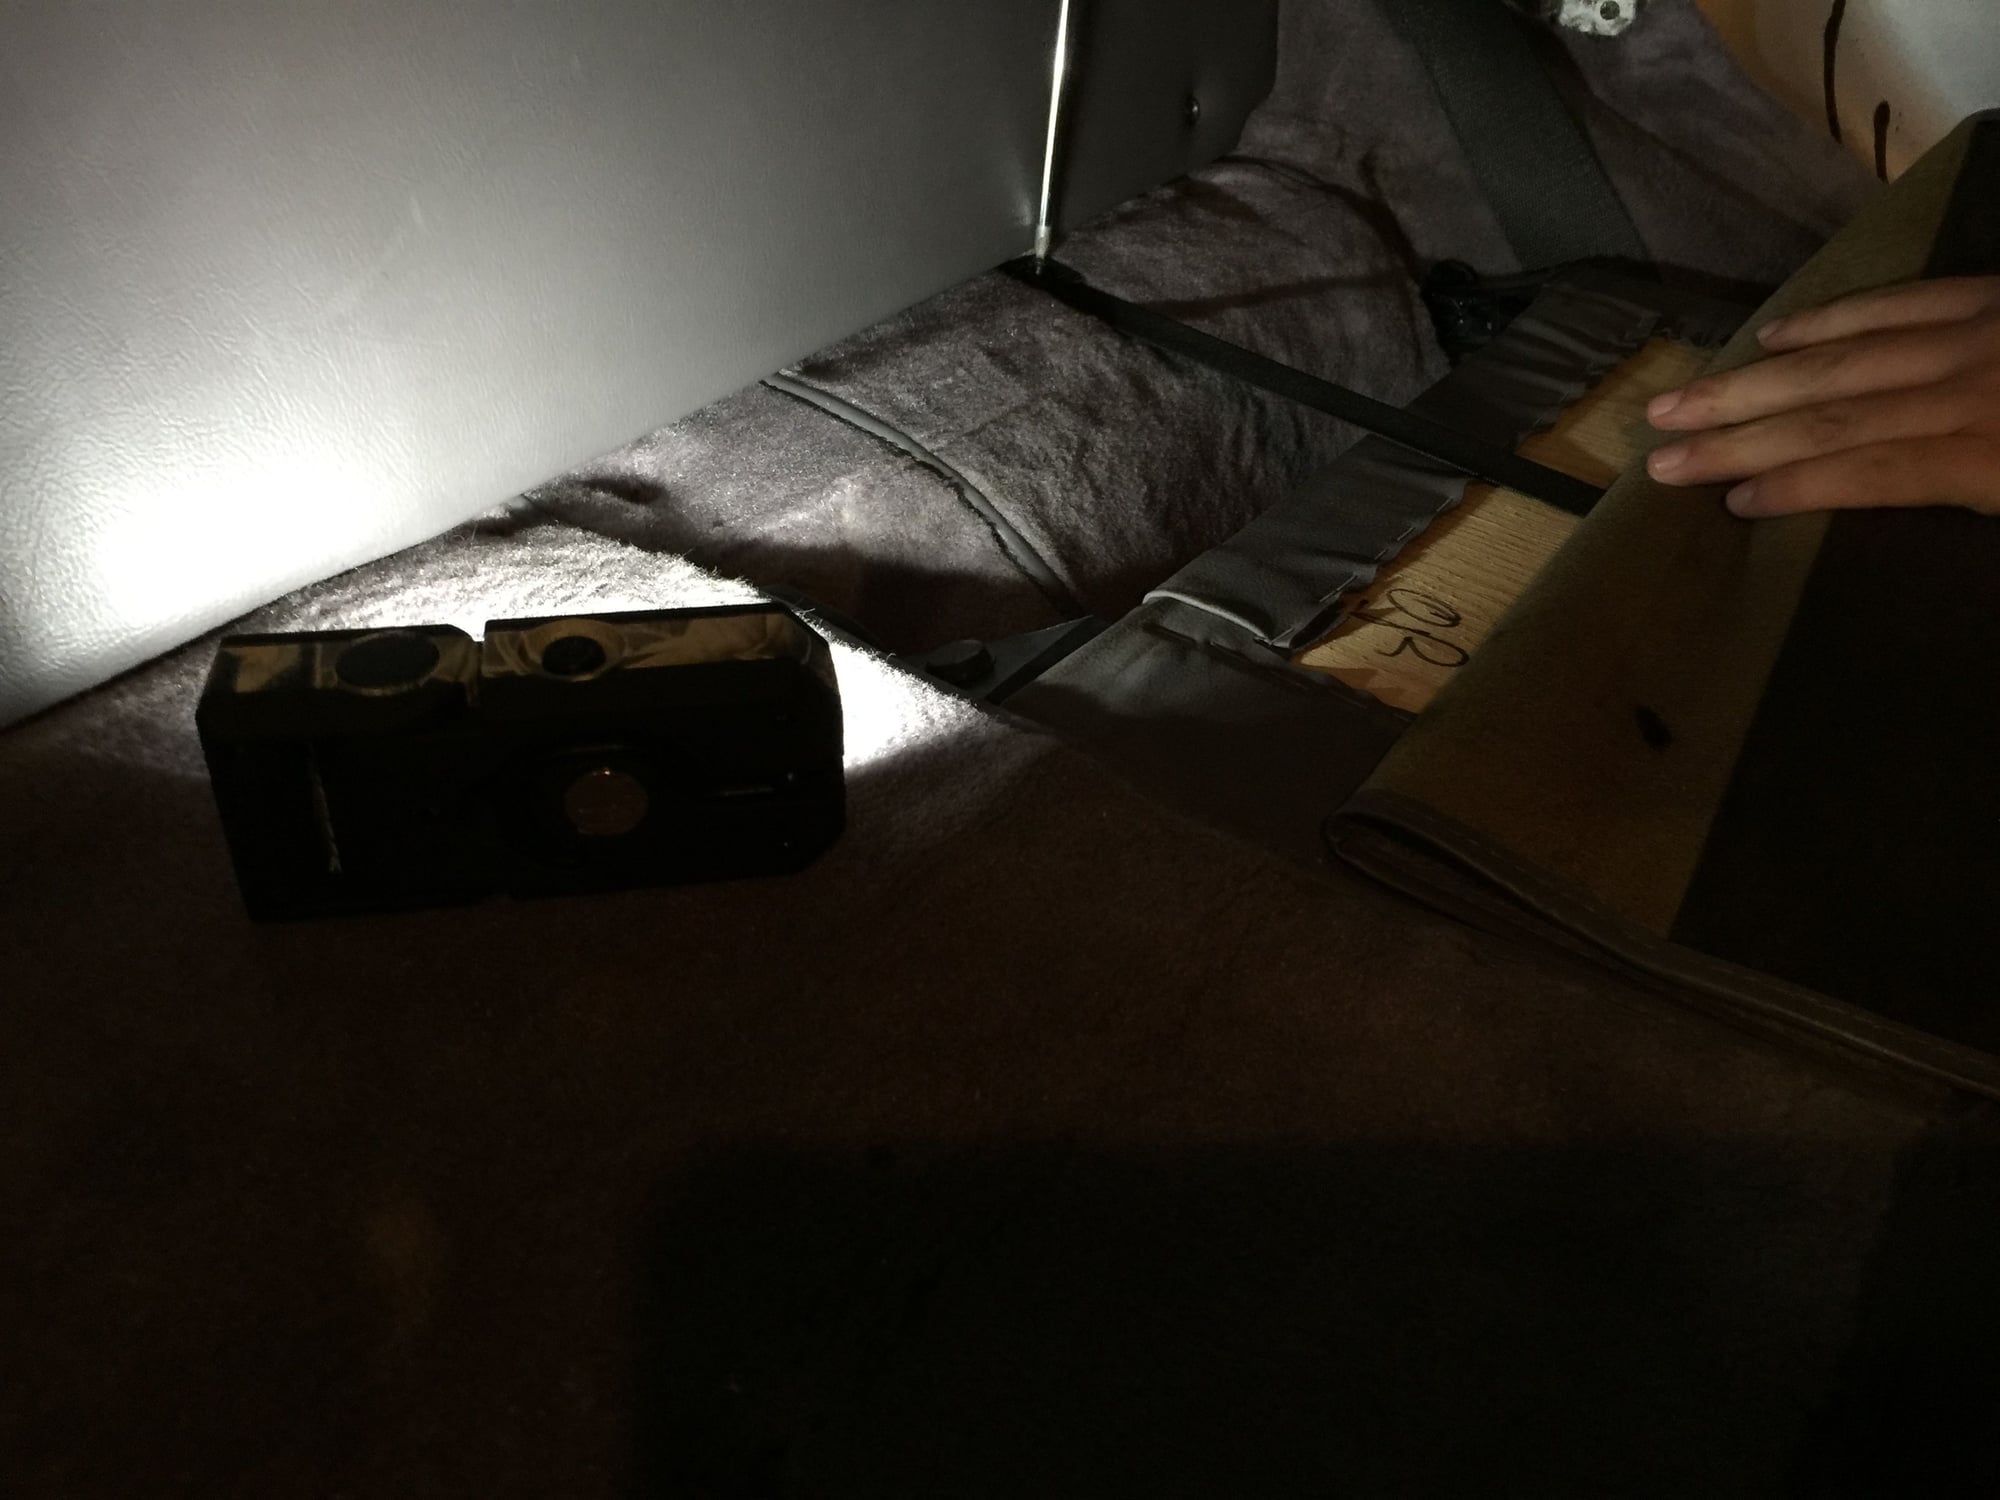
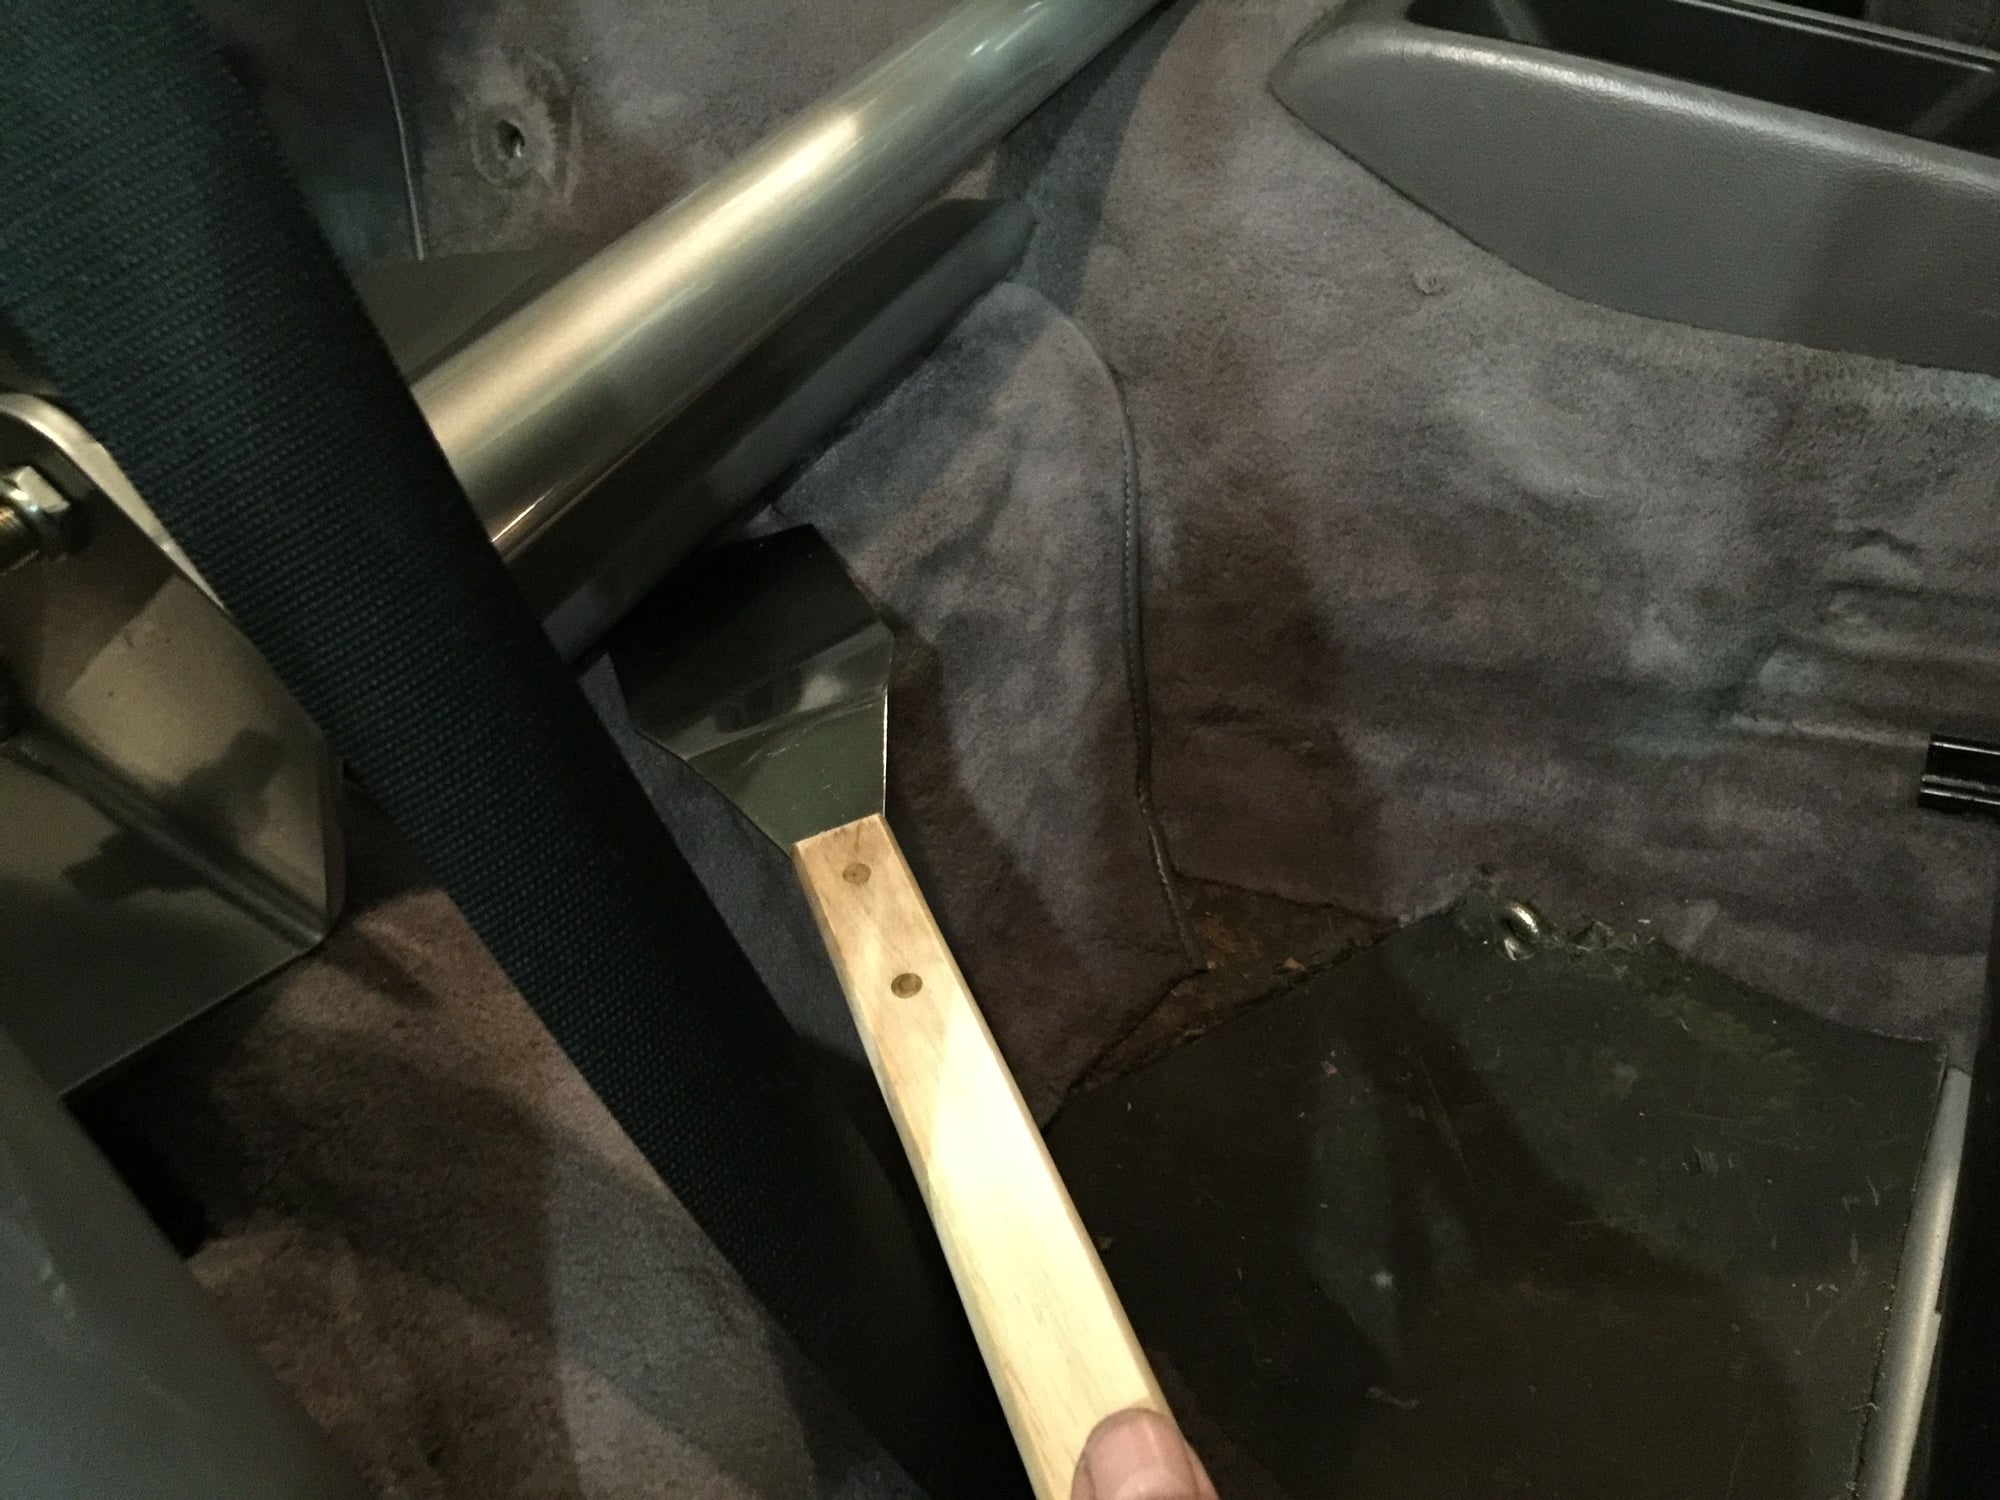
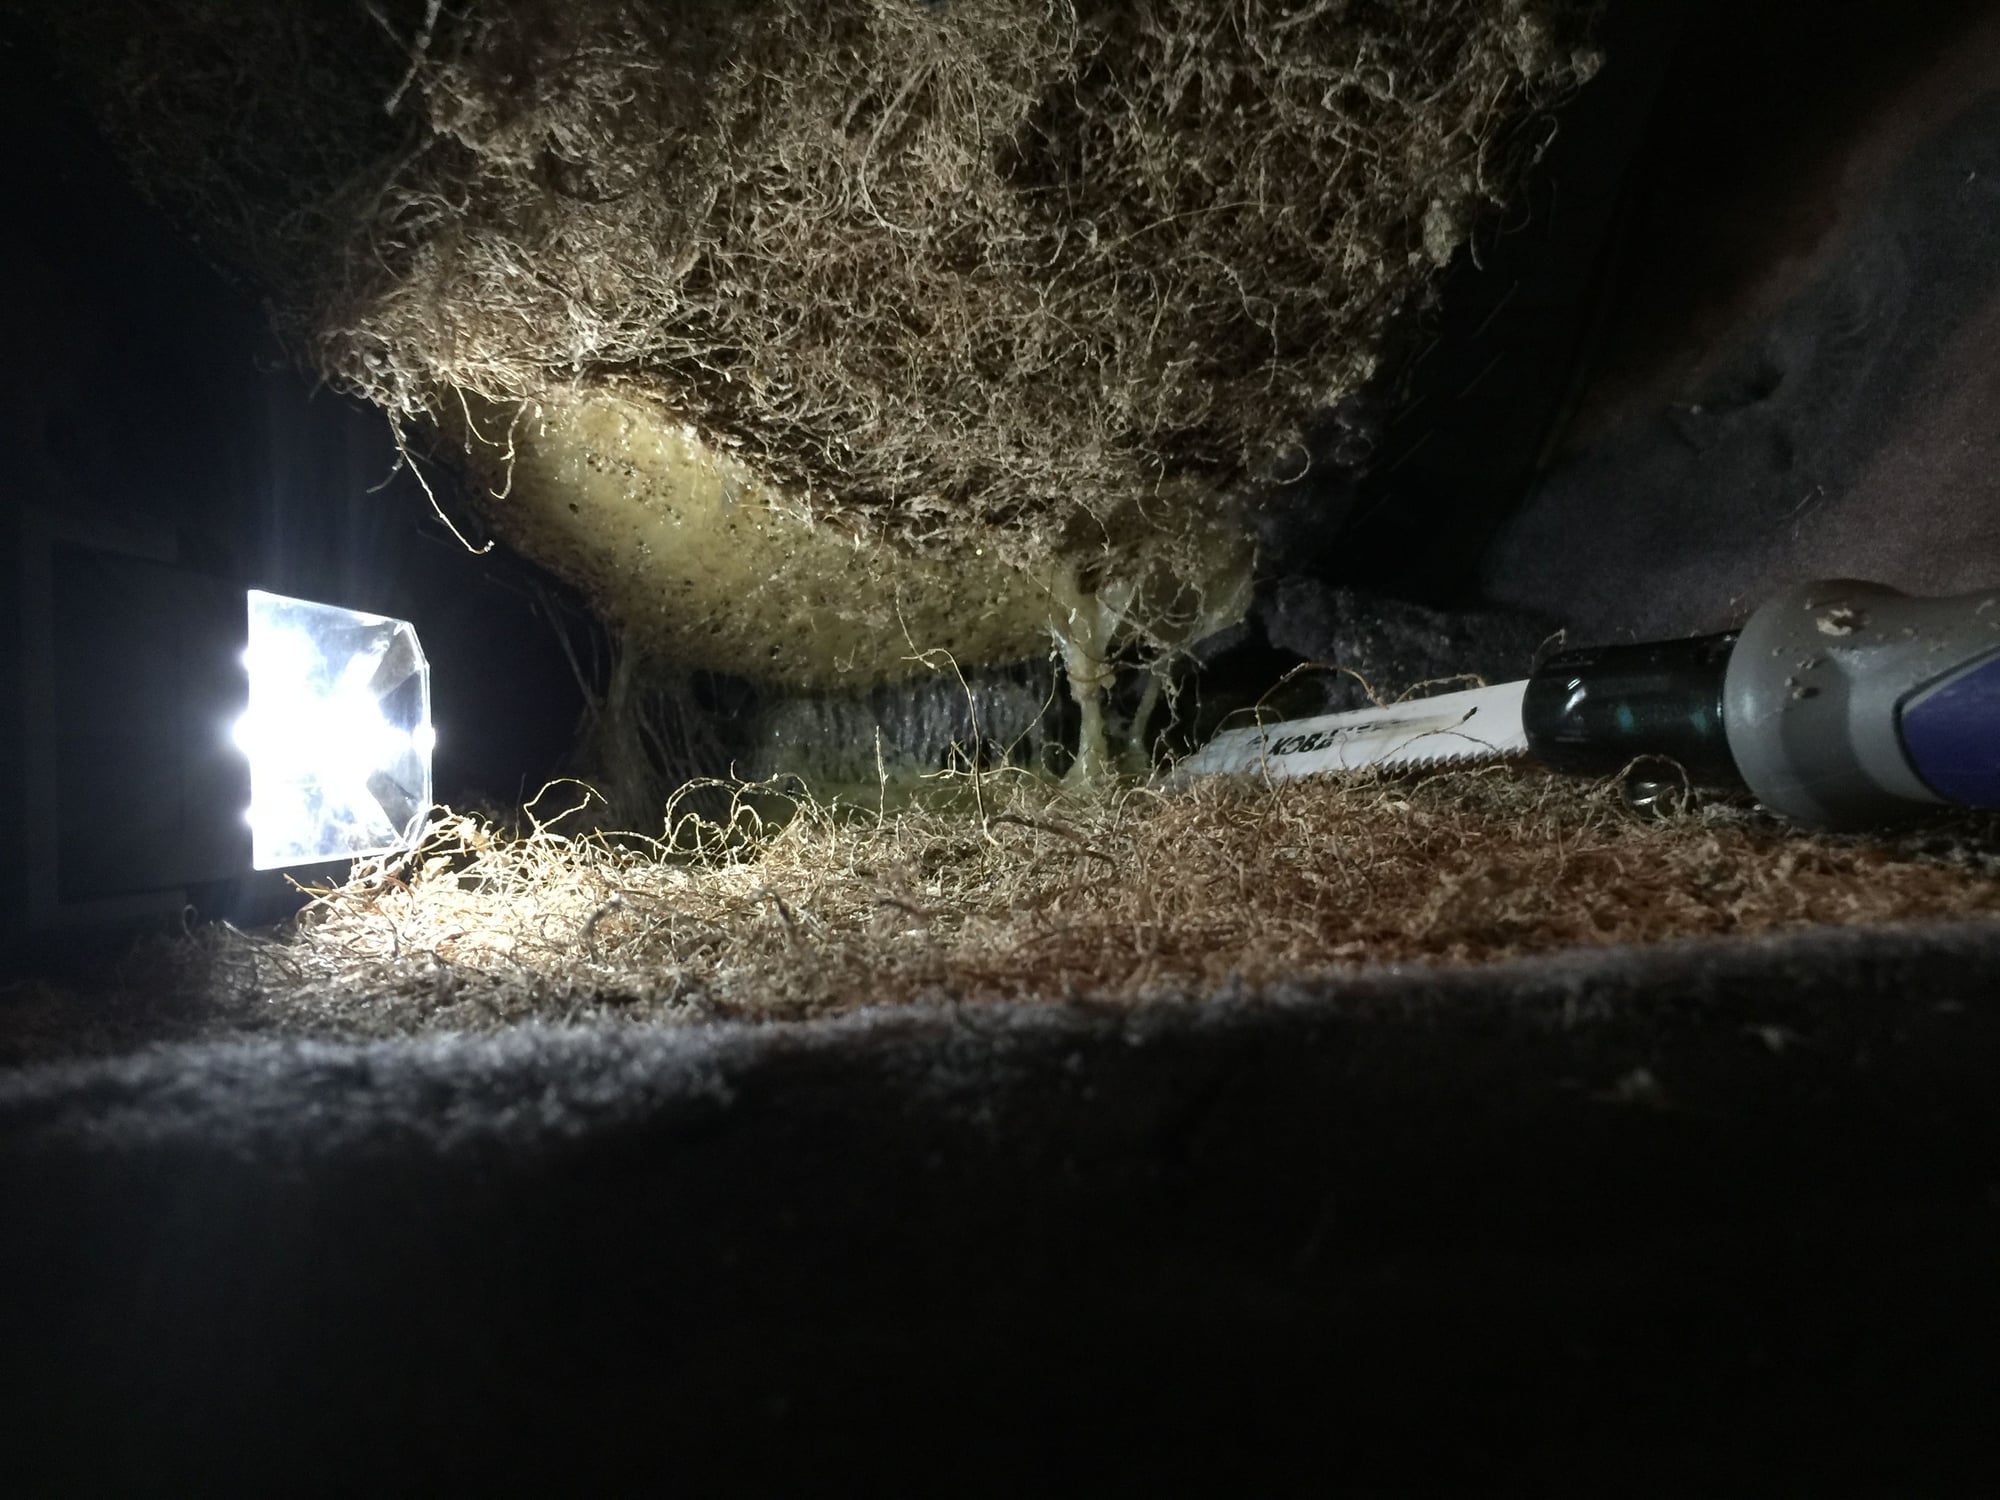
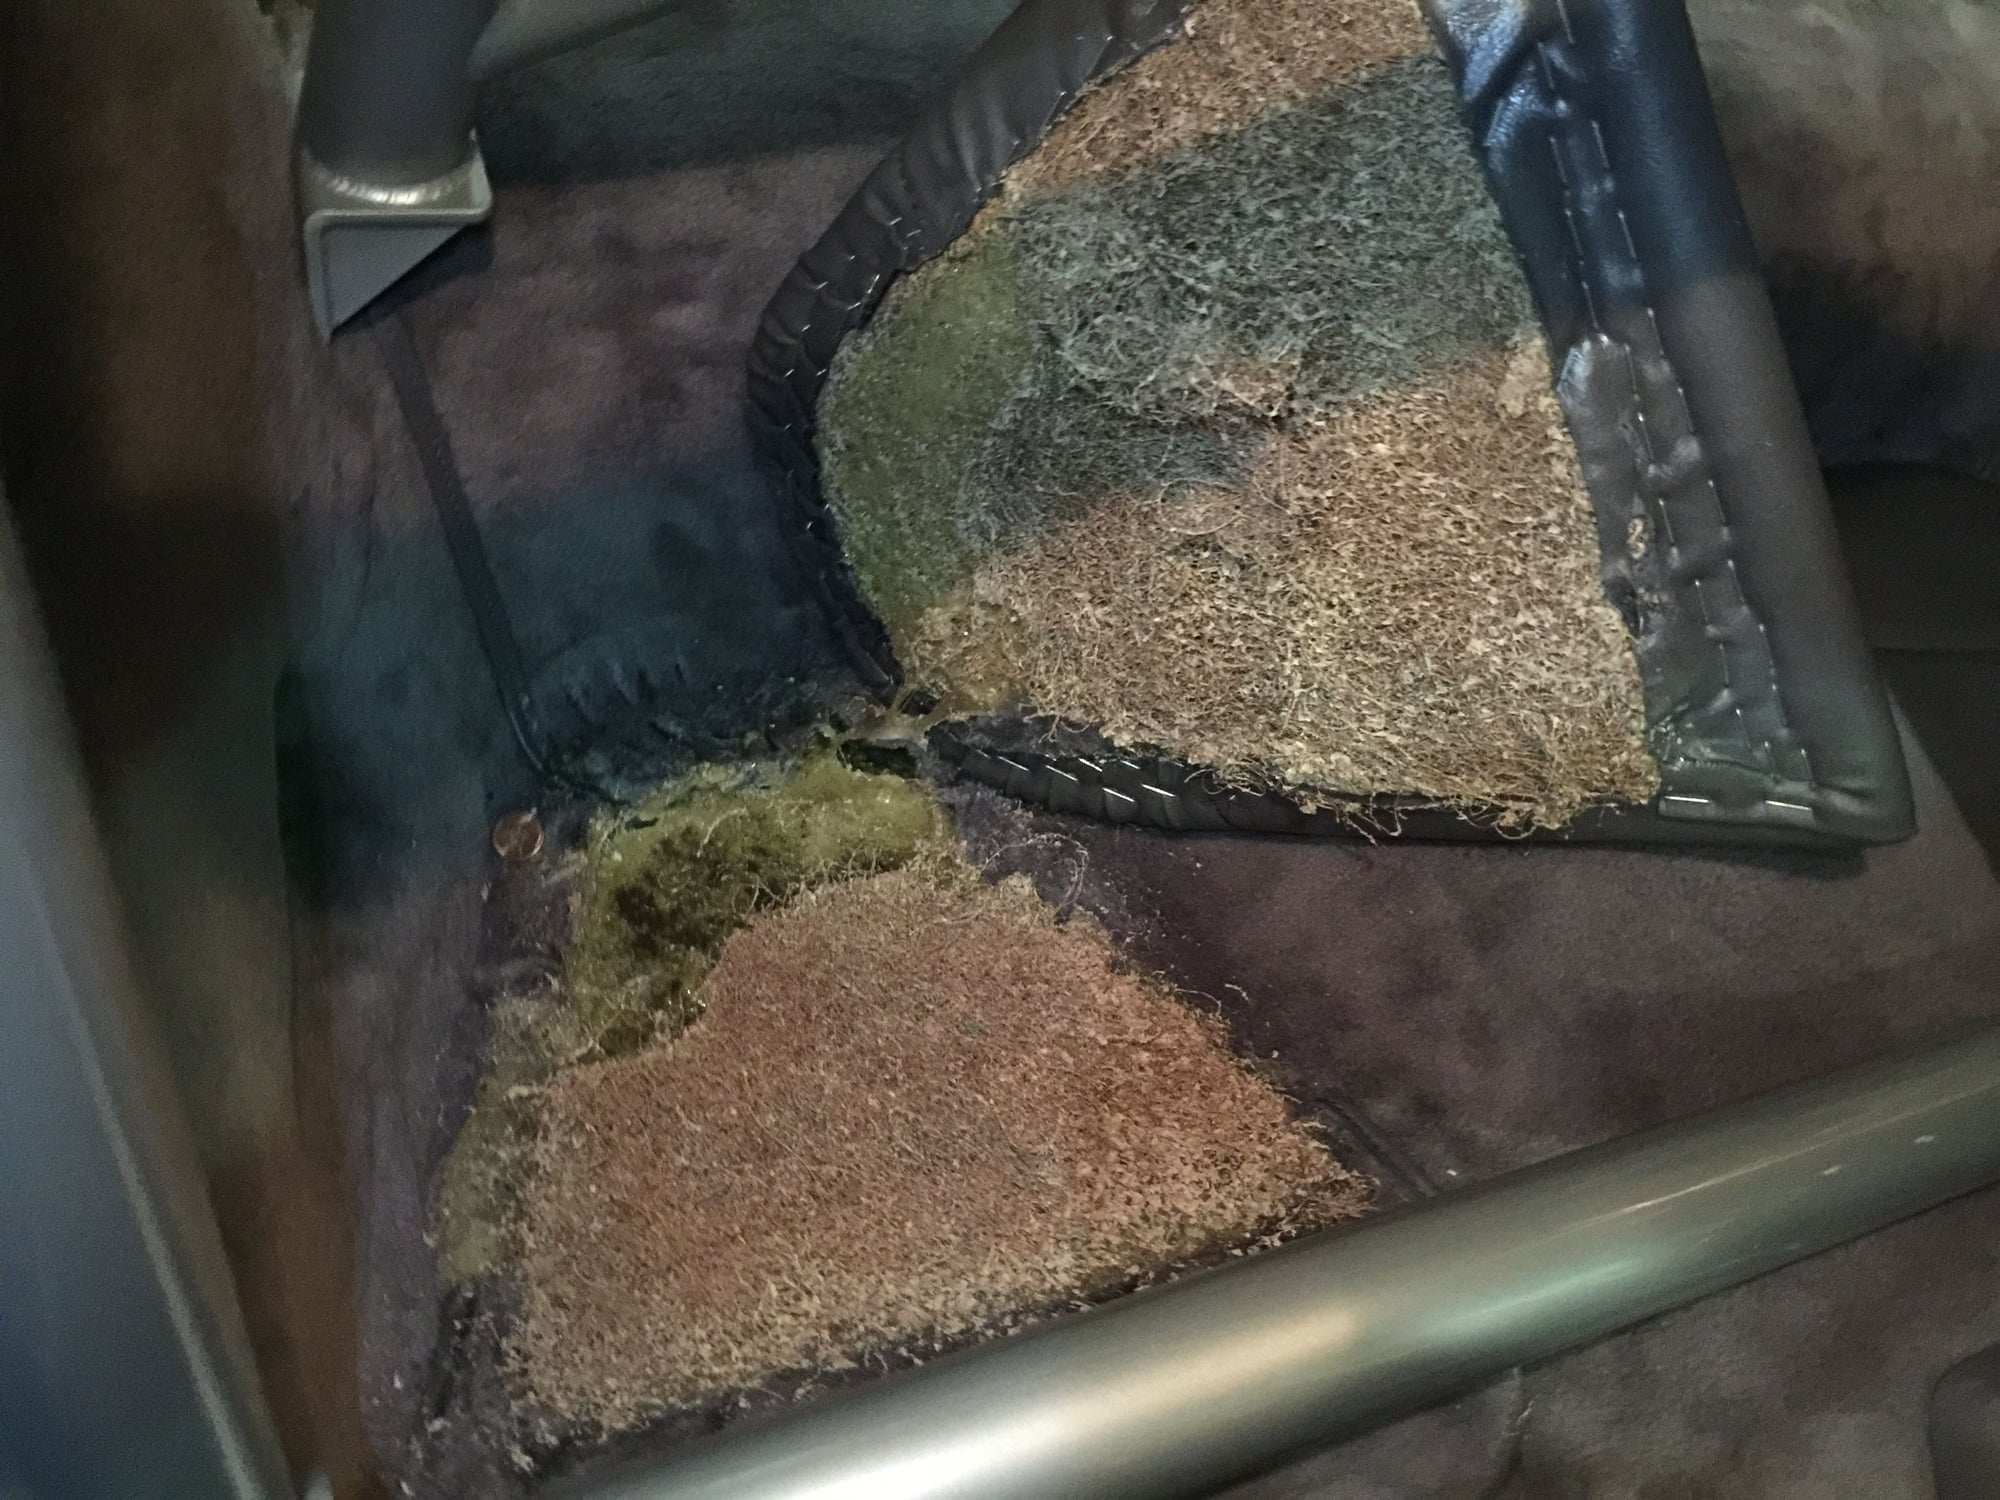
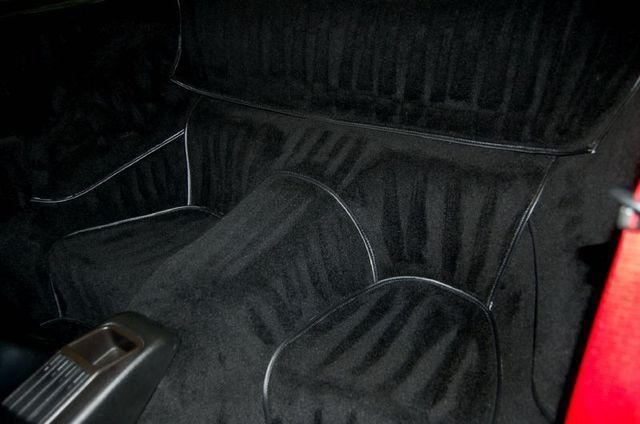
Step 1: Remove the seat backs first, particularly if you're planning on leaving the quarter panels in with the front seat belts running through them. Removing the seat-backs will be more difficult if you have already removed the quarter panels and they're lying in your way. I found this fifteen year old thread very helpful for removing the seat backs. https://rennlist.com/forums/993-foru...oval-help.html Particularly Jebia's post at Post #7 recommending an impact screw driver. Also this short thread with a helpful response from the now banned Lopro. https://rennlist.com/forums/993-foru...k-removal.html A drag link socket may also work well, but you won't find one of these at your local HD or HF. You only need to remove each of the two large flat head outside screws (the in board side of the seats hinge on anchoring pins on either side of the half-moon bracket in the middle). Make sure your impact drive has a bit that fits snugly. Two or three good strikes on the impact driver with a club hammer (be sure to set the impact driver for counter-clockwise rotation), and the screws break free and come right out with a large flat head screwdriver. And as Lopro notes there are three small Phillips head screws at the rear of each of the seat backs securing the seats to the rear parcel shelf (one at each corner in the carpeting, and one in the middle securing the elasticized band). Once all of these screws are all out, with a little finesse the seat backs will slide right out from the inboard anchor pins. If you're also planning on removing the seat bottoms, now is the time. I simply used a long sharp spatula and a hand saw and it took me about ten minutes to cut through the glue and insulation and remove each of the seat bottoms.
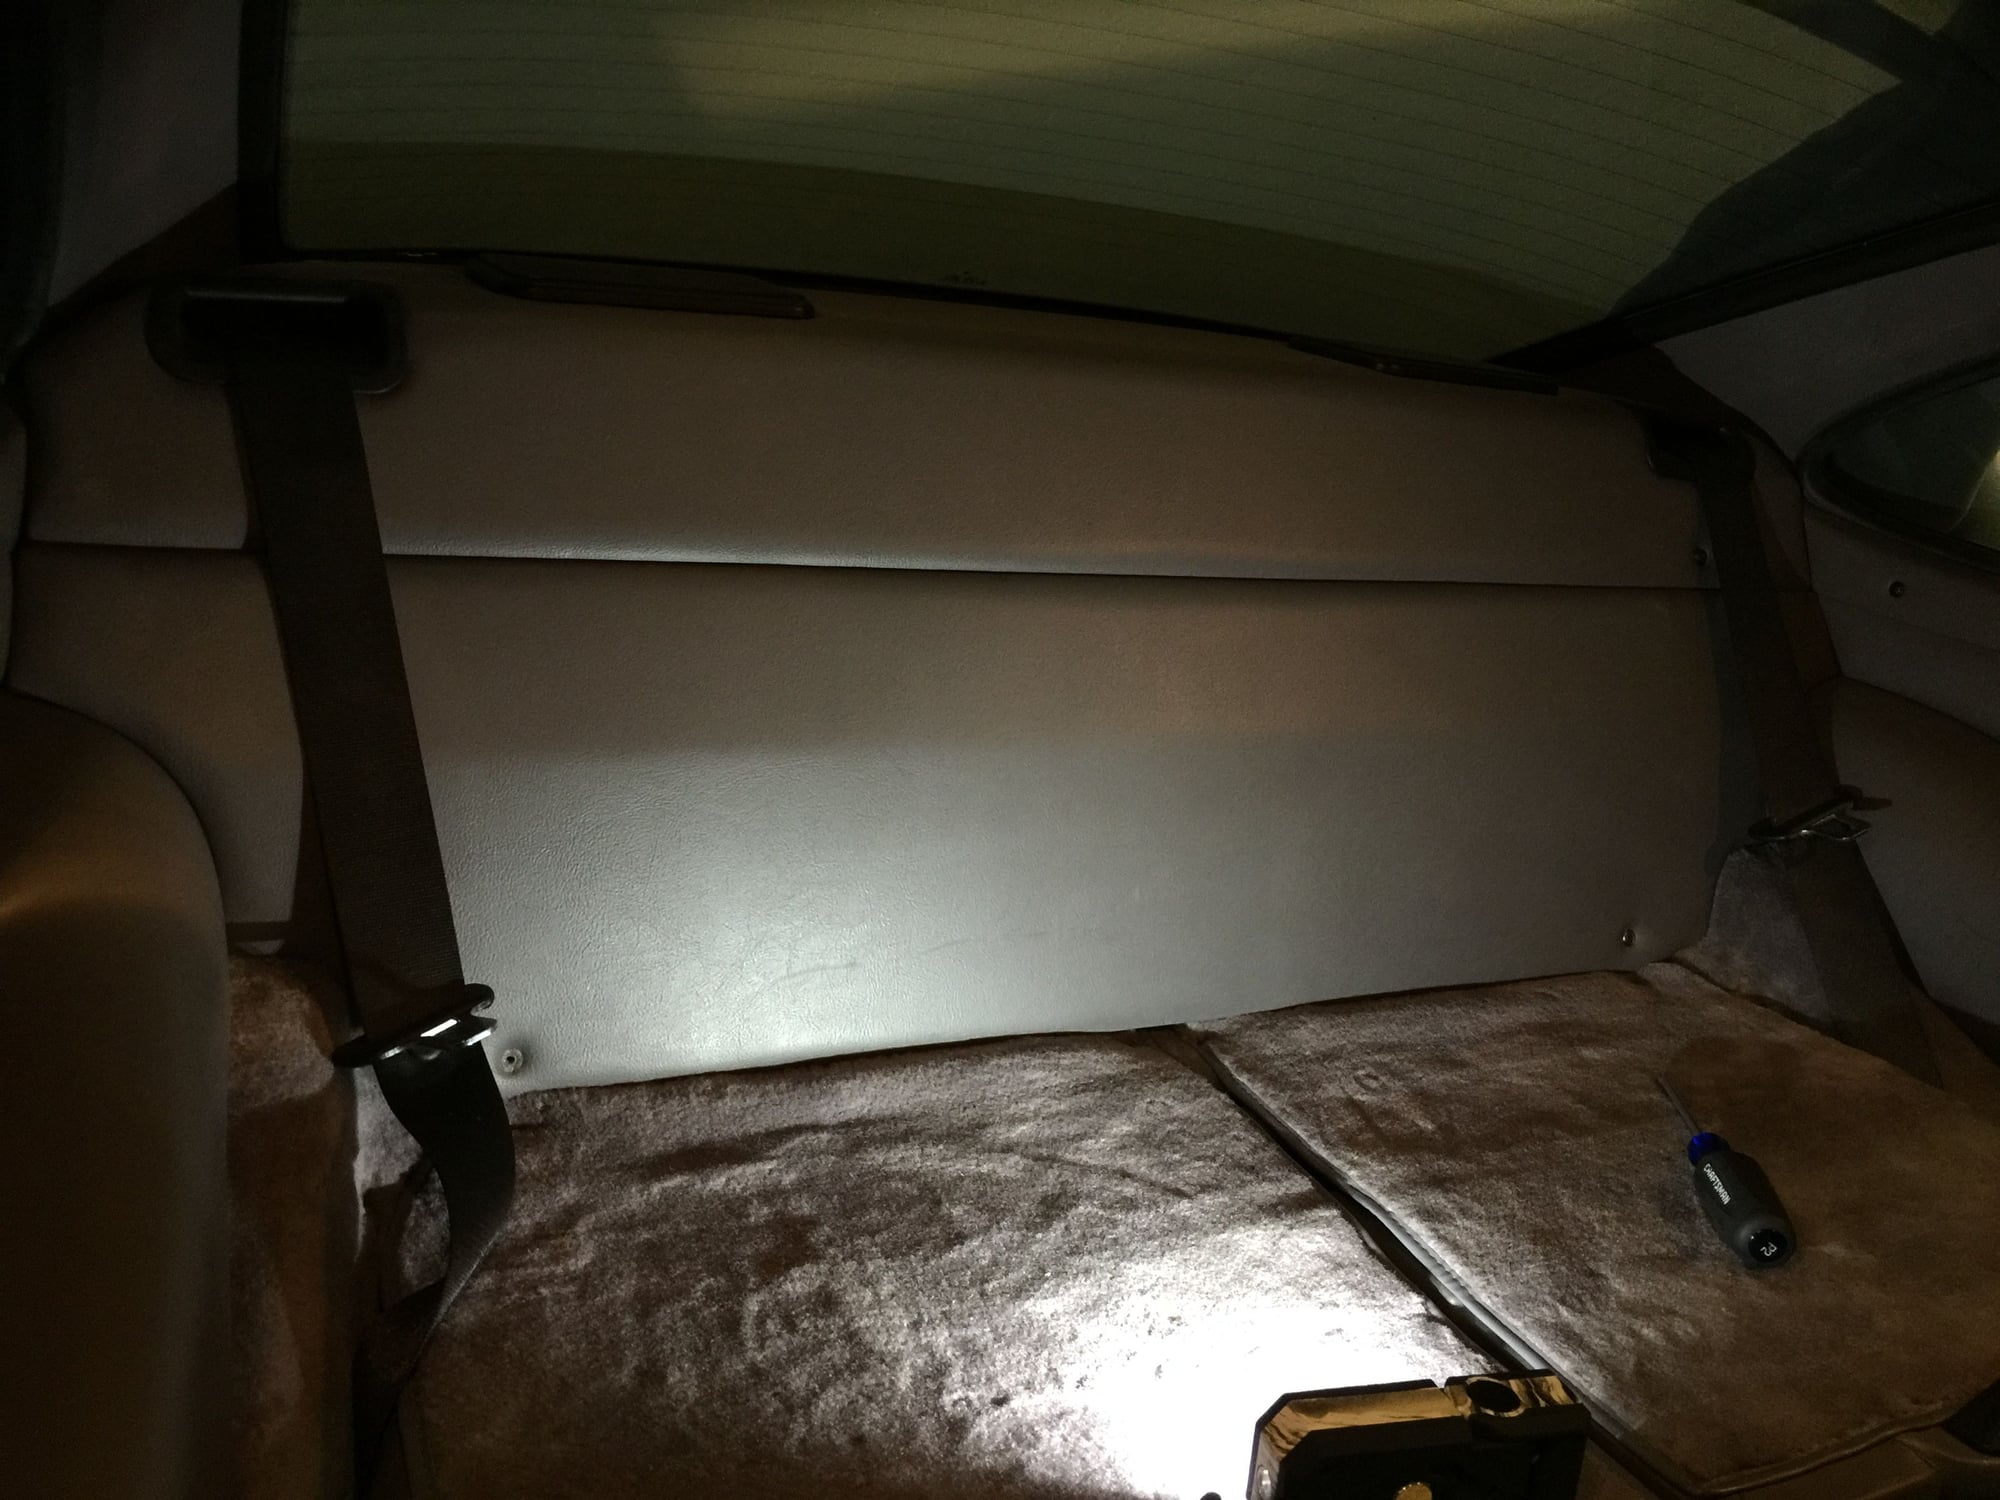
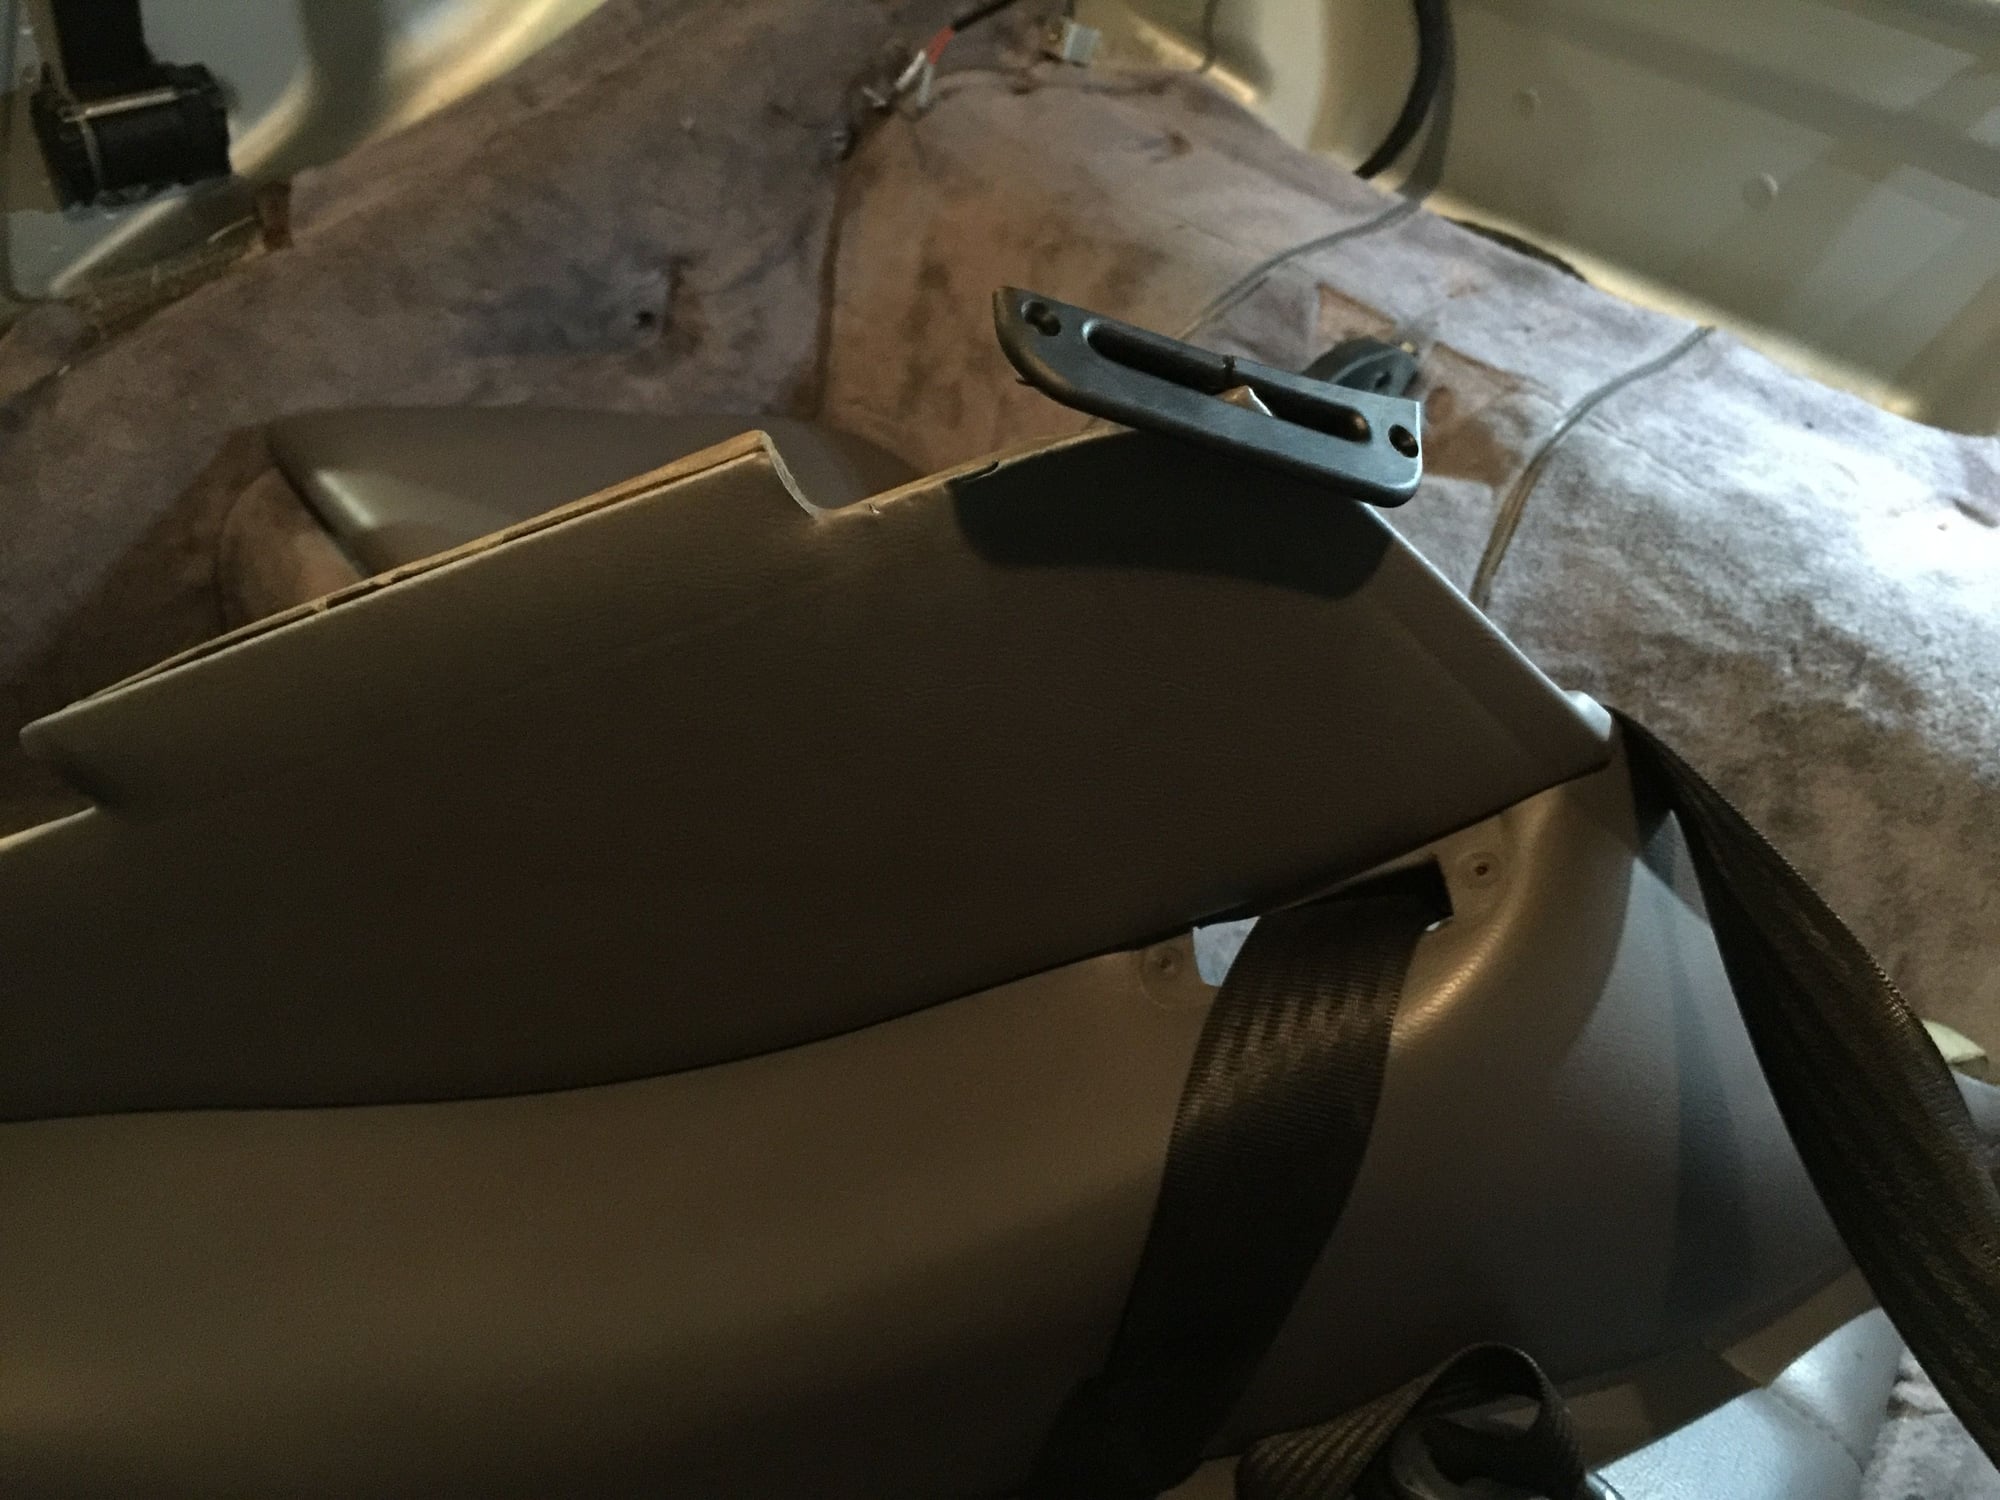
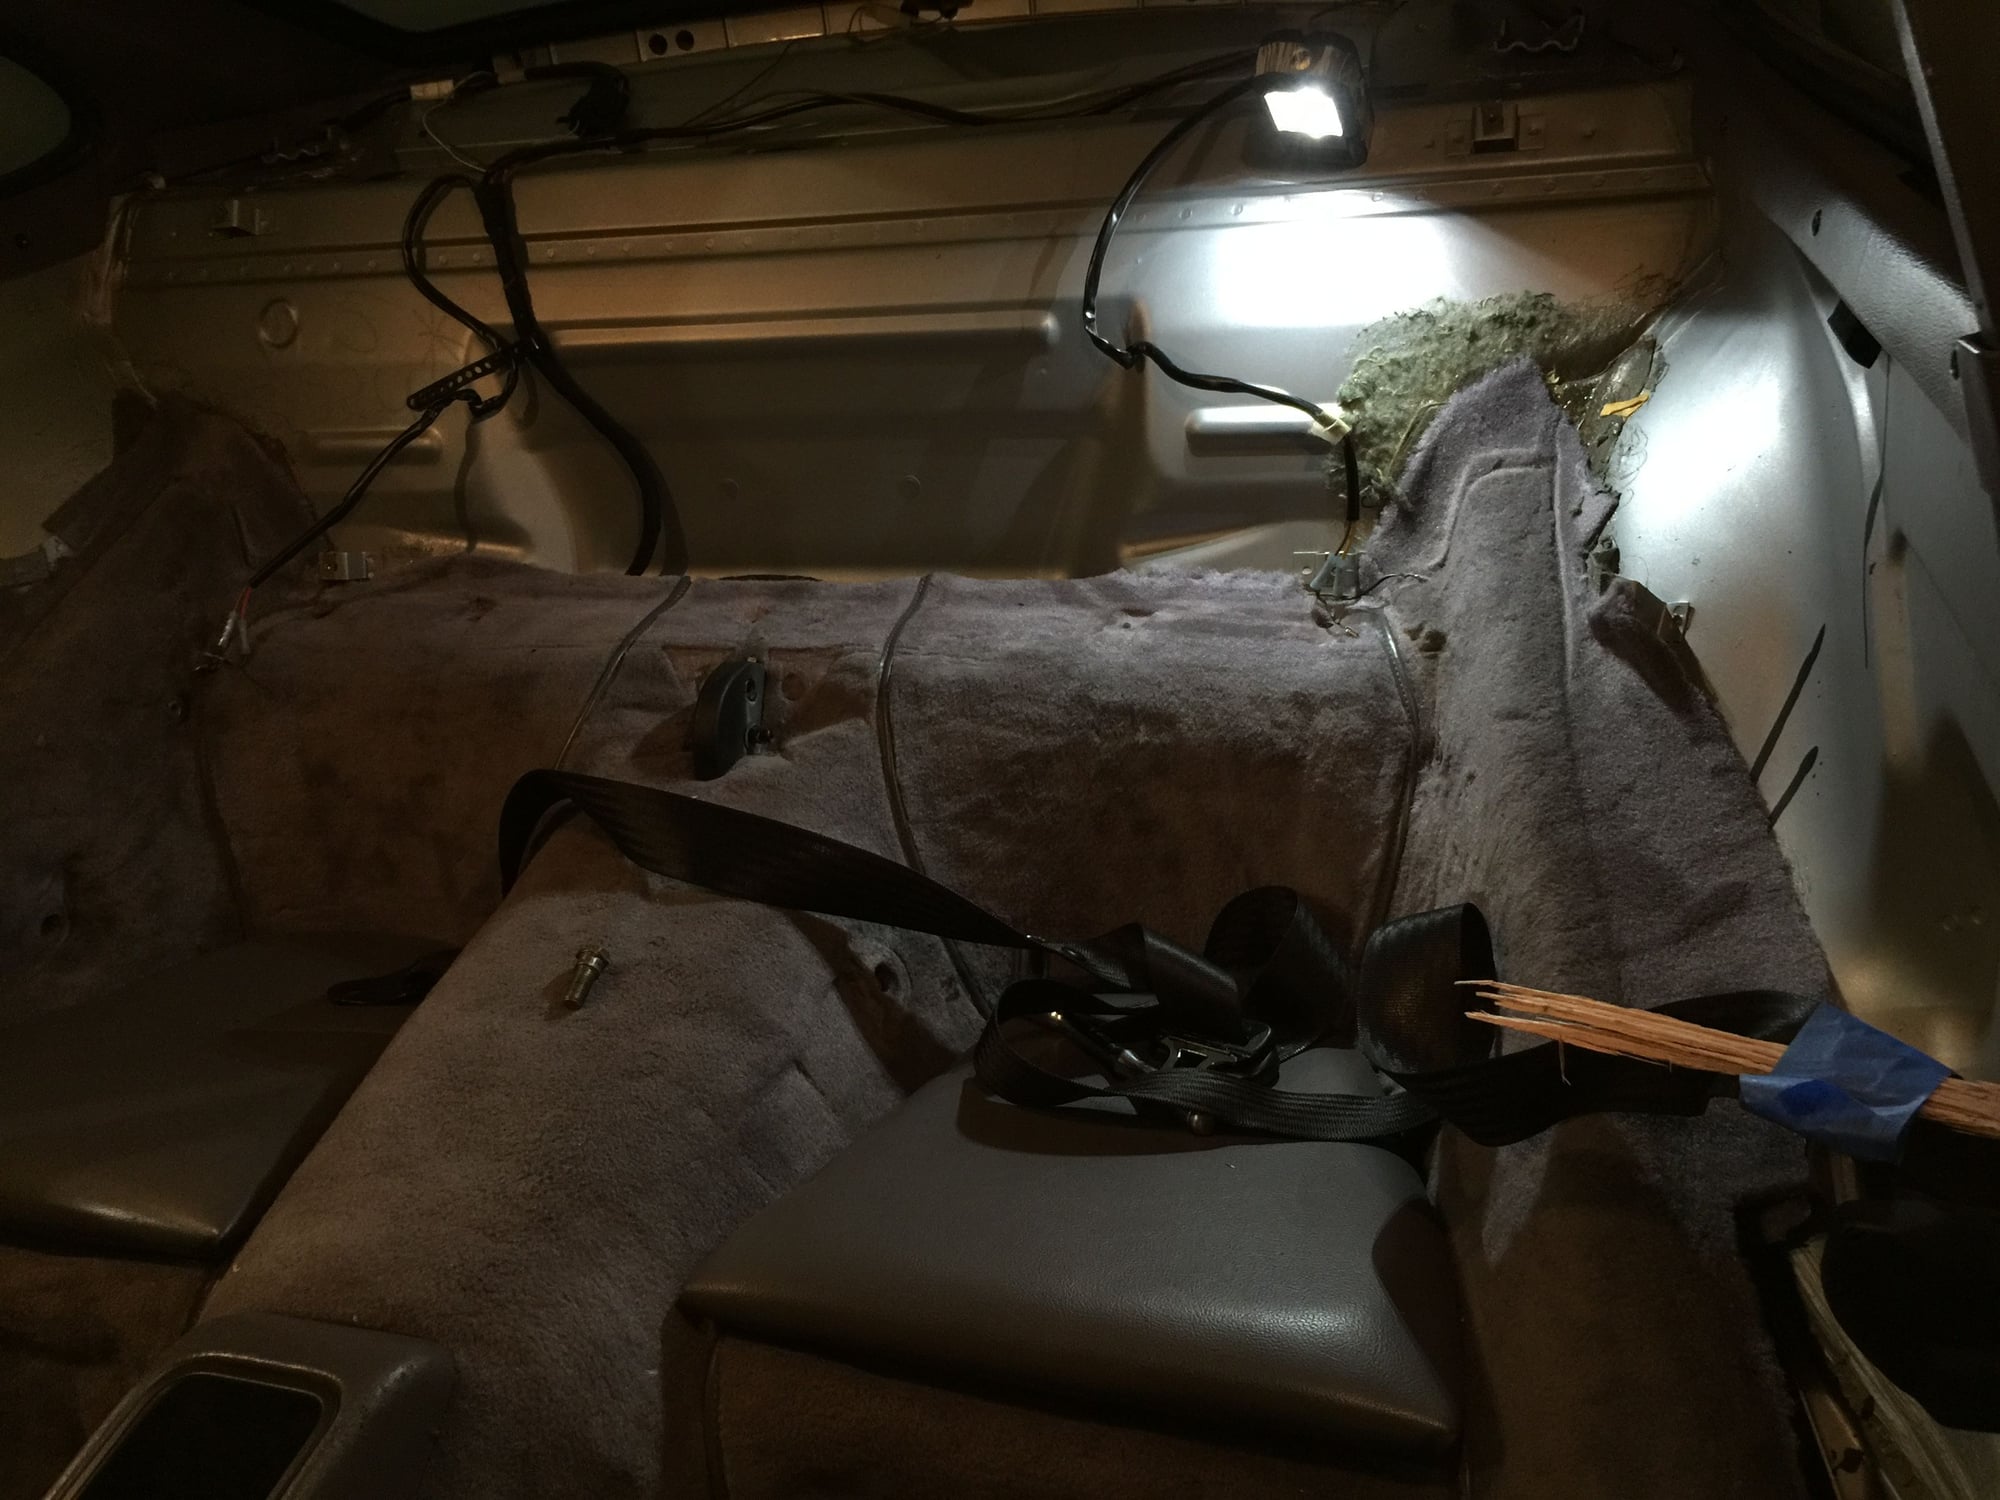
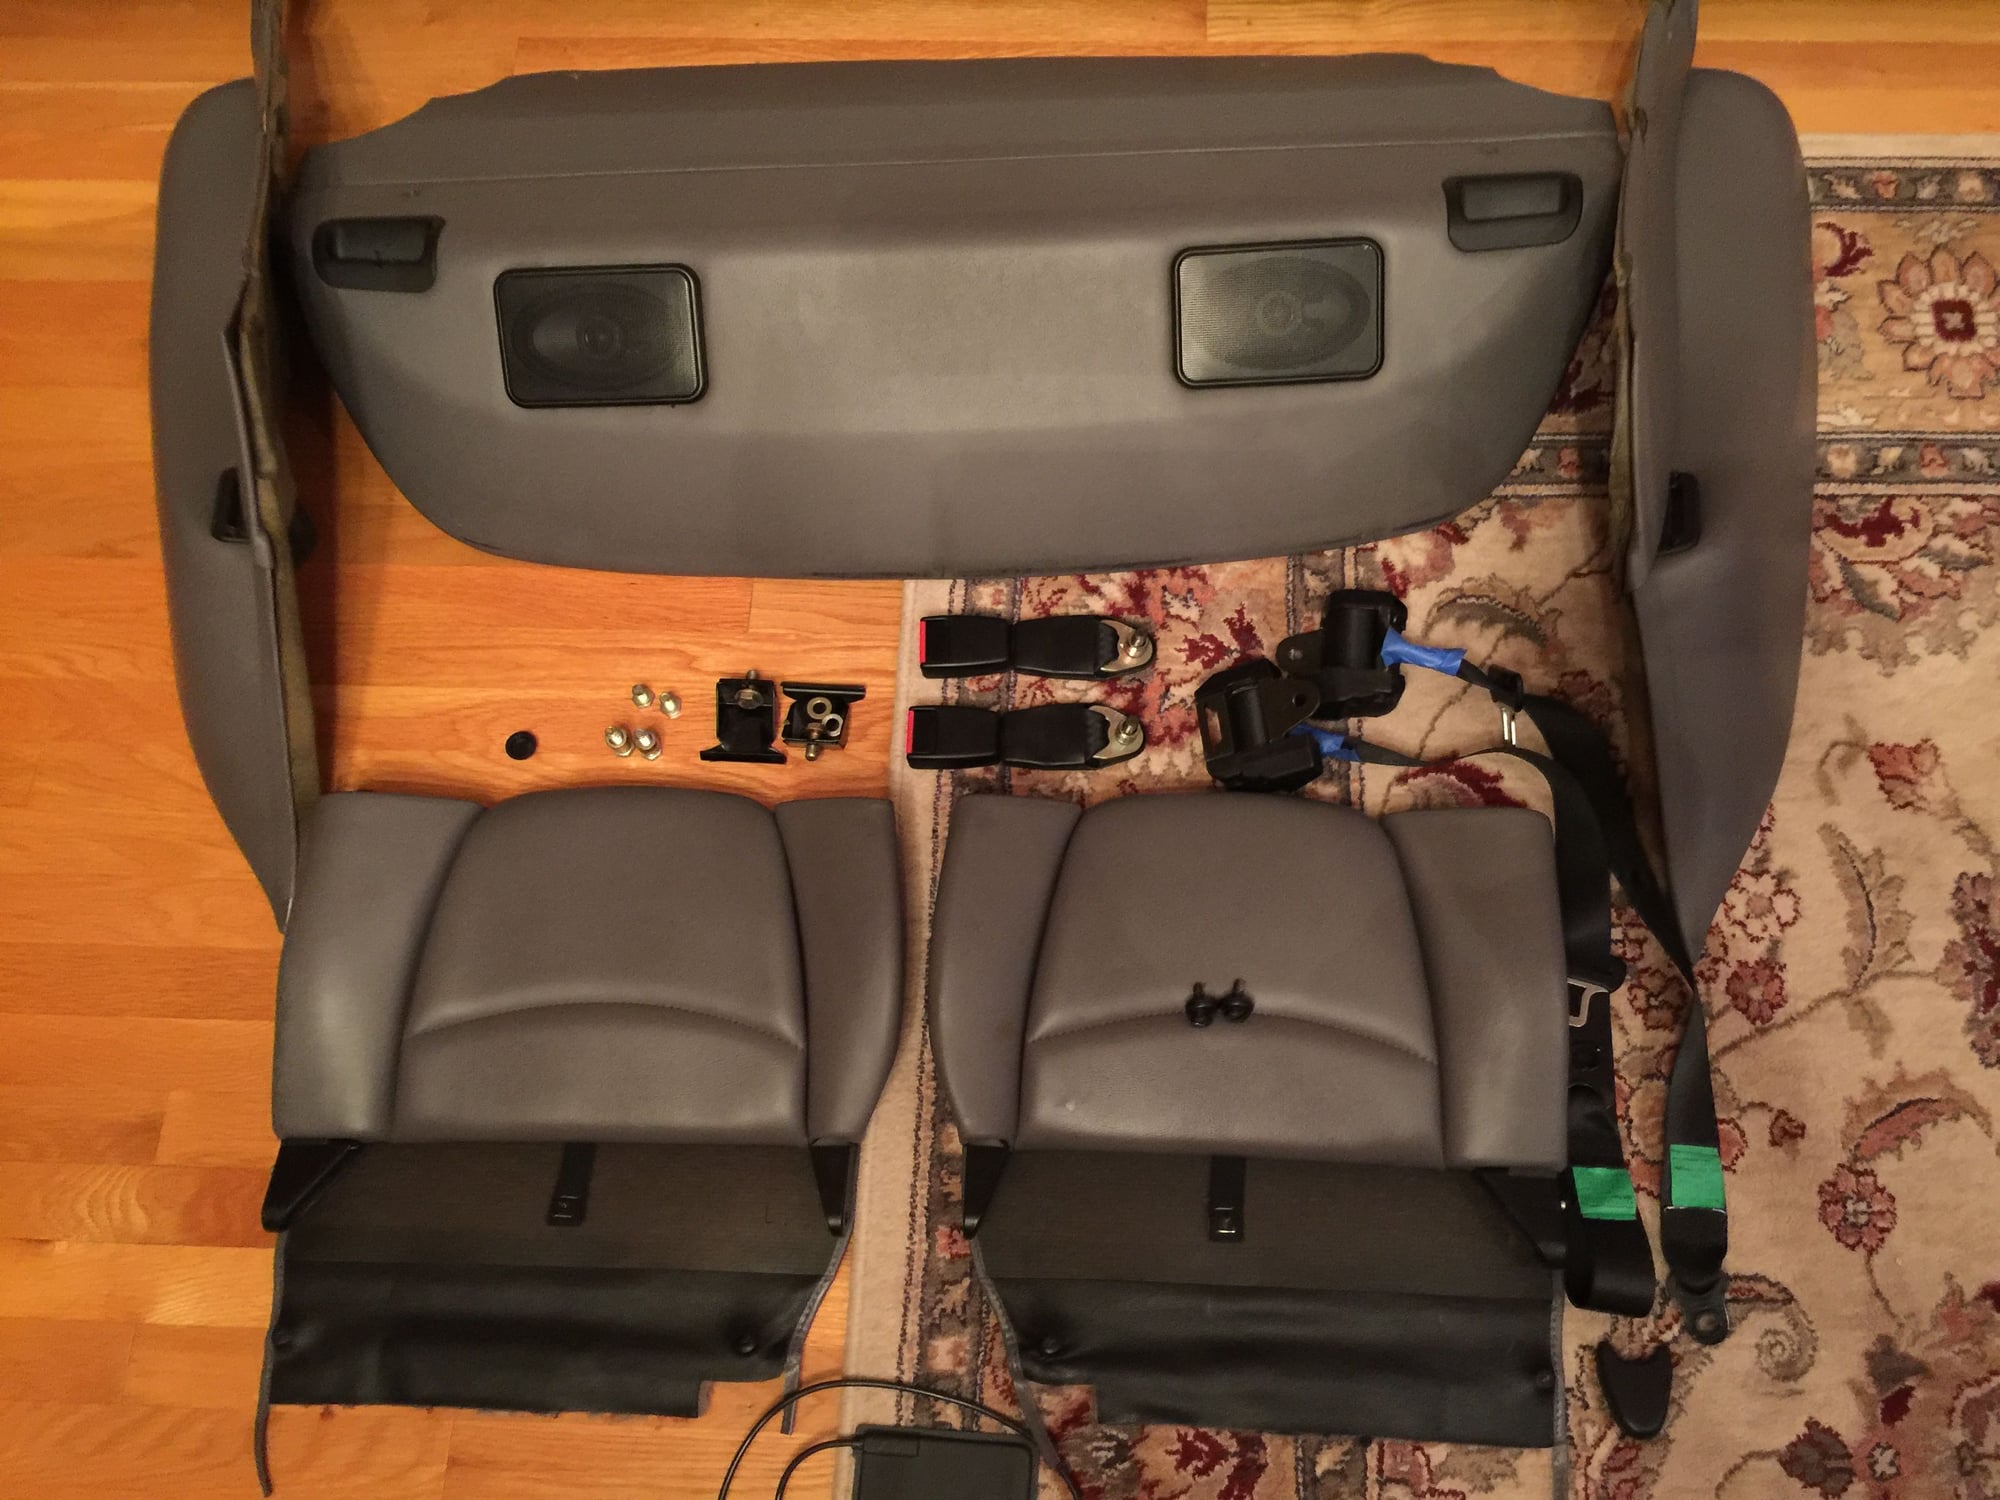
Step 2: Once the seat-backs are out you can begin removal of the interior rear quarter upholstery panels. To remove the quarter panels. you must first remove each of the trim pieces under the left and right rear windows. Simply unscrew each of the 4 Philips head screws on each trim and remove the trim. Next unscrew the four screws securing the rear deck (two are positioned at the base in each corner, and two are hidden above behind the rear seat belt straps). Raise the rear deck up 4" or so and the panels will be free to pull right out. There's a retaining clip on each fender so pull up gently to release the panels. If you want to remove the rear shelf entirely (13 lbs.), or if you want to remove the vestigial rear seat belts (4 lbs.) for additional weight savings, simply lift up with the 4 screws removed and the rear deck comes right out. I was surprised how much the rear shelf weighs (24 lbs.). As noted, you can either completely remove the quarter panels or simply push them toward the back of the car with the seat-belts still passing though the panels. I opted to remove the rear quarter panels entirely, which requires disconnecting the front seat belts altogether. More on that below. I also opted to remove the rear deck as well. The DAS roll bar weighs 57 lbs. Eliminating the rear shelf (13 lbs.), rear seat backs (10.5 lbs.), rear seat bottoms (2 lbs.), rear quarter upholstery panels (6 lbs.) and rear seat belts (5 lbs.), window defroster ducts and some hardware (1 lb.), resulted in an offsetting reduction of 37.5 lbs. If you're not planning on reinstalling the quarter panels, reinstalling the trim pieces under the window before you begin installing the bar. It's easier to screw the trim pieces back in before the roll bar is installed, or you'll need a small ratcheting screwdriver and some yoga to reach a few of the screws. Another note on re-attaching the trim pieces. The retaining clips for the screws have a tendency to move around. I was able to move the clips freely, but if i had reinstalled the quarter panels this would have been a major PIA. Make sure all of the clips are properly aligned to accept the screws before you replace the quarter panels.
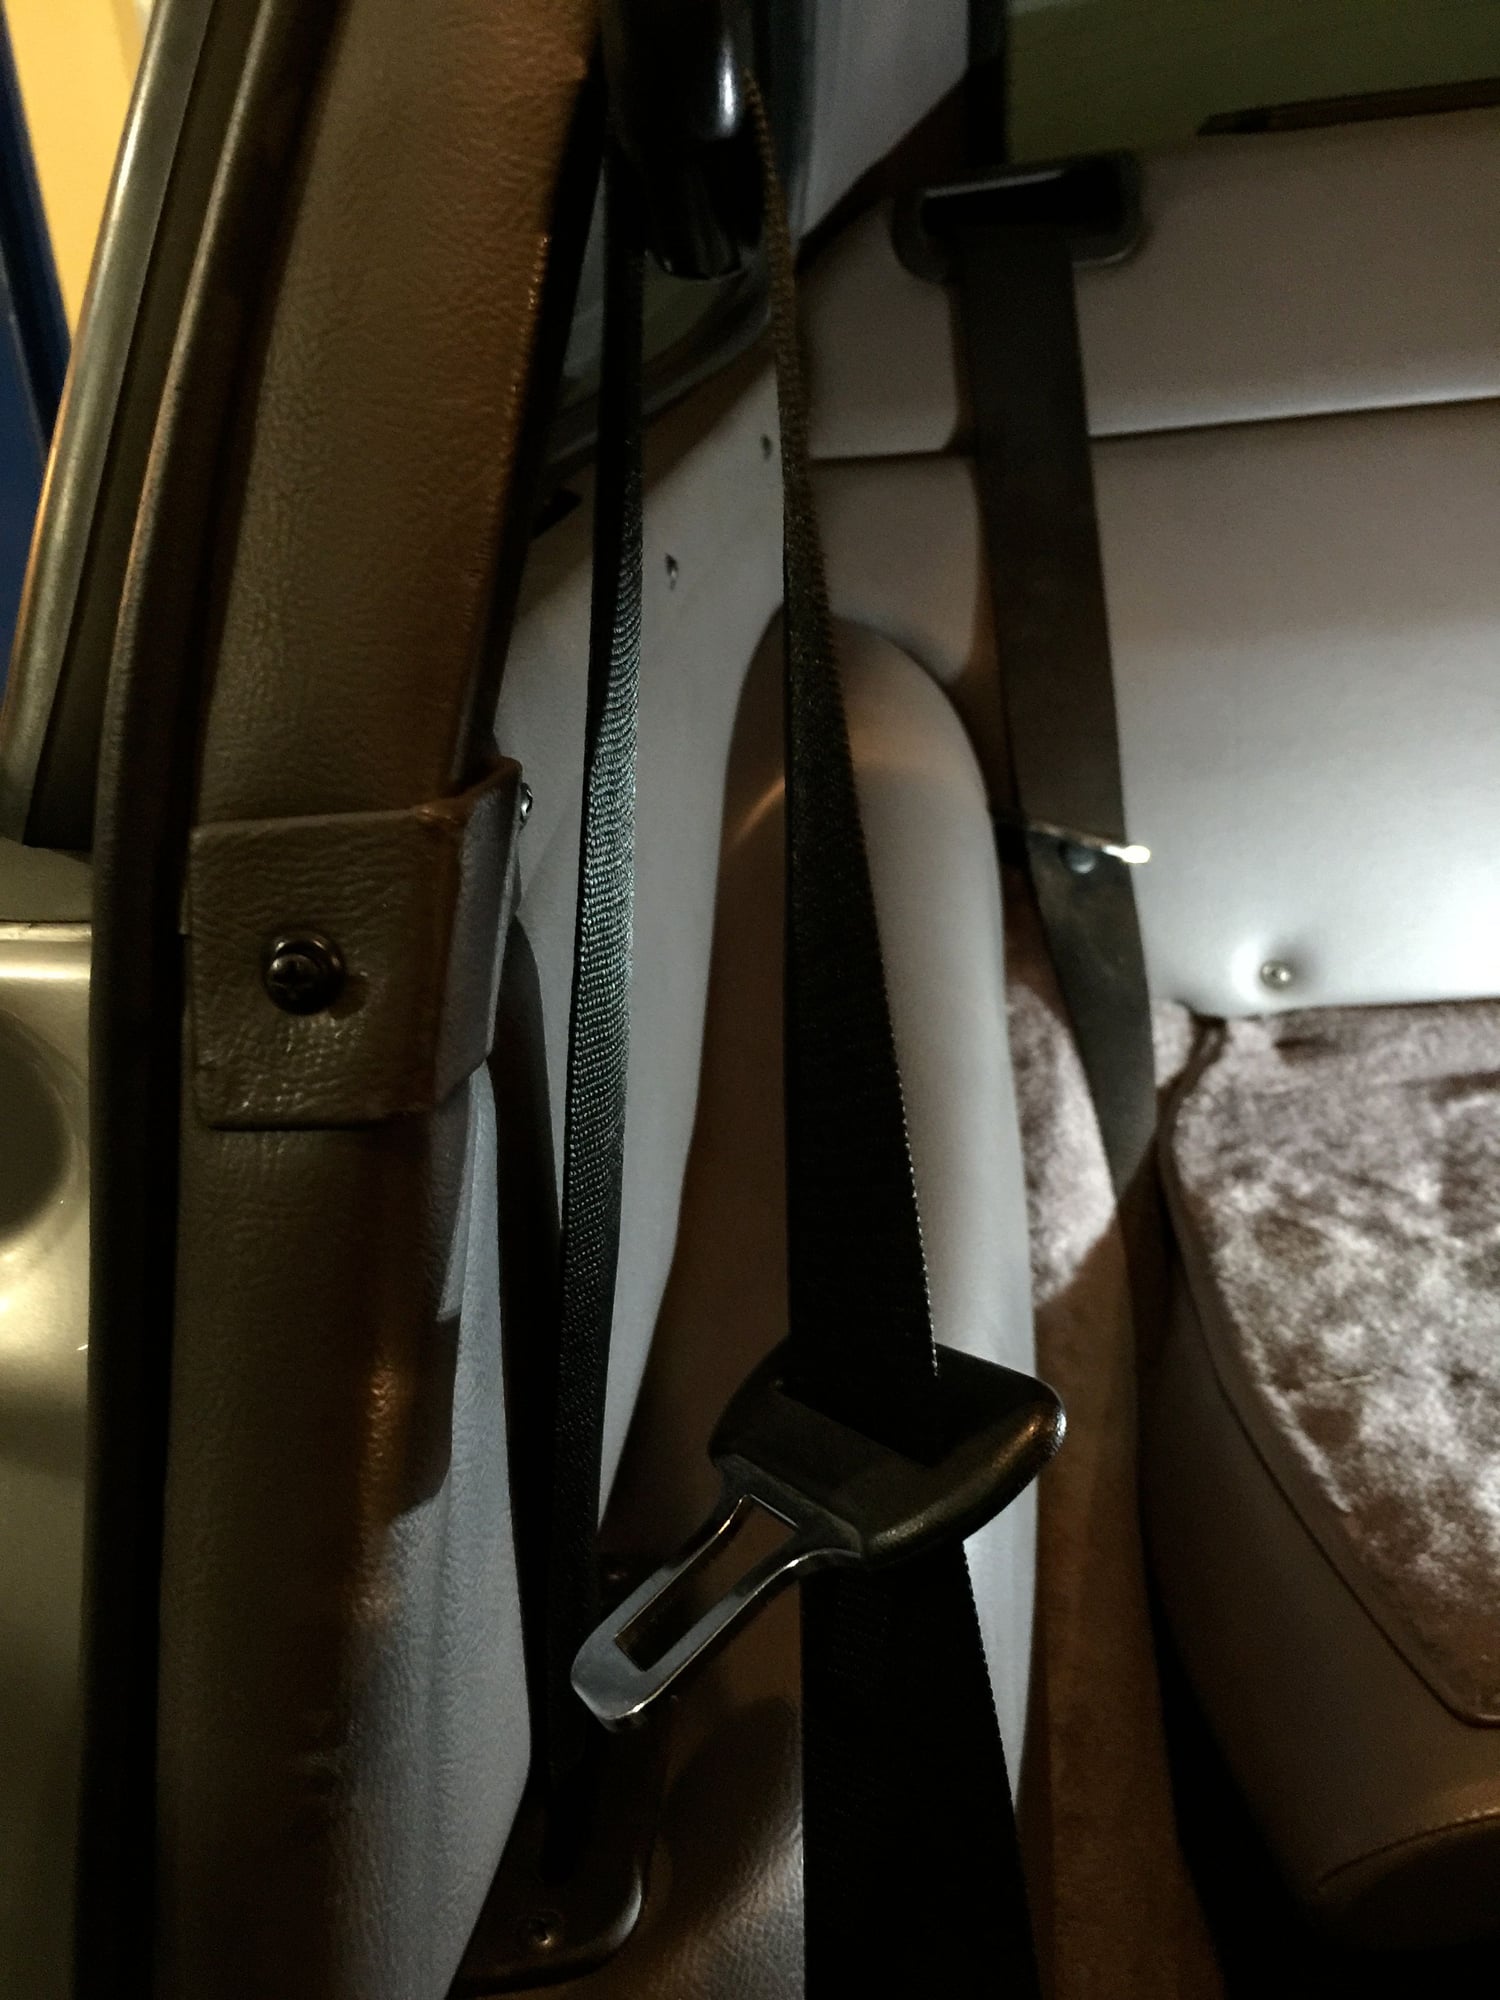
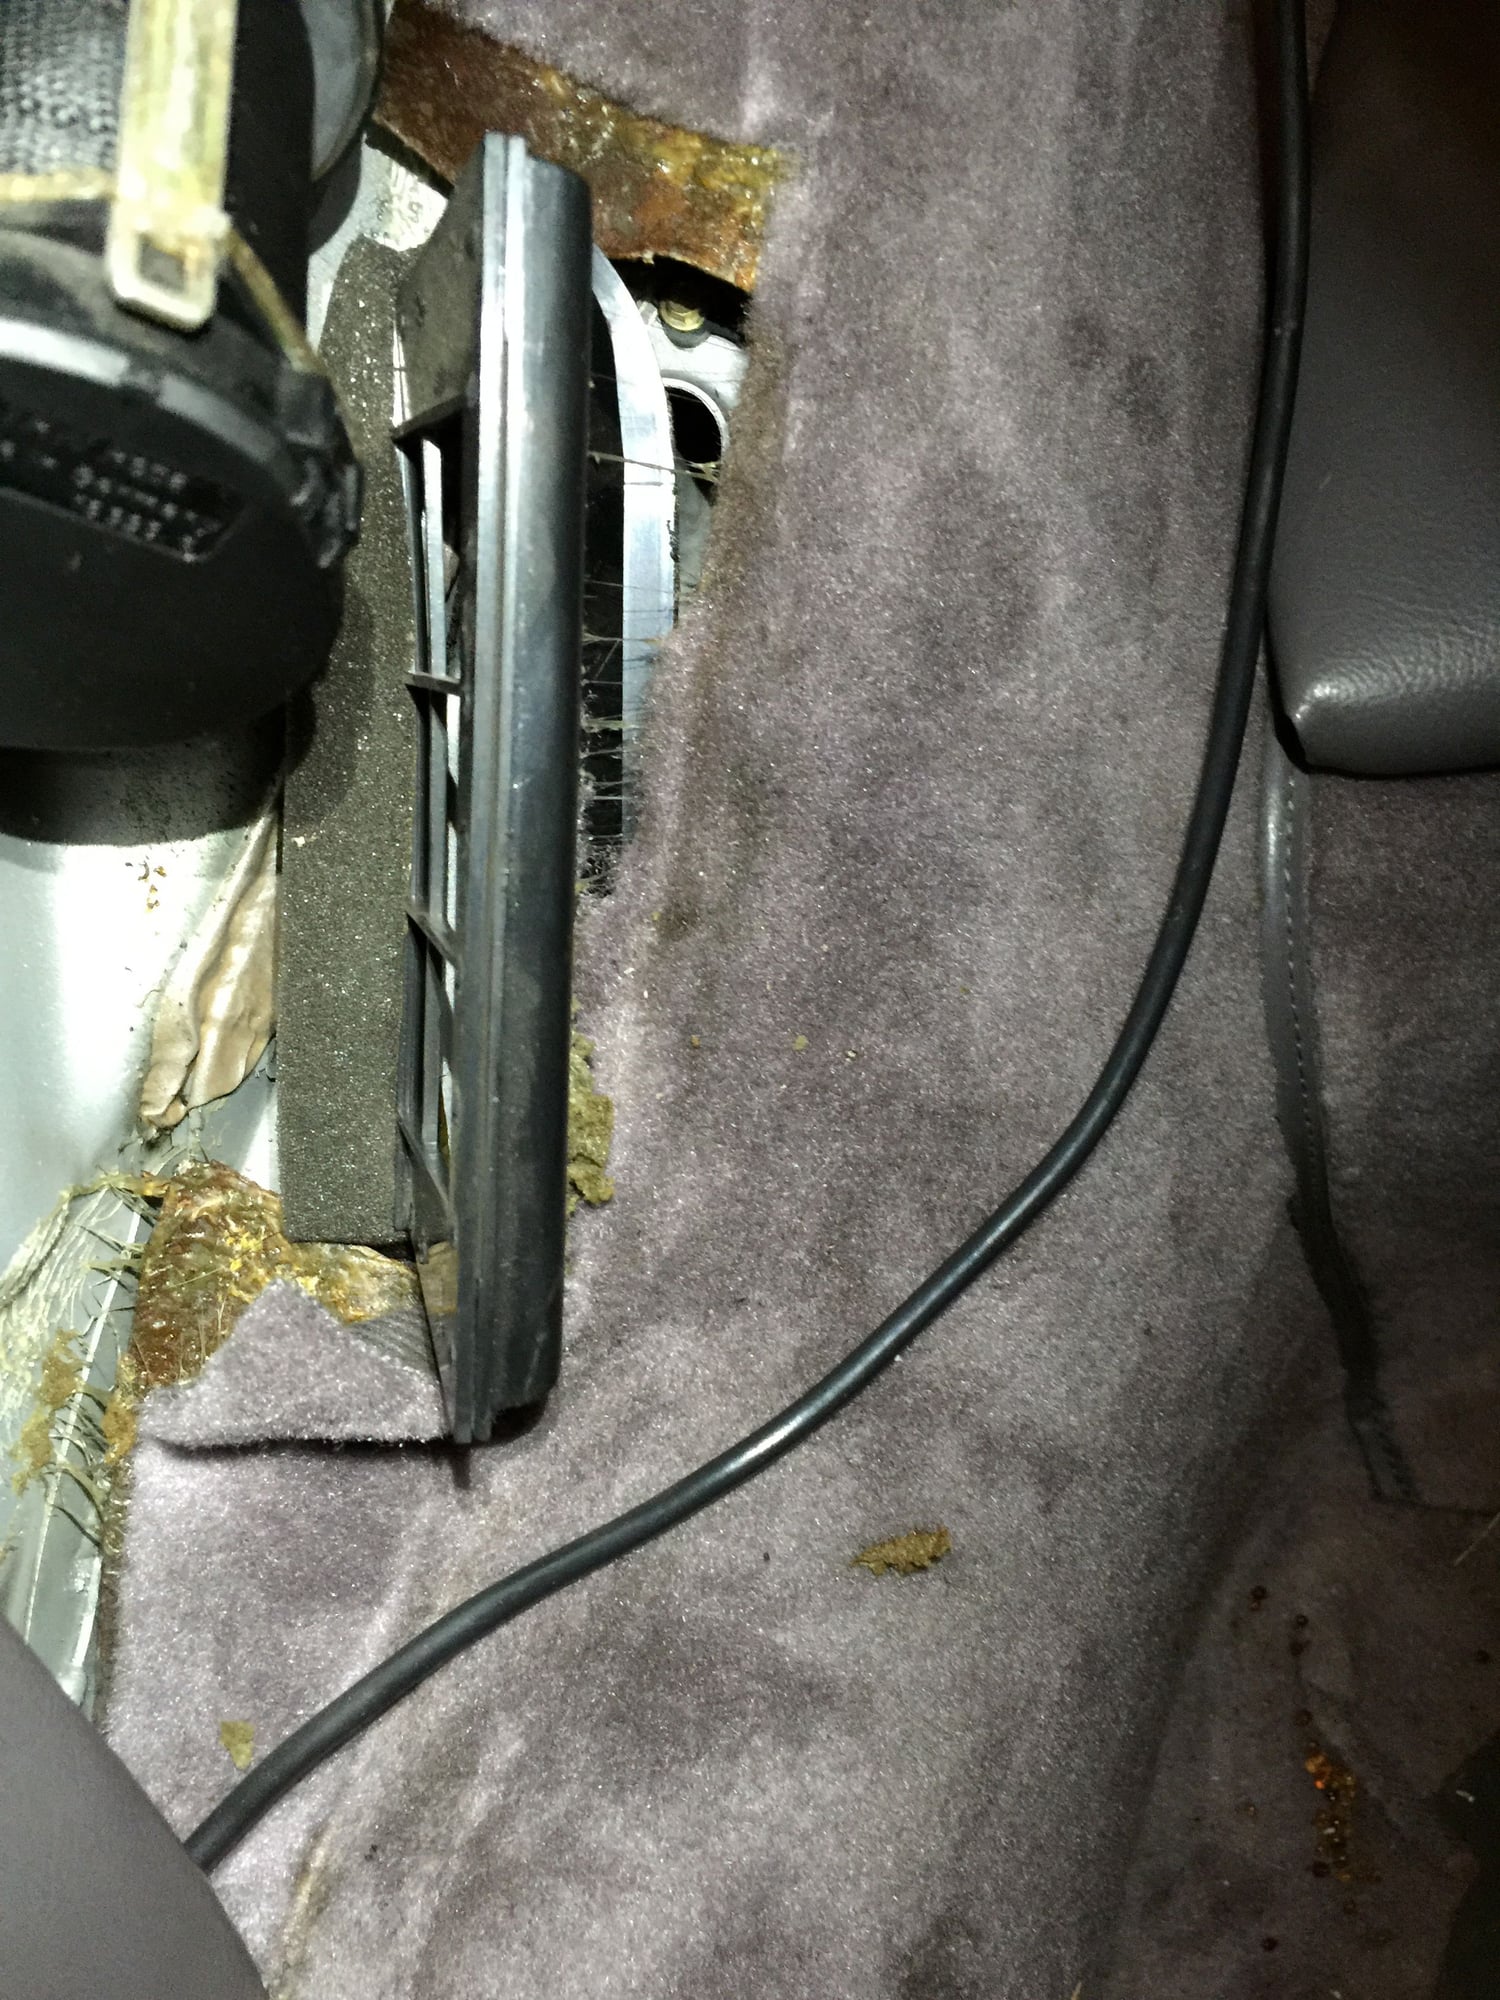
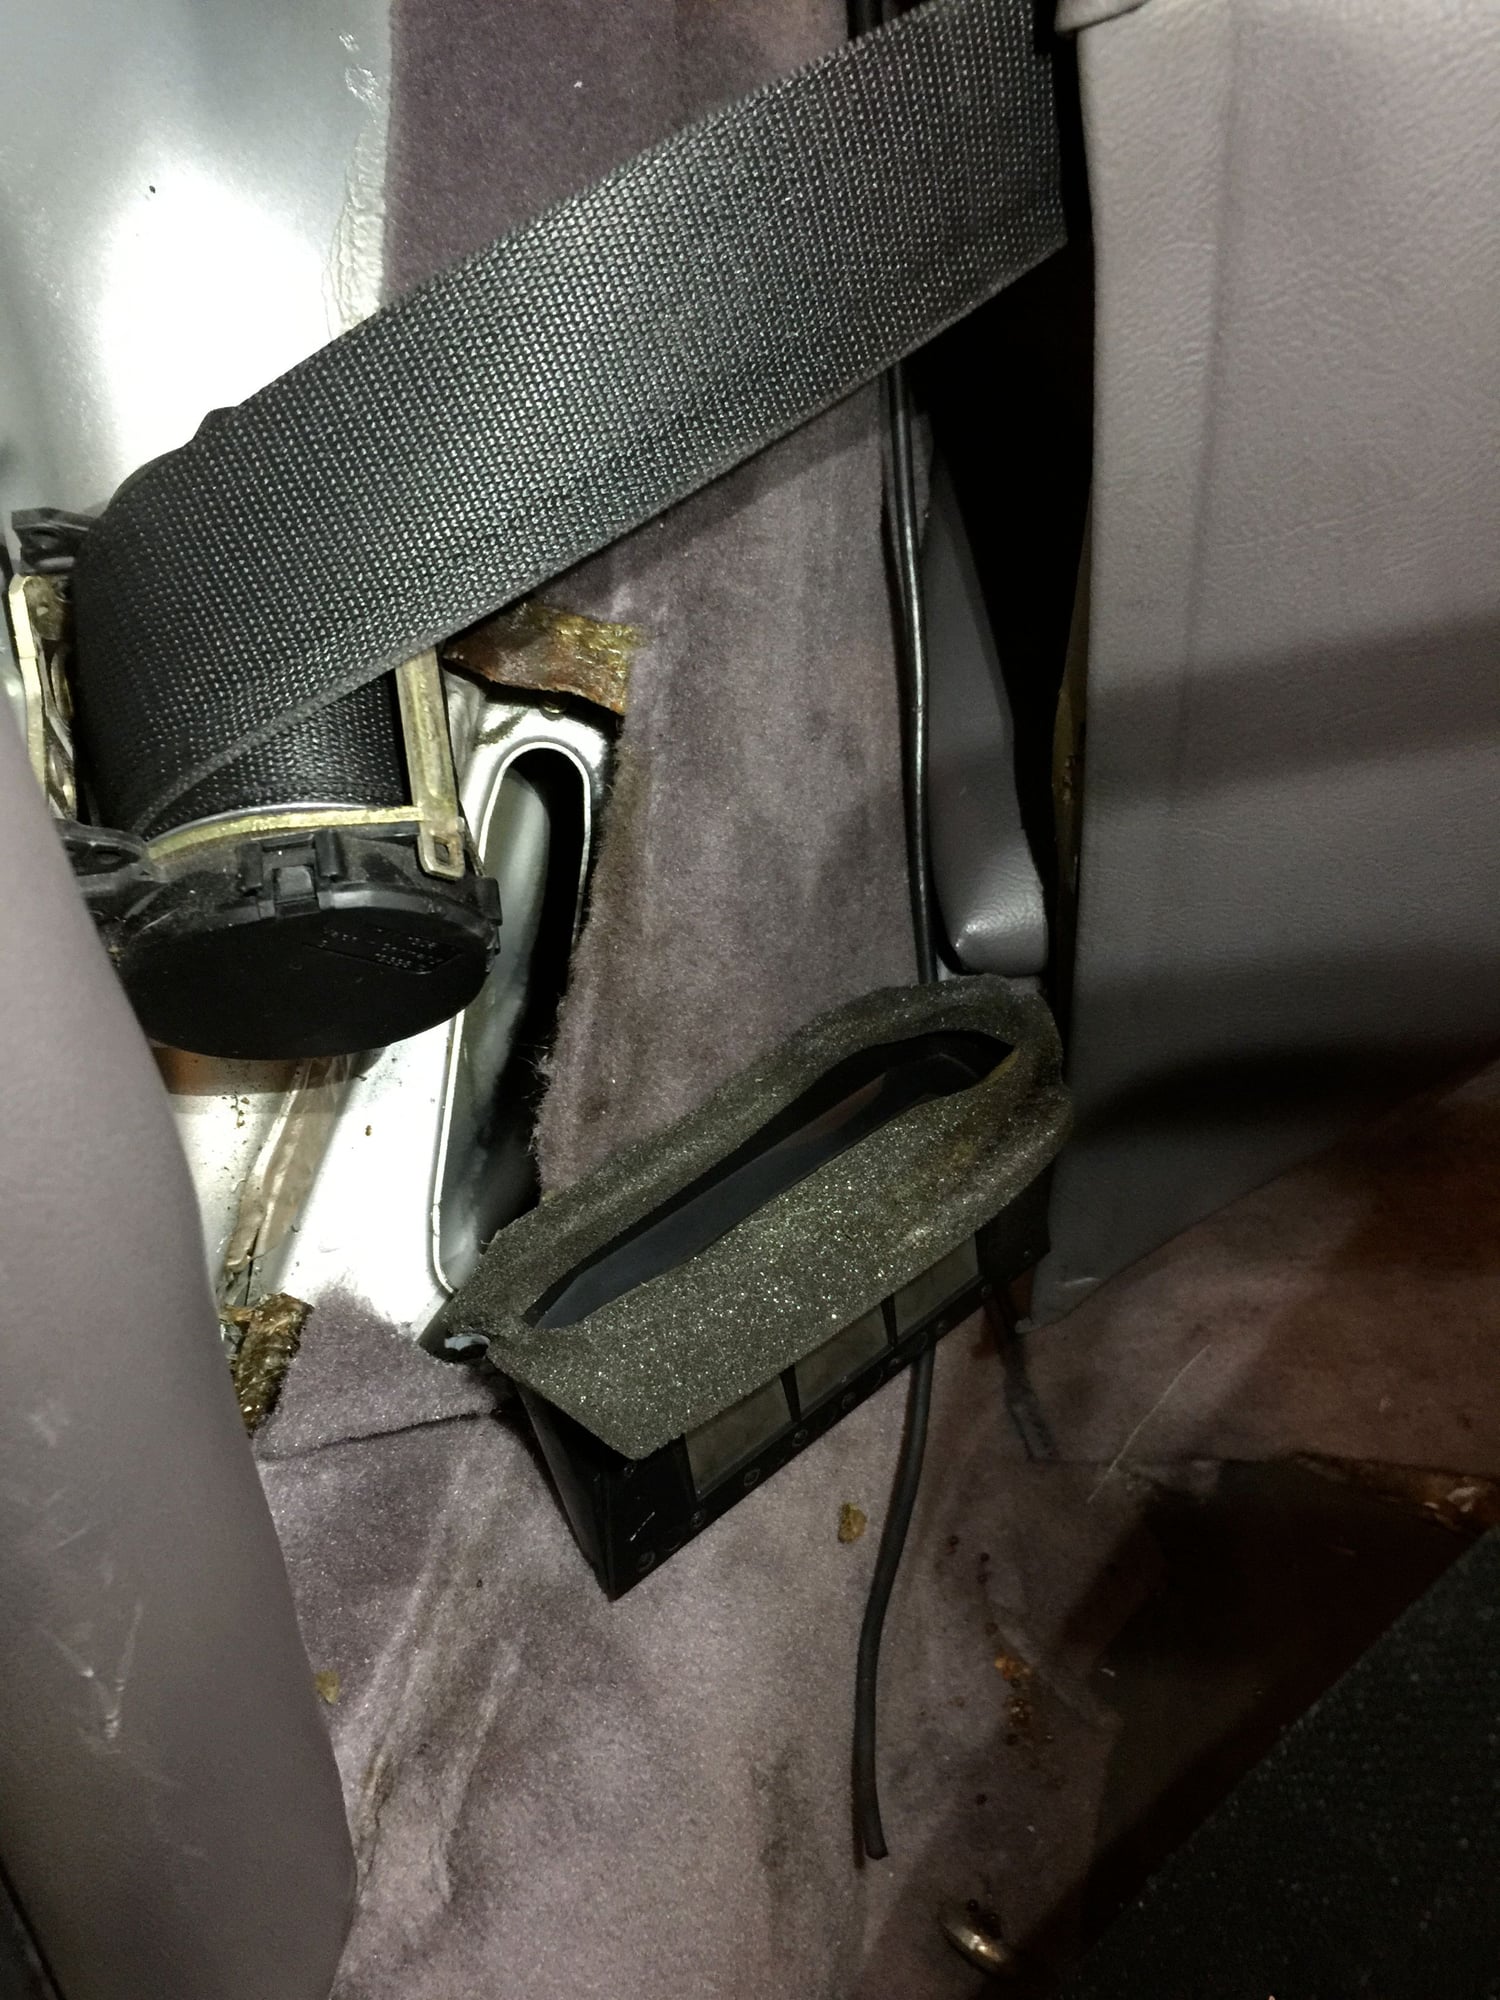
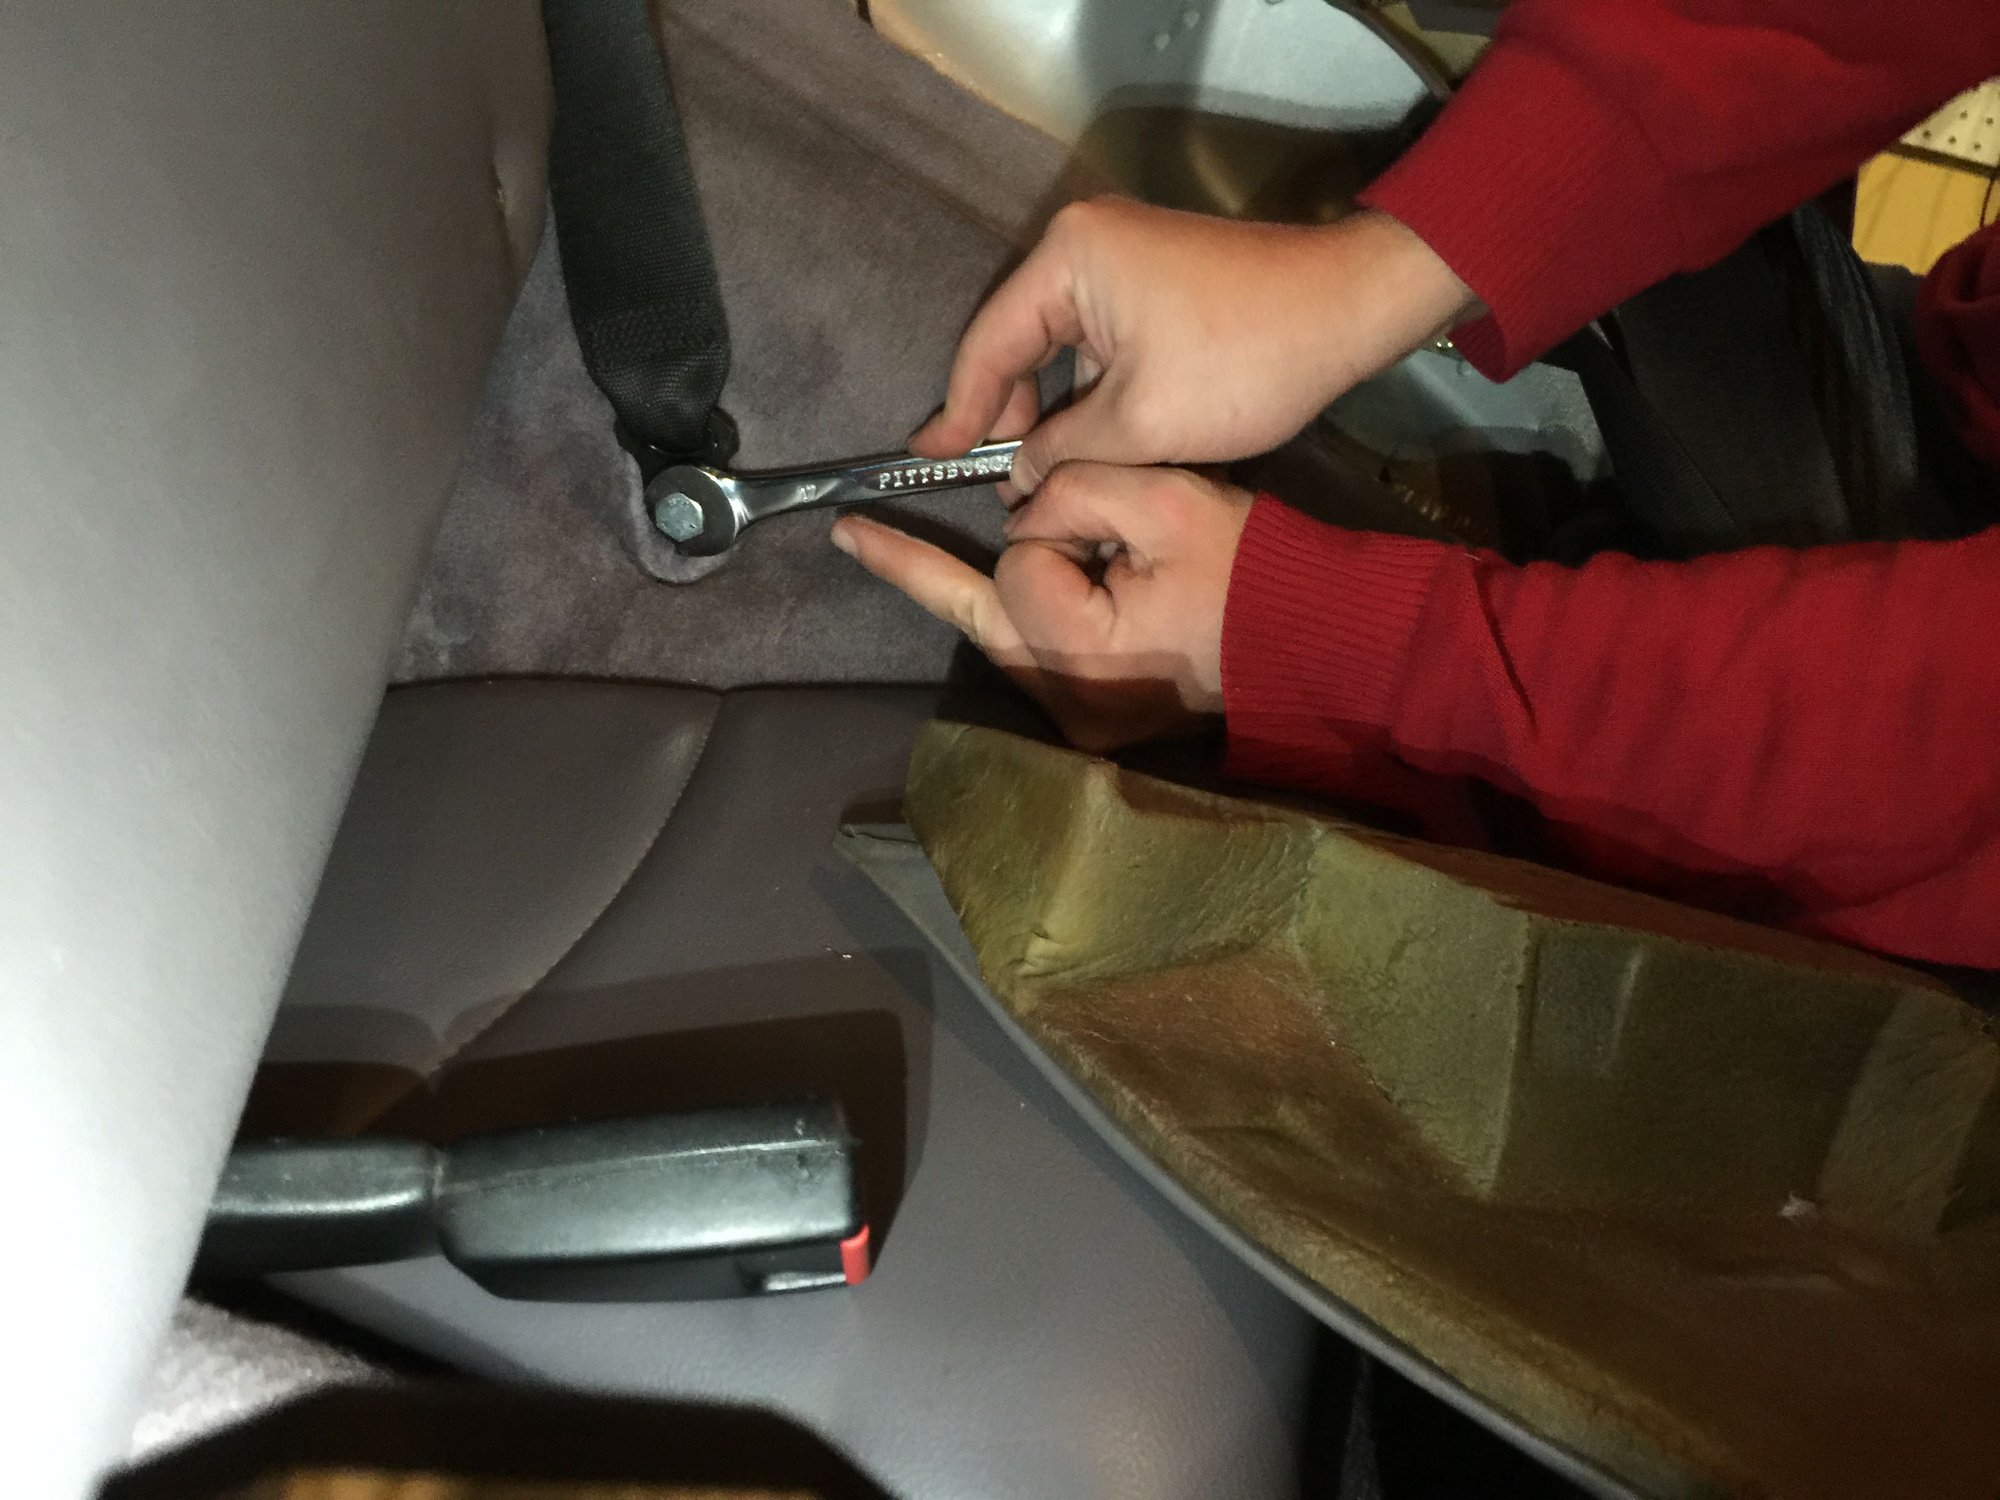
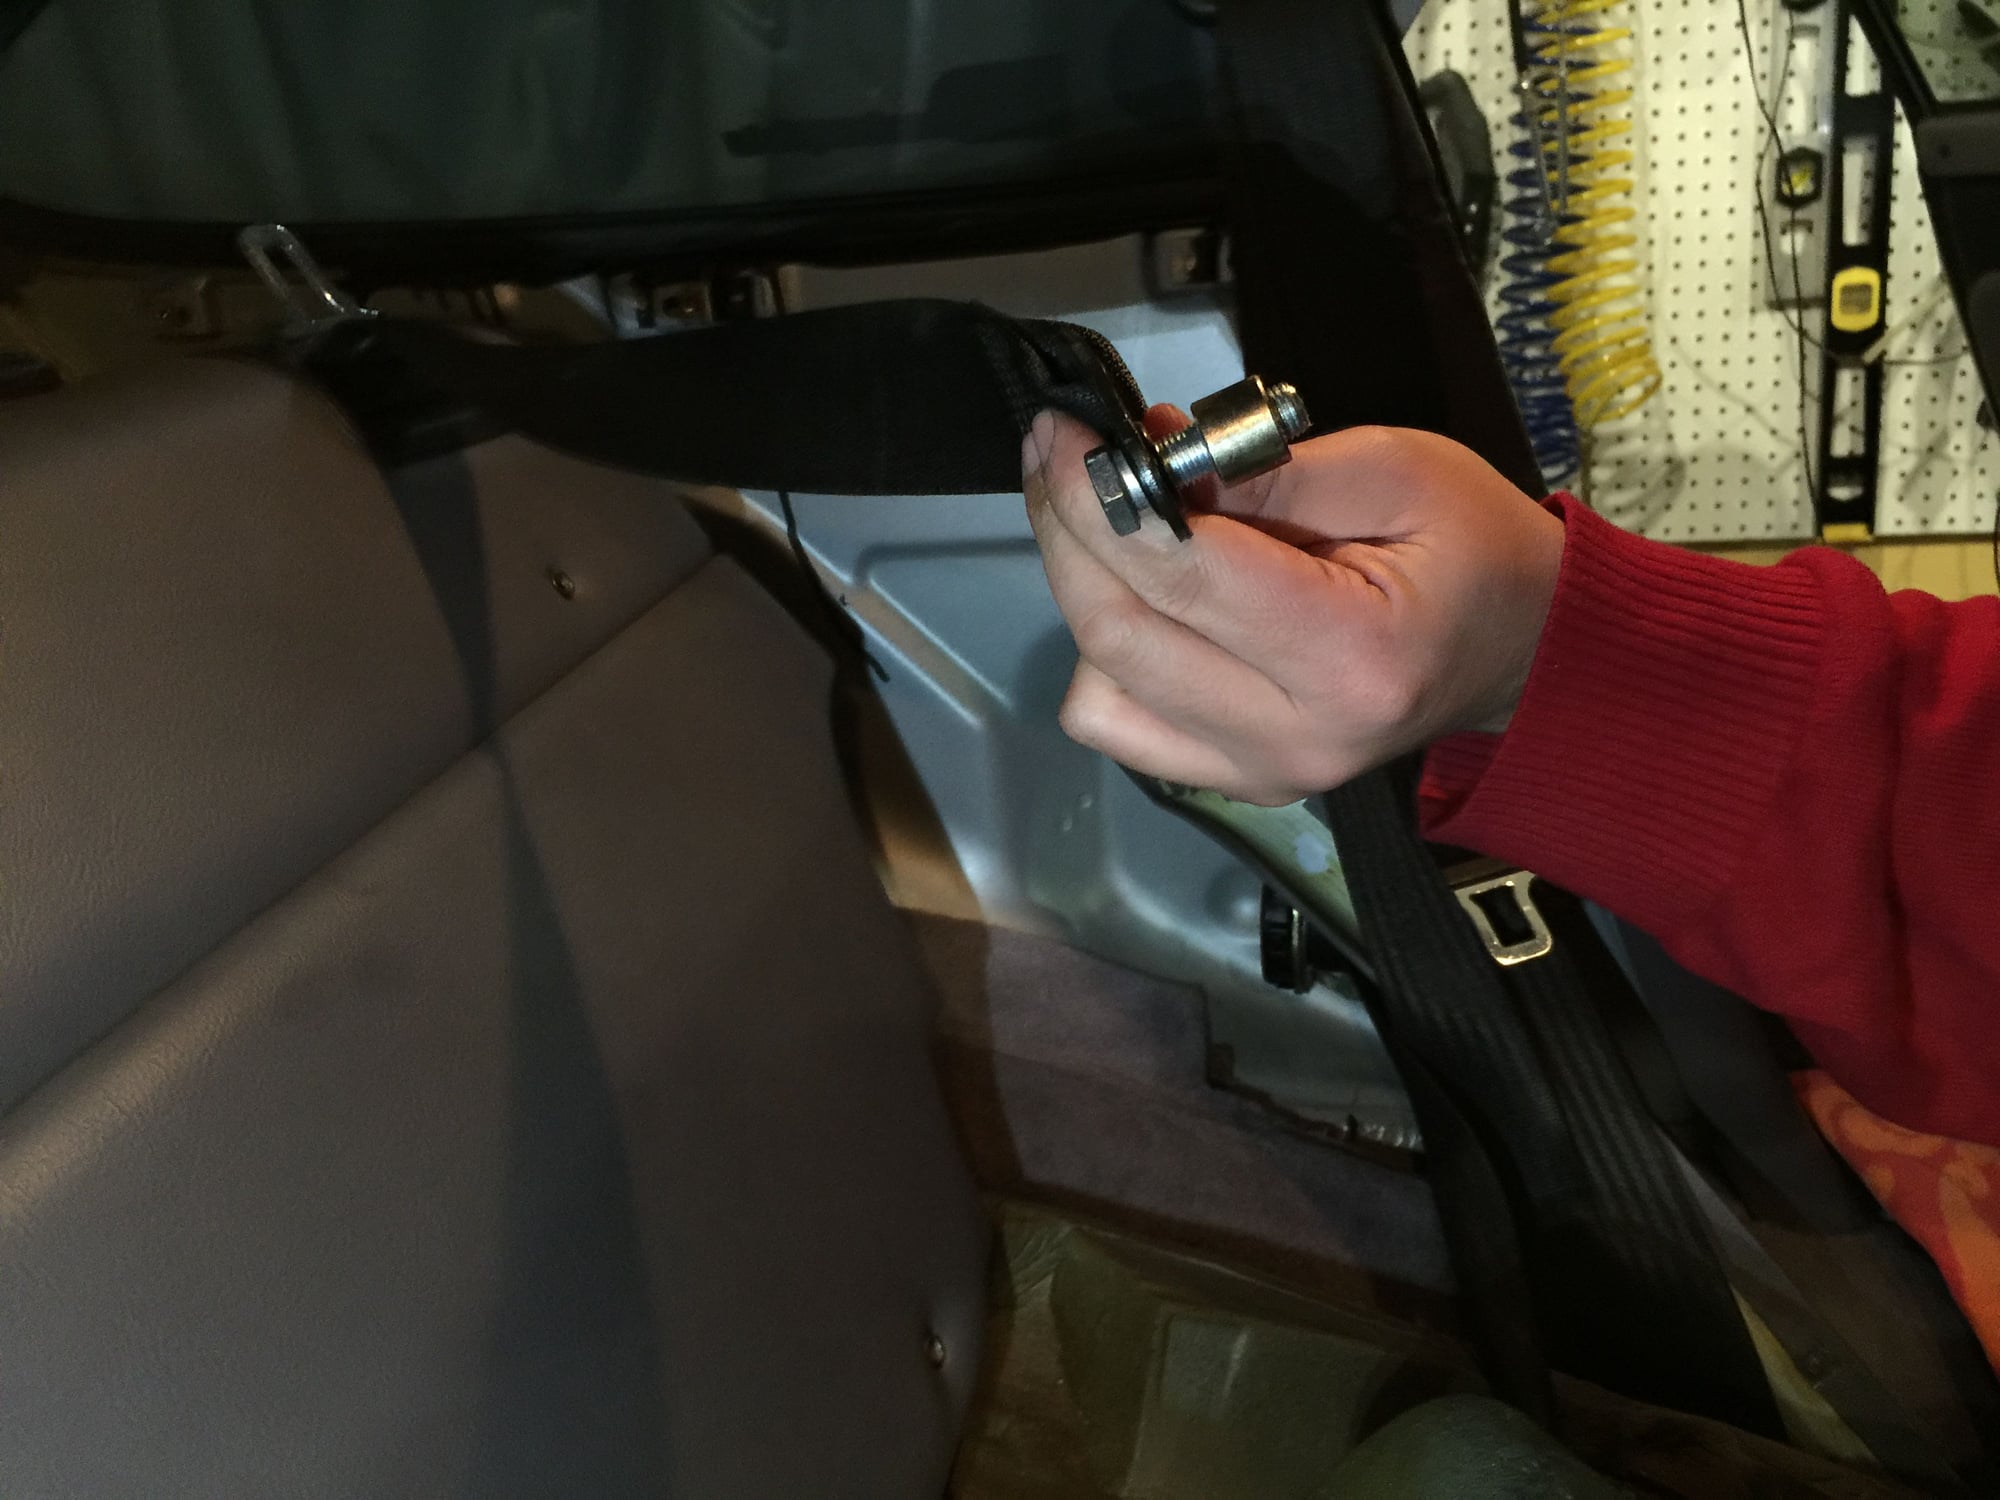
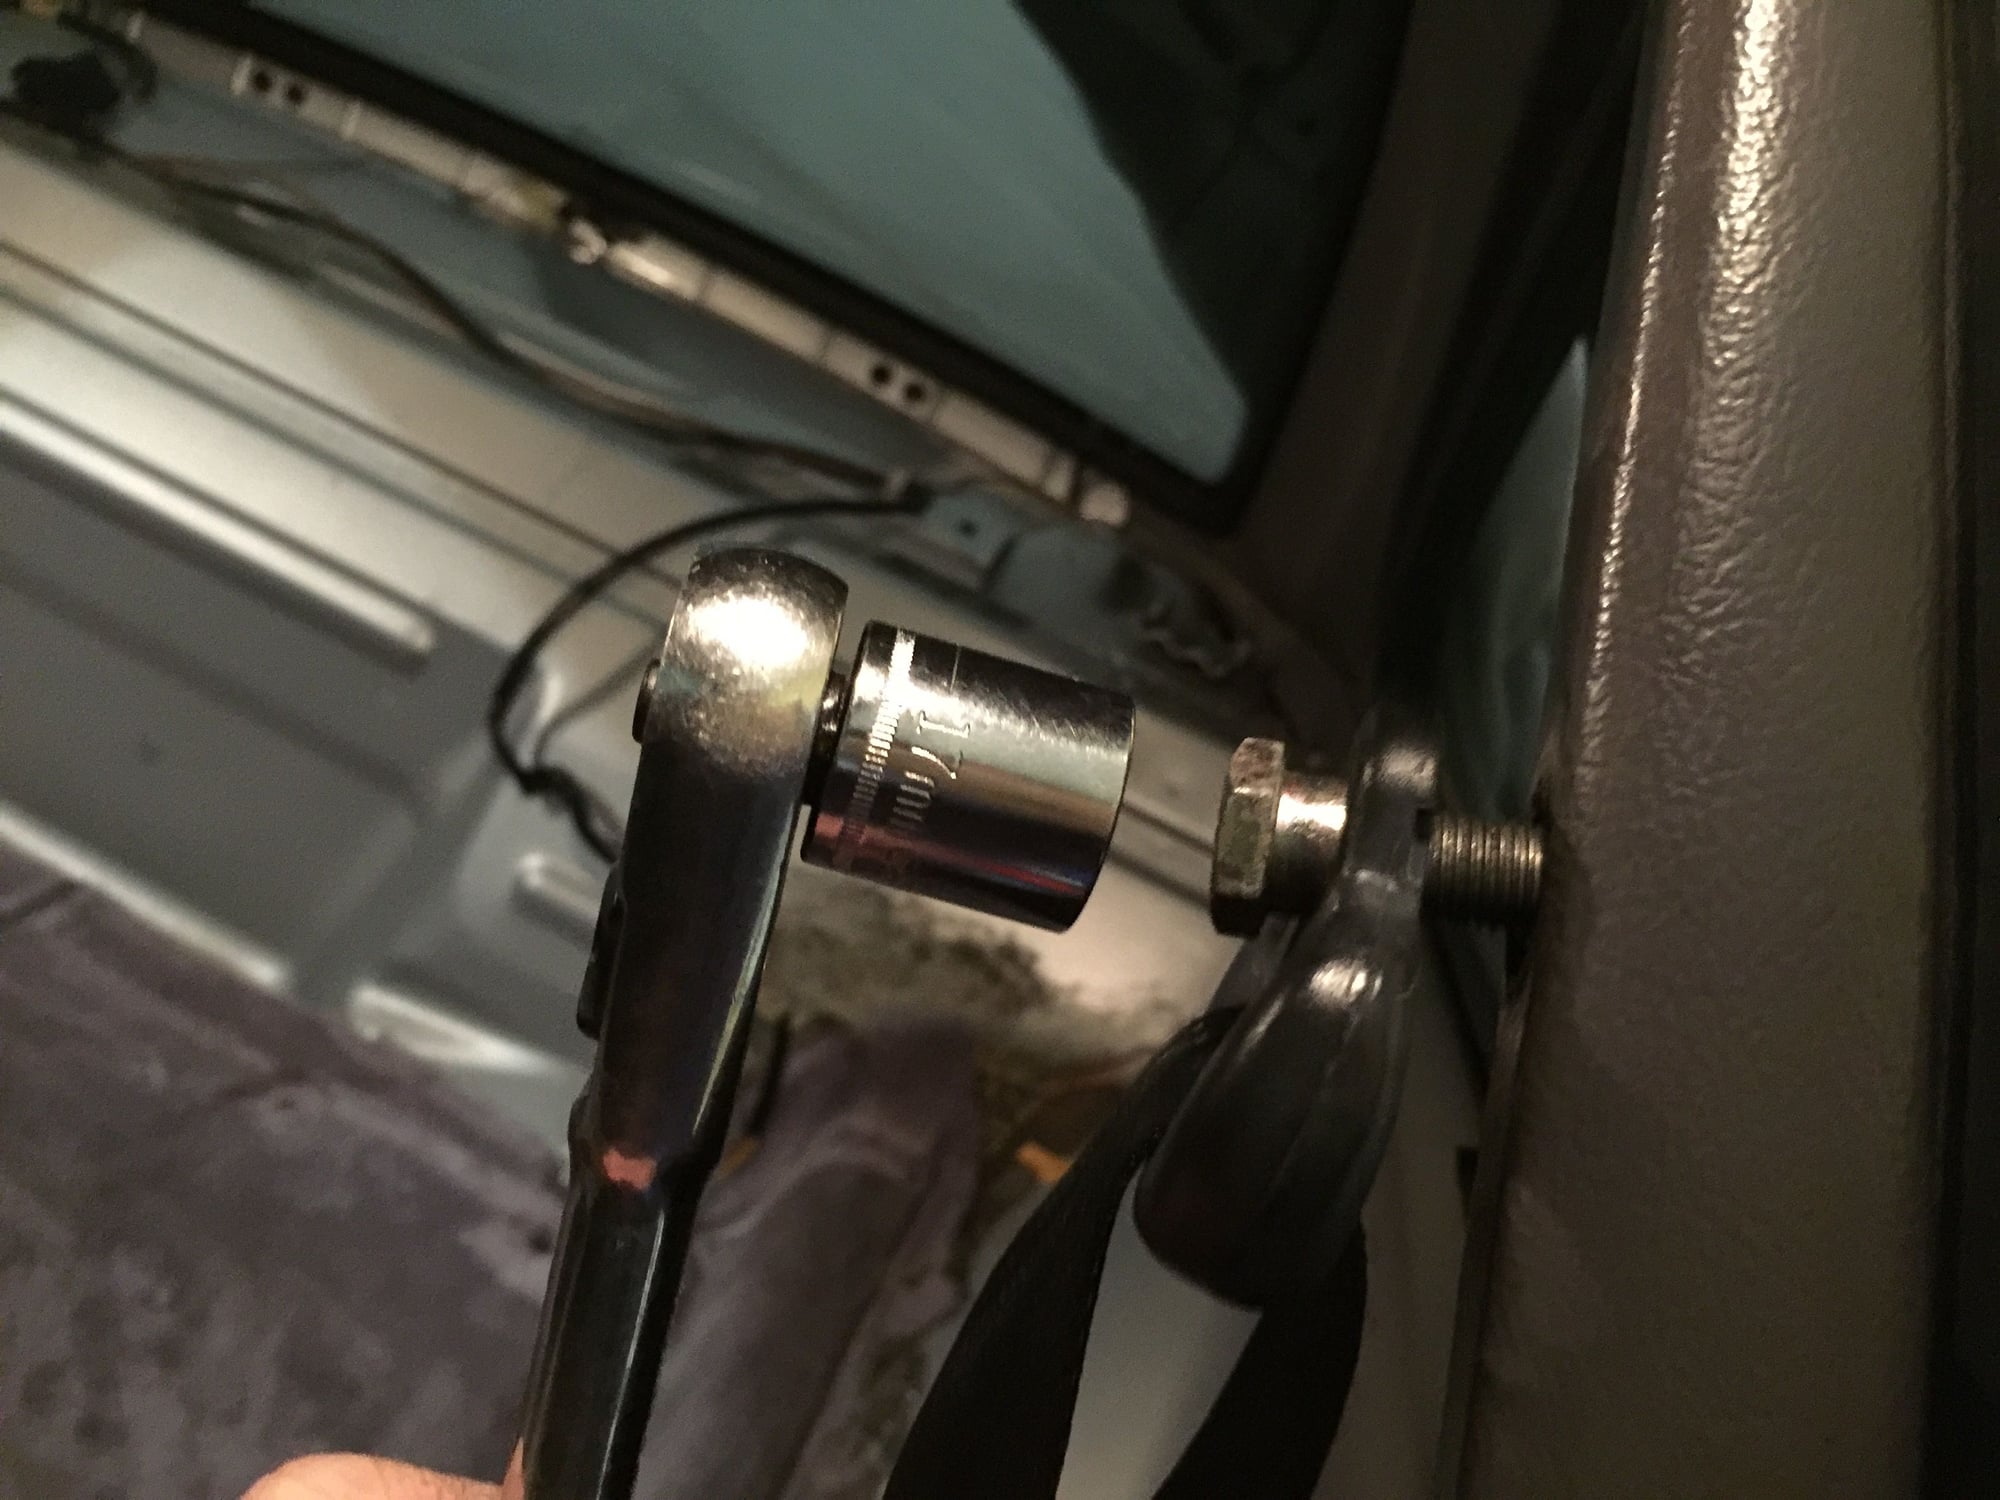
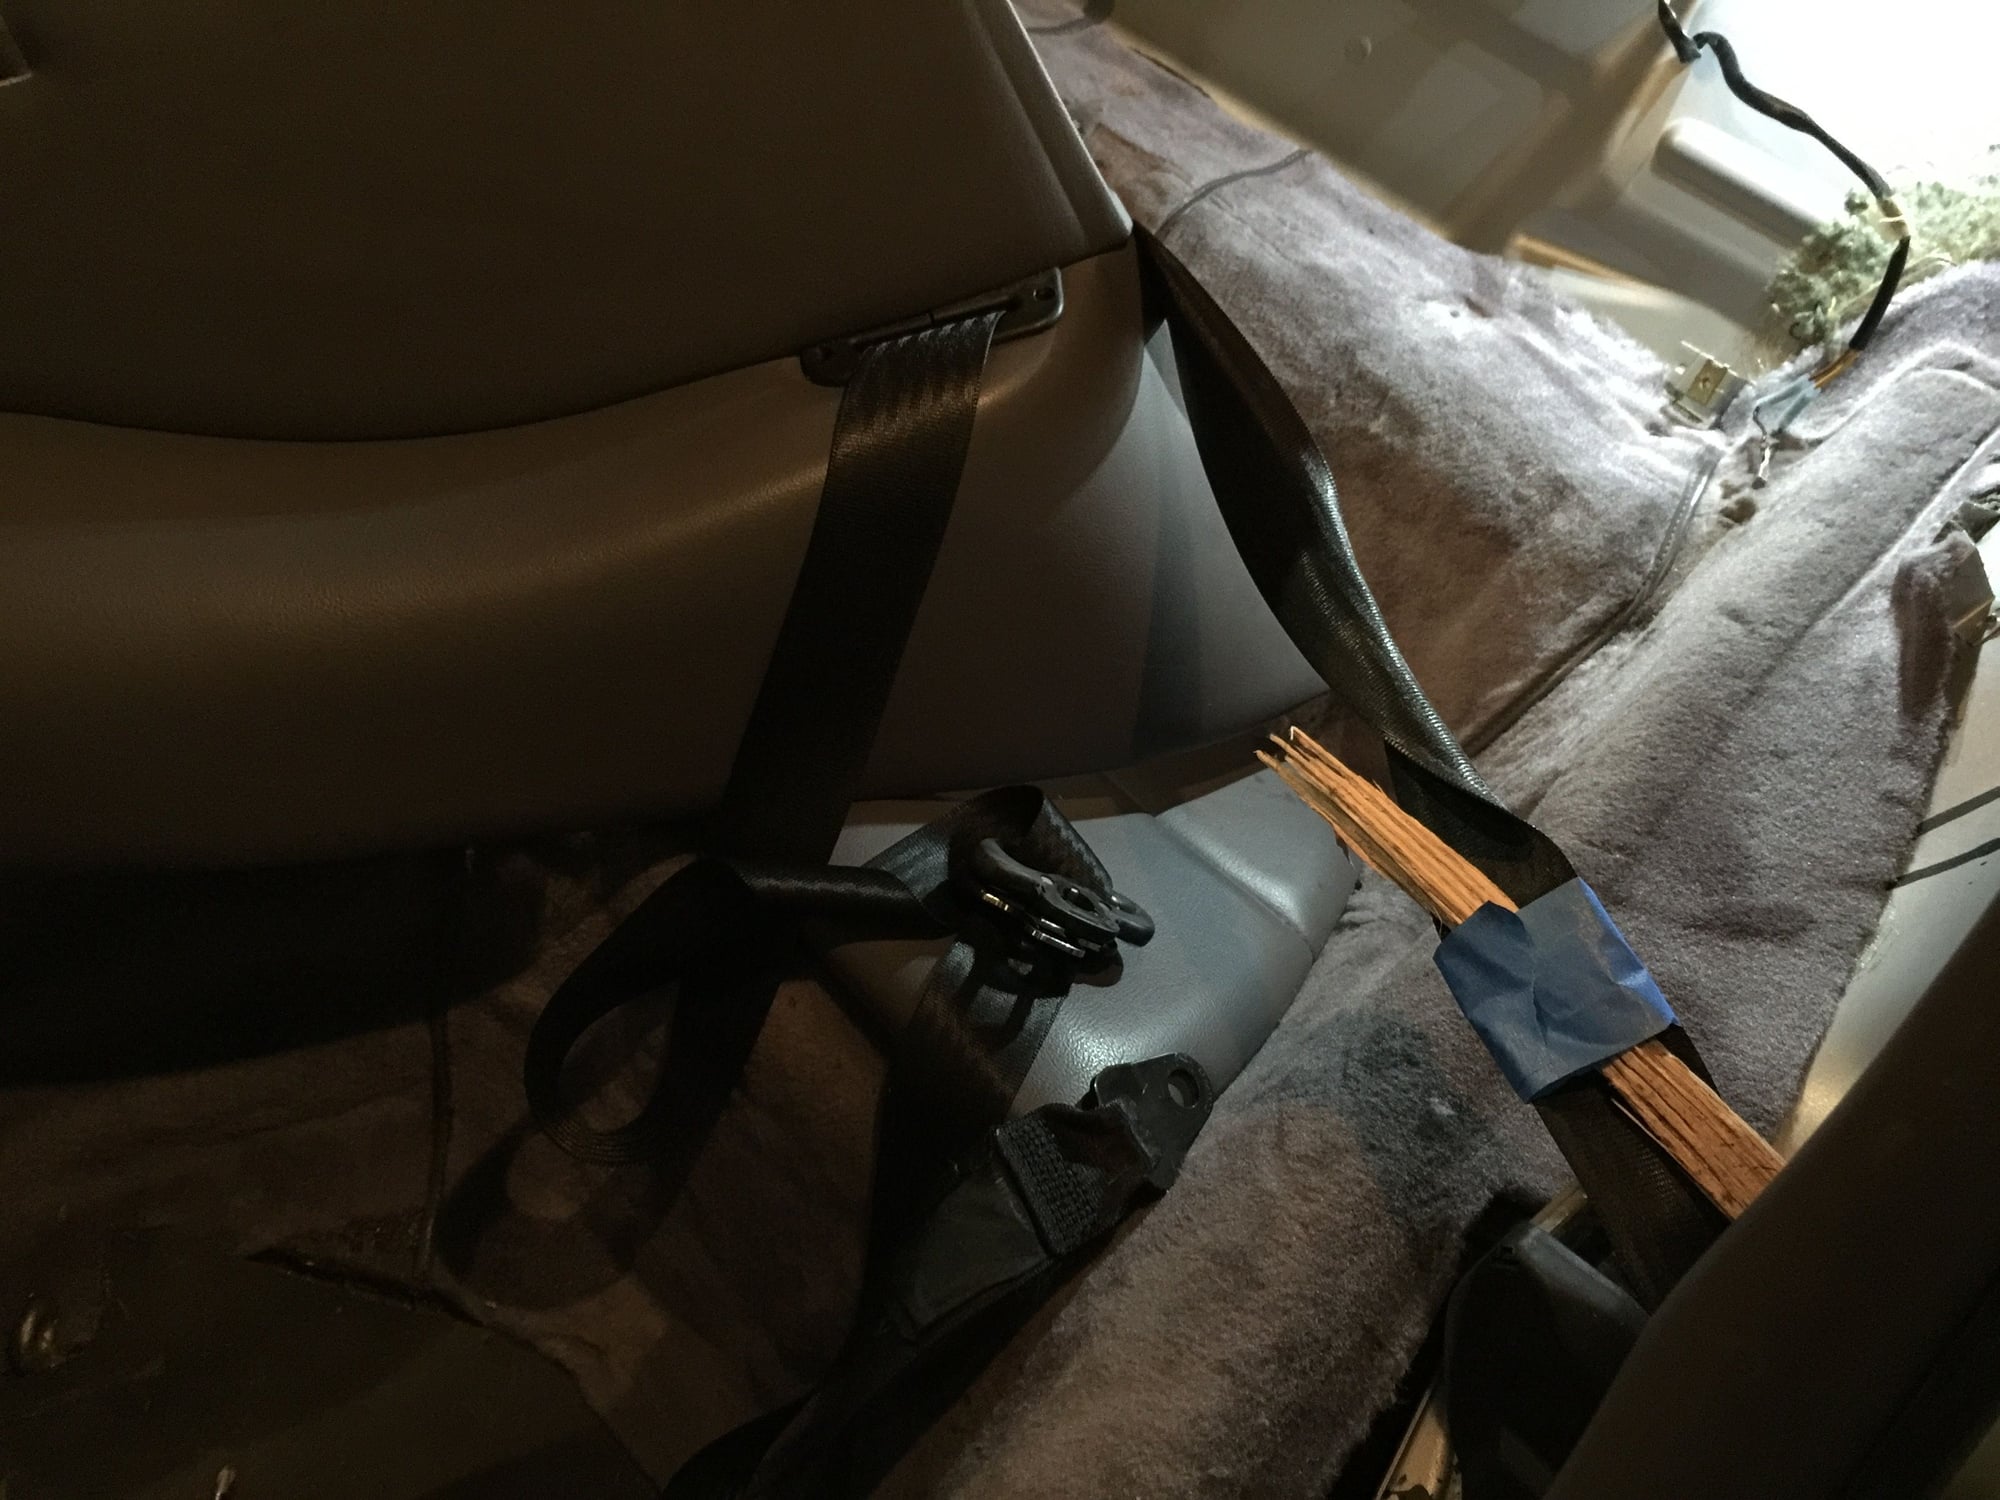
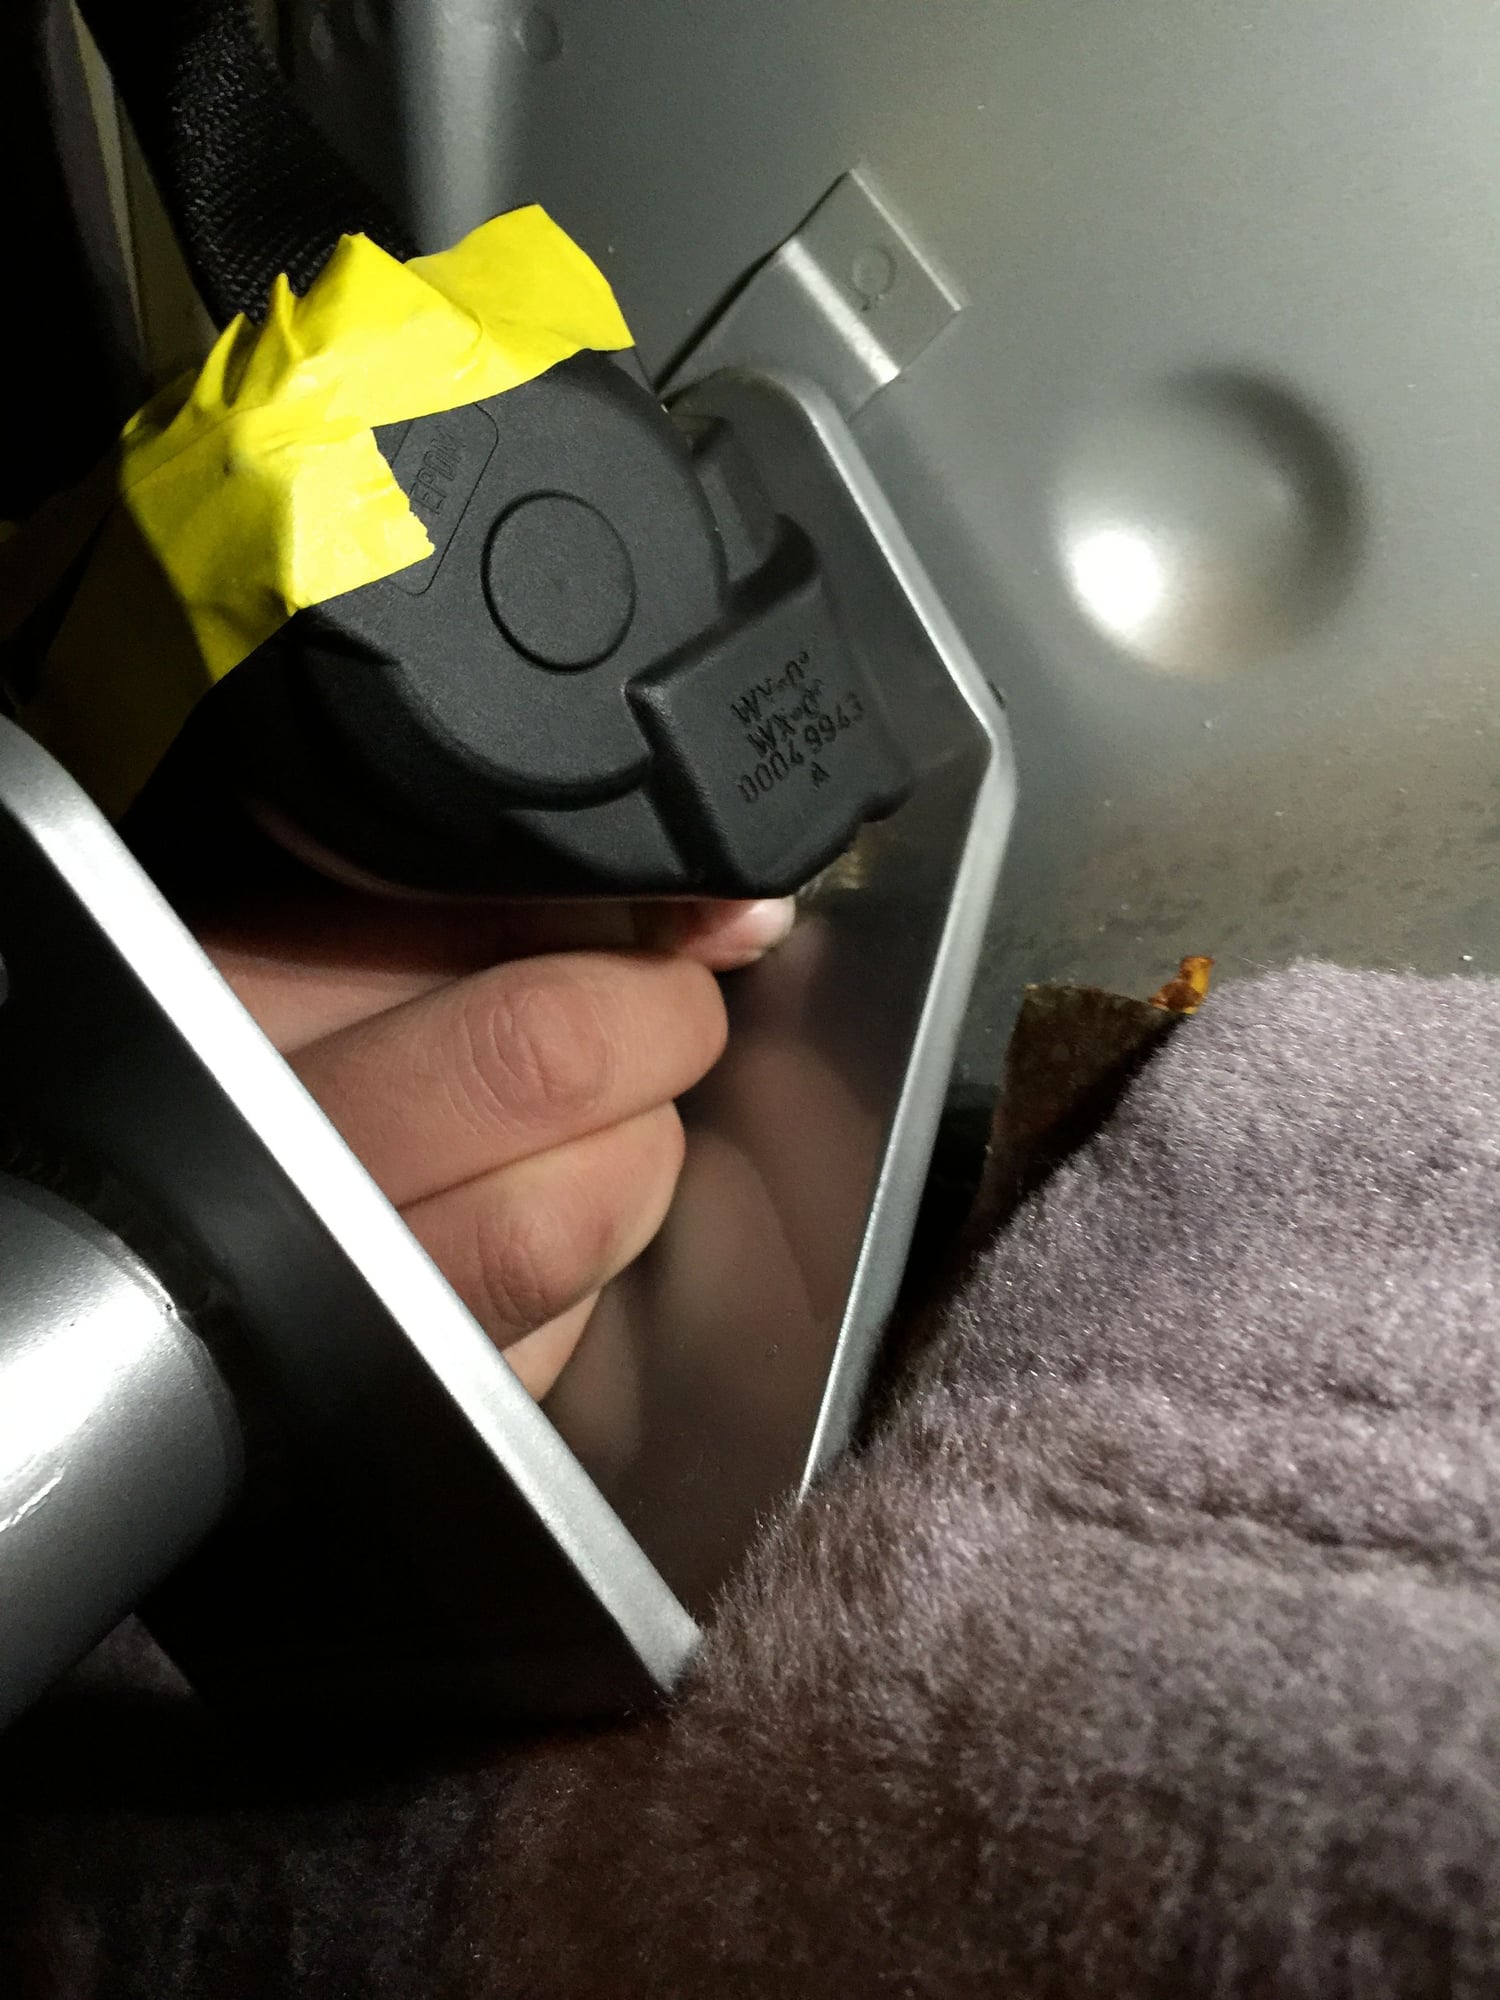
Step 3: With the quarter panels out you can now remove the seat belt retractors and window defroster deflector ducts. A 17mm socket wrench will make quick work of removing the set belt retractors, but note you must not allow the belts to fully retract or they will be permanently damaged. The retractors also tend to lock-up when they're not perfectly positioned, but remain calm and let gravity do the work. I taped the belts to the retractors during the install to prevent them from fully retracting. You should also pull the belts out a bit to leave some slack. This will make for an easier install if/when reinstalling the seat belt retractors. As noted above, now is a good time to remove the rear seat belts as well. Here'e a very helpful thread on removing the panels, and on pulling the seat belts through the panels if you plan on removing the panels altogether or want to remove or replace the seat-belts. https://rennlist.com/forums/993-foru...t-removal.html Keith's post at #10 with a description on how to remove the seat belts and a link to a picture of the seatbelt assembly is quite helpful. If you're planning on removing the quarter panels, you need to first remove the front seat belts altogether to slide them through and out of the panels. To free the panels from the belts, first unscrew the 2 screws securing the collar that the belt slides through and remove the collar (there's a slit in the collar that allows you to free the collar from the belt). Next, in addition to disconnecting the retractors you simply unbolt the lower attachment point by the front seat and the upper shoulder attachment, and slide the belt with all the hardware through and out of the quarter panel. The window defroster ducts are secured with glue and, as I discovered too late, two small nuts on fore and aft sides of the window defroster ducts. Simply remove these nuts and the window defroster ducts will pull right out pulled right out. Or you can simply rip them out like I did and needlessly break all of the plastic tabs.
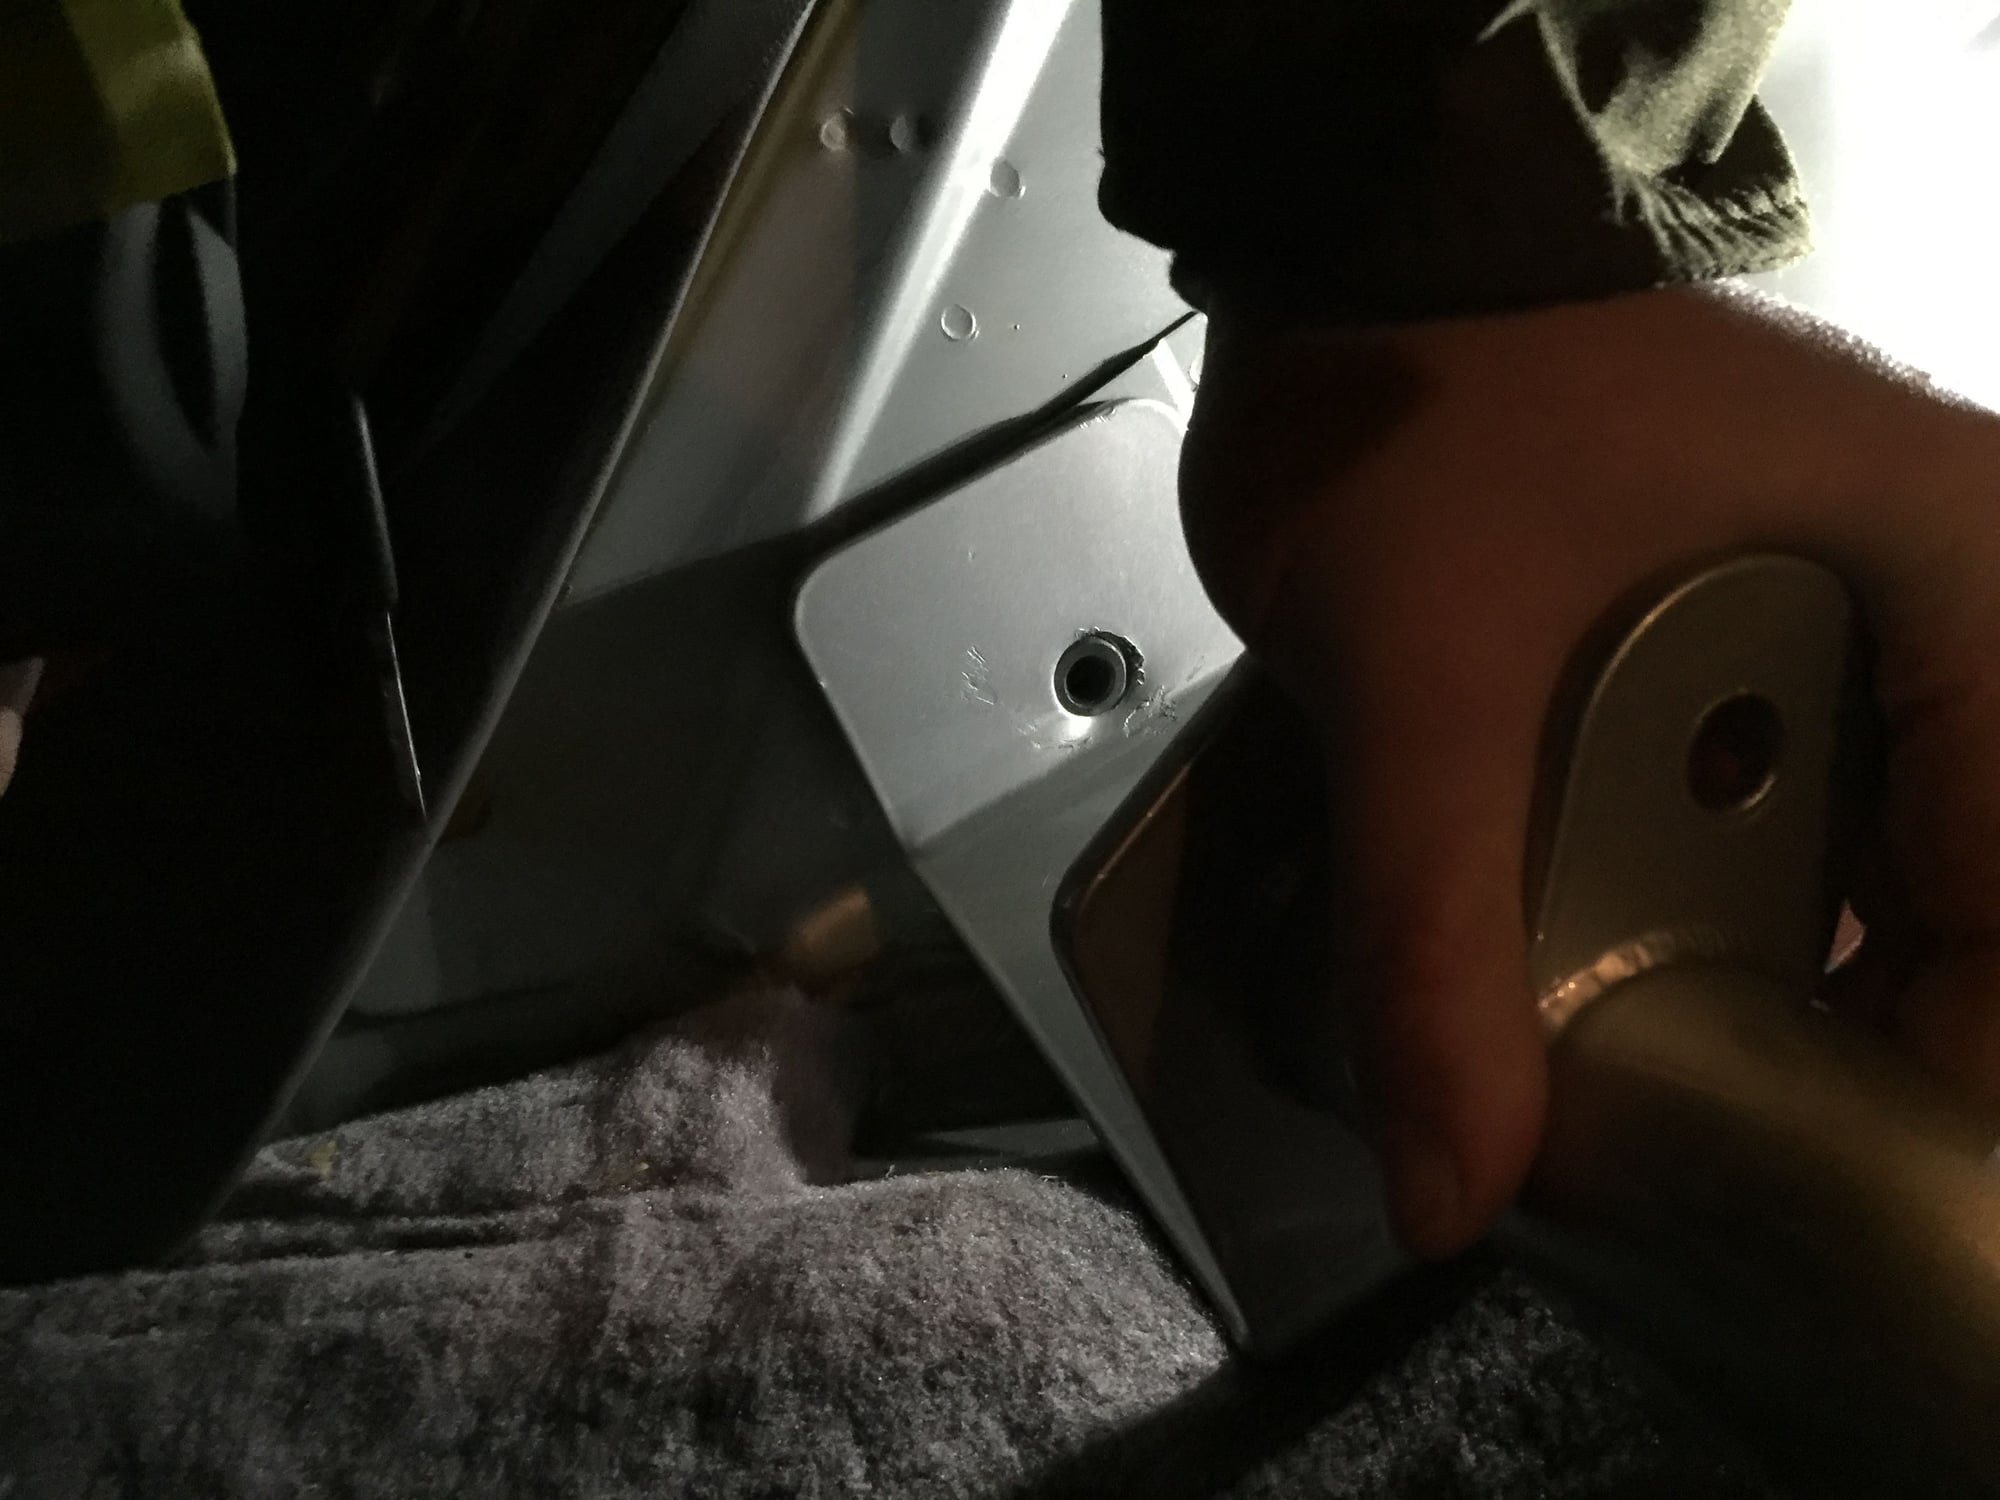
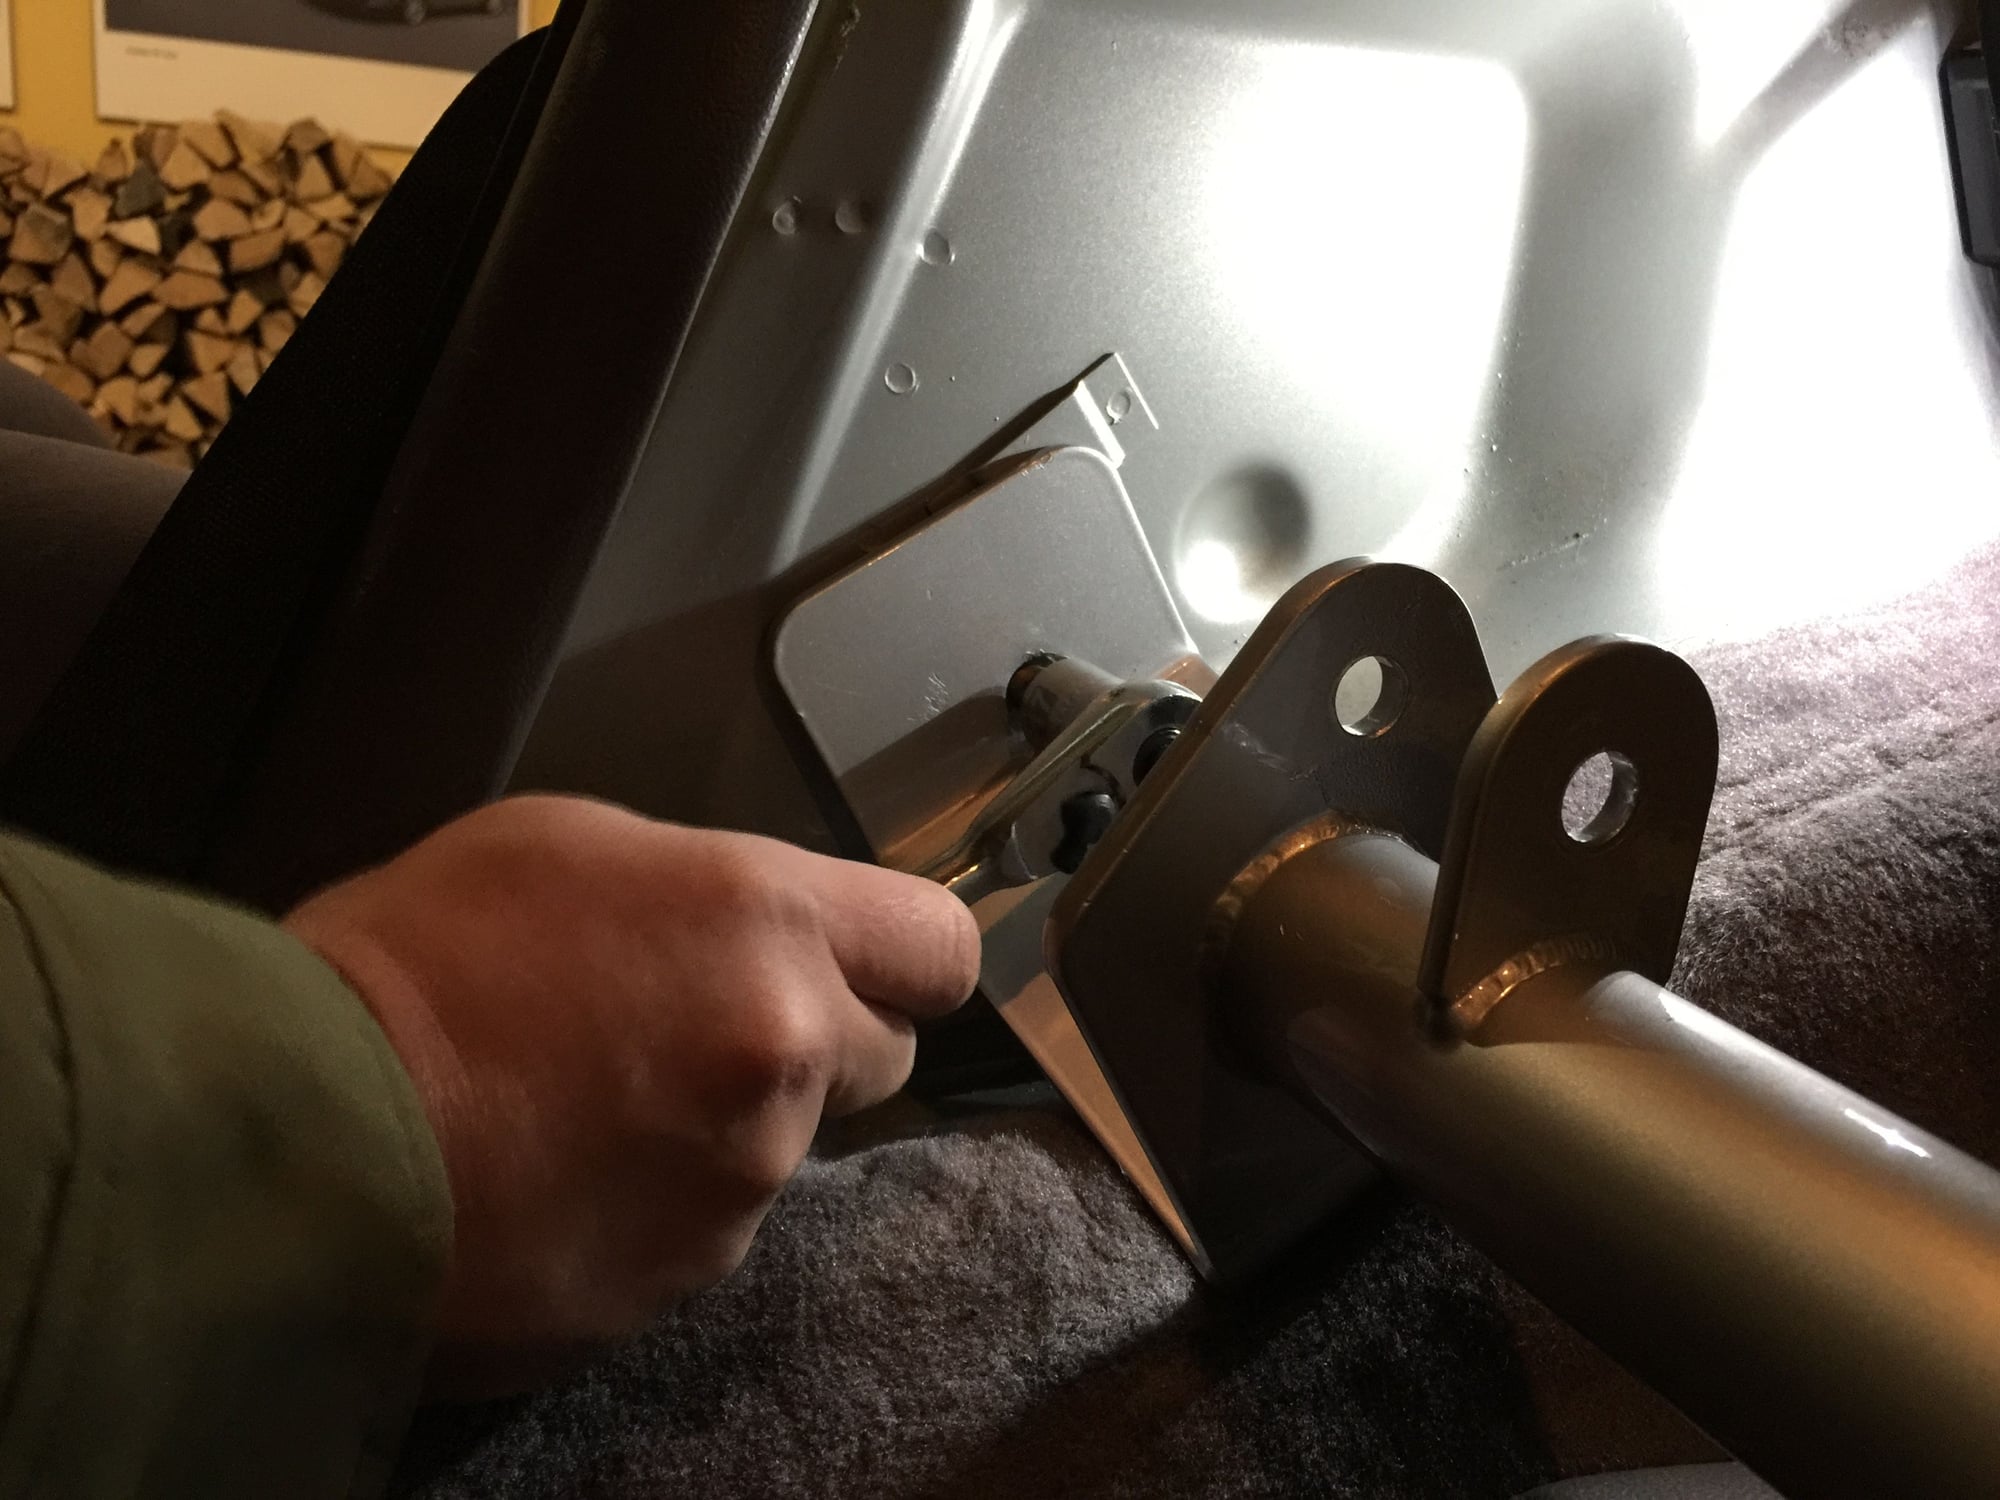
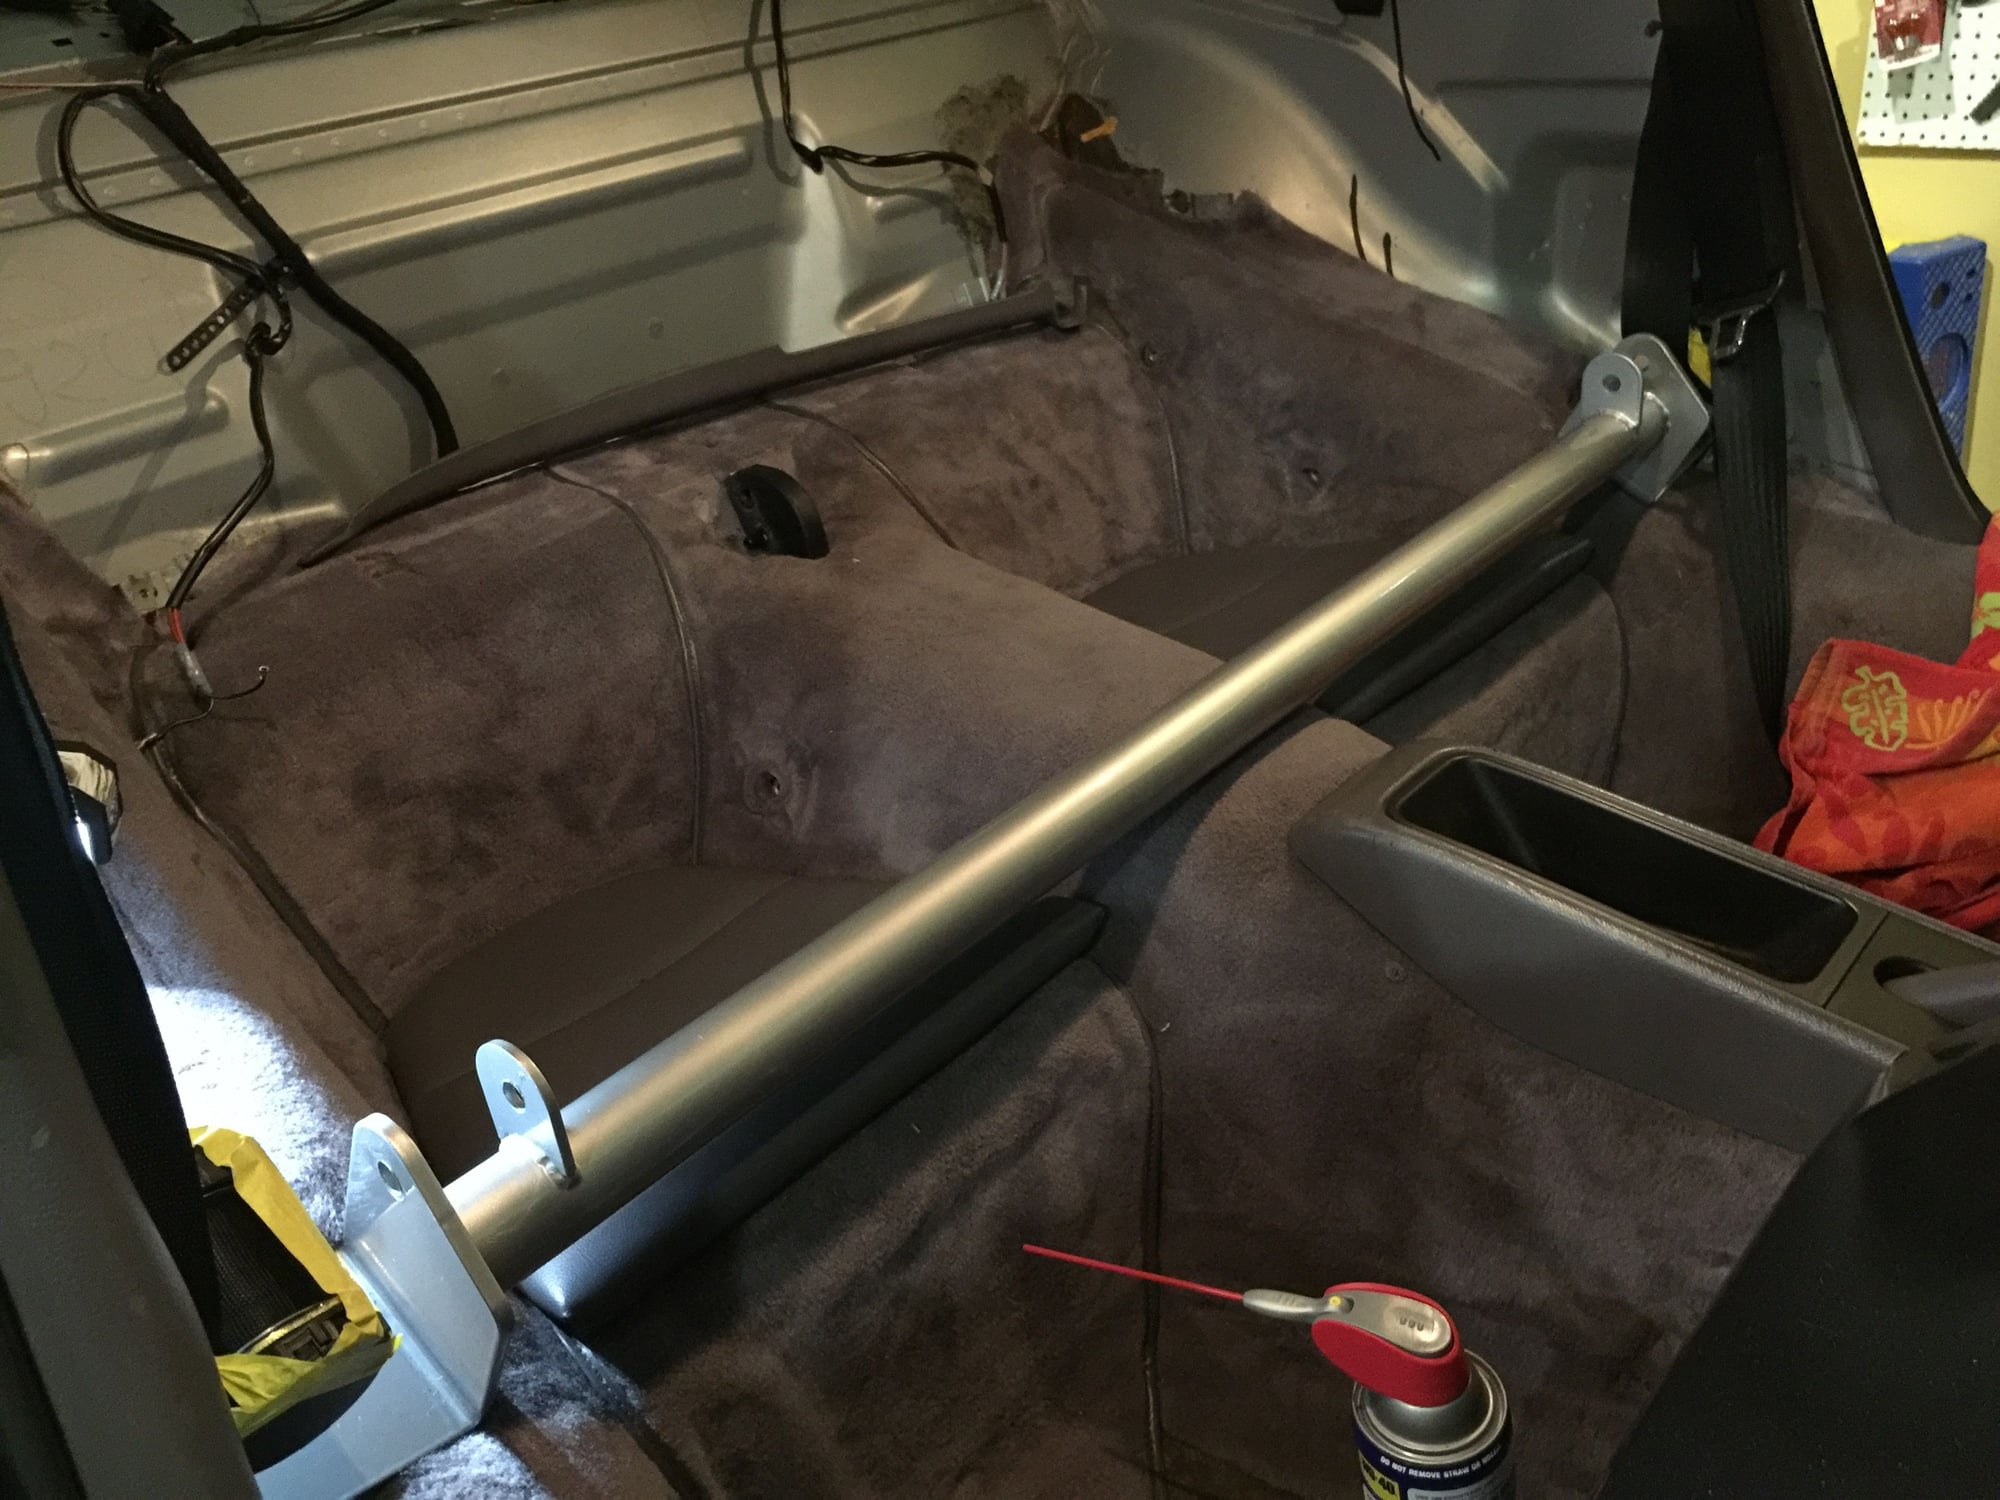
Step 4: Once the rear upholstery quarter panels, seat belt retractors and window defroster ducts have been removed, you're ready to install the lower transverse bar and reinstall the retractor reels. Nothing to it. Simply place the transverse bar into position and use the two supplied longer AN 7/16n x 31/32 bolts to secure the retractor reels and bar into position. DAS advises to torque the bolts to 55 ft. lbs. with blue loctite, but hold off on the loctite and final torque until you're sure everything lines up properly. As Bill V, Boman993 and others have noted, angling the lower bar properly is the key to the hoop fitting properly. Twisting and rotating the bar a bit forward made a huge difference in getting everything to align properly, and may mean the difference between a bottle jack and a bottle of Jack. When installing the transverse bar, I found that the left side bolted in easily, but the right side was sitting a bit too high to line up with the bolt hole. The padding under the carpet needed to be compressed a bit, and then everything fell into place perfectly. But be careful. Great tip from Jebia in a previous thread that there's a wire harness running underneath the carpet near the mounting tab on the passenger side.https://rennlist.com/forums/993-foru...-roll-bar.html Be careful to keep the harness out of the way to avoid damaging the harness while getting the bar to sit properly. The key here is to get the bar to line up to both mounting points properly and without any undue stress that might damage the threads. It does help to have a friend around to help finesse the bar into position while inserting the bolts. The retractors should fall right into place. Some complain about the retractors not being in the correct position and locking up, but if the bar is correctly titled forward the retractors should be operational. With the transverse bar installed, now you can reinstall the quarter panels. But you need to apply blue loctite and do your final tighten before the panels are reinstalled, so you need to first make sure that the transverse bar is properly positioned to allow the roll bar to seat properly. I suggest a trail fit of the roll bar before reinstalling the panels, then apply blue loctite and do a final tighten (40 ft lbs.) of the two longer AN 7/16n X 31/32" bolts securing both the transverse bar and retractors into into position. Then remove the upper roll bar from the transverse bar and the car, and reinstall the roll bar.
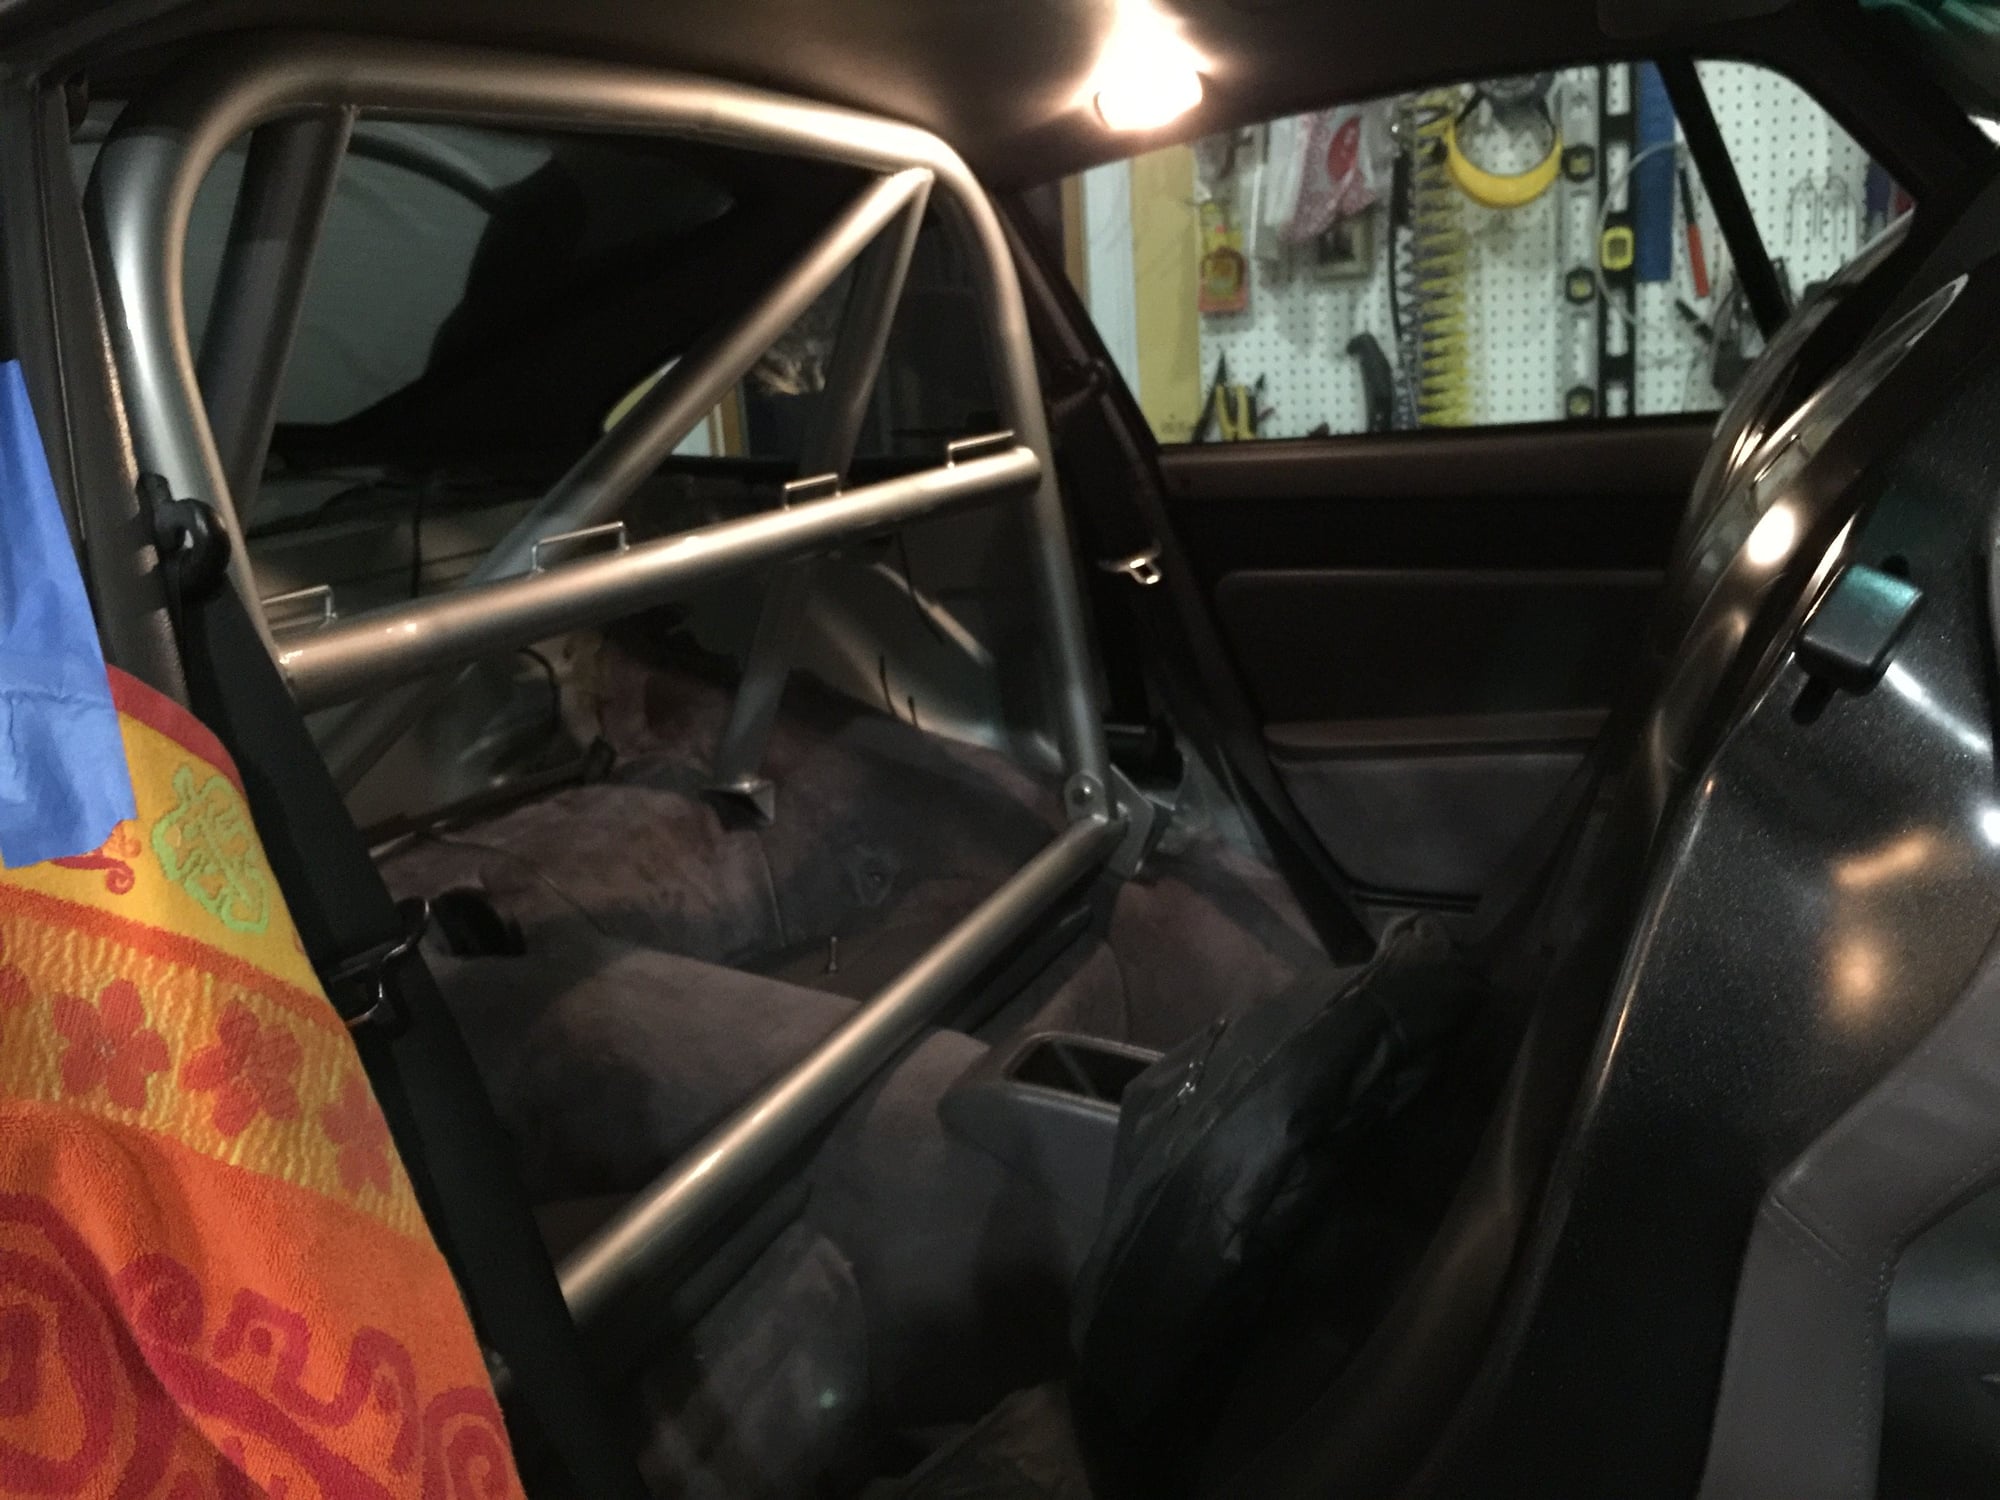
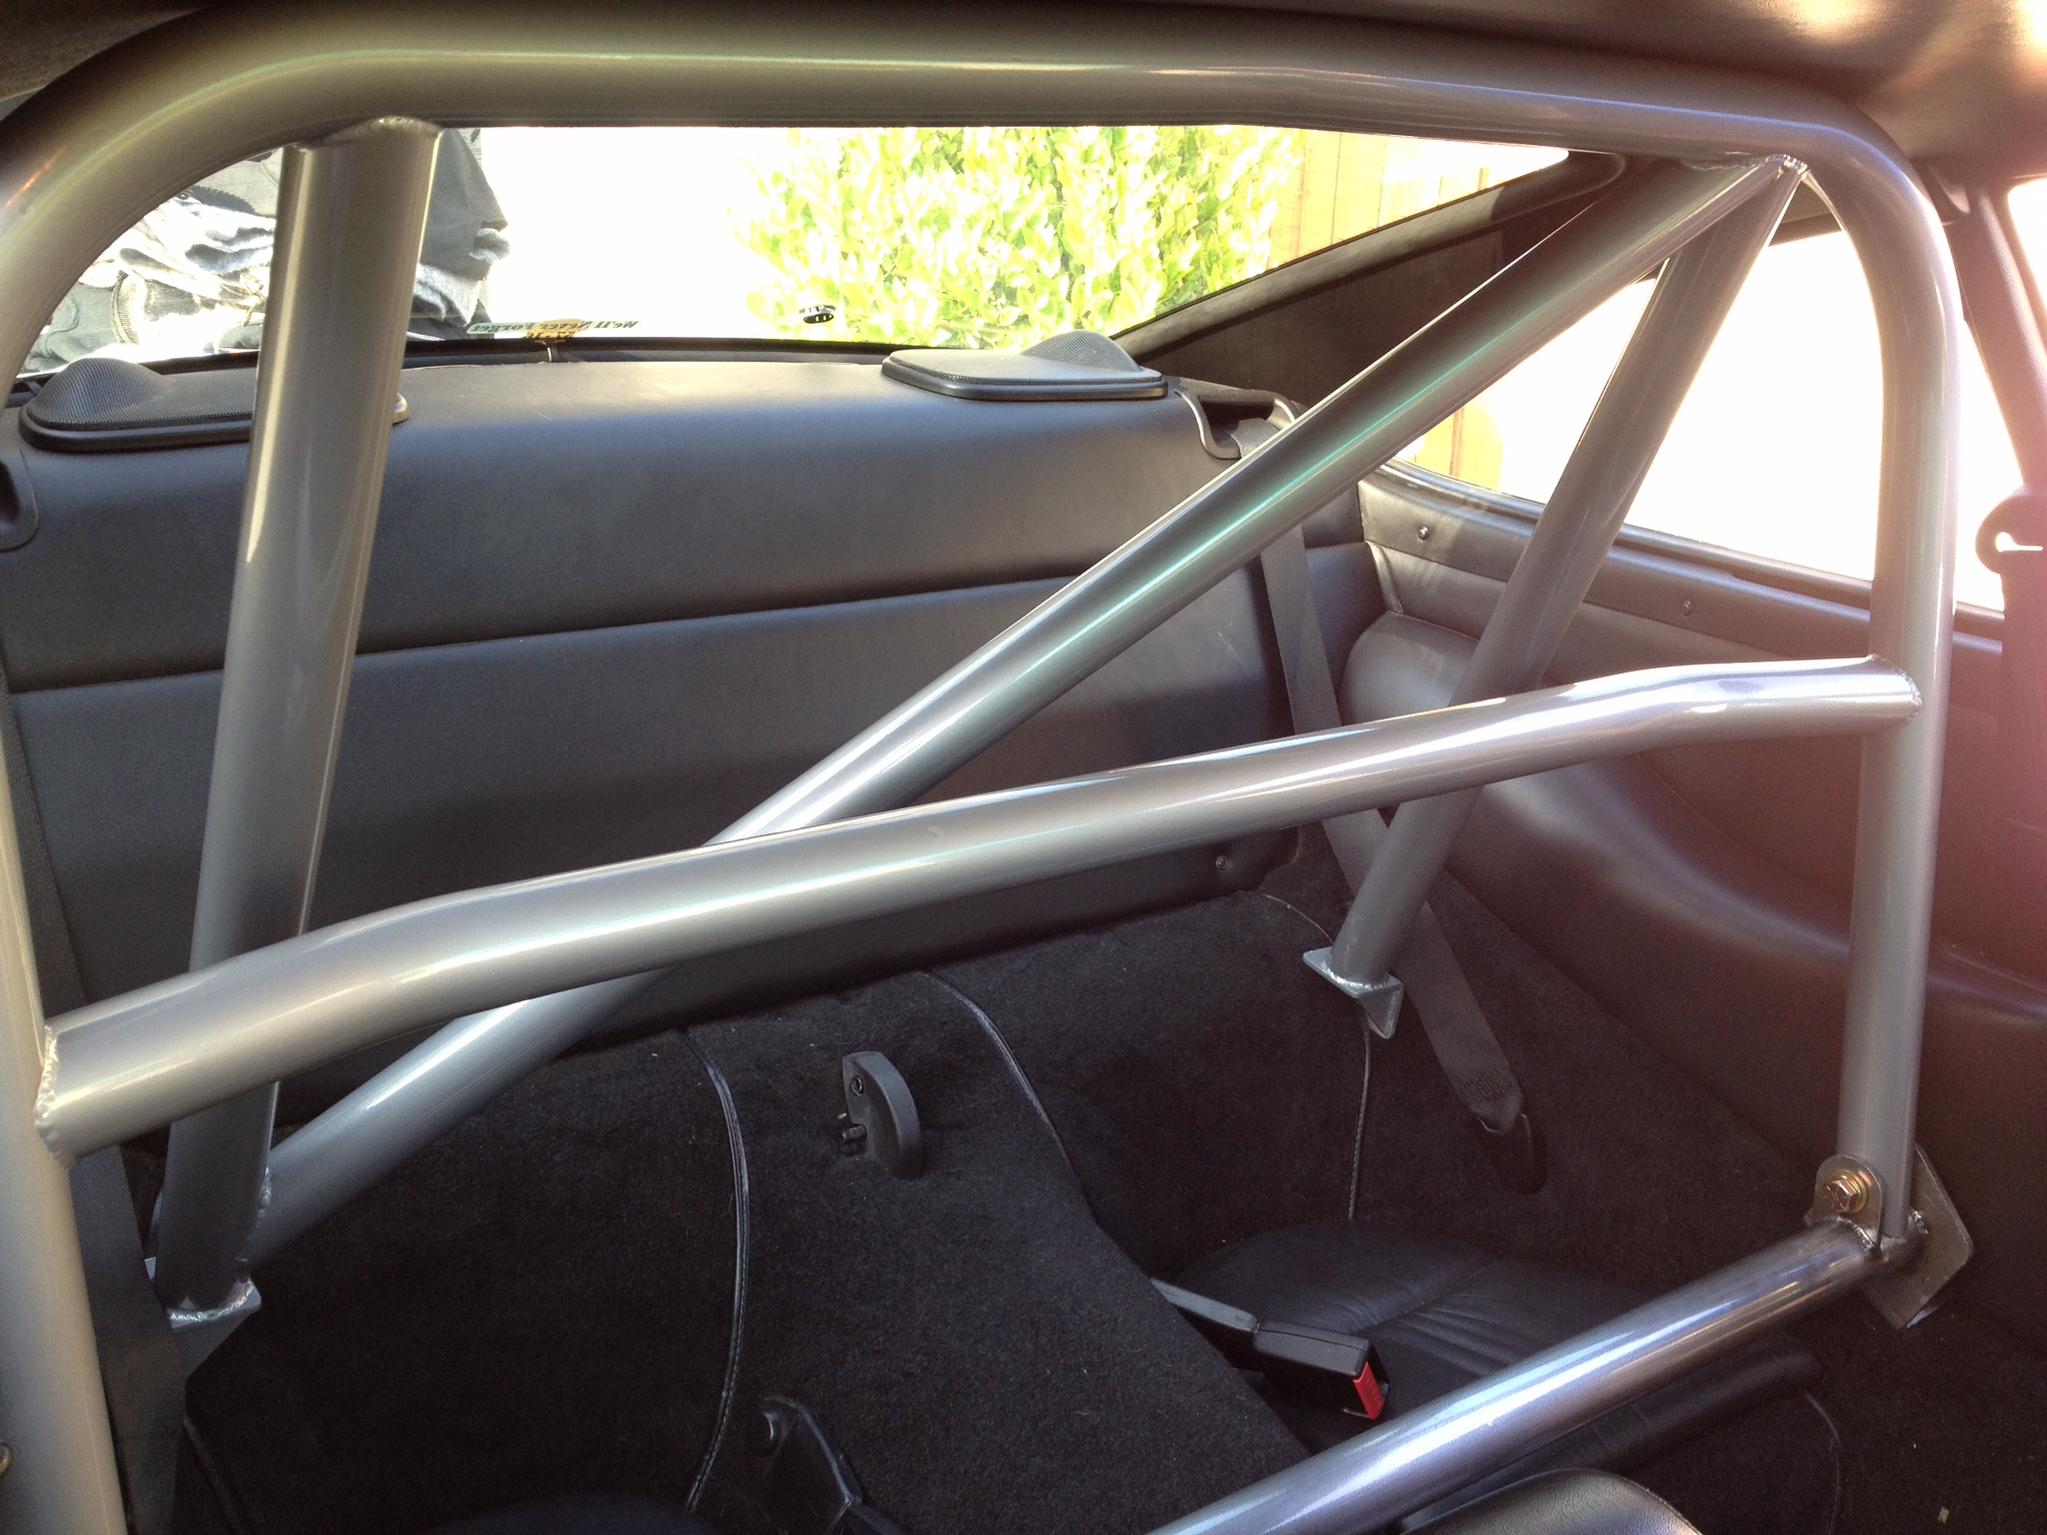
Step 5: With the help of a friend now you can carefully place the roll bar into position. With the front seats rolled forward there's ample room to insert the roll bar. The bar's rear extensions may need a little coaxing to drop down into place adjacent the seat back threaded inserts. The bar seemed a bit too wide at first (straps?) but with a little push inward on the bar it dropped right into place. Some use ratchet straps to close up the rear legs. Ironically there's actually a small gap between the rear extensions and the seat back threaded inserts once the bar is in place (this gives you some idea of the tight tolerances here). I think Bill V. suggested using spacers in a prior thread. In my case the gap was nominal, and it tightened right up and disappeared following bolt threading at the recommended 40 ft. pounds. Using the supplied 8mm x 30mm (grade 12.0) bolts, first attach the bar's rear extensions to threaded seat back inserts. The seat back inserts aren't going to move so this really serves as your axis. As noted, the transverse bar can be angled forward so there is some play in the front. Initially my roll bar did not line up perfectly with the base, but after angling the lower transverse bar forward a few degrees, everything fell right into place. Apply some blue loctite and secure the roll bar to the lower transverse bar using the supplied 1/2 by 2 19/32" AN bolts and the shallow nylock nuts, and you're done!
A big thanks to Boman993, Bill V, JScot82 and Jebia and others for their prior DAS posts here on Rennlist. And thanks to Felipe for helping with the installation.
I just finished heavily modifying an autopower roll bar for my 930... pics to follow soon...
Most of these roll bars attach to the tiny TINY bolt that supports the seat back. I was really worried that this tiny bolt could support anything...
I made a custom bracket that mounts to the seat back bolt AND the seatbelt bolt, that is super secure. The roll bar then mounts to this bracket...
Perhaps someone can enlighten me, but how exactly does that tiny seat back bolt manage to absorb the weight of a roll over? It was designed to hold a seat back, not even as thick as the bolt to hold seat belts...
For the DAS bar, the rear attachment points are the seat anchor holes. These are fairly sturdy bungs which secure seat. During a roll-over, the bar should not move much (if at all), but should still reduce chance of roof collapse.
Great write up, and should be very helpful to others wanting to do this. I left most panels in, and only removed seat backs. I've used the rear belts to make sure crap in the back doesn't become a "projectil", when I am loaded up for a trip. :-)
Great write up, and should be very helpful to others wanting to do this. I left most panels in, and only removed seat backs. I've used the rear belts to make sure crap in the back doesn't become a "projectil", when I am loaded up for a trip. :-) Attachment 1122885
Thanks OverBoosted28, your car with the silver roll bar was inspirational for this project.
Originally Posted by AOW162435
Jim,
Top-shelf writeup! Thank you for posting.
Andreas
Thanks Andreas, that's very high praise coming from you Sir.
Already on the web so..... this is what you expect the roll bar to do. Look at the rear quarter window opening, and panel pushed down during roll over. Imagine how flat that would've been w/o bar!
Rollbars are a good thing... I just question the logic of some of their attachment points...
I just finished modifying an autopower... I made the floor mount huge... Its about 8 inches by 8 inches, and goes right up to the edge of the floor pan where its strongest and follows its contour.
I also modified it to attach to the b-pillar seat belt mounts, so it doesn't punch through the floor on a roll over...
The original roll bar, like the one in this thread, attached to the seat belt mounting screws. Those screws are TINY compared to the seat belt mounting screws...
If you have a driver and a passenger, in 5-6 point restarints, and you hit a wall, I have a hard time believing those two tiny screws will keep the roll bar from detaching and being thrown forward...
I think those screws are an M8 or M10 or something... They were designed to hold a seatback attached, not to hold 8000 lbs (200lb driver at 40g)...
Already on the web so..... this is what you expect the roll bar to do. Look at the rear quarter window opening, and panel pushed down during roll over. Imagine how flat that would've been w/o bar!]
Thanks for posting that OverBoosted28. Nice to know that the bar works. I suspect it might even tighten up the cart a bit. Now if only Gbos1 would respond to this thread and spice it up with that Avatar.
Any idea what size bolt is holding in the "window defroster deflector ducts". I am eager to get at the 17mm holding in the seat belt retractor. Thanks.
Any idea what size bolt is holding in the "window defroster deflector ducts". I am eager to get at the 17mm holding in the seat belt retractor. Thanks.
It�s a pair of tapping screws on each duct. You can see the entire assembly in this Link
If you�re just removing the seat belt assembly, I don�t think you need to remove the deflectors as I recall.
Thanks, yes just removing the seat belt assembly, but struggling to get purchase on the 17mm bolt holding the seat belt assembly with a socket and extender at the slight angle that the deflector creates. There must be a tool for these situations.
Thanks, yes just removing the seat belt assembly, but struggling to get purchase on the 17mm bolt holding the seat belt assembly with a socket and extender at the slight angle that the deflector creates. There must be a tool for these situations.
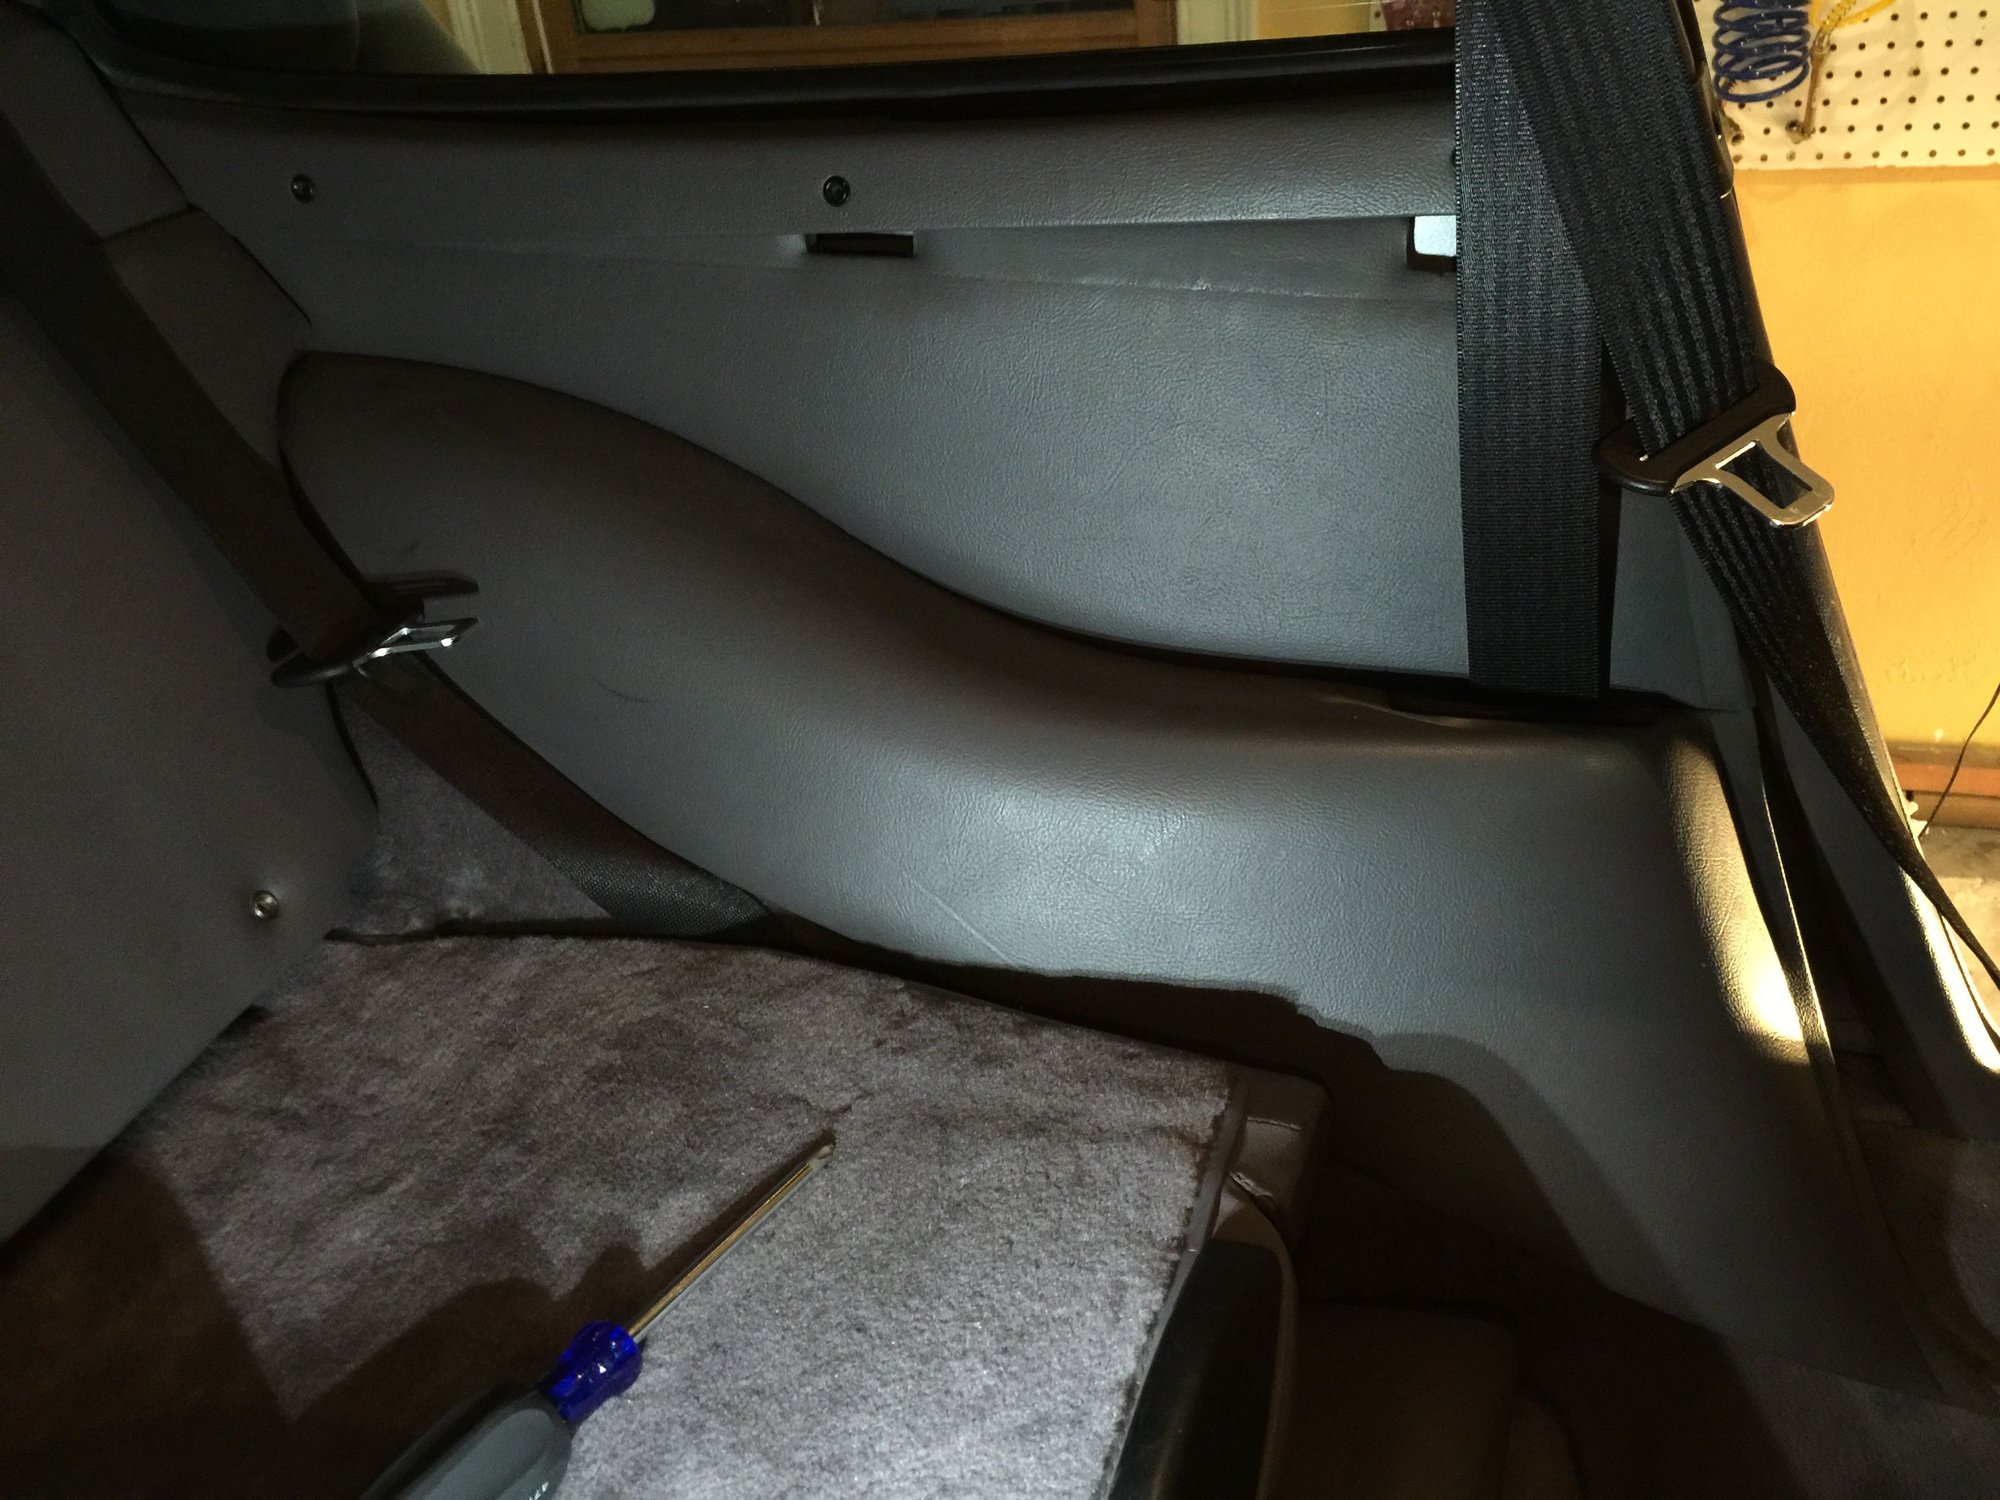
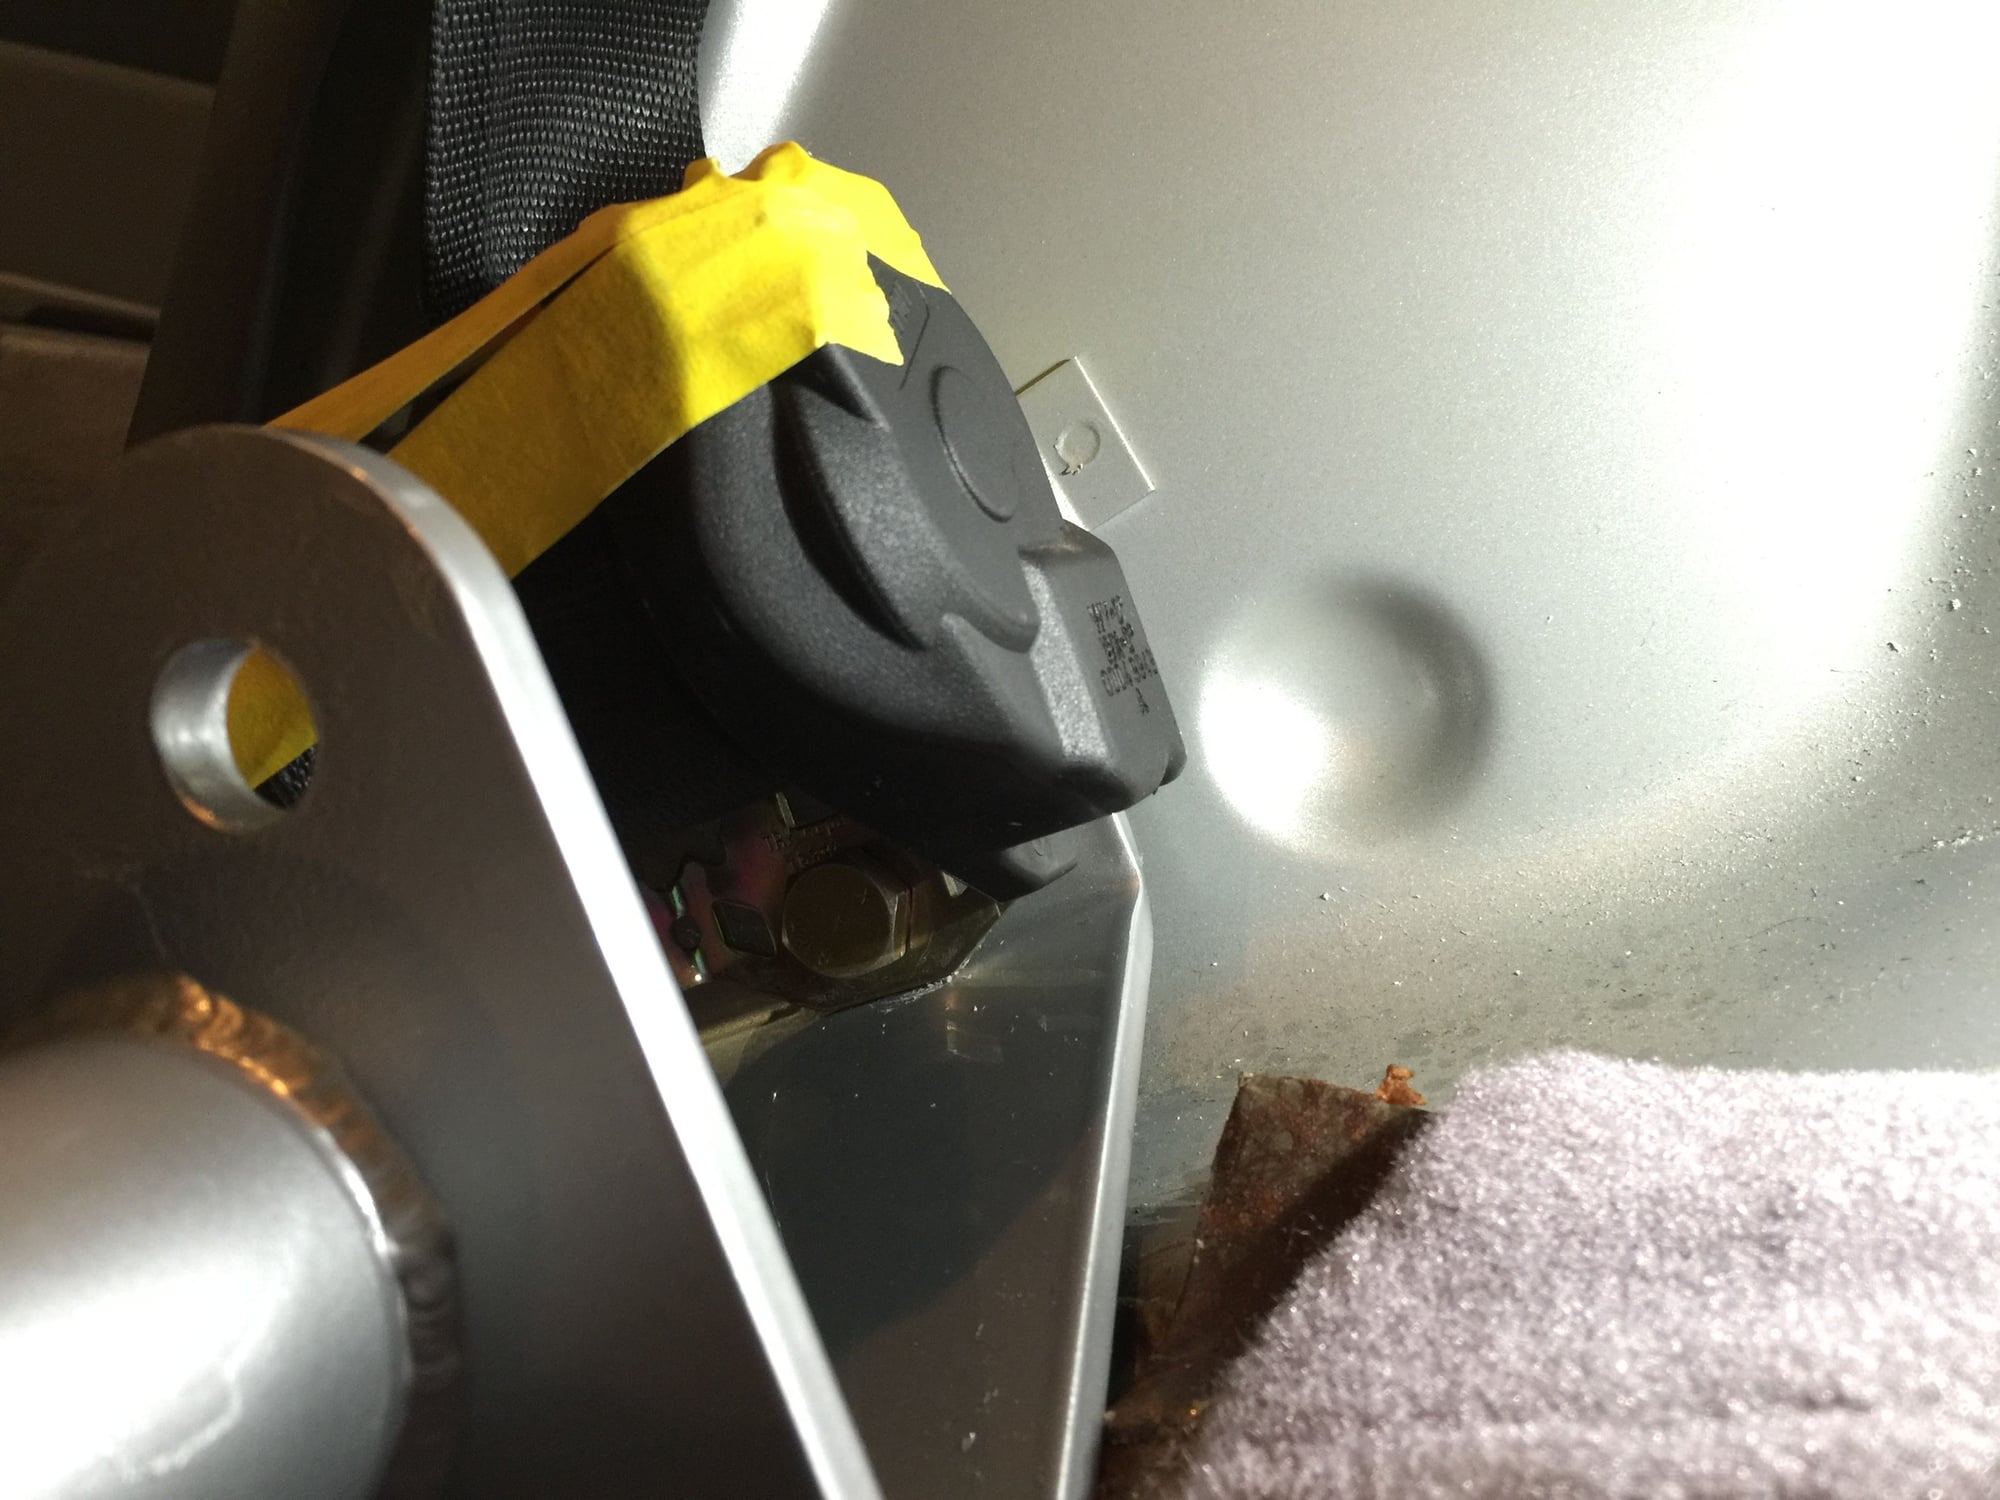
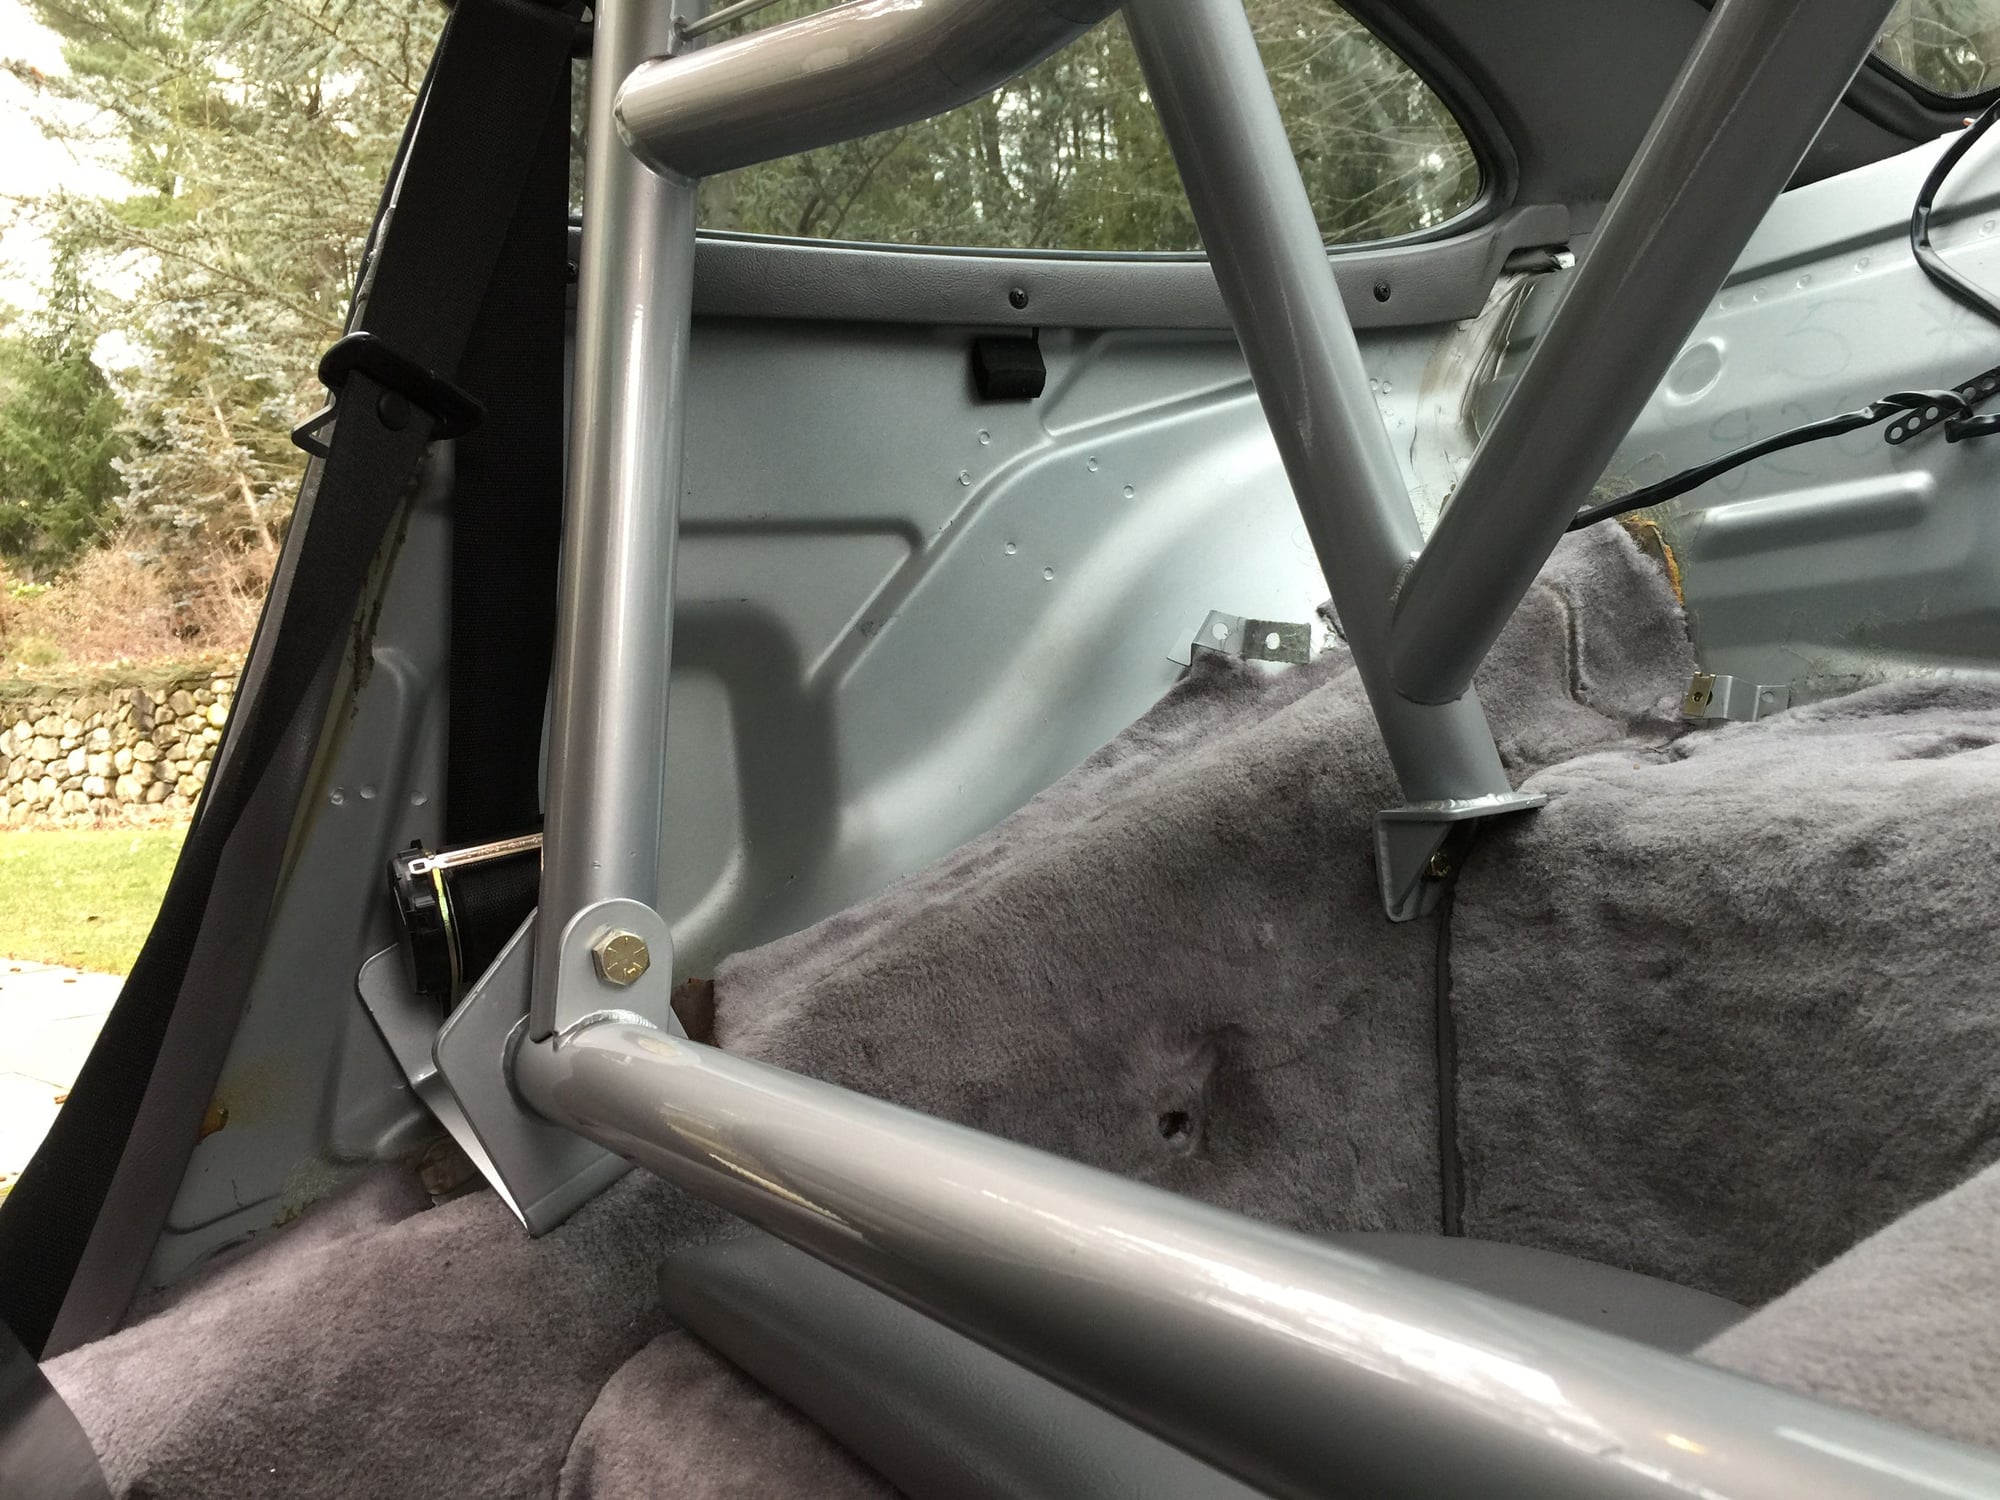
Wobble socket, if you're not already using this. There's several inches between the duct and the bung (see photo attached), so the duct really shouldn't be in the way very much. Note the gap between the duct and the bung for the seat belt (bung has a plug in it for paint)
 01-05-2017, 02:56 AM