When you click on links to various merchants on this site and make a purchase, this can result in this site earning a commission. Affiliate programs and affiliations include, but are not limited to, the eBay Partner Network.
Going to be doing a Numeric short shifter and cables install next weekend. Does anyone have a resource for console removal? I watched the video’s on Numeric’s website, however the most current is a 991. The 992 console is much different.
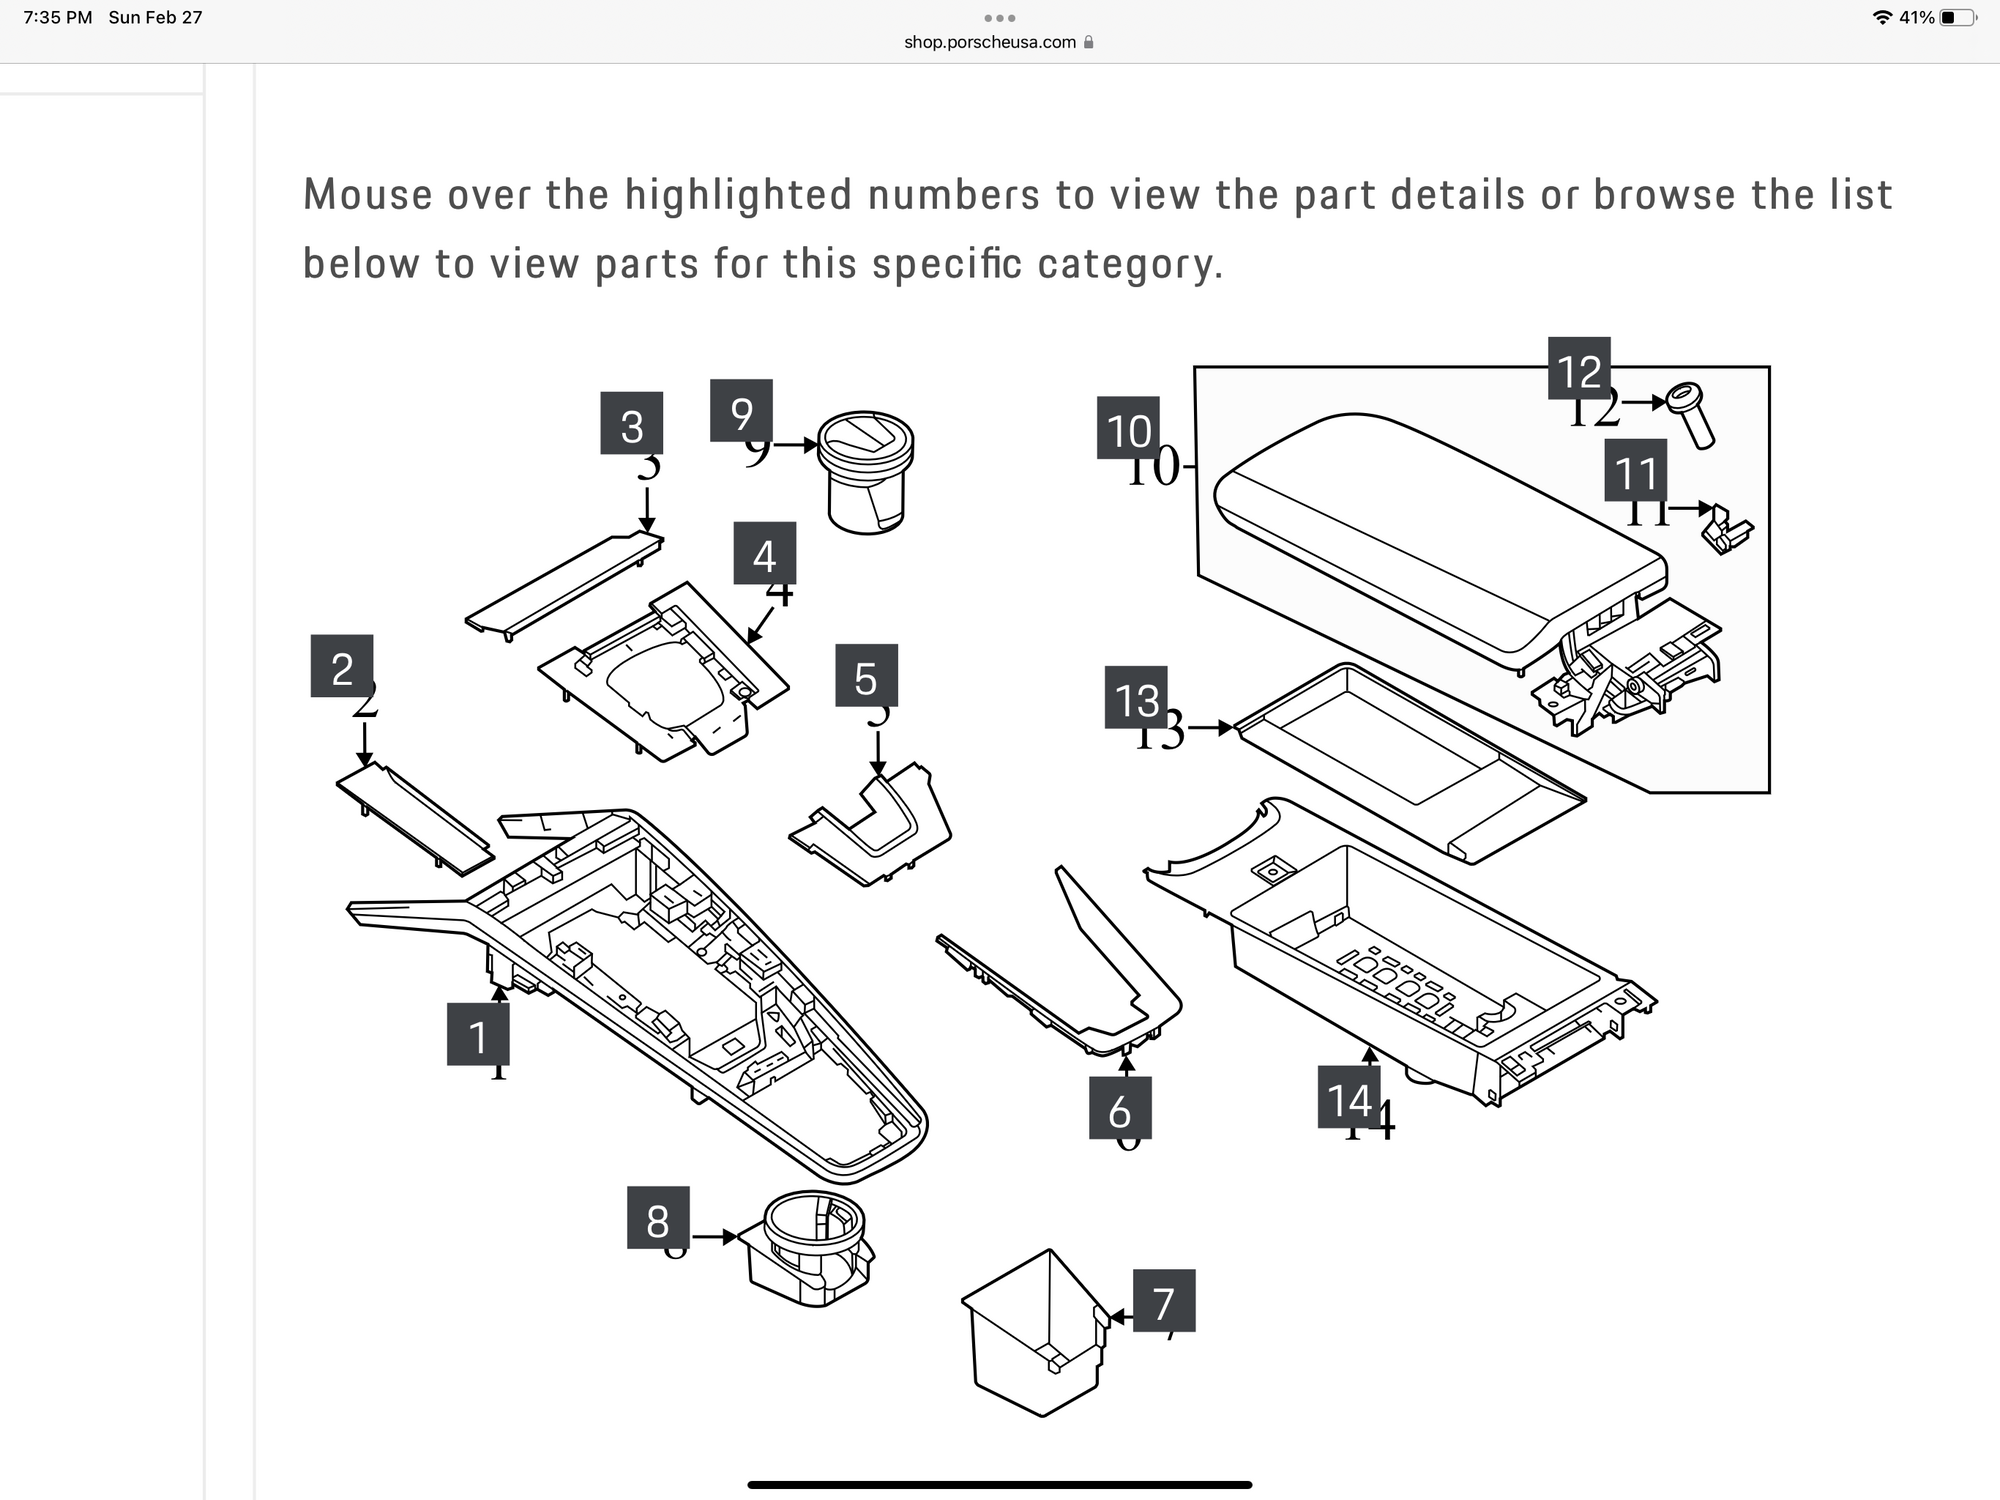
Found a parts diagram. It helps a bit. I can see the parts breakdown and some of the connecting points on the parts:
Going to be doing a Numeric short shifter and cables install next weekend. Does anyone have a resource for console removal? I watched the video�s on Numeric�s website, however the most current is a 991. The 992 console is much different.
Found a parts diagram. It helps a bit. I can see the parts breakdown and some of the connecting points on the parts:
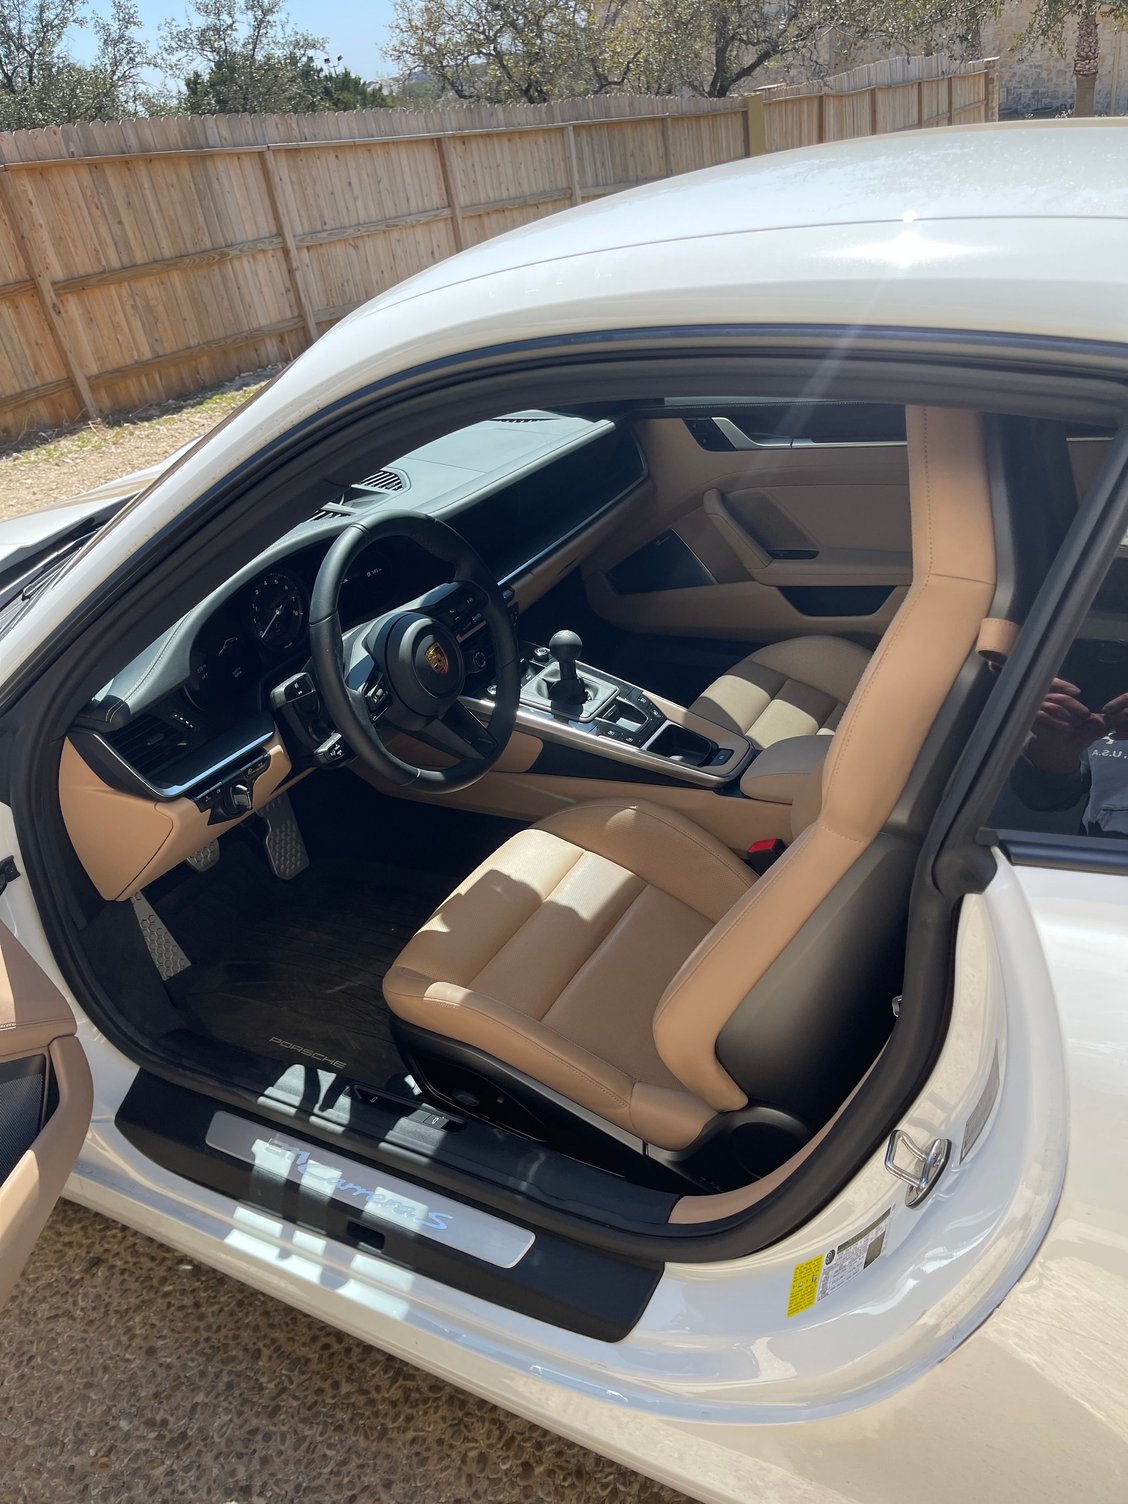
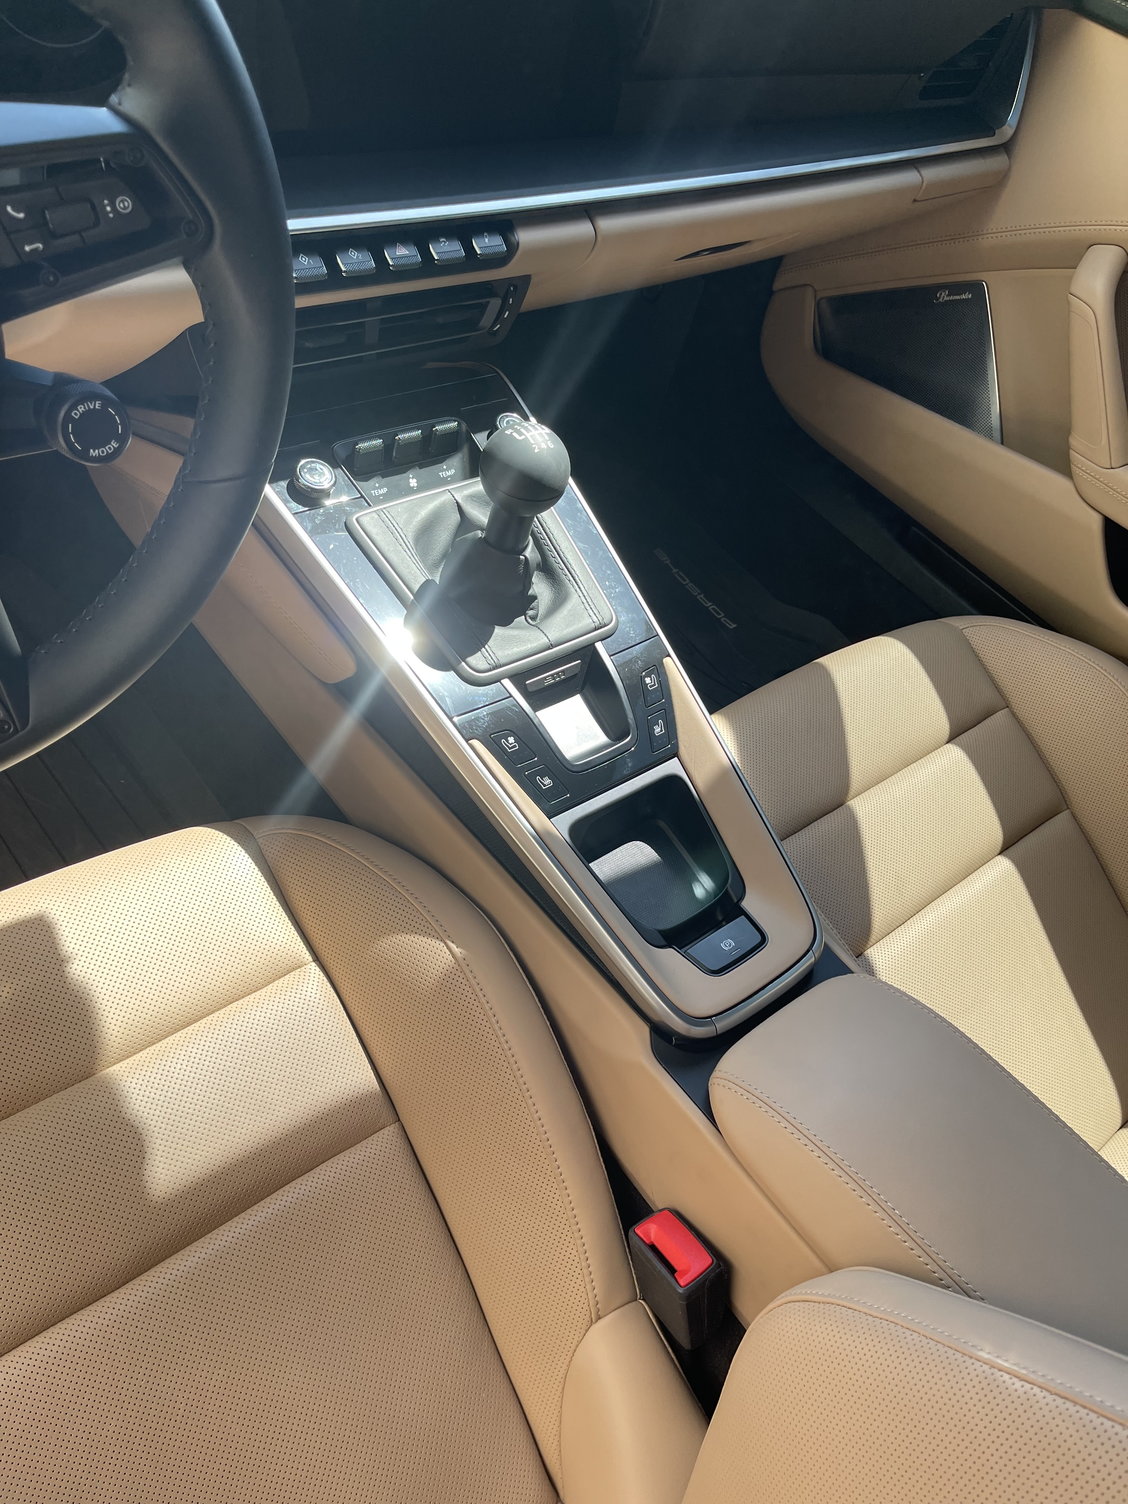
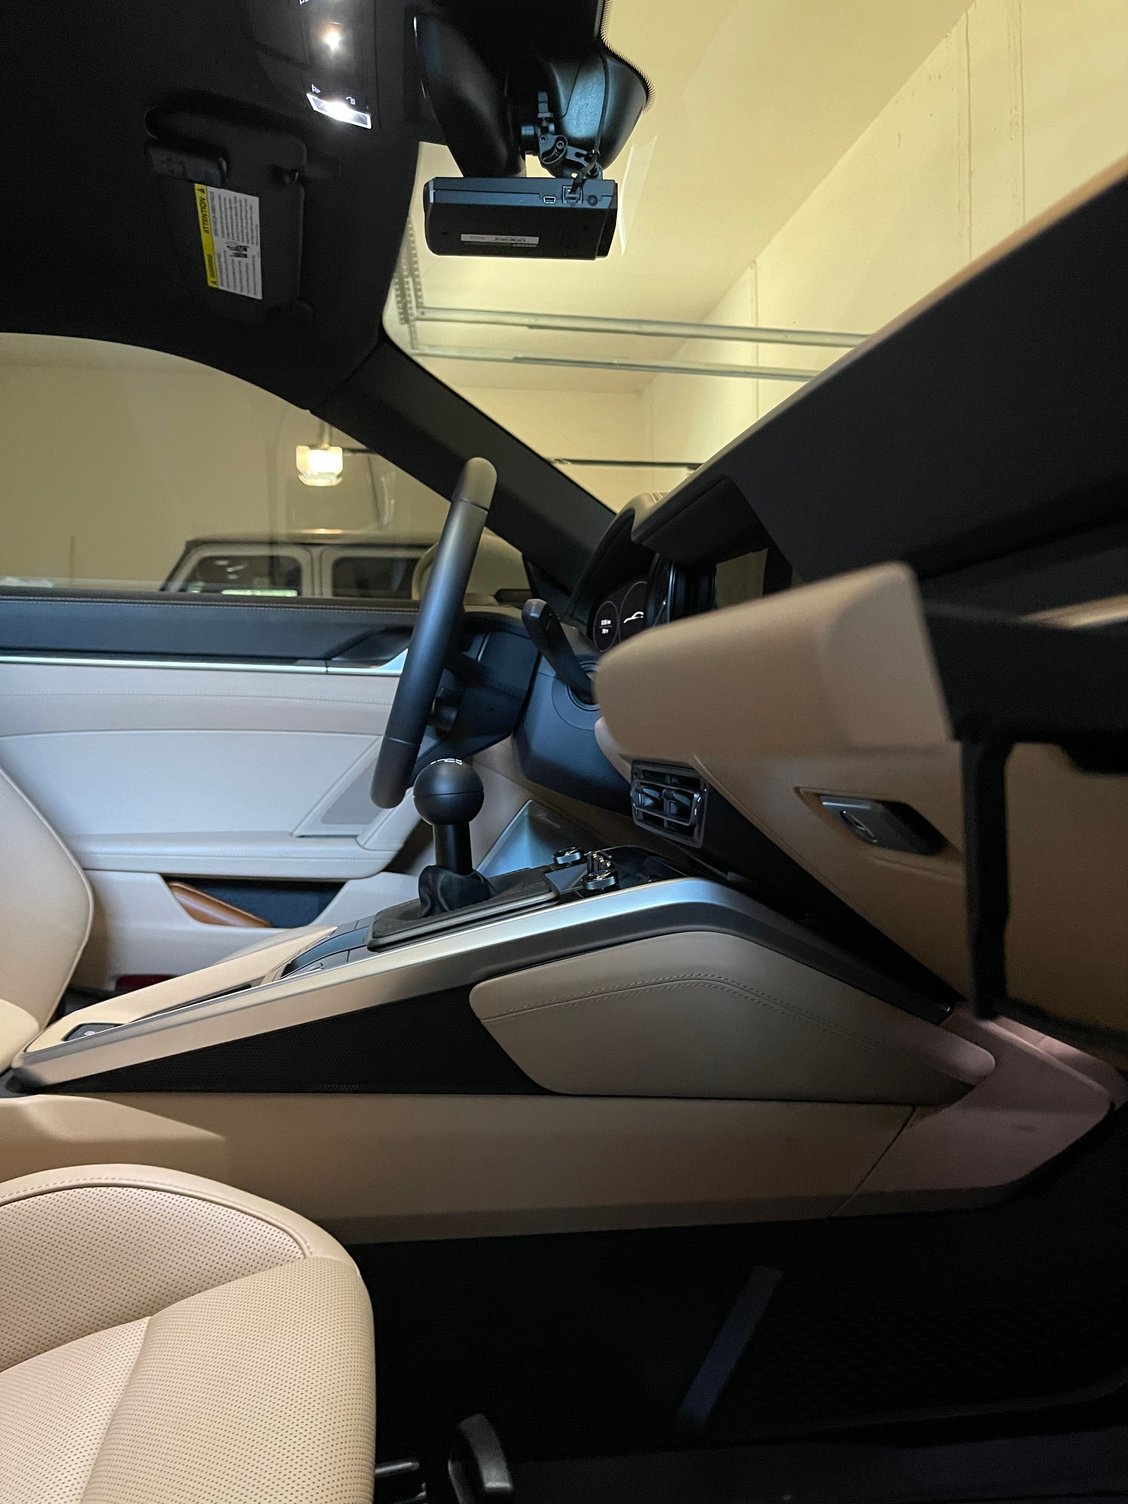
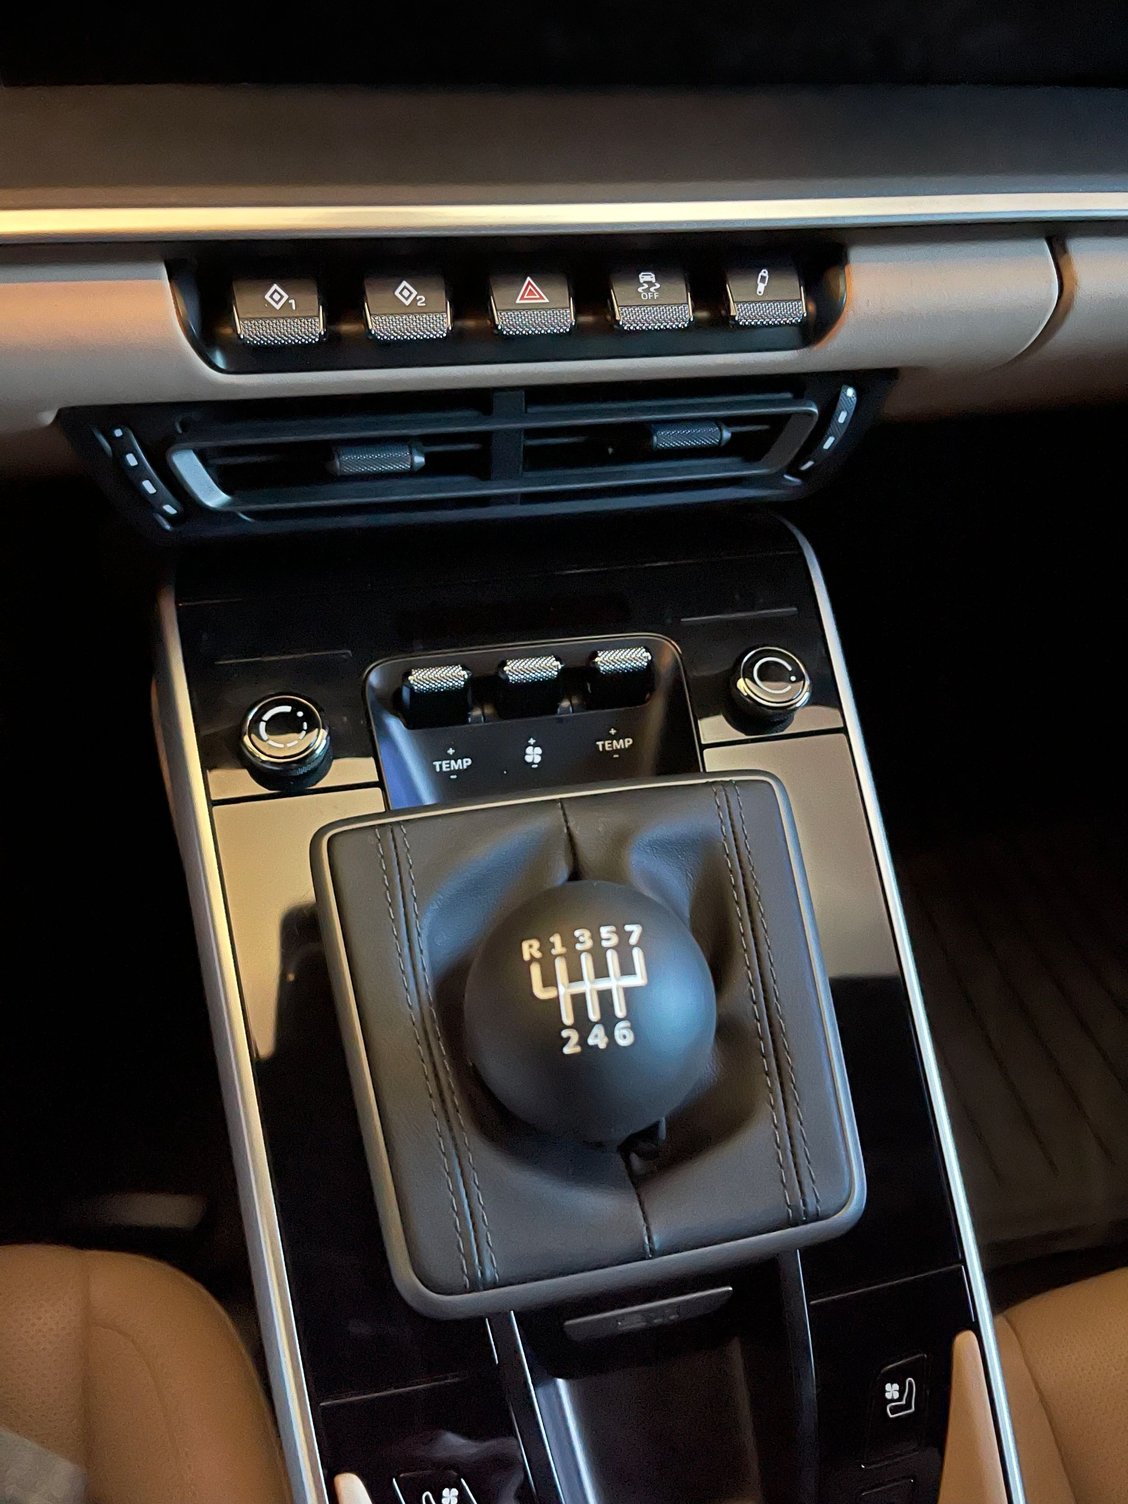
no video, but hopefully these pics help with finding the screws.
no video, but hopefully these pics help with finding the screws.
Awesome! These are very helpful! Any tips on removing the shifter and trim pieces? Does the shift **** just pull straight up? Shift boot looks like you just lift up w/ some trim removal tools. What about the main piano black pieces? Do you insert the trim removal tool from the outside or inside edge? Any screws to remove before prying the pieces off?
How’s the shifter holding up? I think you mentioned you had the 2mm springs. Some people indicated those are very stiff but they break in and feel perfect. Have you noticed this to be true?
Awesome! These are very helpful! Any tips on removing the shifter and trim pieces? Does the shift **** just pull straight up? Shift boot looks like you just lift up w/ some trim removal tools. What about the main piano black pieces? Do you insert the trim removal tool from the outside or inside edge? Any screws to remove before prying the pieces off?
How�s the shifter holding up? I think you mentioned you had the 2mm springs. Some people indicated those are very stiff but they break in and feel perfect. Have you noticed this to be true?
You'll want a plastic trim removal tool, and on top of that you may want to wrap it with tape and use a microfiber towel to eliminate potential scratches.
The shifter you pop the boot off, then underneath the boot you twist then pop right off.
look at the pics and you can see where the clips hold the piano black pieces, slowly pry with a trim removal tool, those pop off without any screws holding it. The rest of the screws are inside the console. Don't pull the side leather pieces until you remove the screws (different than 997s for reference).
Shifter is great. I have 2mm spring. In the beginning it was stiff, almost thought it was too stiff. You need to be deliberate with shifts. I was worried about shifting into 3rd when trying to go into 5th- it is possible if you try to use a finger to shift because the shifter wants to return to center after it is out of gear.
After a few weeks of use, it is perfect. Wouldn't have it any other way. No problems with shifting at all. Well worth it.
Thank you so much! Did you install the shifter cables?
The last piece you take off, before being able to swap out the shifters, is the the console trim. How did you remove this piece?
We really appreciate you sharing your pics and answering a few questions.
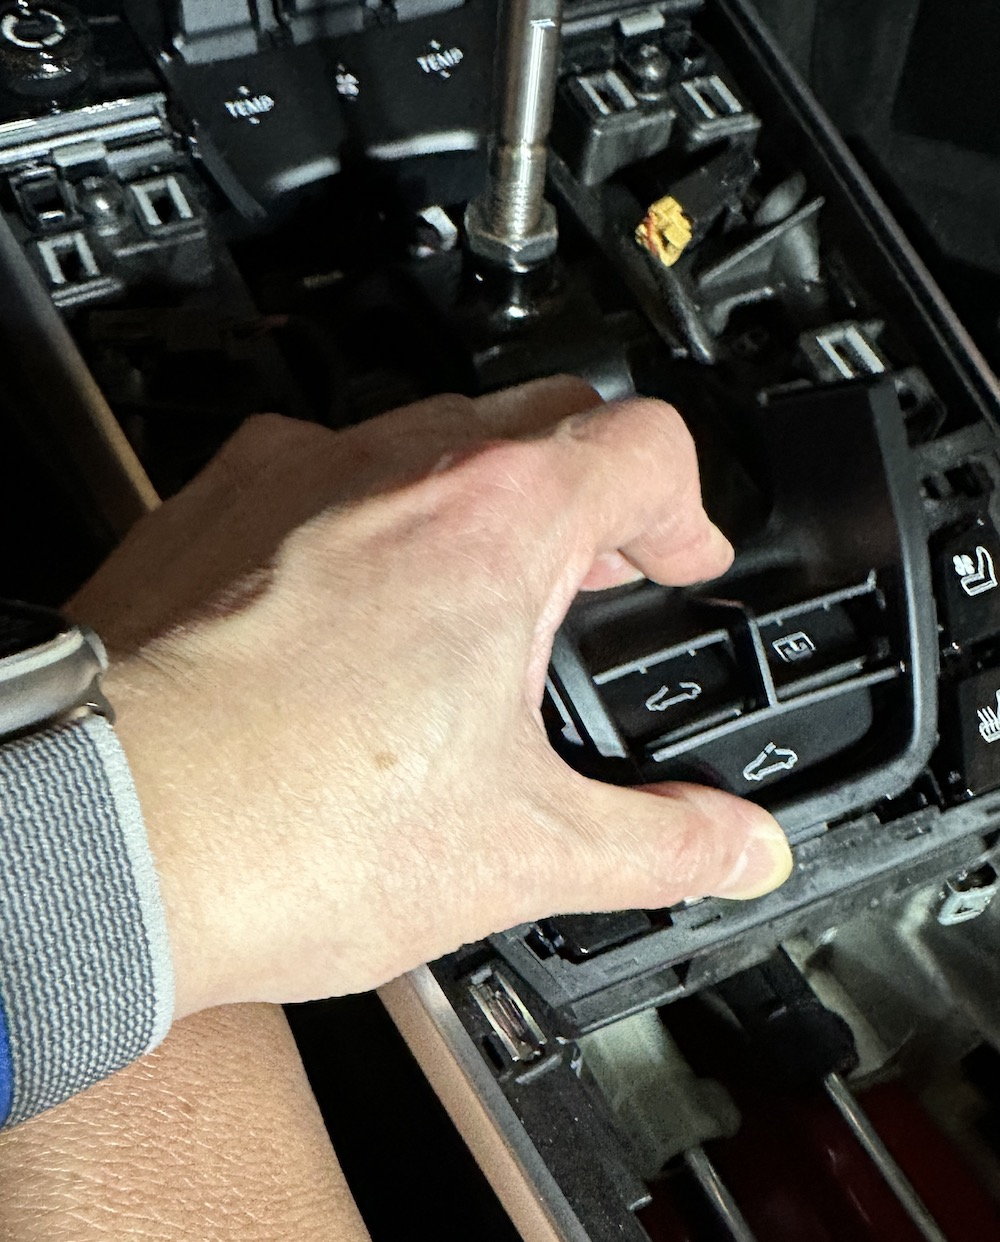
Completed the install of the Numeric Racing short shifter and cables. Doing the shifter install shouldn’t take more than 45 min to an hour. It’s definitely easier than the 991. Use the pics above, including the parts diagram and you will be fine. See part #1 in the parts diagram: If you cannot lift this part from the console after you’ve removed the screws, then you haven’t taken all the screws out.
The cables will take longer. Once you’ve secured the Numeric Racing short shifter with the 4 screws, you will need to remove the arm rest and the plastic cover between the rear of the armrest and the front center of the rear seats (no need to remove the rear seats like in the 991). Underneath the cover, you will see a piece of white spongy sound deadening material about the size of your fist. Pull it out and you will see the shifter cables running through the rubber grommet to the transmission.
Buy a generic interior trim removal tool packet from an auto parts store. They feel like soft plastic and are cheap. You don’t have to wrap it in a microfiber cloth before using.
Completed the install of the Numeric Racing short shifter and cables. Doing the shifter install shouldn�t take more than 45 min to an hour. It�s definitely easier than the 991. Use the pics above, including the parts diagram and you will be fine. See part #1 in the parts diagram: If you cannot lift this part from the console after you�ve removed the screws, then you haven�t taken all the screws out.
The cables will take longer. Once you�ve secured the Numeric Racing short shifter with the 4 screws, you will need to remove the arm rest and the plastic cover between the rear of the armrest and the front center of the rear seats (no need to remove the rear seats like in the 991). Underneath the cover, you will see a piece of white spongy sound deadening material about the size of your fist. Pull it out and you will see the shifter cables running through the rubber grommet to the transmission.
Buy a generic interior trim removal tool packet from an auto parts store. They feel like soft plastic and are cheap. You don�t have to wrap it in a microfiber cloth before using.
I am thinking of tackling the shifter only install on my 992 at some point. I did the GT4 shifter in my 991 and managed ok, so I'm glad to hear that the 992 might be a touch simpler.
It looks like you also swapped to a Function First shift ****. Which material (aluminum or delrin) and finish did you specify? Do you have any closer up photos that you could please share?
Good eye! Delrin (Black). I live in San Antonio and the summers are brutal. I really like the look and feel of it. The texture reminds me of an after-market tactical rifle stock I purchased for my Ruger mini-14. It’s like a very hard rubber. The texture has a soft, but tacky feel to it. Also, have you ever picked up a woman’s lacrosse ball at a sports store? That’s what it feels like.
@Andy2021@911Gr8tness Guys - I'm almost done w/ my Numeric shifter install but I'm totally stuck on this trim piece surrounding the sunroof buttons. It was a total bitch to remove and I am having a worse time getting that trim piece back on. Did you guys remove this trim piece and, if so, do you remember how you got the trim piece back on? Did you remove those individual buttons first? Seems like there's no way this trim piece goes back on without cracking. Thanks for any help on this!
Nevermind. Was able to finally pop it back on. For those who are doing this install, DO NOT remove the trim piece around the sunroof buttons. It’s unnecessary and near impossible to put back on.
@Andy2021@911Gr8tness Guys - I'm almost done w/ my Numeric shifter install but I'm totally stuck on this trim piece surrounding the sunroof buttons. It was a total bitch to remove and I am having a worse time getting that trim piece back on. Did you guys remove this trim piece and, if so, do you remember how you got the trim piece back on? Did you remove those individual buttons first? Seems like there's no way this trim piece goes back on without cracking. Thanks for any help on this!
I don’t remember exactly and I’d have to be there looking at it to tell you how:
Nevermind. Was able to finally pop it back on. For those who are doing this install, DO NOT remove the trim piece around the sunroof buttons. It�s unnecessary and near impossible to put back on.
glad you got it. I do remember removing it and not having trouble getting it back in. I think I took the buttons out first.
glad you got it. I do remember removing it and not having trouble getting it back in. I think I took the buttons out first.
did you complete the install? How is it?
I was able to get that piece back in by going from the front and just forcing it with massive force and it popped back in place. But that piece surrounding the sunroof buttons did not have to come out at all. The sunroof tilt button literally falls out with no force. However, the sunroof open/close lever and sunshade lever do not pop out at all and are L shaped which made it super hard for me to pop the trim back on around those L shaped pieces.
Finished the install a little while ago and using the stock shift **** for now. I'll install the Function First delrin **** in a day or two. So far, it feels good but it's not significantly different from stock. I find it interesting that people indicated the 2mm spring was very stiff at first. I ordered the 2mm spring as well and it feels barely stiffer than stock. I've been playing with the height of the shifter to get a feel for how I like it.
Also, since I disconnected the battery before the install, my car is now showing a check engine light. Not sure why but I'm going to use my M-Engineering dongle to clear error codes in the ECU tomorrow. Hopefully that will take care of it.

 02-28-2022, 12:29 AM