When you click on links to various merchants on this site and make a purchase, this can result in this site earning a commission. Affiliate programs and affiliations include, but are not limited to, the eBay Partner Network.
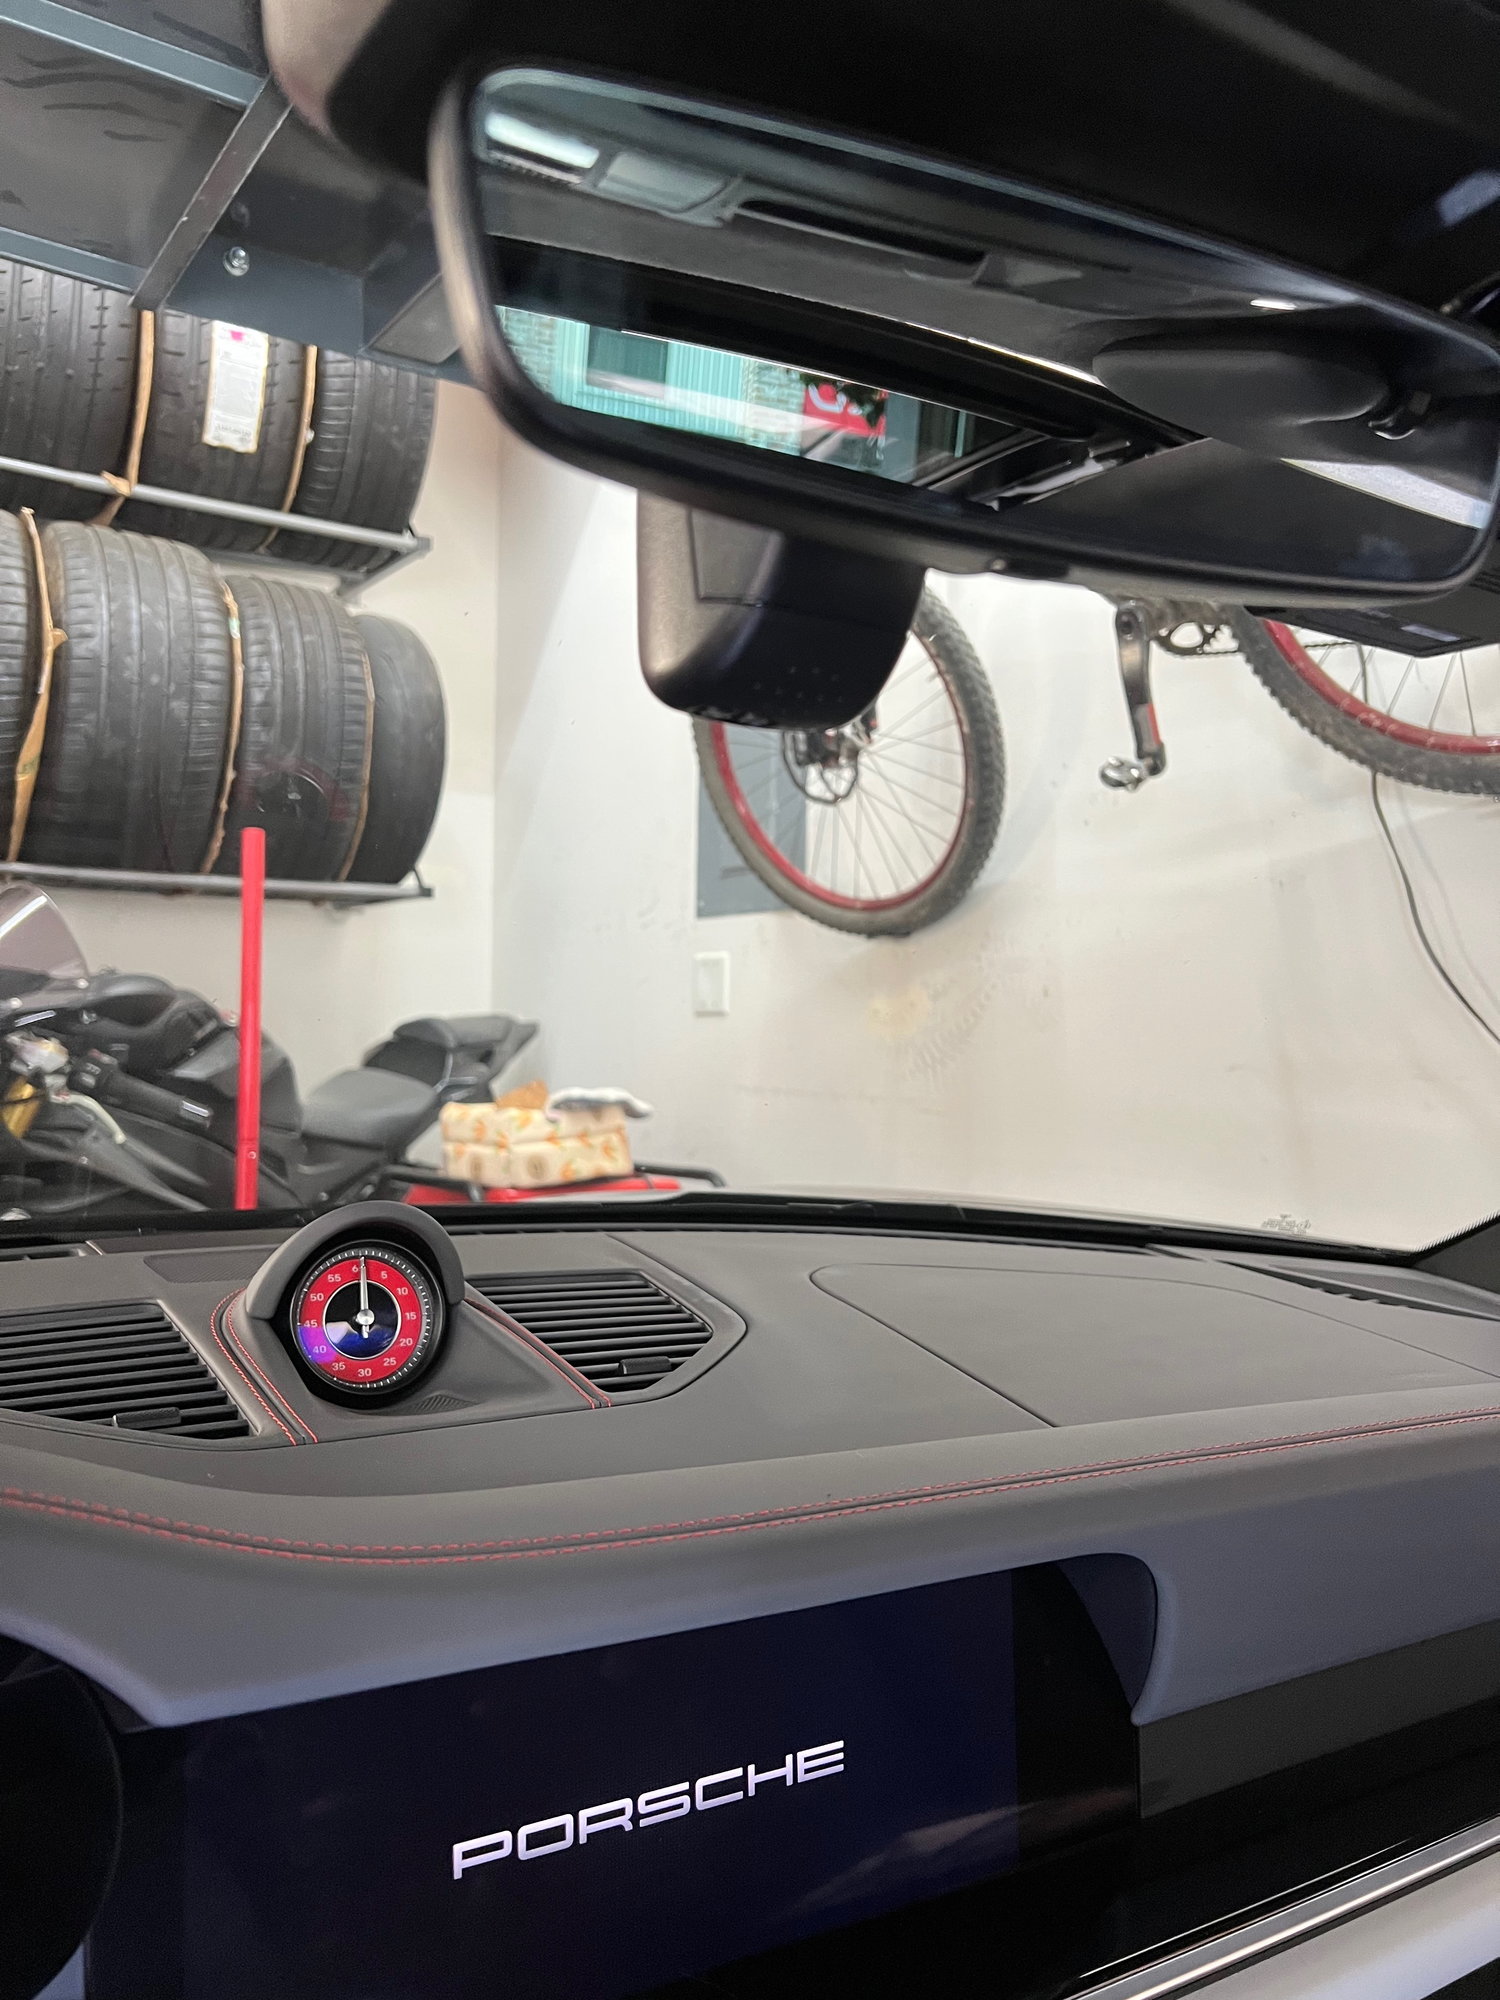
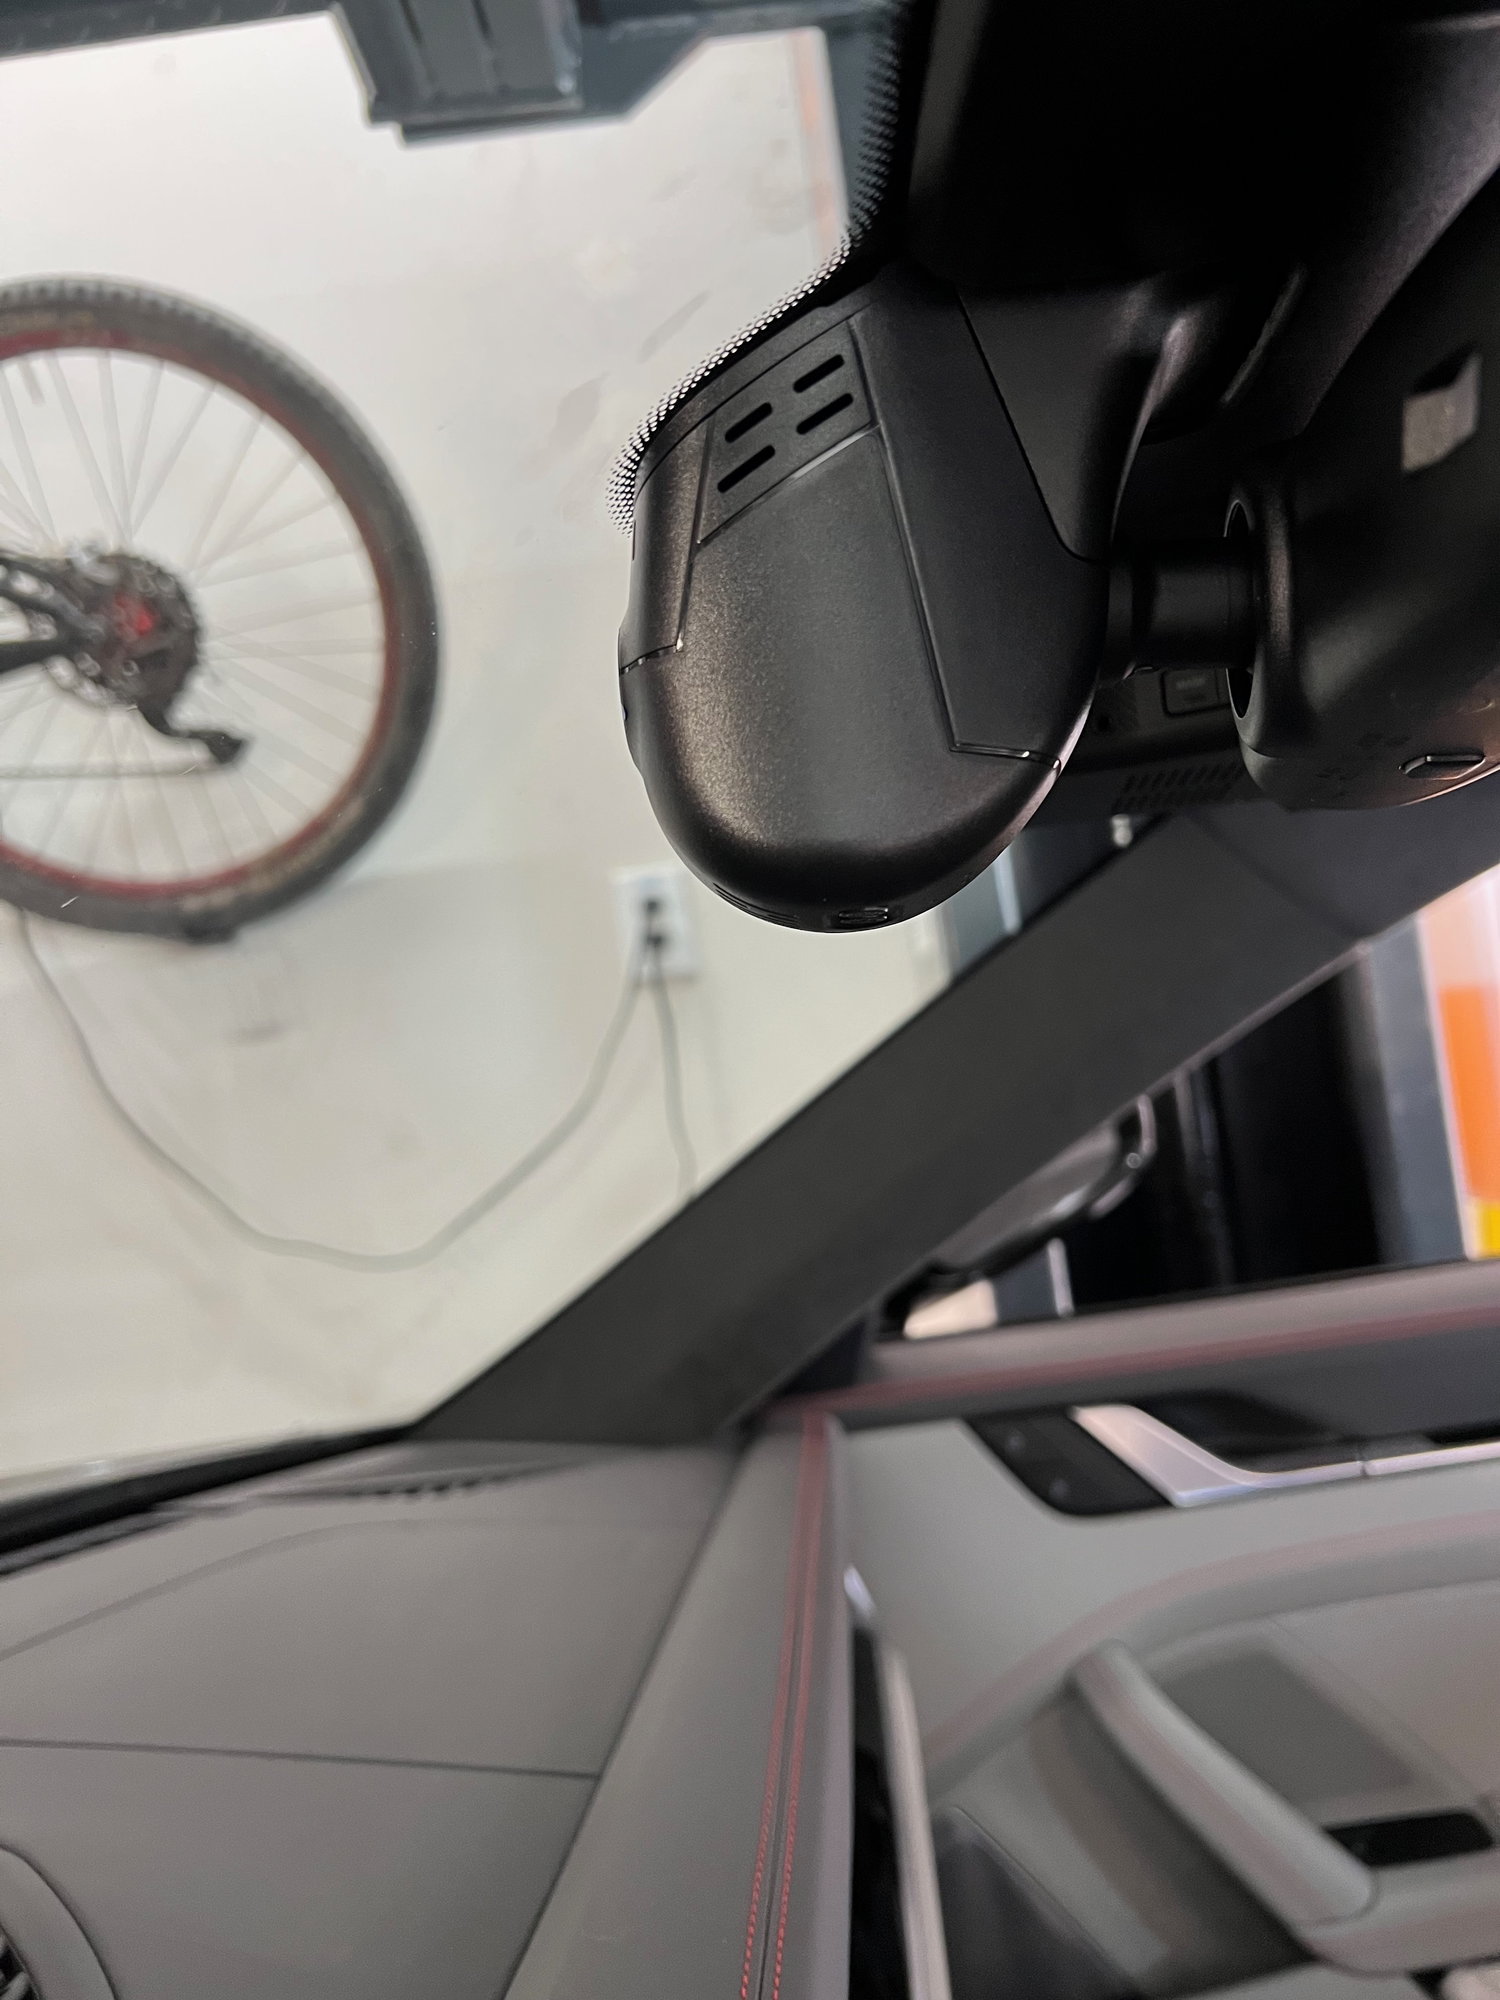
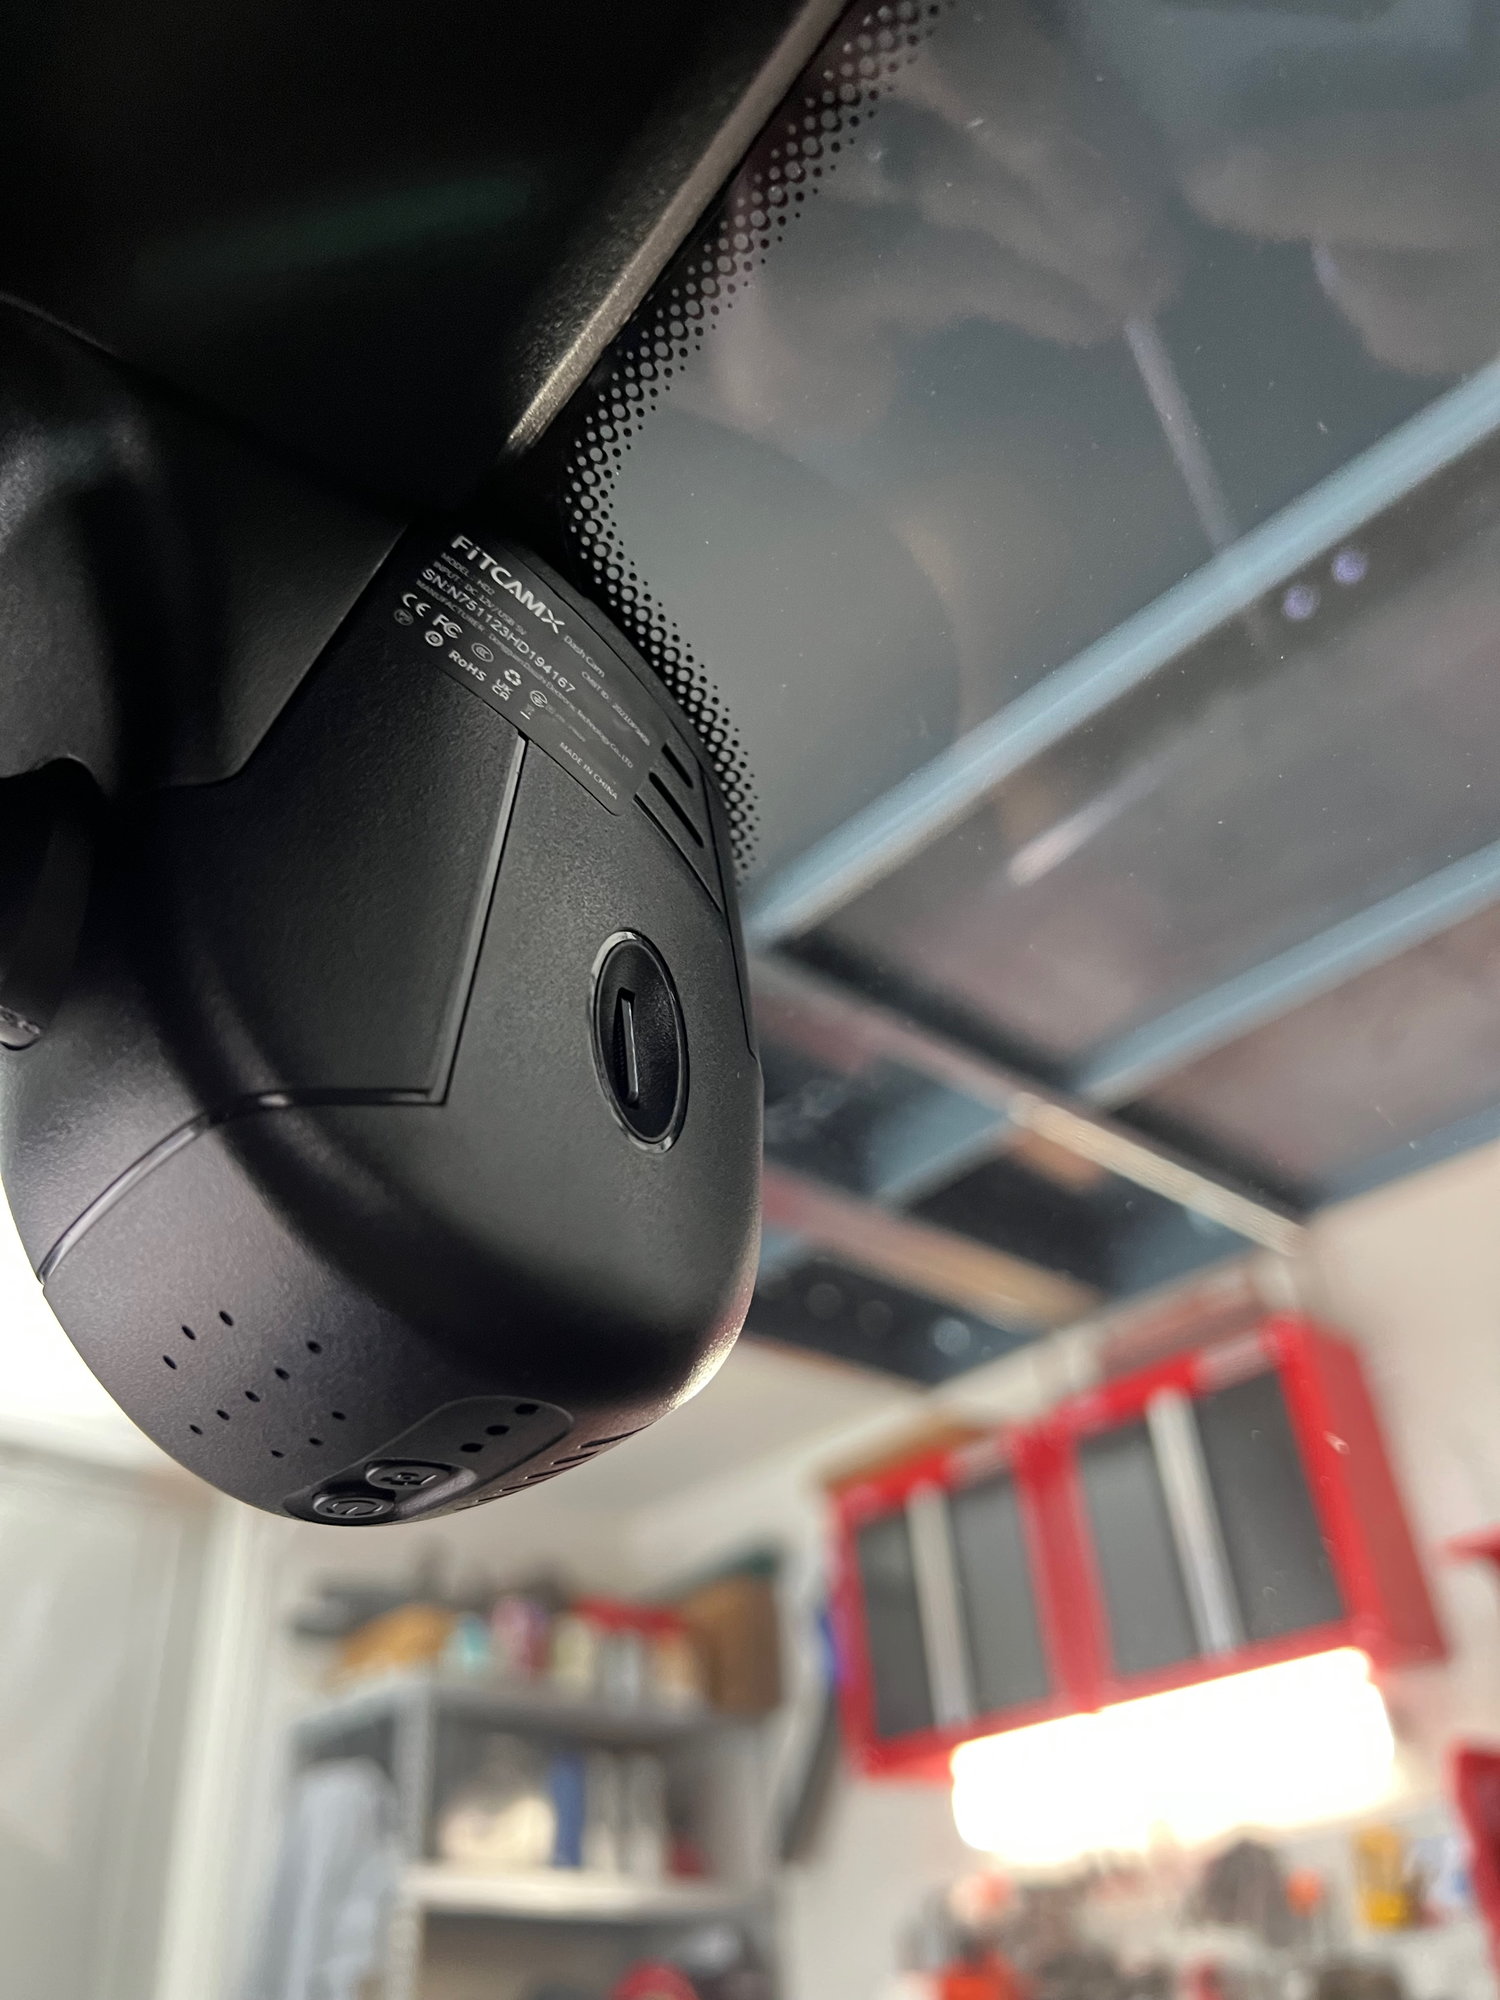
Decided to install a dashcam for the first time. Was never really interested in one but was curious and read some good reviews of the FitcamX. It replaces the nose of our rainsensing mirror and has a jumper harness to make it 100% plug and play without any splicing or running cables.
Fitcam has a very basic install video that is slightly sped up but the install takes all of 10 min or so going very slow and careful so as to not break any tabs.
Steps:
1) remove main cover - use the included nylon pry tool to push the cover forward towards the windshield. The clips are designed to engage when the cover is slid backward toward the driver. Dont pull down at all just pry forward. This cover is tethered by a rubber strap to keep it from flying off in an accident. There is a nub to work free on the end of the strap to allow it to be freely removed
2) mid cover comes off next. It has two small ear tabs at the front of it so the idea is to pinch that part of the cover into itself and it will release. From there you have to perform some gymnastics to work this guy free and clear. Do this by traversing the mirror itself up/down/ left right while freeing the two lower tabs and the front tabs you pinched. There is a rubber tether on this as well to release free
3) now you can rotate the mirror base about 30 deg CCW to release the mirror itself. The front nose cone is then easily removed.
4) trace the wire harness of the mirror into the console. There is a larger cable running backward and a smaller one running forward. The smaller one is the one you will remove and jumper with the extension harness of the Fitcam. It plugs inline to interpose between the factory male and female connection
5) carefully route this new harness construct to minimize its presence in the console.
6) re-attach the mirror now by pushing into the base and rotating 30 deg CW
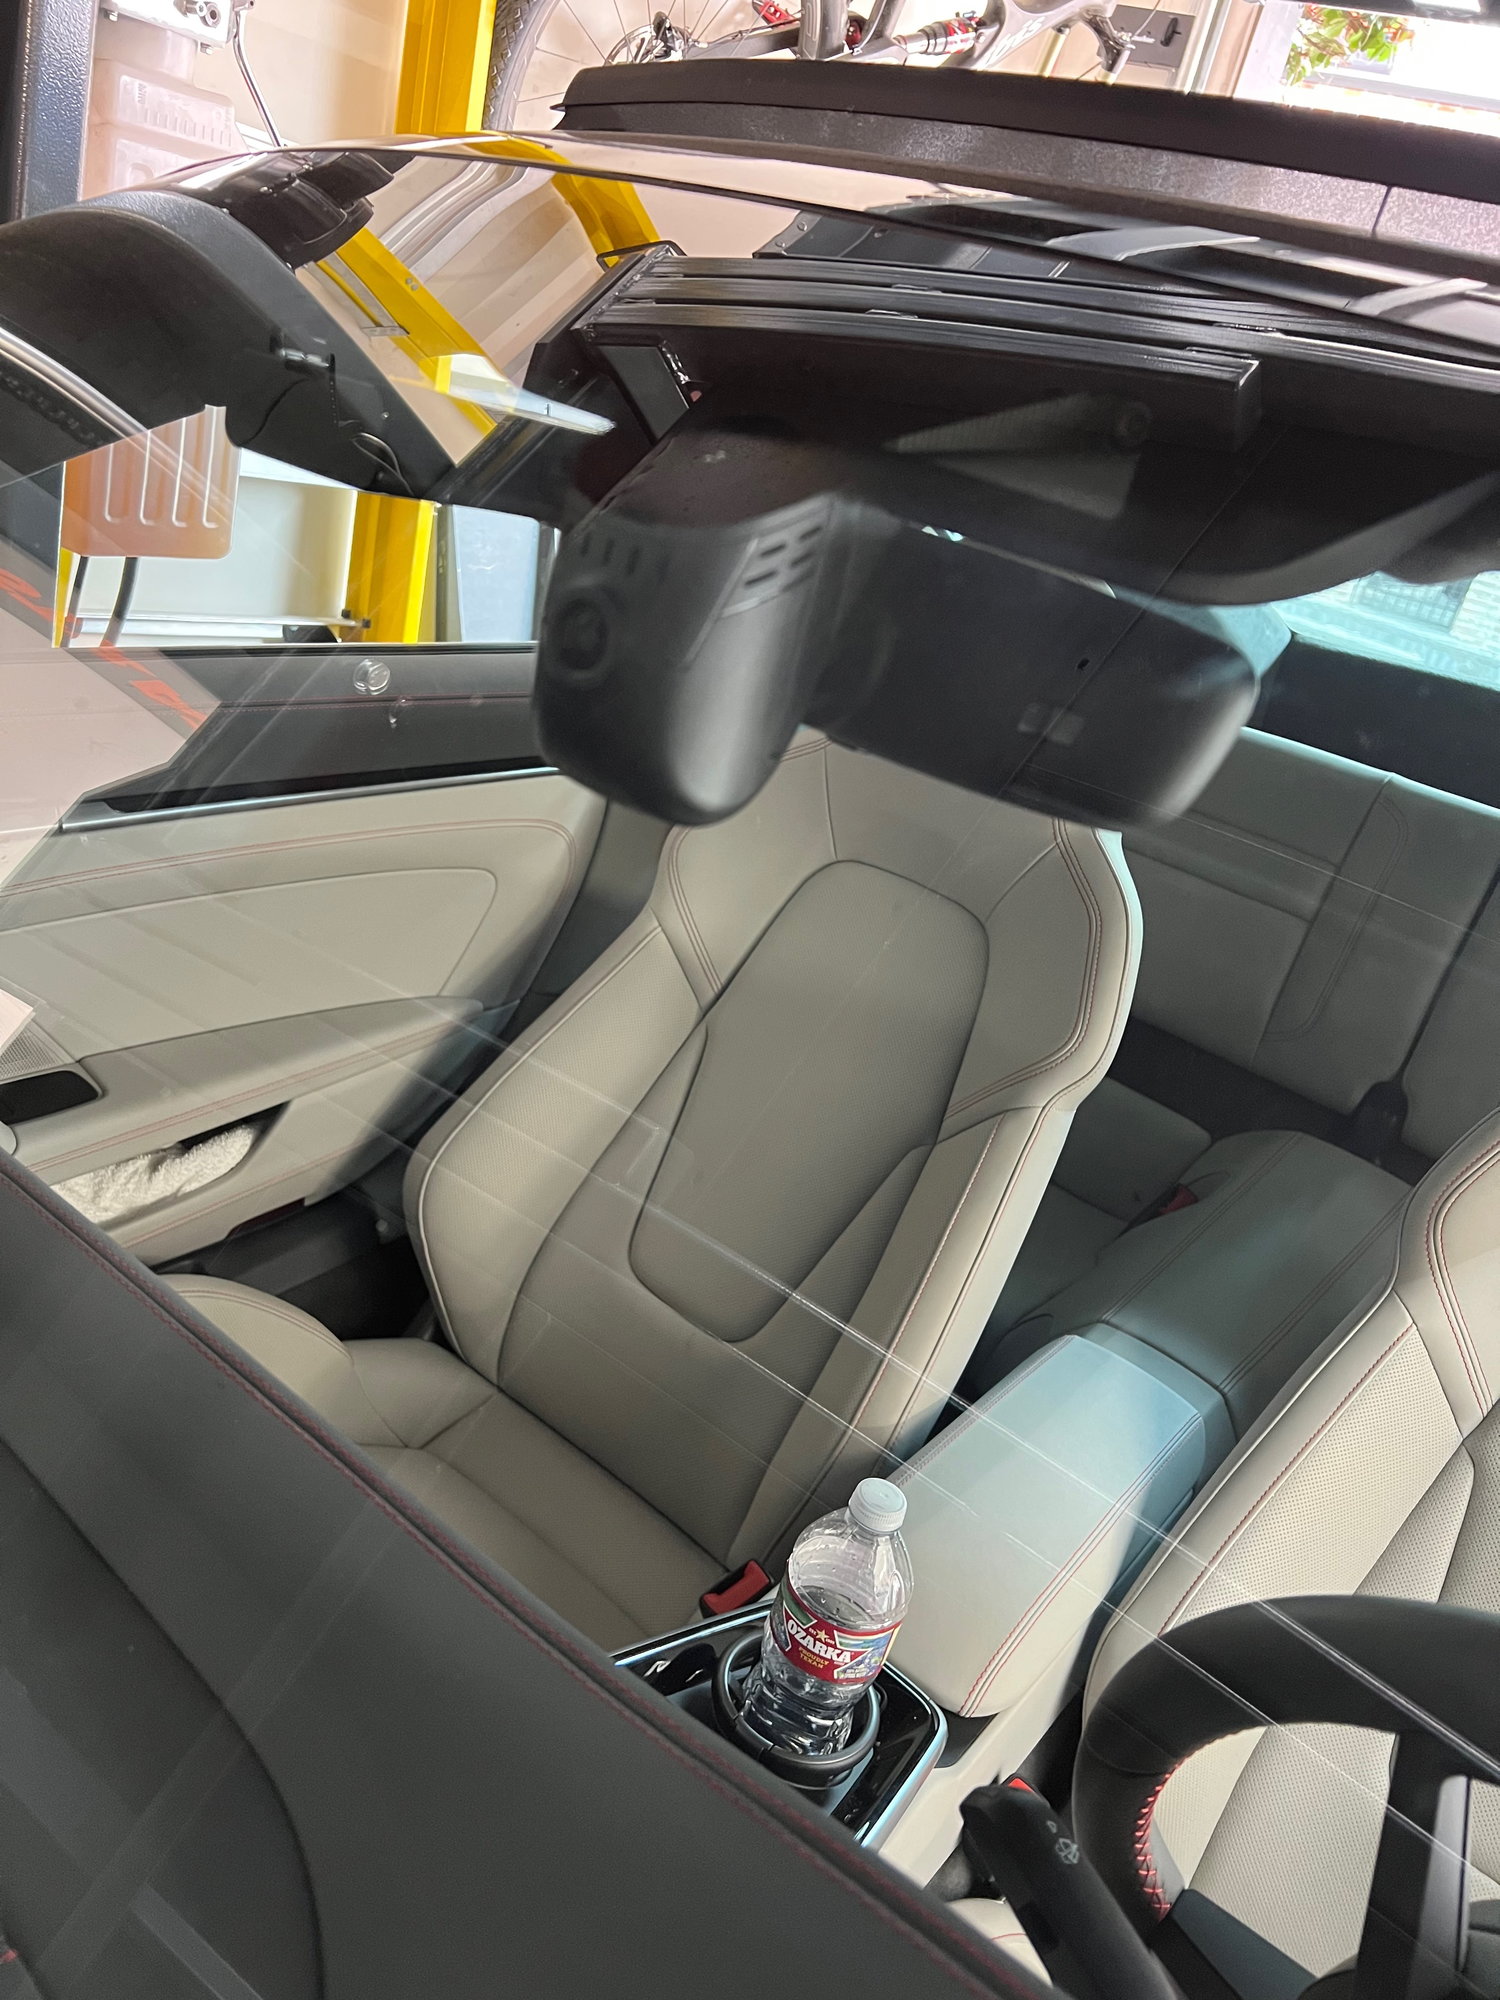
7) carefully fit the Fitcam camera nosecone into place. It is a friction fit and take your time to wiggle it until it settles/snaps into proper position
8) replace the midcover once again with the gymnastic maneuvers with care to break the front tabs. You'll have to position the bottom corner tabs first
9) main cover then slips into place and locks with a backward pull
10) download the Fitcam app and turn on the car. The carplay and Fitcam will compete for the Wifi of your phone so after a few rounds of trying to select the fitcam wifi I just plugged my iPhone into the USB so it wouldn't try to connect wireless anymore. Then you can successfully connect to the Fitcam wifi
Thank you for posting this. I just ordered it now because of your post. I like the clean and factory look especially that it seems better than the factory one and easier to install!
My C7 Z06's and ZR1's had the GM unit built in, dashcams are needed these days because of all the idiots out there, the HD video is amazing, my 23' and newer porsche's have the factory unit
Also had the front and rear FitCamX installed on my TTS. It has been great. I had the body shop who installed the PPF install the camera at the same time. They charged around $175 total for both the front and rear installation. This seemed like a bargain compared to me attempting and possibly screwing something up.
Nice install! Do you notice the additional nose bulge? I never really considered a webcam that much since I didn't want anything hanging down from the mirror, but this one looks pretty OEM!
Nice install! Do you notice the additional nose bulge? I never really considered a webcam that much since I didn't want anything hanging down from the mirror, but this one looks pretty OEM!
cannot see it at all from the drivers perspective. You don't even notice it from the outside either. Total stealth
Ive owned dash cams for years and for the most part I love them. This one looks interesting but, I wanted to know how it could power the cam from the mirror/rain sensor. I found the answer. So, this cam when wired to the rain sensor will NOT record when the car is turned off. It will not record anything while the car is parked. If you want a rear camera, you hard wire it directly to the front camera and the same power from the rain sensor powers both cameras. Again, with one or 2 cameras you still do not get recording while parked. You CAN hardwire the camera to the fusebox, but then it is no different from any other conventional dash cam. For me, recording while parked is probably as important as recording while in motion. If some one tries to steal your car, hits your car in a parking lot or even tries to vandalize your car while parked, you wont have any recordings. Cool concept and the power without fusebox is game changer. If only there was a way to program that sensor to remain live/active when parked this would be the best dash cam ever...
from the manufacturer it says that it will record when parked if there is an impact. I'm guessing bc the car wakes up and powers some circuits
I dont see how thats possible or if it's a generic answer made to cover all vehicles. I dont know how they can make 30 cameras and all 30 cars have this "circuit power on" feature. I call BS. But, even if it wakes up to impact, it doesnt record while parked so if someone keys your car, or dumps paint remover on your hood, it wont catch it. AND, even if it does work, the actual impact would have already occurred in order for the camera to wake up and start recording so you would have lost everything leading up to the impact as well as the initial impact. Only afterwards would it record, but I dont even think thats possible with the rain sensor power.
Can OP test it out by parking it and then pushing on the front bumper to try and wake the car and see if it actual records? Would love to see that
Also had the front and rear FitCamX installed on my TTS. It has been great. I had the body shop who installed the PPF install the camera at the same time. They charged around $175 total for both the front and rear installation. This seemed like a bargain compared to me attempting and possibly screwing something up.
Do you have any pics of where the rear one mounts? I didn't order the rear because I thought it may look out of place but now curious.
Do you have any pics of where the rear one mounts? I didn't order the rear because I thought it may look out of place but now curious.
I'm curious about this as well. I just bought the front and rear setup (hasn't arrived yet) and there are no photos about how this works. Also, do you NEED to have wifi on your phone connected all the time or just when you want to interact with the camera?

 05-27-2023, 08:17 PM