Must Have Mods for GT3
The following users liked this post:
dixonk (06-03-2024)
#62
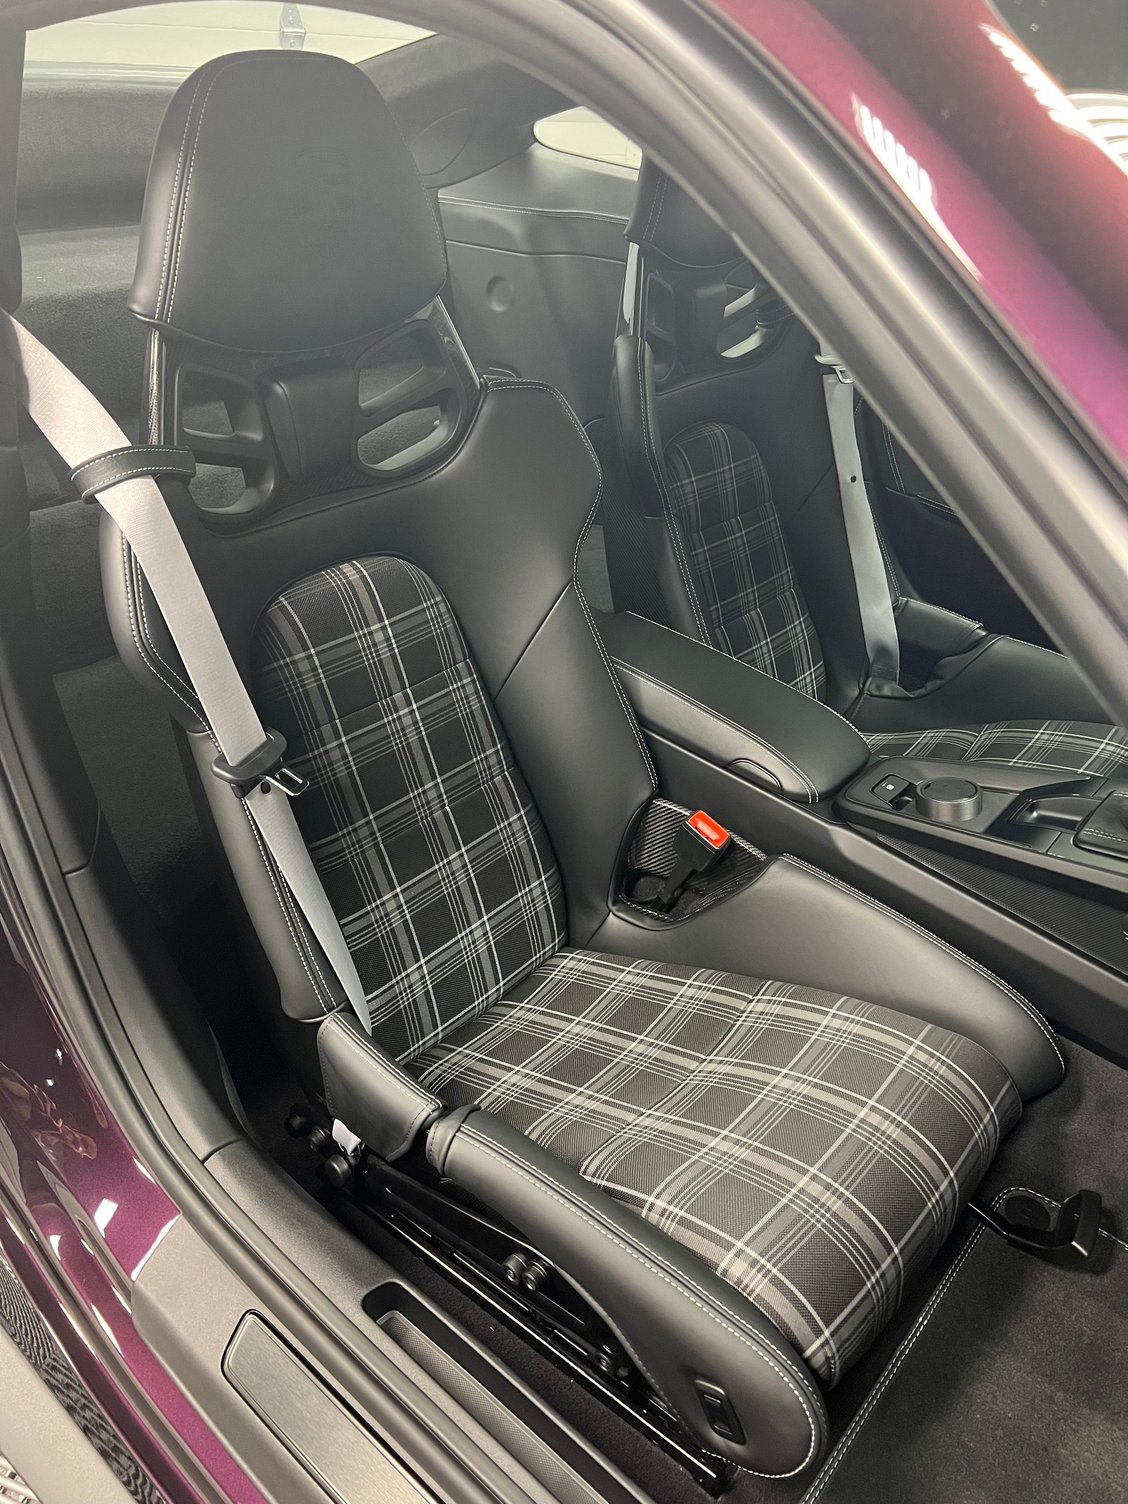
Re recline brackets, they are not as necessary in 992 as they were in the 991. Had them in my 991 and they were an absolute must. Given the positioning of the buckets in the 992, however, the tilt effectively increases as you lower the seat. If you are like me and drop your buckets to the floor, very good chance you will not need/want the brackets.
The following users liked this post:
LiveNupe (06-03-2024)
#63
One calls for disconnecting battery, removing seat altogether, etc (https://www.trackspecauto.com/ts001).
The other plainly says to remove the two front screws and insert brackets without removing seat (https://www.designsbyjacob.com/pages...t-installation).
I don't know the reason for the difference in instructions....
#64
Rennlist Member
The two different site with these brackets have different instructions.
One calls for disconnecting battery, removing seat altogether, etc (https://www.trackspecauto.com/ts001).
The other plainly says to remove the two front screws and insert brackets without removing seat (https://www.designsbyjacob.com/pages...t-installation).
I don't know the reason for the difference in instructions....
#65
The two different site with these brackets have different instructions.
One calls for disconnecting battery, removing seat altogether, etc (https://www.trackspecauto.com/ts001).
The other plainly says to remove the two front screws and insert brackets without removing seat (https://www.designsbyjacob.com/pages...t-installation).
I don't know the reason for the difference in instructions....
One calls for disconnecting battery, removing seat altogether, etc (https://www.trackspecauto.com/ts001).
The other plainly says to remove the two front screws and insert brackets without removing seat (https://www.designsbyjacob.com/pages...t-installation).
I don't know the reason for the difference in instructions....
The following users liked this post:
GT3 Mike (07-02-2024)
#67
The two different site with these brackets have different instructions.
One calls for disconnecting battery, removing seat altogether, etc (https://www.trackspecauto.com/ts001).
The other plainly says to remove the two front screws and insert brackets without removing seat (https://www.designsbyjacob.com/pages...t-installation).
I don't know the reason for the difference in instructions....
One calls for disconnecting battery, removing seat altogether, etc (https://www.trackspecauto.com/ts001).
The other plainly says to remove the two front screws and insert brackets without removing seat (https://www.designsbyjacob.com/pages...t-installation).
I don't know the reason for the difference in instructions....
btw, whenever you disconnect the battery, you have to teach your windows to auto roll up and down. it's in the manual
The following users liked this post:
dixonk (07-02-2024)
#69
The two different site with these brackets have different instructions.
One calls for disconnecting battery, removing seat altogether, etc (https://www.trackspecauto.com/ts001).
The other plainly says to remove the two front screws and insert brackets without removing seat (https://www.designsbyjacob.com/pages...t-installation).
I don't know the reason for the difference in instructions....
One calls for disconnecting battery, removing seat altogether, etc (https://www.trackspecauto.com/ts001).
The other plainly says to remove the two front screws and insert brackets without removing seat (https://www.designsbyjacob.com/pages...t-installation).
I don't know the reason for the difference in instructions....

#70
Rennlist Member
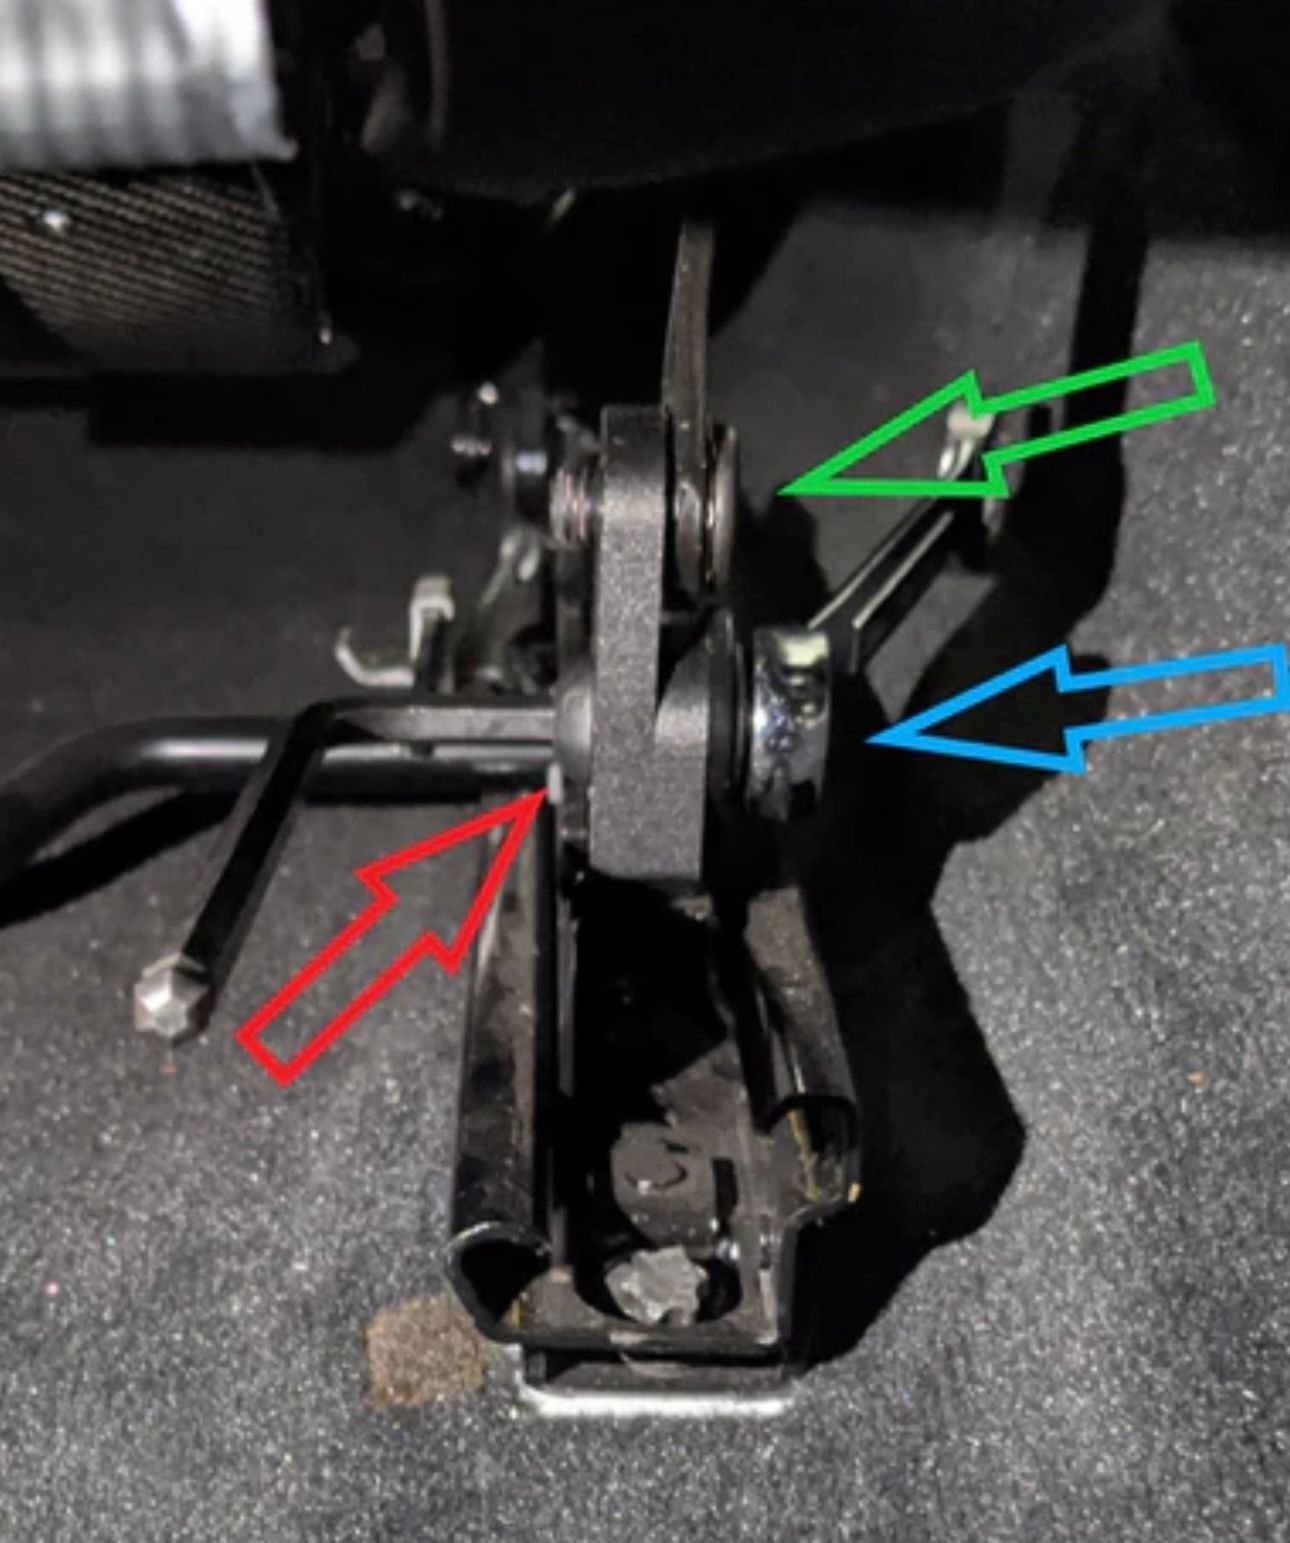
Getting the alignment right is admittedly a bit of a PITA. I think I used a screwdriver to align and then tapped the bolt through with a rubber mallet.
#71
I did get it to align and work finally. I had to get the alignment perfect with a 7mm hex. Pain in the *** especially since the passenger side door wasn't too bad... Anyways, now it's a success. Thank you.
#72
I just bought a set of these as I'm trying to find a way to make the LWCB's a bit more comfy for longer drives so I don't have to rip them out and replace with a set of Recaros or something. I ended up going with the Trackspec just as I thought the L shape design would be a bit more sturdy. @dimab0 are the alignment issues you hit with Trackspec ?
#73
I just bought a set of these as I'm trying to find a way to make the LWCB's a bit more comfy for longer drives so I don't have to rip them out and replace with a set of Recaros or something. I ended up going with the Trackspec just as I thought the L shape design would be a bit more sturdy. @dimab0 are the alignment issues you hit with Trackspec ?


Last edited by PTS; 07-23-2024 at 08:49 AM.
#74
I just bought a set of these as I'm trying to find a way to make the LWCB's a bit more comfy for longer drives so I don't have to rip them out and replace with a set of Recaros or something. I ended up going with the Trackspec just as I thought the L shape design would be a bit more sturdy. @dimab0 are the alignment issues you hit with Trackspec ?
I am very happy with the seat recline now, it's way more comfortable on my lower back.
The following users liked this post:
cyn (07-26-2024)
#75
Installed the Trackspec riser on the driver seat this evening. Seems to feel nicer from just sitting in the garage but will have to go for a drive to really check.
Opted to do it in the car rather than remove the seat.
Gotchas:
- You need a 16mm ratcheting wrench to undo the right/inside OEM bolt. It's done up tight and has sticky Locktite. It's a royal pain to undo. I actually had to go buy a set of ratcheting wrenches.
- Cutting the little OEM cable tie is surprisingly hard and annoying. Use a good blade, free the cable itself by cutting the thin tie then you have to really hack at the part that is connected to the rail. Think it'll be easier on the passenger side.
- Like others have said, getting the OEM bolt through after you've attached the bracket is painful. Required a lot of banging on the seat up a bit, down a bit and shining a torch to make sure it was right inline, then you have to really push hard to get the bolt back through.
- I "lost" the second OEM bolt for about two minutes which freaked me out. Looked everywhere... The magnet on the back of the torch had snapped it up. Crisis averted.
- oh, and I had to borrow my neighbor's small torque wrench for the 72 inch pound needed on the smaller bolt
Last edited by cyn; 07-26-2024 at 06:30 AM.


