When you click on links to various merchants on this site and make a purchase, this can result in this site earning a commission. Affiliate programs and affiliations include, but are not limited to, the eBay Partner Network.
If it is "goop", a hot hair dryer or a heat gun should loosen the goop enough to run some dental floss or stronger fishing line under the emblem after the heating. It will lift off gently. Since heating causes no damage, it is worth the effort.
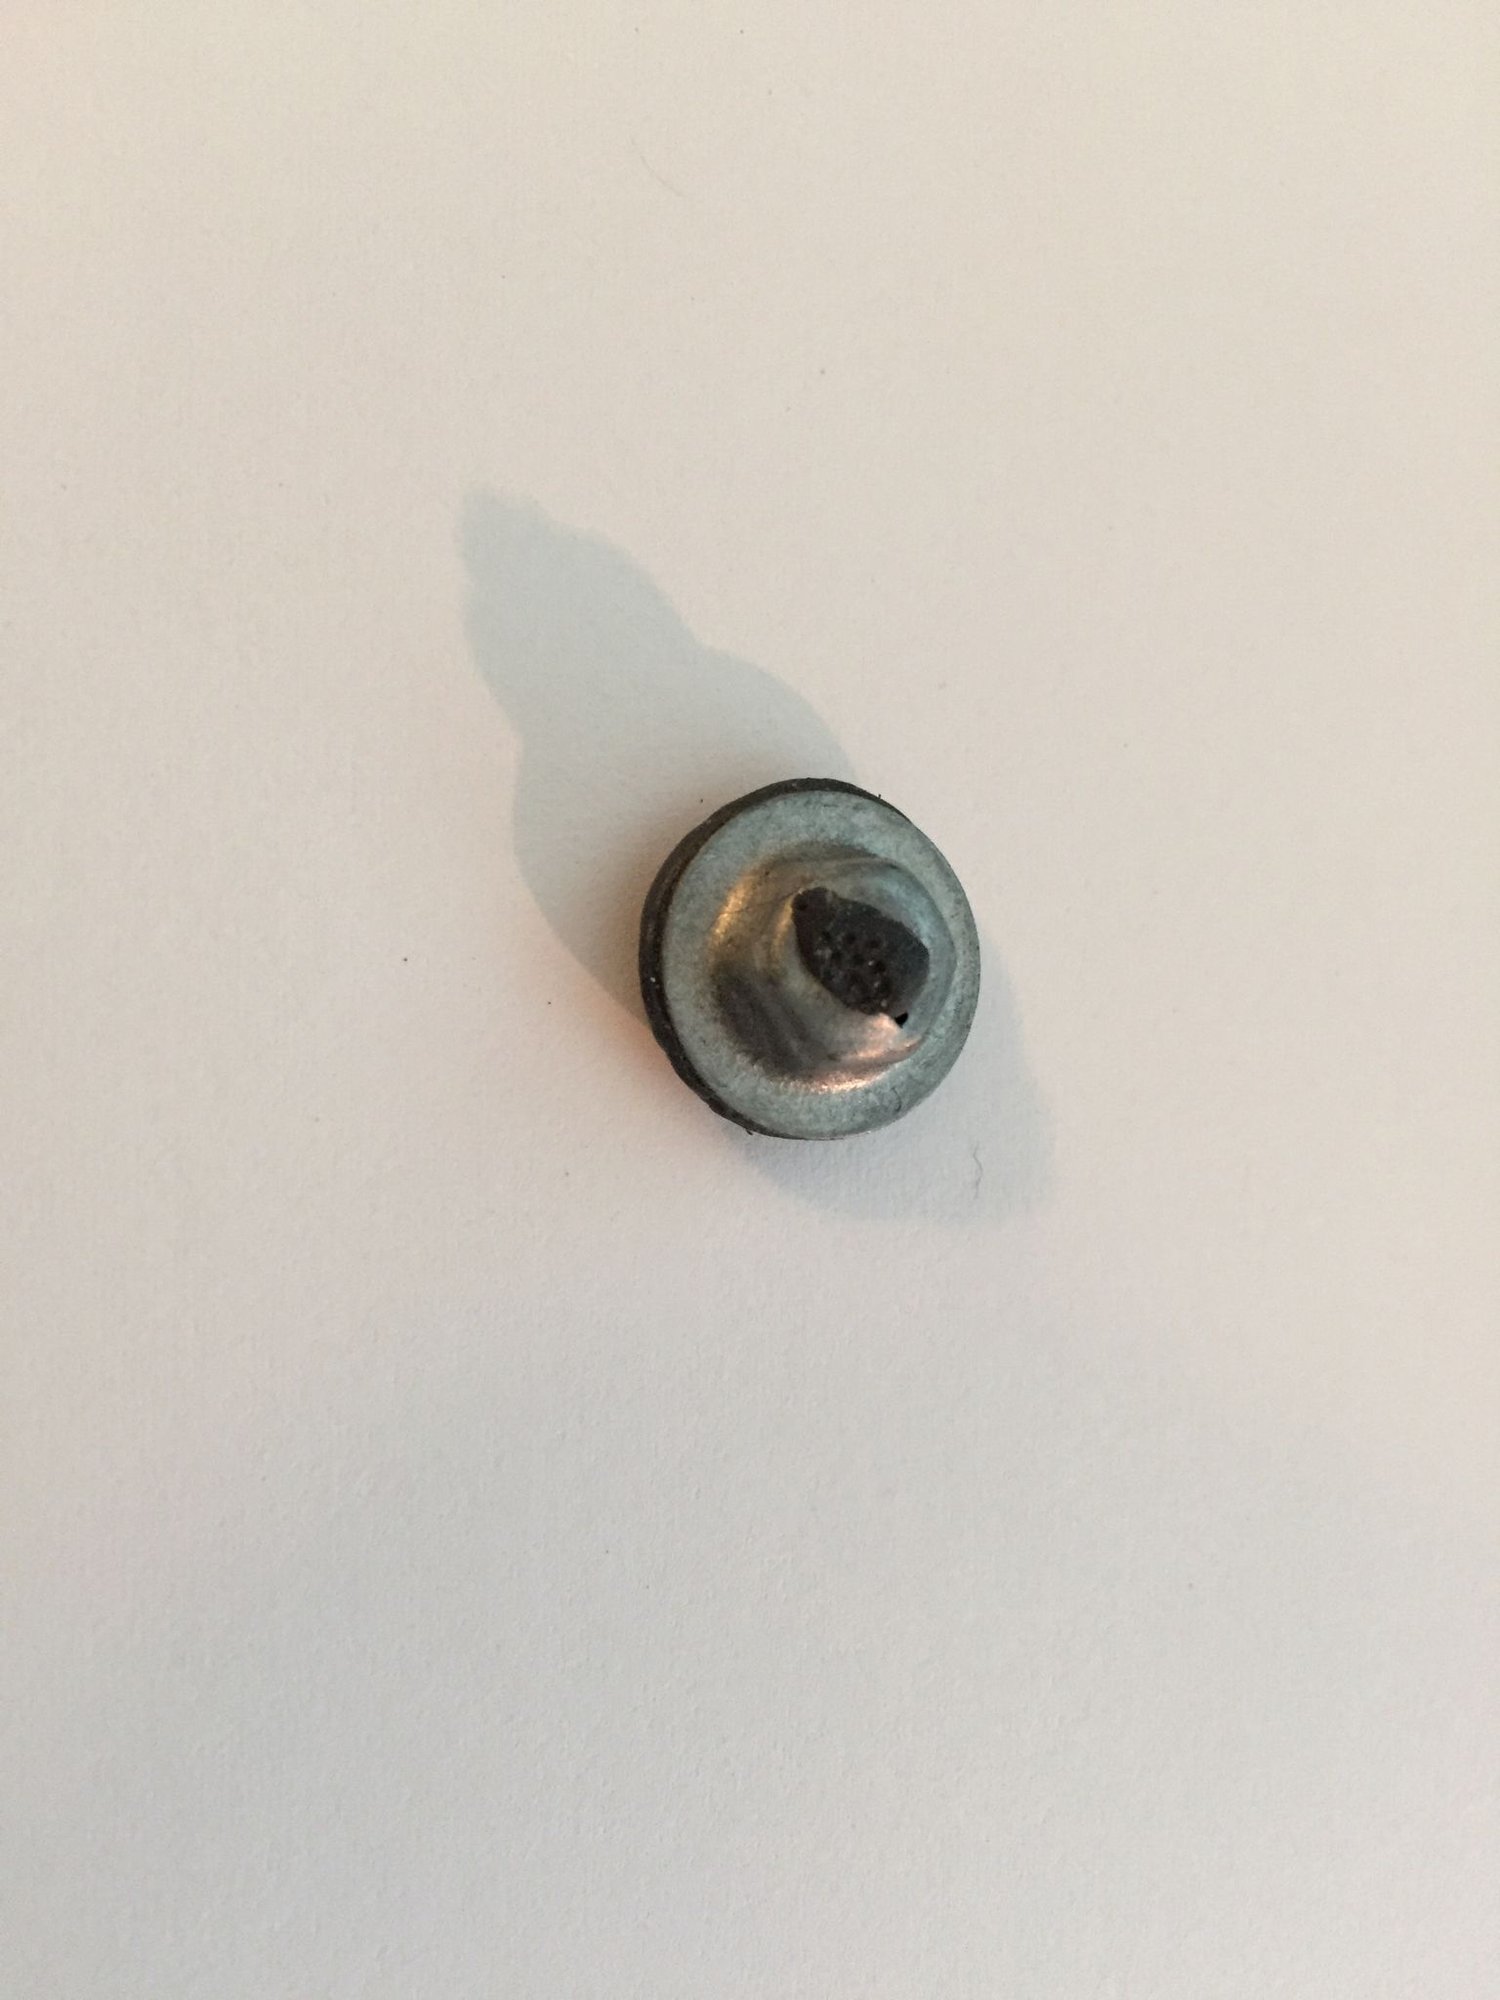
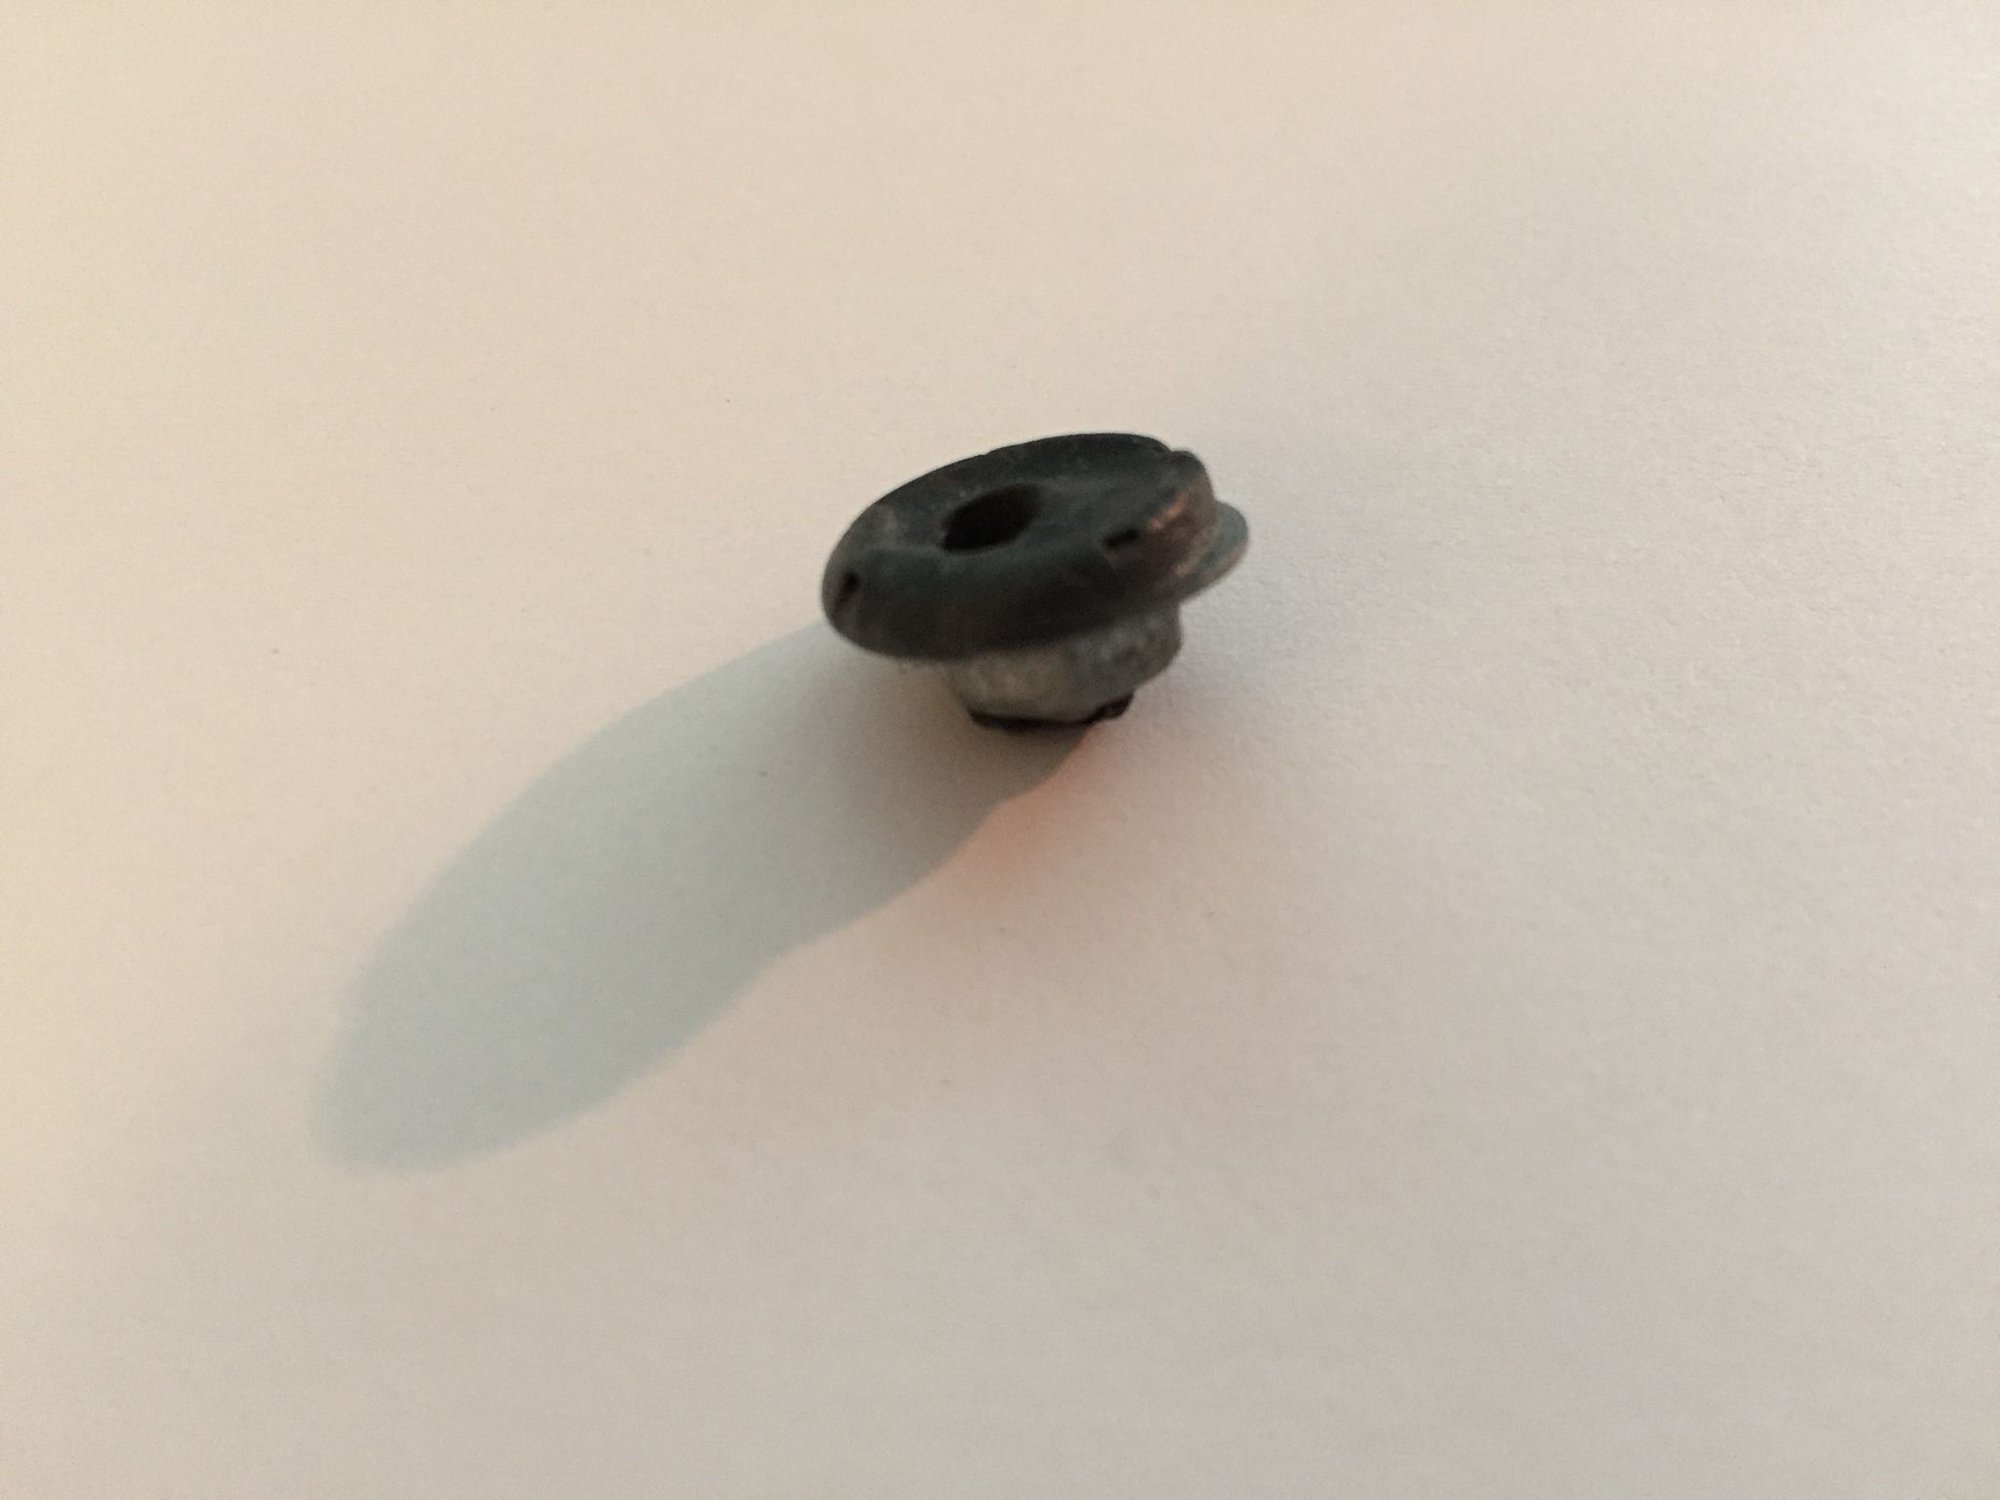
There are actually two nuts that incorporate the rubberized goop you're seeing. Here's what they look like before they're used:
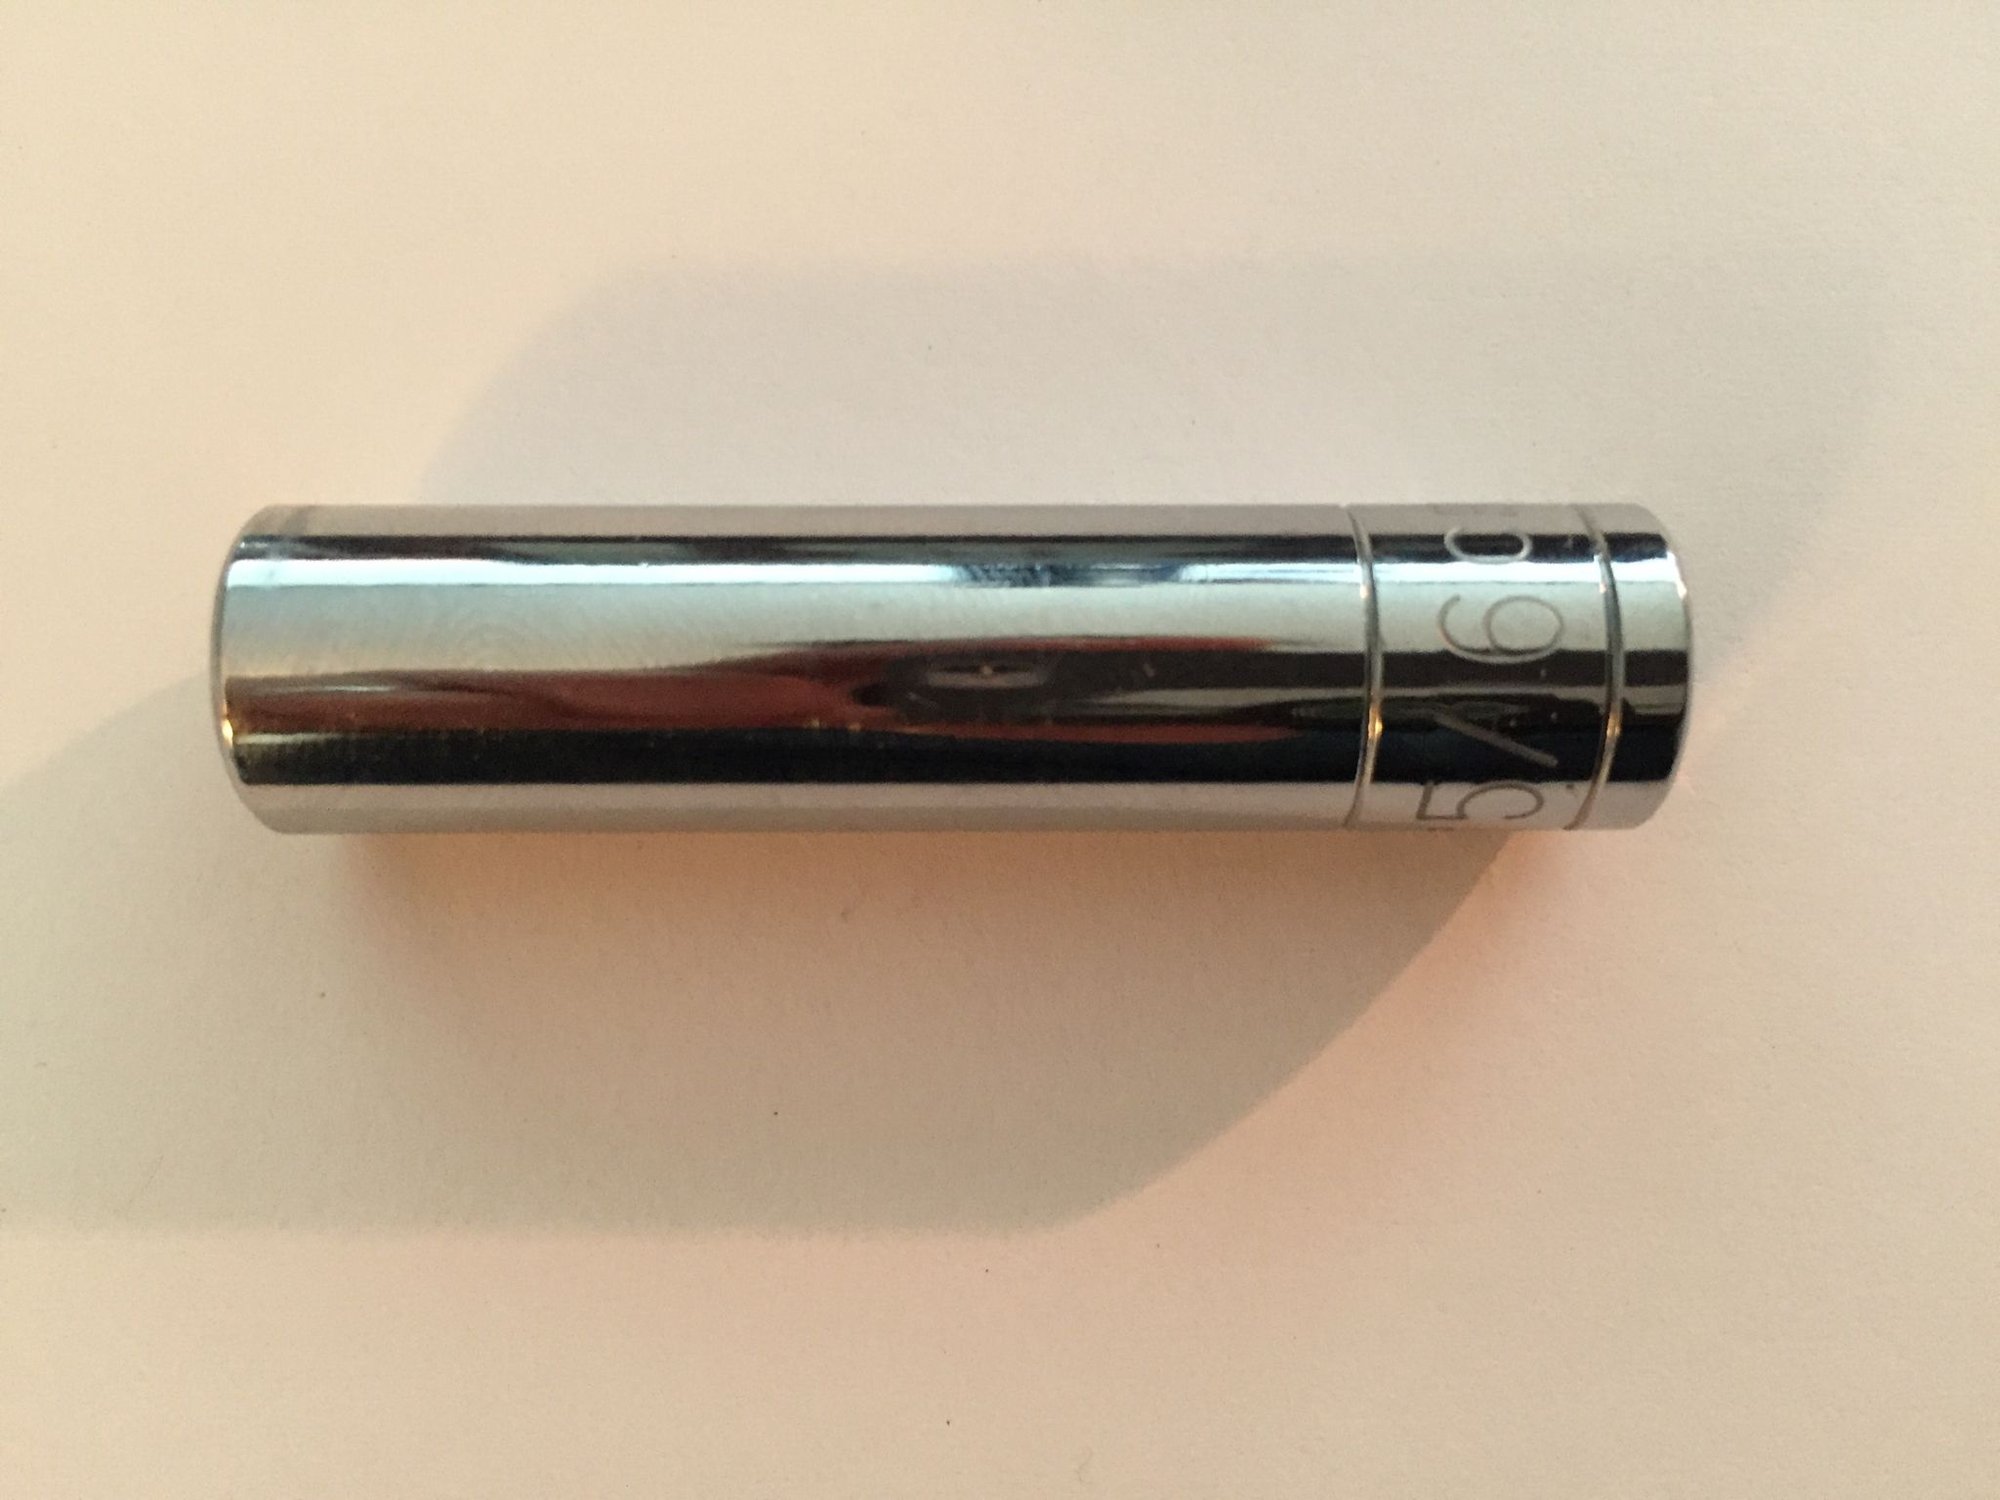
You should be able to remove them with a deep, 1/4" drive, 5/16ths socket (one of these):
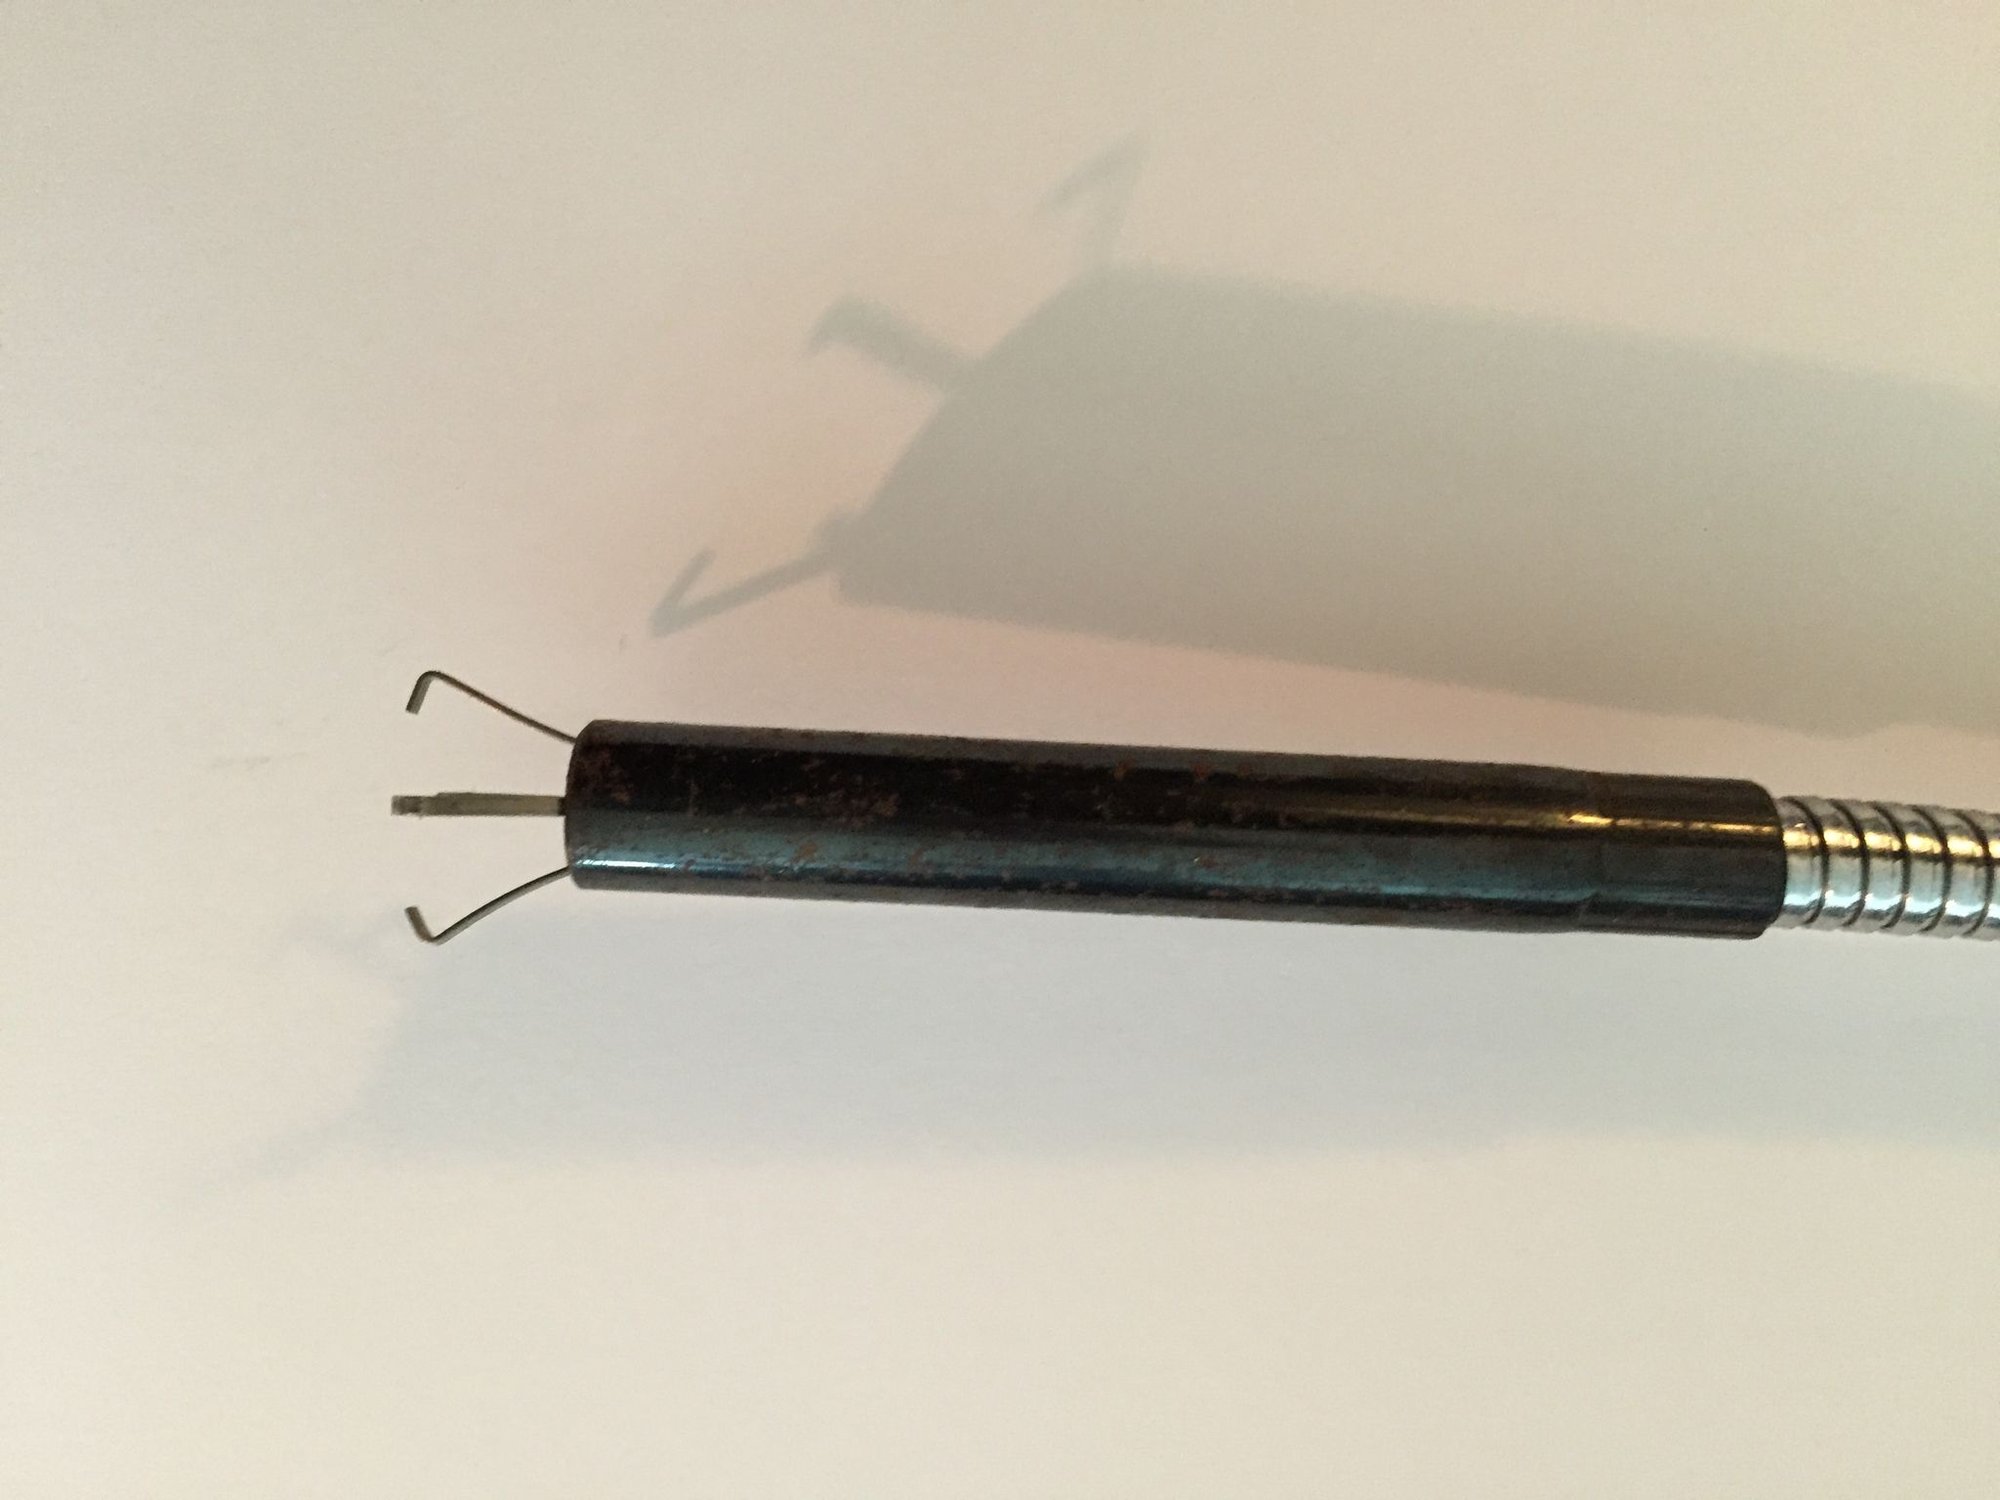
Once the nut is loose, you'll want to grab it with one of these and pull it out of the hood:
If you don't have one, get one. If one or both nuts fell in to the hood, God help you with the puzzle of getting it / them out. Or living with the ensuing rattle.
FWIW, I reused the "goop nuts" that were installed by the factory.
There are actually two nuts that incorporate the rubberized goop you're seeing. Here's what they look like before they're used:
You should be able to remove them with a deep, 1/4" drive, 5/16ths socket (one of these):
Once the nut is loose, you'll want to grab it with one of these and pull it out of the hood:
If you don't have one, get one. If one or both nuts fell in to the hood, God help you with the puzzle of getting it / them out. Or living with the ensuing rattle.
FWIW, I reused the "goop nuts" that were installed by the factory.
Thanks. Exactly what I was looking for. Appreciate the up close pics of the nuts. They did not look like nuts and the 8mm would not work. I will try the other sizes.
Thanks. Exactly what I was looking for. Appreciate the up close pics of the nuts. They did not look like nuts and the 8mm would not work. I will try the other sizes.
My pleasure.
Two other quick thoughts - one, you might find that you need to press the socket through the rubber goo, so that's why you're not getting the sort of purchase that you expect with the socket on the nut.
The other is that you don't want to tighten the nuts on the new crest past it being snug / secure. Those posts can snap off if you overtighten the nuts.
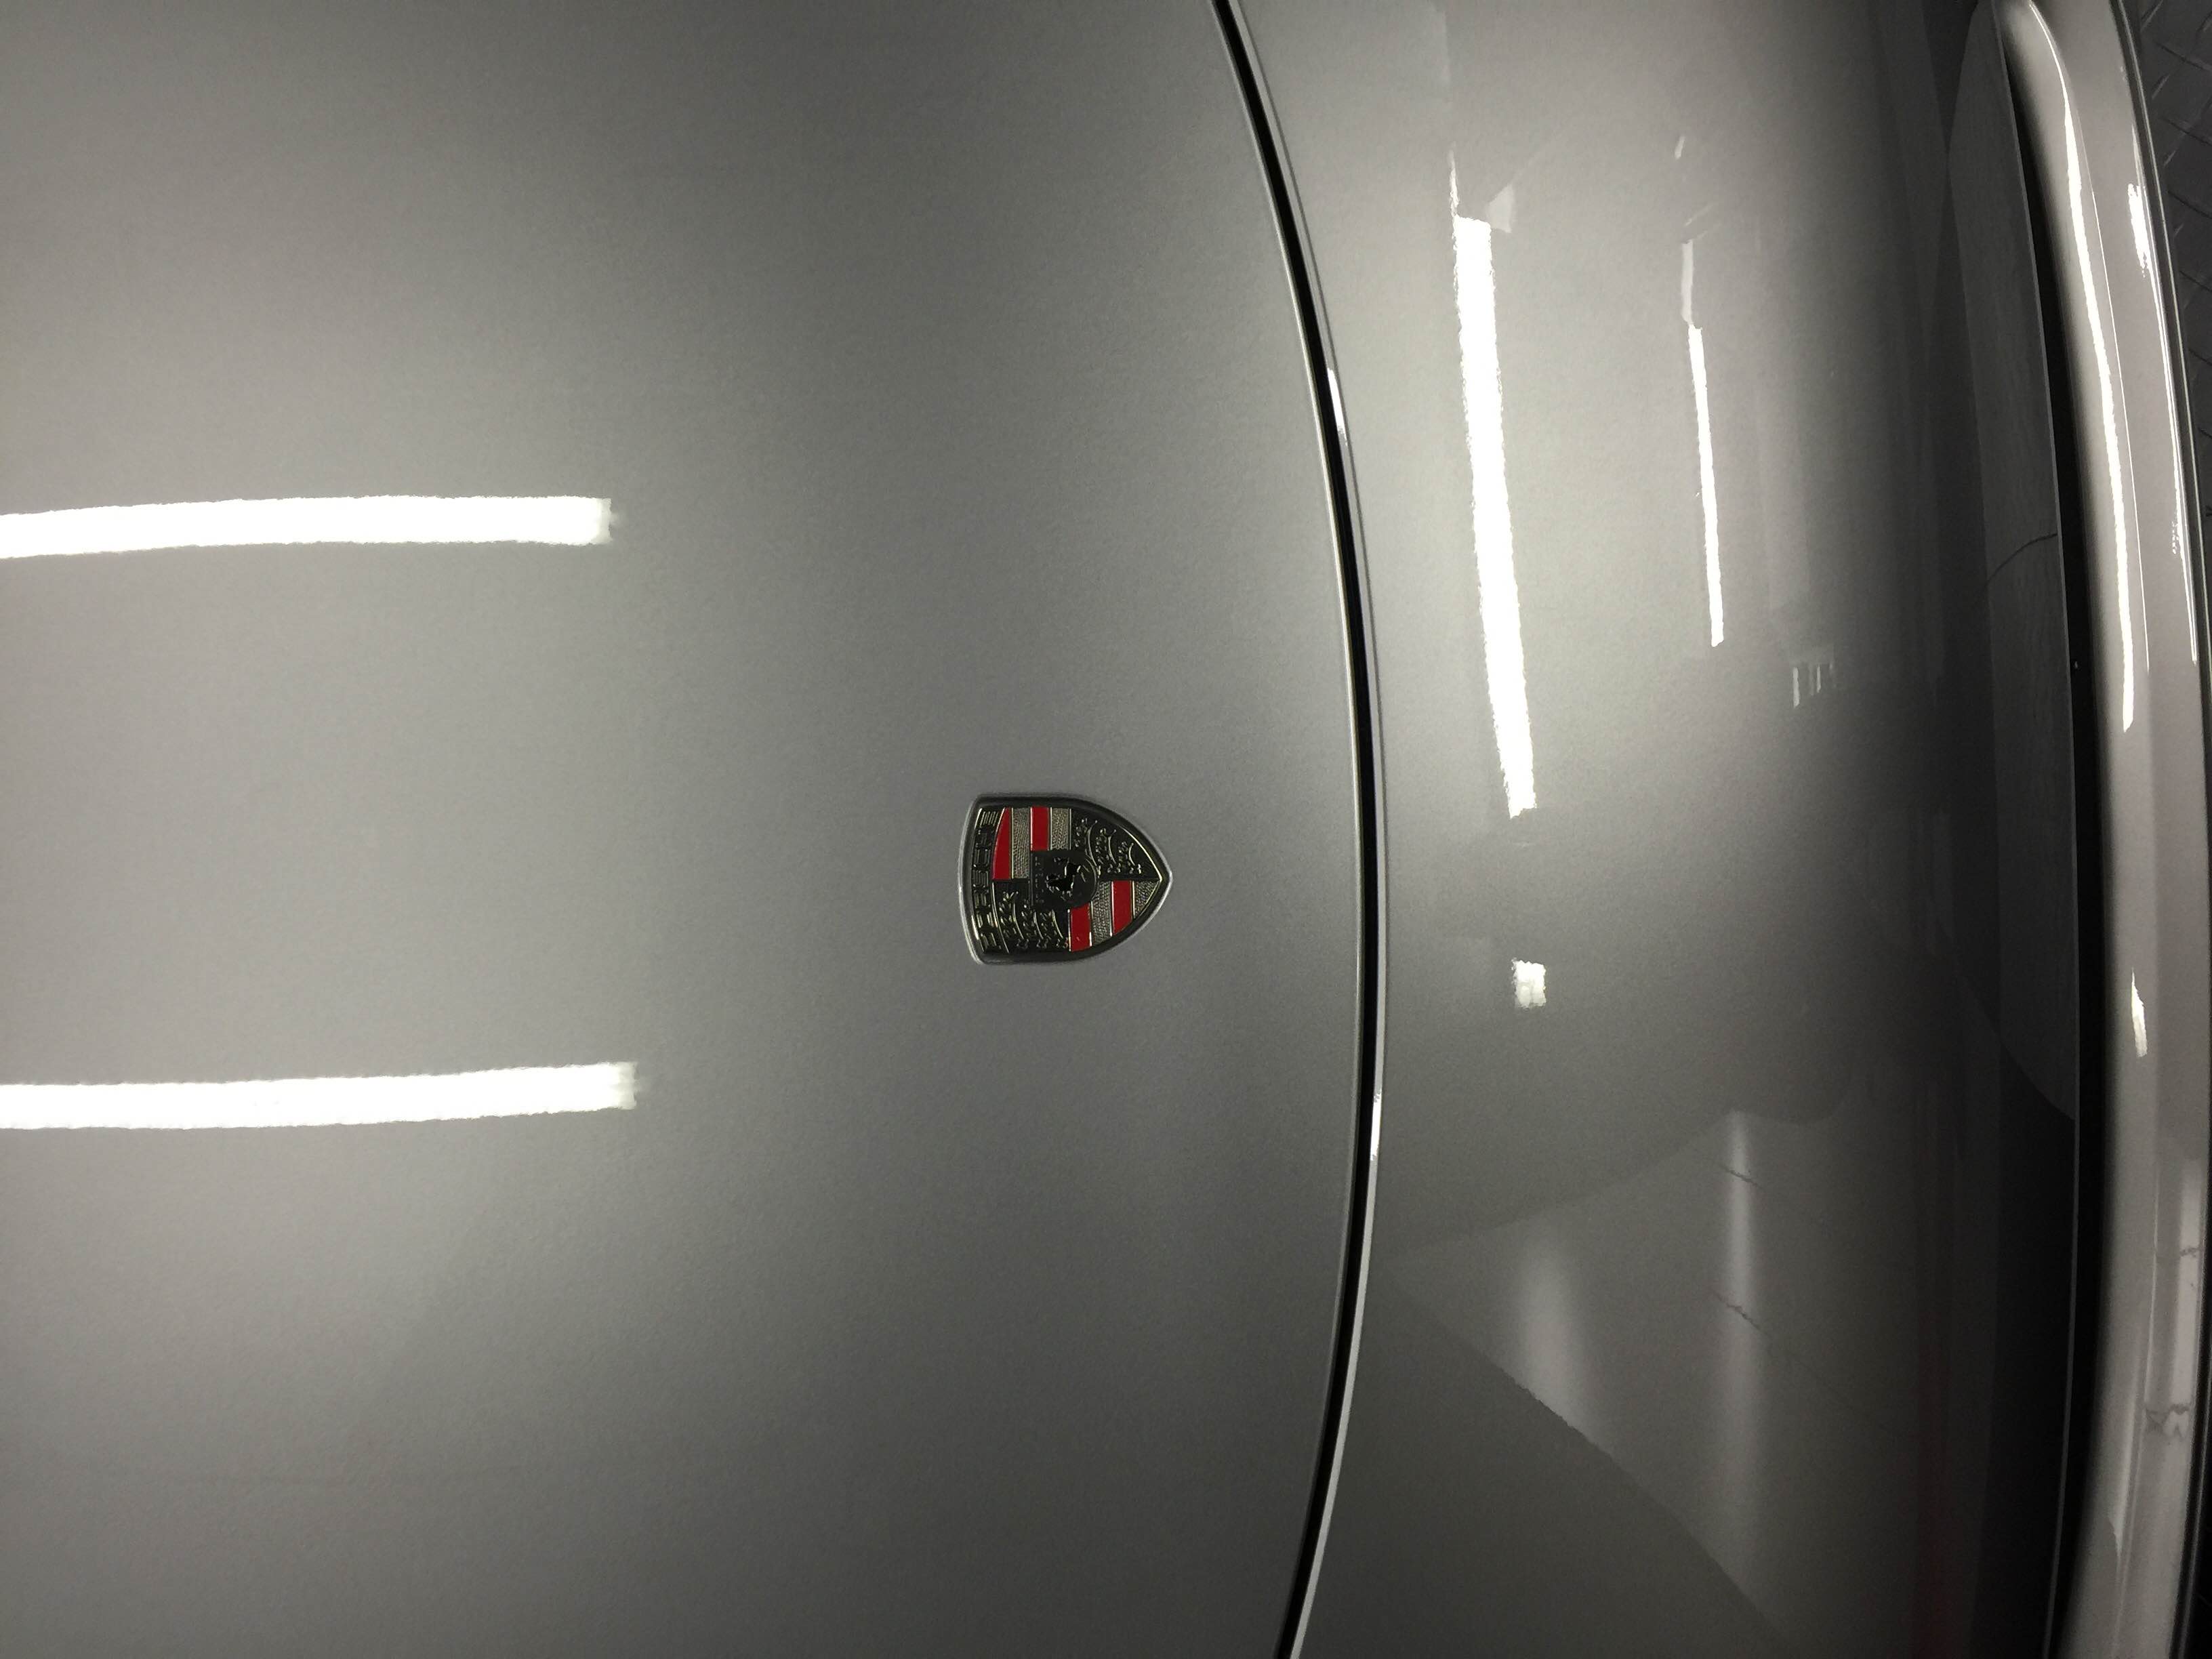
So I got my new emblem. Problem is the new 991 emblems are not attached via the standard 8mm nut. It appears that it is held on by some goop and maybe something else.
Any how to videos? Is this going to need to be done at the dealer to be done properly?
JD I can't thank you enough. I had to go buy the grabby tool but it was definately the ticket. It worked perfectly. Your directions are spot on.
STG I got the crest from a guy on here somewhere, maybe the other forum. Name is Jim and you just email him porschecrests@gmail.com. He will create whatever you come up with.
I went with the polished look to highlight the chrome headlight washers and the red for my calipers. He refinishes OE emblem.
Where did you get the tool to remove the nuts? Do you recall what it is called? Thanks and have a great day.
Originally Posted by mathfuzzy
Nice Crest.
There are actually two nuts that incorporate the rubberized goop you're seeing. Here's what they look like before they're used:
You should be able to remove them with a deep, 1/4" drive, 5/16ths socket (one of these):
Once the nut is loose, you'll want to grab it with one of these and pull it out of the hood:
If you don't have one, get one. If one or both nuts fell in to the hood, God help you with the puzzle of getting it / them out. Or living with the ensuing rattle.
FWIW, I reused the "goop nuts" that were installed by the factory.

 12-13-2015, 01:54 PM