When you click on links to various merchants on this site and make a purchase, this can result in this site earning a commission. Affiliate programs and affiliations include, but are not limited to, the eBay Partner Network.
PBG, that's exactly what happened to me. I noticed the Clearbra peeling on a corner of the headlight after a track weekend. Took it back to the shop to have it replaced. They started taking off the Clearbra and parts of the UV laminate came off with the Clearbra. They tried putting a new Clearbra back on but it started peeling off again - we think the new Clearbra was pulling off more areas of the UV laminate so it wasn't sticking. So I had them take the Clearbra off and I tried to sand down the rest of the lens that still had the UV laminate (which was still a lot of area). I just sanded it with the 3M headlight restoration kit (500, 800, 1500 and rubbing compound grits) but it did not take off the UV laminate. I went to (220, 320, 500, 800, 1000, 1500, 3000, rubbing compound and polishing compound) which eventually took the UV laminate off. Took me about 5 hours! and it still left swirl marks from the sand paper. I guess I needed to spend more time with the intermediate grits? Hopefully someone has figured out a better way to get the UV laminate off than sanding it down. Maybe more heat? Maybe try sticking the Xpel on and repeatedly pulling it off in hopes it grabs on to the UV laminate pulling it off the headlight? Also, once it's sanded down there's still a significant haze on the lens. You have to put Clearbra over it to clear it up. I think there is still micro areas of roughness which makes the haze look and the Clearbra adhesive liquid fills in these rough areas and makes it look clear again. You might be disappointed (like I was) after spending 5 hours on 1 headlight and it's still hazy. I think if done right (spending more time with the grits) the swirl marks would be gone and you'd be left with this light haze - which goes away when you put on the new Clearbra.
On a side note the cracks on the edges of the lens did not go away after sanding it down. Again, I think the cracks on the edges are a different defect not (directly) related to the laminate.
Thanks for all the detail and your experience with it! Did you use any kind of tools such as a die grinder with sanding discs, or did you do it all by hand? I have some leftover track wrap that I thought about trying to do exactly what you suggest and remove as much of the coating as possible then sand the rest.
Thanks for all the detail and your experience with it! Did you use any kind of tools such as a die grinder with sanding discs, or did you do it all by hand? I have some leftover track wrap that I thought about trying to do exactly what you suggest and remove as much of the coating as possible then sand the rest.
I used the 3M headlight restoration kit which goes on a drill. I bought more sand paper grits in addition to the 3M headlight kit. Have to get the kind with the velcro back to stick to the drill.
I used the 3M headlight restoration kit which goes on a drill. I bought more sand paper grits in addition to the 3M headlight kit. Have to get the kind with the velcro back to stick to the drill. https://www.amazon.com/3M-39008-Head...95993833&psc=1
Cool. That�s the same kit I have used before but where did you get more sand paper discs? I�ve looked because I know it�s not enough in the kit. I�ve only found it by boxes of 100 for the 500 and 800. That�s a lot of freakin sandpaper. 😂
Got the sandpaper from Menards. The Hook and Loop style sand paper has the velcro back to stick to the drill attachment from the 3M headlight kit. I just cut the paper to size of the drill attachment.
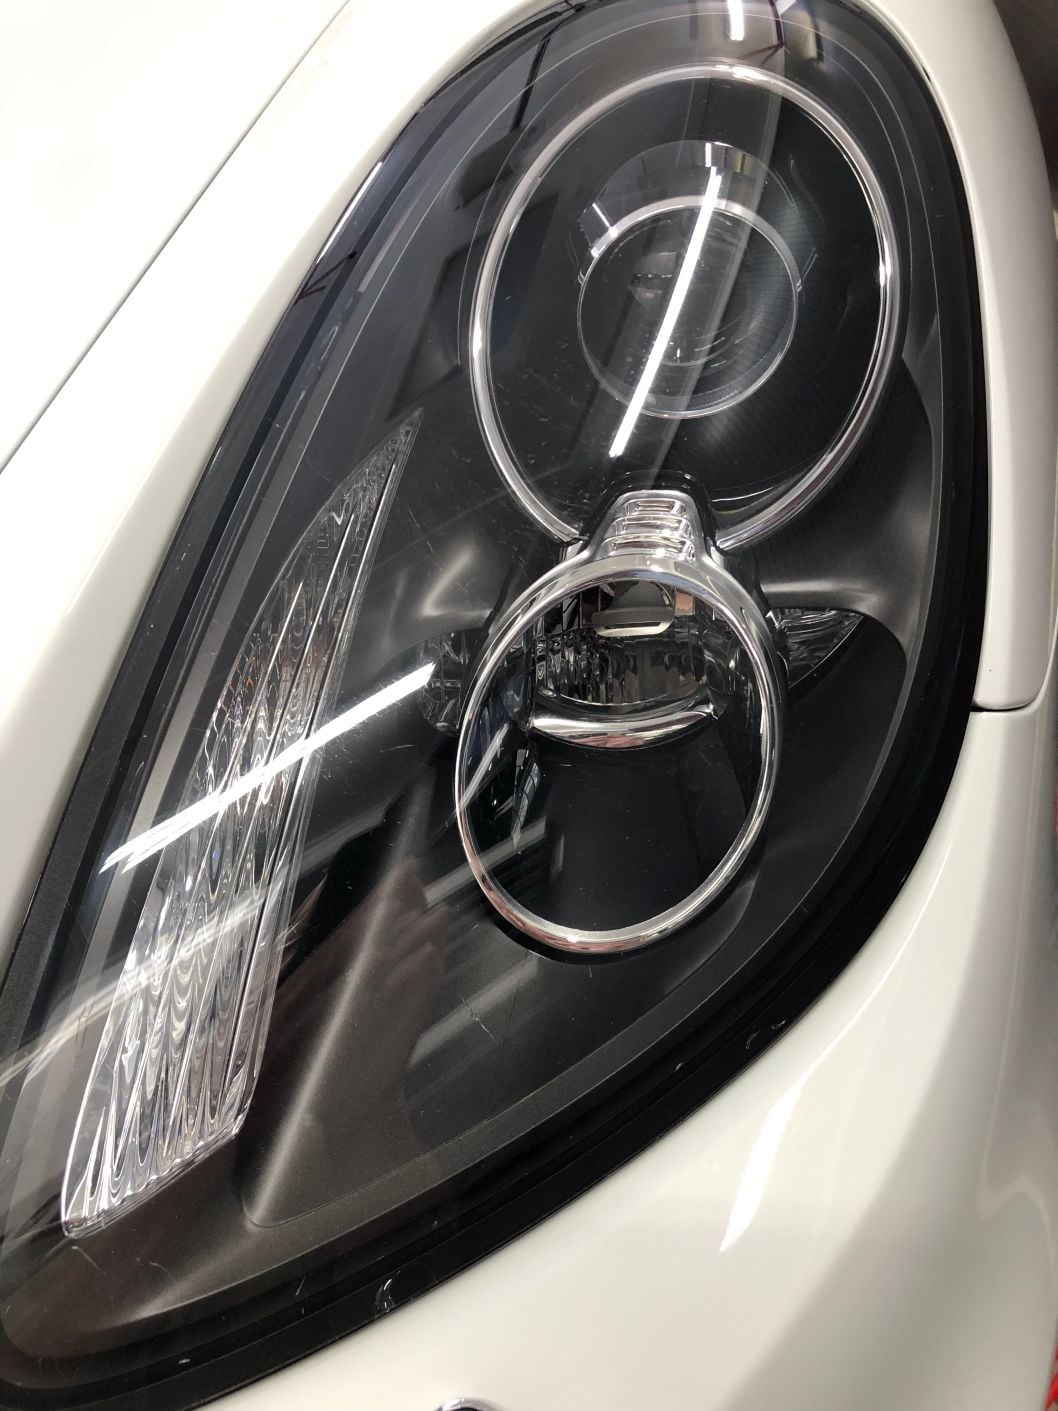
. I will say, this is not a project for the faint of heart knowing it was a Porsche! but I knew either way I would end up with better headlights either by reconditioning or new ones. To start off with, the UV coating is HARD and I am honestly not sure how thick. The part that peeled off with the Xpel, was VERY thin, and the cracks appearing in the plastic, I'm fairly certain, are NOT in the UV coating.
and started out with the 500. I went through about 20, 500 grit discs just to get it 99% beyond the cracks. The 800 was a bit less. Then 1000 then 3000, then
, also great stuff BTW. I got them to ALMOST clear but just could NOT get the random circular scratches out, created by the random orbital. It was never good enough beyond clear with a light haze and obvious "C" shaped scratches. I ended up wet sanding with 3000 on the 3" and getting them about 90%. Then I remembered, the kit comes with a backer you put in a drill which creates consistent circular sanding, not random. So, I ordered a 3" hook and loop
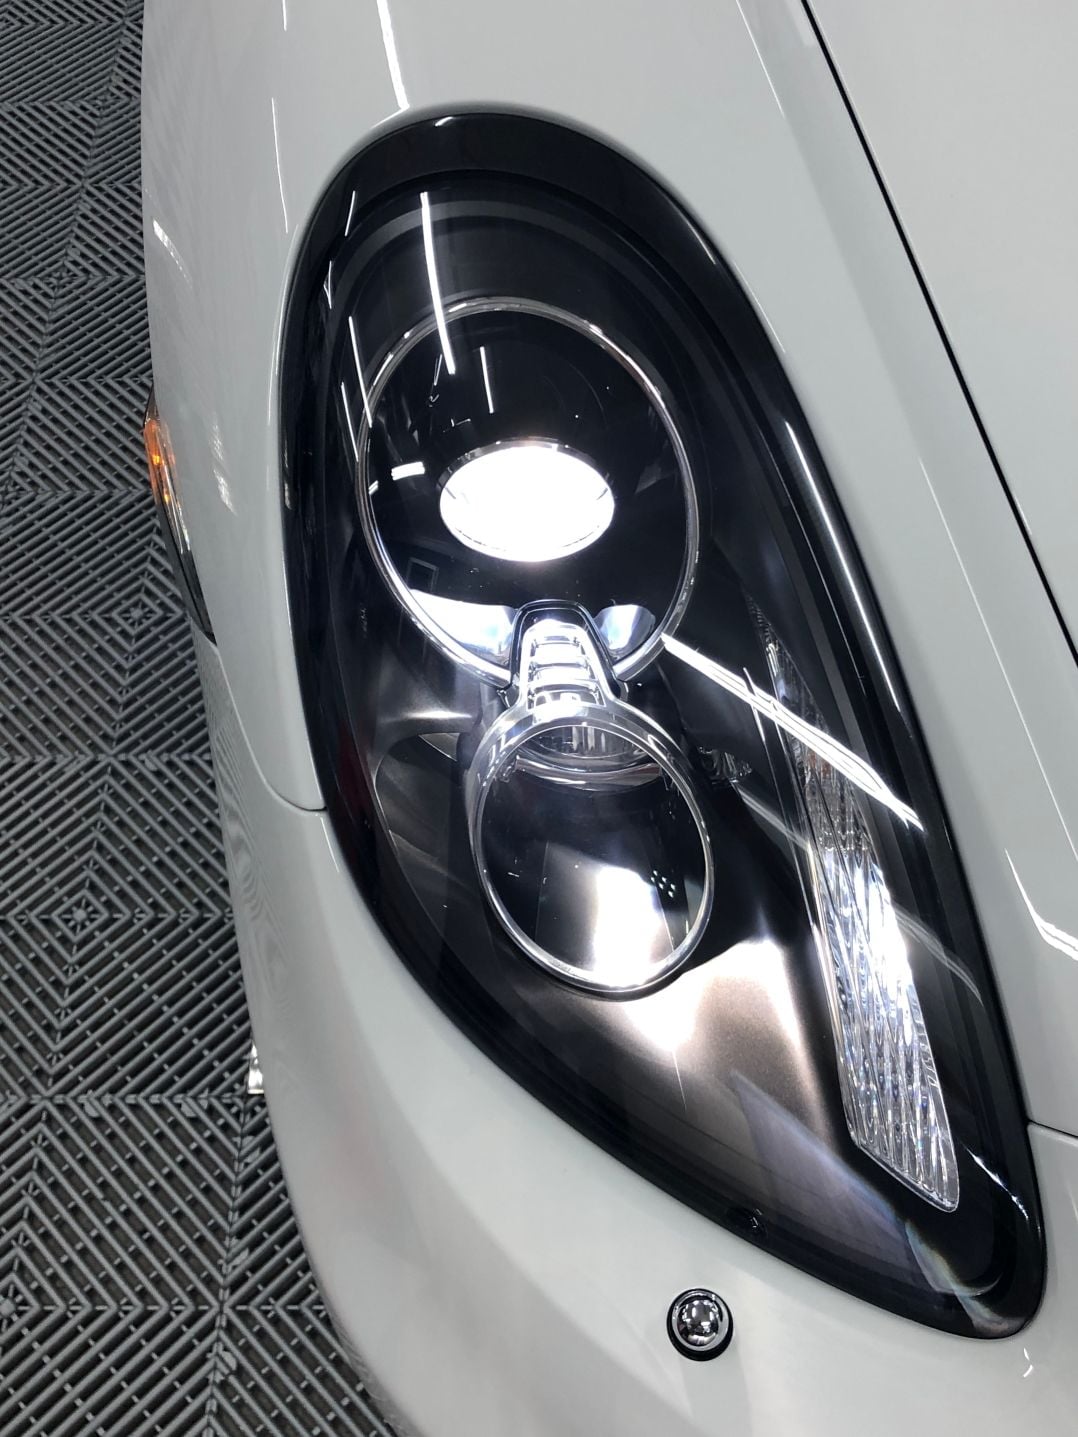
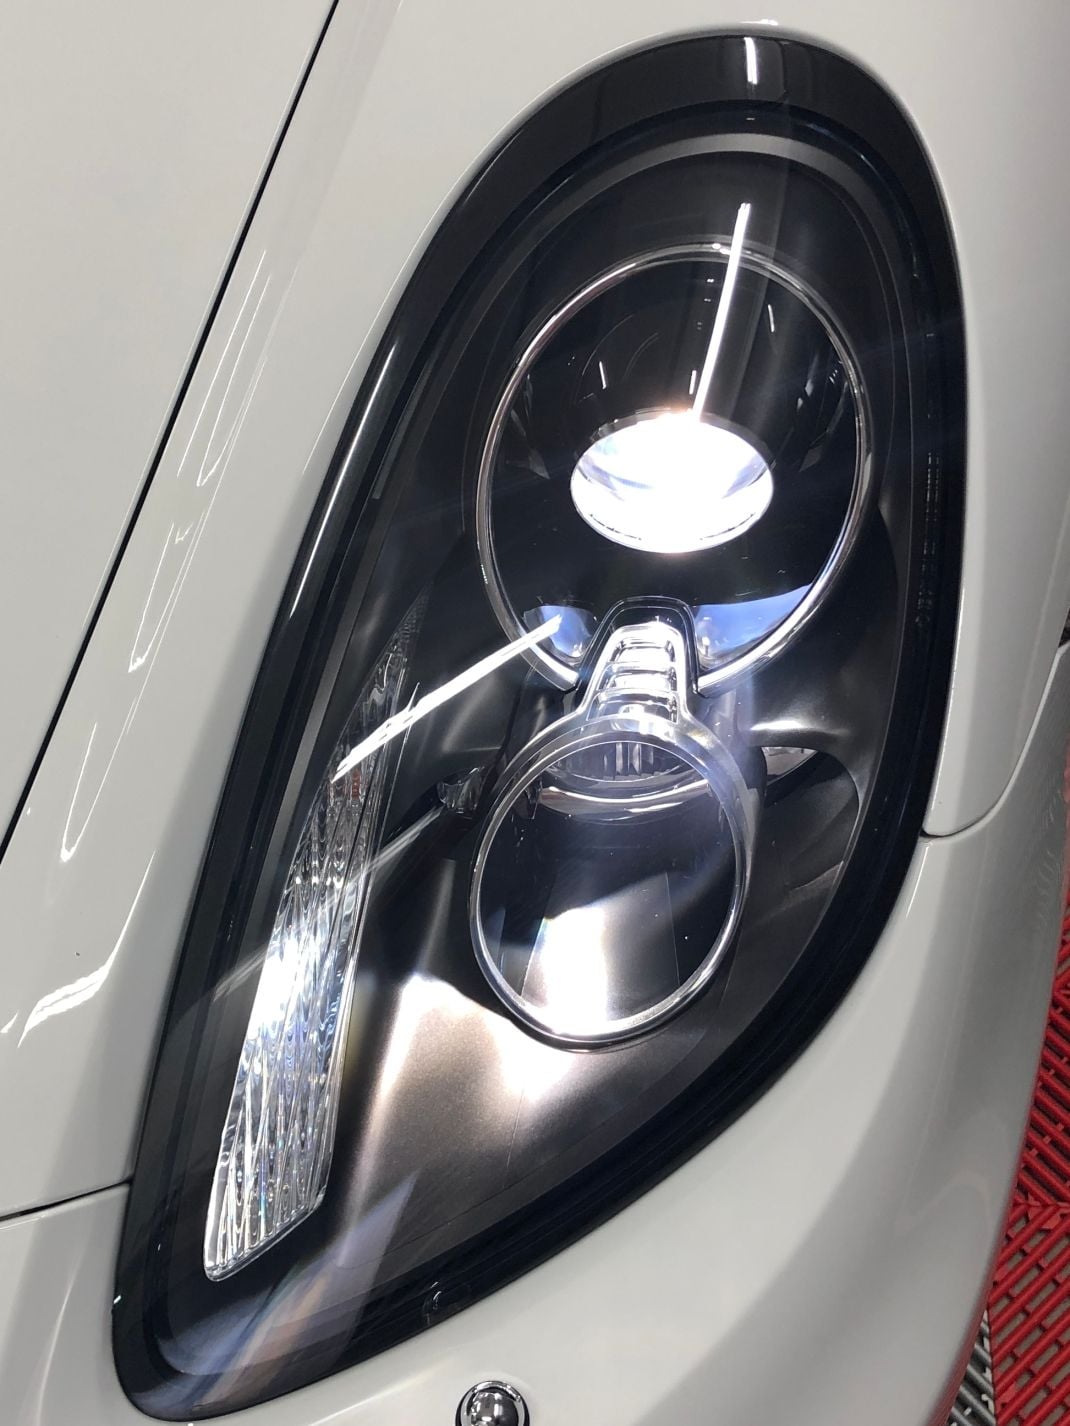
for my air die grinder and went back at it. The Griot's 3" was a HUGE help getting me to this point because I could not have done it all with the die grinder, it required a lot of finesse and concentration whereas the Griot's 3" I could just go to town without worry of cutting in. I also remembered I had used Meguiar's PlastX polish on previous headlights and it worked great, so I got a new bottle and switched out the Griot's Complete, for the PlastX, then the BOSS polish. The last two steps took a good bit of time as I kept reapplying compound and going back. About 30-45 mins of each product. They turned out really nice and about as good as can be expected I think, for such an invasive process. There are still very small cracks in the plastic that I was just not ready to go further, there is a point that would be too far, and I really didn't want to find it having got this far. The remaining teeny tiny cracks are why I say I'm fairly certain the cracks are in the plastic, BUT, they are MILES better than before.
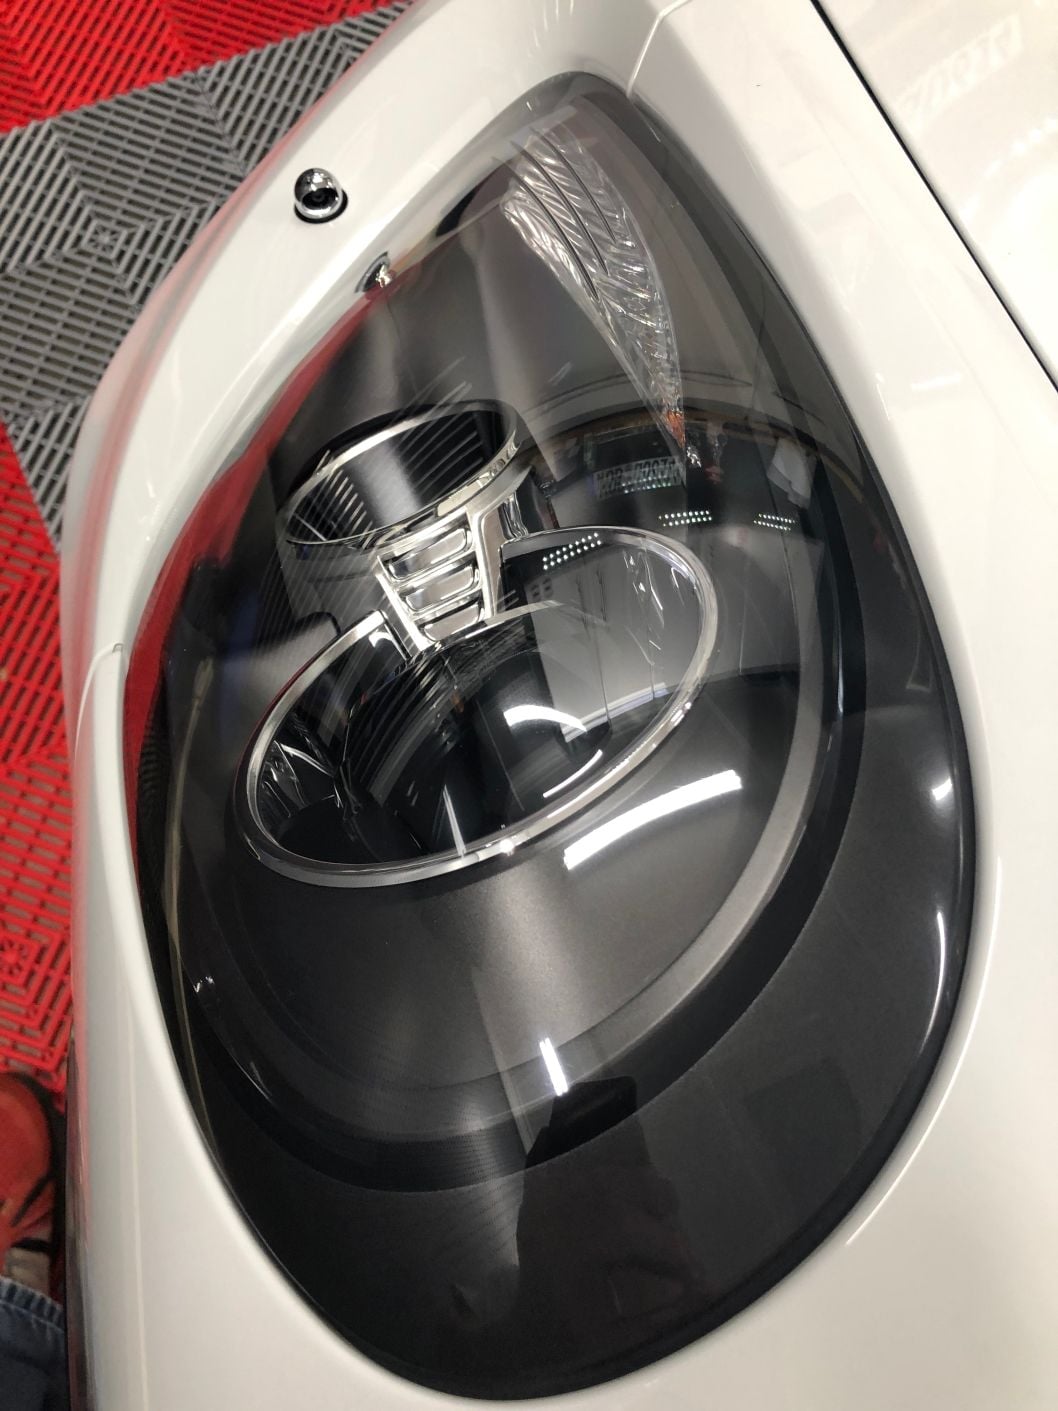
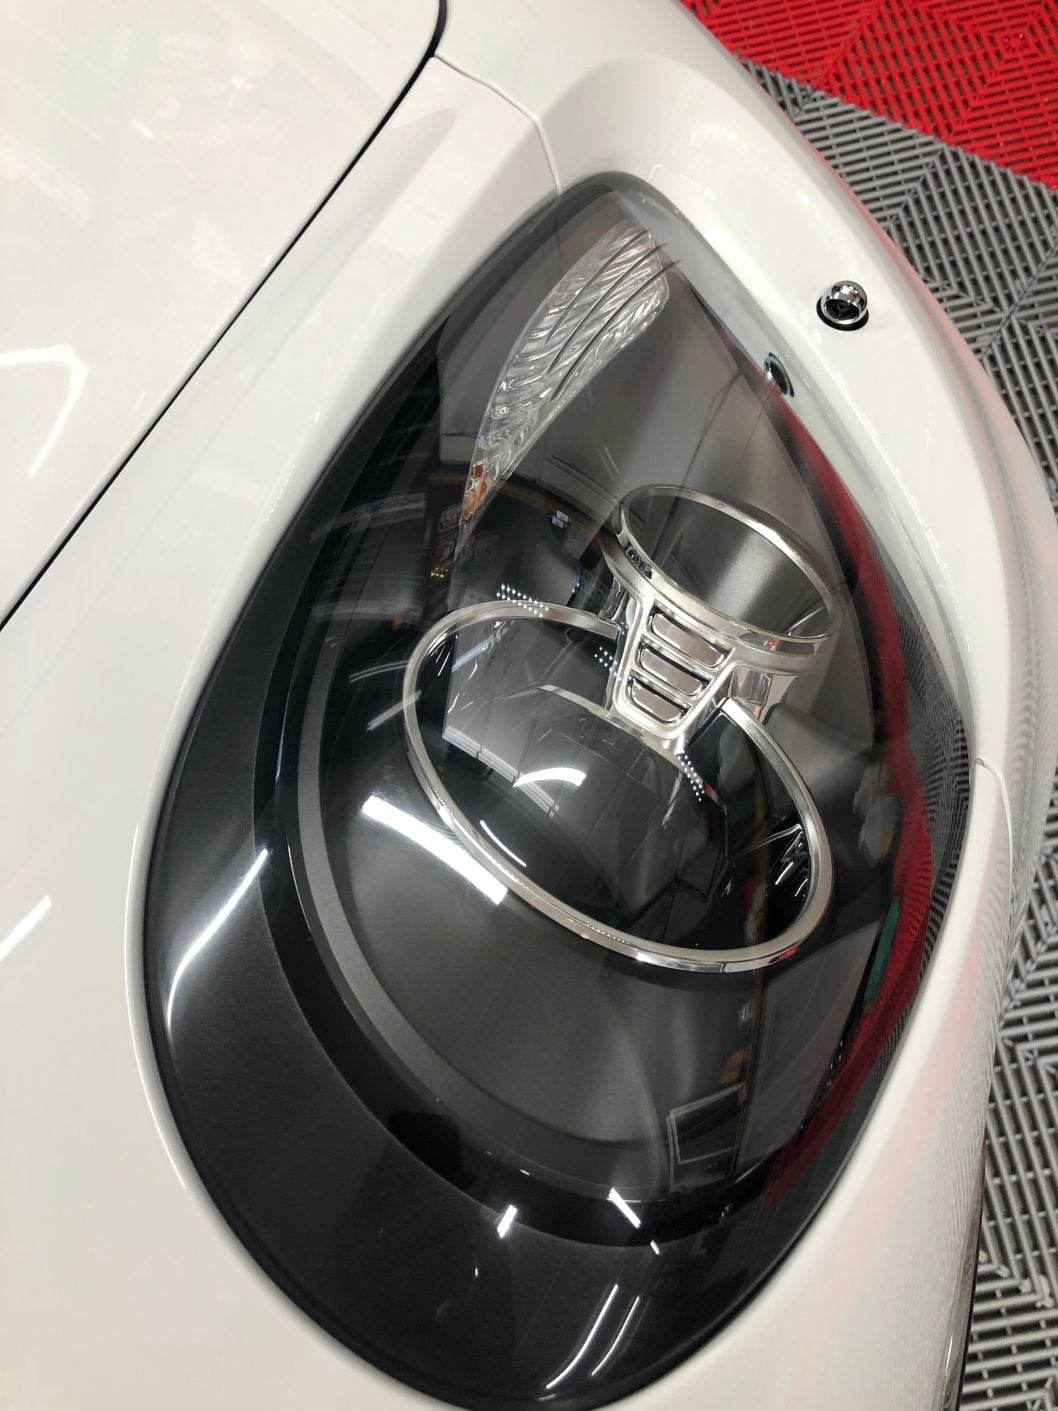
I thought I had a picture of both before but I guess not, but the one I did find is of the driver side which is the one the Xpel lifted the UV coating so noticeably. You can see in above posts, more pictures on a clear sunny day of all the places I point out. These are all gone now. I am still not sure what I plan to put back on as a UV protective coating, but I have all winter to research it.
The photos don't really do the final result justice as they pick up so many reflections from the lights and they were super charged with static, so everything in the air was attracted.
Nice job! You did a more thorough sanding than I did. Once you put the Xpel clearbra over this, the adhesive in the clearbra fills in those tiny imperfections and it will look good.
Nice job! You did a more thorough sanding than I did. Once you put the Xpel clearbra over this, the adhesive in the clearbra fills in those tiny imperfections and it will look good.
Thanks! Yeah I dunno. I am a little hesitant to do the xpel now, after all this work, BUT, I think knowing the coating is gone! I may go that route. I�ve seen these sprays that are a UV coating but man, if it didn�t go down smooth and like glass, I would be so pissed. The film seems the safest I guess.
Xpel film is easily reversible, cheap and easy to install and make look good. I'd hesitate to put another UV coating on after all that work you've done. Probably more technique sensitive to lay down a new UV coating.
I have a headlight that has the same spiderweb cracks or the appearance of cracks. However, I'm not sure why I would mess with it. Other than cosmetic, I don't the value in wasting time trying to correct it. As the issue already exists on a CPO car I just purchased, I might as well wrap the headlights and ignore it. It's almost a 5-year-old car, after all.
Update: The dealer I purchased my car from last month is replacing the right headlight due to this issue. They were really great about taking care of it, whether or not Porsche would.

 10-29-2020, 01:01 PM