911Idiot's C4S Journey - Keep out... Beware of Dog
#61
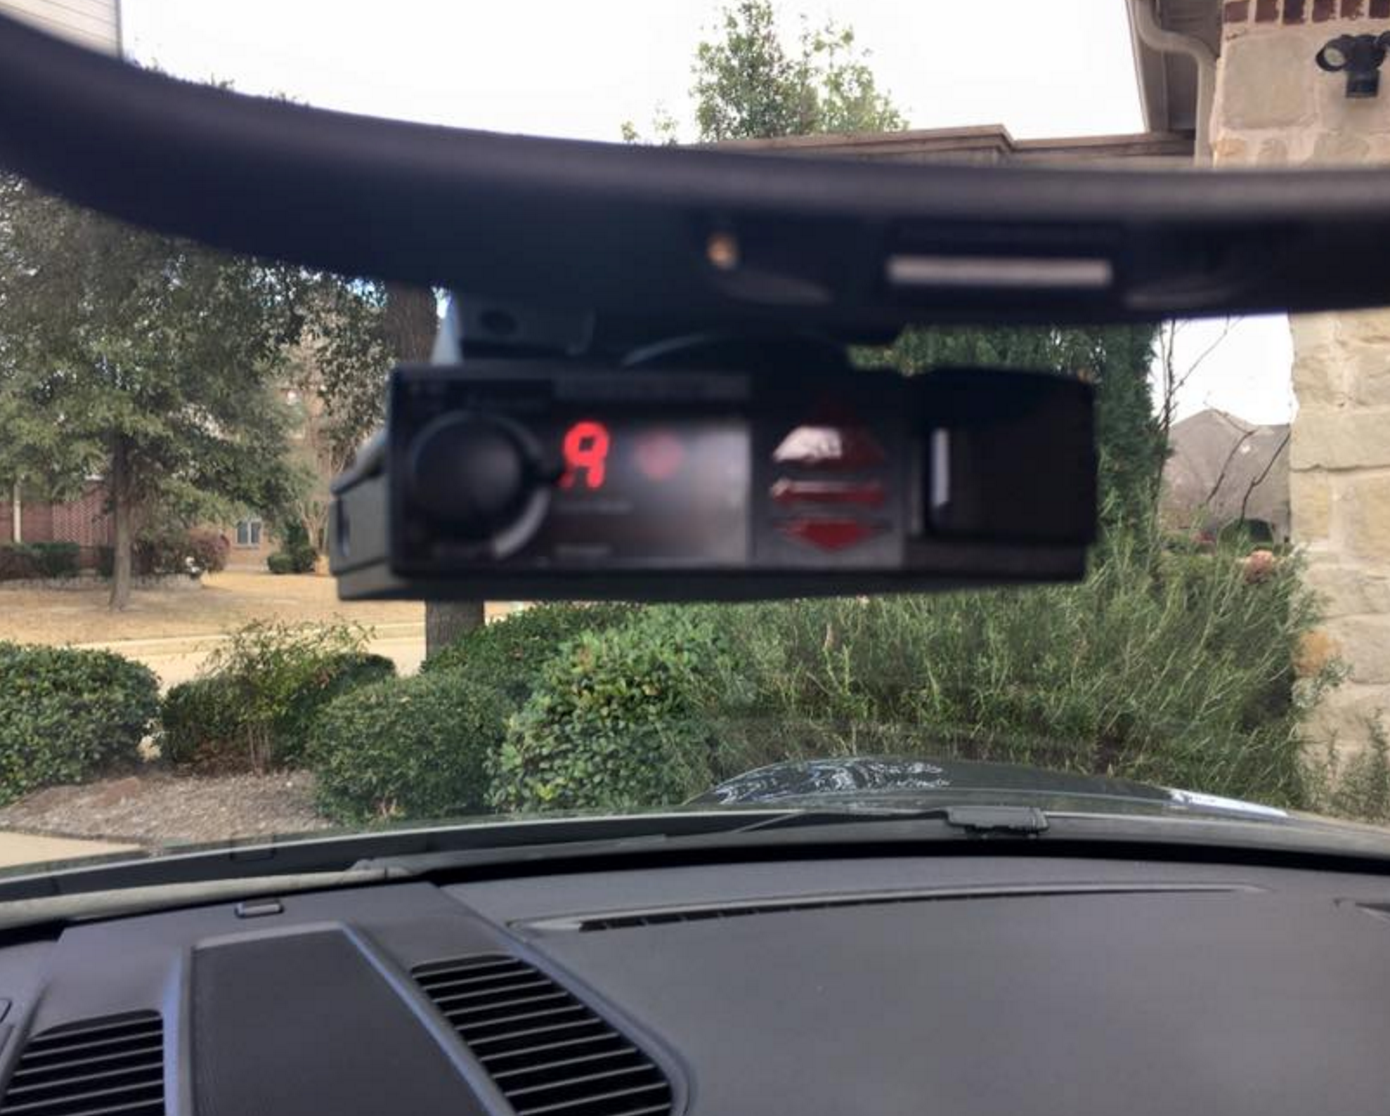
sounds like the "box" around the female jack could not sit inside - would have to protrude a bit. maybe would still work, I don't know. I'll definitely update if I do it. Right now still stuck between mirror and fuse box. Also whether to blend mount, hide behind mirror and do remote display, or mount to the right. I'm slow to make decisions 

#62
Nordschleife Master
sounds like the "box" around the female jack could not sit inside - would have to protrude a bit. maybe would still work, I don't know. I'll definitely update if I do it. Right now still stuck between mirror and fuse box. Also whether to blend mount, hide behind mirror and do remote display, or mount to the right. I'm slow to make decisions 

#63
this would be the "building block" :
#64
Nordschleife Master
Not sure that "brick" would fit inside the stem surround; you might try breaking into the connector black box and just use the innards if you can. That might solve your fitment problem.
#65
Than use the short cord spades off of your mirror tap, or cut off your cord, whatever you need to do to get them screwed into the male spades. Might look a bit bad. But if you use two black male connectors it may hide a tad better. It's kinda up and high any ways.
Not sure what the bus will handle overhead for amperage, but I believe others have had good luck without tripping the circuit. I will test the current draw on my Escort Max 2 in a couple days and post it just for knowledge. I know the cords use a 2 amp inline fuse. But would be interesting to see what it pulls.
#67
Burning Brakes
it's tiny. no way around it, and your back will be sore from contorting your head up agains the windshield to see what you're doing lol.
first, get that blue connector to pop out of where it's seated. then you have easier access to slide the mirror tap blades into the connector and then you push the connector back up into it's slot. it takes patience and a little luck, but you'll get it..
first, get that blue connector to pop out of where it's seated. then you have easier access to slide the mirror tap blades into the connector and then you push the connector back up into it's slot. it takes patience and a little luck, but you'll get it..
#68
Thanks Diablo. I appreciate the help! Easily the worst part of the project.
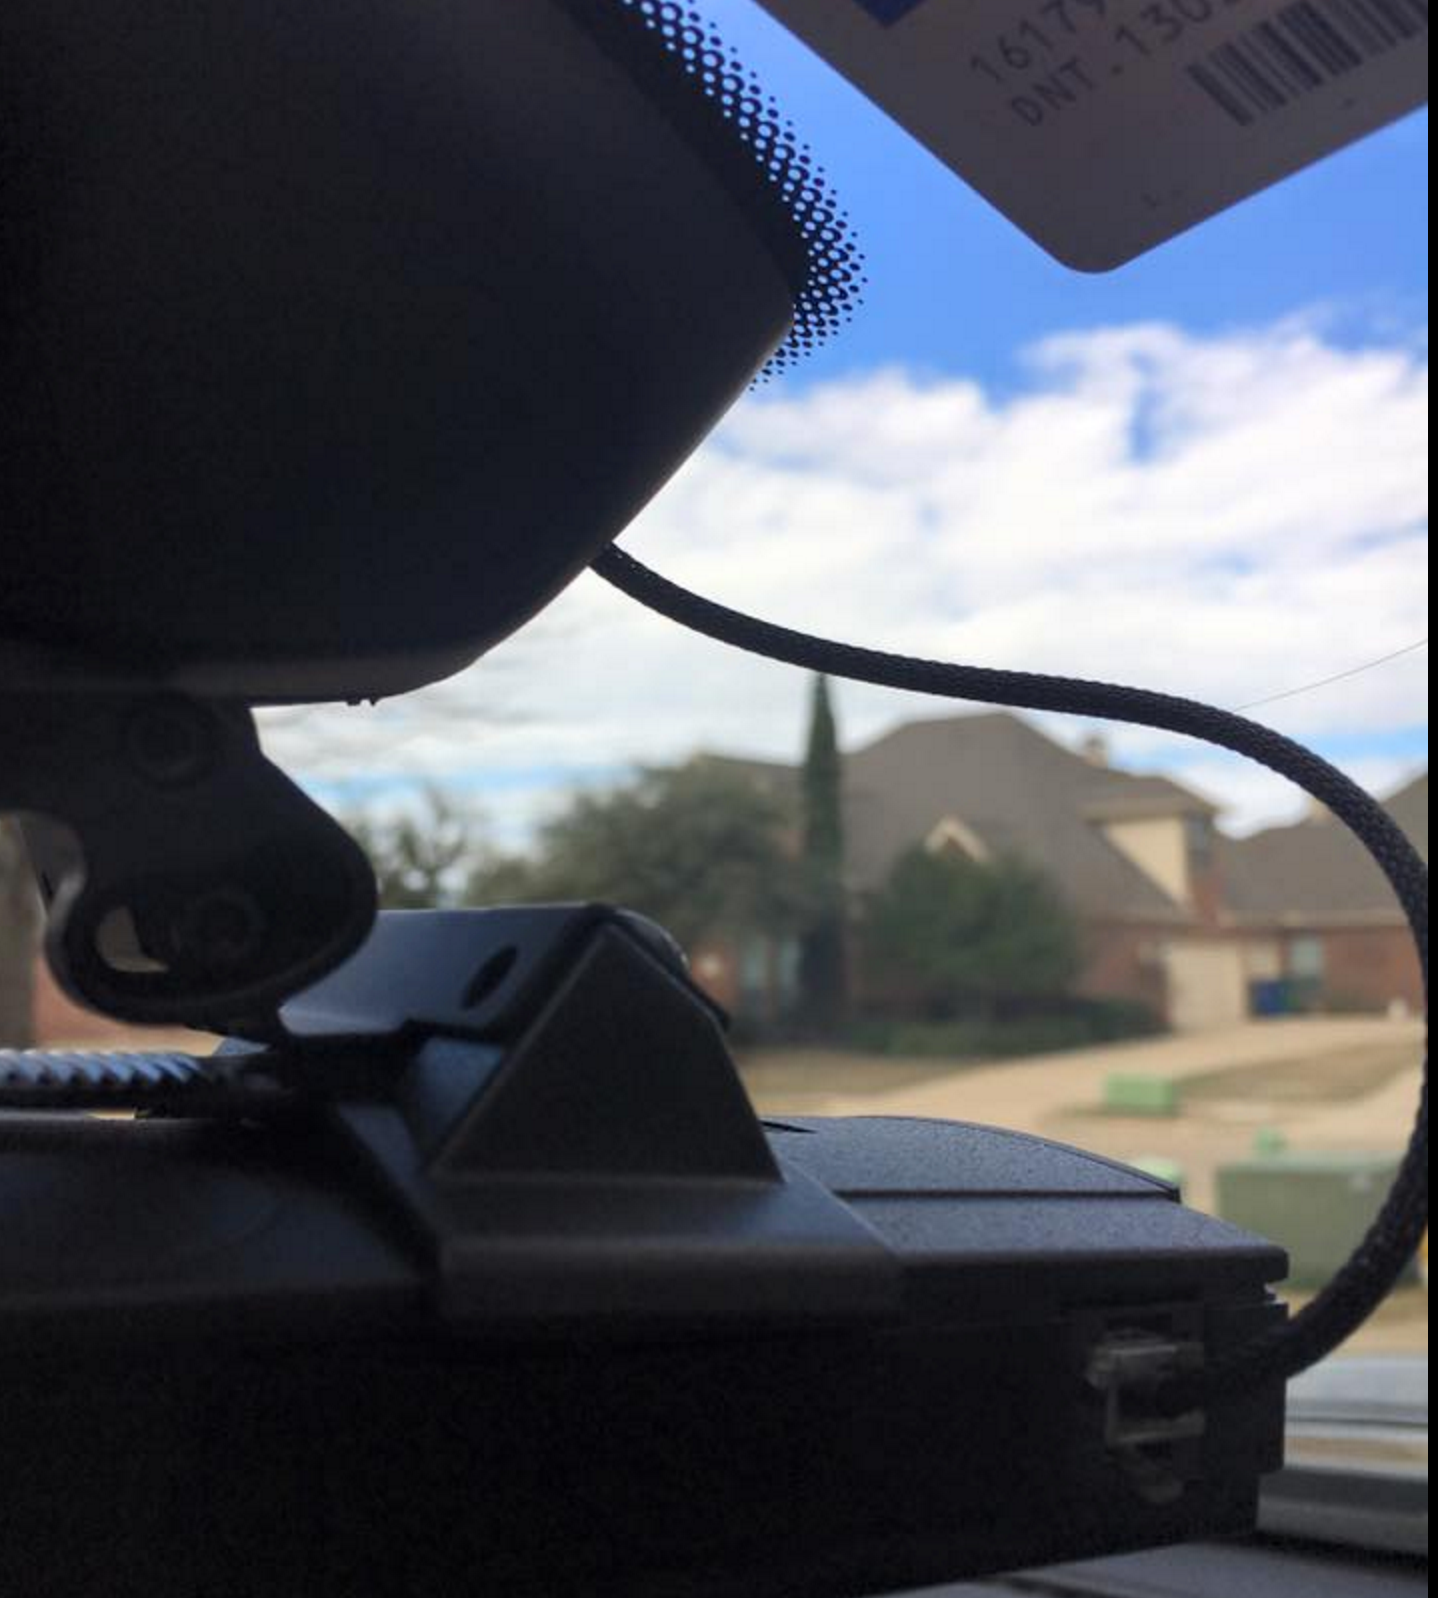
1. I discovered the the large trim at the top can easily come off without removing the trim piece around the mirror stalk. I window mounted mine so I didn't need to remove that trim piece. It didn't seem to want to come off anyway. Mine didn't have the B-52 piece inside either.
2. Getting your hands on the blue/yellow plug is not an easy thing. I couldn't see how the yellow (receiver) plug comes down, so I managed to get the blue portion out of the plug.
- using two hands, palms up, tucking your fingers into the space above the headliner. Middle finger on your left hand to push the blue plug back and forth a bit, while tugging lightly on the wires from the blue plug with a couple fingers on your right hand. Then, POP.
- getting it back in, well that's a whole'nother story! It's tricky, but eventually I managed to line it up, and click it in with one finger.
- oh, the joy and pride you feel when those little lights on the detector light up for the first time, proving its got power!!
3. I also put an extra couple zip ties around the mounting holes of the trim piece securing the wire to the car. My worst nightmare would have been that cord getting yanked on on and loosening the pins. 3 zip ties total. 1 around the wire near the connecting points of the pins, the 2 as anchors a few inches down the wire attaching it to a hard point on the car. Never can be too careful!
4. I used the 15" Murrow tap. Length seemed perfect.
Couple other pics of the plug under the headliner and such -
#71
#72
If you guys are doing the mirror tap, might as well remove the map light. Just use a credit card, push as shown towards the front of the car to release the clips on both sides while pulling down on that spot. See photos attached. You want to tap to the yellow/blue plug. Brown is ground (-) and blue is hot (+).
I bought a mirror tap cable on ebay for ebay, it was only 12" which is about 2" too short. I recommend 15" if you're doing this route.
I threw the short mirror tap cable away and I did the "switched" fuse tap (bought fuse tap from AutoZone) with the wire supplied by the V1, much easier and safer (no risk of brownouts).
DIY inspired by: https://rennlist.com/forums/991-gt3-...n-991-gt3.html
I combined both DIY so thanks to both OPs.
Last edited by Jnosol; 07-18-2016 at 01:20 PM.
#73
Rennlist Member
If you guys are doing the mirror tap, might as well remove the map light. Just use a credit card, push as shown towards the front of the car to release the clips on both sides while pulling down on that spot. See photos attached. You want to tap to the yellow/blue plug. Brown is ground (-) and blue is hot (+).
I bought a mirror tap cable on ebay for ebay, it was only 12" which is about 2" too short. I recommend 15" if you're doing this route.
I threw the short mirror tap cable away and I did the "switched" fuse tap (bought fuse tap from AutoZone) with the wire supplied by the V1, much easier and safer (no risk of brownouts).
DIY inspired by: https://rennlist.com/forums/991-gt3-...n-991-gt3.html
I combined both DIY so thanks to both OPs.
I bought a mirror tap cable on ebay for ebay, it was only 12" which is about 2" too short. I recommend 15" if you're doing this route.
I threw the short mirror tap cable away and I did the "switched" fuse tap (bought fuse tap from AutoZone) with the wire supplied by the V1, much easier and safer (no risk of brownouts).
DIY inspired by: https://rennlist.com/forums/991-gt3-...n-991-gt3.html
I combined both DIY so thanks to both OPs.
Thanks to 911Idiot for the idea & inspiration and Jnosol for the tips on removing the map light assy. That is the way to go!


 Thanks for the original post!

