When you click on links to various merchants on this site and make a purchase, this can result in this site earning a commission. Affiliate programs and affiliations include, but are not limited to, the eBay Partner Network.
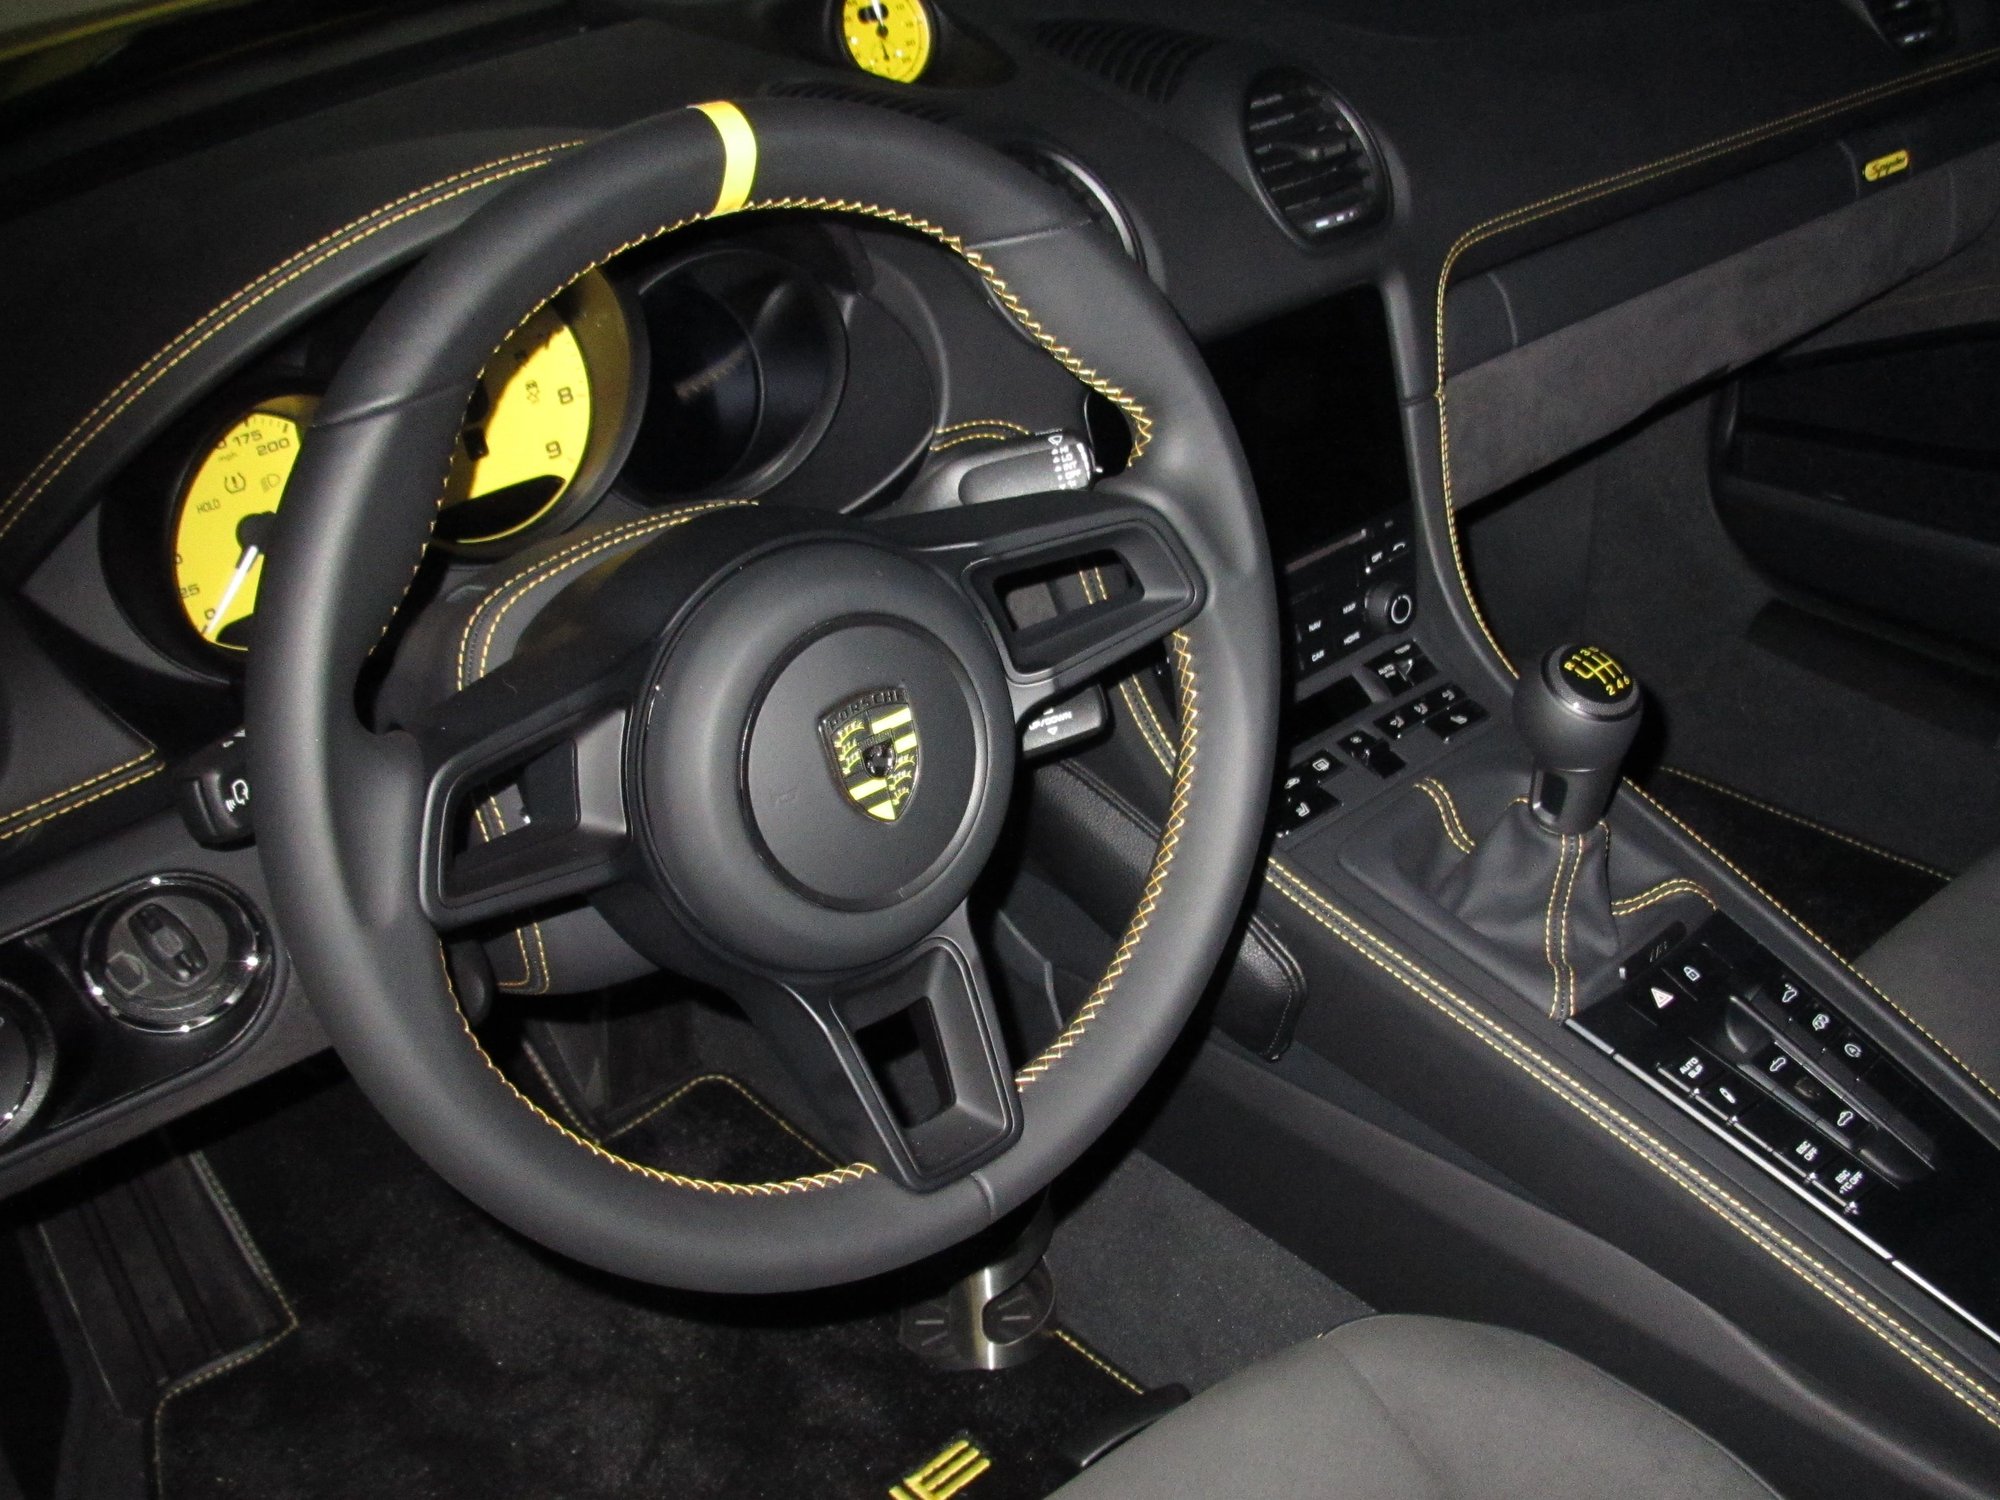
Nice, now you just need to get rid of the Silver airbag trim ring:
I did consider it, but not brave enough to mess with it, not an easy way to mask it to paint it, or remove it without risking damaging the finish on the airbag.... plus it matches the door pulls and some of the aluminum stuff in the PDK shifter. At least that's what I tell myself ; yours does look really good as your set up is all blacked out. Love it!.
And I have removed the airbag trim rings on my last 2 P-cars - no damages whatsoever except to the trim ring since there is no way to remove it without destroying it...hardest part is getting the replacement trim ring!
I have done a ton of plastic car parts so yes, give them a light sanding with very fine paper, clean well and spray away...a tack coat followed by 3-4 light coats and you are done.
I have done a ton of plastic car parts so yes, give them a light sanding with very fine paper, clean well and spray away...a tack coat followed by 3-4 light coats and you are done.
I�ve always had trouble spraying the insides of parts with a can. Any advice on that? I tend to get it too heavy on some spots
Nothing that I really can say about spraying the insides of parts...just takes a little practice and rotating the part and angle of the spray. You can always mask off painted areas as well to avoid overspray and making it too thick.
I’ve always had trouble spraying the insides of parts with a can. Any advice on that? I tend to get it too heavy on some spots
Many lights coats. Stop after a light pass or two. Follow wait time on can in between lights coats then a few light passes. If you don’t get it then maybe wait the full cure which can be 7 days for some sprays to cure, then start again.
Many lights coats. Stop after a light pass or two. Follow wait time on can in between lights coats then a few light passes. If you don�t get it then maybe wait the full cure which can be 7 days for some sprays to cure, then start again.
You need to scuff the parts really well. I had black inserts but painted the large steering wheel surround. I thought sanding with a scotch brite pad would be enough but the paint did not hold. I really had to break through the surface with coarser grit
sandpaper.

 12-16-2021, 05:27 PM


 ; yours does look really good as your set up is all blacked out. Love it!.
