991.2 C4S Middle Radiator Install
#1
Three Wheelin'
Thread Starter
Almost done with the middle radiator install on my Carrera. There’s a video available for the work but there are some differences with the current kit.
Removal of the front tires is a must and the first step.
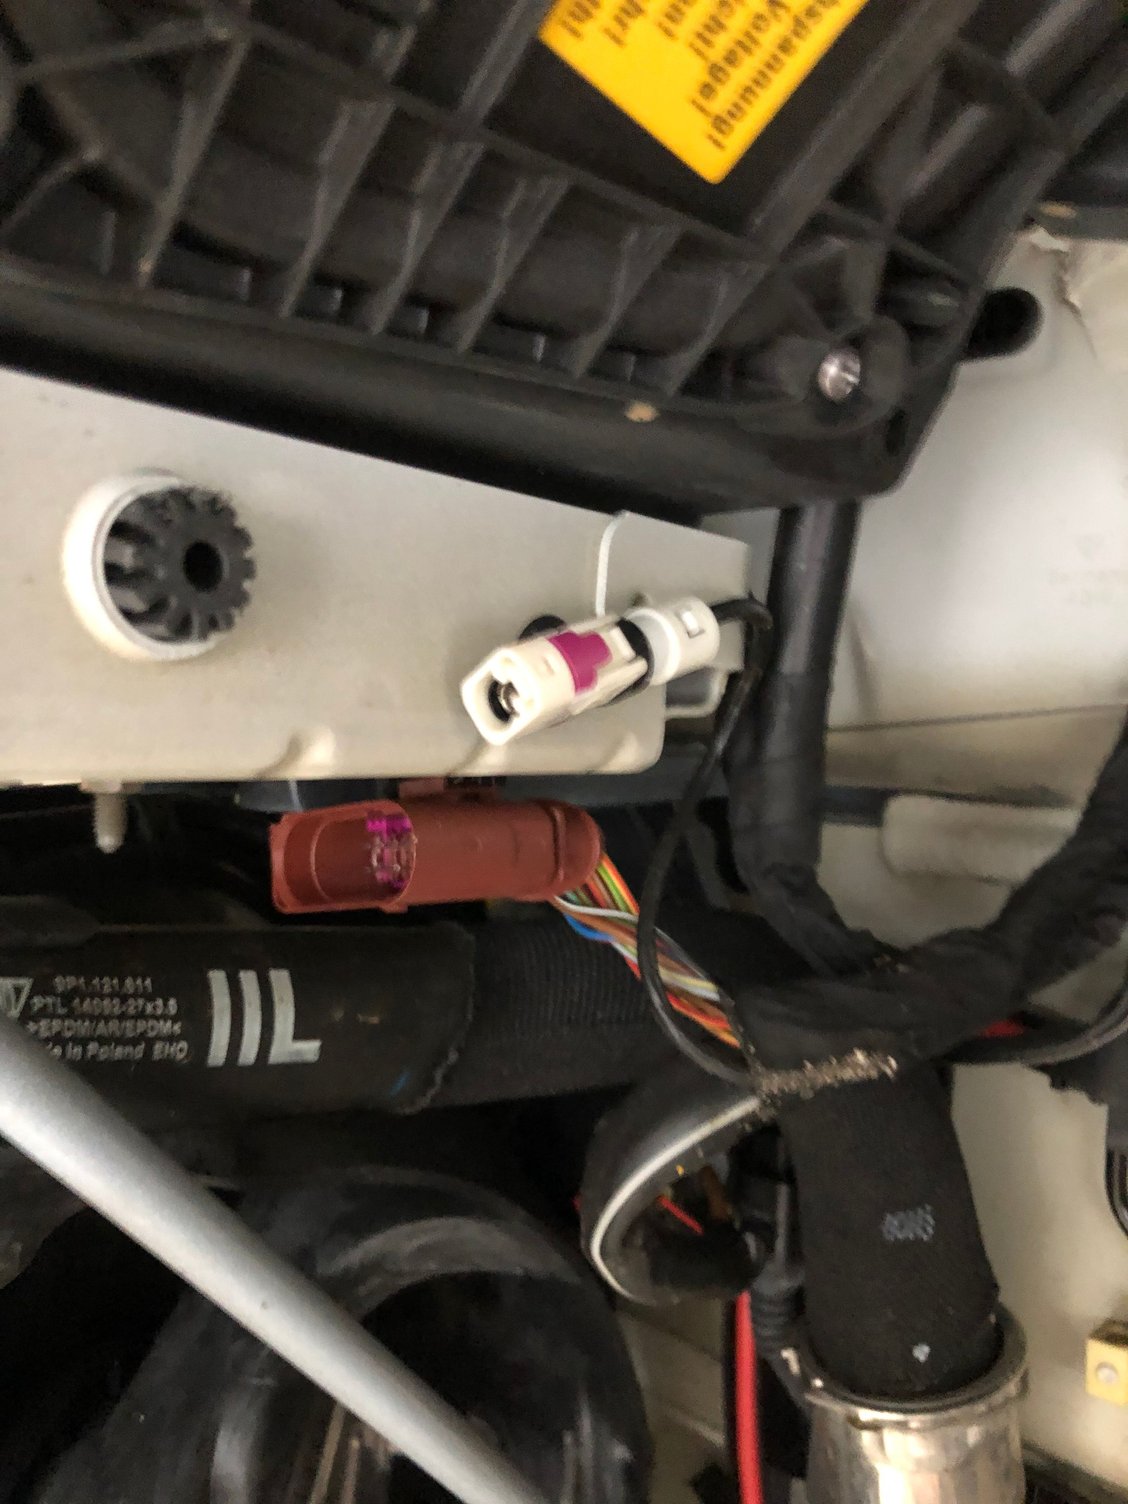
Remove forward fender liners. Allows the disconnection of the four connectors (white and brown) two per side. These will come apart by pressing the lock release tab, don’t take a tool to these.
Remove the three inner plastic frunk covers. No need to remove the frunk weatherstrip, you can later slip the weatherstrip lip over the covers by hand, no issue.
Remove the front marker lights, videos available.
There are various videos available on the bumper cover removals. One trick to remove the cover clips, use a length of string to pull the clips out, no tool needed.
Use this opportunity to clean the side radiators, front and back. The amount of debris that you may find will surprise.
Porsche didn’t do a good job of protecting the radiator fans. The fan blades have a hoop design and slight clearance within the housing. Gravel gets in between the housing and the fan hoop which could damage the fan, cause drag and damage the motor. There was gravel, small chunks of asphalt, resting within a millimeter or less from the moving fan.
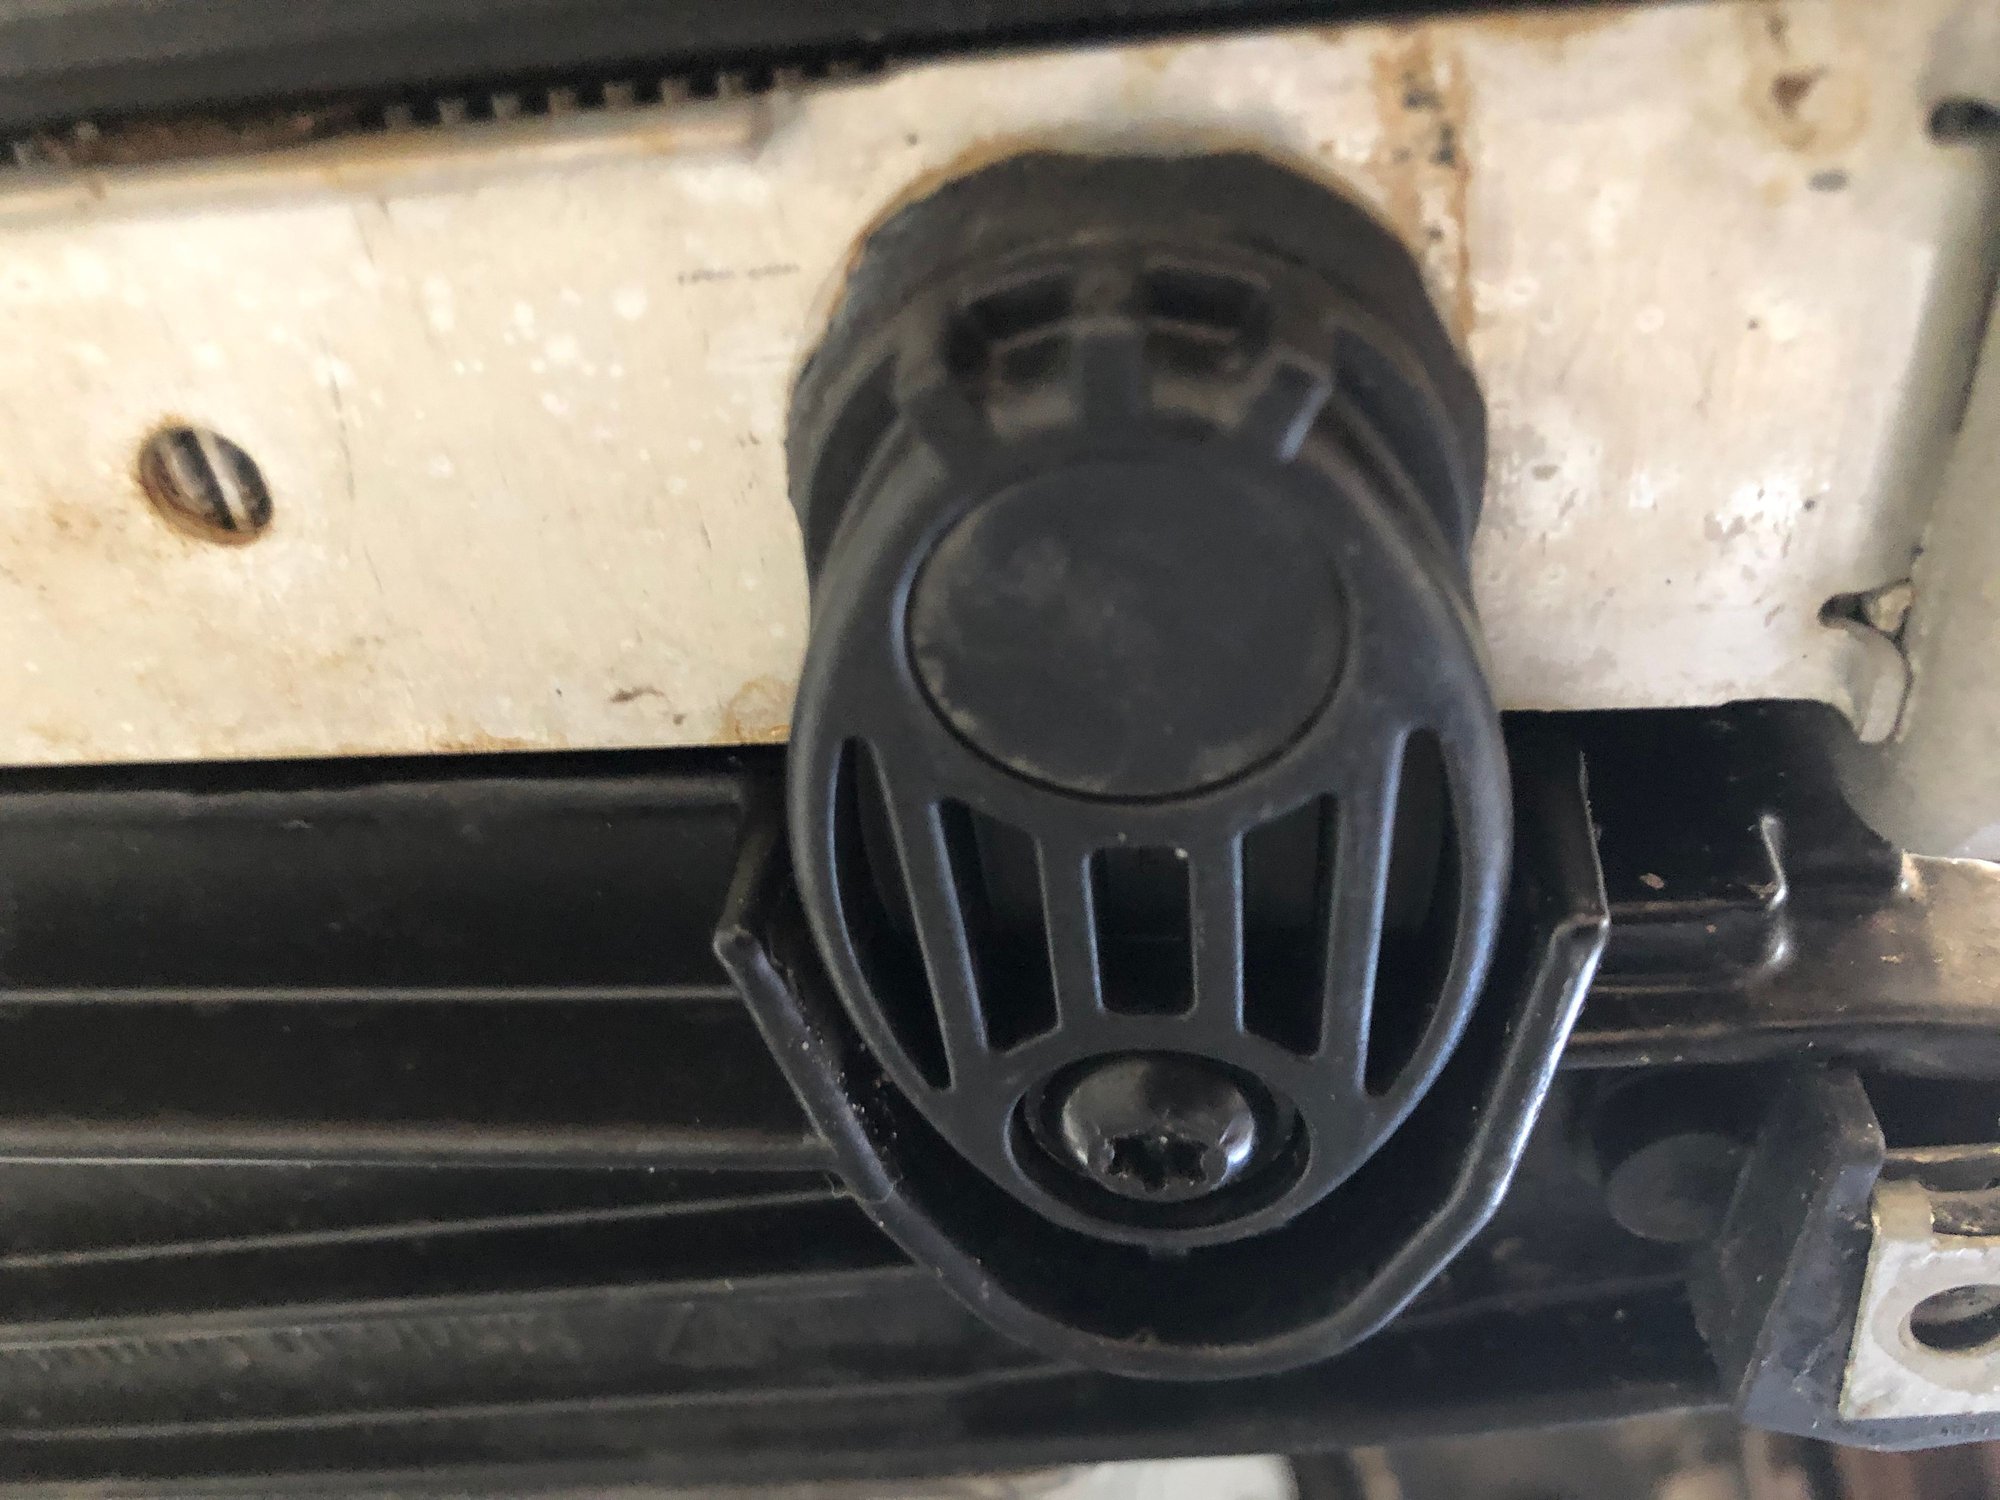
To get rid of the material, remove the two lower radiator support brackets, this allows a slight movement, opening a gap between the radiator and its bracket. Blow out the debris. A bit of wire with a curved end helps dislodge the stuff.
What Porsche should have done is properly screen both sides of the radiators, they’re not cheap to replace.
The middle radiator itself isn’t difficult to attach, video available. There are two plastic triangular pieces that snap in onto the radiator bracket sides for air flow purposes. Also three rubber seals are attached to the front of the perforated plastic duct.
Removing the original center bumper cover opening is more involved. The moving slat assemblies overlap the cover. You will need to remove most of the assembly fasteners, allowing them to move, providing clearance.
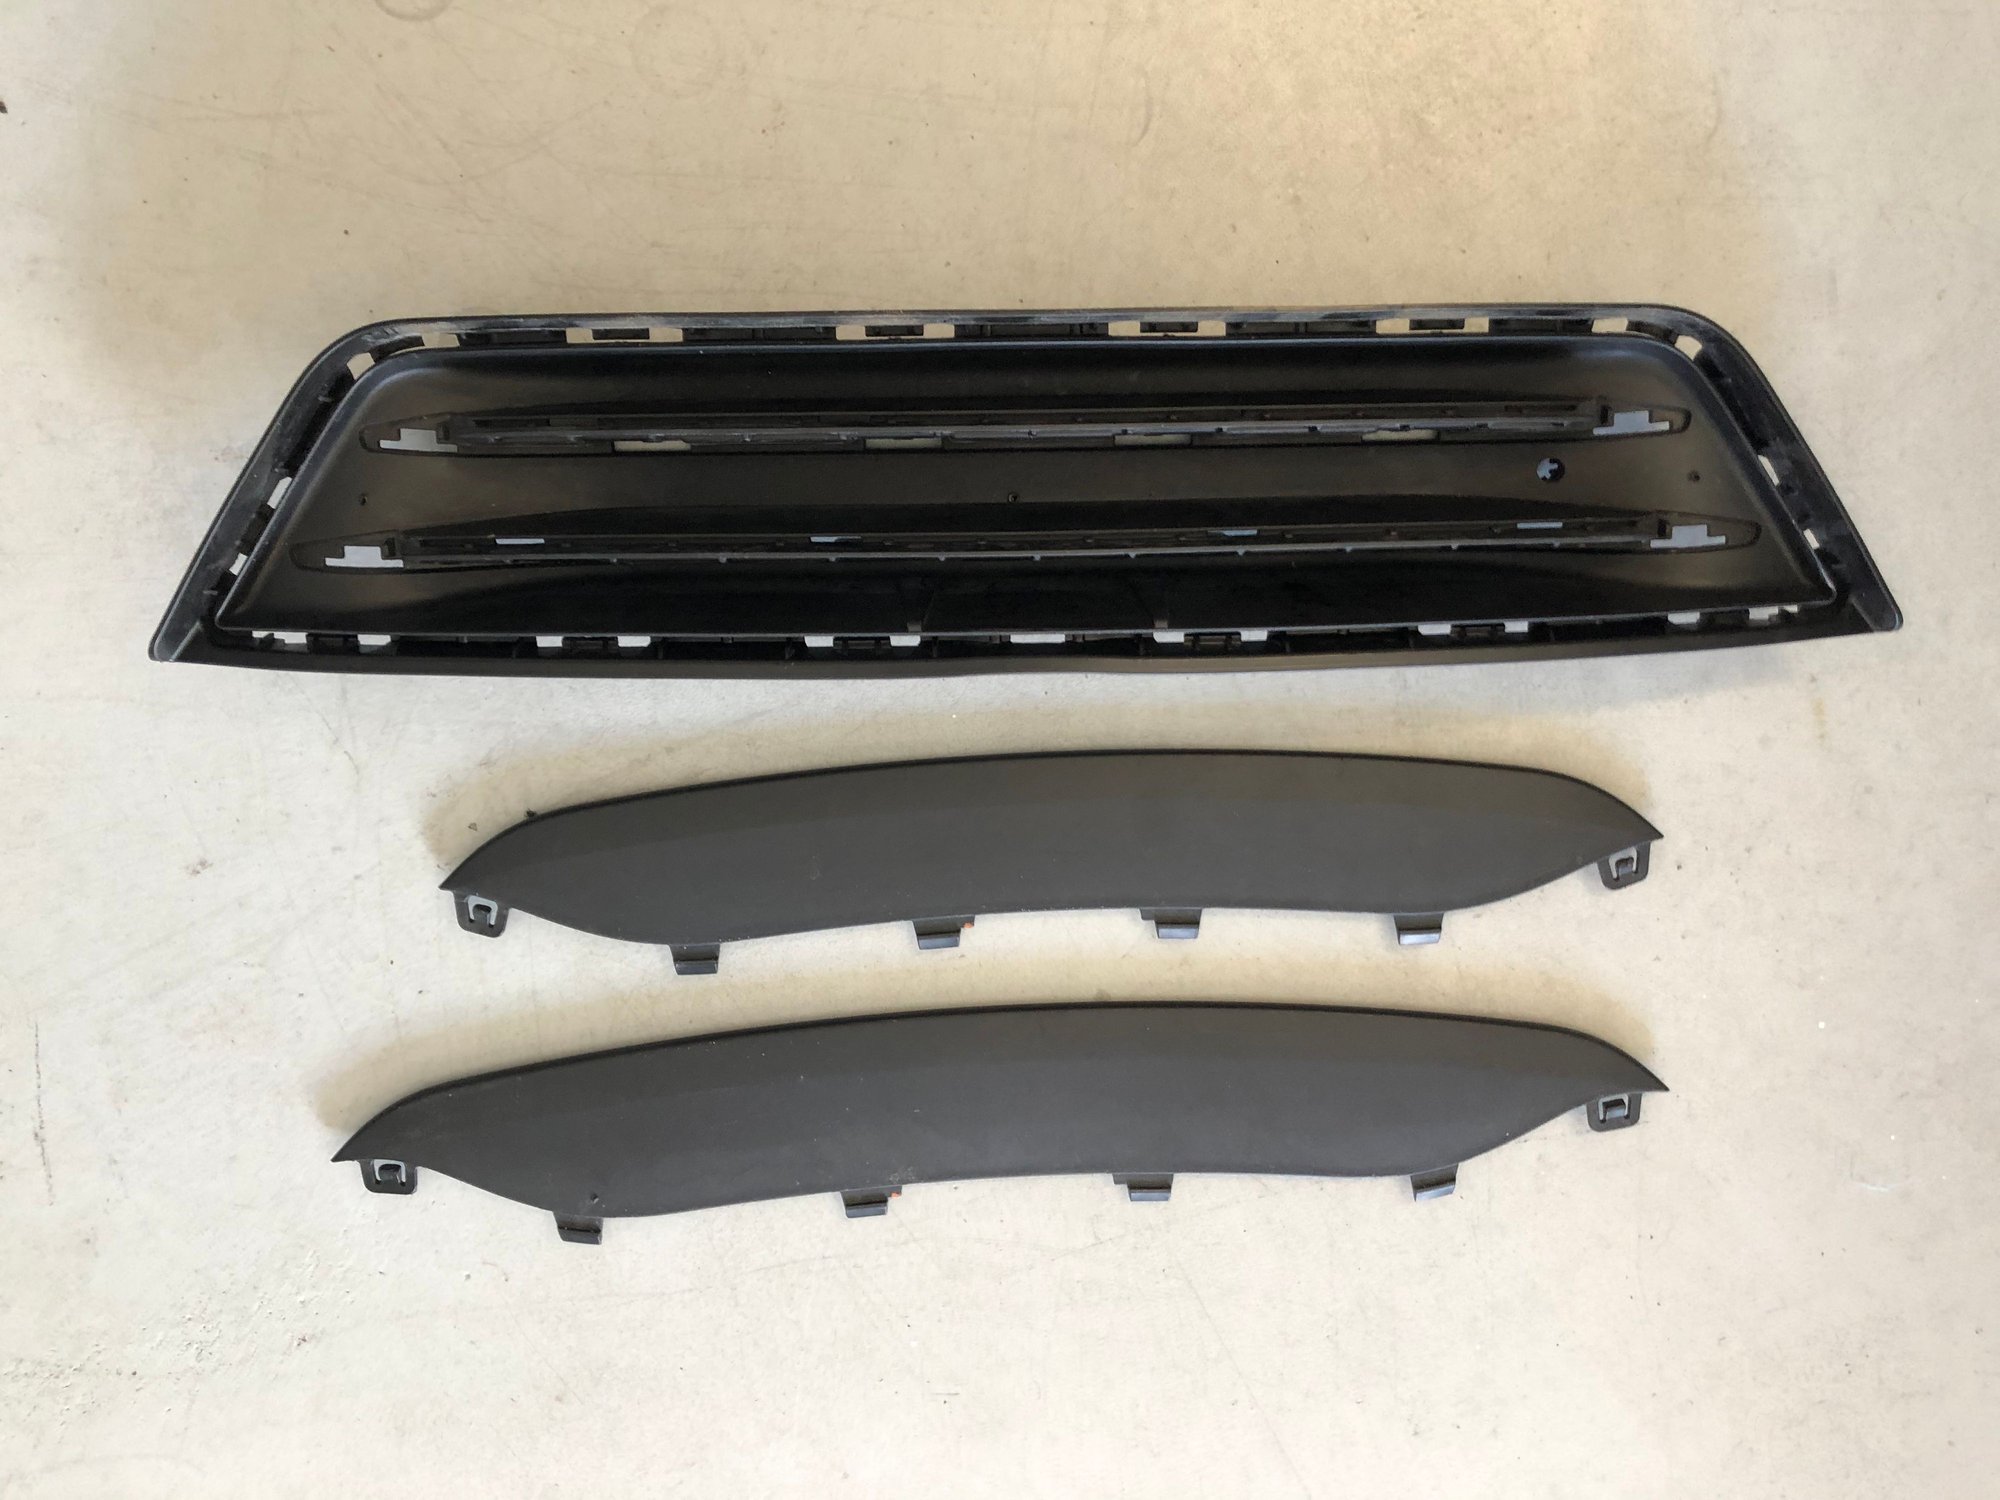
The cover is composed of three parts, two horizontal slats and the main cover. I removed the slats to allow more flex. You will have to work to disengage the slide-in locks, one side allows very little room for fingers. Persevere and it does come out.
There’s another plastic support that comes off, but it takes off and on easily.
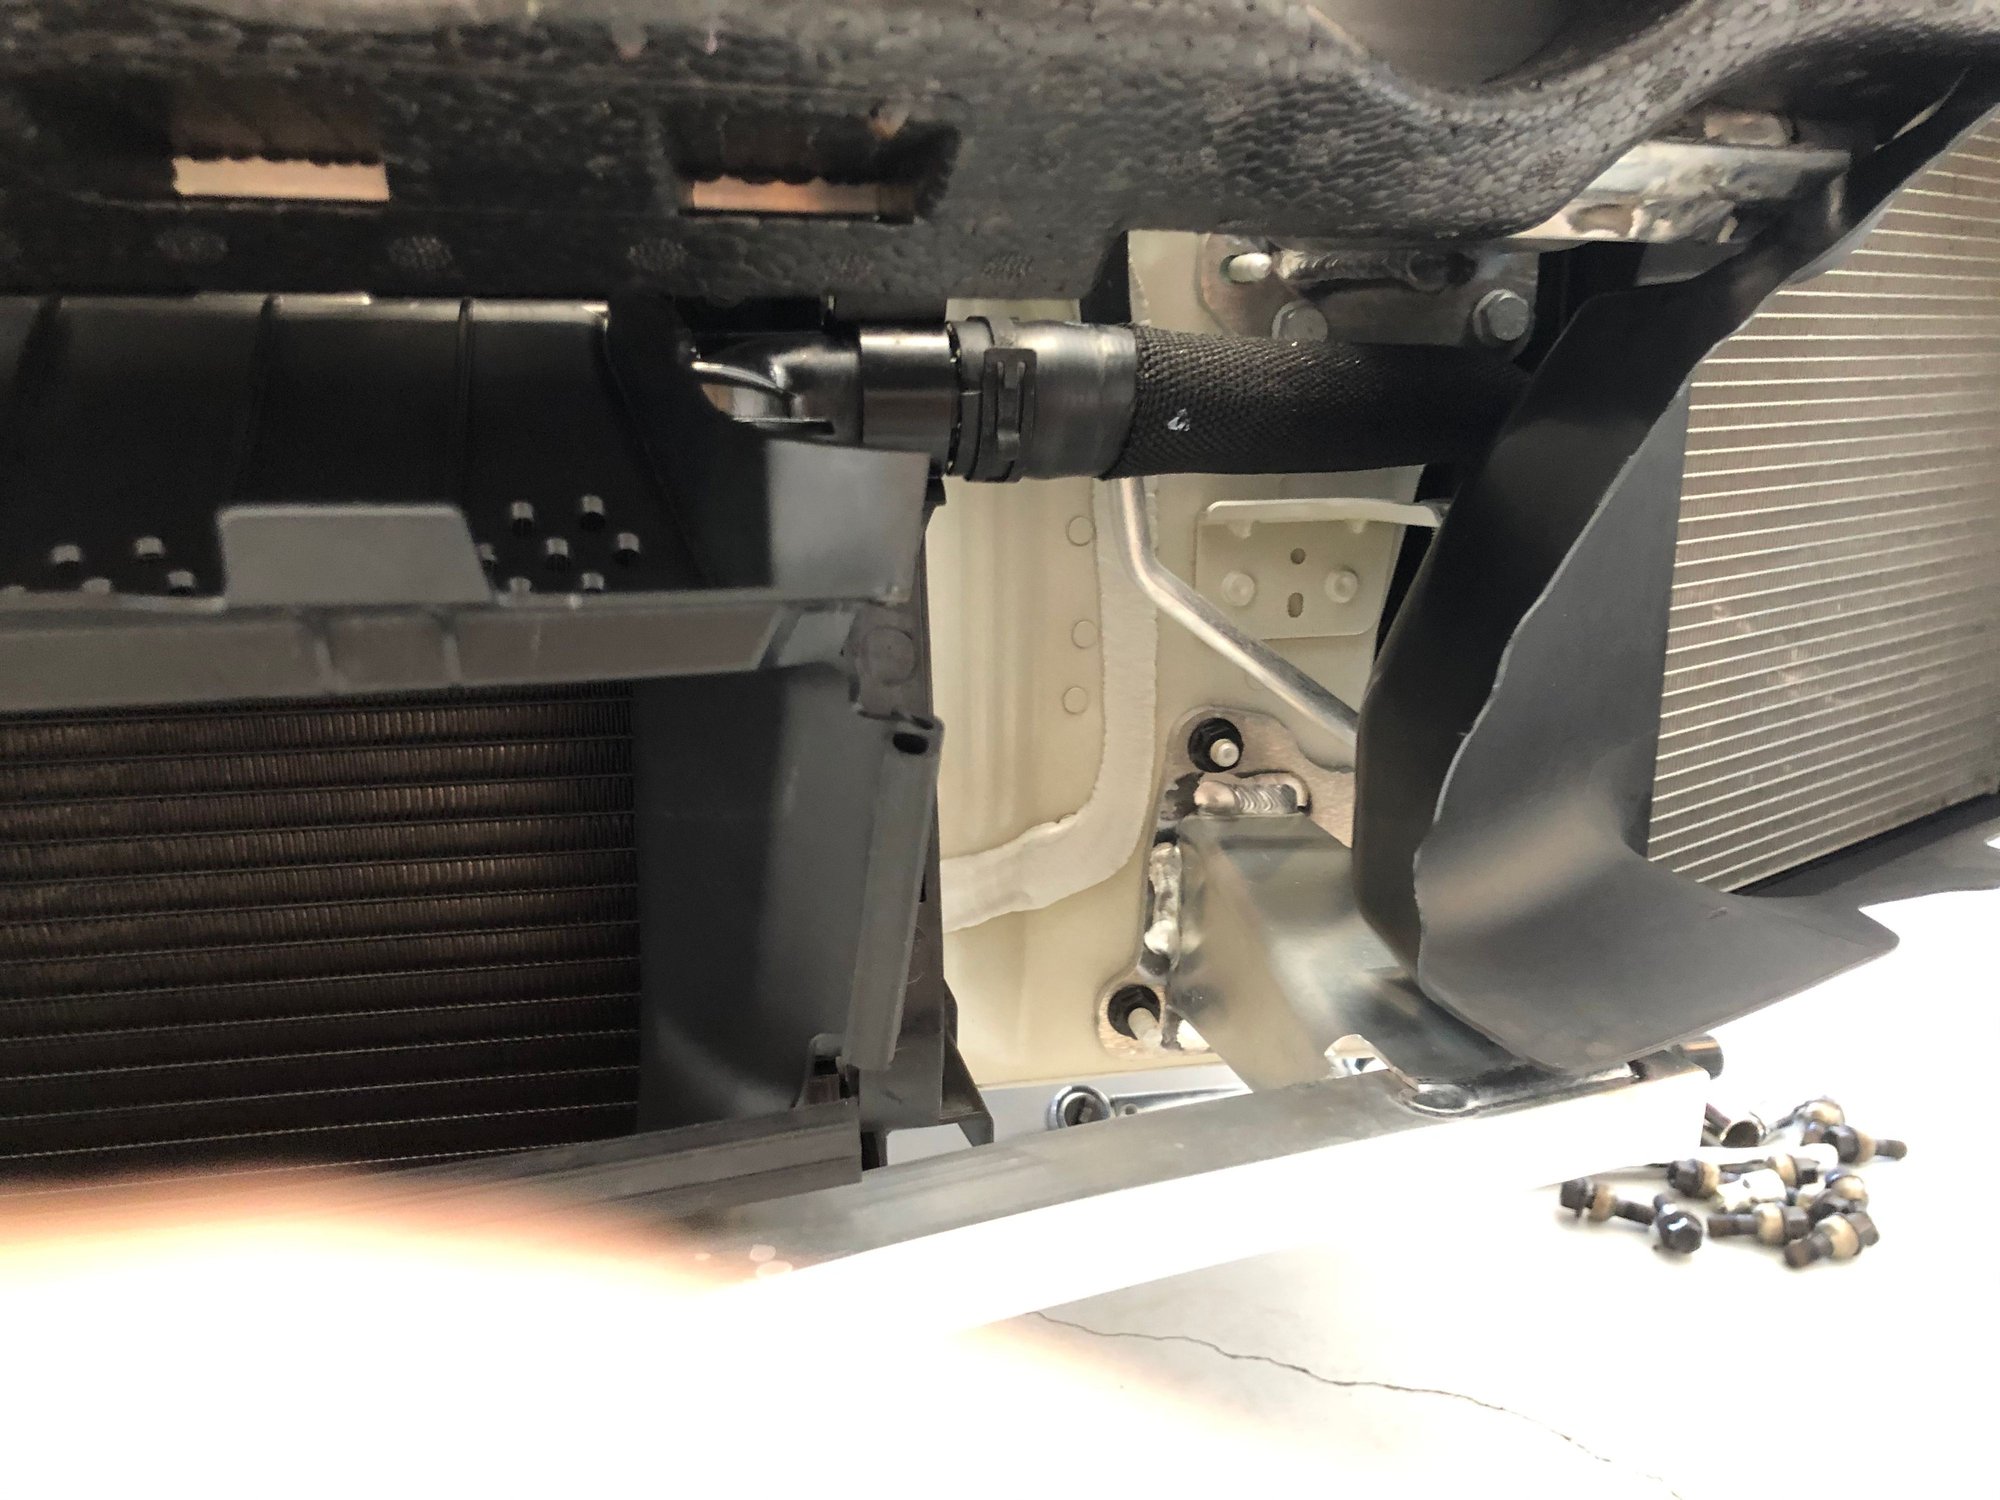
One last item, there’s an aluminum crash bar that needs removal. This allows the install of the assembled ductwork. The six nuts are very lightly tightened, don’t over tighten.
I’ll be purging the cooling system to finish.
As the front tires were off, the rims have been thoroughly cleaned and ceramic coated. The rears are next once the front is re-assembled.
While the bumper cover was off, I’m also refinishing a significant scrape on the underside of the cover. It’s a “while you’re in there”.
Can’t wait to finish!
Last edited by BSO; 07-20-2020 at 04:49 PM.
The following users liked this post:
marinb (08-09-2020)
The following users liked this post:
BSO (07-20-2020)
#3
Three Wheelin'
Thread Starter

Two connectors under fender liners

Lower radiator support bracket

Aluminum crash bracket mount point

Dummy cover components
#5
Three Wheelin'
Thread Starter
I had already installed grilles on all three openings, I forgot to mention it, definitely would be easier.
#7
Three Wheelin'
Thread Starter
Radiator install older model
Side marker removal
awful music. Needed to remove cover.
I ordered a gallon of coolant just in case. 50/50 mix with distilled water.
Also acquired a coolant system air evacuator which took forever to work. Didn't seem that it drew back in as much coolant as came out during the vacuum process. Shows filled, I'll keep an eye on it.
Haven't driven it much, I'll carry some coolant mix with me just n case.
If you're slow like me, I spread the work over three days and did some paint work as well. Good luck!
PS
Get some wheel lug guides for the tire mounting, save your back and prevent damage to rims.
Side marker removal
I ordered a gallon of coolant just in case. 50/50 mix with distilled water.
Also acquired a coolant system air evacuator which took forever to work. Didn't seem that it drew back in as much coolant as came out during the vacuum process. Shows filled, I'll keep an eye on it.
Haven't driven it much, I'll carry some coolant mix with me just n case.
If you're slow like me, I spread the work over three days and did some paint work as well. Good luck!
PS
Get some wheel lug guides for the tire mounting, save your back and prevent damage to rims.
Last edited by BSO; 07-24-2020 at 04:29 AM.
Trending Topics
#8
Rennlist Member
Thanks for those links!
Yeah the vacuum coolant process looks like a total pain. There are so many different ones for sale on amazon, I wonder if there's 1 that much better than the rest?
Yeah the vacuum coolant process looks like a total pain. There are so many different ones for sale on amazon, I wonder if there's 1 that much better than the rest?
#9
Rennlist Member
The video was excellent, learned a lot. Thanks for posting this. Has anyone installed the kit for the GTS/Aero front end? Was a little concerned by the statement "Depending on your options, some minor modifications may be required" on Suncoast Porsche's website.
#10
Three Wheelin'
Thread Starter
I bought the "OEM Tools" brand vacuum system. It's well put together and one of the adaptors fit the coolant opening tight.
The problem is that if you don't totally drain your coolant, the system aspirates it, slowing the evacuation. To reach the minimum required negative pressure took over an hour and even then it wasn't at the best number.
The system did draw coolant and indicated full, but it appeared that the quantity was less than had been taken out of the system. I drove it today and rung the engine out a bit. I could see the oil temp wander up and down from 196 to 208, which isn't its normal behavior. You can't rely on the water temp as it's locked at 194.
After getting home, I let the car sit for a couple of hours and checked the level, sure enough, it was sitting at "minimum". Added close to 2 liters more to get it to the "maximum". Will keep checking the next few days
The added radiator didn't seem to hold much liquid (I prefilled it as best as possible), I also added some coolant through the two new hoses before clamping them down.
We'll see how it goes.
#11
Drifting
When I did mine I didnĺt use a vacuum tool (gasp!). Just took care to not lose much coolant and pre-filled the center radiator. From there topped off the system and went for a drive. I did one top up and it has been fine ever since (about a year now).
#12
RL Community Team
Rennlist Member
Rennlist Member
#13
Racer
I did the 3rd radiator on my C4S 991.1. Its interesting to note the ".2's" apparently are assembled with an additional structural bar down low (beneath 3rd radiator) the older ".1", cars don't have.

