When you click on links to various merchants on this site and make a purchase, this can result in this site earning a commission. Affiliate programs and affiliations include, but are not limited to, the eBay Partner Network.
That was a very professional looking Job. It seems you have some stitching background. How did you get the holes laid out to stitch? Did people at Tandy show how to do this and provide all supplies and hole punch?
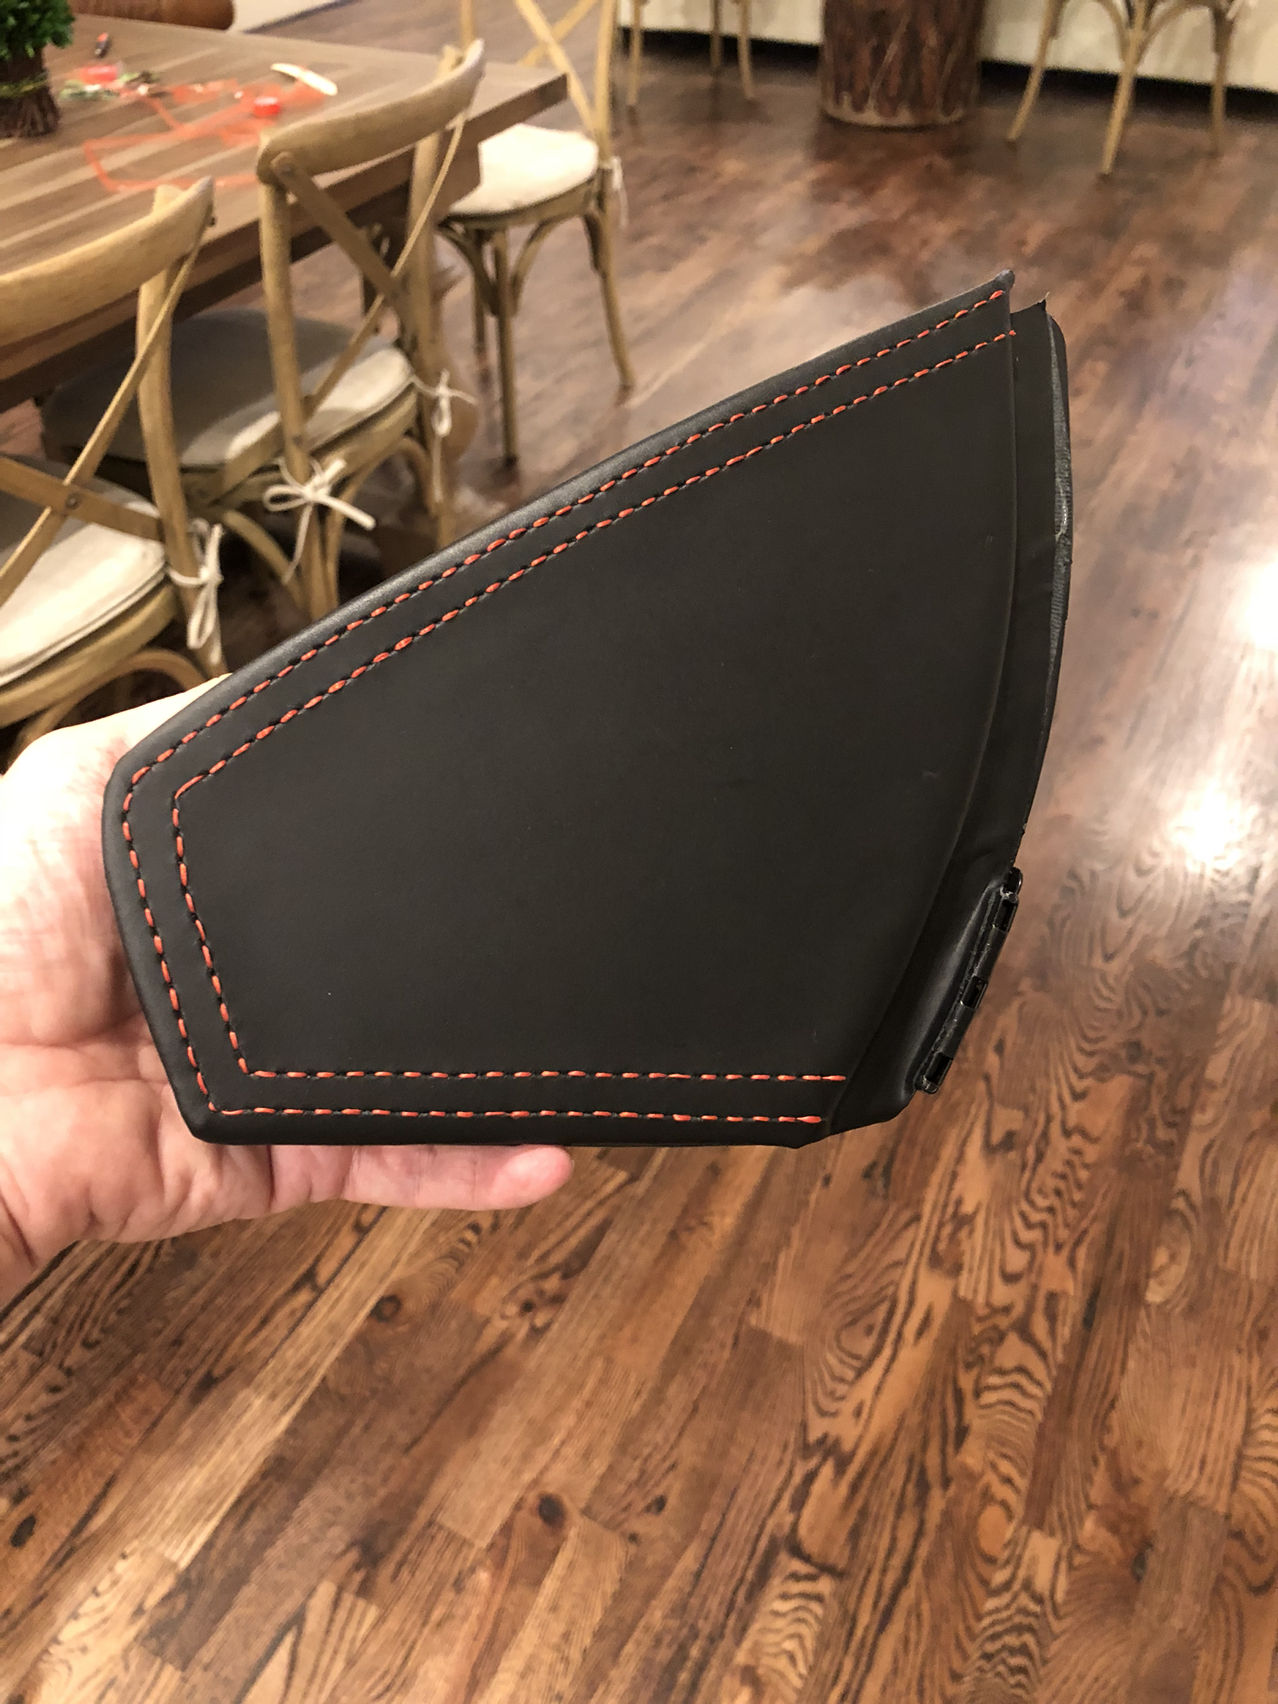
I like doing leather projects and have most of the required tools. Most complicated project I've done was a modular briefcase for my mac. The hole puncher actually looks like a flat fork. I have those with one, two, four and six teeth. Just put the fork on the leather along the line and tap with a hammer. You can see on picture #4 with the tan leather some of the holes punched thru as I used that leather as backing, so the fork does not hit a solid surface below and kills the sharp edge. Tandy has all the tools you can imagine and then some, and they are very good at explaining how to use each one of them, and even suggest what you need.
Originally Posted by JFerraro17
Looks great Alex, nice job!
Dummy key project? Do tell! What's this all about?
Thanks! I think @Porsche_nuts confused me with someone else on this one... I don't have a dummy key.
Nice job. Every time I watch one of those shows on how sports cars/super cars are made it boggles my mind how those poor woman at Ferrari, Porsche, Lamborghini, etc. are able to produce such amazing work. They definitely have skills.
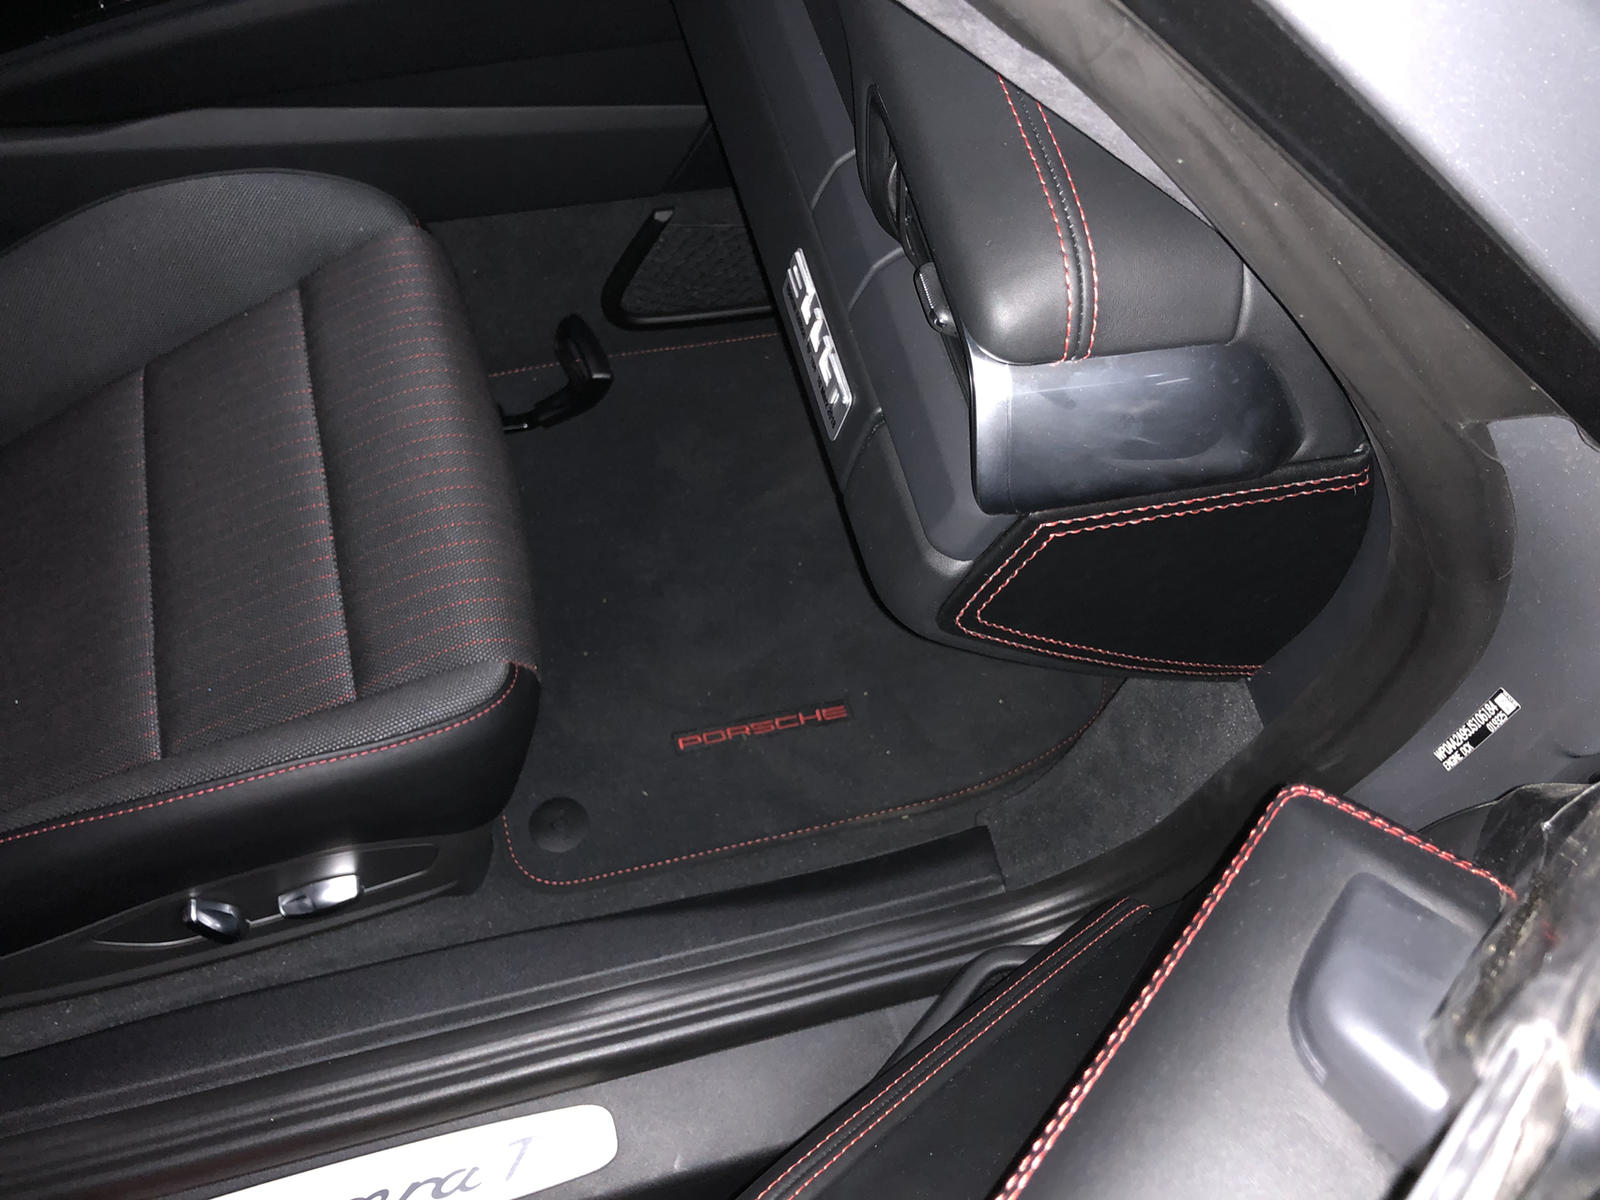
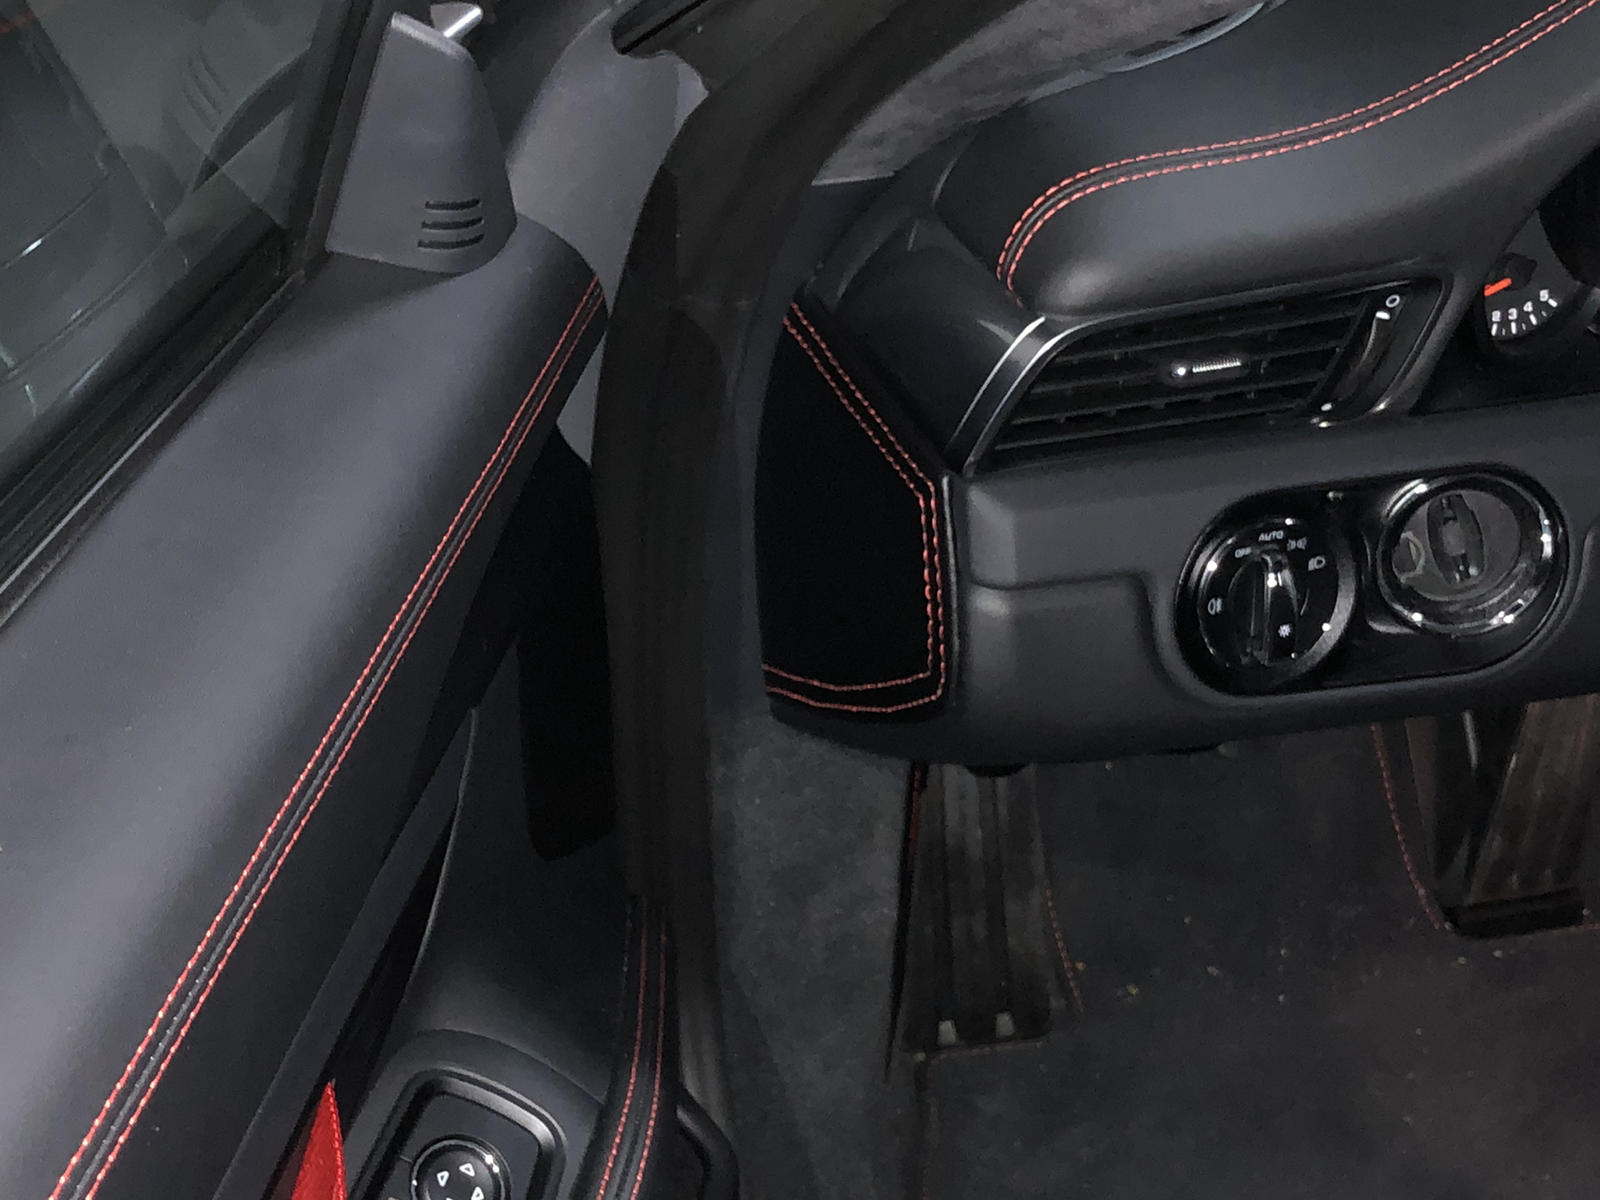
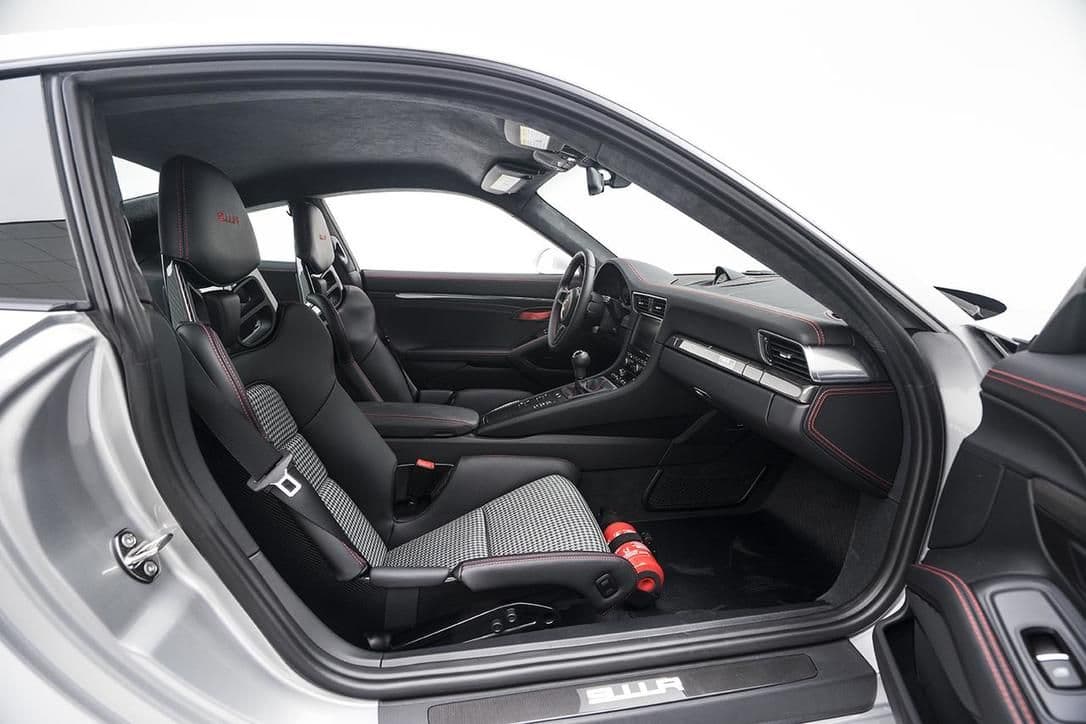
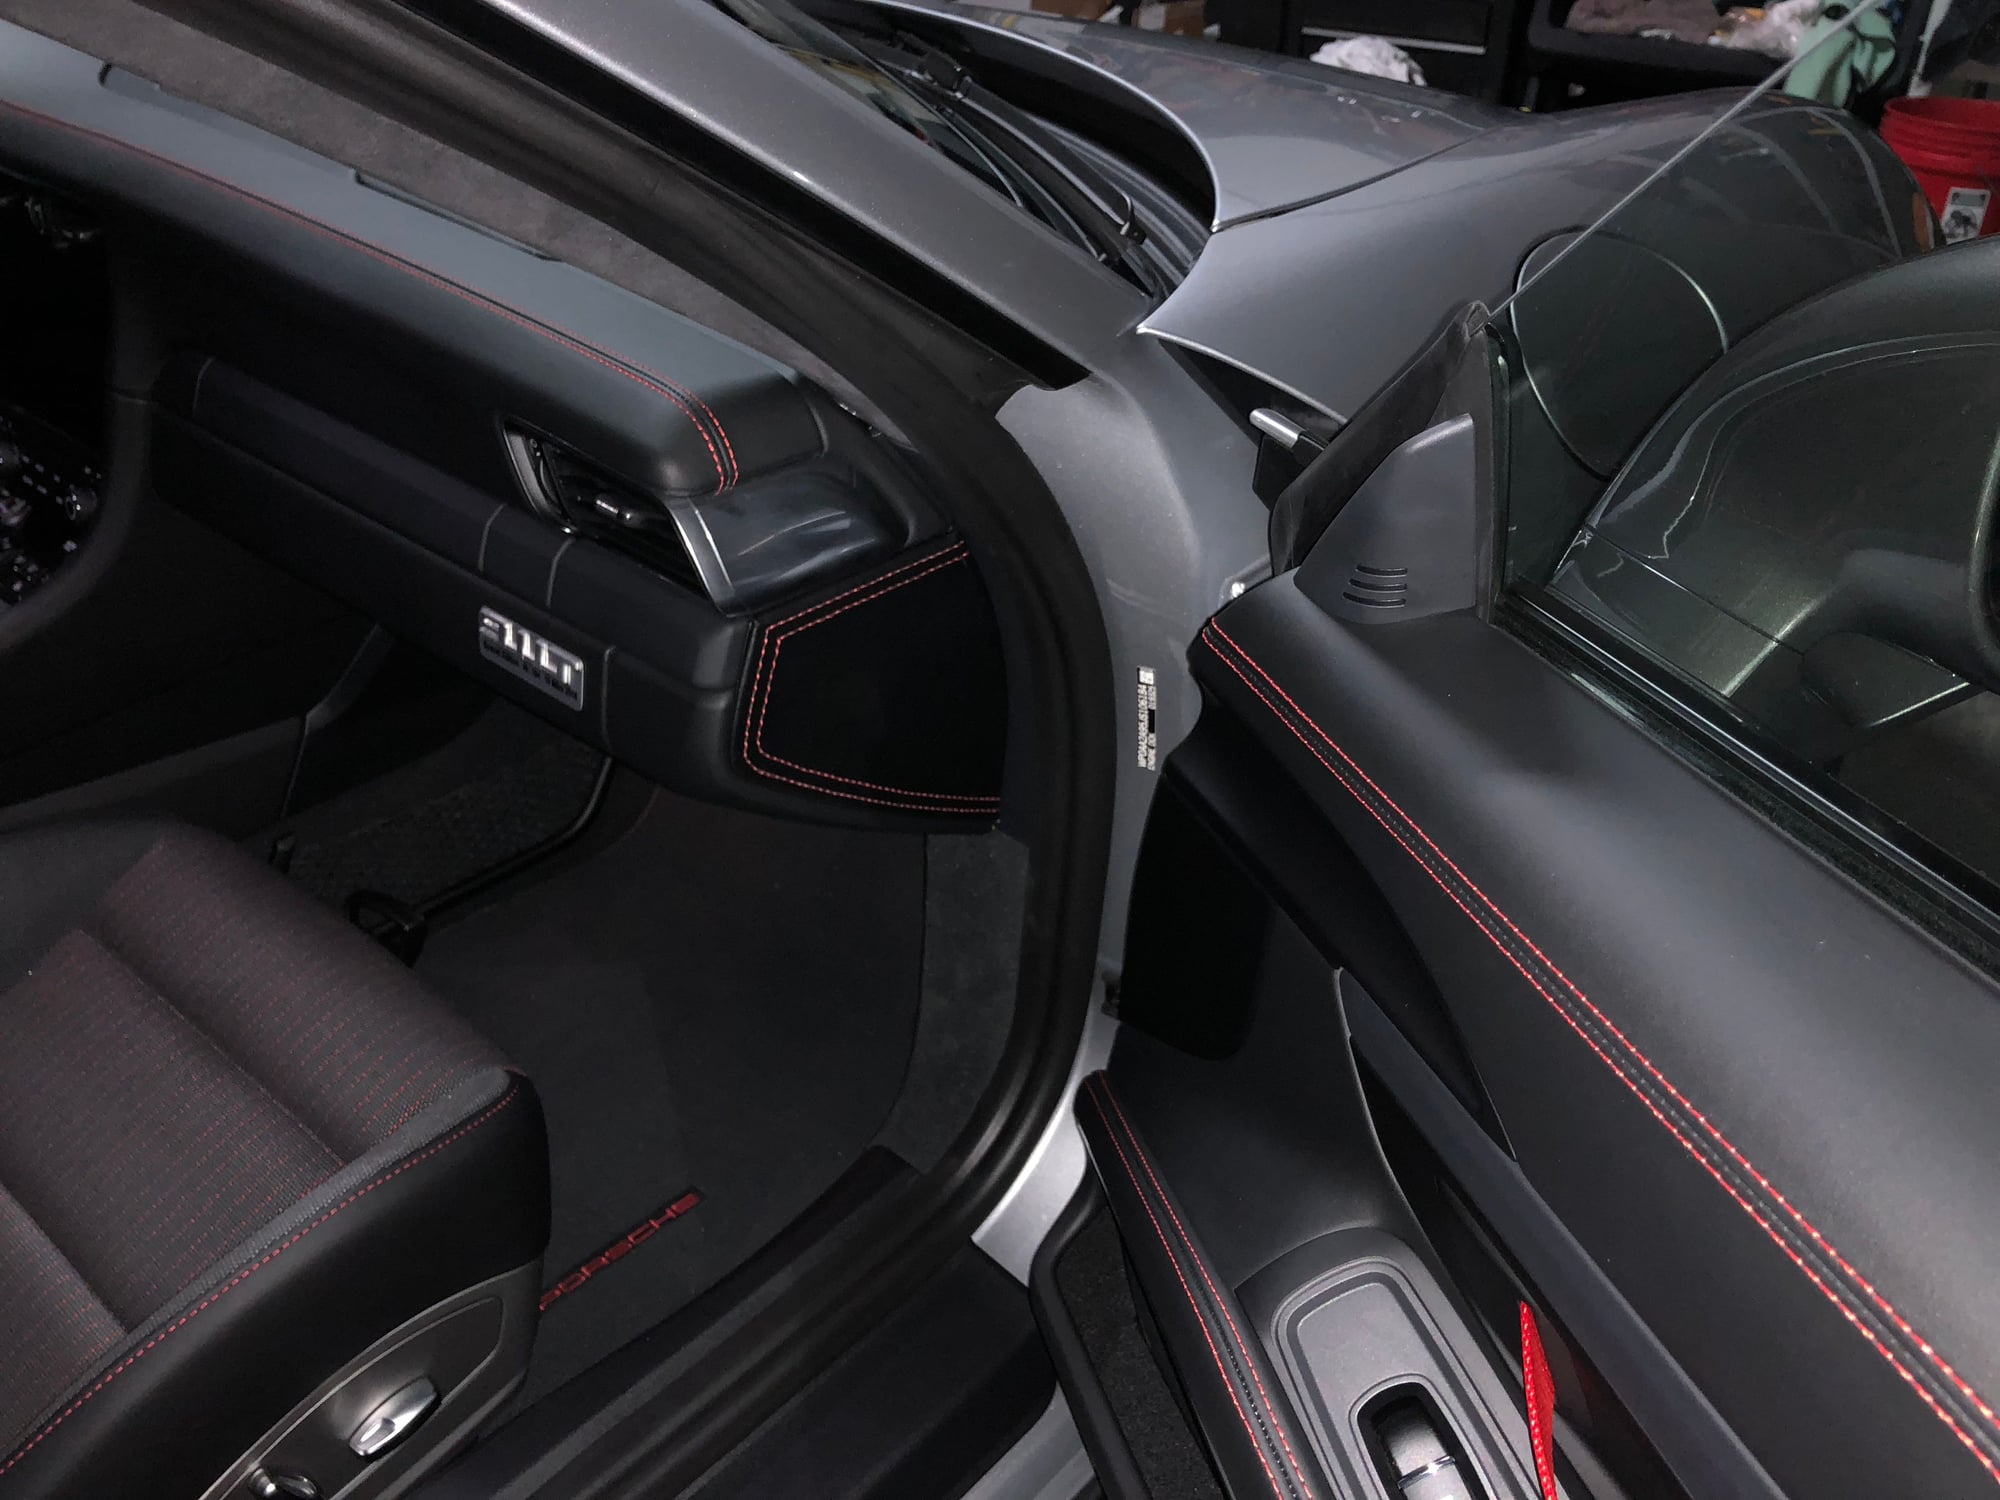
This time I actually measured the exact width between stitches (7 mm wide) and installed the leather. Then I used a leather scoring caliper all around to get the markings on the exact position they should go, and removed the leather. Punched the holes and reinstalled the leather. The moire effect of the picture makes the stitching looks a little crooked on the installed picture, (it shows the same effect on the original stitching sometimes due to the angle of the picture), but in real life the stitching looks perfectly straight and exactly as the original stitched panels. Compared them with an R that had the same panels. Very happy with the new results!
Here are some pictures for comparison. I would say it is 95% there this time...

 06-04-2018, 10:24 PM
 I don't have a dummy key.