When you click on links to various merchants on this site and make a purchase, this can result in this site earning a commission. Affiliate programs and affiliations include, but are not limited to, the eBay Partner Network.
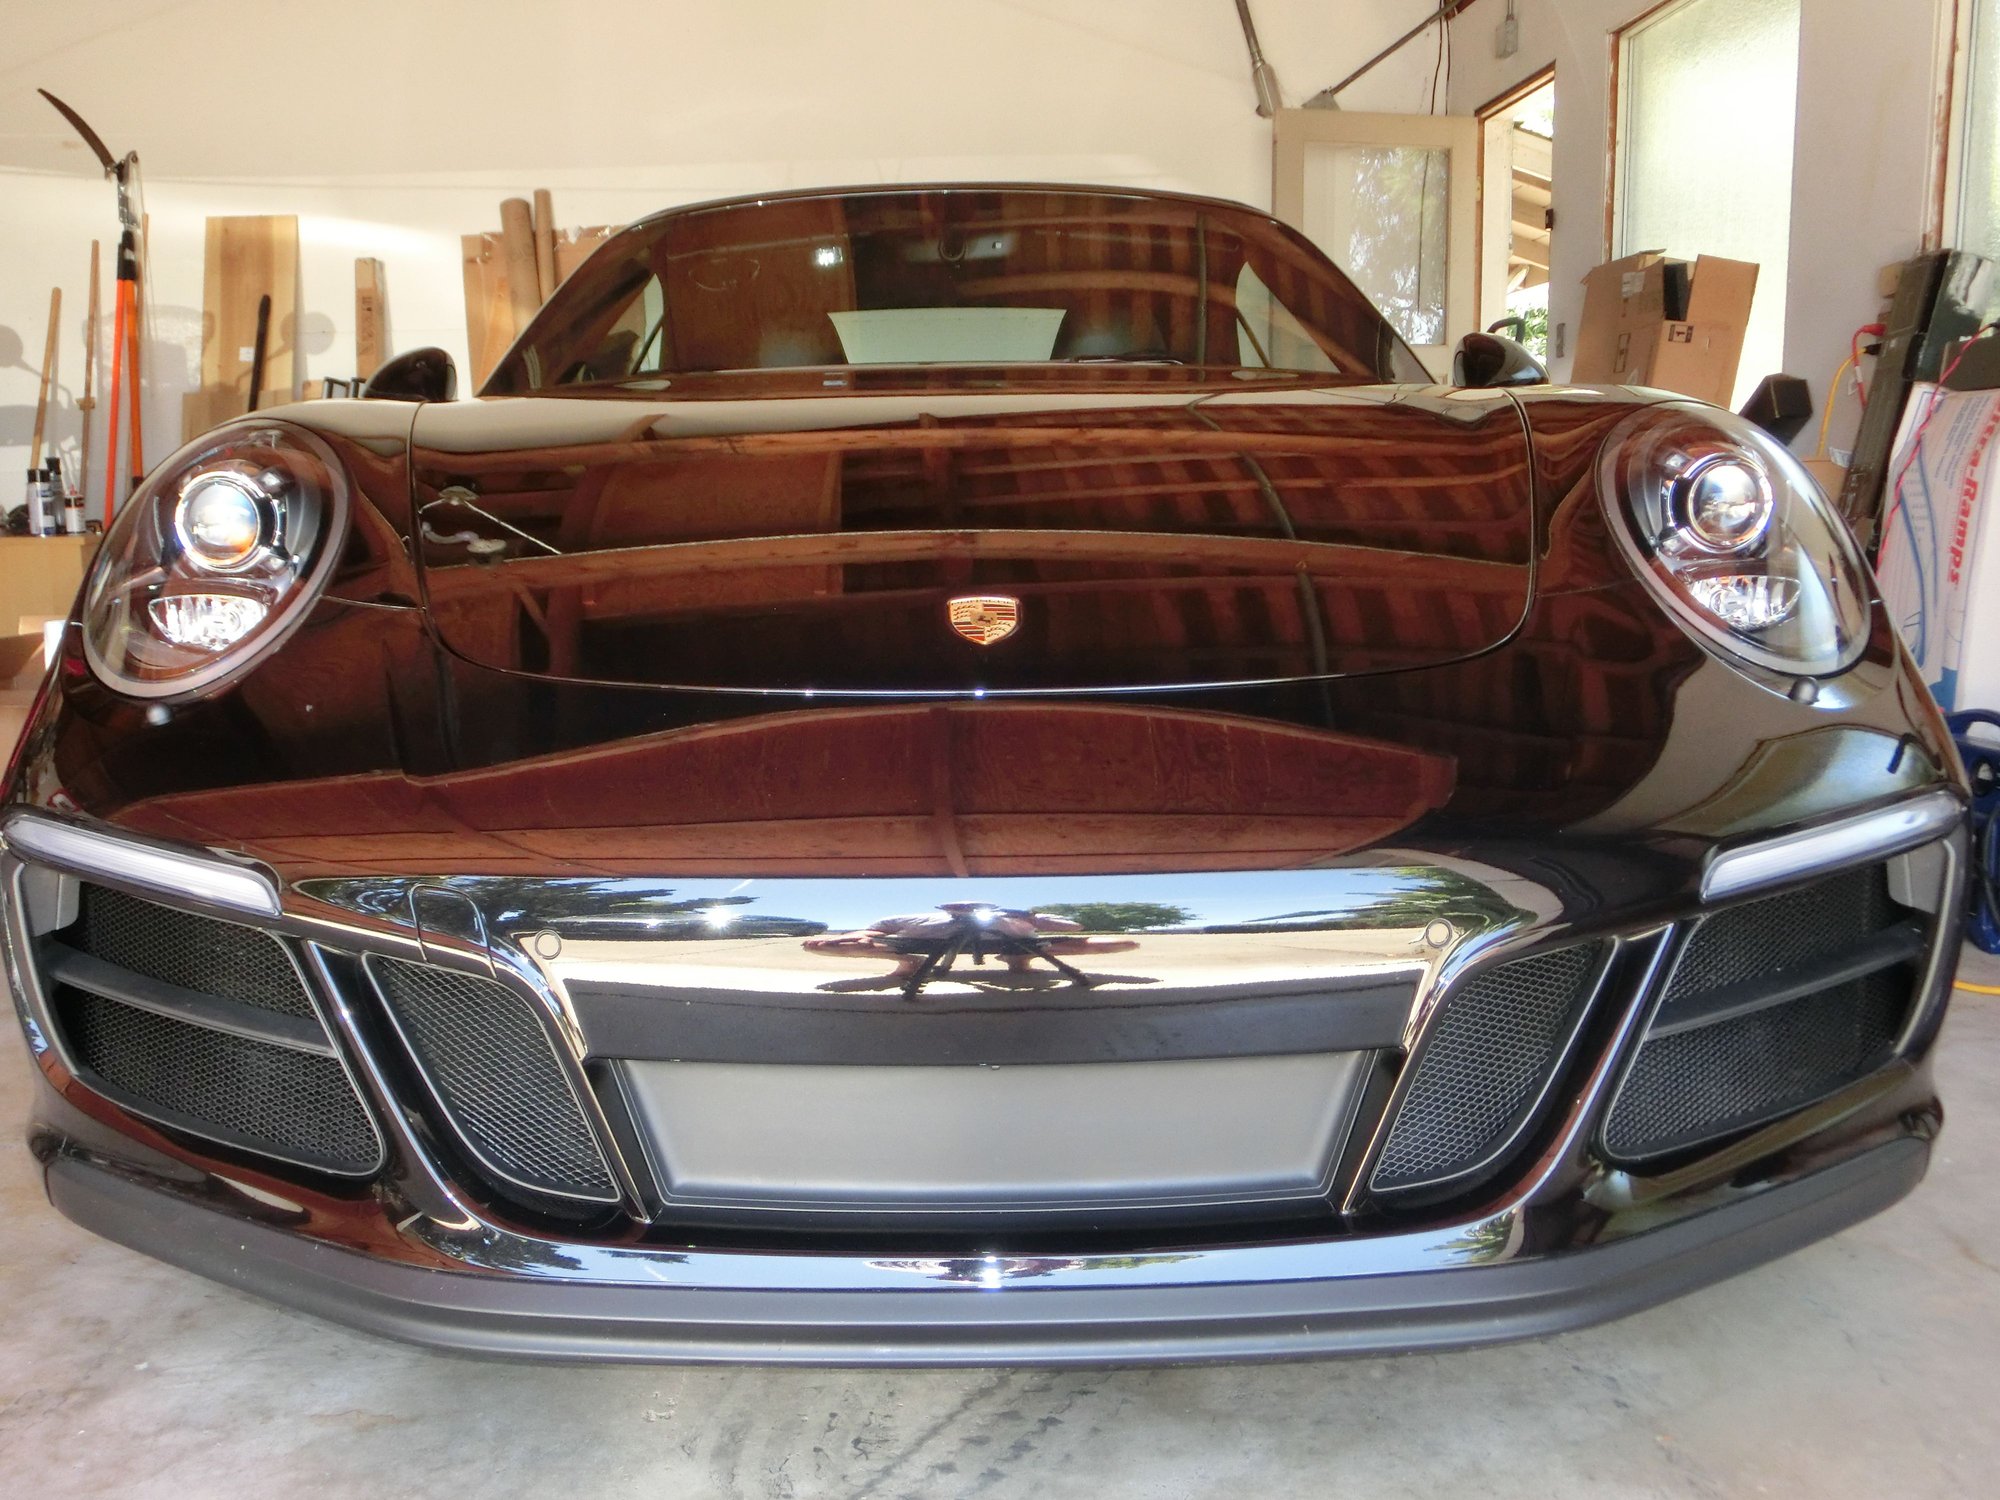
From this pic, it looks as though the screens might not cover the whole openings left and right - not to worry, they do.
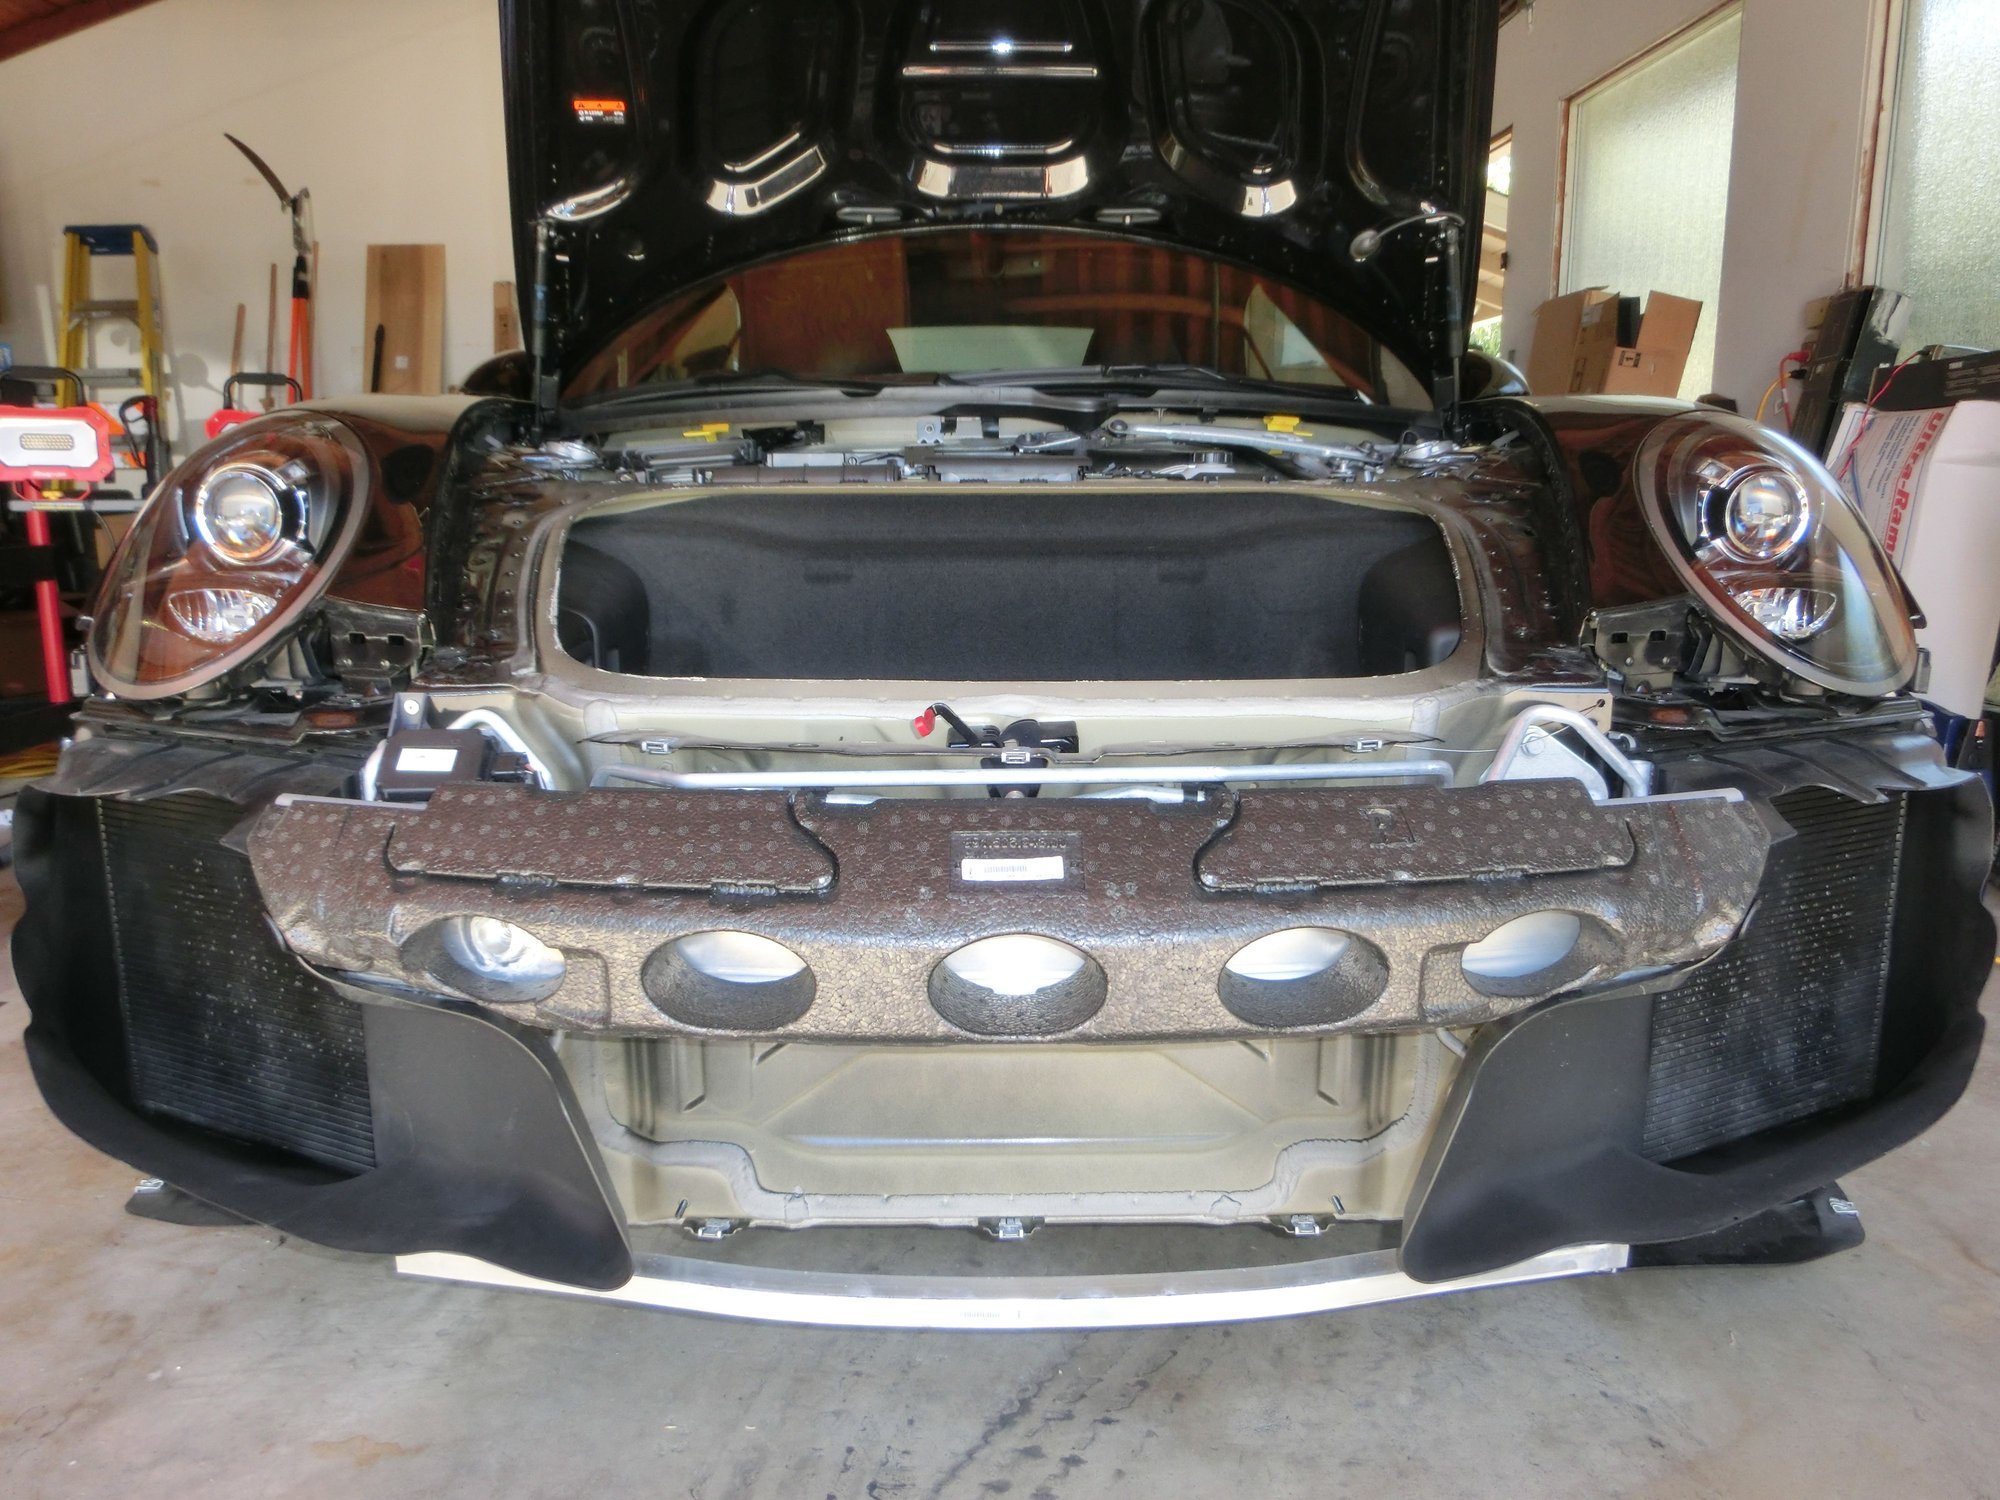
I painted the radiators black before replacing the bumper cover. It looks a lot better than having silver radiators peeking out from the black screens.
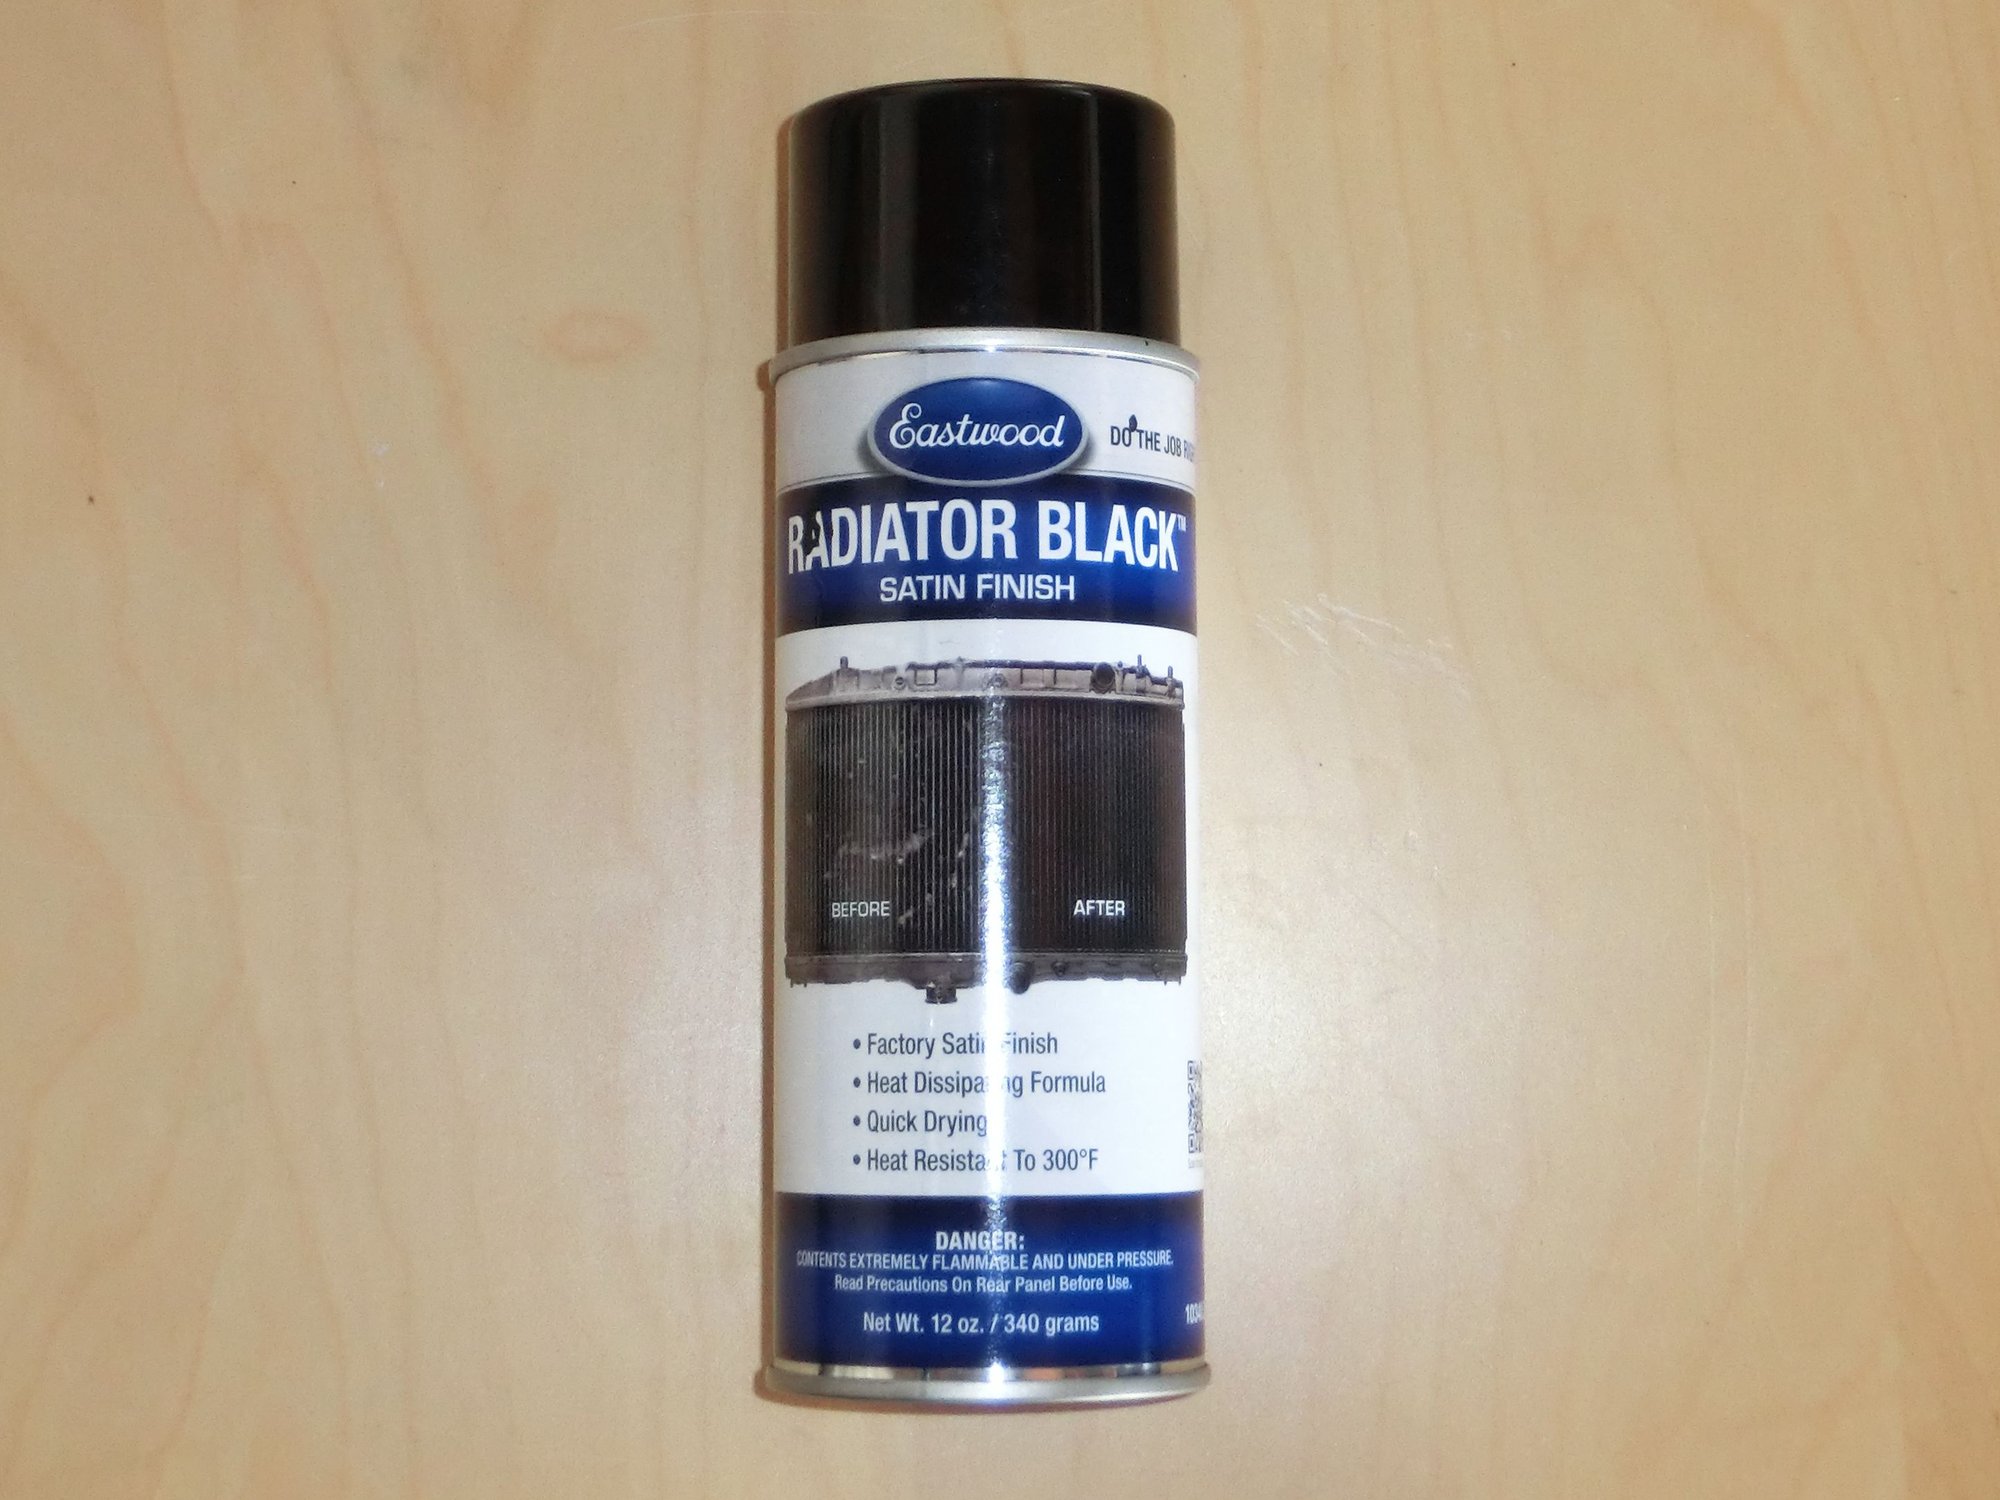
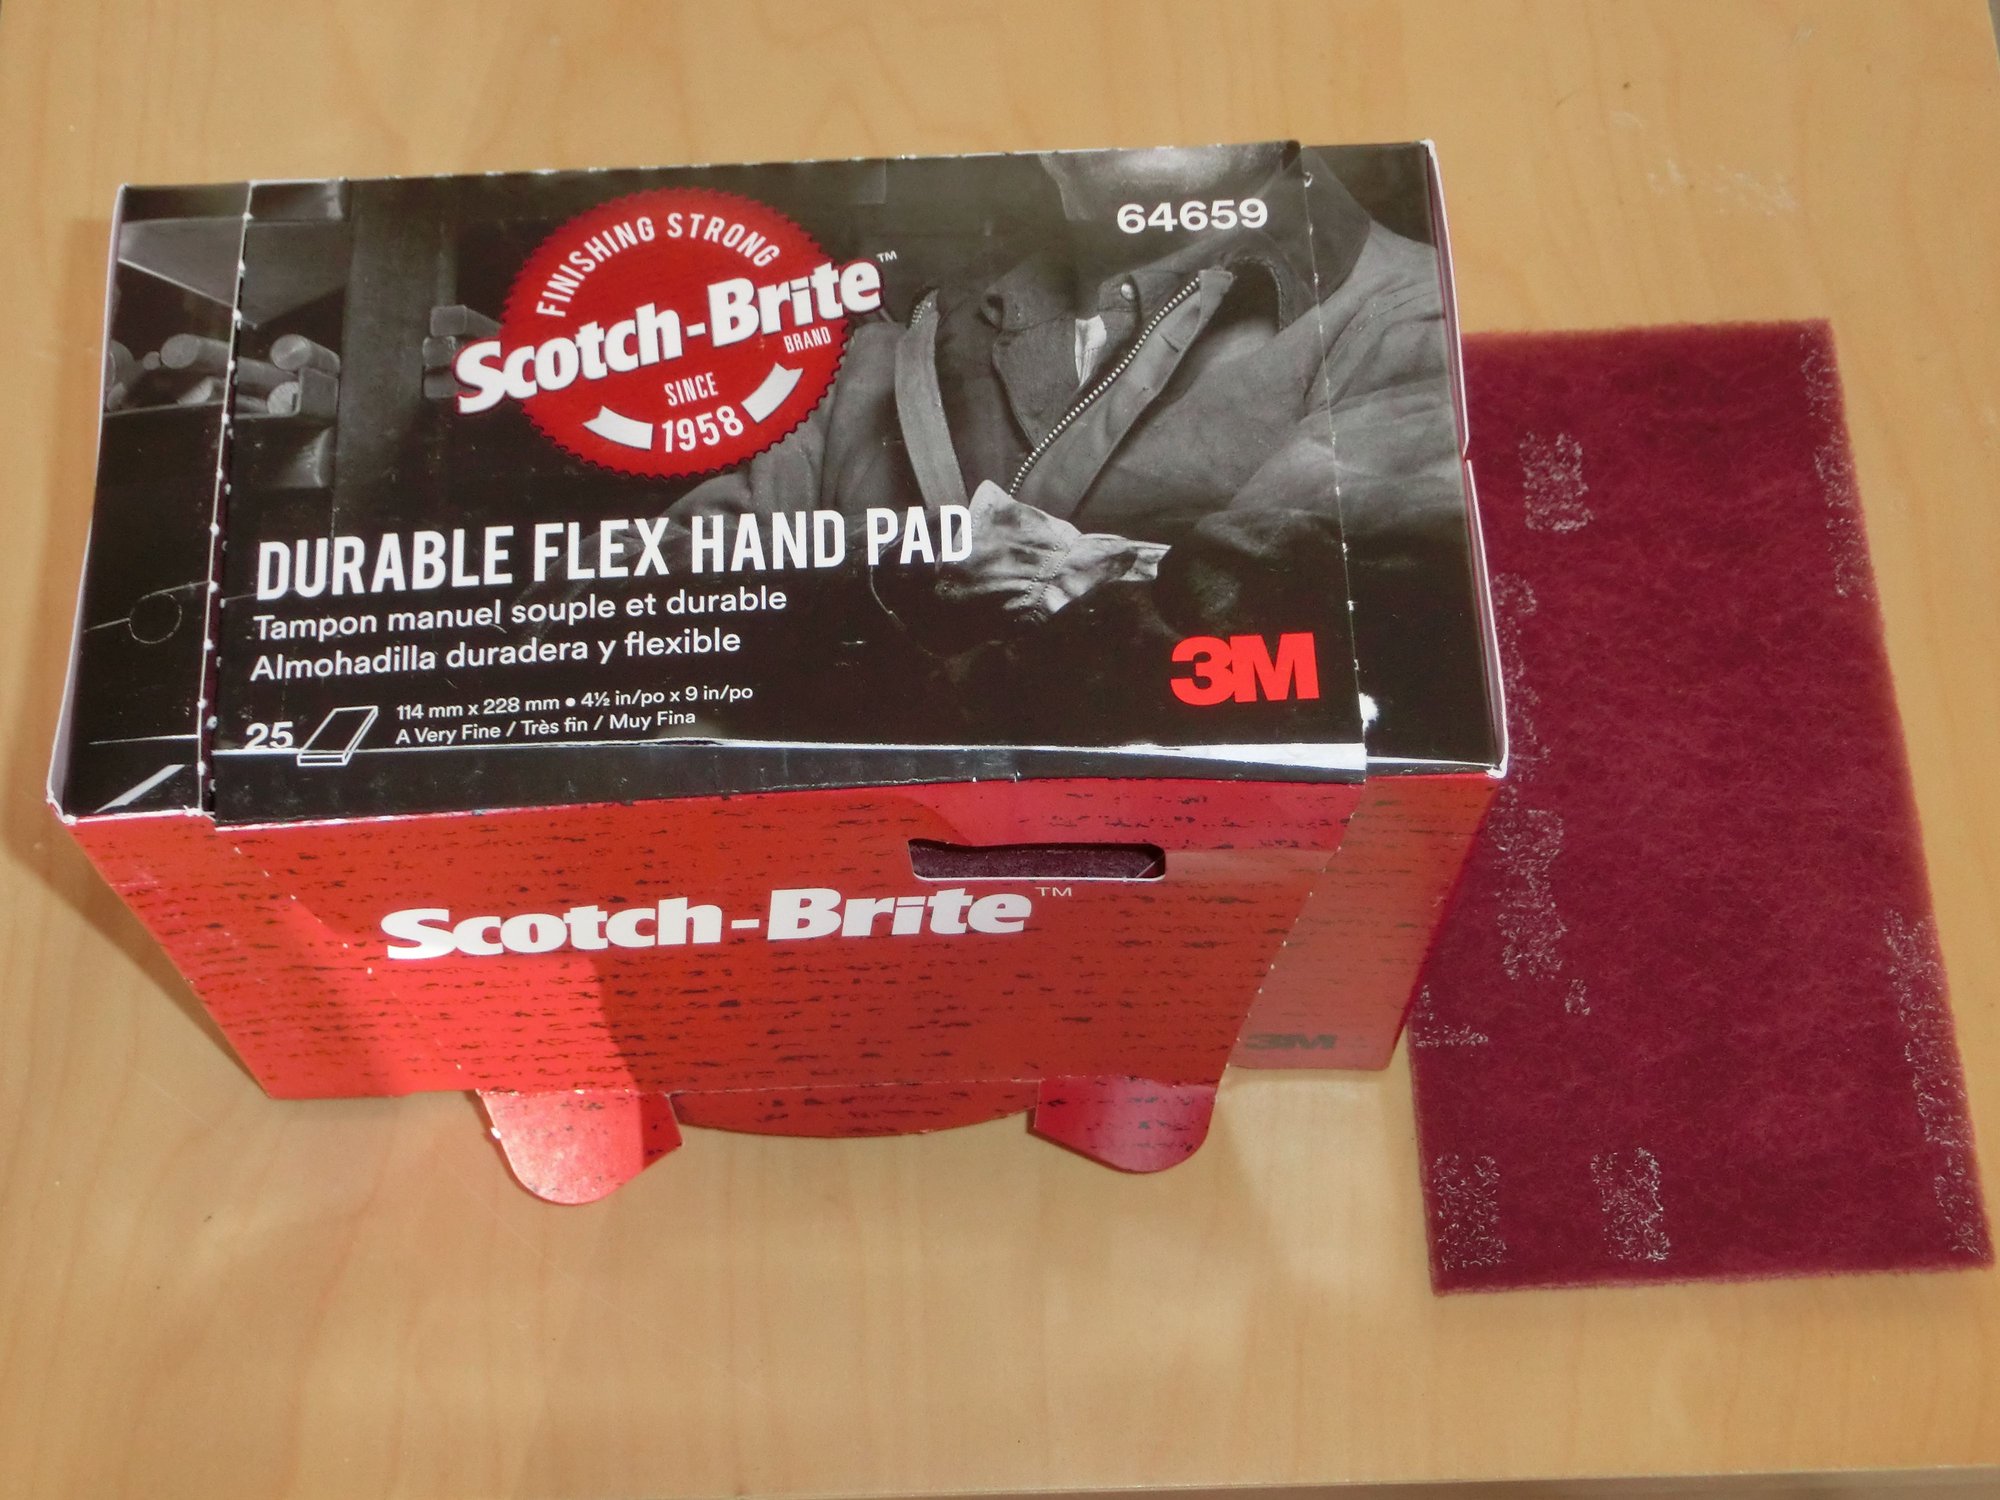
Here's what you need to paint the radiators: Eastwood makes a rattle-can paint specific to radiators. It gets mixed reviews online, but I thought it did the job well. They recommend scuffing the surface with scuff pads before painting. You'll want to re-vacuum the radiators after doing that and before painting. I used a nylon upholstery brush vac attachment, which got 99% of the bugs, etc. off the radiators. Then re-vacuumed to remove the scuff pad fibers and dust.
Here are a few tips on the process:
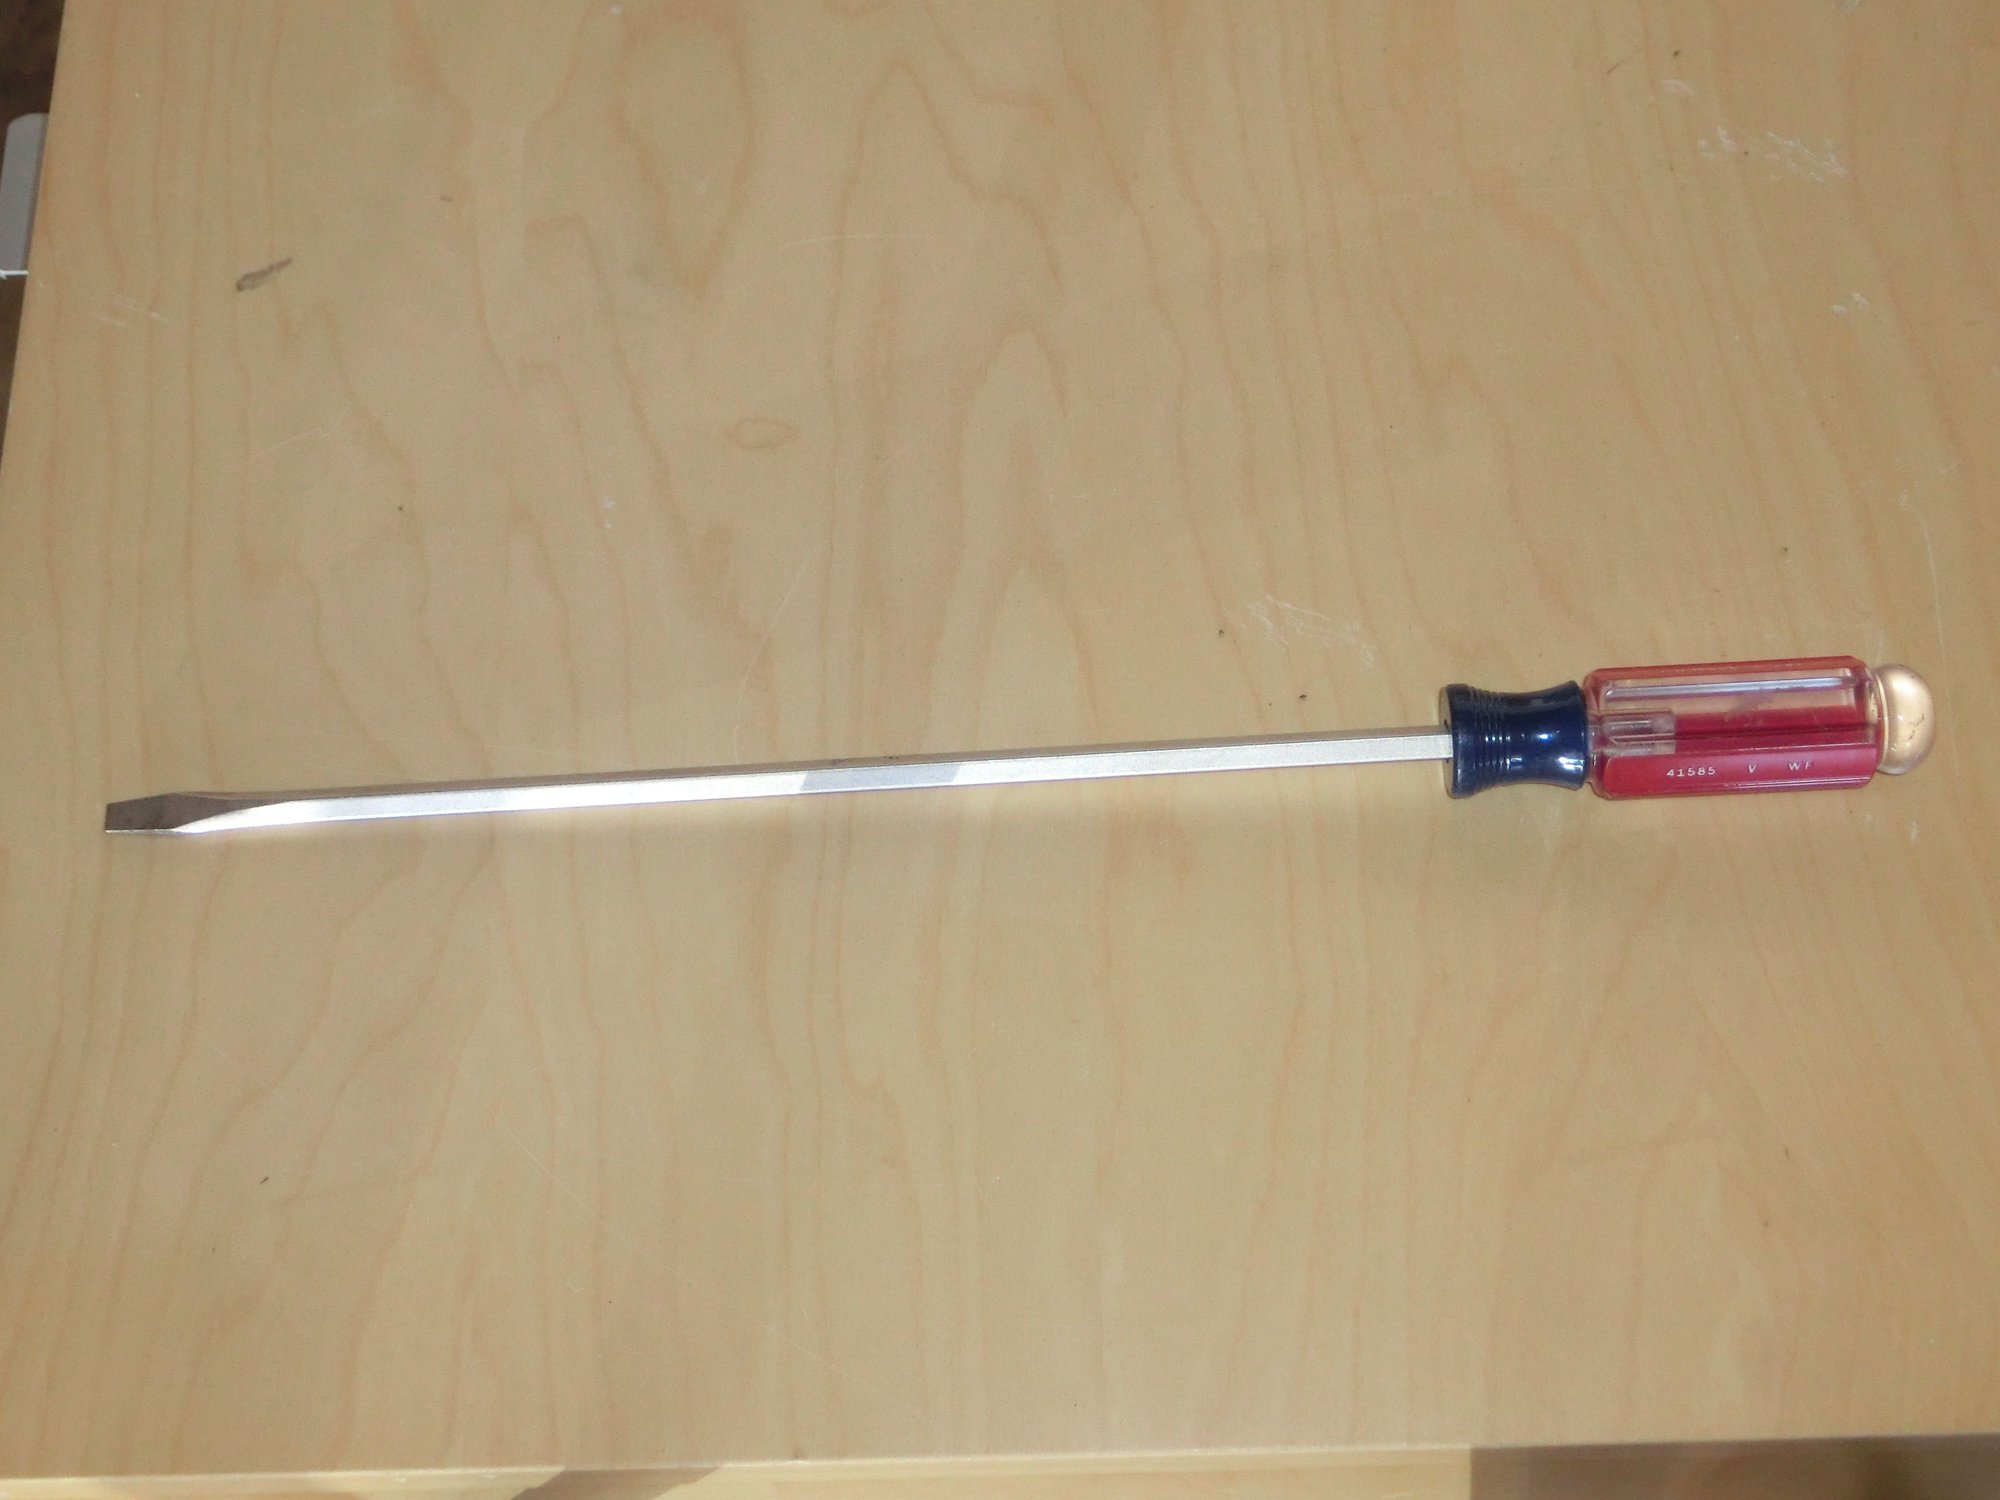
- Removing the bumper cover will be a whole lot easier if you remove the front wheels first. If you don't want to do that (e.g. because Centerlock wheels), grab a long, narrow flathead screwdriver to get in and release the electrical connectors. Unless your arms are ballerina thin, you probably won't be getting them all the way in to the connector releases with the wheels still on.
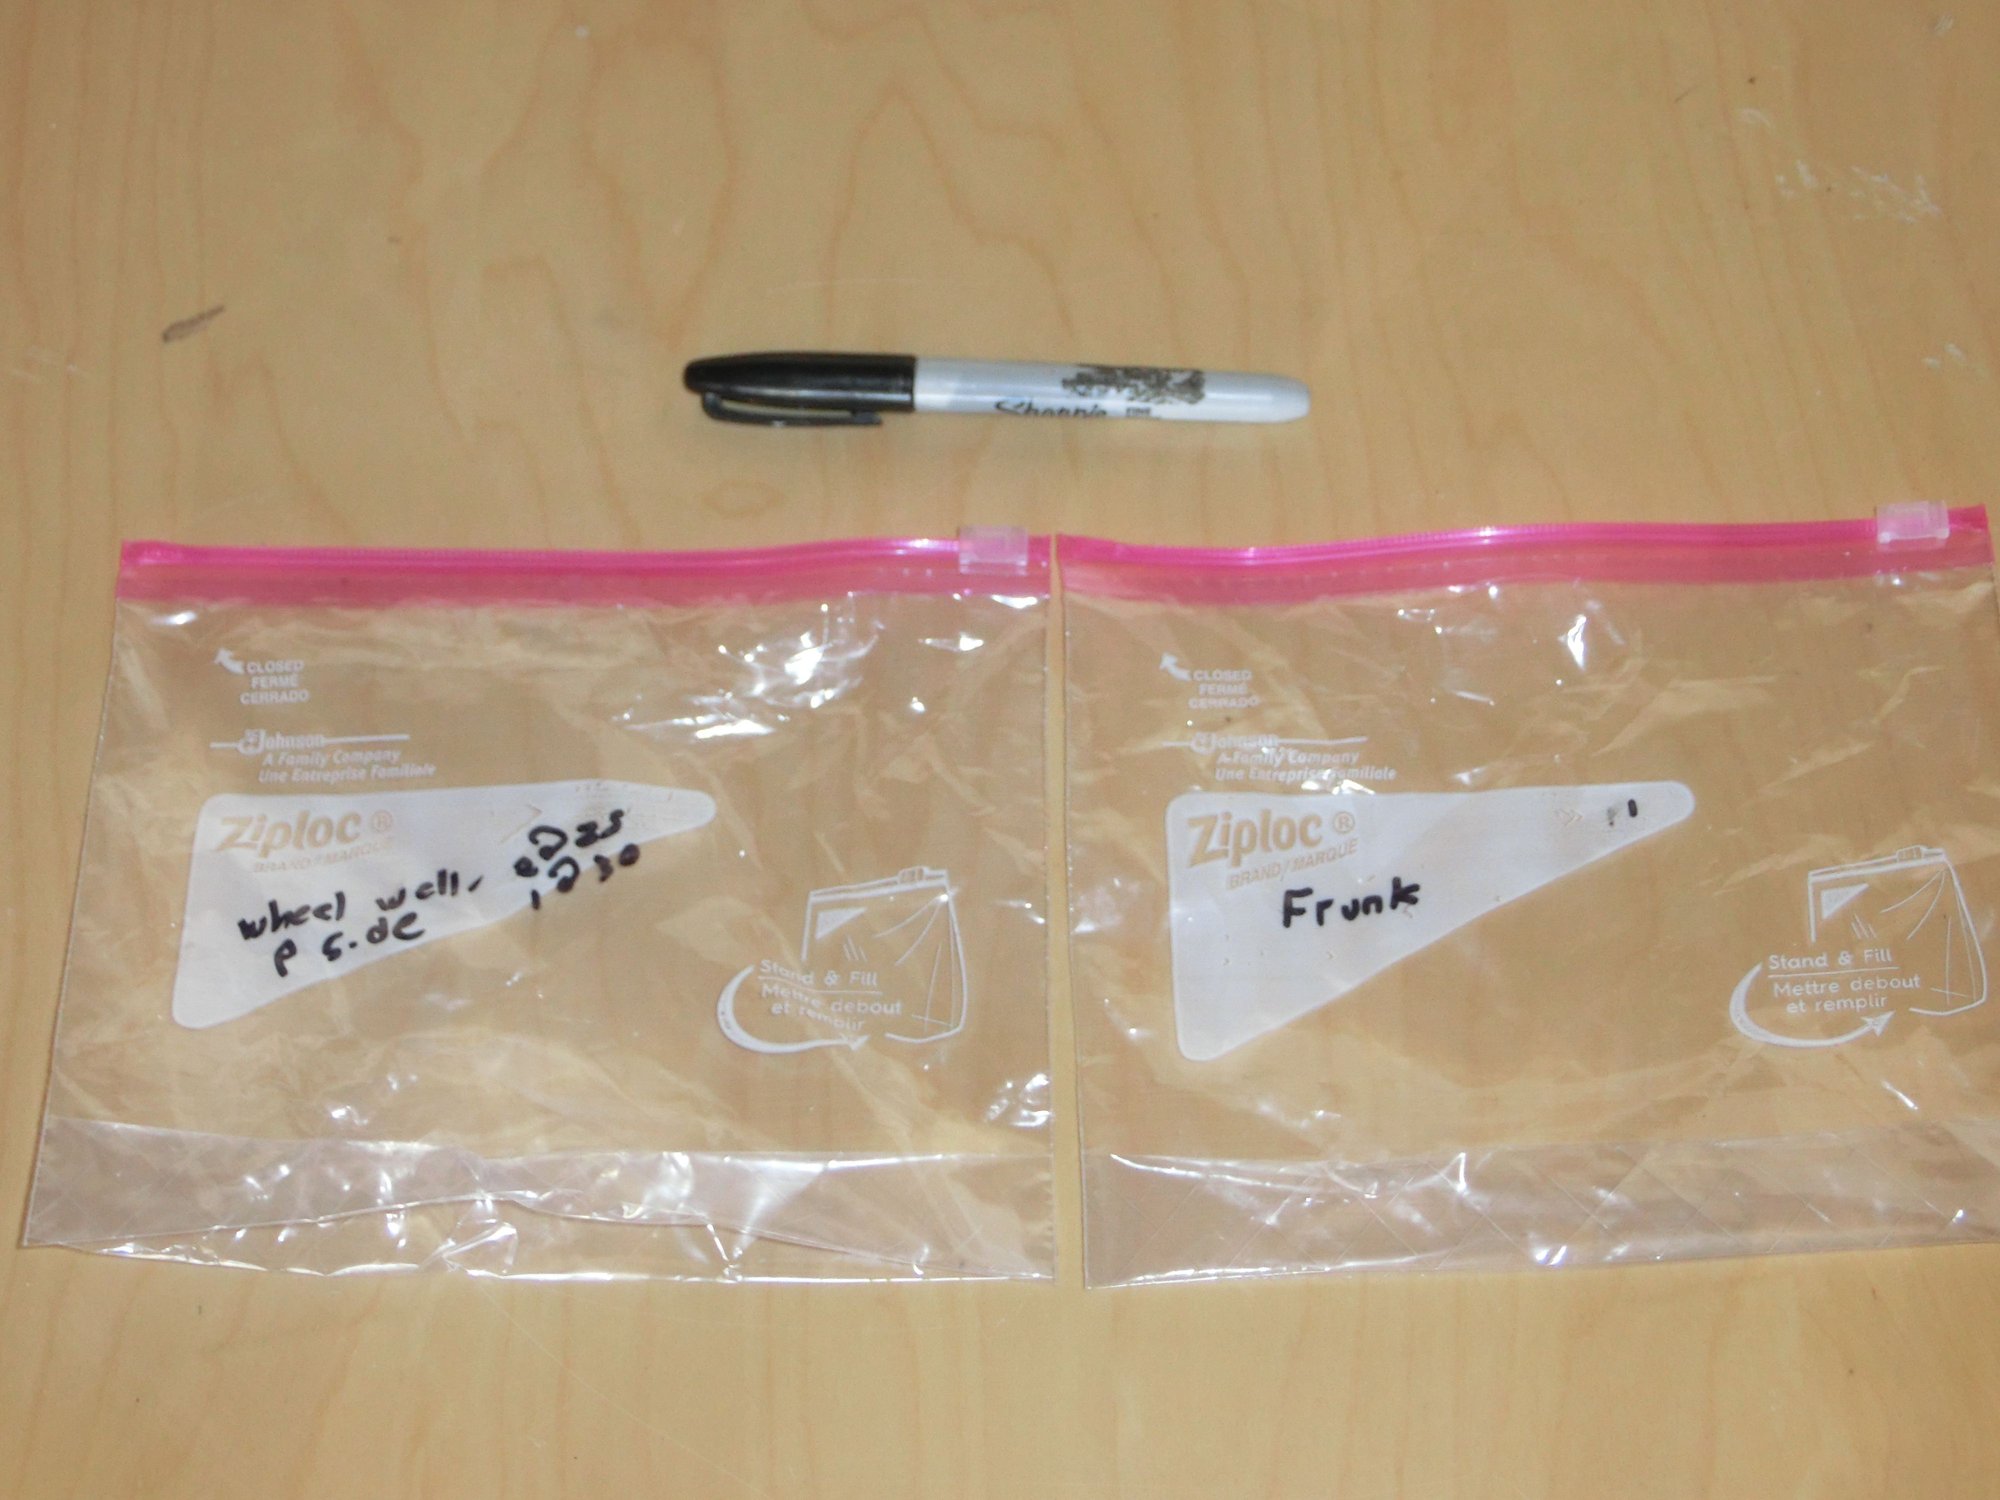
- Many of the fasteners you'll remove look similar but aren't alike. I dropped them in a ziplock for each section I disassembled, and scrawled a quick label on the ziplock. Then everything went back where it came from.
- You'll be releasing a lot of windshield washer fluid when you disconnect the feeder line behind the fender. As the video on Rennline's site shows, you'll want a bucket to collect that. However, note that the lines in the front bumper cover retain quite a lot of fluid, even after you drain the reservoir. You may have to disconnect lines on the bumper cover itself to drill where Rennline tells you to (I did). So be ready for a flow from any exposed line when you do that. Mine poured soapy solution into the back of one of the big electrical connectors (ug) and all over the bumper cover and floor.
- Overall, it's not a difficult process, but if your kit requires drilling (apparently some do, some don't), you'll need to be slow and precise to avoid doing anything that will mar the visible part of the bumper cover. So, budget some time. ..
The center screen is just $25 extra, it doesn't need a radiator to look matched.
Thanks for the write up OP.
Different tastes I guess.. My center grill is sitting in the house collecting dust. Not a fan of the pointy edges/fitment. It looks like it was lazily put together + you have to screw into your bumper. No thanks!
Different tastes I guess.. My center grill is sitting in the house collecting dust. Not a fan of the pointy edges/fitment. It looks like it was lazily put together + you have to screw into your bumper. No thanks!
Yeah, not my taste either.
I have been contemplating doing some of these grills. I think Im going to hold off since I love the look the exposed silver side radiators. I just have to get in there periodically with a pick and straighten the fins. PITA, but its a labor of love.


 06-03-2018, 05:31 PM